CHIP - $ 9 Raspberry Pi Killer
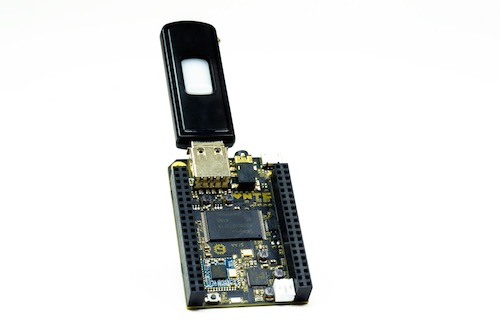
Information on how a $ 9 Linux computer raised more than $ 2,000,000 on kickstarter has already flown through Geektimes . I also supported this project at the time of fundraising and the other day my copy of this device flew to me
This computer is equipped with an Allwinner R8 processor on an ARM architecture with a frequency of 1 GHz, 512 MB RAM, 4 GB of internal flash memory, and also has built-in Wi-Fi with support for b / g / n standards and on-board bluetooth 4.0. The interfaces here include one USB port, a composite AV output for connecting to a TV or any display supporting composite video input, micro-USB for power and firmware of the CHIP itself, a connector for connecting an external battery, and pads with GPIO ports. However, using the latter, you can connect additional HDMI or VGA adapters, which are purchased separately at a price of $ 15 and $ 10, respectively.
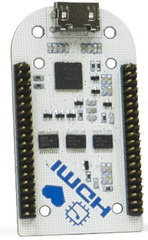

There is also a PocketC.HIP extension that allows you to make a mini-computer completely mobile, by connecting a battery and keyboard with a display.

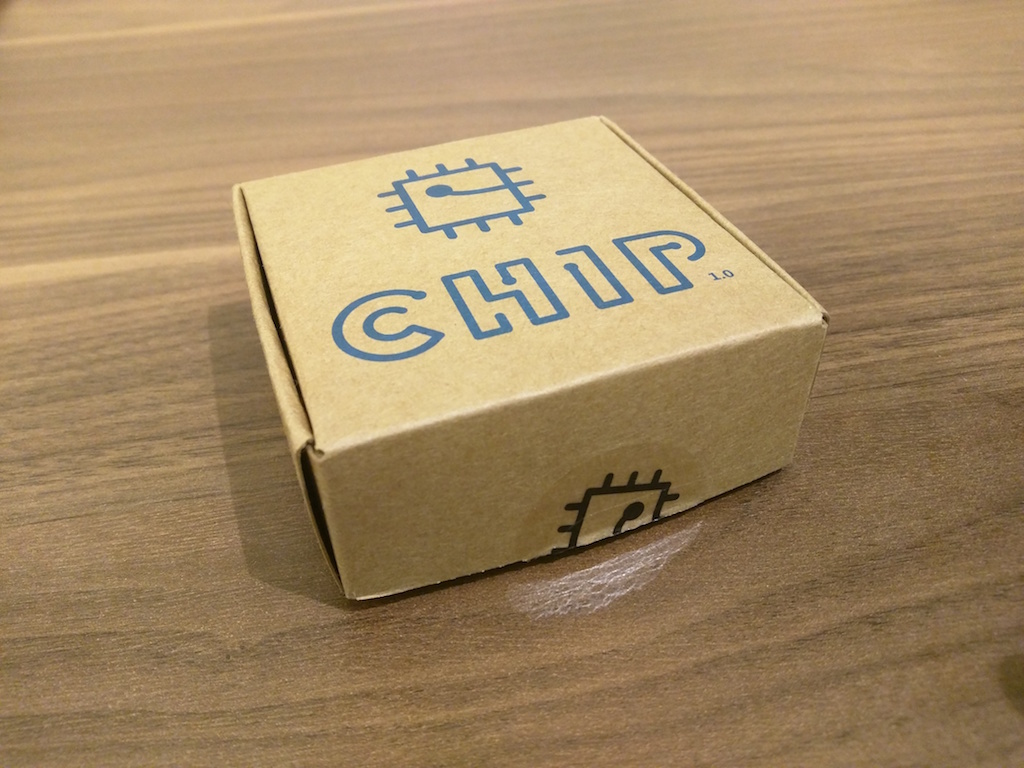
The device arrived packed in a paper envelope, inside which a simplicity square cardboard box containing a mini-computer.
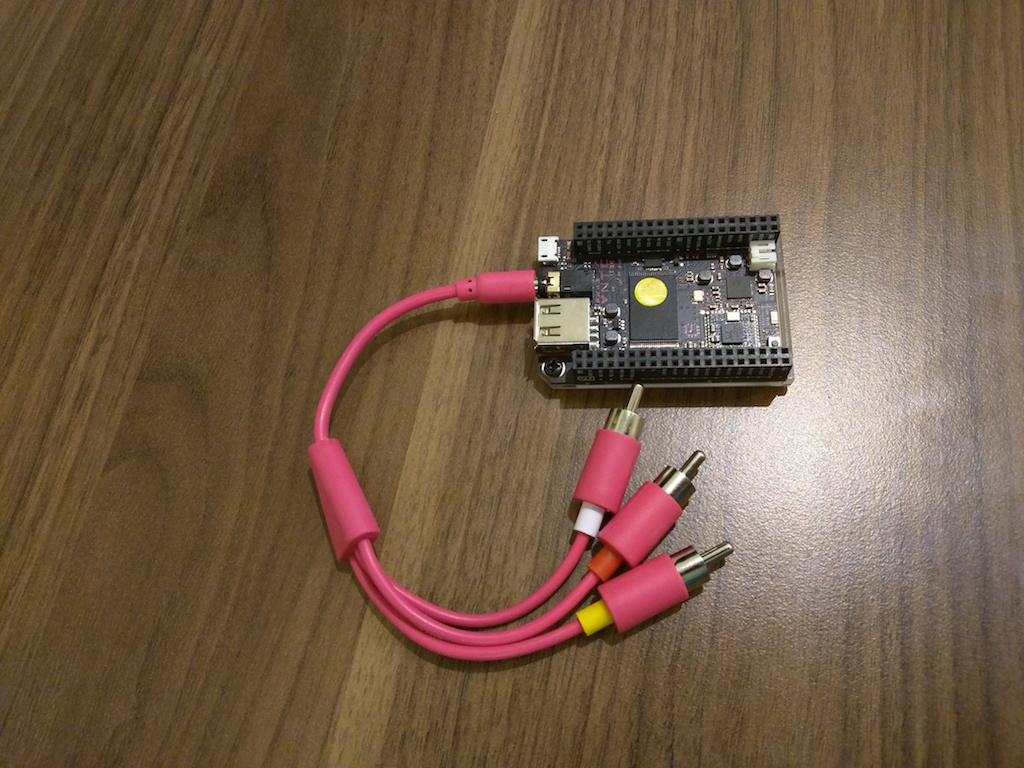
And here is the contents of the box.
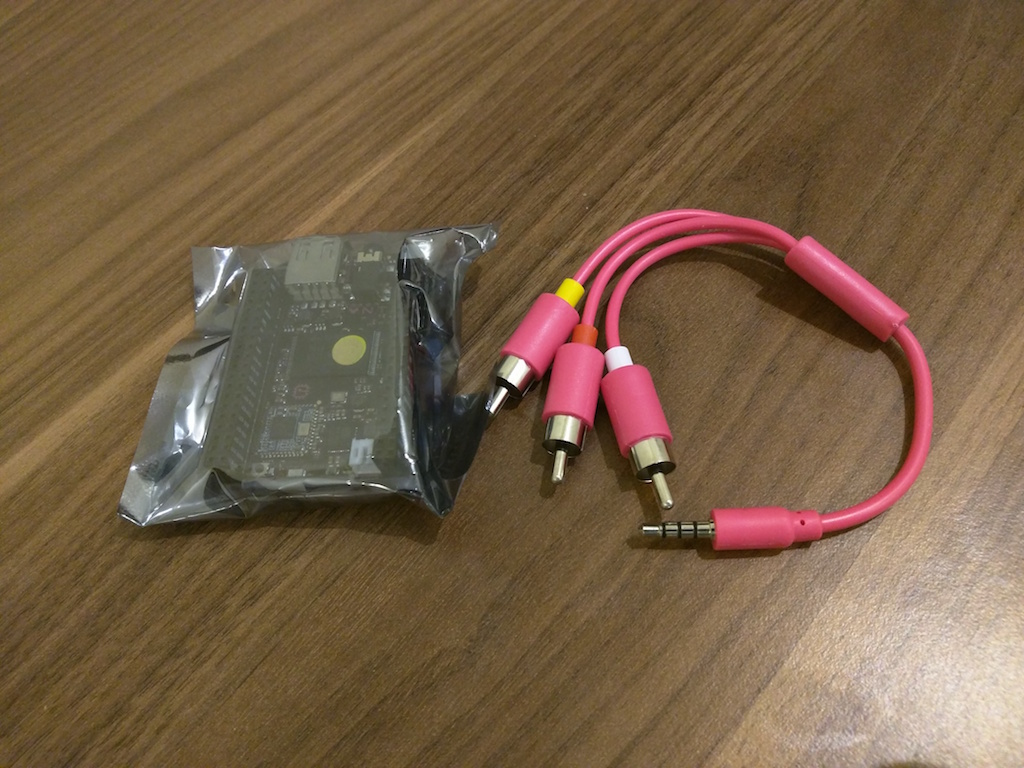
My copy was equipped with a pink glamorous AV cable.
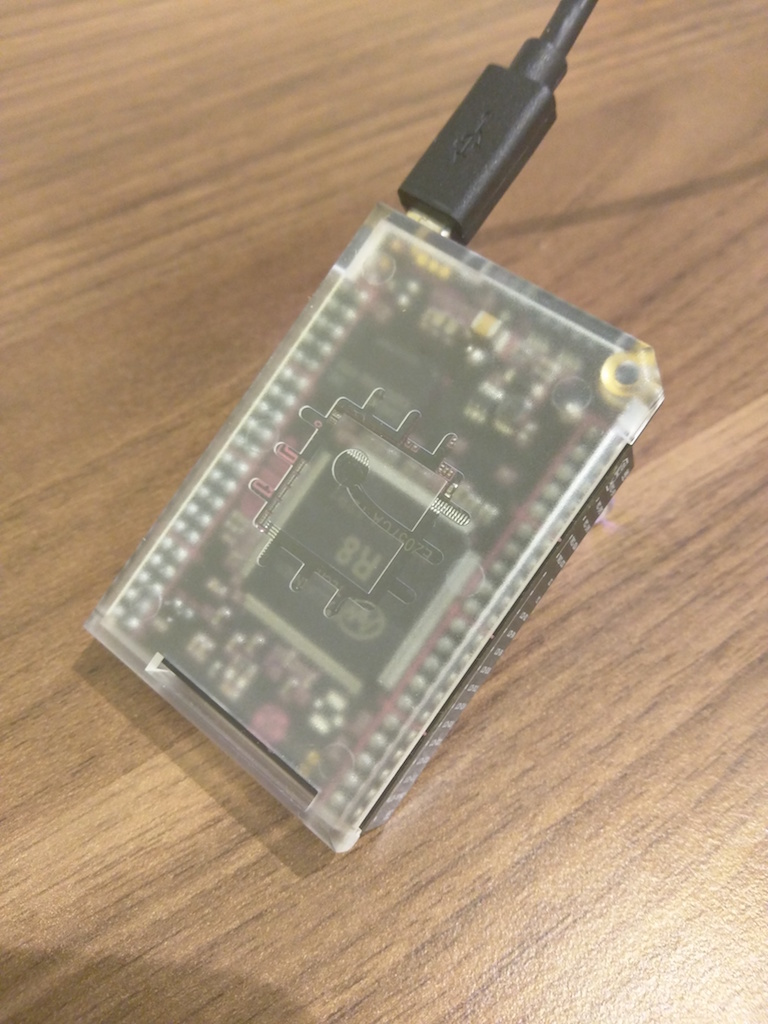
And behind there is a translucent case covering the processor
It all works under the modification of Linux Debian as OS, I note that overall performance is not great. Bluetooth and Wi-Fi work perfectly well, the wireless keyboard and mouse from iMac were connected without problems and connected to the Internet. There are no problems with USB either, a flash drive, a mouse, as well as a stick from a wireless Logitech F710 gamepad were determined and worked fine. By the way, with regard to games, I tried to turn it into a miniature emulator of gaming platforms, installed the mednafen emulator, which supports many old gaming systems, and collected mednaffe GUI from it . Performance and quality can be seen in this video.
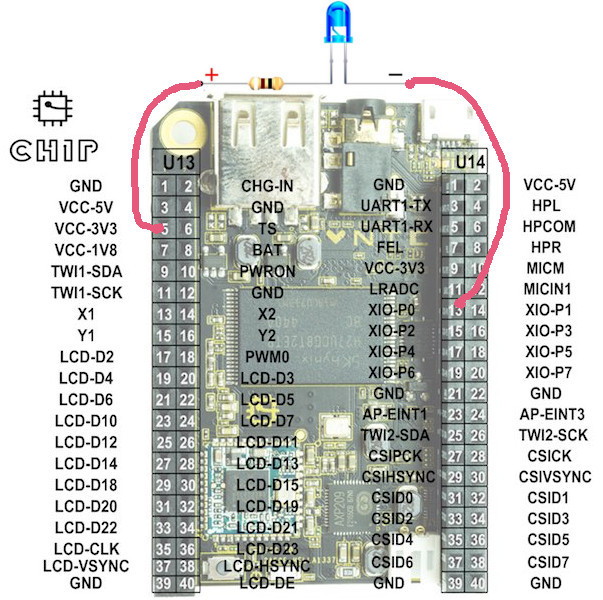
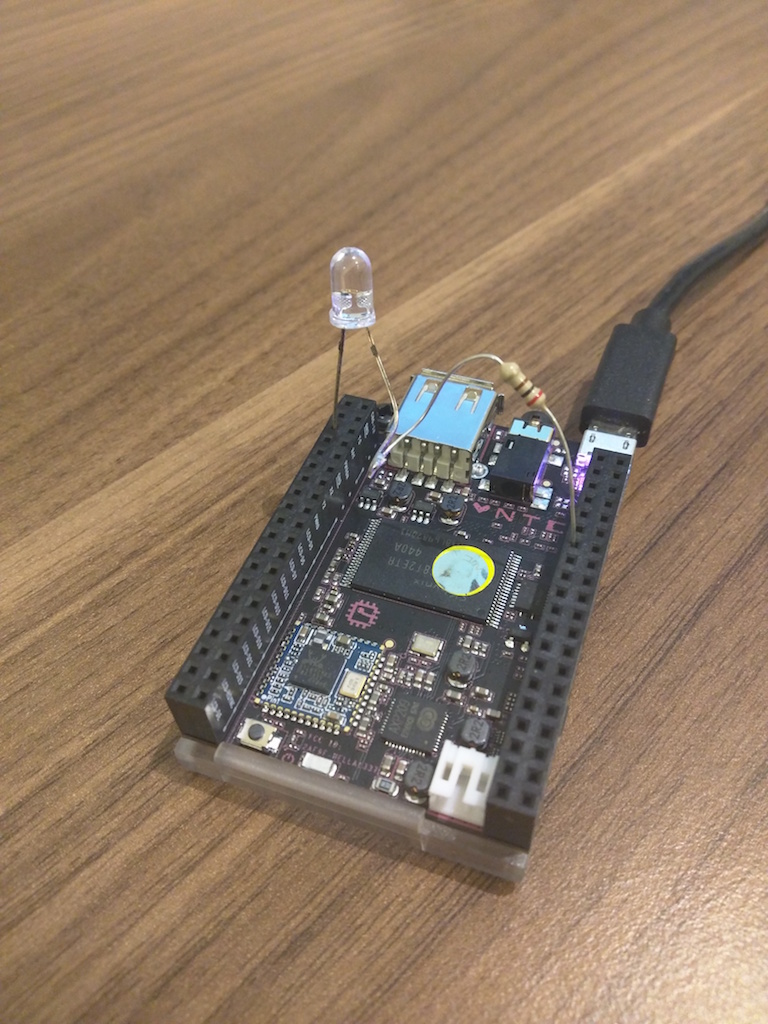
Well, for starters we’ll try to control the GPIO ports, for example, blink an LED through it. To do this, connect the LED through a 100-200 Ohm resistor with the anode to the 5th output of the U13 block and the cathode to the 13th output of the U14 block as in the diagram
or as I did.
All further actions can be performed directly on the device, or can be done remotely by connecting to the device via ssh. By default, the system has a chip username and password, you just need to find out the IP address of the device.
ssh chip@192.168.1.109
The PCF8574A controller is responsible for controlling the input / output ports. It is managed through manipulations with the files / sys / class / gpio / gpio408, access to which is possible only from under the root, so you need to switch to it first
su
Let's consider two control methods, through the console and using a C program. So, we blink the LED from the console. Go to the / sys / class / gpio directory
cd /sys/class/gpio
Activate GPIO and enable port operation on output
echo 408 > export
echo out > gpio408/direction
Now we can set the value in the port by writing values to gpio408 / value
echo 1 > gpio408/value   # включаем светодиод
echo 0 > gpio408/value   # выключаем светодиод
Upon completion, unforgettable deactivate work with GPIO
echo in > gpio408/direction
echo 408 > unexport
And now everything is the same, but in C language. Create the projects directory in the home directory, and blink in it.
cd ~/
mkdir projects
cd projects
mkdir blink
cd blink
Run the nano text editor and create a new file (ctrl + o) with the name main.c, i.e. get syntax highlighting right away.
nano
And, actually, the listing of the program
#include
#include
#include
#include
int main()
{
	int fd;
	// Активируем работу с GPIO
	fd = open("/sys/class/gpio/export", O_WRONLY);
	if (fd < 0)
	{
		return -1;
	}
	write(fd, "408", 3);
	close(fd);
	// Включаем порт на выход
	fd = open("/sys/class/gpio/gpio408/direction", O_RDWR);
	if (fd < 0)
	{
		return -1;
	}
	write(fd, "out", 4);
	close(fd);
	// В цикле включаем и выключаем светодиод
	fd = open("/sys/class/gpio/gpio408/value", O_RDWR);
	if (fd < 0)
	{
		return -1;
	}
	int i;
	for (i = 0; i < 1000; ++i)
	{
		write(fd, "1", 2);
		sleep(3);
		write(fd, "0", 2);
		sleep(3);
	}
	// Завершаем работу с GPIO
	fd = open("/sys/class/gpio/unexport", O_WRONLY);
	if (fd < 0)
	{
		return -1;
	}
	write(fd, "408", 3);
	close(fd);
	return 0;
}
Next, compile and run as root
gcc main.c -o blink
./blink
This completes the small review of the small computer, although it still has a huge amount of possibilities. With its capabilities and such a low price, it turned out to be a solid competitor for the Raspberry Pi
