Stupid watch
In the modern world, the prefix "smart" to seemingly ordinary things is increasingly common. All measure something, transmit, receive, process, notify and prompt. Soon, Bluetooth, Wi-Fi and a small controller, as well as a camera will be in every item.
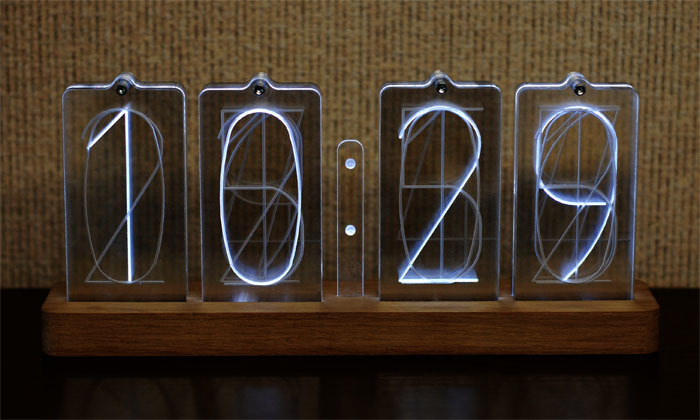
But I want to talk about how I made a watch, to which strict requirements were made - they should show time and ... no, that's all, they should show time. Although still a requirement, the numbers should be large enough and easy to read.
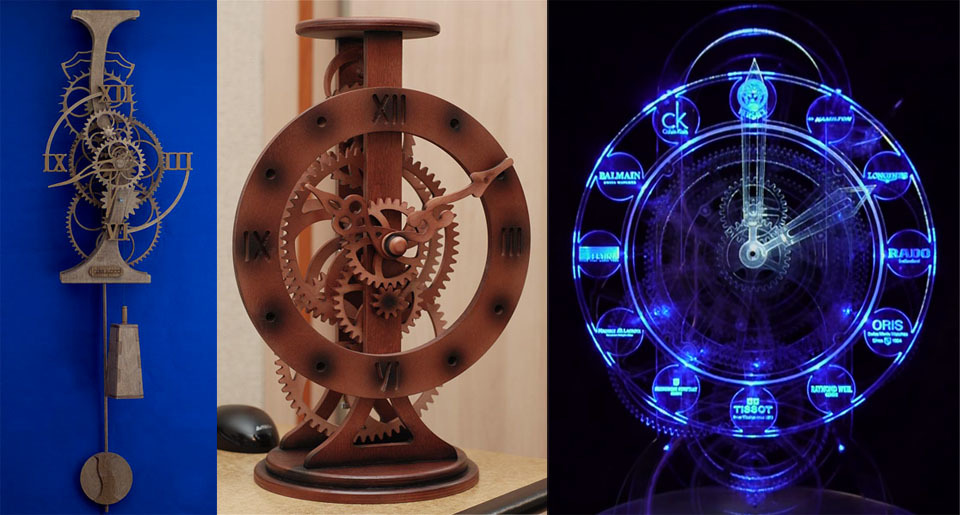
Incidentally, this was not my first research in the clock direction, it was the experience of designing and manufacturing mechanical watches with a gravity drive (a weight for simple), a desk clock with an electromagnetic drive of a pendulum and a clock on a stepper motor, but with an unusual design and an intentionally complicated mechanism.
It somehow happened that at home I look at time on a Chinese cube, and the clock on it constantly runs away, a shoemaker without boots, in a word. To buy a replacement was, in my opinion, a banal way out of the situation, so I decided to come up with something of my own.
I really like watches on gas-discharge indicators - lamps, but this promised a search for these same lamps, a high-voltage power supply and other uninteresting things for a person who is always eager to get the result as quickly as possible (3D printers print so slowly).
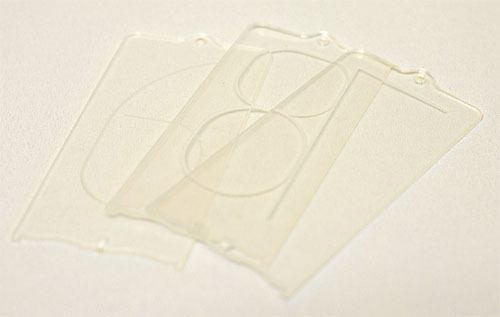
Gas-discharge indicators suggested the idea that each digit should be “drawn” in advance and that each digit should be able to shine separately. Thus, a sandwich of 10 layers of plexiglass was born, in which each layer has a separate digit and each layer from the end can be independently highlighted.
He experimented a bit with the method of applying numbers and preferred engraving with a mill to laser engraving. The die after the cutter looked more even and accurate.
Immediately the idea came up that it was necessary to make a separate, complete, independent unit with simple controls for each digit. For control, I decided to use the CD4017 decimal counter chip. It turned out that one digit is controlled by two legs of the controller, and four digits - by five. With one foot, we reset all the counters to zero, and then select the desired digit with the desired number of pulses.
It was decided to take power to all this economy from a regular USB charger, and connect diodes to each one through a resistor. We get ferric chloride from the closet ... The
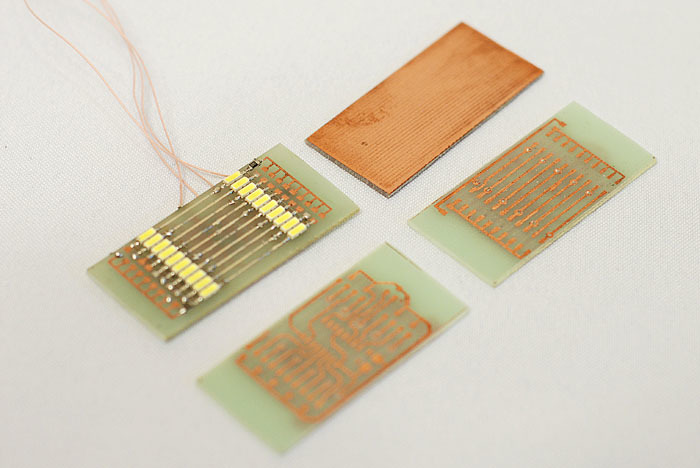
boards are ready, the hands itch, I soldered one board with narrow LEDs, put everything together in a heap on
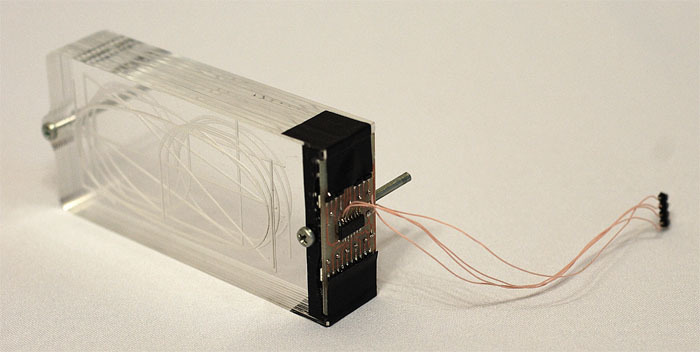
Connected to arduino, because I can blink LEDs, and lo and behold - it works!
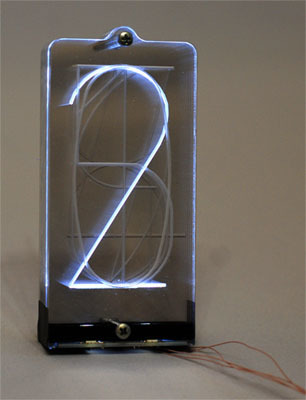
It remains to make 3 more digits and place it in the stand. Initially, in the design of the “numbers” I did not provide for fasteners, so I used hot-melt adhesive for fixing - not very technologically.

The photo shows that in dozens of hours and minutes not all transistors are soldered - this is because in the hours only the numbers 0, 1 and 2 are used, and in minutes 0-5. Later it was decided to add blinking dots between hours and minutes, so in the final version there is also a column with dots highlighted by a single LED.
The clock is controlled by the Arduino Nano board, to which the DS1307 real-time clock chip is connected. I made the time setting elementary: two buttons from the bottom, one of which brings the clock, the other minutes. I don’t want to show the final result “bottom view”, because I wanted to quickly get a ready-to-use product and spoiled my idea of modularity and manufacturability with breadboards on hotmelt adhesive and a cobweb of wires, but now I know the time in any corner of the room.
On the video, the feeling that the numbers are faint, but in reality, the time is perfectly read even when the sun shines through the windows. Photo with an SD card for scale.
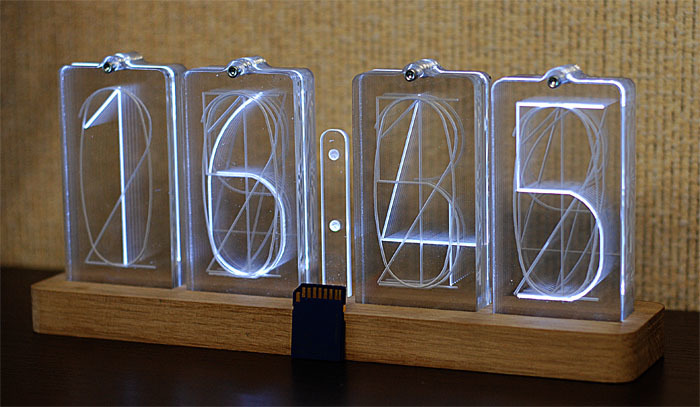
Now, in my plans, when nothing hurries me, to make the device more technological and solve a couple of issues that surfaced during the creation of the first model.
