May 4, 2017 at 05:39
The neuro-chicken house: part 1. Installing the Raspberry Pi and the camera in the chicken house and setting them up
- Tutorial

Big brother is watching you, bird!
Articles about the neuro-chicken house
- Intro about training yourself in neural networks
- Iron, software and config for monitoring chickens
- A bot that posts events from the life of chickens - without a neural network
- Layout of datasets
- Working model for chicken recognition in the chicken coop
- The result - a working bot that recognizes chickens in the chicken coop
The idea came a long time ago. Someone has thoughts of heating chicken coops with mincing cryptocurrencies using video cards (a cryptocurrency house), which is fine, no doubt, but someone has thoughts in recognizing images, sounds, in neural networks and their real application.
Once upon a time they read an article about a Japanese who helped his father sort cucumbers; decided that to analyze how the hens rush at our parents, sending them reports to the messenger - an idea from the fun.
In general, there are many plans. The fact that a stir has occurred near the nest may mean that the bird climbed into the nest or crawled out of it. This is easy to understand with openCV, and we already know how. Make it easy with this blog .
But what if we recognize each bird and analyze which one is not flying? Evaluate the productivity of each individual chicken? If the bird does not rush and has no other good reason to rest (for example, short daylight hours, molting), then maybe it's time to cook chicken soup?
Just imagine the message: “It seems to us that the bird ch11 is not rushing for no reason, maybe we need to consider its further fate.” And then it turns out that the ch11 bird is our old cat Cranberry, which simply lives with chickens.
Hackathon
The thought that all this sounds great was haunting. The first experience in detecting movement ( on cars outside the window ) went well, and now the equipment was idle. Everything always happens suddenly, so one fine Thursday I bought tickets for Friday night to my parents and flew over the weekend to set up data collection for the neuro-chicken house.
The main difficulty was the lack of a wired Internet and the fundamental impossibility of carrying it out (wilderness, what to do). But, when you don’t know what you are subscribing to, you hope for the best, yes.
In addition, there were no outlets in the chicken coop. By supplying light and an alarm, parents, of course, control the knife switches directly from home. My father responded to the request to implement a socket in the chicken coop, and she, in general, materialized there very quickly.
The main part of the equipment is the Raspberry Pi 3 and a camera board to it, a power source and a usb fan (because image processing without a fan heats the processor up to 80 degrees). In addition, someone had to provide pi with the Internet.
So, among the alternatives for the hotspot - 3g / 4g modem huavei, the old xperia on the android. The modem is good because it does not need a separate power source, but bad because it works out of the box only with Windows. There are, of course, articles about how to get it on Linux, but I didn’t want something.
In the conditions of a strictly limited time (there was a day left before departure), a telephone was selected.
The provider did not provide a static IP service in this region. IP turned out to be dynamic, which was decided to be fixed using a dynamic DNS service.
And suddenly (who would doubt it), it did not work. After all, IP is not just dynamic, it is gray dynamic. This means that it is impossible to reach it from the outside, the ports are closed.
At the same time, the Python script for capturing and transferring to the image server was sawn, but it was still raw.
In the meantime, half of the available time had already been spent.
A friend suggested that there is a wonderful thing, ssh back connect, which in general saved us from disappointment. There was very little time left, so I couldn’t fully understand how everything works, it was necessary that it worked at least somehow.
Just before departure, the crowns were set up with a ssh tunnel, a temperature measurement and an alarm for the post office, in which case, and the whole setup went to the chicken coop. With the Internet there is still bad, but it is. It turned out that it was dark enough and nothing was visible on the pictures. Father promised to set up the lighting as soon as he could. For the time being, the camera was turned off.
The main thing is that you could connect to pi from anywhere where the Internet was.
Setting Details
Slightly moving away from the hackathon - a march-throw, I undertook to tune this matter further. Reading guides (keyword permanent autossh), I tried to establish autossh instead reverse ssh, which is unstable and is supported by a crown. At first, nothing happened with autossh, I continued to use the first solution with the crown, but the problem with fertile connections forced me to make friends with autossh anyway.
To get things started, you just need to create an executable file (who does not know how, google create an executable file linux) on a remote device with a dynamic gray IP and add the following line:
/usr/bin/autossh -M 0 -o ServerAliveInterval=50 -o ServerAliveCountMax=2 -nNTf -R 2222:localhost:22 userB@hostB -p bbbb
In this line, 2222 can be replaced with any port you do not need, you need to replace userB with a user on your home server (that is, one that is not in the chicken coop), hostB with a host on your home server, bbbb is the port of your home server, if different from standard (22).
You can read about the command parameters yourself if you are interested or want to change something. Next, add the following line to the crown (crontab -e) (if you are unfamiliar with the crown, then here 1 2 3 4 a friend collected the input), which will run autossh when rebooting:
@reboot /path/to/script/autosshtunnel.sh
So now, if you are accessing the home server from another remote machine, make sure that the session does not break. That is, I go to the server from a laptop, and already from the server I knock on the chicken coop, in which case I prescribe the parameters for the eternal session when connecting to the server and when connecting to the chicken coop (raspberry).
This is done according to this pattern:
ssh -o TCPKeepAlive=yes -o ServerAliveInterval=50 [email protected]I connect to the system in the chicken house like this:
ssh -o TCPKeepAlive=yes -o ServerAliveInterval=50 sshuser@localhost -p 2222It was all about the possibility of a remote connection, now let's quickly talk about temperature alarms. To set up alarms for mail in debian systems like ubuntu and raspban - just follow this guide , you just need to install ssmtp and fix the config, that's all. The simplest script for an alarm about overheating on mail for raspban can look like this:
TEMPERATURE="$(/opt/vc/bin/vcgencmd measure_temp)"
NTEMPERATURE="$(echo $TEMPERATURE | tr -dc '0-9.')"
LIMIT="61.0"
if [ $(echo "$NTEMPERATURE > $LIMIT" | bc) -ne 0 ]; then
        echo "The critical CPU temperature has been reached $NTEMPERATURE" | sudo /usr/bin/ssmtp -vvv [email protected]
fi
Then it remains to pack this script into an executable file and drop it in crowns. Until it's hot, I execute the script every two minutes.
Now let's talk about the main script with which we collect images. We consider images conditionally useful if we notice movement. We will fasten analytics and recognition already on these images. A useful blog was mentioned above , from which we took the script as a basis, rewriting it a bit.
The guide itself already says what you need to work, but I repeat that you will need to make an OpenCV build . This can take a lot of time (in my case it took 5 hours). In addition to this, it is necessary to install other libraries, also mentioned there, for example, numpy, imutils - there were no pitfalls there.
We rewrote the main script to our needs and made the following changes:
- Changed Python 2 to Python 3
- instead of dropbox they used their server;
- original and compressed frame are saved.
The finished version of pi_surveillance.py looks like this (well, except that you need to do the removal of constants from the script in the config):
# import the necessary packages
import sys
sys.path.append('/usr/local/lib/python2.7/site-packages')
from pyimagesearch.tempimage import TempImage
from picamera.array import PiRGBArray
from picamera import PiCamera
import argparse
import warnings
import datetime
import imutils
import json
import time
import cv2
import os
# construct the argument parser and parse the arguments
ap = argparse.ArgumentParser()
ap.add_argument("-c", "--conf", required=True,
	help="path to the JSON configuration file")
args = vars(ap.parse_args())
# filter warnings, load the configuration and check if we are going to use server
warnings.filterwarnings("ignore")
conf = json.load(open(args["conf"]))
client = None
if conf["use_server"]:
	#we do not use Dropbox
	print("[INFO] you are using server")
# initialize the camera and grab a reference to the raw camera capture
camera = PiCamera()
camera.resolution = tuple(conf["resolution"])
camera.framerate = conf["fps"]
rawCapture = PiRGBArray(camera, size=tuple(conf["resolution"]))
# allow the camera to warmup, then initialize the average frame, last
# uploaded timestamp, and frame motion counter
print("[INFO] warming up...")
time.sleep(conf["camera_warmup_time"])
avg = None
lastUploaded = datetime.datetime.now()
motionCounter = 0
# capture frames from the camera
for f in camera.capture_continuous(rawCapture, format="bgr", use_video_port=True):
	# grab the raw NumPy array representing the image and initialize
	# the timestamp and occupied/unoccupied text
	frame = f.array
	timestamp = datetime.datetime.now()
	text = "Unoccupied"
	# resize the frame,
	frame = imutils.resize(frame, width=1920)
	frameorig = imutils.resize(frame, width=1920)
	# convert it to grayscale, and blur it
	gray = cv2.cvtColor(frame, cv2.COLOR_BGR2GRAY)
	gray = cv2.GaussianBlur(gray, (21, 21), 0)
	# if the average frame is None, initialize it
	if avg is None:
		print("[INFO] starting background model...")
		avg = gray.copy().astype("float")
		rawCapture.truncate(0)
		continue
	# accumulate the weighted average between the current frame and
	# previous frames, then compute the difference between the current
	# frame and running average
	cv2.accumulateWeighted(gray, avg, 0.5)
	frameDelta = cv2.absdiff(gray, cv2.convertScaleAbs(avg))
	# threshold the delta image, dilate the thresholded image to fill
	# in holes, then find contours on thresholded image
	thresh = cv2.threshold(frameDelta, conf["delta_thresh"], 255,
		cv2.THRESH_BINARY)[1]
	thresh = cv2.dilate(thresh, None, iterations=2)
	cnts = cv2.findContours(thresh.copy(), cv2.RETR_EXTERNAL, cv2.CHAIN_APPROX_SIMPLE)
	cnts = cnts[0] if imutils.is_cv2() else cnts[1]
	# loop over the contours
	# check if there is at least one contour, which is large enough
	# I know this isn't the best practice
	# I know about bool variables
	# I know about other things too. I just don't actually care
	# Yes, I am a liar, 'cause if I did not care,
	# I wouldn't write anything of those ^
	for c in cnts:
		# if the contour is too small, ignore it
		if cv2.contourArea(c) < conf["min_area"]:
			continue
		text = "Occupied"
		print("[INFO] room is occupied, motion counter is {mc}".format(mc=motionCounter))
	# initiate timestamp
	ts = timestamp.strftime("%A-%d-%B-%Y-%I:%M:%S%p")
	ts1 = timestamp.strftime("%A-%d-%B-%Y")
	# let's create paths on a server
	pathorig = "{base_path}/{timestamp}/origs".format(
		base_path=conf["server_base_path"], timestamp=ts1)
	pathres = "{base_path}/{timestamp}/res".format(
		base_path=conf["server_base_path"], timestamp=ts1)
	os.system('ssh -p bbbb "%s" "%s %s"' % ("userB@hostB", "sudo mkdir -p", pathorig))
	os.system('ssh -p bbbb "%s" "%s %s"' % ("userB@hostB", "sudo mkdir -p", pathres))
	# upload images on a server
	if (text == "Occupied"):
		motionCounter += 1
		if motionCounter >= conf["min_motion_frames"] and (timestamp - lastUploaded).seconds >= conf["min_upload_seconds"]:
			print("[INFO] time to upload, motion counter is {mc}".format(mc=motionCounter))
			# upload original
			t = TempImage()
			cv2.imwrite(t.path, frameorig)
			os.system('scp -P bbbb "%s" "%s:%s"' % (t.path, "userB@hostB", pathorig))
			t.cleanup()
			# upload resized image of 512 px
			framec = imutils.resize(frame, width=512)
			tc = TempImage()
			cv2.imwrite(tc.path, framec)
			os.system('scp -P bbbb "%s" "%s:%s"' % (tc.path, "userB@hostB", pathres))
			tc.cleanup()
			#reset motionCounter
			motionCounter = 0
			lastUploaded = datetime.datetime.now()
	# otherwise, the room is not occupied
	else:
		motionCounter = 0
	# check to see if the frames should be displayed to screen
	if conf["show_video"]:
		# display the security feed
		cv2.imshow("Security Feed", frame)
		key = cv2.waitKey(1) & 0xFF
		# if the `q` key is pressed, break from the loop
		if key == ord("q"):
			break
	# clear the stream in preparation for the next frame
	rawCapture.truncate(0)
What our config looks like now:
{
        "show_video": false,
        "use_server": true,
        "server_base_path": "/media/server/PIC_LOGS",
        "min_upload_seconds": 1.0,
        "min_motion_frames": 3,
        "camera_warmup_time": 2.5,
        "delta_thresh": 5,
        "resolution": [1920, 1080],
        "fps": 16,
        "min_area": 6000
}
And so - tempimage.py:
# import the necessary packages
import uuid
import os
import datetime
class TempImage:
        def __init__(self, basePath="./temps", ext=".jpg"):
                # construct the file path
                timestamp = datetime.datetime.now()
                ts = timestamp.strftime("-%I:%M:%S%p")
                self.path = "{base_path}/{rand}{tmstp}{ext}".format(base_path=basePath,
                        rand=str(uuid.uuid4())[:8], tmstp=ts, ext=ext)
        def cleanup(self):
                # remove the file
                os.remove(self.path)
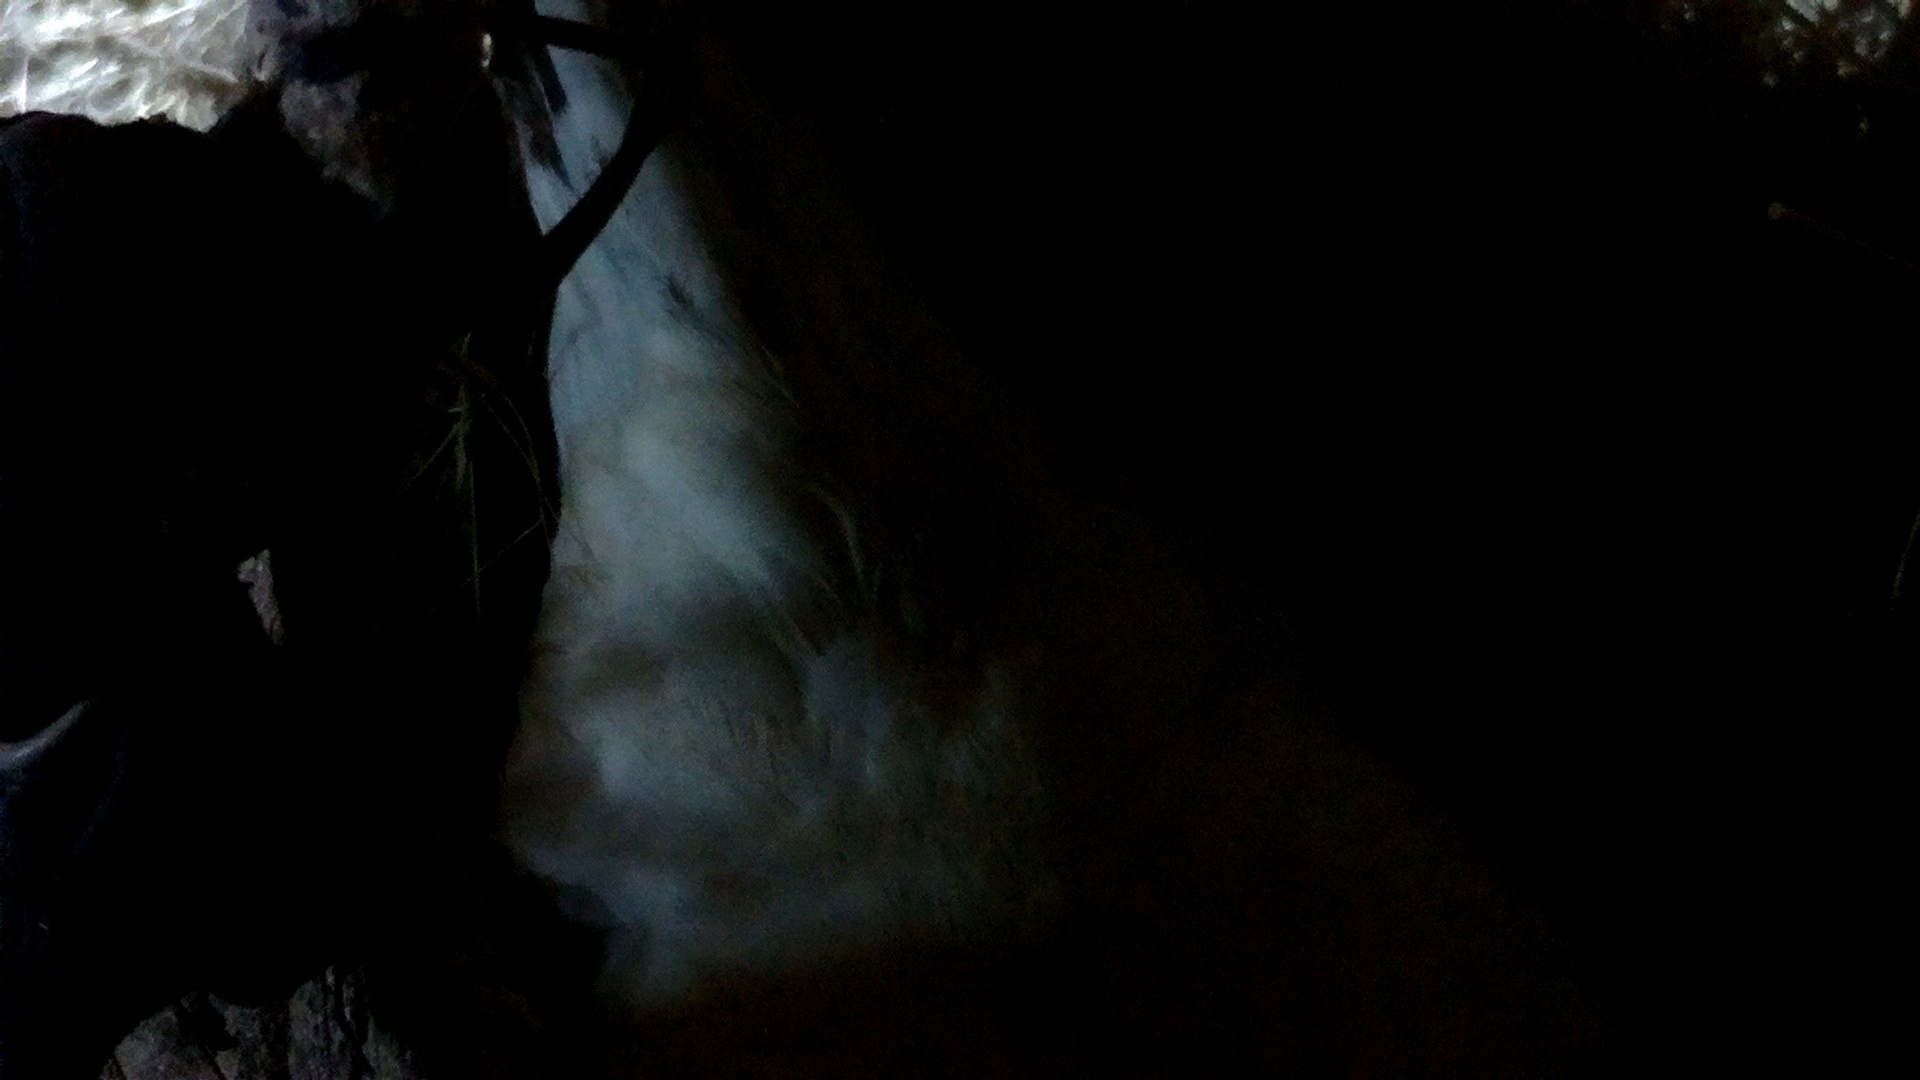
The first image received was the image of a chicken tail in a nest. A great May gift for an introvert through life, which in good weather stares at the console. The image really pleased, despite the darkness, the lack of a bird's head in the frame and the lack of customization of the script. This is a chicken tail ( Just think, a thousand kilometers from you, a chicken crawled into a nest, not suspecting that you were watching it. ):
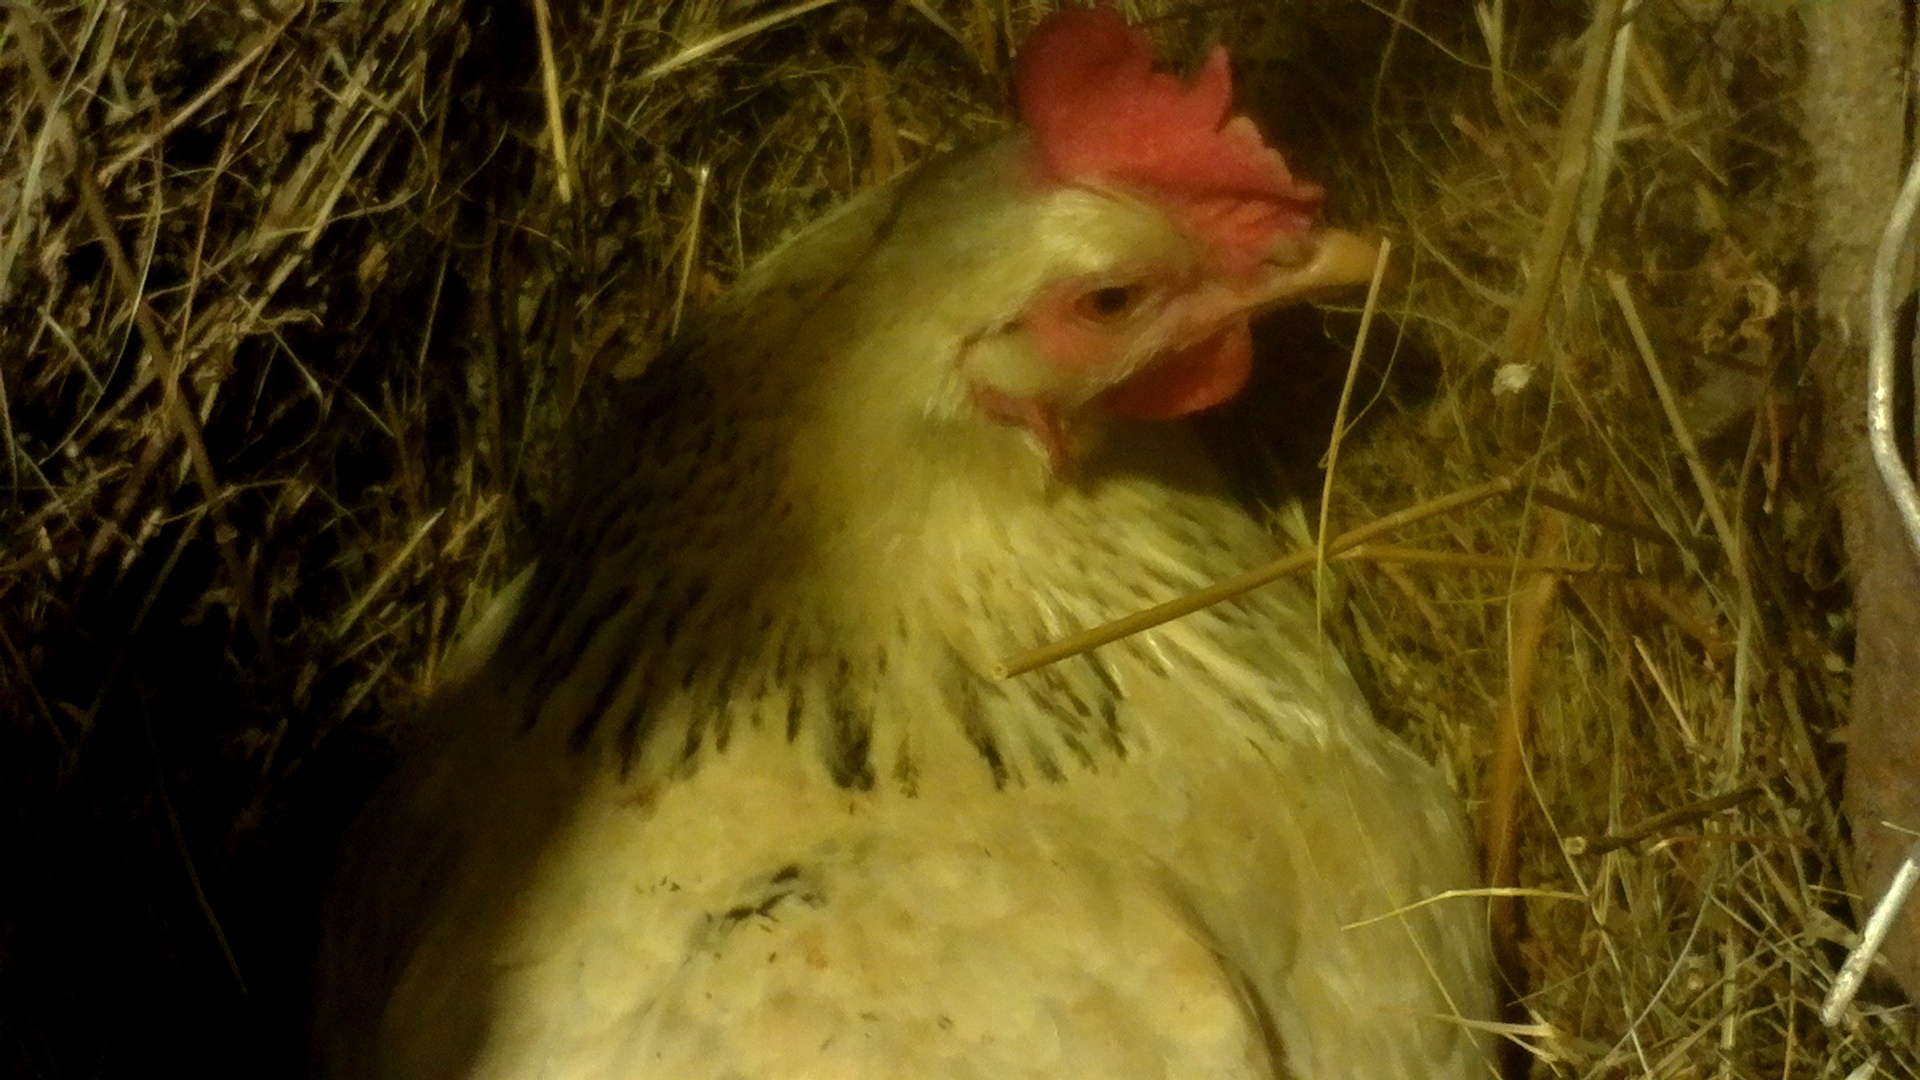
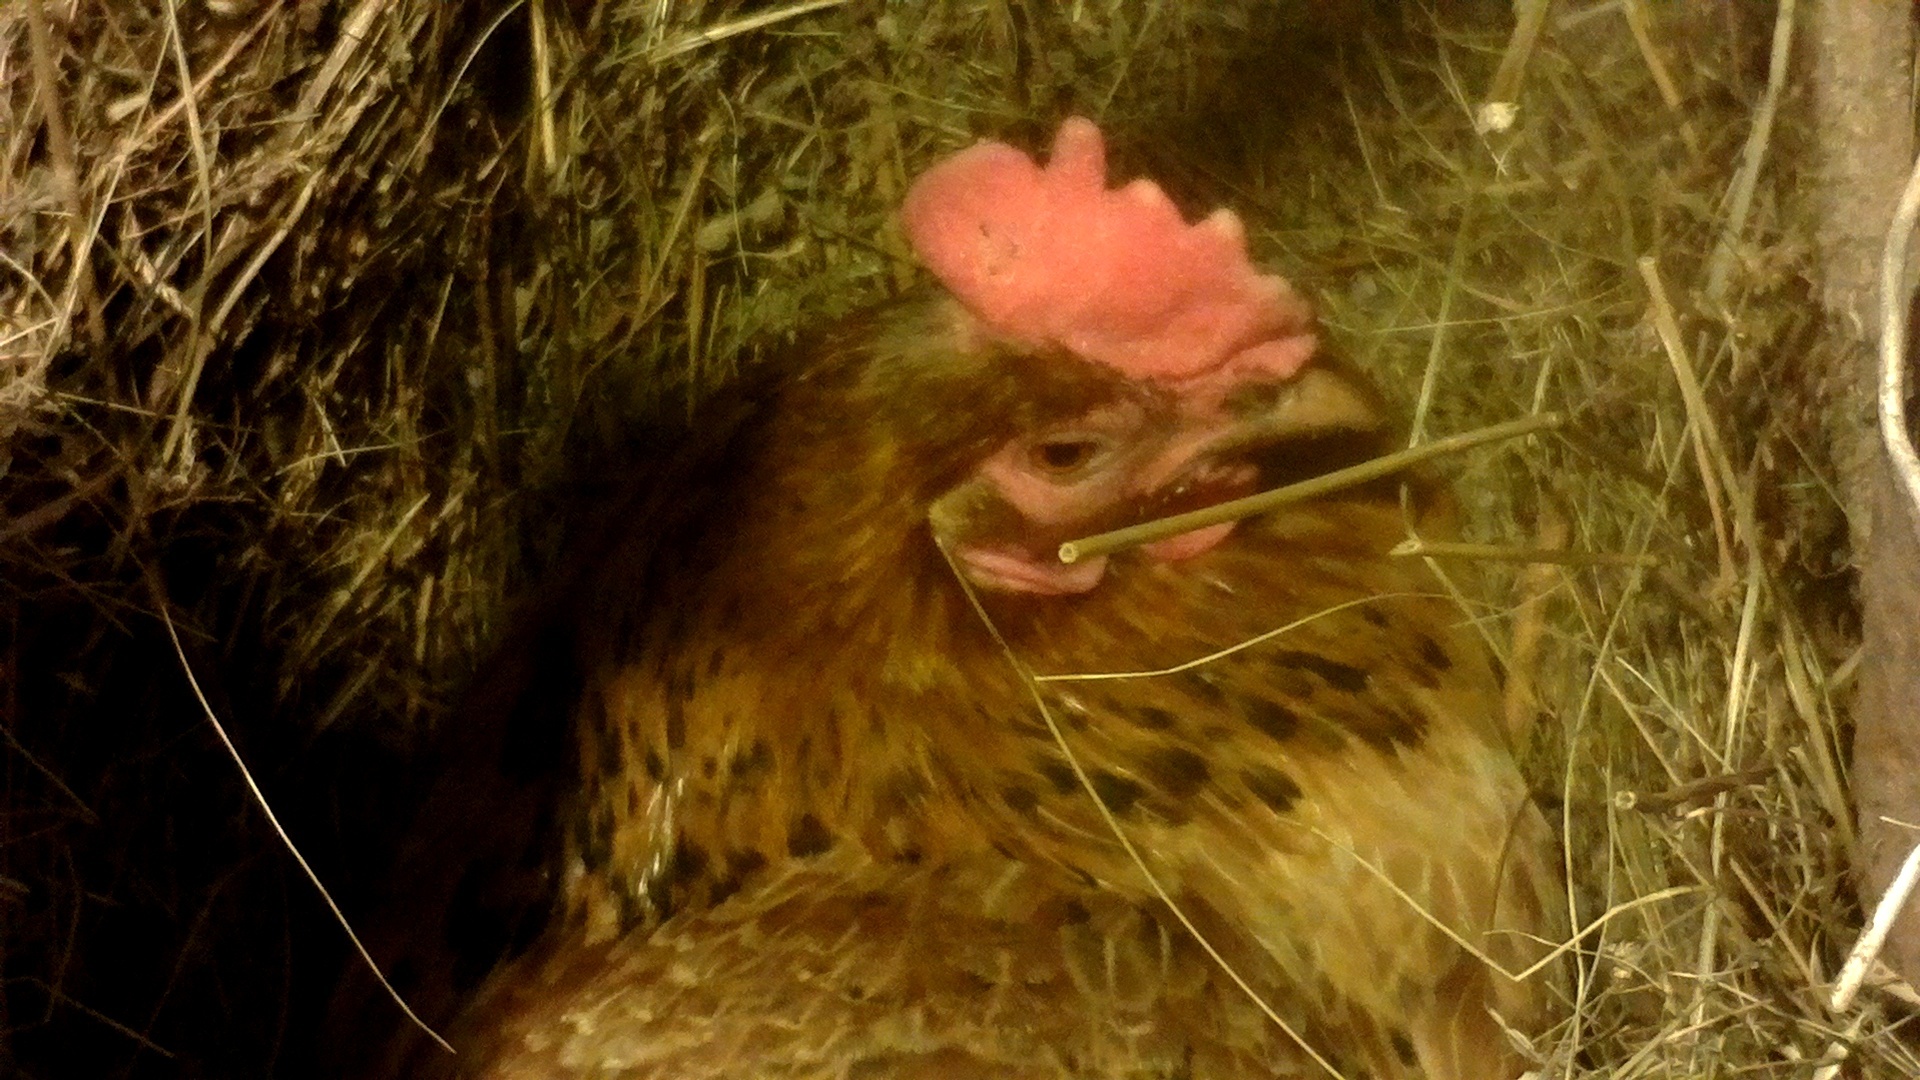
Then the lighting was set up, and I got noticeably more inspiring photos.
The script is launched taking into account the fact that OpenCV is installed in the virtual working environment cv, like this (we would also have to figure out how to correctly send this to the background):
source ~/.profile
workon cv
cd ~/chickencoop
python3 /home/sshuser/chickencoop/pi_surveillance.py --conf conf.json
To be continued...