 February 21, 2017 at 10:16
Animation Optimization in Unity3D
Using time-lapse animations in Unity3D
Surely you noticed that creating a new animation in Unity 5 immediately placed a link to the sprite component SpriteRenderer . Unity calls to select the prepared frames and drag them into the Animation window .
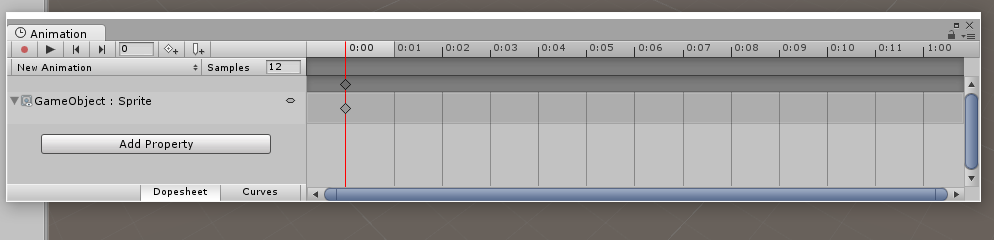
A couple of mouse movements and a new animation decorates your game. But for 1 second of the video you need 12 - 30 frames. And if a character performs dozens of different movements: runs, reads, plants, watered, plays, sunbathes, etc., then the duration of all animations exceeds one minute, and frames a thousand. And the character is not the only animated object on the level. So we got that a not-so-complicated scene takes longer than a minute to load, and Unitystarts to fly due to RAM overrun. Yes, of course, it is possible to pack sprites into atlases using the Unity SpritePacker built-in , but this gives only insignificant results and performance improvements by 10 - 20%.
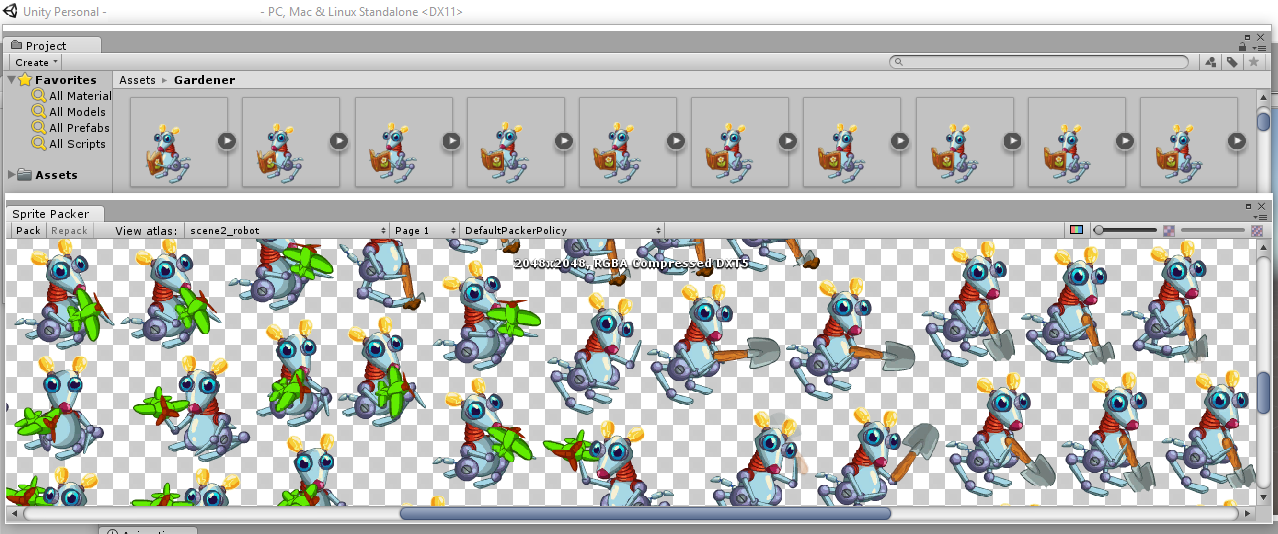
Replacing frame-by-frame skeletal animations
To achieve more tangible results, we decided to replace frame-by-frame animations with skeletal ones. Instead of the rectangle on which the sprite is drawn, a more complex model is created, on which parts of the character from the atlas are drawn.

Animation is obtained due to the movements of this model. Do not be alarmed, in fact, everything is simple! There are several tools for creating skeletal 2d animations for units: Spine's , DragonBones , Anima2D , as Adobe the Flash , and others.
Since our artist did all the animations in Flash, GAF was the best for us .
Import animations from Flash to Unity3D
- Import GAF from Unity AssetStore ;
- Drag the * .swf file into the converter window;
- Create an object and configure it. All settings are intuitive:
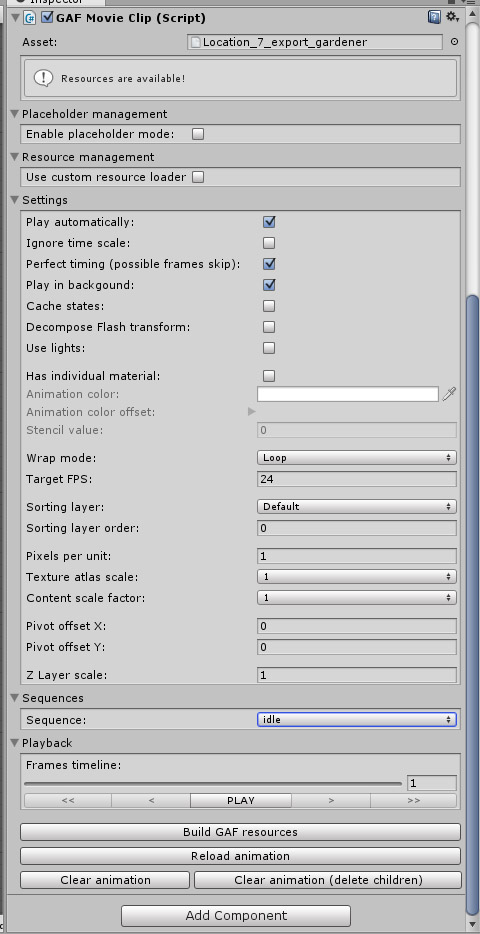
Animations are created automatically, according to the markup made in Flash .
To start the necessary animations we use scripting:
using UnityEngine;
using GAF.Core;//Используем пространство имен GAF
public class Mouse : MonoBehaviour
{
  //Объявляем и проставляем в инспекторе ссылку
  [SerializeField] private GAFMovieClip GAFMovieClip;
  void Update ()
  {
    if (Input.GetKeyDown(KeyCode.RightArrow))//При нажатии кнопки "вправо"
      GAFMovieClip.setSequence("run", true);//Запускаем клип run циклично
  }
}
Customizing transitions in Unity Animator
In the Pro version of GAF , it is possible to use the native Unity animator, which will make development much easier. However, we must remember that our type of animation does not support mixing. Unity enables clip mixing by default. So with us animations can be distorted at the transitions between clips. To make the animations work smoothly, disable the mixing of clips:

Editing Animated Clips
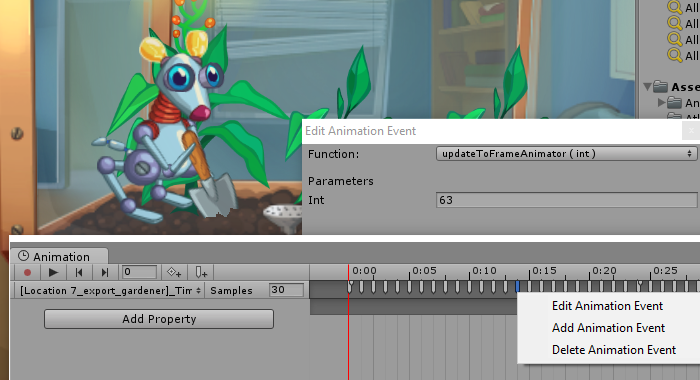
If it turns out that you did not create the necessary clips in Flash, you can assemble them directly in Unity by calling the updateToFrameAnimator () function and specifying the desired frame as a parameter.
Summary:
So replacing frame-by-frame animations with animations created in Flash , the loading time of scenes was reduced by 10 times! Accordingly, the consumption of RAM was significantly reduced.
Useful links:
Video tutorial “Using Flash animations in Unity3D”
GAF: import Flash animations in Unity3d









