Android widget development to display bitcoin exchange rate
Tutorial
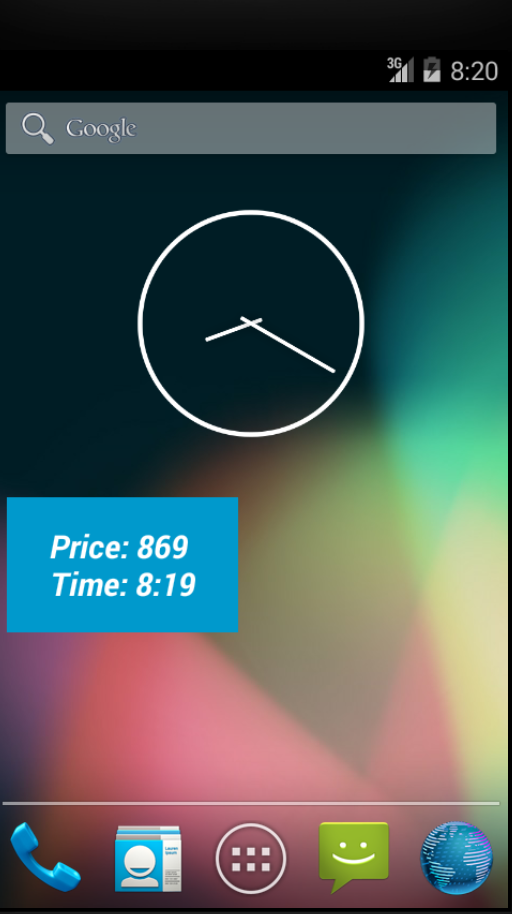
Hello harachtochitory! Background: I have recently been tracking the growth of the bitcoin (BTC) cryptocurrency rate. Previously, I looked at the website of some exchange to view quotes, but it’s much more convenient to have a small widget on the smartphone’s working screen that displays the latest information.
On the markets there are a bunch of various widgets showing cryptocurrency rates. But it’s much more interesting to create something of your own. In this article, I will briefly describe my experience in creating a widget for a gadget running Android OS.
To understand the material of the article, an initial introduction to Java and Android development in the Android Studio IDE is desirable. If not, go here: Android developers .
My small widget will display the price of bitcoin in dollars and the time for which this price is relevant. Information will be downloaded from the Russian-speaking exchange BTC-e , since this platform gives the course in a convenient JSON format in response to a get request at url btc-e.nz/api/3/ticker/btc_usd .
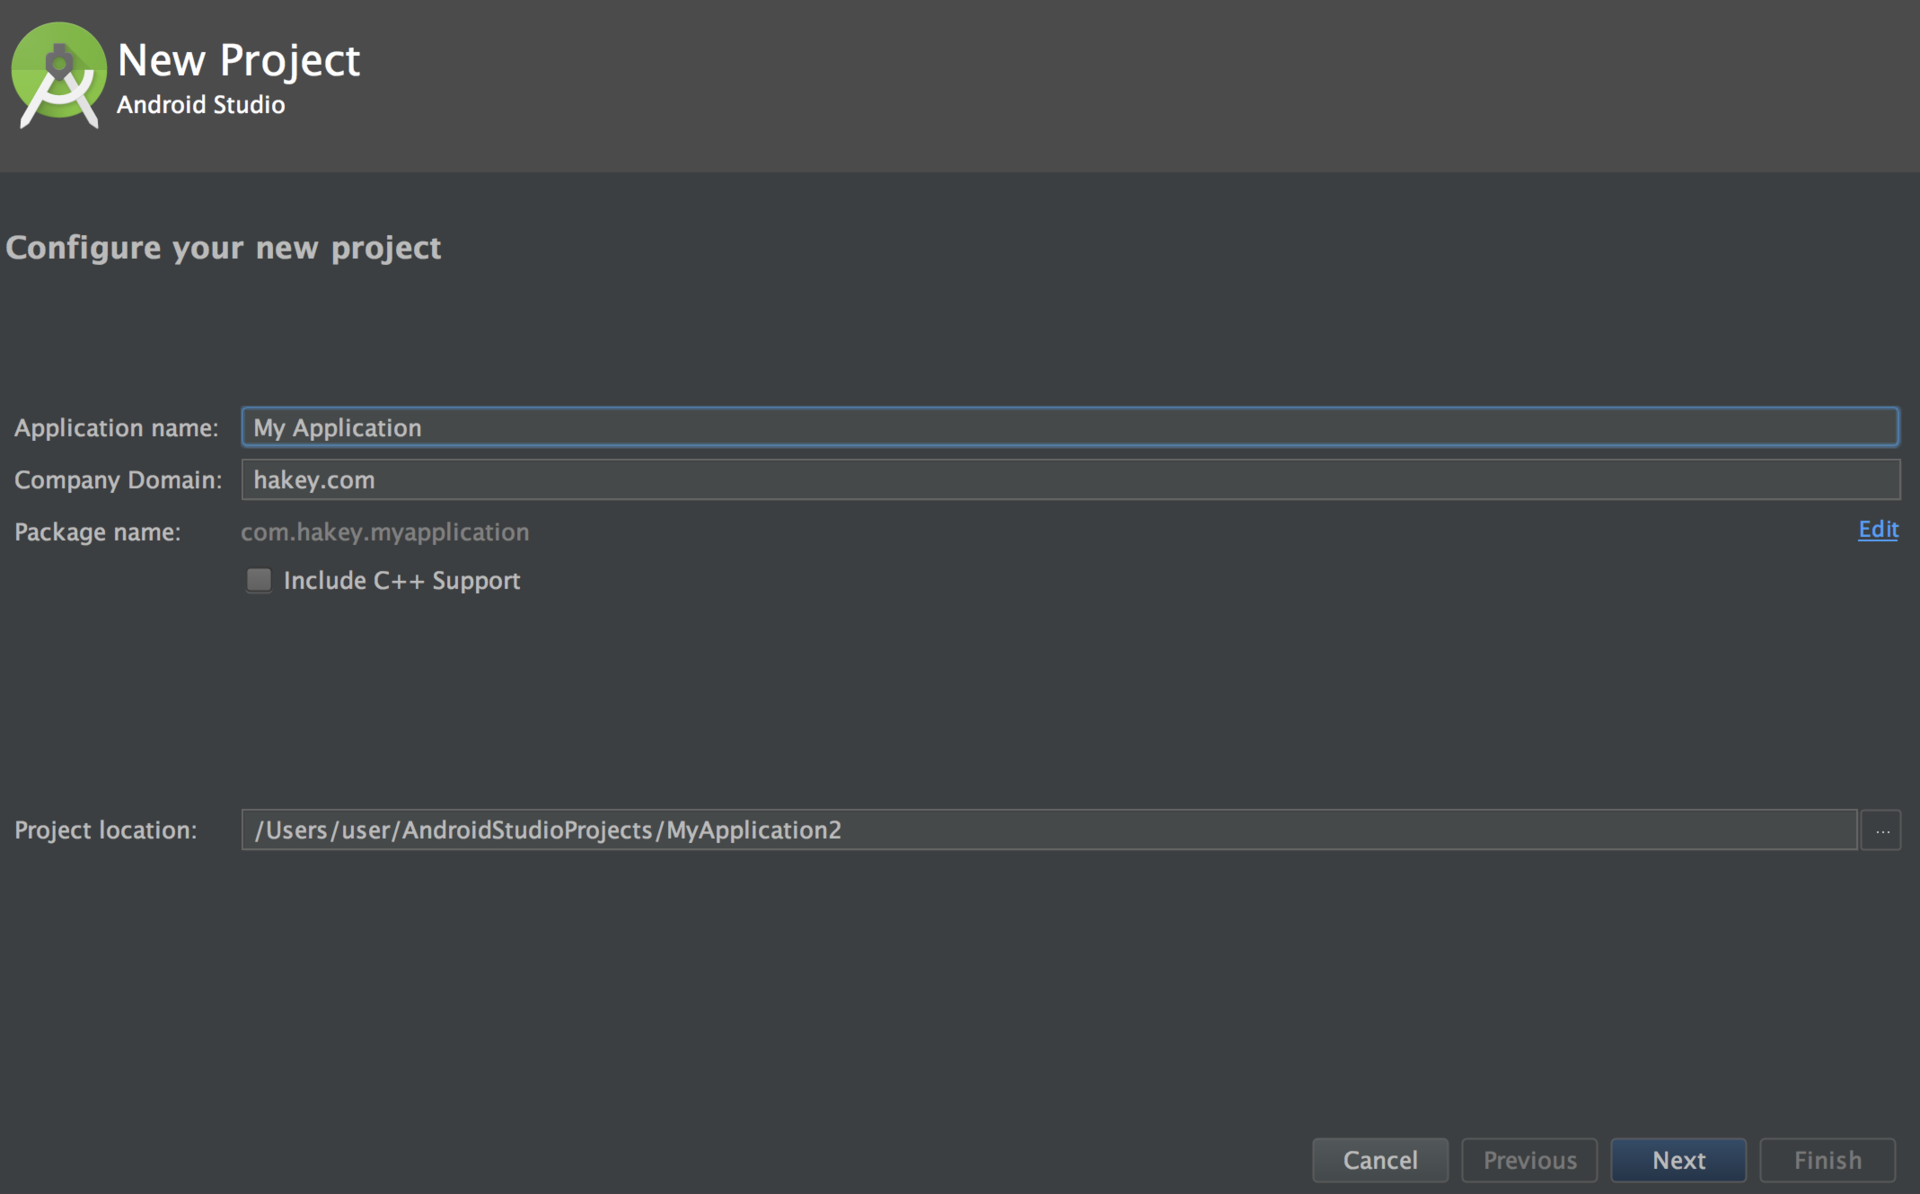
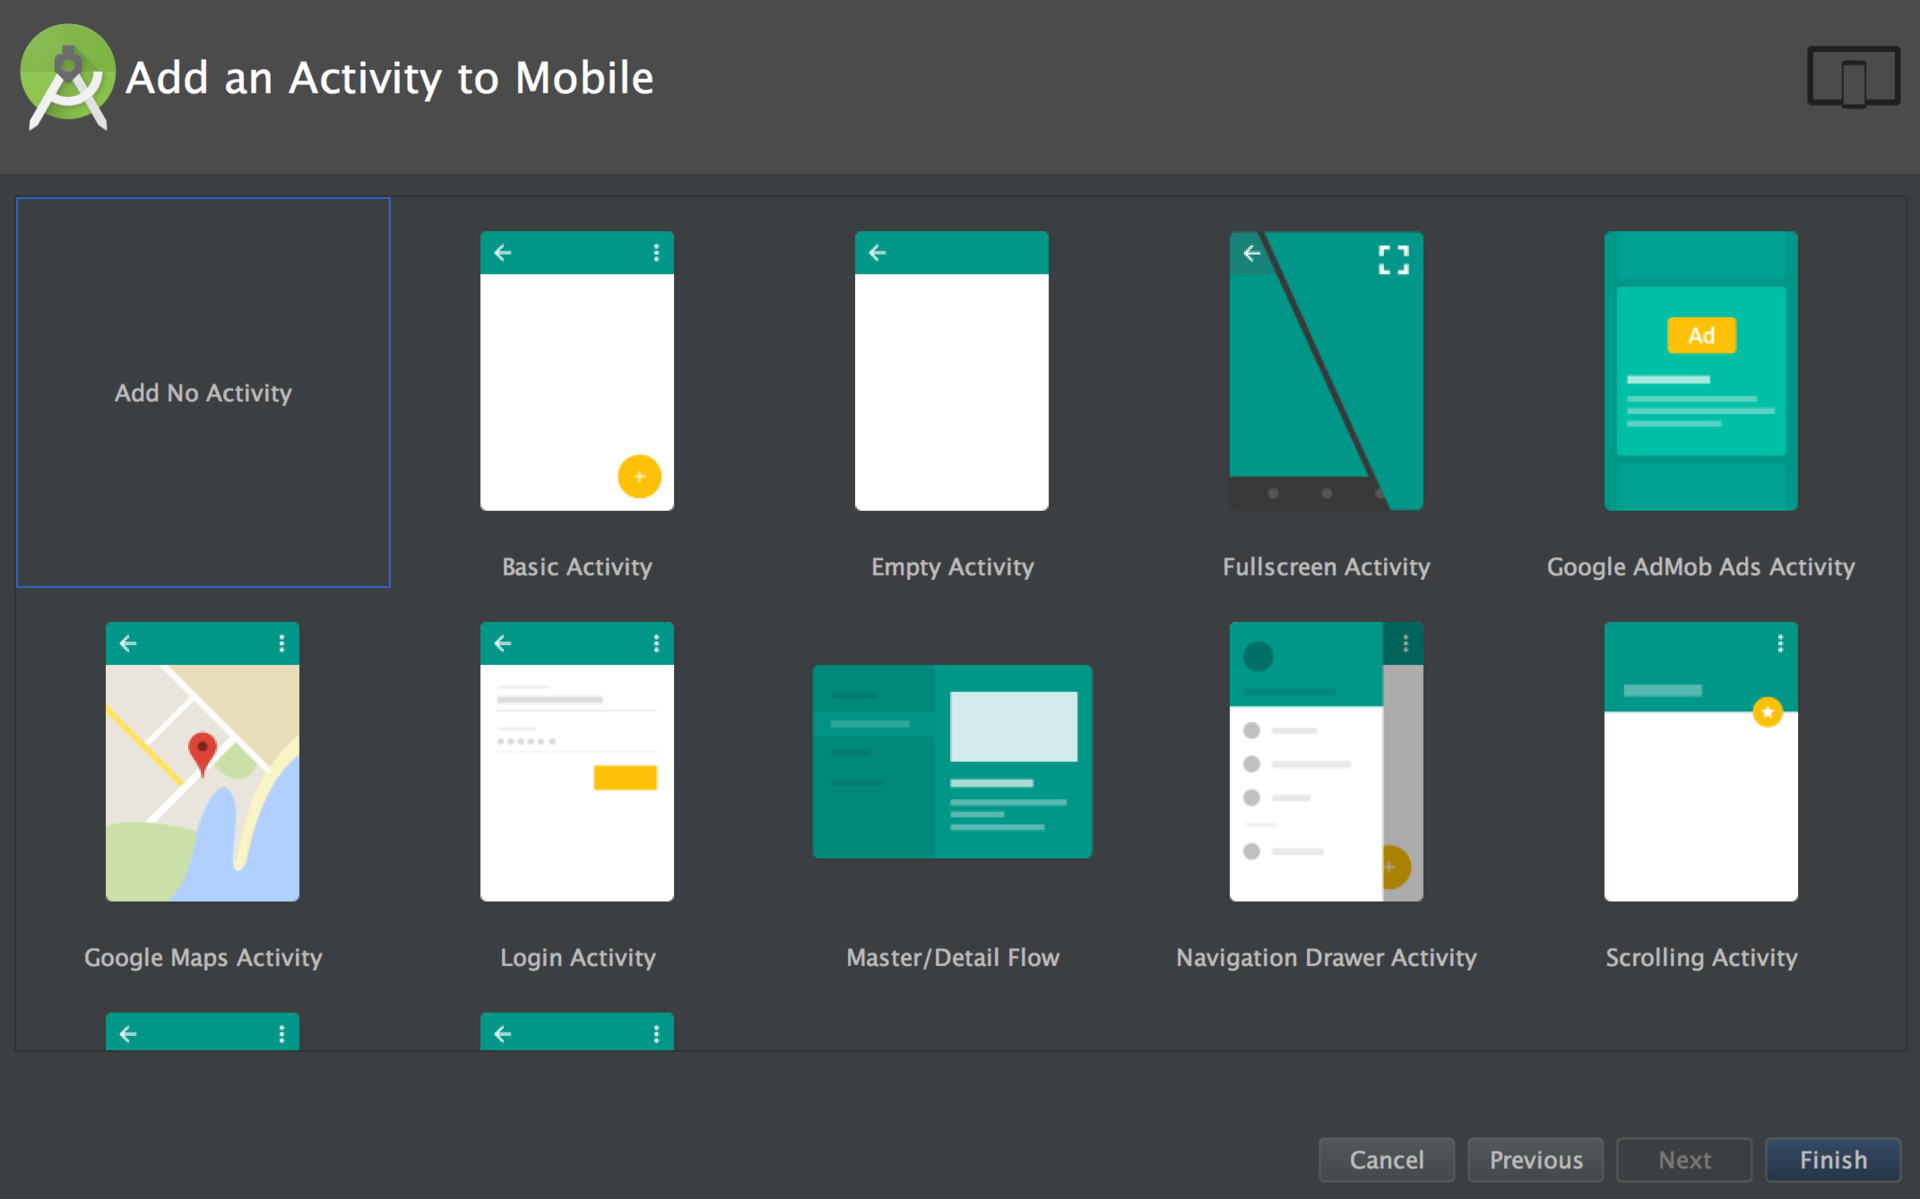
So, to start development, create a new project in the IDE using a suitable template. Select "Start a new Android Studio project", then enter the name and location of the project, select the target device and version of the API, then the "Add no activity" item is needed.
Screenshots
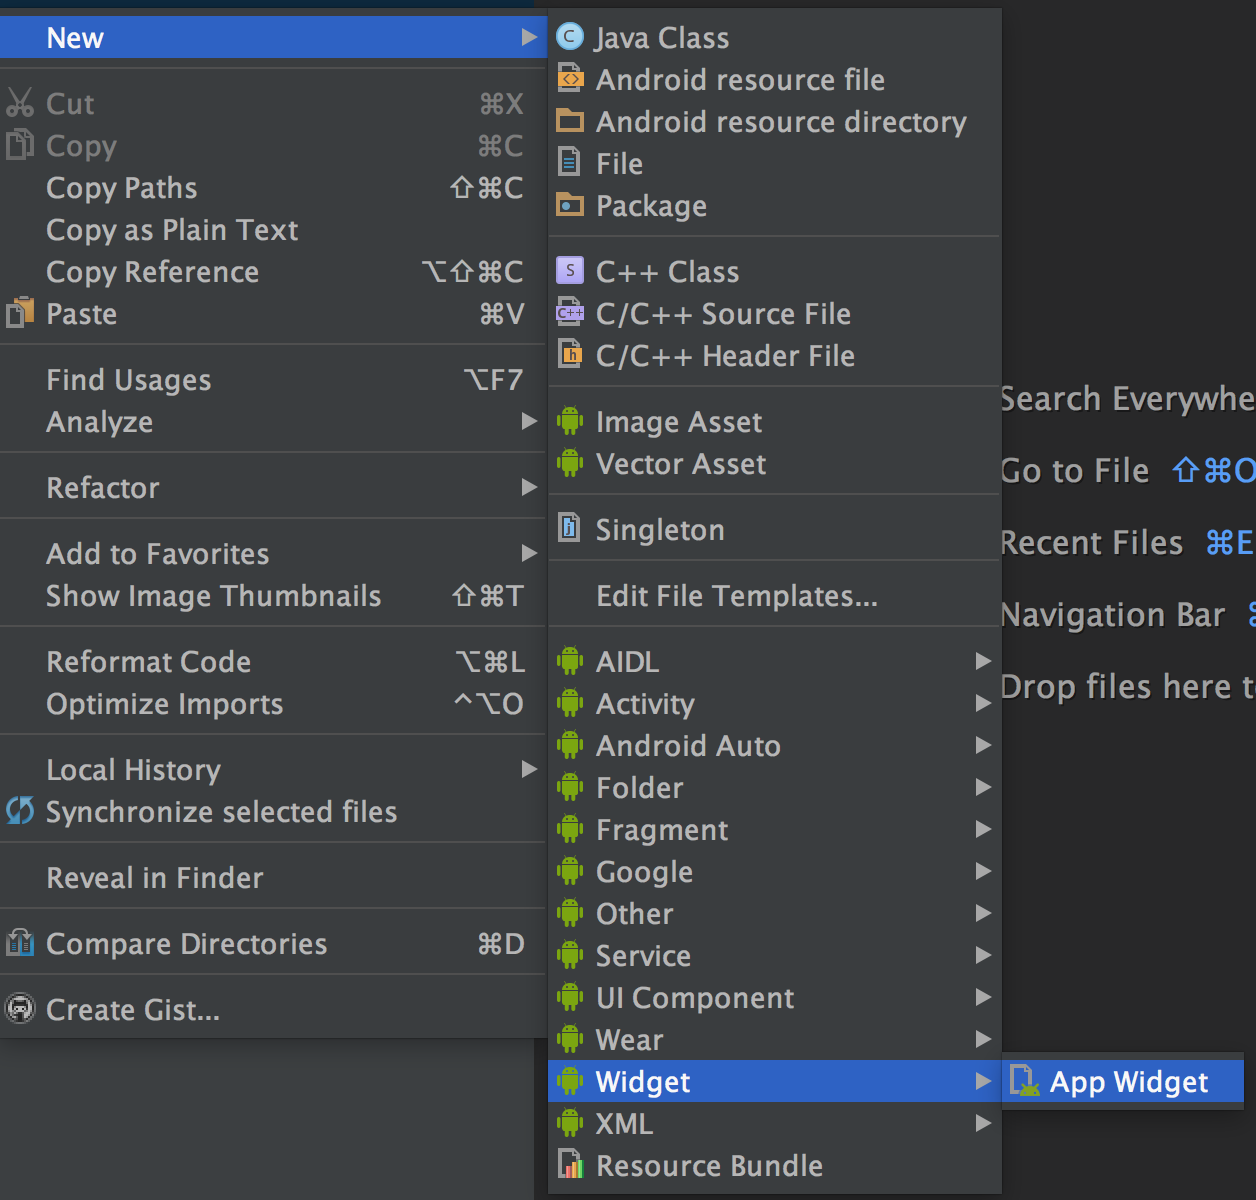
After the IDE workspace opens, create an empty widget using the built-in templates. To do this, in the project file tree, call the context menu on the app folder and select New → Widget → App Widget.
Screenshot
Several files will be created, of which three are of particular interest.
The first is an xml file (res → xml → btcwidget_info.xml) with the main widget parameters:
The initialLayout parameter specifies the name of the xml file with visual markup for the widget. minHeight and min-Width are the minimum sizes of the added widget, updatePeriodMillis is the time for information to be updated in ms, but not more than once every half an hour (the 10 ms parameter is still perceived as a minimum 30 minutes).
The second xml-file (res → layout → btcwidget.xml) contains the parameters for the visual display of the widget (markup of visual elements).
It contains a description of one visual TextView element inside the RelativeLayout ( Layouts ) markup :
The most interesting is the third file with the widget source code template in the java language. In this form, the template does not carry a functional load, however, from the comments of the code you can understand which method is executed when and for which it is responsible:
Widget code template
/**
 * Implementation of App Widget functionality.
 */
public class BTCWidget extends AppWidgetProvider {
      static void updateAppWidget(Context context, AppWidgetManager appWidgetManager,
                                int appWidgetId) {
        CharSequence widgetText = context.getString(R.string.appwidget_text);
        // Construct the RemoteViews object
        RemoteViews views = new RemoteViews(context.getPackageName(), R.layout.btcwidget);
        views.setTextViewText(R.id.appwidget_text, widgetText);
        // Instruct the widget manager to update the widget
        appWidgetManager.updateAppWidget(appWidgetId, views);
    }
    @Override
    public void onUpdate(Context context, AppWidgetManager appWidgetManager, int[] appWidgetIds) {
        // There may be multiple widgets active, so update all of them
        for (int appWidgetId : appWidgetIds) {
            updateAppWidget(context, appWidgetManager, appWidgetId);
        }
    }
    @Override
    public void onEnabled(Context context) {
        // Enter relevant functionality for when the first widget is created
    }
    @Override
    public void onDisabled(Context context) {
        // Enter relevant functionality for when the last widget is disabled
    }
}
It is worth saying right away that the Android OS allows you to create a large number of instances of our widget and their behavior will be completely described by the above code. For a deeper understanding of the behavior and life cycle of widgets, I recommend that you read the Android Widget article . Below in the comments of the code I will explain only some points.
Faced the following difficulty: the system allows the widget to be updated (using the updateAppWidget method) no more than once every 30 minutes for reasons of battery saving. But I wanted to be able to update the data at the right time and I found a way around this limitation. To do this, the widget was programmed to force update by clicking on it. I implemented this action as follows: by clicking on the widget, an Intent is sent to the system, which is caught by the widget itself and processed by the data update launch. If someone knows the way easier - I will be glad to advice in the comments.
Added widget source code
/**
 * Implementation of App Widget functionality.
 */
public class BTCwidget extends AppWidgetProvider {
    private static final String SYNC_CLICKED    = "btcwidget_update_action";
    private static final String WAITING_MESSAGE = "Wait for BTC price";
    public static final int httpsDelayMs = 300;
    //этот метод выполняется, когда пора обновлять виджет
    static void updateAppWidget(Context context, AppWidgetManager appWidgetManager,
                                int appWidgetId)  {
        //Объект RemoteViews дает нам доступ к отображаемым в виджете элементам:
        RemoteViews views = new RemoteViews(context.getPackageName(), R.layout.btcwidget);
        //в данном случае - к TextView
        views.setTextViewText(R.id.appwidget_text, WAITING_MESSAGE);
        appWidgetManager.updateAppWidget(appWidgetId, views);
        String output;
        //запускаем отдельный поток для получения данных с сайта биржи
        //в основном потоке делать запрос нельзя - выбросит исключение
        HTTPRequestThread thread = new HTTPRequestThread();
        thread.start();
        try {
            while (true) {
                Thread.sleep(300);
                if(!thread.isAlive()) {
                    output = thread.getInfoString();
                    break;
                }
            }
        } catch (Exception e) {
            output = e.toString();
        }
       //выводим в виджет результат
        views.setTextViewText(R.id.appwidget_text, output);
        // Instruct the widget manager to update the widget
        appWidgetManager.updateAppWidget(appWidgetId, views);
    }
    @Override
    public void onUpdate(Context context, AppWidgetManager appWidgetManager, int[] appWidgetIds) {
        RemoteViews remoteViews;
        ComponentName watchWidget;
        remoteViews = new RemoteViews(context.getPackageName(), R.layout.btcwidget);
        watchWidget = new ComponentName(context, BTCwidget.class);
        //при клике на виджет в систему отсылается вот такой интент, описание метода ниже
        remoteViews.setOnClickPendingIntent(R.id.appwidget_text,   getPendingSelfIntent(context, SYNC_CLICKED));
        appWidgetManager.updateAppWidget(watchWidget, remoteViews);
        //обновление всех экземпляров виджета
         for (int appWidgetId : appWidgetIds) {
            updateAppWidget(context, appWidgetManager, appWidgetId);
        }
    }
   //этот метод ловит интенты, срабатывает когда интент создан нажатием на виджет и
  //запускает обновление виджета
   @Override
    public void onReceive(Context context, Intent intent) {
        super.onReceive(context, intent);
        if (SYNC_CLICKED.equals(intent.getAction())) {
            AppWidgetManager appWidgetManager = AppWidgetManager.getInstance(context);
            RemoteViews remoteViews;
            ComponentName watchWidget;
            remoteViews = new RemoteViews(context.getPackageName(), R.layout.btcwidget);
            watchWidget = new ComponentName(context, BTCwidget.class);
            remoteViews.setTextViewText(R.id.appwidget_text, WAITING_MESSAGE);
            //updating widget
            appWidgetManager.updateAppWidget(watchWidget, remoteViews);
            String output;
            HTTPRequestThread thread = new HTTPRequestThread();
            thread.start();
            try {
                while (true) {
                    Thread.sleep(httpsDelayMs);
                    if(!thread.isAlive()) {
                        output = thread.getInfoString();
                        break;
                    }
                }
            } catch (Exception e) {
                output = e.toString();
            }
            remoteViews.setTextViewText(R.id.appwidget_text, output);
            //widget manager to update the widget
            appWidgetManager.updateAppWidget(watchWidget, remoteViews);
        }
    }
    //создание интента
    protected PendingIntent getPendingSelfIntent(Context context, String action) {
        Intent intent = new Intent(context, getClass());
        intent.setAction(action);
        return PendingIntent.getBroadcast(context, 0, intent, 0);
    }
}