Platypus and Packages. We create and install programs on macOS
It is often necessary to compile Python code into an application for Windows, Linux, or OS X. Yes, there are indeed many packages for this, such as cross-platform cx_Freeze and PyInstaller , as well as separate py2exe and py2app . But for macOS, it’s possible to avoid the hassle of creating an installation file.
I must say that unlike Windows, a program on MacOS is just a folder with the extension .app, but the installer has the extension .pkg .
Create a program
To create a program from a script, use the Platypus program . This is a free, open-source program distributed under the BSD license. This is the
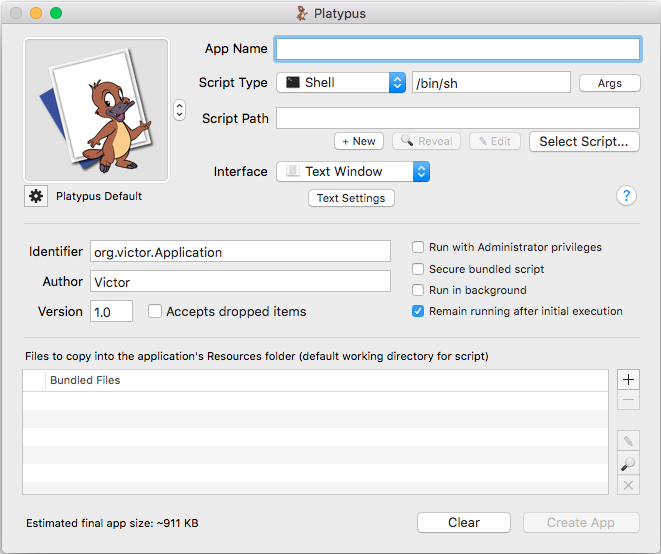
- In the App Name field, specify the name of the application, this is how the program will be displayed in the list of programs and Launchpad.
- The script type is indicated in the Script Type drop-down list , in our case it is Python, you can specify the path to the compiler, if, for example, there are several of them on the computer.
- In the Script Path field, you can create your own new script (the “+ New” button), or you can select a ready-made script (the “Select Script” button).
- In the Interface drop-down list, you can select the type of application, if you have a console application that does not require user input, I recommend choosing Text Window.
- To the left of the above fields, there is a field for selecting the application icon, the program includes several standard icons, but you can choose your own.
- The next block of fields is responsible for information about the program, which is provided in the standard menu "About the program". This is a unique identifier, the author of the program and its version. In addition, you can specify properties for launch, for example, launch with administrator rights or work in the background.
- And the second most important block, these are additional files. Since in MacOS an application is not only an executable file, but also all the files and folders necessary for the application to work. By pressing the “+” button, you can select both individual files and entire folders.
- After filling in all the fields, the “Create App” button becomes active, click it and we get a nice file with the extension .app.
We have compiled an application that runs on any computer running macOS, but this is not enough for convenient distribution and installation by the end user. Therefore, we will create an installation package for our application.
Create an installer
There are several programs for creating installation packages, we will use Packages .
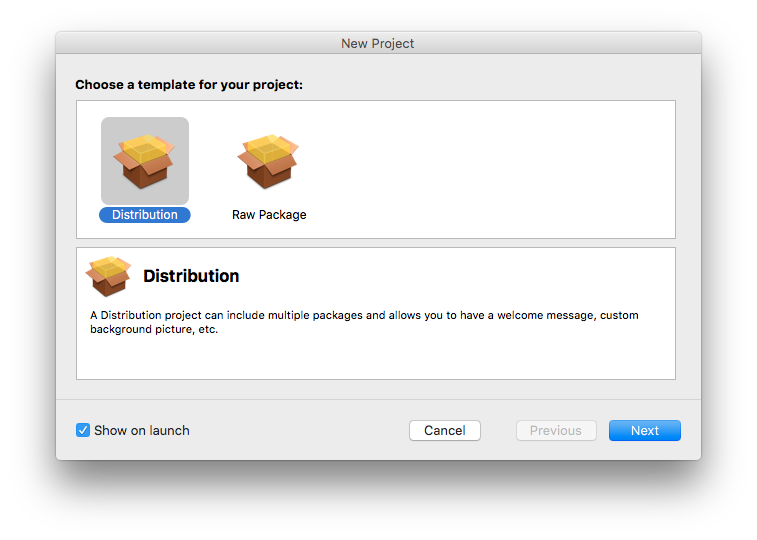
When you open the Packages program, we are asked to select the type of installation package, select Distibution, since the Raw Package is needed when you need to install files in a non-standard location.
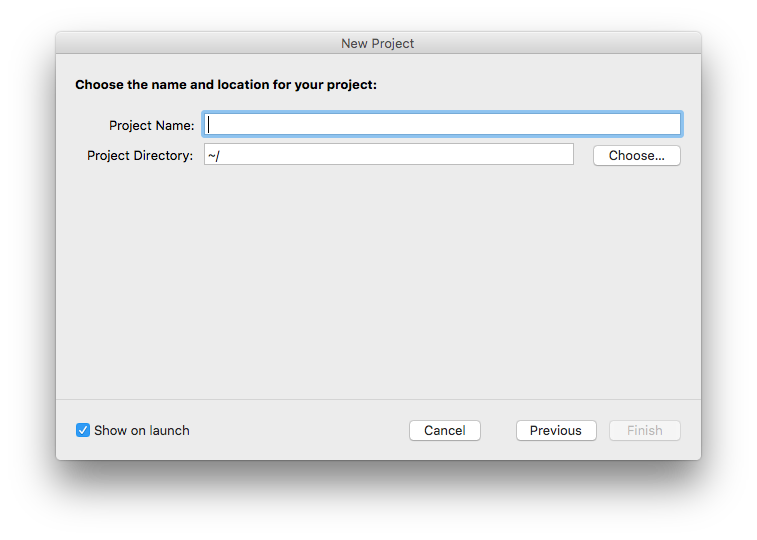
In the next window, select the name and location of the project. It makes sense to specify the working folder of the project as the location. After creating the project, the following window opens, with a large number of tabs.
Let's go over them:
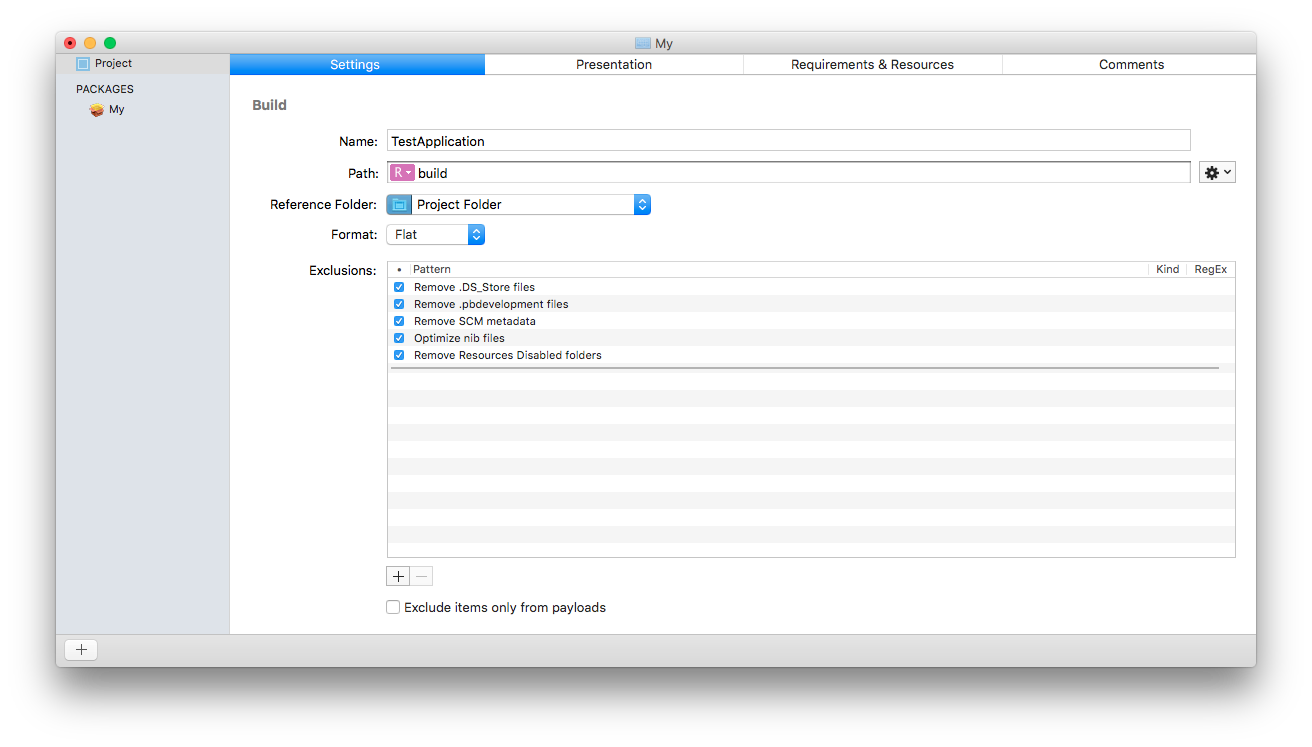
- Settings - the first tab, here you can set the name of the application, the working directory, as well as the necessary conditions for installation.
- Presentations - on this tab, the appearance of the installation package itself is set, translations into various languages, installation path and other nuances are added.
- Requirements & Resources - prerequisites for installation and dependency. For example, if the program requires Xcode Command Line Tools , then here you can specify it, and if the verification fails, the installation is canceled.
- Comments - the tab is exclusively for the notes of the developer, is a huge field for entering text.
If we select the package we need in the side menu (in the picture it is My ), then we will see the following picture:
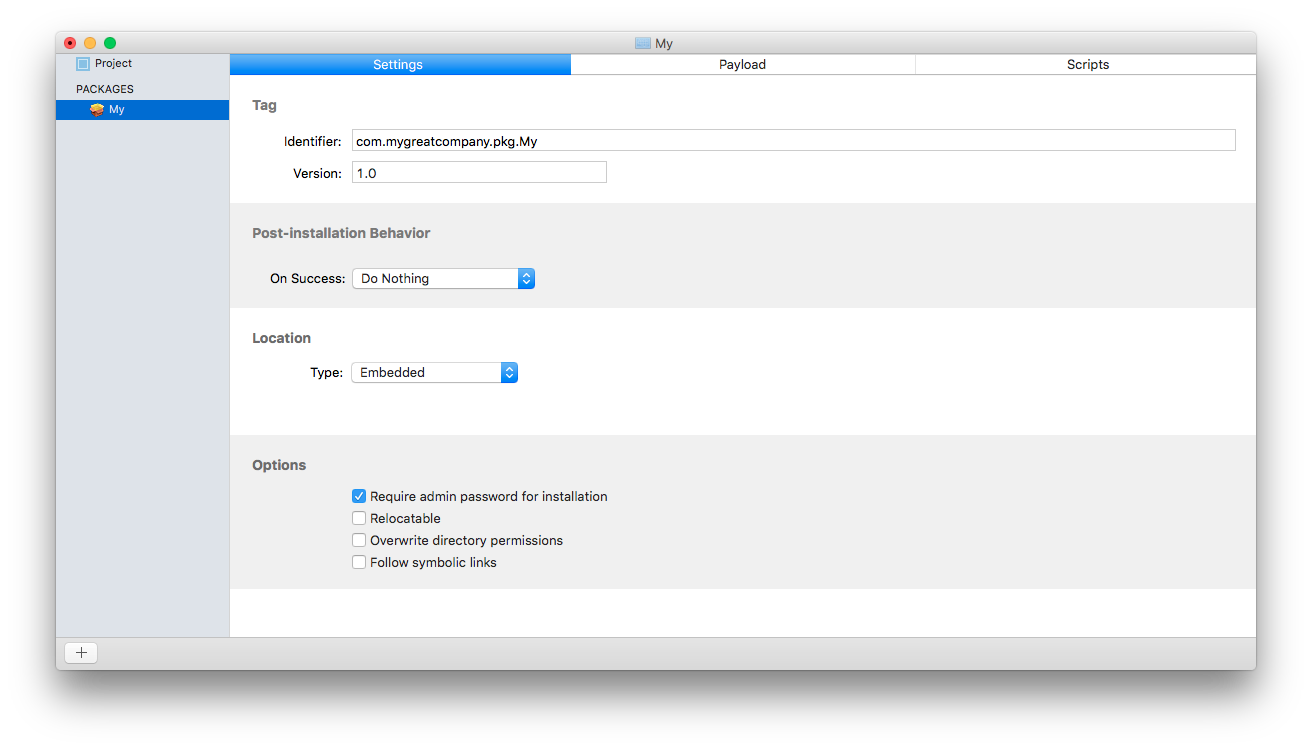
In the Settings tab , the identifier, version is selected and you can specify what to ask the user to do after installation (turn off the computer, reboot and end the user session). In addition, you can select Location and additional options, such as entering the admin password, changing permissions for the folder, and more.
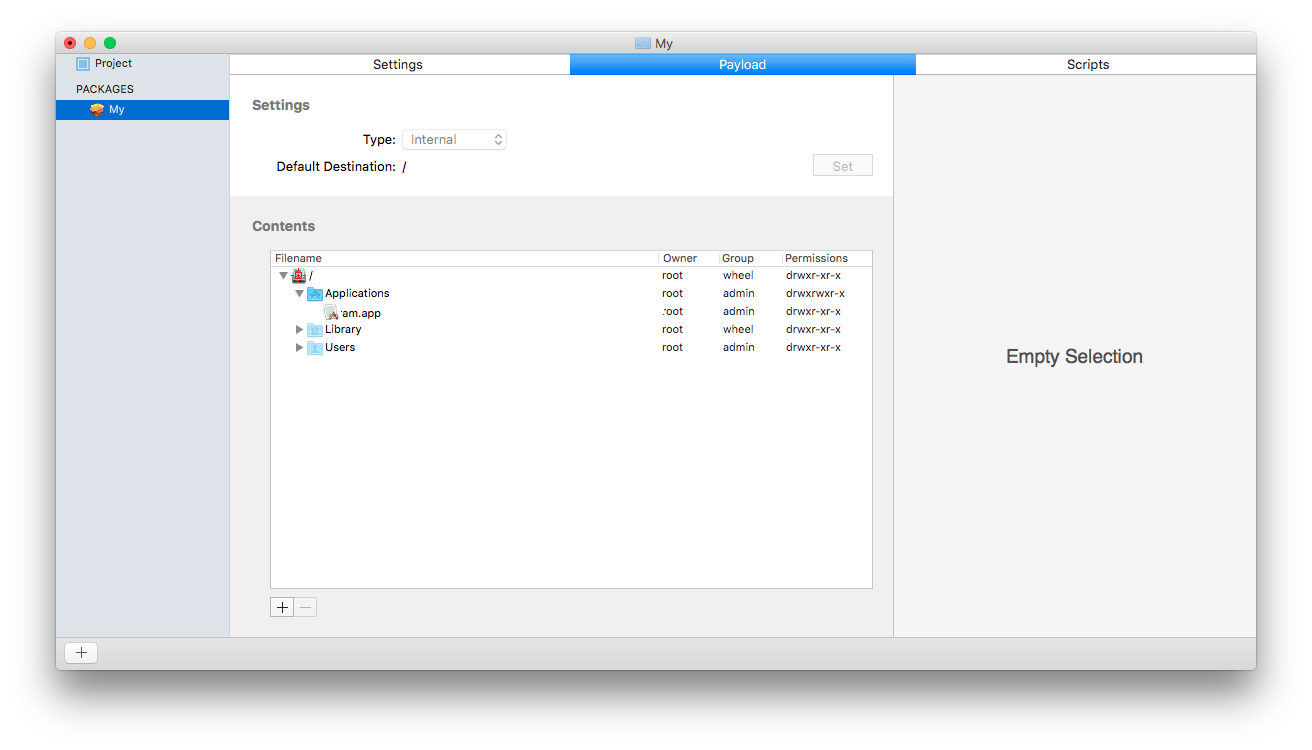
In the Payload tab , the main process occurs, adding the application file to the project. It is necessary to select the desired folder for installing the application, for example Applications , click on the “+” button and select a finished file with the extension .app .
In the tabScripts you can select scripts that will run before or after installation.
After all the points are completed, you need to assemble the project. This can be done either from the menu Build -> Build or using a special short team ⌘B .
After that, you will receive an installation file that you can share with your friends and partners.
Links to the necessary files and training video
Platypus - a program for building .app;
Packages - program for blocking pkg;
This is a great video tutorial on working with the Packages program.
Small addition
By default, Platypus just runs the script, but almost always we need to run the program on a computer where python is not installed. For this case, there is a special life hack:
In Platypus, select the shell script as the type of script , click on + and write the following code:
#!/bin/sh
/Applications/MyApp.app/Contents/Resources/compiler/bin/python /Applications/MyApp.app/Contents/Resources/main.py
Where
- MyApp.app is the name of your application
- / compiler / bin / python - path to the compiler
- main.py - required script
Now, if you compile the program and move it to the Applications folder , it will start with its compiler.