 December 29, 2015 at 11:24
Ubuntu authorization through Microsoft Azure AD / Office 365
All users of Microsoft Office 365 (for business) are authorized through Microsoft Azure AD. So, when each new user (email) is added to Office 365, a corresponding entry in Microsoft Azure AD is automatically created for him.
Here I’ll show you how you can use Microsoft Azure AD to authorize Ubuntu 14.04 users. That is, how to make SSO in Ubuntu with Microsoft Azure AD / Office 365.
To get started, go to the Microsoft Azure Portal at manage.windowsazure.com or Office365 menu -> Admin -> Azure AD .
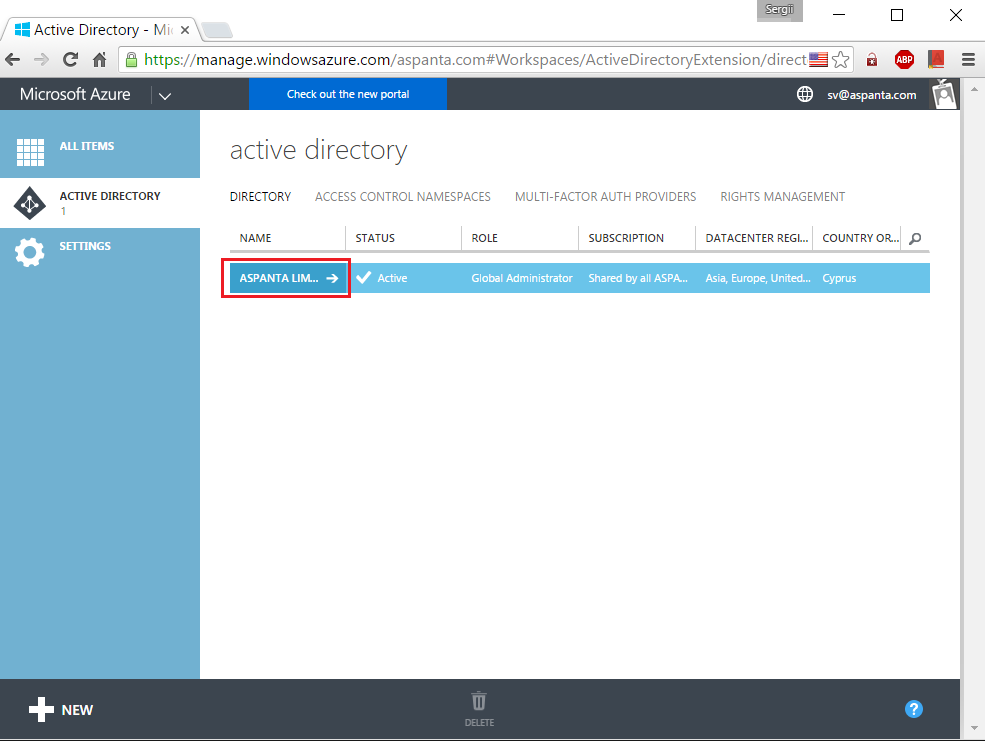
Then, go to the desired Active Directory branch (if you are not using a complex branching structure of AD, then there will be only one entry).
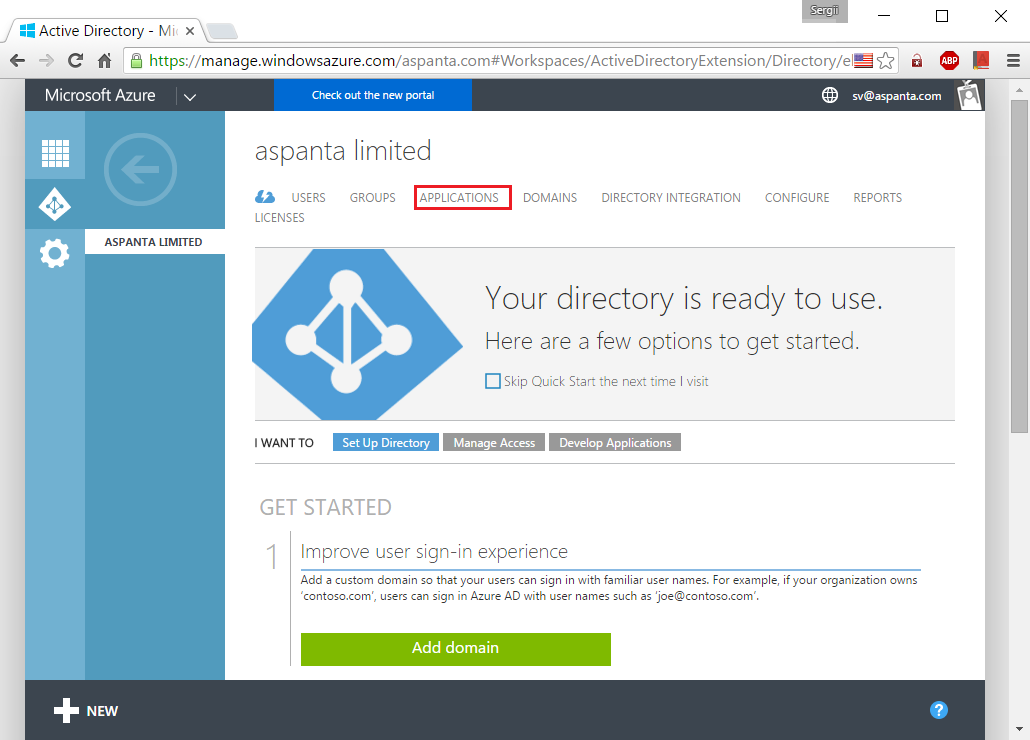
Select “Applications”:
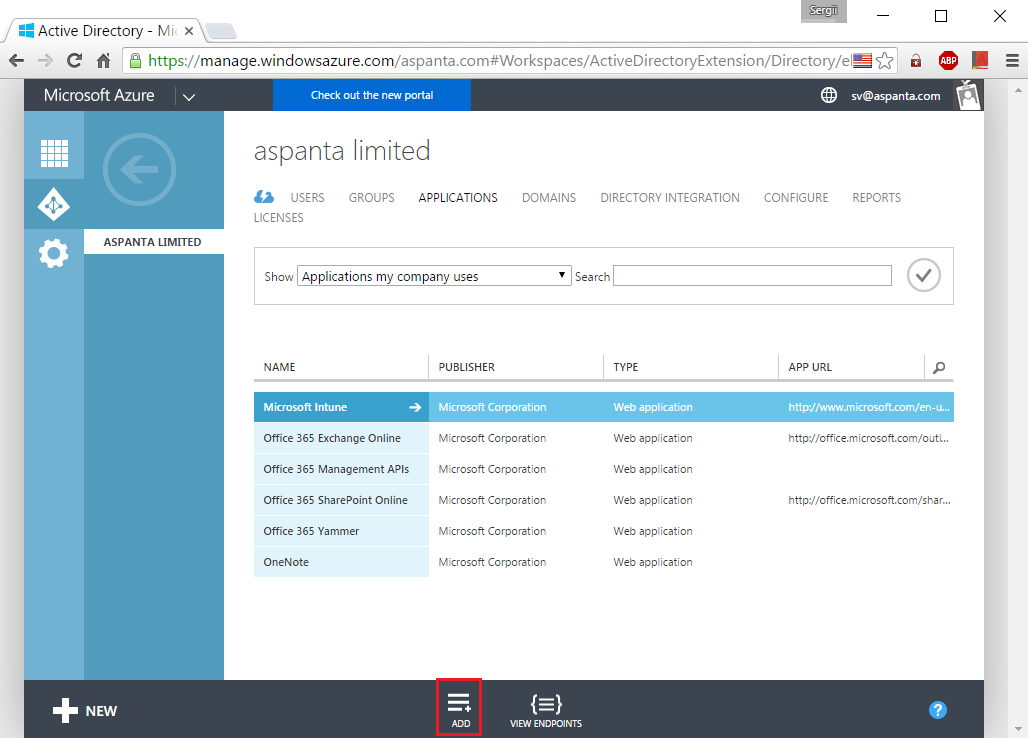
Add a new application by clicking on “Add”:
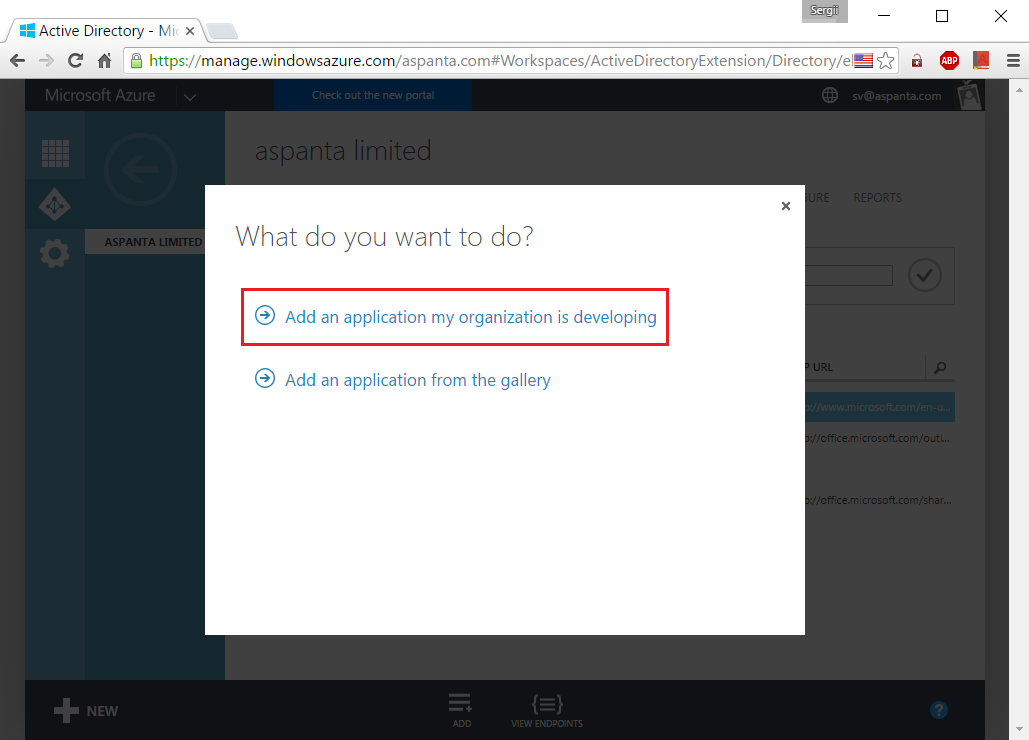
Select “Add an application my organization is developing” : Choose a
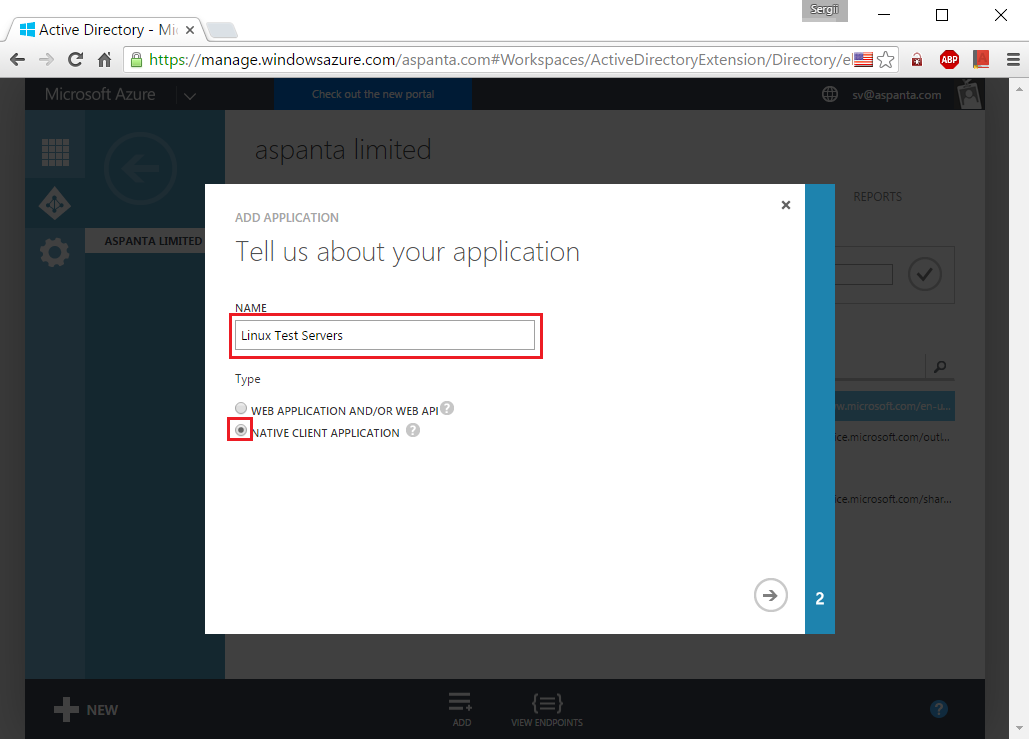
friendly name for why this authorization method will be used (for example, “Linux Test Servers”), indicate it in the “Name” field, and also select the application type “Native Client Application” (“Native Client Application”).
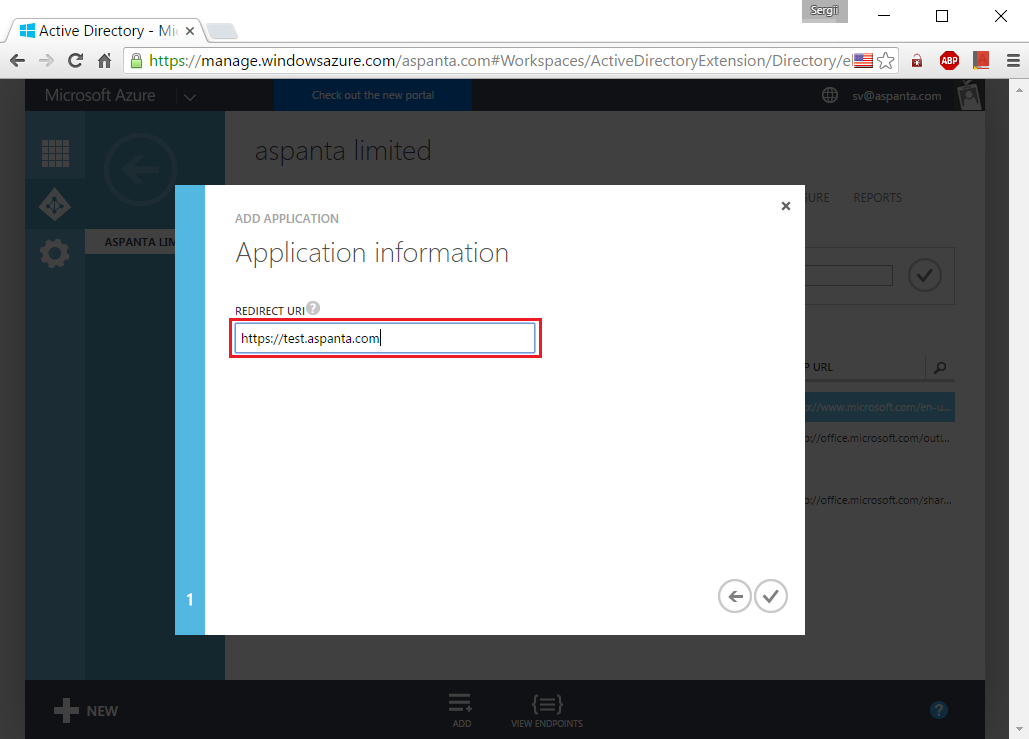
The next page prompts you to enter a “Redirect URI” (“Redirect URI”). You can specify any value that is similar to a URI, because this field will not affect anything, in this case.
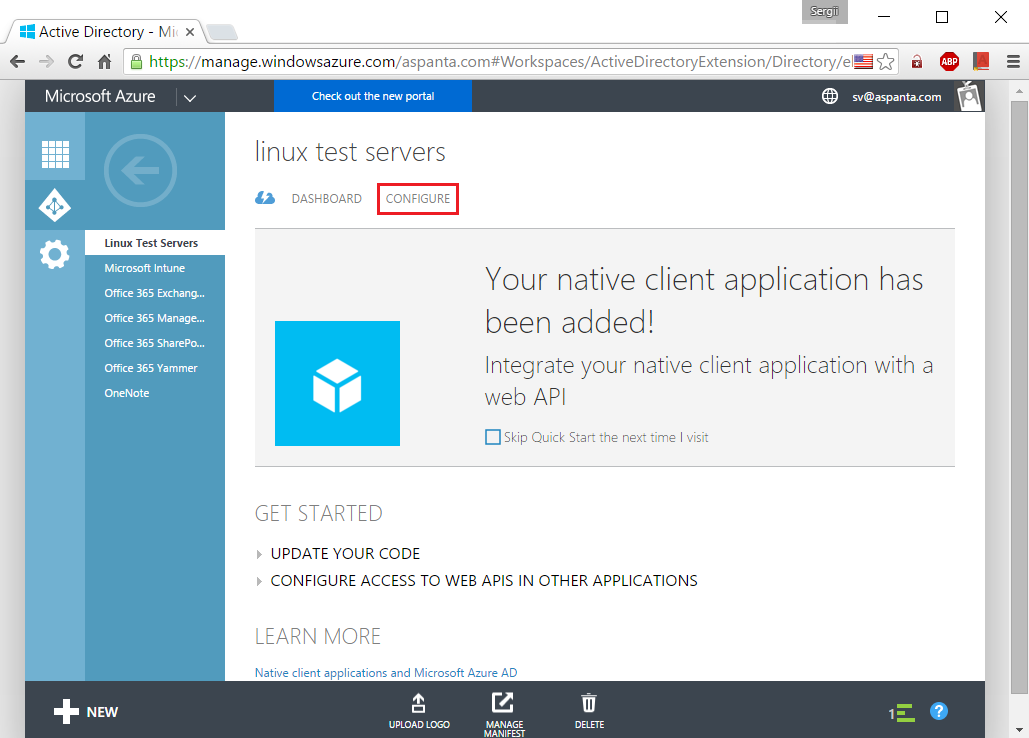
AD application created! Next, click “Configure”.
We remember / write down the value of the “Client ID” field - we will need it again.

We go to the server via SSH (in this case, by user123, who is allowed to execute sudo commands):

Go to root and install git:

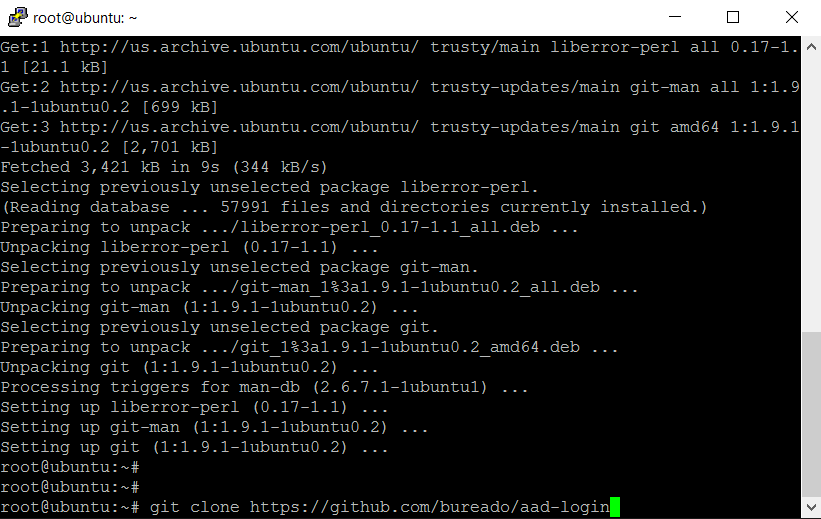
Clone the git repository github.com/bureado/aad-login :
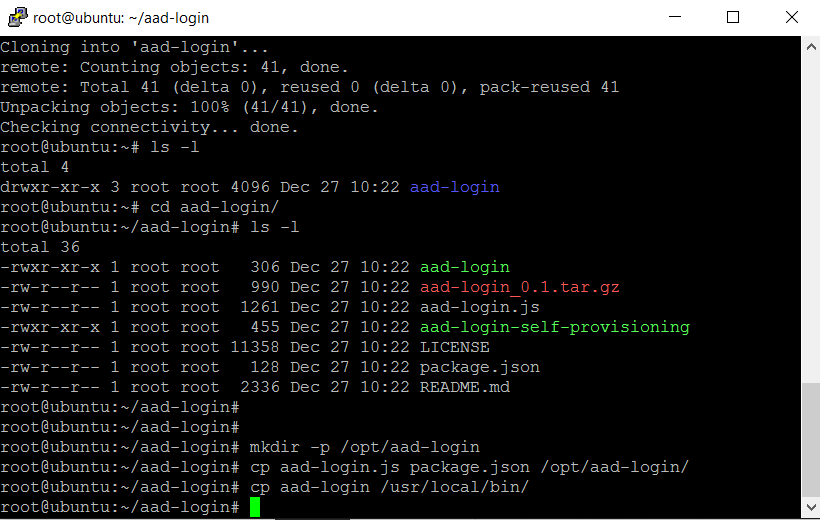
We enter the cloned directory, create the / opt / aad-login directory, copy aad-login.js package.json to / opt / aad-login /, copy aad-login to / usr / local / bin /:
We enter the directory / opt / aad-login /, install the npm application:

Install the required npm components:

Editing the ./aad-login.js file:
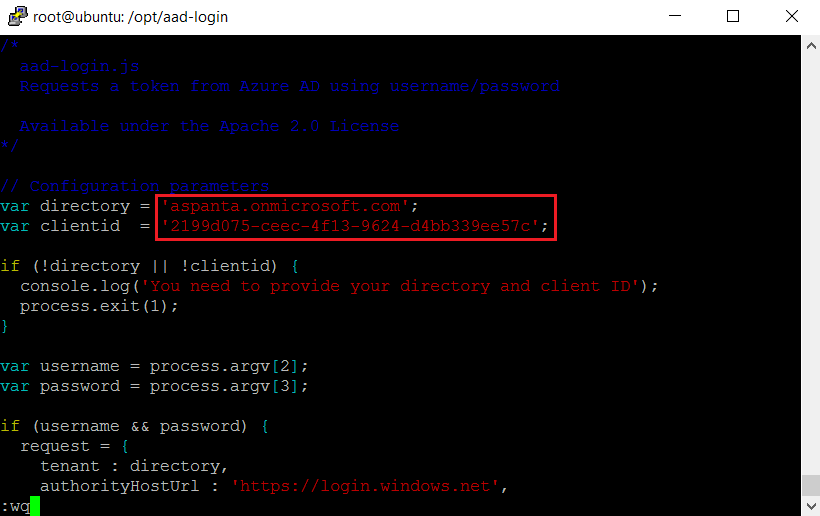
Fill the value of the directory variable with your domain name, which is used in Microsoft Azure AD / Office 365, and the clientid with the value “Client ID” (previously received on the Microsoft Azure AD portal) :
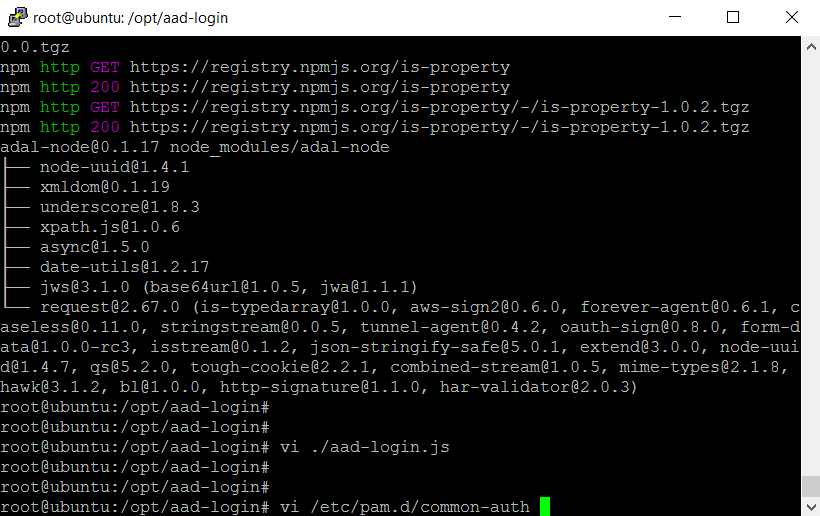
Edit the file /etc/pam.d/common-auth:
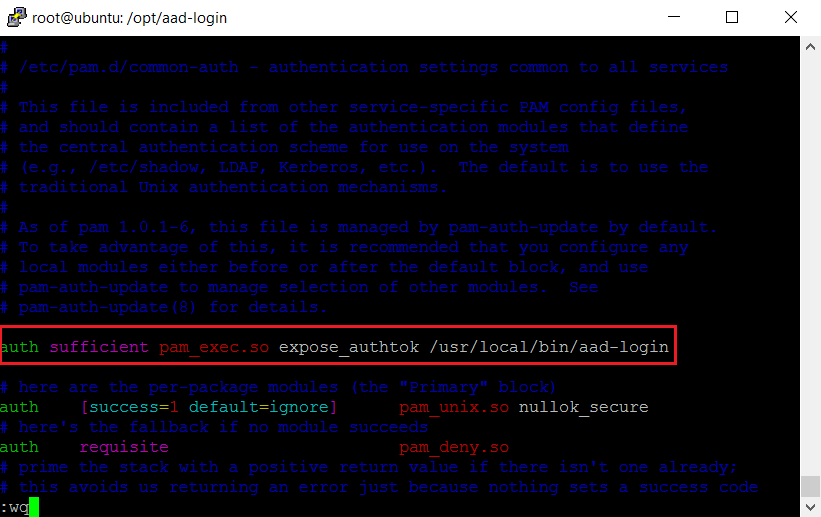
Add a call to pam_exec so that it is the first in the list: Install nodejs:

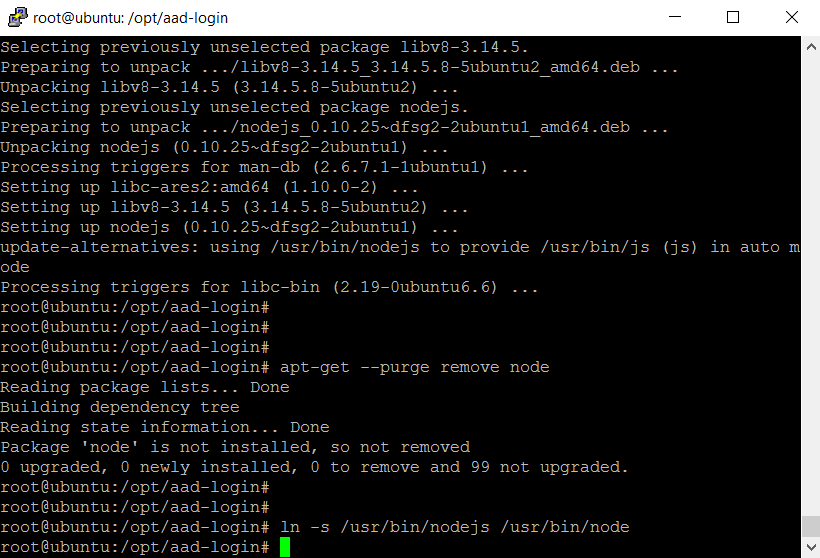
Delete the obsolete node, create a symbolic link / usr / bin / nodejs -> / usr / bin / node:
We create users who are allowed to log in (no need to set a password). The login of such users must match the Alias email address. For example, create a support user whose email is [email protected].

All is ready!
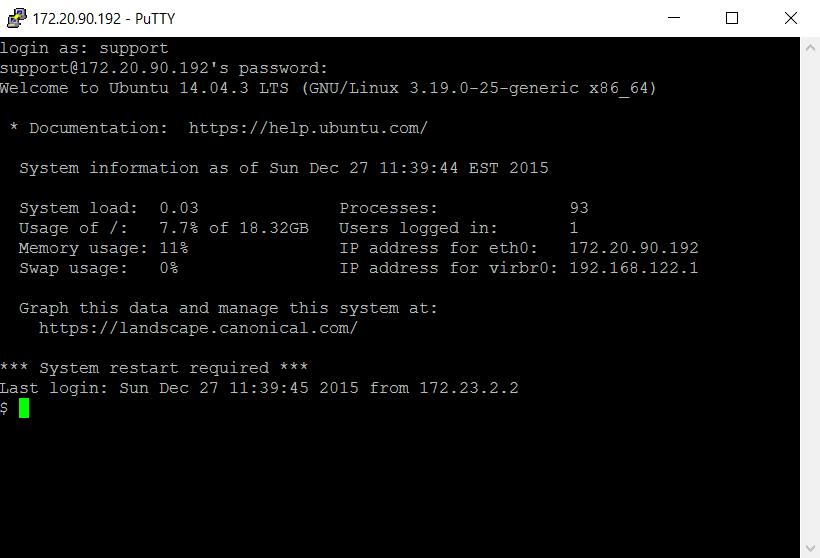
We try to log in with the user created and password set in Microsoft Azure AD / Office 365.
Here I’ll show you how you can use Microsoft Azure AD to authorize Ubuntu 14.04 users. That is, how to make SSO in Ubuntu with Microsoft Azure AD / Office 365.
1. Prerequisites
- Microsoft Azure AD / Office 365 (business) account
- Ubuntu server with internet connection
2. Configure Microsoft Azure AD
To get started, go to the Microsoft Azure Portal at manage.windowsazure.com or Office365 menu -> Admin -> Azure AD .
Then, go to the desired Active Directory branch (if you are not using a complex branching structure of AD, then there will be only one entry).
Select “Applications”:
Add a new application by clicking on “Add”:
Select “Add an application my organization is developing” : Choose a
friendly name for why this authorization method will be used (for example, “Linux Test Servers”), indicate it in the “Name” field, and also select the application type “Native Client Application” (“Native Client Application”).
The next page prompts you to enter a “Redirect URI” (“Redirect URI”). You can specify any value that is similar to a URI, because this field will not affect anything, in this case.
AD application created! Next, click “Configure”.
We remember / write down the value of the “Client ID” field - we will need it again.
3. Configuring Ubuntu 14.04
We go to the server via SSH (in this case, by user123, who is allowed to execute sudo commands):
Go to root and install git:
sudo su -
apt-get install git
Clone the git repository github.com/bureado/aad-login :
git clone https://github.com/bureado/aad-login
We enter the cloned directory, create the / opt / aad-login directory, copy aad-login.js package.json to / opt / aad-login /, copy aad-login to / usr / local / bin /:
cd aad-login/
mkdir -p /opt/aad-login
cp aad-login.js package.json /opt/aad-login/
cp aad-login /usr/local/bin/
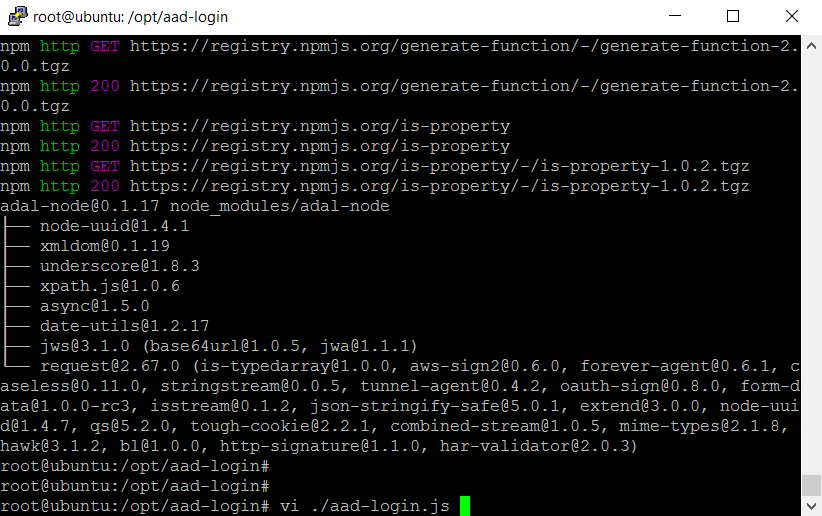
We enter the directory / opt / aad-login /, install the npm application:
cd /opt/aad-login/
apt-get install npm
Install the required npm components:
npm install
Editing the ./aad-login.js file:
Fill the value of the directory variable with your domain name, which is used in Microsoft Azure AD / Office 365, and the clientid with the value “Client ID” (previously received on the Microsoft Azure AD portal) :
Edit the file /etc/pam.d/common-auth:
Add a call to pam_exec so that it is the first in the list: Install nodejs:
auth sufficient pam_exec.so expose_authtok /usr/local/bin/aad-login
apt-get install nodejs
Delete the obsolete node, create a symbolic link / usr / bin / nodejs -> / usr / bin / node:
apt-get --purge remove node
ln -s /usr/bin/nodejs /usr/bin/node
We create users who are allowed to log in (no need to set a password). The login of such users must match the Alias email address. For example, create a support user whose email is [email protected].
useradd -m support
All is ready!
We try to log in with the user created and password set in Microsoft Azure AD / Office 365.









