November 26, 2015 at 15:08
Own cloud hosting in 5 minutes. Part 3: Consul, Registrator, Consul-Template

Hi Habr! I continue the series of articles on how to build your cloud hosting in 5 minutes. In the last article, we looked at tools that will help us solve the problem of Service Discovery . In this part, we will begin to practice, build a cloud and see how these tools behave in real life.
As before, an ordinary programmer can do all the work within 5 minutes, simply by running a set of scripts for Ansible , which I have prepared specifically for you and posted on GitHub .
Despite the fact that our cloud has become more complicated and now it uses more tools, building it has become easier. I completely rewrote a set of scenarios from previous articles, deleted everything unnecessary, simplified the rest as much as possible.
Content
- Part 0: Virtualization
- Part 1: Ansible, Docker, Docker Swarm
- Part 2: Service Discovery
- Part 3: Consul, Registrator, Consul-Template
- ...
Getting down
Ansible and Docker must be installed on your client machine . There should be 3 servers with key authorization and Debian 8.1 x64 on board ( you can use any other distribution, making small changes to the script ).
Download a set of scripts or clone a repository:
» git clone https://github.com/vkozlovski/ansible-cloud-hosting
» cd ansible-cloud-hosting
» git checkout v2.x
IP addresses
Open the stage file and replace the IP addresses in it with the IP of your servers:
[dc1-cloud]
192.168.1.1
192.168.1.2
192.168.1.3
If you want to build a cloud in several data centers, then simply add additional groups with the corresponding IP addresses ( similar to how this has already been done ):
Example
[dc1-cloud]
192.168.1.1
192.168.1.2
192.168.1.3
[dc2-cloud]
192.168.2.1
192.168.2.2
192.168.2.3
#--- in all DC ---#
# cloud in all DC
[cloud:children]
dc1-cloud
dc2-cloud
#--- everything in DC ---#
[dc1:children]
dc1-cloud
[dc2:children]
dc2-cloud
Certification Authority
Now we need to generate the keys for our certificate authority, which will be used to sign Docker ’s client and server certificates (for more details, see the first article ). To do this, I created a small helper, so from the root directory of the project we execute the command:
» make gen-ca
Example
Generating RSA private key, 4096 bit long modulus
...++
................++
e is 65537 (0x10001)
Enter pass phrase for certs/ca/ca-key.pem:
Verifying - Enter pass phrase for certs/ca/ca-key.pem:
Enter pass phrase for certs/ca/ca-key.pem:
You are about to be asked to enter information that will be incorporated
into your certificate request.
What you are about to enter is what is called a Distinguished Name or a DN.
There are quite a few fields but you can leave some blank
For some fields there will be a default value,
If you enter '.', the field will be left blank.
-----
Country Name (2 letter code) [AU]:US
State or Province Name (full name) [Some-State]:California
Locality Name (eg, city) []:Cupertino
Organization Name (eg, company) [Internet Widgits Pty Ltd]:Ansible Cloud Hosting
Organizational Unit Name (eg, section) []:
Common Name (e.g. server FQDN or YOUR name) []:example.com
Email Address []:[email protected]
We answer questions ( there are no specific requirements here, you can specify any domain ) and remember the password. The password must be assigned to the variable certs_ca_password in the file group_vars / all.yml .
Result of group_vars / all.yml
---
common_packages:
  - sudo
  - htop
  - mc
  - git
  - apt-transport-https
  - python-setuptools # easy_install (necessary for install python pip)
debian_release: jessie
certs_ca_password: '1234' # ;)
Certifications
In this step, you need to generate certificates for Consul . To do this, I also created a small helper, so from the root directory of the project we simply execute the command:
» make gen-consul-certs
Example
Generating a 2048 bit RSA private key
..........................+++
.................................................+++
writing new private key to 'privkey.pem'
-----
You are about to be asked to enter information that will be incorporated
into your certificate request.
What you are about to enter is what is called a Distinguished Name or a DN.
There are quite a few fields but you can leave some blank
For some fields there will be a default value,
If you enter '.', the field will be left blank.
-----
Country Name (2 letter code) [AU]:US
State or Province Name (full name) [Some-State]:California
Locality Name (eg, city) []:Cupertino
Organization Name (eg, company) [Internet Widgits Pty Ltd]:Ansible Cloud Hosting
Organizational Unit Name (eg, section) []:
Common Name (e.g. server FQDN or YOUR name) []:example.com
Email Address []:[email protected]
Generating a 1024 bit RSA private key
...........................++++++
..............++++++
writing new private key to 'consul.key'
-----
You are about to be asked to enter information that will be incorporated
into your certificate request.
What you are about to enter is what is called a Distinguished Name or a DN.
There are quite a few fields but you can leave some blank
For some fields there will be a default value,
If you enter '.', the field will be left blank.
-----
Country Name (2 letter code) [AU]:US
State or Province Name (full name) [Some-State]:California
Locality Name (eg, city) []:Cupertino
Organization Name (eg, company) [Internet Widgits Pty Ltd]:Ansible Cloud Hosting
Organizational Unit Name (eg, section) []:
Common Name (e.g. server FQDN or YOUR name) []:example.com
Email Address []:[email protected]
Please enter the following 'extra' attributes
to be sent with your certificate request
A challenge password []:
An optional company name []:
Using configuration from myca.conf
Check that the request matches the signature
Signature ok
The Subject's Distinguished Name is as follows
countryName           :PRINTABLE:'US'
stateOrProvinceName   :PRINTABLE:'California'
localityName          :PRINTABLE:'Cupertino'
organizationName      :PRINTABLE:'Ansible Cloud Hosting'
commonName            :PRINTABLE:'example.com'
emailAddress          :IA5STRING:'[email protected]'
Certificate is to be certified until Nov 22 16:25:08 2025 GMT (3650 days)
Write out database with 1 new entries
Data Base Updated
------------------------------------------------------------
If you want to understand in more detail what exactly happens at this step, then you can familiarize yourself with the excellent article on DigitalOcean .
The secret key

Now we need to generate a secret key that Consul will use to encrypt its network traffic. To do this, run the command:
» docker run --rm --entrypoint "/bin/consul" progrium/consul:latest keygen
L+3UkrkFeXHQBT97nTZI/g==
The key must be assigned to the docker_consul_encrypt variable in the group_vars / cloud.yml file .
Result of group_vars / cloud.yml
---
# docker
docker_api_version: 1.18
docker_key_server: "hkp://pgp.mit.edu:80"
docker_key_id: "58118E89F3A912897C070ADBF76221572C52609D"
# docker-consul
docker_consul_encrypt: 'L+3UkrkFeXHQBT97nTZI/g=='
docker_consul_start_join_wan:
  - "{{ hostvars[groups['dc1'][0]]['ansible_eth0']['ipv4']['address'] }}"  # first host in DC1
Settings for data center
File dc1.yml in a directory group_vars comprises a configuration specific to the particular data center. If you have more than one, then you can create dc2.yml , dc3.yml , ... and fill them out by analogy.
---
# docker-consul
# first host in "my_name_dc" DC
docker_consul_join: '{{ hostvars[groups["my_name_dc"][0]]["ansible_eth0"]["ipv4"]["address"] }}'
docker_consul_dc: 'dc1'
# docker-swarm-manager
# first host in "my_name_dc" DC
docker_swarm_manager_ip: '{{ hostvars[groups["my_name_dc"][0]]["ansible_eth0"]["ipv4"]["address"] }}'
Consul
If you build a cloud in several data centers, then I have good news for you - Consul supports this “out of the box”. The only thing you need to do is add one IP from each data center to the docker_consul_start_join_wan variable :
Example group_vars / cloud.yml
---
# docker
docker_api_version: 1.18
docker_key_server: "hkp://pgp.mit.edu:80"
docker_key_id: "58118E89F3A912897C070ADBF76221572C52609D"
# docker-consul
docker_consul_encrypt: 'L+3UkrkFeXHQBT97nTZI/g=='
docker_consul_start_join_wan:
  - "{{ hostvars[groups['dc1'][0]]['ansible_eth0']['ipv4']['address'] }}"  # first host in DC1
  - "{{ hostvars[groups['dc2'][0]]['ansible_eth0']['ipv4']['address'] }}"  # first host in DC2
  ...
We launch
If you have reached this step, a reward awaits you. Run the assistant:
» make run
Now you can "lean back and relax."
Stool owners - take care.
After the magic is over, I recommend restarting all the machines.
Done!
Consul UI
We open the browser and go to any of the IP addresses of our machines ( http://192.168.1.1:8500/ ). If you set up several data centers, you should see a similar picture:
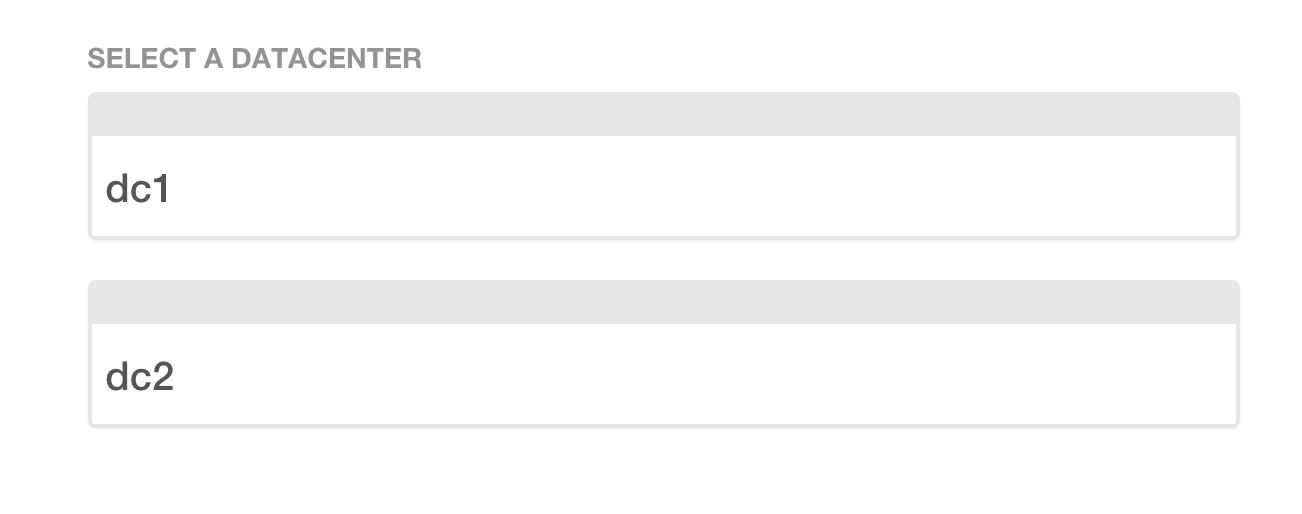
If you have one data center or you selected it from the list above:

Consul displays a list of services that our cloud consists of. Green displays “healthy” services, yellow - problematic ( in the last article I mentioned that Consul can check the health of services ).
Docker swarm
Let's check out Docker Swarm ( you can read more about it in the first article ). Docker Swarm Manager is installed on the first IP address of each data center from the list in the stage file . For example from the list:
[dc1-cloud]
192.168.1.1
192.168.1.2
192.168.1.3
[dc2-cloud]
192.168.2.1
192.168.2.2
192.168.2.3
#--- in all DC ---#
# cloud in all DC
[cloud:children]
dc1-cloud
dc2-cloud
#--- everything in DC ---#
[dc1:children]
dc1-cloud
[dc2:children]
dc2-cloud
it will be 192.168.1.1 and 192.168.2.1 .
In order to connect to the Docker Swarm Manager you must do:
» docker -H tcp://192.168.1.1:8000 --tlsverify=true --tlscacert=certs/ca/ca.pem --tlscert=certs/docker/cert.pem --tlskey=certs/docker/key.pem info
You should see something similar:
Containers: 13
Images: 12
Role: primary
Strategy: spread
Filters: health, port, dependency, affinity, constraint
Nodes: 3
 debian1: 192.168.1.1:2376
  └ Containers: 5
  └ Reserved CPUs: 0 / 1
  └ Reserved Memory: 0 B / 519.2 MiB
  └ Labels: executiondriver=native-0.2, kernelversion=3.16.0-4-amd64, operatingsystem=Debian GNU/Linux 8 (jessie), storagedriver=aufs
 debian2: 192.168.1.2:2376
  └ Containers: 4
  └ Reserved CPUs: 0 / 1
  └ Reserved Memory: 0 B / 519.2 MiB
  └ Labels: executiondriver=native-0.2, kernelversion=3.16.0-4-amd64, operatingsystem=Debian GNU/Linux 8 (jessie), storagedriver=aufs
 debian3: 192.168.1.3:2376
  └ Containers: 4
  └ Reserved CPUs: 0 / 1
  └ Reserved Memory: 0 B / 519.2 MiB
  └ Labels: executiondriver=native-0.2, kernelversion=3.16.0-4-amd64, operatingsystem=Debian GNU/Linux 8 (jessie), storagedriver=aufs
CPUs: 3
Total Memory: 1.521 GiB
Name: debian1
If this is so, and it should be so, then it remains only to congratulate you. If you have any difficulties, welcome to comment.
Testing
It's time to launch something in our cool cloud. And what could it be if not Nginx ? That's it!
We launch:
» docker -H tcp://178.62.232.38:8000 --tlsverify=true --tlscacert=certs/ca/ca.pem --tlscert=certs/docker/cert.pem --tlskey=certs/docker/key.pem run -d -p 80:80 -p 443:443 -e "SERVICE_80_NAME=http" -e "SERVICE_443_NAME=https" nginx
You can read more about the environment variables that we pass here in a previous article .
We look at which machine Nginx was running :
» docker -H tcp://192.168.1.1:8000 --tlsverify=true --tlscacert=certs/ca/ca.pem --tlscert=certs/docker/cert.pem --tlskey=certs/docker/key.pem ps
CONTAINER ID        IMAGE                               COMMAND                  CREATED             STATUS              PORTS                                                                                                                                                            NAMES
e96b351a857e        nginx                               "nginx -g 'daemon off"   3 minutes ago       Up 3 minutes        192.168.1.2:80->80/tcp, 192.168.1.2:443->443/tcp                                                                                                           debian2/fervent_dubinsky
...
We open in the browser http://192.168.1.2:80/ :
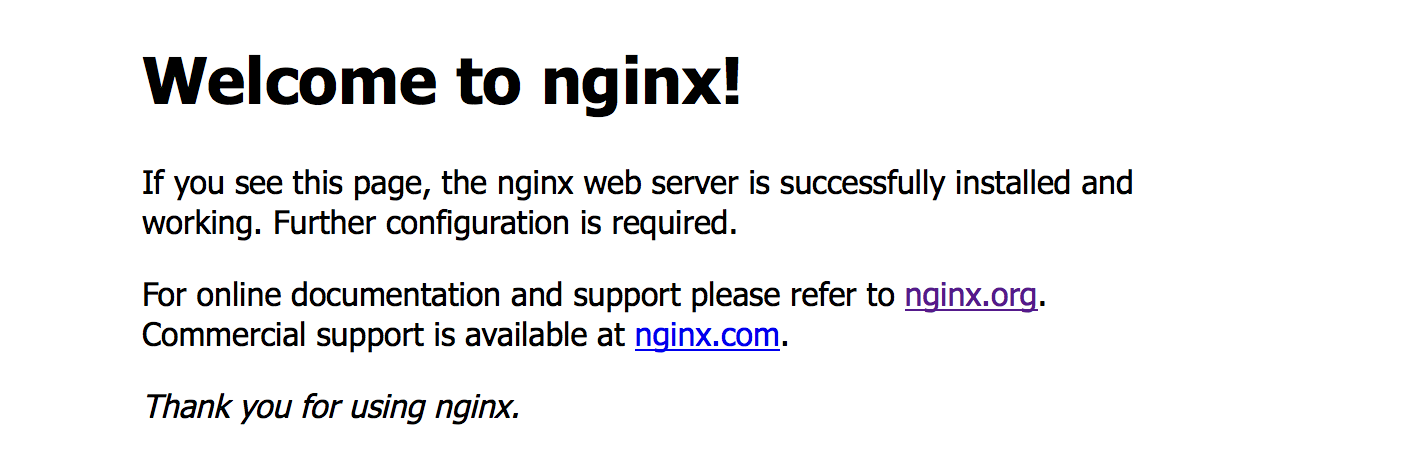
There is a contact. Now let's see if our service appeared in the Consul panel :
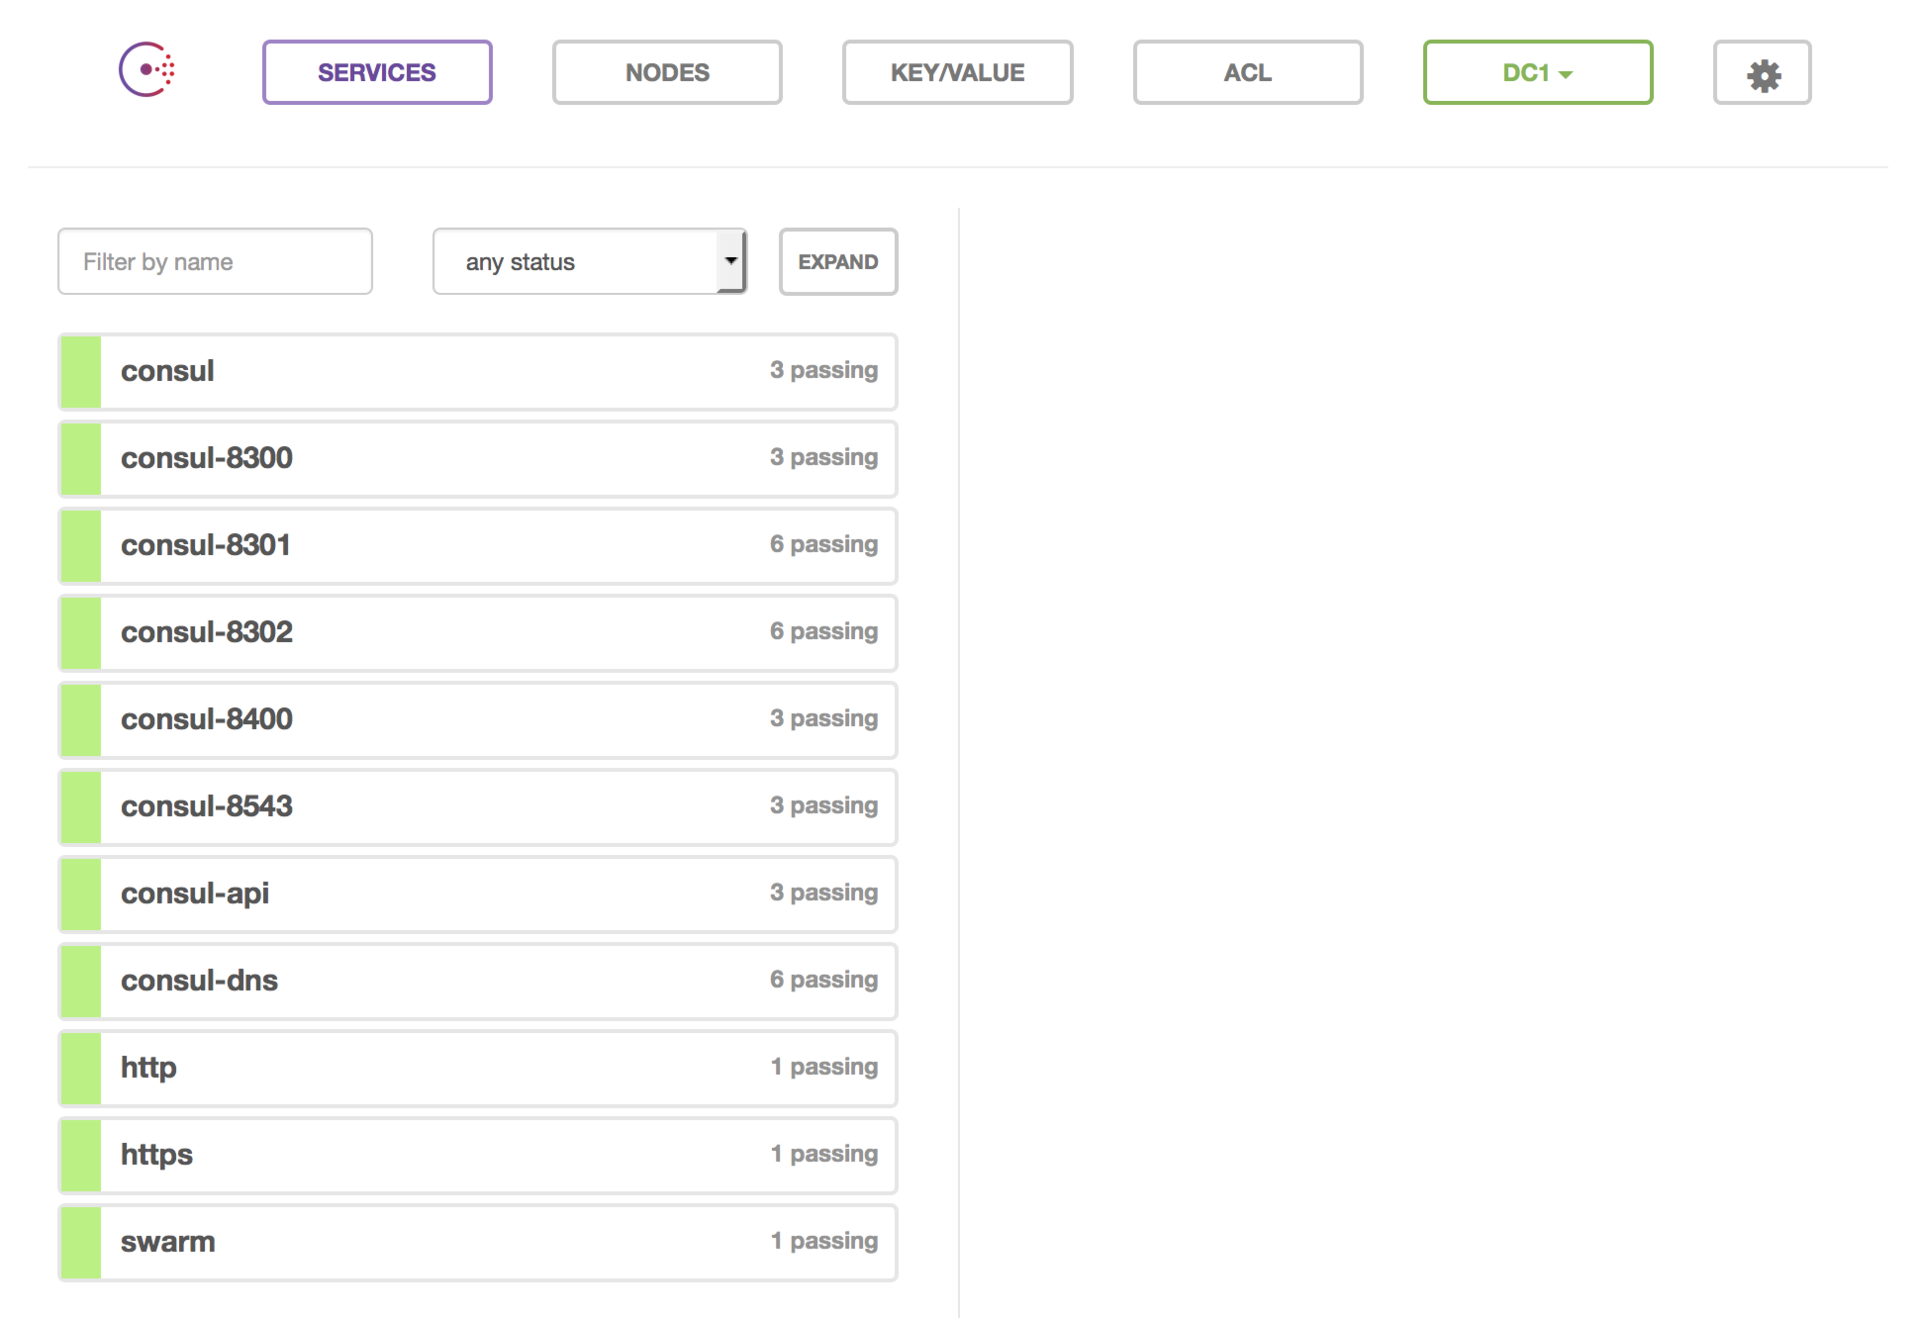
2 services appeared ( by the number of ports ): http and https ( we passed their names in the variables SERVICE_80_NAME and SERVICE_443_NAME ).
DNS
Let's now check the DNS service that Consul has kindly provided to us . To do this, run a container with Debian on some machine :
» docker -H tcp://192.168.1.1:8000 --tlsverify=true --tlscacert=certs/ca/ca.pem --tlscert=certs/docker/cert.pem --tlskey=certs/docker/key.pem run -ti debian:testing /bin/bash
root@2e68749354b2:/#
See if our http service is :
root@2e68749354b2:/# ping http
PING http.service.consul (172.17.0.6): 56 data bytes
64 bytes from 172.17.0.6: icmp_seq=0 ttl=64 time=0.076 ms
64 bytes from 172.17.0.6: icmp_seq=1 ttl=64 time=0.118 ms
64 bytes from 172.17.0.6: icmp_seq=2 ttl=64 time=0.075 ms
^C--- http.service.consul ping statistics ---
3 packets transmitted, 3 packets received, 0% packet loss
round-trip min/avg/max/stddev = 0.075/0.090/0.118/0.000 ms
The full address of our service is http.service.consul , but we can also use short http ( because we started Docker with the --dns-search service.consul parameter ). We can also use a longer version of http.service.dc1.consul with an indication of the data center ( if you want to get to the service from another data center, for example ). You can read more about this in the official documentation .
Let's run some more copies of Nginx . Open another tab in the console ( we will need a container with Debian ) and run the command 2 times:
» docker -H tcp://178.62.232.38:8000 --tlsverify=true --tlscacert=certs/ca/ca.pem --tlscert=certs/docker/cert.pem --tlskey=certs/docker/key.pem run -d -p 80:80 -p 443:443 -e "SERVICE_80_NAME=http" -e "SERVICE_443_NAME=https" nginx
Docker Swarm is smart enough to run all 3 services on different machines (it looks where there are 80 and 443 free ports ). And if you try to run more copies of Nginx than your machines, then it will report this:
Error response from daemon: unable to find a node with port 443 available
Now let's go back to the container with Debian and install the package:
root@2e68749354b2:/# apt-get update && apt-get install dnsutils --no-install-recommends
Let's see if there are new http services:
root@866f410a5f18:/# dig http.service.dc1.consul. ANY
; <<>> DiG 9.9.5-12+b1-Debian <<>> http.service.dc1.consul. ANY
;; global options: +cmd
;; Got answer:
;; ->>HEADER<<- opcode: QUERY, status: NOERROR, id: 17731
;; flags: qr aa rd ra; QUERY: 1, ANSWER: 3, AUTHORITY: 0, ADDITIONAL: 0
;; QUESTION SECTION:
;http.service.dc1.consul.	IN	ANY
;; ANSWER SECTION:
http.service.dc1.consul. 0	IN	A	192.168.1.1
http.service.dc1.consul. 0	IN	A	192.168.1.2
http.service.dc1.consul. 0	IN	A	192.168.1.3
;; Query time: 4 msec
;; SERVER: 172.17.0.1#53(172.17.0.1)
;; WHEN: Thu Nov 26 10:22:41 UTC 2015
;; MSG SIZE  rcvd: 158
Everything works.
If you access your service by the name http , then the load will be distributed according to the Round-robin algorithm . If you stop one of the containers with Nginx now and run the above command again, you will notice that it is no longer in the list.
Thus, the load is distributed only between the "live" services. You also have the opportunity to take advantage of the health monitoring provided by Consul , in which case you can distribute the load only between “healthy” services ( do not confuse it with just “live” ones ).
You can add and remove services dynamically and everything will continue to work without your intervention.
Conclusion
In this article, I wanted to tell you how to raise your personal cloud.
If you were careful, but I am sure that this is so, then you noticed that we did not use the Consul-Template . I decided to open another part of my work for you and describe the process of automatically deploying projects to our cloud in the next article. It took some time to find a suitable option for these purposes and now it saves us a lot of time.
What services "fill" your cloud - you decide. I worked on this configuration for a long time and did not encounter any problems.
That's all. Thank you all for your attention. Stable to you clouds and good luck!
Follow me on Twitter, I talk about working in a startup, my mistakes and the right decisions, about python and everything related to web development.
PS I'm looking for developers in the company, the details are in my profile .