June 17, 2015 at 14:09
Beat-chart is the best friend of a game designer
Hello!
I am a game designer and at the moment, together with a small team, I am developing a two-dimensional adventure on Unity3D. The purpose of this publication is to talk about the process of designing locations for our game and the techniques that I use.
Well, in parallel, show you all the stages of development of the location - from the scheme to the final version.
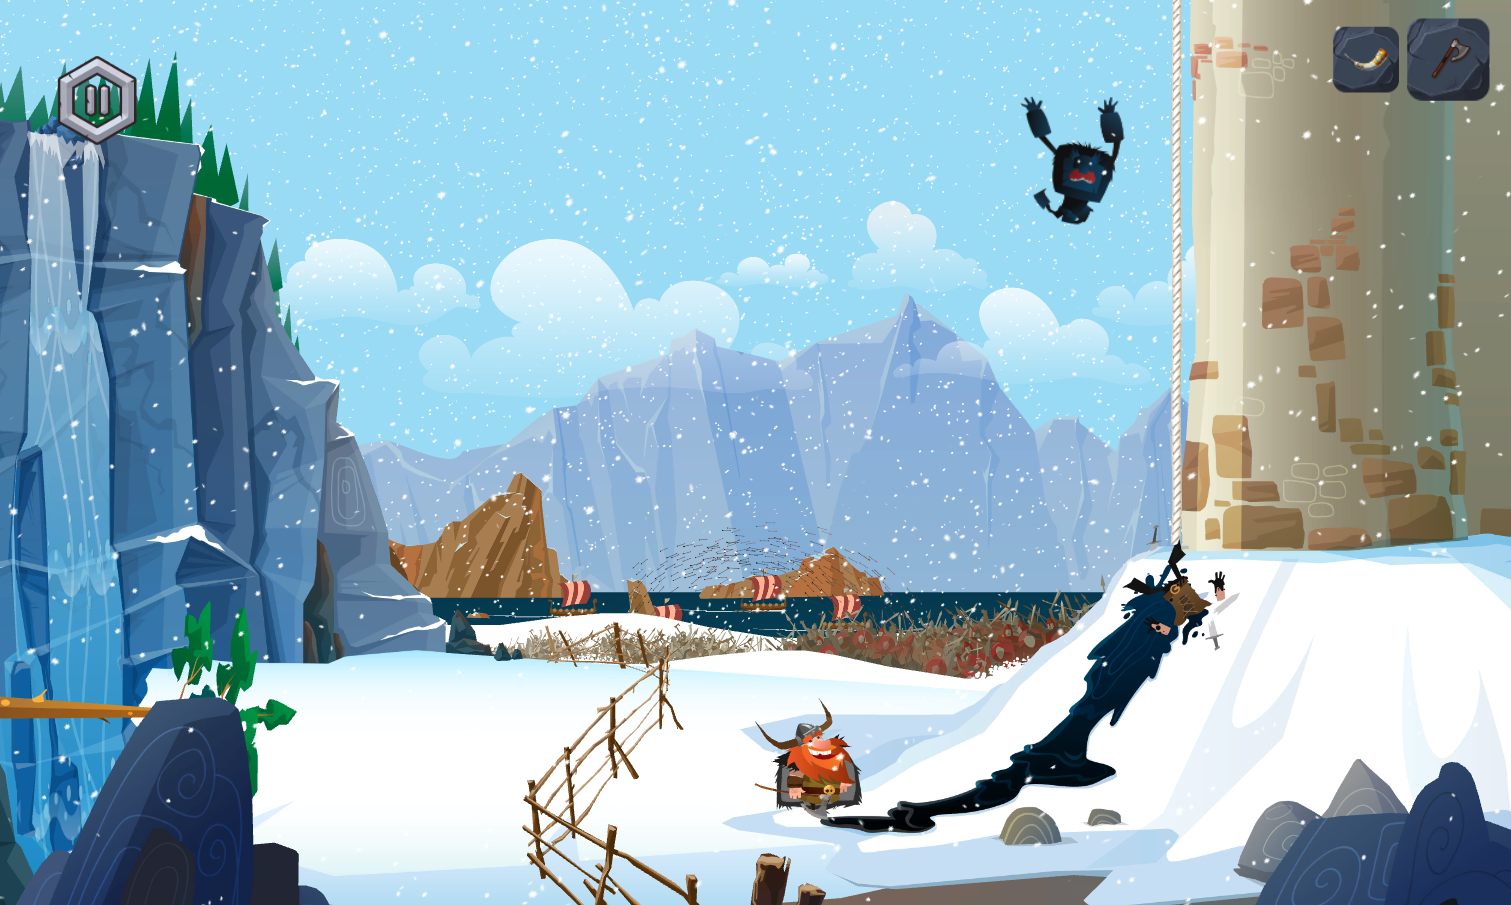
Running a little ahead - this is how a piece of a ready-made location in action looks like.
So, let's start with the title beat-chart. What is it, with what it is eaten, and why is it a very convenient thing.
A bit chart is a one-page document that describes the structure of the entire game (all content, mechanics, narrative, etc.)
With its help, it’s damn convenient to control the progress of the gameplay, making sure that at each location / level the player does not get bored and receives new portions of the game experience, but is not overloaded with information. I use a bit chart in the form of a table, as this is the most convenient form for perceiving such a volume and nature of information.
To create a beat chart for your game, you must:

For clarity, we’ll go over my bit chart.
In my case, each location has:
Usually, the bit chart also contains brief information about the game economy (how much resources a player can earn at a location and what they can spend, for example).
Having all this scope of information in front of you, it’s very convenient to customize the gameplay so that the player does not get bored.
The basic recommendations for distributing content are simple: do not throw too many things at a time on the player and avoid repeating combinations of game elements.
Okay, we sketched the structure of the game, it's time to move on to the design of individual locations.
I create a plate for one location, partially repeating information from the bit chart, but more detailed. Each location for convenience is divided into "screens". On each screen there are objects / objects / characters / other content.

This is a very old version of the tablet of one of our locations, at the very bottom there is also a diagram of the approximate arrangement of the screens ...

... which I then transfer to Illustrator. Now we have an empty “map” of the location and a list of all-all-all pieces that should be located on it. It's time to put everything in its place!
Very often, the initial location configuration changes. Elements and their relationships disappear, add, change their location. This is a normal process exactly until the rest of the team has started embodying the level in the game. The later changes are made to the original plan, the more expensive they are, so it is important to try to take into account the maximum details in advance.

This is how the level diagram looks after I depicted all the objects and the landscape on it.
Even if an artist from you is just as deplorable as from me, information is always easier to perceive in a visual form. This is an important point that should not be neglected. By hand, I usually draw only landscape, characters and objects are often depicted with colored markers or some kind of placeholders. IMHO, it is also very important to supply any of your game design thoughts with the most detailed visual references (examples). This will greatly simplify understanding with your artists. Refs to the backgrounds are located directly on the location map.
During the whole process, we gather once or twice as a whole team so that I can listen to phrases in the style of "This we will not code in life" or "And here instead of a colony of poisonous unicorns caves there will live berserk jerboas." Based on the results of these mitaps, I humbly make changes to the location configuration.
Well, as soon as everything is ready, discussed and approved - I send the location scheme to the artists. And then the magic is already happening!

From scheme to sketch
I hope the post was useful to you, or at least curious.
If the topic will be interesting to the community, then I still have something to share.
Stay tuned.
I am a game designer and at the moment, together with a small team, I am developing a two-dimensional adventure on Unity3D. The purpose of this publication is to talk about the process of designing locations for our game and the techniques that I use.
Well, in parallel, show you all the stages of development of the location - from the scheme to the final version.
Running a little ahead - this is how a piece of a ready-made location in action looks like.
So, let's start with the title beat-chart. What is it, with what it is eaten, and why is it a very convenient thing.
A bit chart is a one-page document that describes the structure of the entire game (all content, mechanics, narrative, etc.)
With its help, it’s damn convenient to control the progress of the gameplay, making sure that at each location / level the player does not get bored and receives new portions of the game experience, but is not overloaded with information. I use a bit chart in the form of a table, as this is the most convenient form for perceiving such a volume and nature of information.
To create a beat chart for your game, you must:
- Describe all the parameters necessary for each location;
- Make a list of game mechanics and content that you plan to use;
- Accurately distribute content and game mechanics by location, avoiding excessive saturation and explicit spaces, as well as boring repetition of combinations of game elements.
For clarity, we’ll go over my bit chart.
In my case, each location has:
- Name or codename;
- A brief description of the location (time of year and day, color scheme);
- Additional location mechanics (almost every new location has some new global mechanics);
- A brief description of all the events occurring at the location;
- Player progress (on what aspects of the gameplay is focused, what does the player learn, what does he learn about the game);
- Estimated time passing locations;
- Enumeration of content on locations (characters, objects, objects, threats, even specific game mechanics);
- Enumeration of audio content (sounds and music).
Usually, the bit chart also contains brief information about the game economy (how much resources a player can earn at a location and what they can spend, for example).
Having all this scope of information in front of you, it’s very convenient to customize the gameplay so that the player does not get bored.
The basic recommendations for distributing content are simple: do not throw too many things at a time on the player and avoid repeating combinations of game elements.
Okay, we sketched the structure of the game, it's time to move on to the design of individual locations.
I create a plate for one location, partially repeating information from the bit chart, but more detailed. Each location for convenience is divided into "screens". On each screen there are objects / objects / characters / other content.
This is a very old version of the tablet of one of our locations, at the very bottom there is also a diagram of the approximate arrangement of the screens ...
... which I then transfer to Illustrator. Now we have an empty “map” of the location and a list of all-all-all pieces that should be located on it. It's time to put everything in its place!
Very often, the initial location configuration changes. Elements and their relationships disappear, add, change their location. This is a normal process exactly until the rest of the team has started embodying the level in the game. The later changes are made to the original plan, the more expensive they are, so it is important to try to take into account the maximum details in advance.
This is how the level diagram looks after I depicted all the objects and the landscape on it.
Even if an artist from you is just as deplorable as from me, information is always easier to perceive in a visual form. This is an important point that should not be neglected. By hand, I usually draw only landscape, characters and objects are often depicted with colored markers or some kind of placeholders. IMHO, it is also very important to supply any of your game design thoughts with the most detailed visual references (examples). This will greatly simplify understanding with your artists. Refs to the backgrounds are located directly on the location map.
During the whole process, we gather once or twice as a whole team so that I can listen to phrases in the style of "This we will not code in life" or "And here instead of a colony of poisonous unicorns caves there will live berserk jerboas." Based on the results of these mitaps, I humbly make changes to the location configuration.
Well, as soon as everything is ready, discussed and approved - I send the location scheme to the artists. And then the magic is already happening!
From scheme to sketch
I hope the post was useful to you, or at least curious.
If the topic will be interesting to the community, then I still have something to share.
Stay tuned.