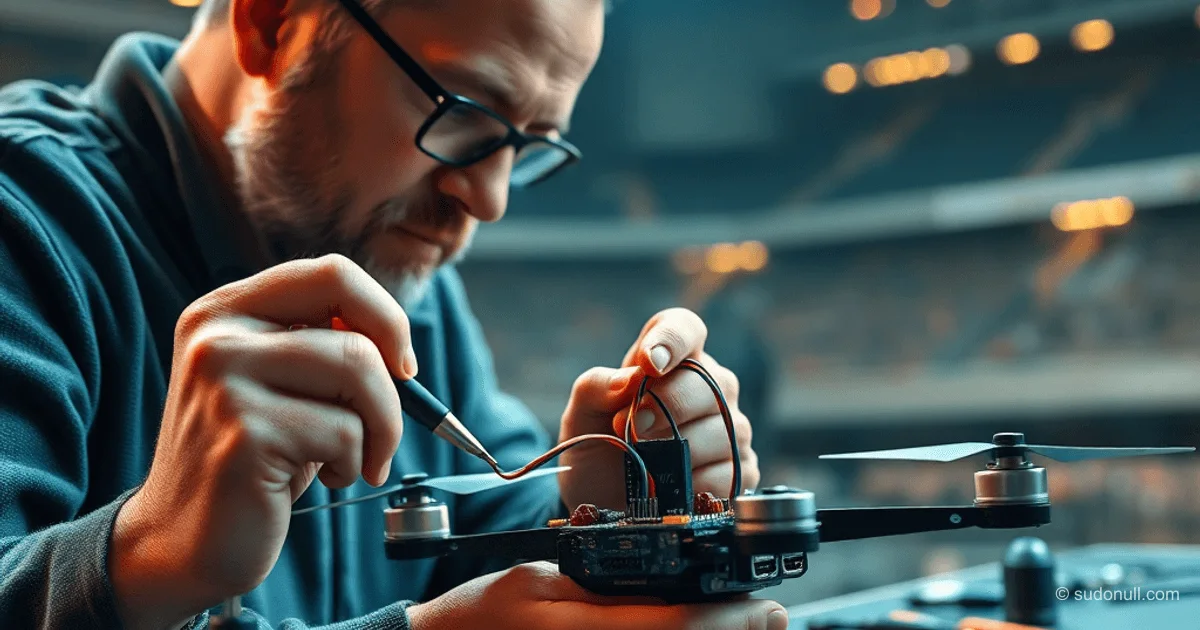
# Connecting the InfiRay P2 Pro Thermal Camera to an FPV Drone on Raspberry Pi Zero 2W
The Raspberry Pi Zero 2W lets you integrate the InfiRay P2 Pro thermal camera into an FPV quadcopter, outputting the image to an analog VTX for transmission to the pilot's goggles. The solution is based on reverse engineering the camera's protocol and scripts for processing video using OpenCV. Basic soldering, Linux setup, and programming experience required.
Preparing the Raspberry Pi
Install Raspbian Bullseye 64-bit using Raspberry Pi Imager. Select the OS in the "Other" section, specify the storage, set up SSH, VNC, Wi-Fi, and credentials (admin:admin).
After writing to the card, connect power. The Pi boots in 1-2 minutes and appears in the router's DHCP list. Connect via SSH using PuTTY and update the system:
sudo apt update && sudo apt -y upgrade && sudo apt -y autoremove
sudo apt -y install realvnc-vnc-server realvnc-vnc-viewer
Enable VNC and composite video output:
sudo raspi-configGo to Interface Options > VNC (enable), Display Options > D6 Composite (NTSC).
Disable Bluetooth to reduce power consumption. Connect via VNC Viewer to the Pi's IP address.
Expanding SWAP and Installing Software
The Raspberry Pi Zero 2W has 512 MB RAM, which isn't enough for installation. Increase swap to 2048 MB with this patch:
wget --no-check-certificate 'https://docs.google.com/uc?export=download&id=1llGY-OybNOsNHqaNSDE41J3_K0kga2zj' -O raspberry-swap-file-2048.diff
sudo dphys-swapfile swapoff
sudo patch /etc/dphys-swapfile < raspberry-swap-file-2048.diff
sudo dphys-swapfile setup
sudo dphys-swapfile swapon
Download and run the installer for the thermal camera:
wget --no-check-certificate 'https://docs.google.com/uc?export=download&id=1DUug7rpHFosw0n5j6SoHpa5NtMTPPydg' -O fpv-diy-thermal-camera-pi-installer-cerritos-v003b-catch22mania.tar.gz
tar -xvzf fpv-diy-thermal-camera-pi-installer-cerritos-v003b-catch22mania.tar.gz
cd fpv-diy-thermal-camera-pi-installer-cerritos-v003b-catch22mania
bash installer-cerritos-v003b.sh
bash update-ptc-script-testing-cerritos-003b.sh
bash update-read_sbus-testing-cerritos-003b.sh
Alternative—one-liner script:
wget --no-check-certificate 'https://docs.google.com/uc?export=download&id=1XUnnOhHUMqBvGSxotxQI0_1ok1tmWJLa' -O 'prepare-raspberry-pi-zero2w.bash' && bash ~/prepare-raspberry-pi-zero2w.bashAfter installation, scripts appear in ~/testing, and starter.sh launches the system.
Components for assembly:
- FPV quadcopter 3.5"+ (Happymodel Crux35)
- Raspberry Pi Zero 2W
- InfiRay P2 Pro
- USB Type-C to Micro-USB adapter (DIY, 26-28 AWG wires)
- VIFLY Cam Switcher
- Step-down DC-DC to 5V
- Soldering iron
Assembling the Adapter
Connect USB Type-C "female" (JRC-B008, shortened board) and Micro-USB "male". Wires: red (+5V), black (GND), yellow (D+), blue (D-). Minimize weight—use thin wires and compact connectors.
Connect to the Pi Zero 2W Micro-USB port. The thermal camera connects to the adapter.
The VIFLY switcher allows switching between the regular FPV camera and thermal video.
Setting Up Scripts and Launching
Scripts (@leswright1977, @catch22mania) use OpenCV (cv2) to decode the InfiRay P2 Pro protocol and output to composite NTSC. Processing includes PTC calibration (Point-of-Care Temperature Compensation?).
Launch:
cd ~/testing
./starter.sh
Thermal camera video outputs to the Pi's analog port and feeds into the quadcopter's VTX. Analog signal offers greater range than Wi-Fi.
Limitations of the solution:
- High setup complexity
- Fragile construction
- Increased weight and power draw
For professional tasks, use ready-made thermal drones.
Key Points
- Increase swap to 2048 MB before installing software.
- Use a DIY lightweight USB adapter to reduce weight.
- Enable composite output in raspi-config for VTX.
- Test on Happymodel Crux35 or similar with thrust margin.
- Scripts are ready after the installer—check ~/testing.
— Editorial Team










No comments yet.