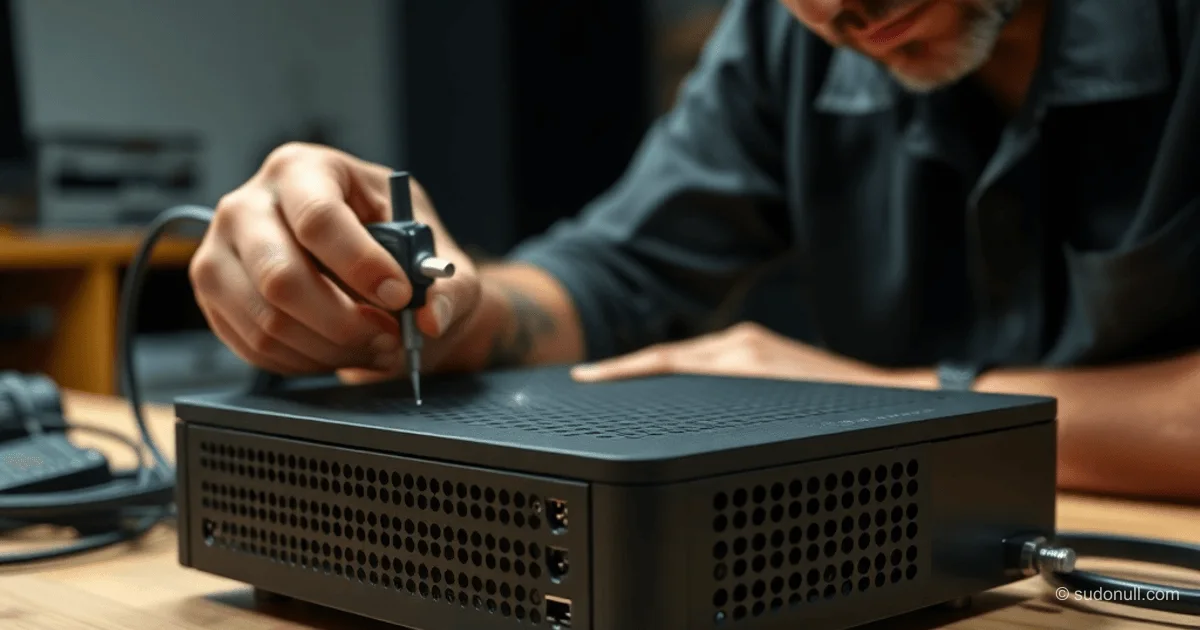
Cooling Upgrade for MikroTik hAP ac2: Easy DIY Case Mod
The MikroTik hAP ac2, with its quad-core CPU and Wi-Fi chips, runs hot under load due to its tiny soft-touch case and barely-there ventilation. Switching to OpenWRT makes it worse: ath10k_hwmon sensors hit 72–77°C on the main router and 65–73°C on the backup when mounted near the ceiling. Replacing the thermal paste and drilling vent holes drops temps by 5–9°C—no fancy tools needed.
Disassembling Without Damage
The case is held by two clips. Best method: Plug factory patch cables with molded connectors into the ports, hold the case steady, and yank the cables sharply—the internals slide out without a screwdriver.
Flathead screwdriver alternative: Carefully pry the top and bottom clips with the tip to avoid cracking the plastic. Pull out the board with its frame. Flip it over to find the heatsink on thermal paste.
Replacing Thermal Paste on the Heatsink
The heatsink is secured by three screws. After 5 years, the paste had dried out and spread unevenly, especially on the board's PCB.
- Remove the heatsink.
- Wipe off old paste.
- Apply fresh paste in fat dots to cover imperfections.
- Spread with circular motions before securing.
- Screw in loosely at first, then tighten evenly.
This boosts heat transfer from the board's underside.
Drilling Vents for Better Airflow
Goal: Rows of holes top and bottom for natural convection. Skip the base and top to avoid dust buildup; side holes shine in vertical setups on a stand.
Inside: Side ribs and LED guides stick out 15 mm from the panel. Use a 6-mm bit with these offsets:
- 20 mm from front panel (accounting for 3 mm bit radius).
- 18 mm from top/bottom.
- 15 mm center-to-center spacing.
Marking: Calipers at 20 mm, lines parallel to edges, punch with awl. Drill straight through with a hand drill on metal setting over wood. Deburr with screwdriver/nail—soft-touch finish scratches easily.
Mistakes to avoid:
- No 10-mm chamfer bits—leaves deep burrs.
- Burr tools give so-so results.
- Single-side marking causes exit misalignment.
Results and Measurements
After reassembly and 4+ hours under load (streaming FHD video):
| Router | Temp BEFORE (°C) | Temp AFTER (°C) | Drop (°C) |
|--------|------------------|-----------------|-----------|
| 1 | 72 | 65 | 7 |
| 1 | 77 | 68 | 9 |
| 2 | 65 | 60 | 5 |
| 2 | 73 | 67 | 6 |
Average drop: 8°C on the hotter unit, 5.5°C on the other. Takes 15 min per router (screwdriver, drill, 6-mm bit).
Key Takeaways
- Vents + paste cut temps 5–9°C—no fans or USB hacks.
- Vertical mounting boosts airflow.
- 20 mm offsets keep internals safe.
- Skip chamfers—simple deburring works best.
- OpenWRT tracks CPU load and temp1 out of the box with packages.
— Editorial Team










No comments yet.