A short course in computer graphics, add-on: GLSL
- Tutorial
Official translation (with a bit of polishing) is available here.
Another introductory article for beginners to program real-time graphics
I once had the task of (quickly) visualizing molecules. For example, a molecule can be represented simply as a set of spheres like this one:
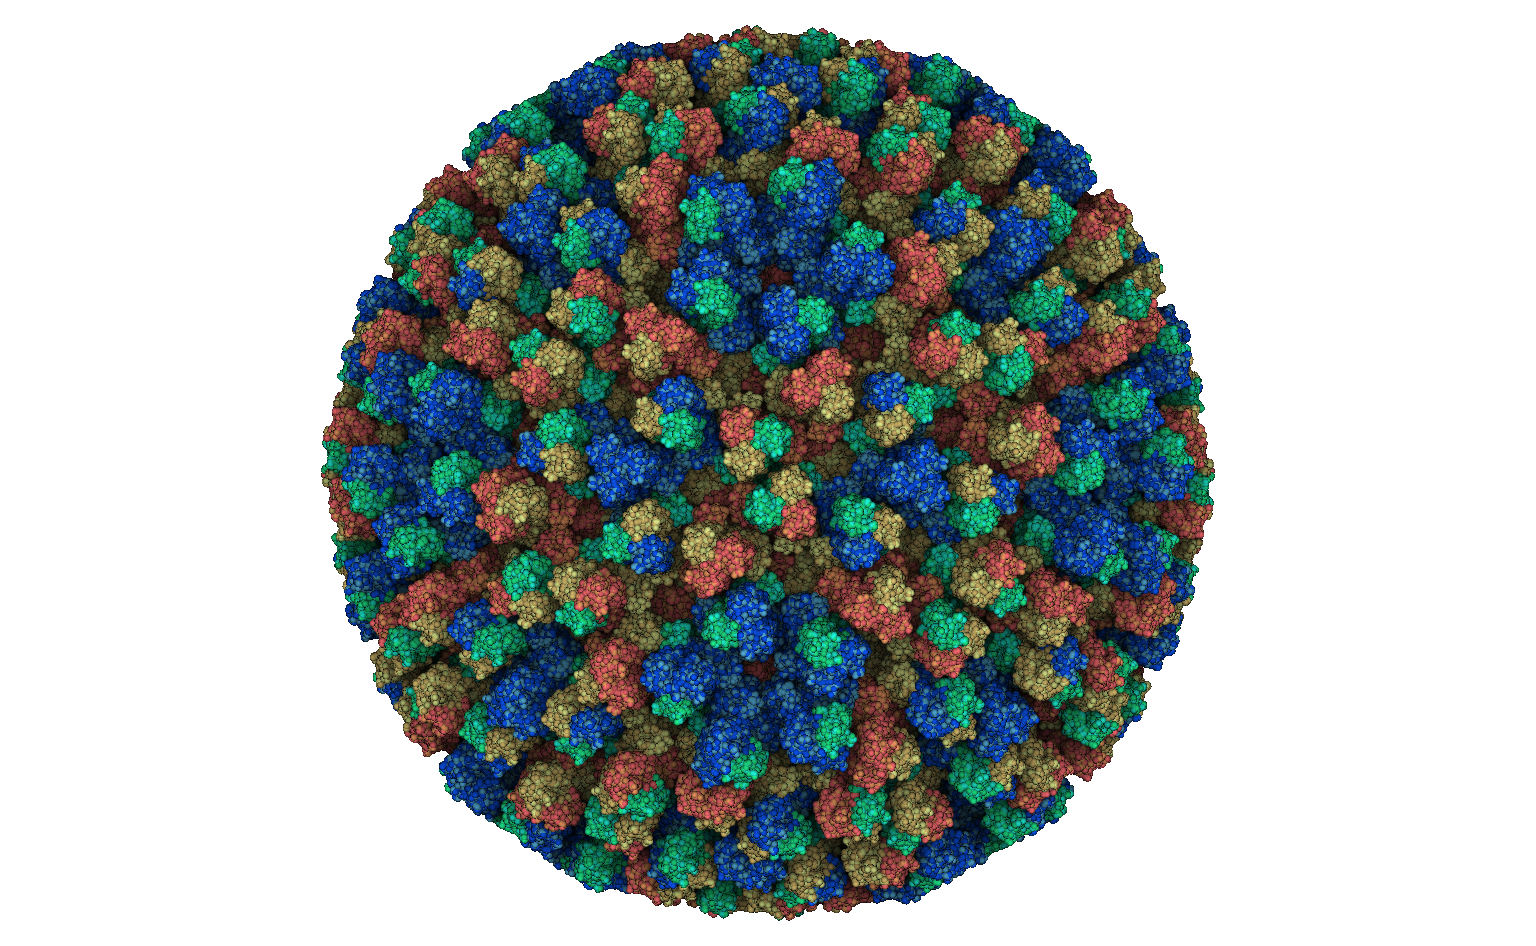
Specifically, this virus consists of about three million atoms. You can download his model on the wonderful site rcsb.org .
This is a great topic for training shaders.
To get started, I'll just show how OpenGL is called and how our shader code links to it.
Opengl helloworld
As usual, I created a repository for the companion code. OpenGL itself does not have a normal cross-platform way to create a context for rendering, so here I use the GLUT library to create a window, although I do not really do any user interaction. In addition to GLUT, for this tutorial we need GLU and GLEW libraries.
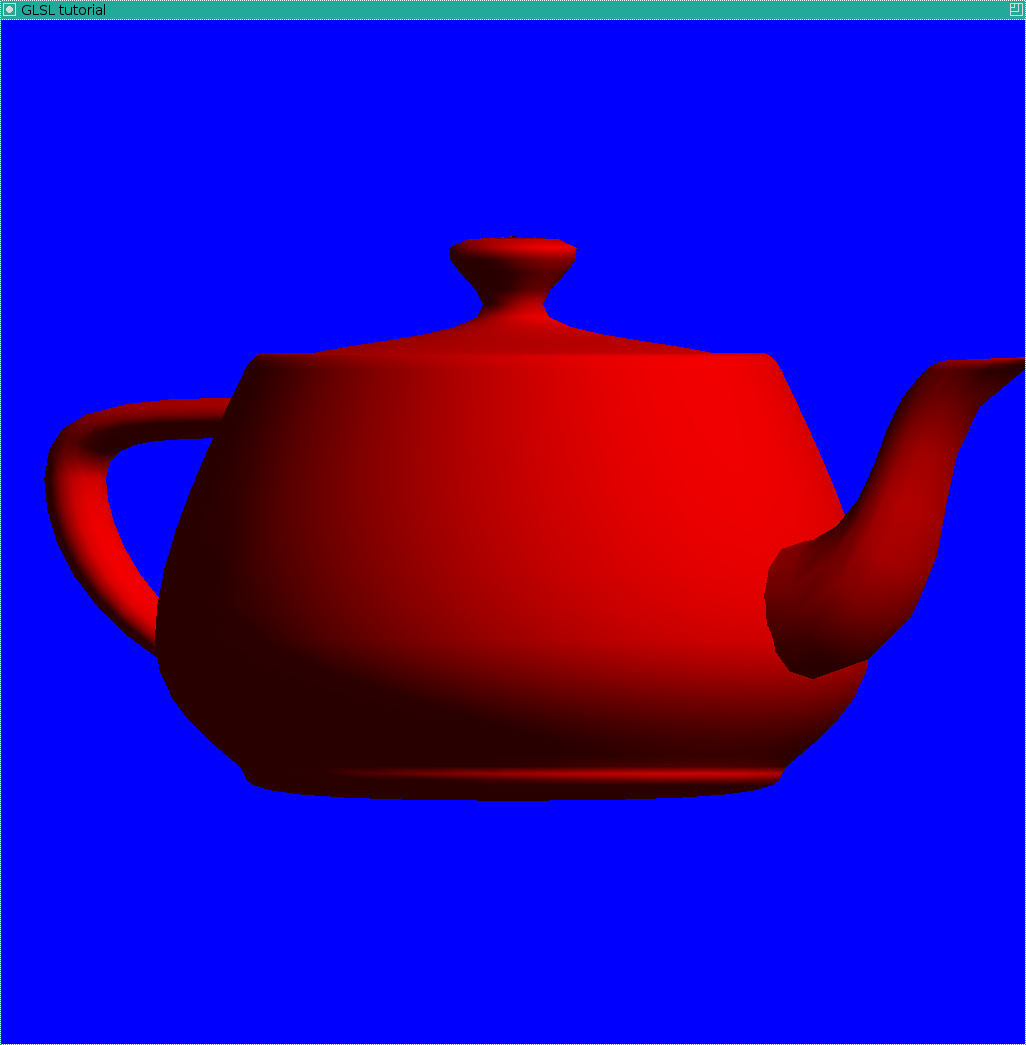
Here is the simplest program that draws a kettle :
Hidden text
#include
#include
#include
#include
const int SCREEN_WIDTH  = 1024;
const int SCREEN_HEIGHT = 1024;
const float camera[]           = {.6,0,1};
const float light0_position[4] = {1,1,1,0};
void render_scene(void) {
	glClear(GL_COLOR_BUFFER_BIT | GL_DEPTH_BUFFER_BIT);
	glLoadIdentity();
	gluLookAt(camera[0], camera[1], camera[2], 0,  0, 0, 0, 1, 0);
	glColor3f(.8, 0., 0.);
	glutSolidTeapot(.7);
	glutSwapBuffers();
}
void process_keys(unsigned char key, int x, int y) {
	if (27==key) {
		exit(0);
	}
}
void change_size(int w, int h) {
	glMatrixMode(GL_PROJECTION);
	glLoadIdentity();
	glViewport(0, 0, w, h);
	glOrtho(-1,1,-1,1,-1,8);
	glMatrixMode(GL_MODELVIEW);
}
int main(int argc, char **argv) {
	glutInit(&argc, argv);
	glutInitDisplayMode(GLUT_DOUBLE | GLUT_RGB | GLUT_DEPTH);
	glutInitWindowPosition(100,100);
	glutInitWindowSize(SCREEN_WIDTH, SCREEN_HEIGHT);
	glutCreateWindow("GLSL tutorial");
	glClearColor(0.0,0.0,1.0,1.0);
	glutDisplayFunc(render_scene);
	glutReshapeFunc(change_size);
	glutKeyboardFunc(process_keys);
	glEnable(GL_COLOR_MATERIAL);
	glEnable(GL_DEPTH_TEST);
	glEnable(GL_LIGHTING);
	glEnable(GL_LIGHT0);
	glLightfv(GL_LIGHT0, GL_POSITION, light0_position);
	glutMainLoop();
	return 0;
}
Let's understand, and we will begin right away with main ().
- The first line simply initializes the library, the second says that we will use a double framebuffer, colors and a z-buffer.
- Then we give the size, location and title of the window and the background color, in this case blue.
- Then the interesting things begin: glutDisplayFunc, glutReshapeFunc and glutKeyboardFunc set callbacks to our code, which will be called during events of redrawing the screen, changing the geometry of the window and processing the keyboard.
- Then we include a certain set of checkboxes that simply say that yes, we will have one light source, that yes, the z-buffer should be used, and so on.
- Well, the final chord is to call the main window processing cycle, while glutMainLoop is working, the operating system shows our window.
The keyboard processing is the simplest, I (somewhat brutally) exit the program when I press the ESC key. When changing the geometry of the window, I tell OpenGL that our projection is still orthogonal, and that it should display a square with the coordinates [-1,1] x [-1,1] in the full size of the window.
The most interesting thing we have in the render_scene () function.
- First we erase the screen and the corresponding z-buffer
- then we zero out the ModelView matrix and load the current position of the camera into it (in this case it is unchanged, so we could define it in main ())
- Set the red color
- Draw a kettle
- switch screen buffers
As a result, we should get this picture:
GLSL helloworld
Here you can find the source for the simplest use of shaders. Github has a very convenient version comparison tool, see what exactly I changed .
The picture should look like this:

What exactly was added in the code? To start, two new files were added: frag_shader.glsl and vert_shader.glsl, written not in C ++, but in GLSL . This is the shader code that will be fed directly to the graphics card. And in main.cpp, a binding was added that tells OpenGL that these shaders should be used.
Namely, the prog_hdlr handler is created, and previously read from text files and then compiled vertex and fragment shaders are linked to it.
We draw a "molecule" using the standard OpenGL
So, we learned how to call the OpenGL context and link shaders to it. Let's set them aside and draw tens of thousands of randomly spheres. I want to keep the code as simple as possible, and therefore I will not load the real molecule, although the .pdb format is quite textual and very simple. The task is as follows: let's just draw a large number of randomly spheres of random color.
Here is a commit that does not use shaders, but simply draws ten thousand spheres by calling glutSolidSphere ().
Do not forget to look at the changes. I added an atoms array that contains arrays of seven elements: the first three are the coordinates of the center of the current atom, then its radius, and then three more its color.
Here's a picture like this:

Personally, it hurts me to look at this picture: the intersection of two spheres is an arc of a circle, and here we have everything, but not a circle. This is a consequence of the fact that we drew each sphere with sixteen parallels and sixteen meridians, that is, approximately five hundred triangles for each sphere. And in addition to the poor quality of the picture, we still have a direct question of efficiency: if we want to draw ten million atoms, then we will need to send out five billion triangles, which starts to hit painfully on the bus bandwidth.
Can shaders help us?
They can! Shaders are not only a change in lighting, although they were originally intended to do just that. I want to minimize data transfer between the CPU and the GPU, so I will send only one vertex to each sphere that needs to be drawn.
I am writing code under the old GLSL # 120, because I need it to run on very old machines, the new GLSL has a slightly different syntax, but the general ideas are strictly the same.
Here is the code drawing the same areas, but using shaders.
So what is the idea?
To begin with, on the CPU side, we send one vertex to each sphere that needs to be drawn.
If we don’t write any shaders, then we get the following picture:
Hidden text
Further in the vertex shader we can change gl_PointSize, this will give a set of squares as a result:
Hidden text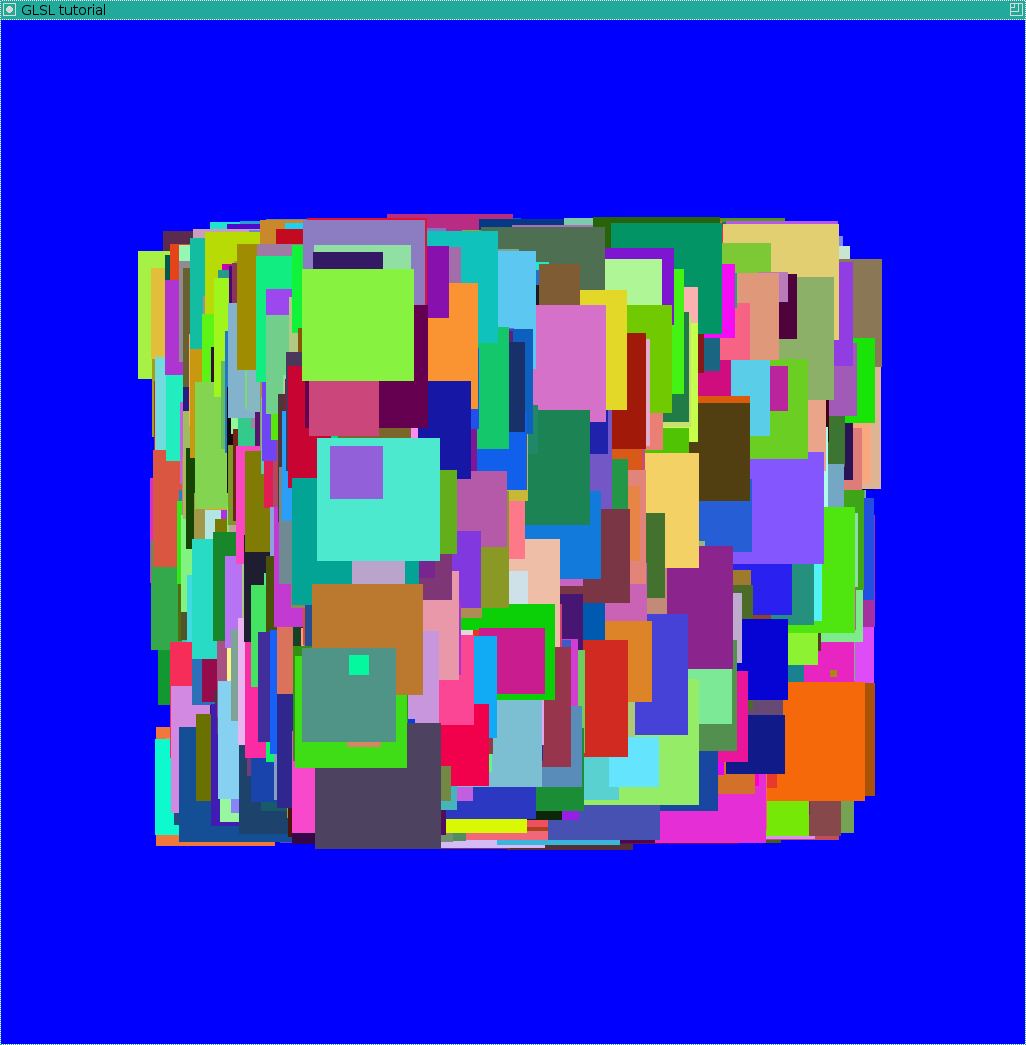
Please note that the fragment shader will be executed for each pixel of the square!
That is, now everything is very simple, we consider how far the given pixel of the square is far from the center, if
it exceeds the radius of the sphere, then we call discard:
Hidden text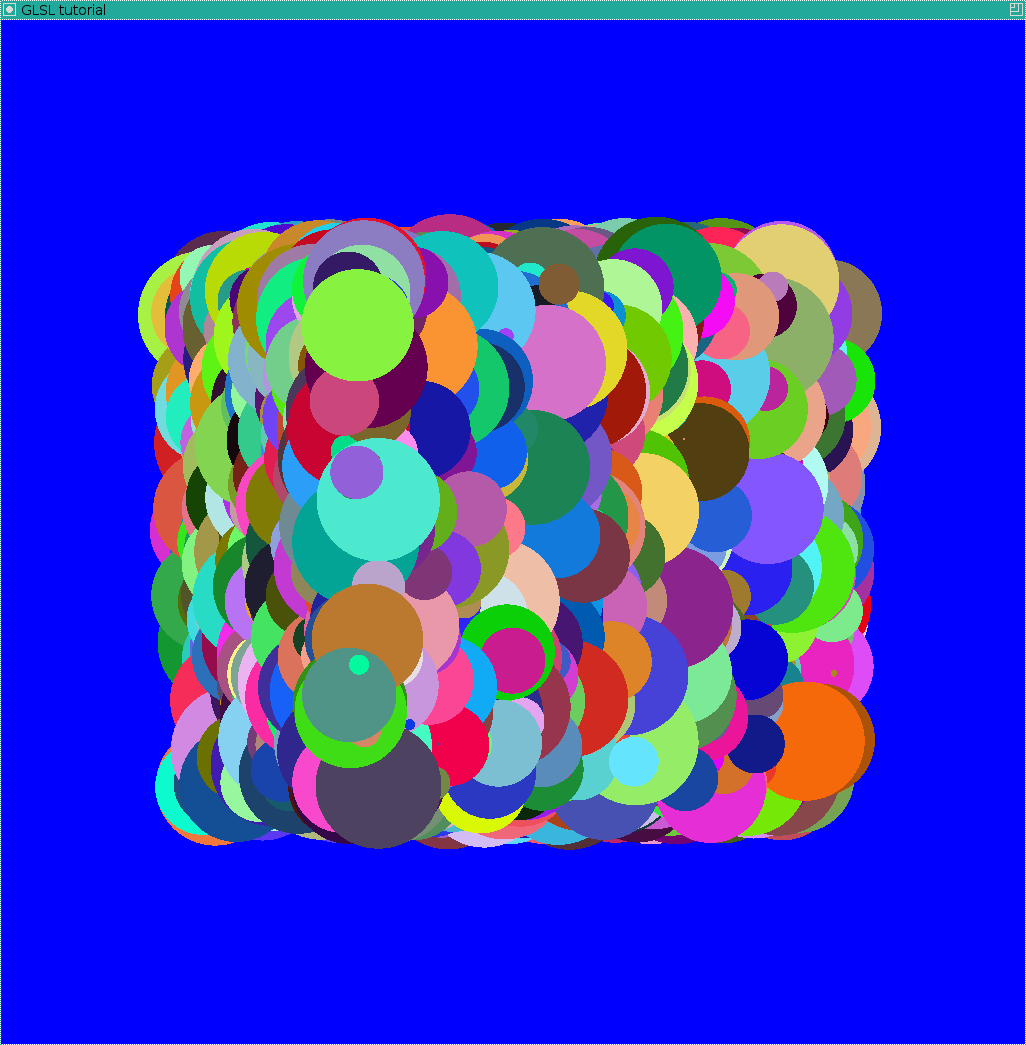
Got a set of flat confetti that pass through the center of each sphere.
Interestingly, we have the right to change the depth of each fragment:
Hidden text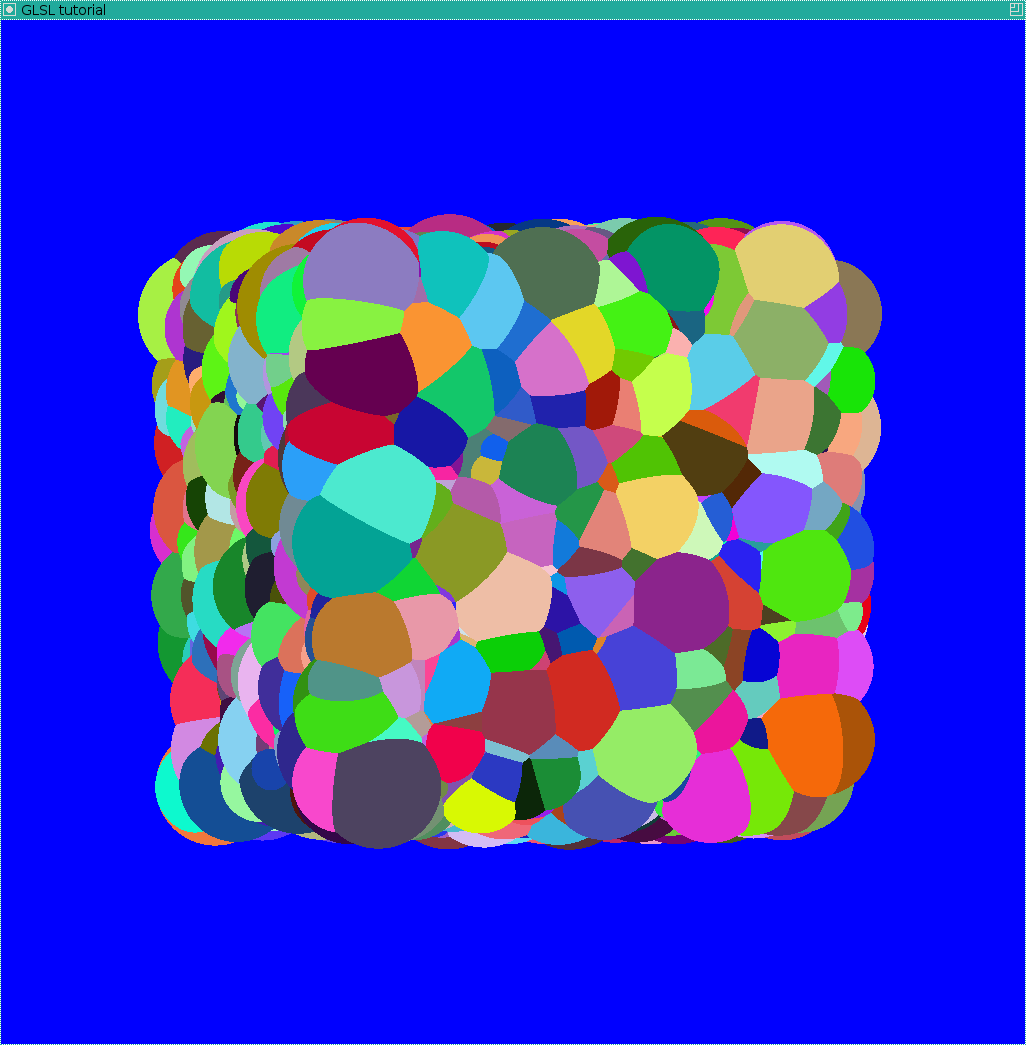
It remains only to calculate the lighting, such a picture will turn out as a result:
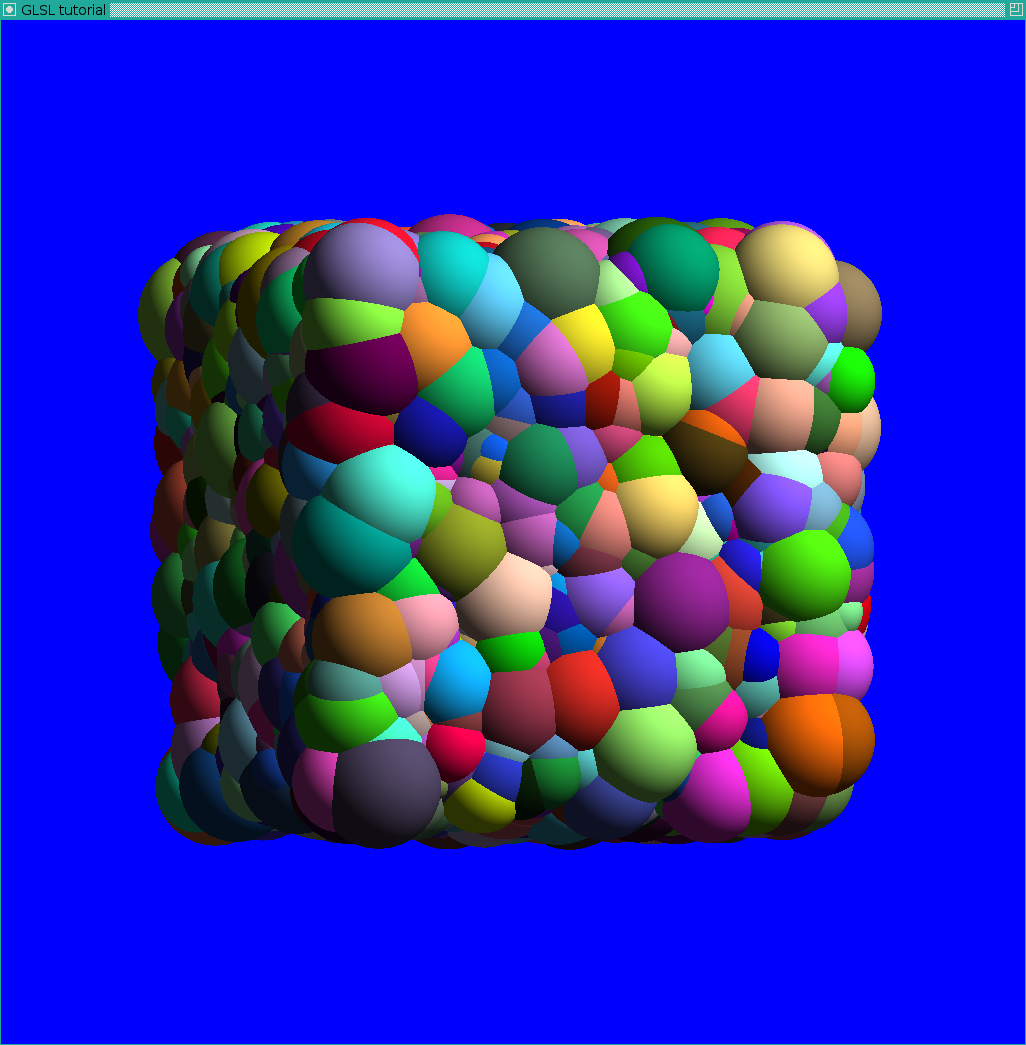
Compare it with the picture where we painted triangulated spheres. The image is much more accurate and much faster drawn.
Now it remains to add a reading of the .pdb file, screen-space ambient occlusion and you will get the title image of this article.
For those who want to understand how to draw spheres using shaders, but with perspective, and not with glOrtho, there is a great article .