VDI no hassle based on Microsoft Azure RemoteApp
Last December, Microsoft Azure RemoteApp moved from preview to commercial availability. In essence, RemoteApp allows any organization to quickly deploy a terminal server infrastructure and publish corporate applications for remote access through RDP on it. Only this infrastructure is built not on local servers and organization storage, but on the basis of virtual machines (VMs) and Microsoft Azure cloud storage. In this article I will tell you how to implement the simplest scenario of using RemoteApp. More information can be found in the course “ Using Applications Anytime Anywhere Using Azure RemoteApp ” on the MVA portal.
Let's imagine that mobile workers in an organization need access to a specific set of business applications. Ideally, from anywhere, wherever they are, and from any device, whatever operating system is used on it. Perhaps we will get the maximum solution close to ideal by deploying a terminal server, installing the necessary applications on it and publishing them using Remote Desktop Services. The RDP client is now available for all major platforms: Android, iOS, Windows, Windows Phone, so you can practically talk about "any device." Well, for "any place" we will make a reservation - any where there is an Internet connection. This solution is familiar and understandable to IT professionals, provides the necessary level of security, since servers and applications are monitored and updated centrally,
But everything has a downside. The obvious drawbacks of the proposed approach may be cost and scalability. Depending on the complexity and resource consumption of published applications and the number of users who connect to them, you may need not one server, but several, but with good storage, and the price of the question can put an end to the whole beautiful idea. But even if we have / acquired the necessary capacities, will we be able to serve more users / applications if necessary? How quickly can you increase the capacity of a solution and, again, at what price?
Now let's imagine that the described solution is implemented not in the local IT infrastructure of the organization, but in the cloud; scalable on demand, and very quickly; provides SLA; paid by consumption. Exactly this is what Microsoft Azure RemoteApp service offers. From a technical point of view, Microsoft Azure raises one or more VMs with Windows Server 2012 R2 and the RDS role. The image on the basis of which the VMs are created, you prepare in your local network. In this image, you add the applications you need and upload the image to Microsoft Azure. Such images can be created as much as necessary. On the Microsoft Azure management portal, it remains to specify which applications to make available (publish) and for whom (to give access to users of the organization). And if the components of Microsoft Office act as published business applications, then you do not need to prepare an image either, Microsoft Azure will do everything for you. Sounds tempting? Let's see how it works.
There are two deployment options for Microsoft Azure RemoteApp: cloud and hybrid.
In the case of cloud deployments, the VMs raised in Microsoft Azure are in no way related to your on-premises infrastructure. Well, almost nothing. That is, it is understood that business applications inside the VM do not require a local Active Directory or any other components of the local network for their work.
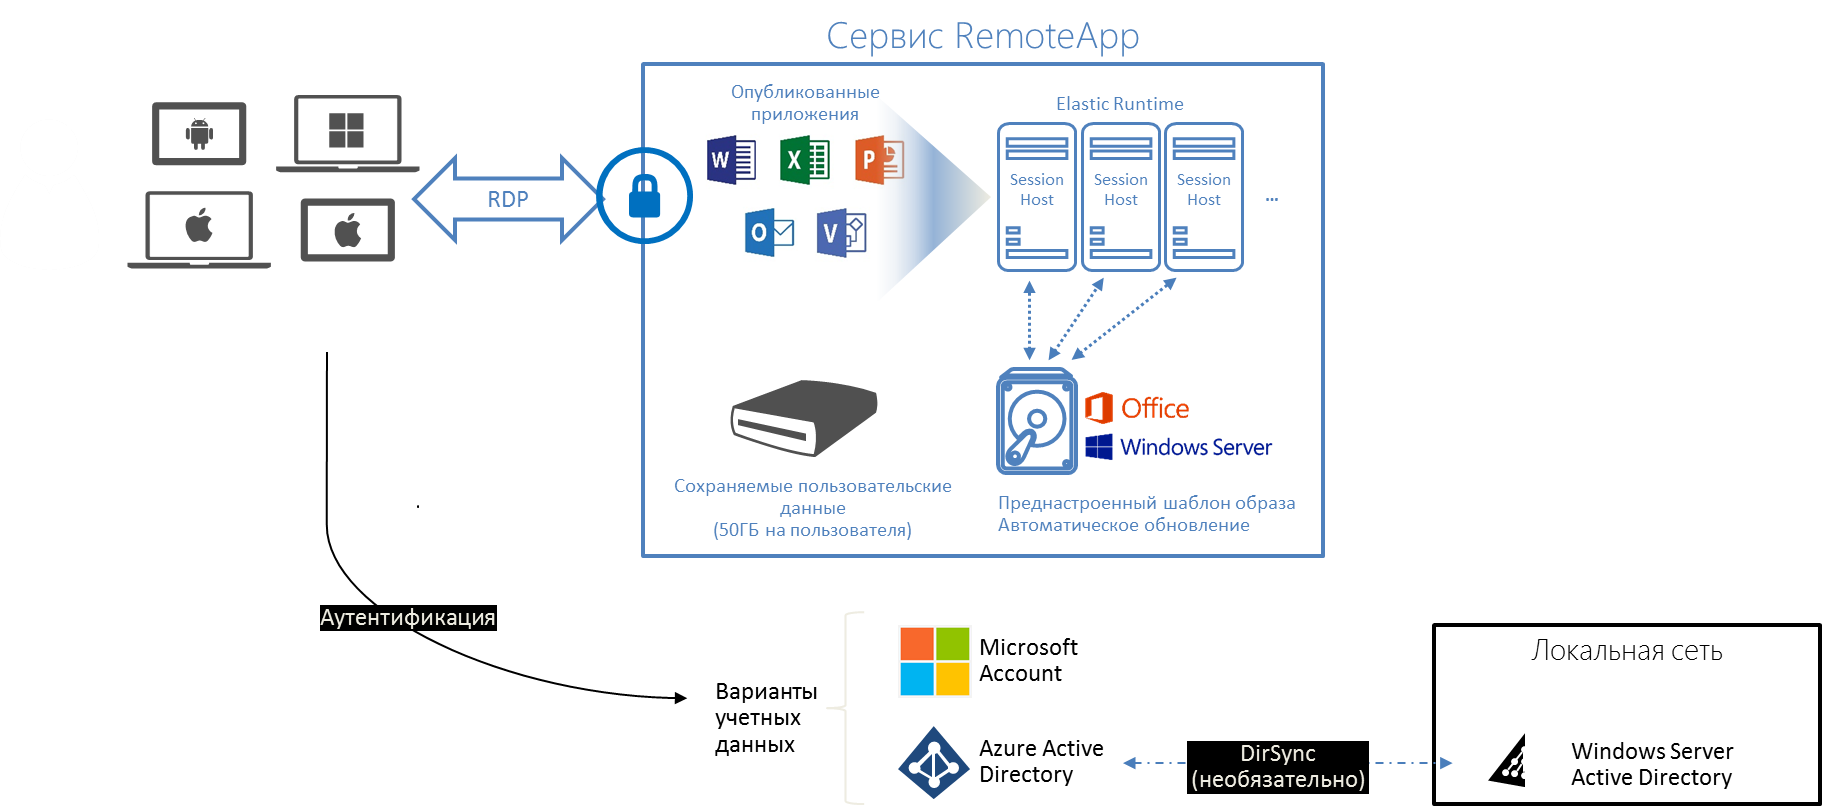
The question is, which users can connect to applications published in this way? As you can see from the figure, you can use Microsoft account for authentication, or local Active Directory entries. In the latter case, there is still some connection with the local infrastructure, and it involves synchronizing the organization’s AD directory with Microsoft Azure. How this synchronization is configured, I describe in detail in the second module of the course " Corporate devices. How to manage hybrid credentials . ”
When using the cloud deployment option, you can upload your VM image with installed applications to Azure or choose a ready-made image. At the time of this writing, Microsoft Azure RemoteApp has two ready-made images available: with Windows Server 2012 R2 and with Windows Server 2012 R2 and pre-installed Office 365 applications (you must have an Office 365 subscription). You update your image yourself; for the finished image, automatic updating is supported (service packs, fixes, etc.).
In the hybrid deployment option, the VMs raised in Microsoft Azure associate a VPN tunnel with your local network and, moreover, are included in your local AD domain. Authentication when connecting to published applications in this case should be based on domain accounts, and therefore setting up AD directory synchronization with Microsoft Azure is already a requirement.
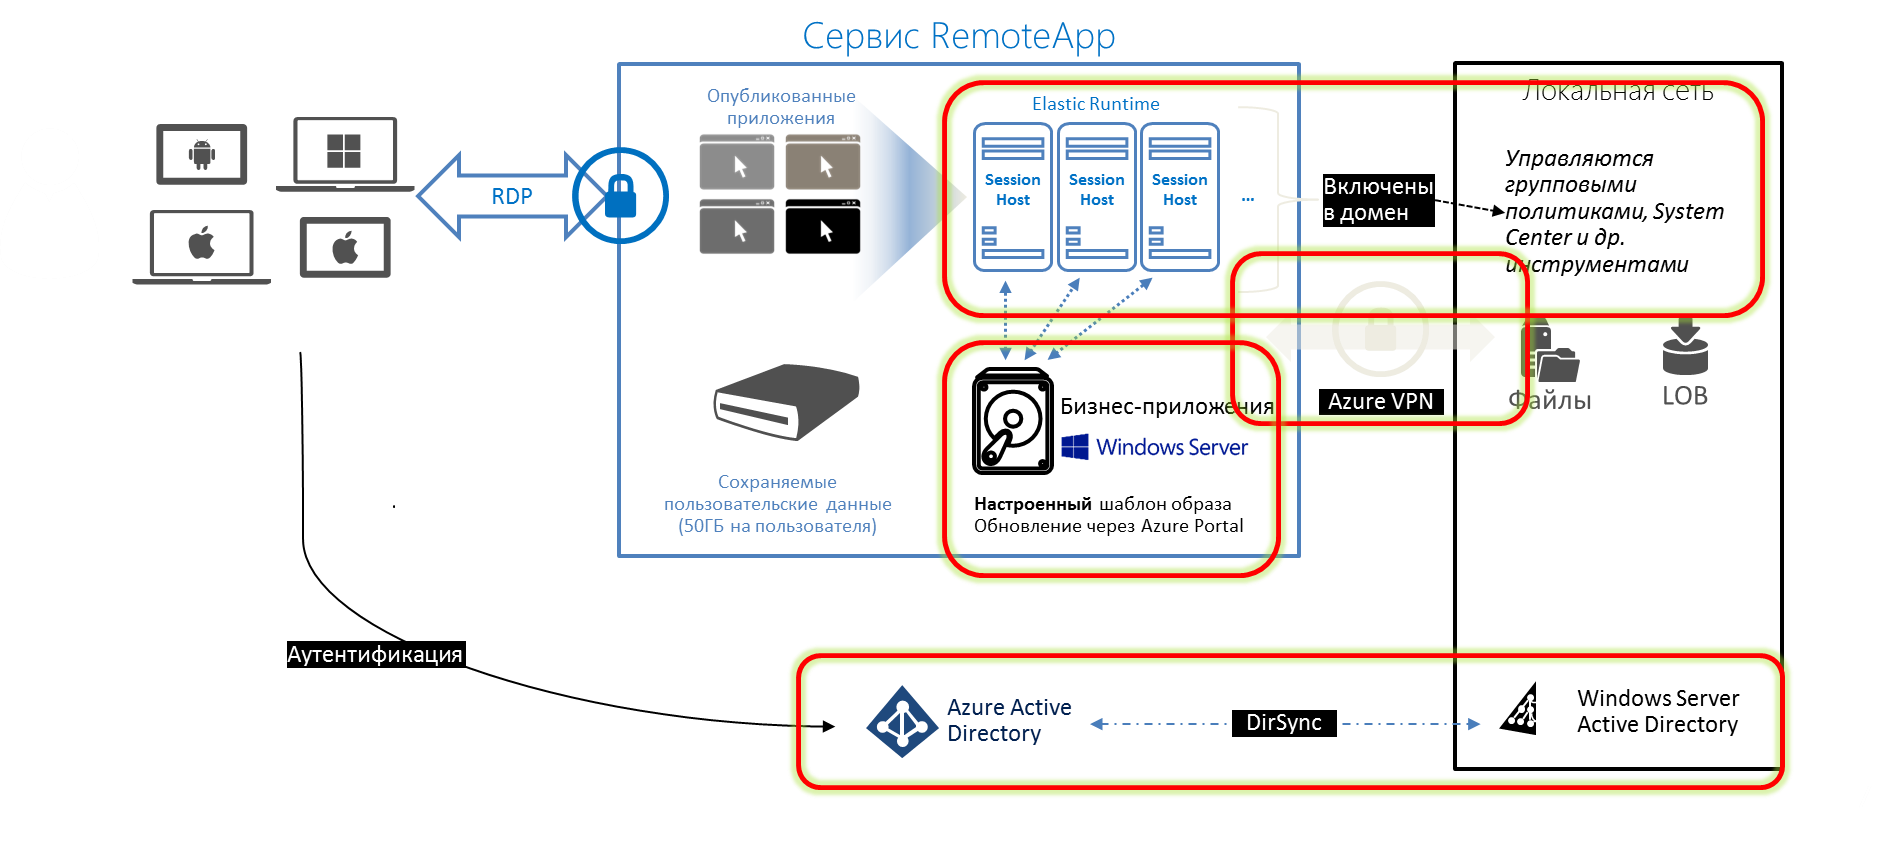
In the hybrid model, you need to upload your prepared image with the right set of applications to the cloud. But since a tunnel with a local network is supported, it can really be any business application of the organization, including those that depend on other services and applications of the domain network. RemoteApp VMs in a hybrid deployment just look like another IP segment of your infrastructure.
Now let's say we need remote access to the office suite, and step by step we will perform a cloud deployment of Microsoft Azure RemoteApp. This is the easiest and most visual way to get to know the new Microsoft cloud service.
Cloud deployment consists of 4 steps:
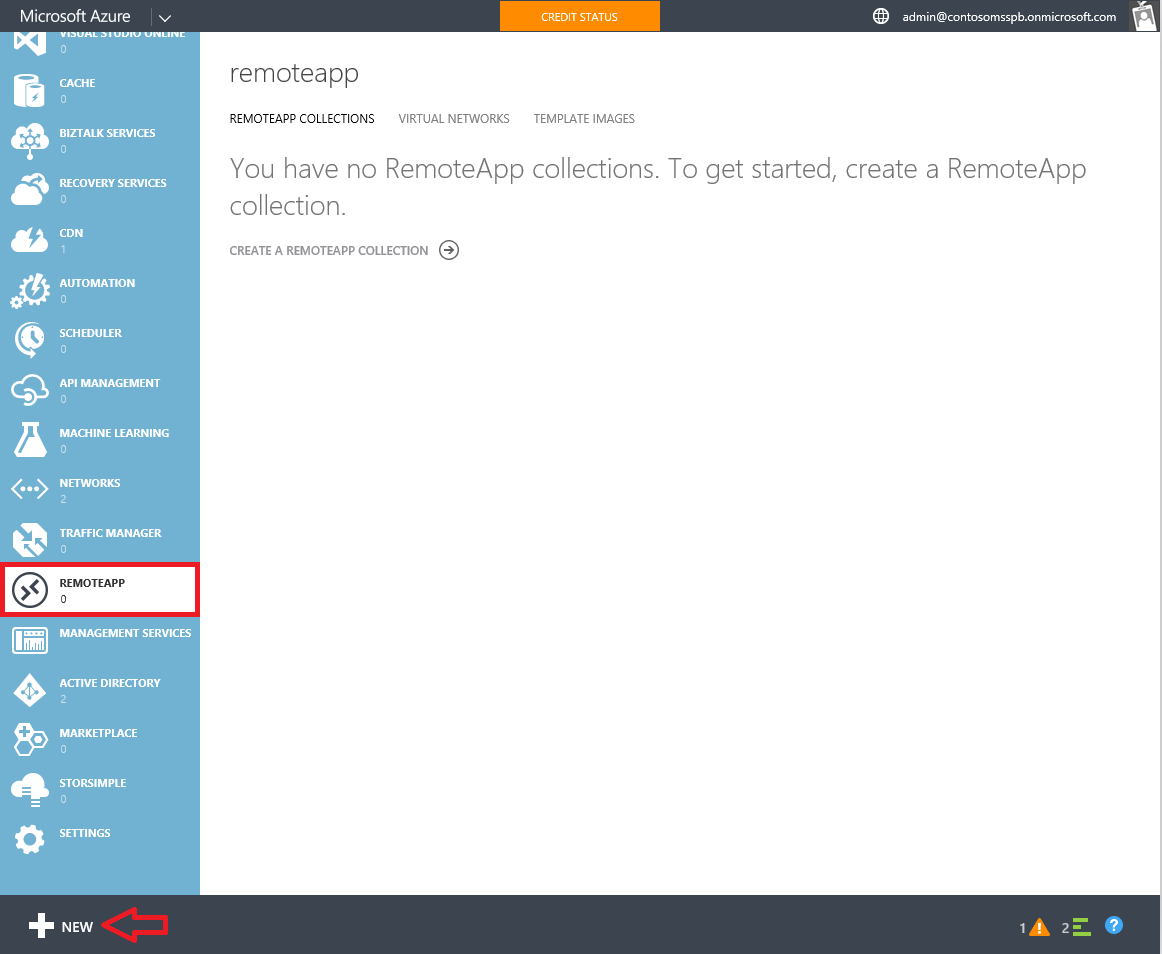
We go to the Microsoft Azure management portal , select the REMOTEAPP section , in the lower left corner click NEW .
For cloud deployment, select QUICK CREATE ( CREATE WITH VPN , respectively, for the hybrid model). You must specify the name of the collection to be created, select a region, plan and image. In this case, a ready-made image with preinstalled Office 365
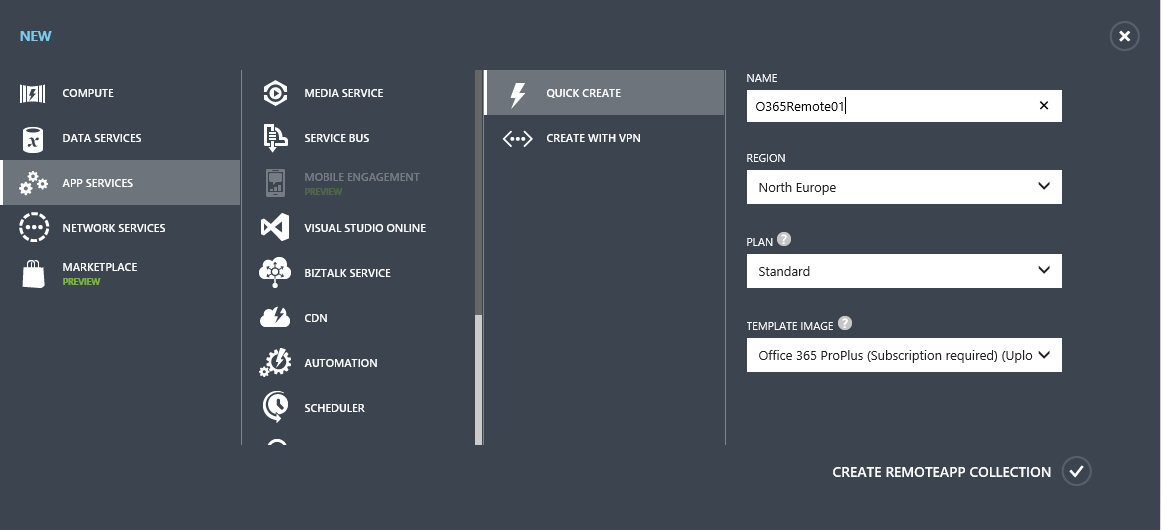
is selected. The plan is available in two types, basic and standard. The basic one assumes the launch of relatively lightweight applications, for example, web applications, front-end applications for data input, etc. The standard plan is better suited for more heavy applications, such as Microsoft Office. Plans are differentfor the price and the maximum number of connected users, 400 users for the basic plan, 250 for the standard one.
Creating a collection takes about half an hour. Once you see “Active” in the STATUS column, you can start using the collection.

Let me remind you that for the cloud deployment option, you can use authentication based on Microsoft Account, or domain accounts. In the latter case, you must configure the synchronization of local AD and Azure Active Directory. I will not dwell on this process in detail, details can be found here or in the hybrid credential management course mentioned above.
We click on the created collection and on the Quick Start page we see the next steps that need to be taken.

The figure shows that both the publication and the access configuration have already been completed. This is due to the fact that when we deployed the collection, we chose a ready-made image. As a result, the Microsoft Azure wizard raised the VM, published office applications, and granted access to the account on behalf of which it was deployed.
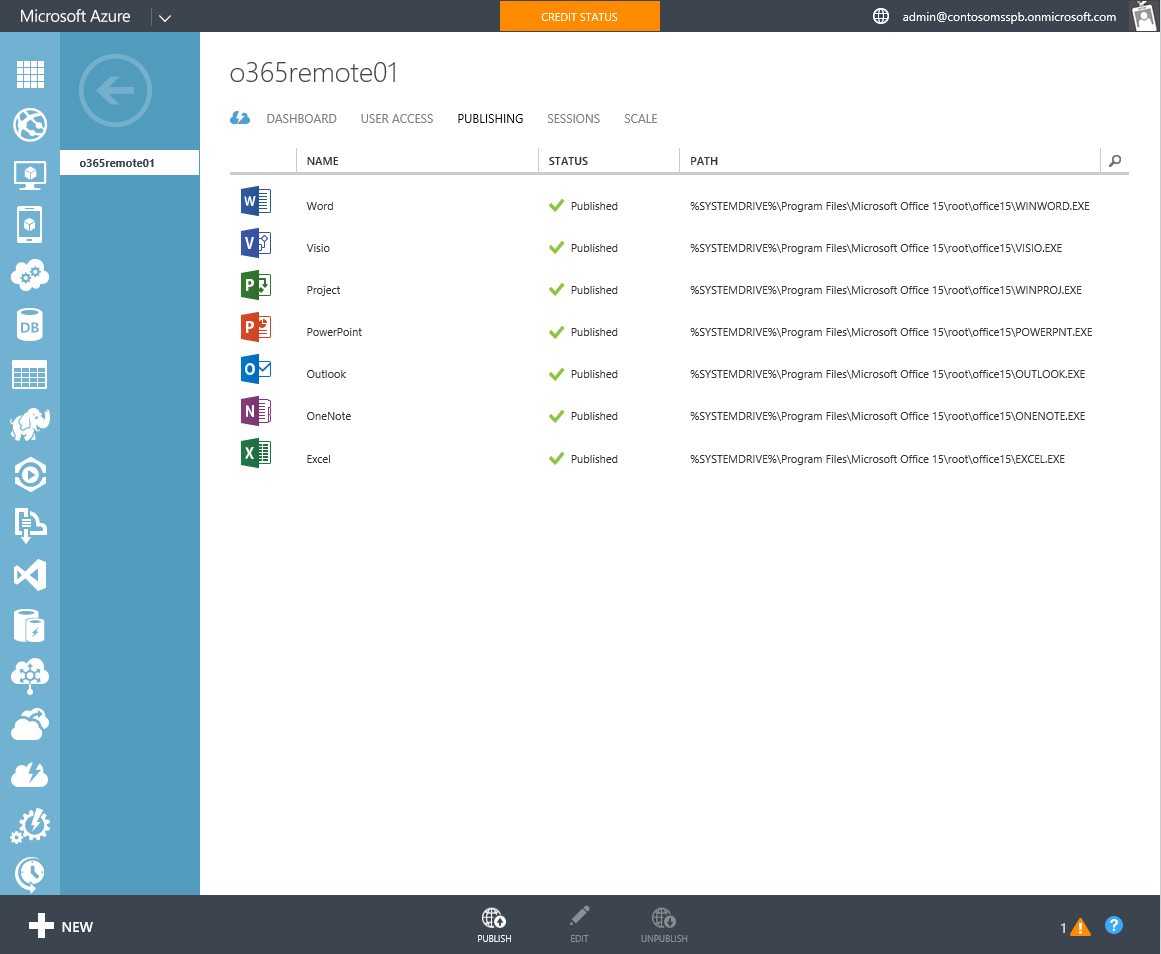
However, you can always go to the PUBLISHING section and view / change the list of published applications.
Similarly, in the USER ACCESS section , you can edit the list of users who have access to applications. In my example, I added one user from the synchronized AD directory.

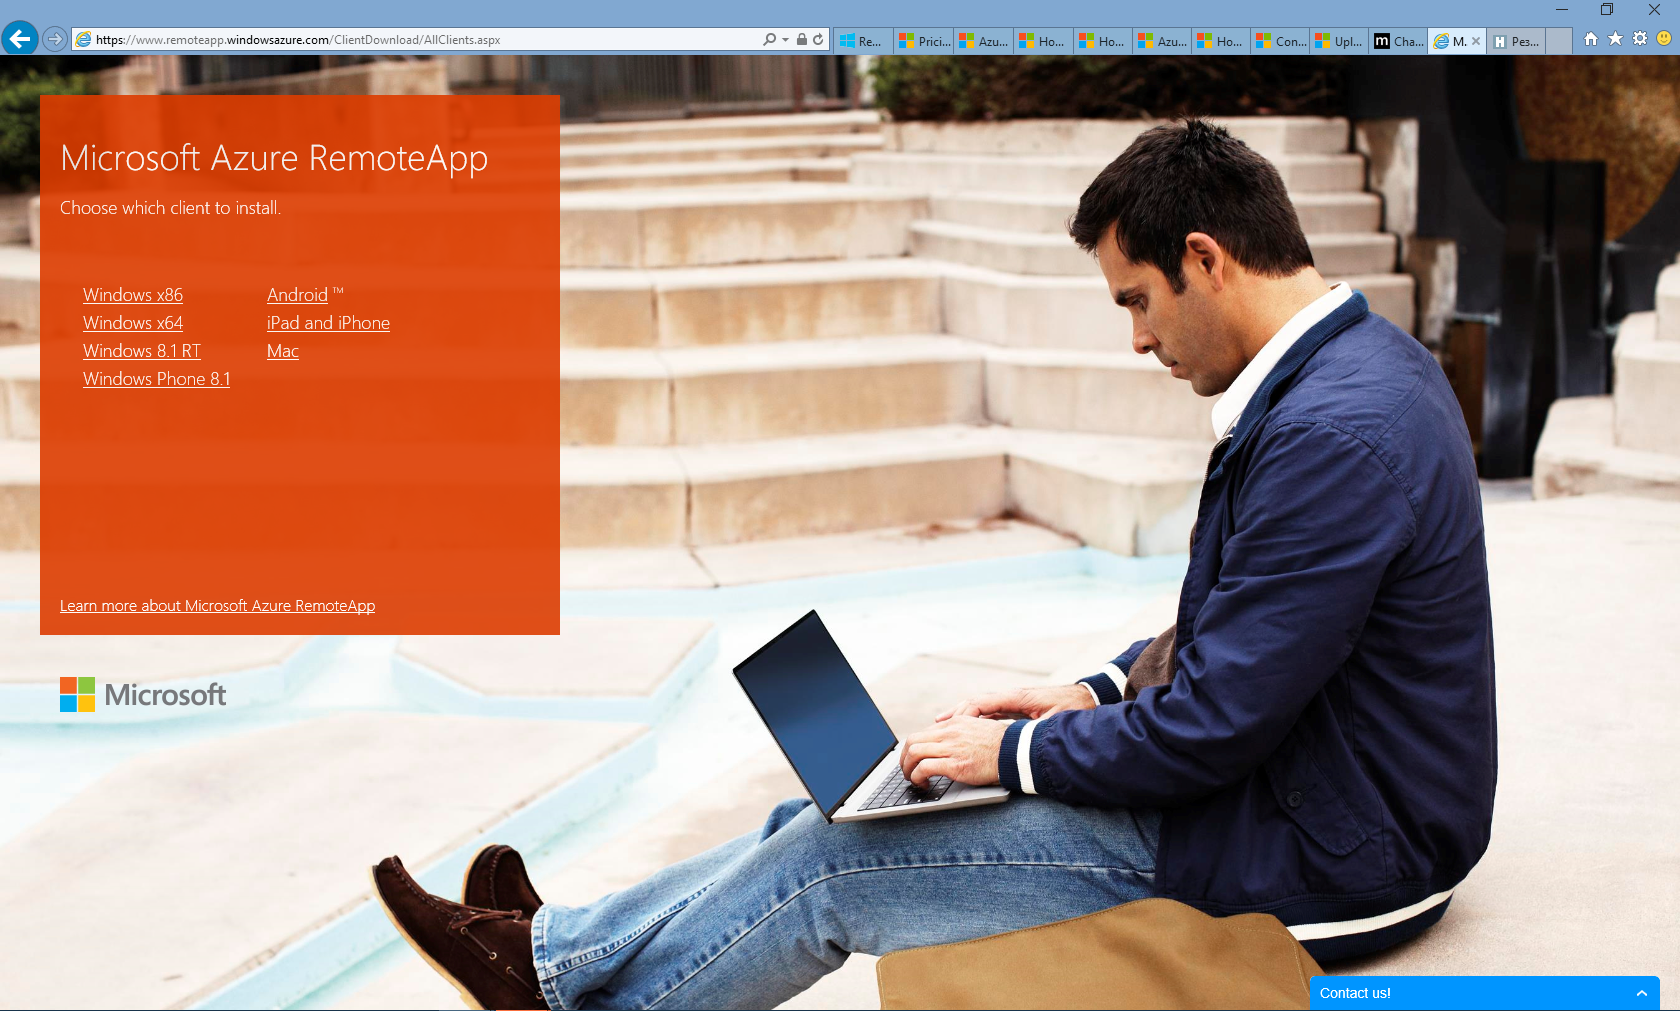
That’s basically it! It remains to verify that the application is really accessible and works correctly. To do this, using the link to the necessary device, the client for the corresponding platform is downloaded ...
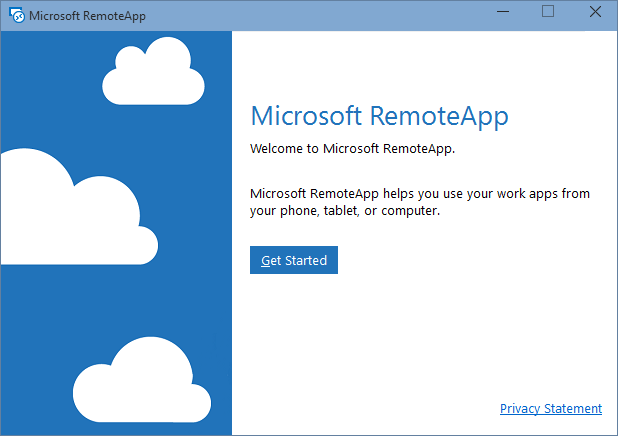
... and launched.
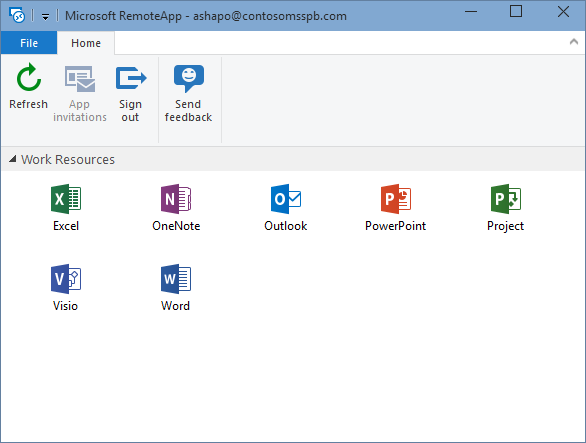
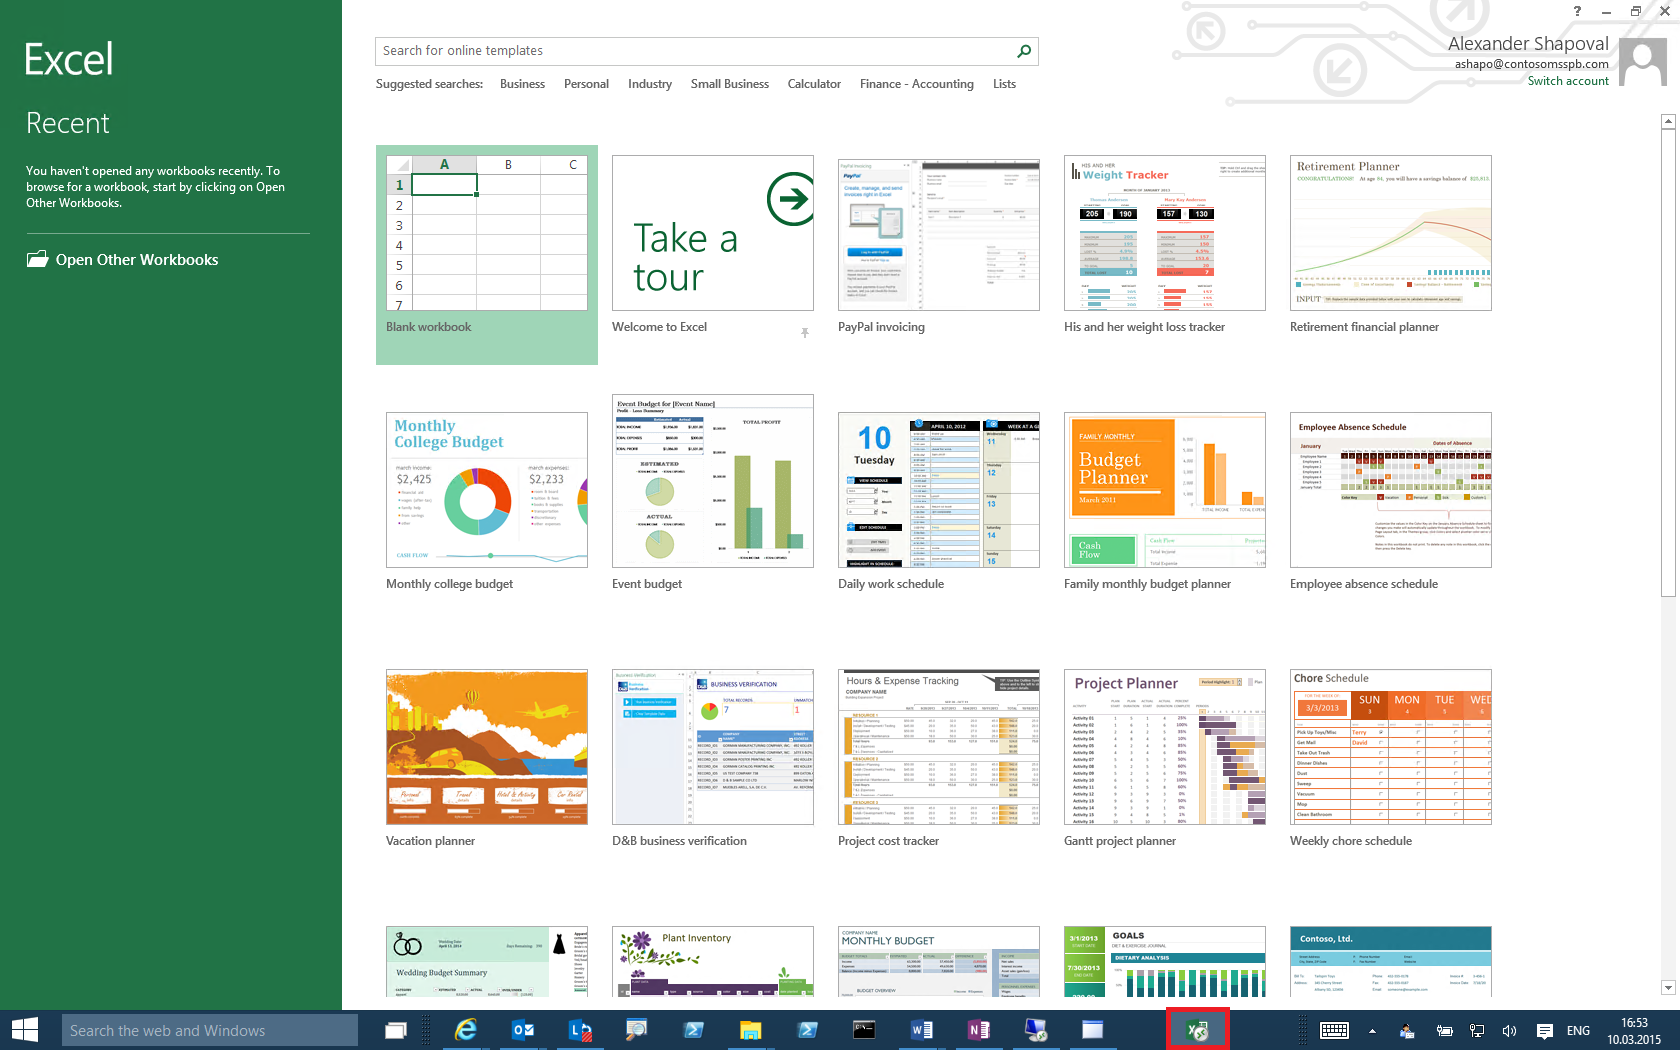
Clicking Get Started , we enter the necessary credentials in the authentication window and see a list of available applications.
By launching any of them, for example Excel, we see a connection via RDP, and then an application window that is practically no different (except for the icon) from the applications on the device itself, although it is launched in an RDP session from the Microsoft Azure cloud.
RemoteApp SLA is 99.9%.
We looked at the easiest way to use Microsoft Azure RemoteApp. The steps for setting up a hybrid script, using other platforms to launch clients, and other details can be found in the course “ Using Applications Anytime Anywhere Using Azure RemoteApp ” on the MVA portal. In addition, at the bottom of the pricing page you will find the RemoteApp FAQ.
The technology is pretty easy to set up and use. Try, experiment, write your reviews.
I hope the material will be useful.
main idea
Let's imagine that mobile workers in an organization need access to a specific set of business applications. Ideally, from anywhere, wherever they are, and from any device, whatever operating system is used on it. Perhaps we will get the maximum solution close to ideal by deploying a terminal server, installing the necessary applications on it and publishing them using Remote Desktop Services. The RDP client is now available for all major platforms: Android, iOS, Windows, Windows Phone, so you can practically talk about "any device." Well, for "any place" we will make a reservation - any where there is an Internet connection. This solution is familiar and understandable to IT professionals, provides the necessary level of security, since servers and applications are monitored and updated centrally,
But everything has a downside. The obvious drawbacks of the proposed approach may be cost and scalability. Depending on the complexity and resource consumption of published applications and the number of users who connect to them, you may need not one server, but several, but with good storage, and the price of the question can put an end to the whole beautiful idea. But even if we have / acquired the necessary capacities, will we be able to serve more users / applications if necessary? How quickly can you increase the capacity of a solution and, again, at what price?
Now let's imagine that the described solution is implemented not in the local IT infrastructure of the organization, but in the cloud; scalable on demand, and very quickly; provides SLA; paid by consumption. Exactly this is what Microsoft Azure RemoteApp service offers. From a technical point of view, Microsoft Azure raises one or more VMs with Windows Server 2012 R2 and the RDS role. The image on the basis of which the VMs are created, you prepare in your local network. In this image, you add the applications you need and upload the image to Microsoft Azure. Such images can be created as much as necessary. On the Microsoft Azure management portal, it remains to specify which applications to make available (publish) and for whom (to give access to users of the organization). And if the components of Microsoft Office act as published business applications, then you do not need to prepare an image either, Microsoft Azure will do everything for you. Sounds tempting? Let's see how it works.
Deployment options
There are two deployment options for Microsoft Azure RemoteApp: cloud and hybrid.
In the case of cloud deployments, the VMs raised in Microsoft Azure are in no way related to your on-premises infrastructure. Well, almost nothing. That is, it is understood that business applications inside the VM do not require a local Active Directory or any other components of the local network for their work.
The question is, which users can connect to applications published in this way? As you can see from the figure, you can use Microsoft account for authentication, or local Active Directory entries. In the latter case, there is still some connection with the local infrastructure, and it involves synchronizing the organization’s AD directory with Microsoft Azure. How this synchronization is configured, I describe in detail in the second module of the course " Corporate devices. How to manage hybrid credentials . ”
When using the cloud deployment option, you can upload your VM image with installed applications to Azure or choose a ready-made image. At the time of this writing, Microsoft Azure RemoteApp has two ready-made images available: with Windows Server 2012 R2 and with Windows Server 2012 R2 and pre-installed Office 365 applications (you must have an Office 365 subscription). You update your image yourself; for the finished image, automatic updating is supported (service packs, fixes, etc.).
In the hybrid deployment option, the VMs raised in Microsoft Azure associate a VPN tunnel with your local network and, moreover, are included in your local AD domain. Authentication when connecting to published applications in this case should be based on domain accounts, and therefore setting up AD directory synchronization with Microsoft Azure is already a requirement.
In the hybrid model, you need to upload your prepared image with the right set of applications to the cloud. But since a tunnel with a local network is supported, it can really be any business application of the organization, including those that depend on other services and applications of the domain network. RemoteApp VMs in a hybrid deployment just look like another IP segment of your infrastructure.
Office 365 Cloud Application Deployment
Now let's say we need remote access to the office suite, and step by step we will perform a cloud deployment of Microsoft Azure RemoteApp. This is the easiest and most visual way to get to know the new Microsoft cloud service.
Cloud deployment consists of 4 steps:
- Creating a RemoteApp Collection (RemoteApp collection)
- Configure Active Directory synchronization (optional)
- Publish apps
- User Access Configuration
Creating a RemoteApp Collection (RemoteApp collection)
We go to the Microsoft Azure management portal , select the REMOTEAPP section , in the lower left corner click NEW .
For cloud deployment, select QUICK CREATE ( CREATE WITH VPN , respectively, for the hybrid model). You must specify the name of the collection to be created, select a region, plan and image. In this case, a ready-made image with preinstalled Office 365
is selected. The plan is available in two types, basic and standard. The basic one assumes the launch of relatively lightweight applications, for example, web applications, front-end applications for data input, etc. The standard plan is better suited for more heavy applications, such as Microsoft Office. Plans are differentfor the price and the maximum number of connected users, 400 users for the basic plan, 250 for the standard one.
Creating a collection takes about half an hour. Once you see “Active” in the STATUS column, you can start using the collection.
Configure Active Directory synchronization (optional)
Let me remind you that for the cloud deployment option, you can use authentication based on Microsoft Account, or domain accounts. In the latter case, you must configure the synchronization of local AD and Azure Active Directory. I will not dwell on this process in detail, details can be found here or in the hybrid credential management course mentioned above.
Publish apps
We click on the created collection and on the Quick Start page we see the next steps that need to be taken.
The figure shows that both the publication and the access configuration have already been completed. This is due to the fact that when we deployed the collection, we chose a ready-made image. As a result, the Microsoft Azure wizard raised the VM, published office applications, and granted access to the account on behalf of which it was deployed.
However, you can always go to the PUBLISHING section and view / change the list of published applications.
User Access Configuration
Similarly, in the USER ACCESS section , you can edit the list of users who have access to applications. In my example, I added one user from the synchronized AD directory.
That’s basically it! It remains to verify that the application is really accessible and works correctly. To do this, using the link to the necessary device, the client for the corresponding platform is downloaded ...
... and launched.
Clicking Get Started , we enter the necessary credentials in the authentication window and see a list of available applications.
By launching any of them, for example Excel, we see a connection via RDP, and then an application window that is practically no different (except for the icon) from the applications on the device itself, although it is launched in an RDP session from the Microsoft Azure cloud.
RemoteApp SLA is 99.9%.
We looked at the easiest way to use Microsoft Azure RemoteApp. The steps for setting up a hybrid script, using other platforms to launch clients, and other details can be found in the course “ Using Applications Anytime Anywhere Using Azure RemoteApp ” on the MVA portal. In addition, at the bottom of the pricing page you will find the RemoteApp FAQ.
The technology is pretty easy to set up and use. Try, experiment, write your reviews.
I hope the material will be useful.