Set up TeamCity in Azure - a constantly-available system for teamwork in the cloud
This article continues the cycle started by our friends from Kaspersky Lab and describes the real experience of using testing tools from Microsoft (and not only) with recommendations and conclusions. The author is a testing engineer, Igor Shcheglovitov (@ ins4n3 on the hub). Our testing articles are tagged with #mstesting .
In this article, I would like to share my first experience of setting up the Continuous Integration process using the popular TeamCity system, on a virtual machine in Azure. This is good because our system will always be available with convenient access and control over resources.

The following actions will be described:
- Configuring TeamCity server.
- Creating an image of a cloud agent.
- setting up local git.
- website creation in Azure.
- build setup
- adding and running cloud agents
- work check
Let's start in order.
TeamCity Server Configuration
We will deploy TeamCity-server on a new virtual machine:
Create a new VM in Azure.
Let's open port 80 on it (it will be used by the TeamCity server).

Add a new disk to our VM through the Azure console (it will use TeamCity server to store data).
Connect to the created VM via RDP and load the TeamCity distribution.
Open Disk Management and initialize a new disk.
Install TeamCity, in the process selecting only server components.
Next, as a TeamCity Data Directory we will indicate a new disk.
Set the TeamCity server port (we will use the 80th port)
And select the user from which the TeamCity service will work (I specified System)
After installation, openhttp: // localhost / mnt and start the process of automatic server configuration.
After clicking the Proceed button, we select the type of the TeamCity database (in this example, we use the Internal database).
Next, the database initialization will begin, after which you should create a TeamCity server administrator.
Open port 80 in FW.
Creating a cloud agent image
Not so long ago, JetBrains announced a plug-in that automatically allows you to create and run TeamCity cloud agents in Azure. When the agent starts, using this plugin, a new virtual machine is created. You can stop the cloud agent at any time, which will lead to the release of resources and, accordingly, to cost savings :) We will use cloud agents. Cloud agents are created on the basis of a pre-prepared image of a virtual machine.
So:
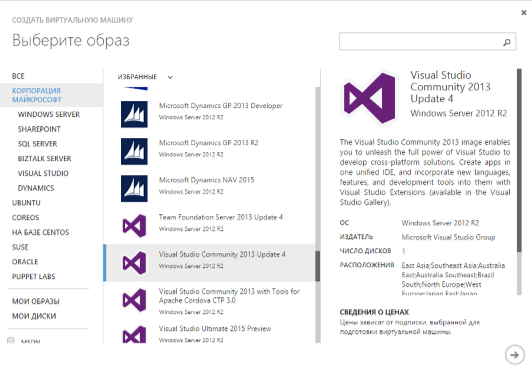
Create a new virtual machine in Azure. We will create a build for the ASP.NET site that will be created in Visual Studio 2013, and we will use MsTest to run the tests. Although you can use other tools. This is not important. We will need to install Visual Studio on the agent (I installed Community 2013. If you have a free subscription, then in the virtual machine gallery you will not find an image with a preinstalled studio and then you need to install it manually).
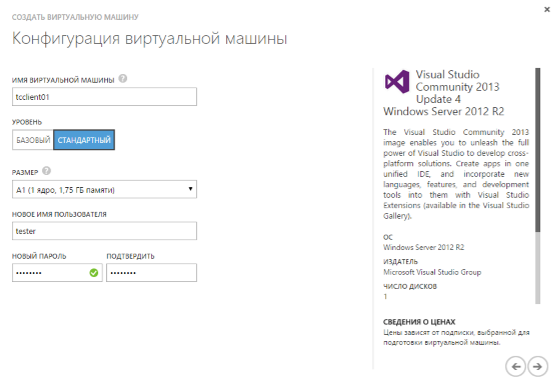
You should also open port 9090. This is the default port that the agent listens to.
Connect via RDP to the created VM. Download and install Git for Windows . During installation, check the box Use Git from the Windows Command Prompt.
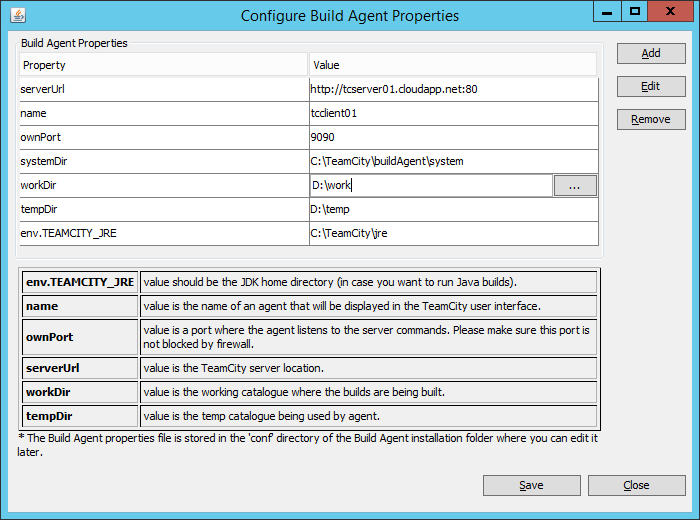
Specify the port of the TeamCity server
We set the agent parameters:
serverUrl - the TeamCity server
workDir and
tempDir server address can be left by default, but for these variables I usually use a special disk (Temporary Storage) on the VM.
Open port 9090 for incoming connections either through FW or with the command:
netsh advfirewall firewall add rule name = “ TeamCityAgent In” dir = in action = allow protocol = TCP localport = 9090
I noticed that after creating a cloud agent (from the moment VM was launched), it just hangs at the initialization stage and does not connect to the TeamCity server. Perhaps this is a bug in the technical implementation of the JetBrains plugin itself, or maybe there is still a problem. But, if you connect to the agent via RDP and restart the agent service manually, the agent will work. I decided to automate this process. Here's an example of how you can do this very simply:
Open the Local Group Policy Editor snap-in (gpedit.msc)
Add a new Startup powershell script
get-service “TeamCity Build Agent” | restart-service -PassThru
Next, you need to stop the VM through the portal and based on it create an image of the virtual machine:

After that, delete the VM.
Configure Local GIT
Create a new repository in GitHub.
And copy the link to it:
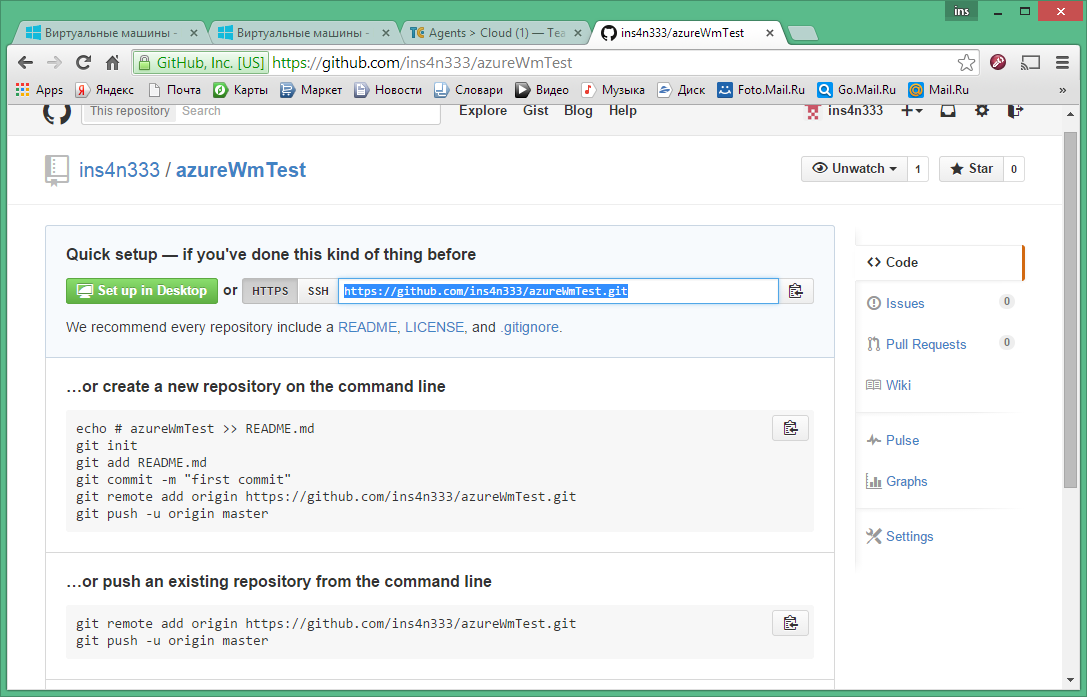
Install GIT on the local machine (where the checks will be produced from). Create a new folder that will act as a local copy of the code repository. After that, we will connect the local folder to GitHub - using the command line, go to the created folder and execute the git clone {gitRepositoryUrl} command.
If you work from a corporate network, then the clone command may fall off due to problems with the proxy. I was able to configure and circumvent this communication problem only by installing a local NTLM proxy server that redirected corporate proxy requests. The proxy server distribution can be found here .
After successful configuration, you need to configure the proxy for Git, to do this, run the following commands:
git config --global http.proxy localhost : {cntlm-proxy-port}
git config --global https.proxy localhost : {cntlm-proxy-port}
After cloning the repository in the project folder (GIT), you should create a new solution in Visual Studio (ASP.NET Web Form Project + UnitTestProject) Perform
Commit and Push changes directly in the studio.
After that, your new checkin will appear on GitHub.
Note: You can also commit changes using git commands on the
git add command line . (add files to the Git repository)
git commit –am “Test commit.” (commit changes)
git push {git-url} (Push changes from local storage to GitHub)
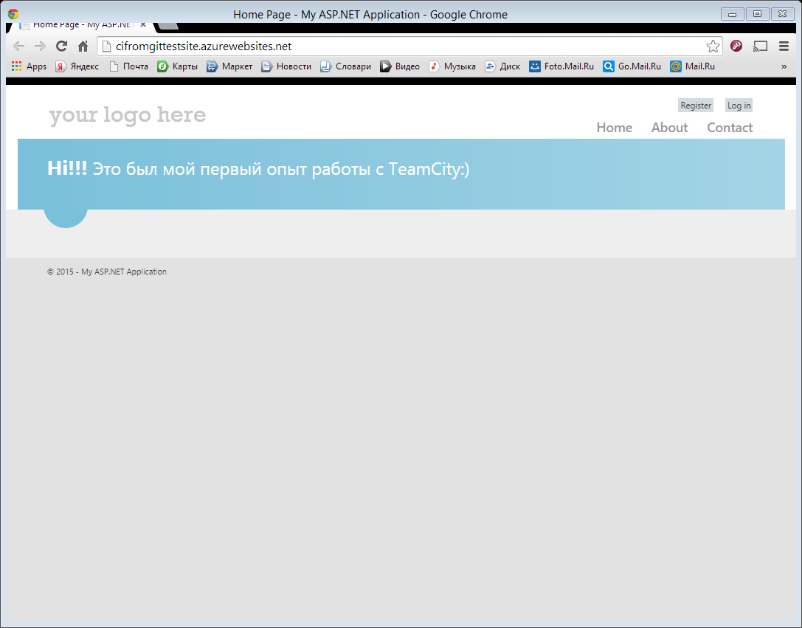
Build a website in Azure
Create an empty new website through the Azure console
After creating the site, click the “Configure Deployment in Version Control System" link and link the GitHub repository to the new site.
Open the site settings. On the settings tab, we are interested in:
Url address GIT
Url address to start the deployment
If you replace deploy with cifromgittestsite.git in the first URL and pass the received link to the git push command, you will get the command to launch the website deployment.
git.exe push -f address
Next, turn off automatic deployment from GitHub. If this is not done, each check will lead to an automatic deployment of the site. And our goal is to implement CI - to perform deployment, only if the code is successfully assembled and unit tests are run.
Build setup
Open the TeamCity UI (http: // TeamCityServerDns) and create a new project (Create Project).
Set the project name. Add a new build configuration. Create a
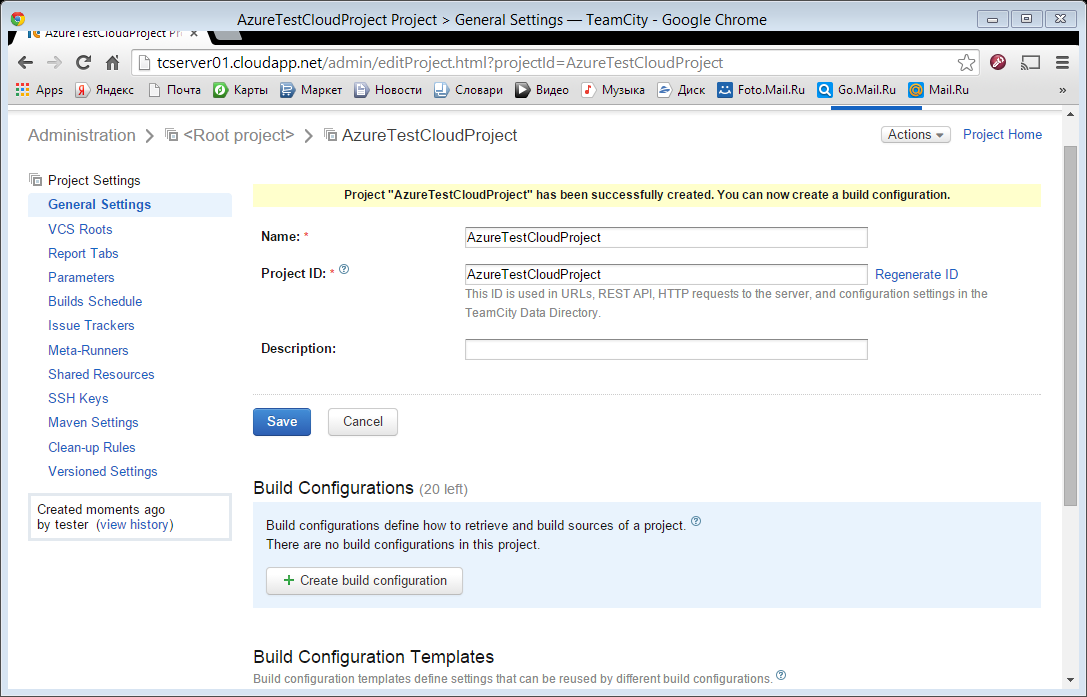
configuration name. Configure

VCS (version control system). Here you need to fill in the VCS (Git) type, name, Fetch URL (Read only the URL of your repository, just notice the https or http protocol on git from the repository access link), specify the brunch (I only created master), and set the path to git. exe on the agent

After configuring, you can click TestConnection and verify that the connection to the GitHub repository is
successful. After successfully setting up VCS in CheckOut Options, specify VCS checkout mode - Automatically on agent.
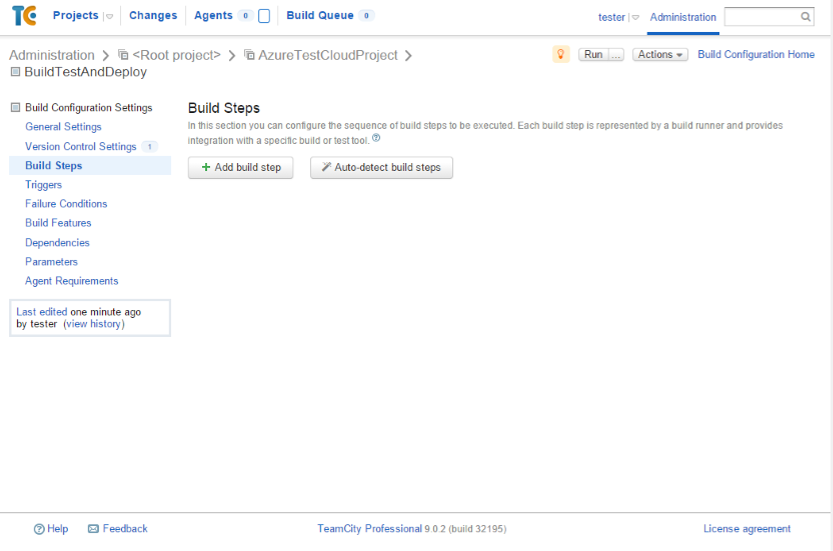
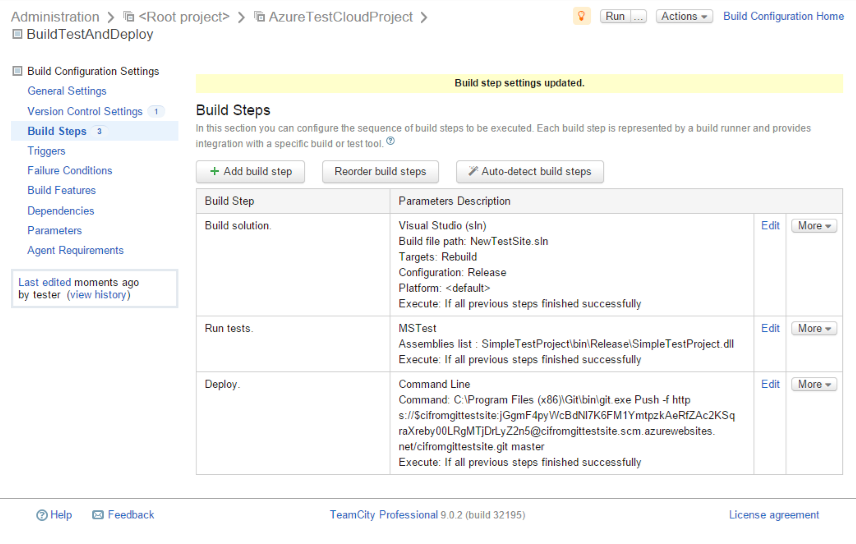
Select Build Steps and add (Add build step) the steps of our build.
The first step is to assemble our solyushin. Here you need to fill in everything as in the screenshot: The

second step is to launch the tests:

The third step is the deployment (the deployment team was formed in the process of setting up the site)

Something similar should happen:
Create a new trigger. Here we check the box Trigger a build on each check-in.
Adding and starting cloud agents
Connect via RDP to the virtual machine with the TeamCity server. Download plugin for managing cloud agents .
Put the plugin in the F: \ plugins folder (the F drive is TeamCityDataDirectory) and restart the TeamCity Server service.

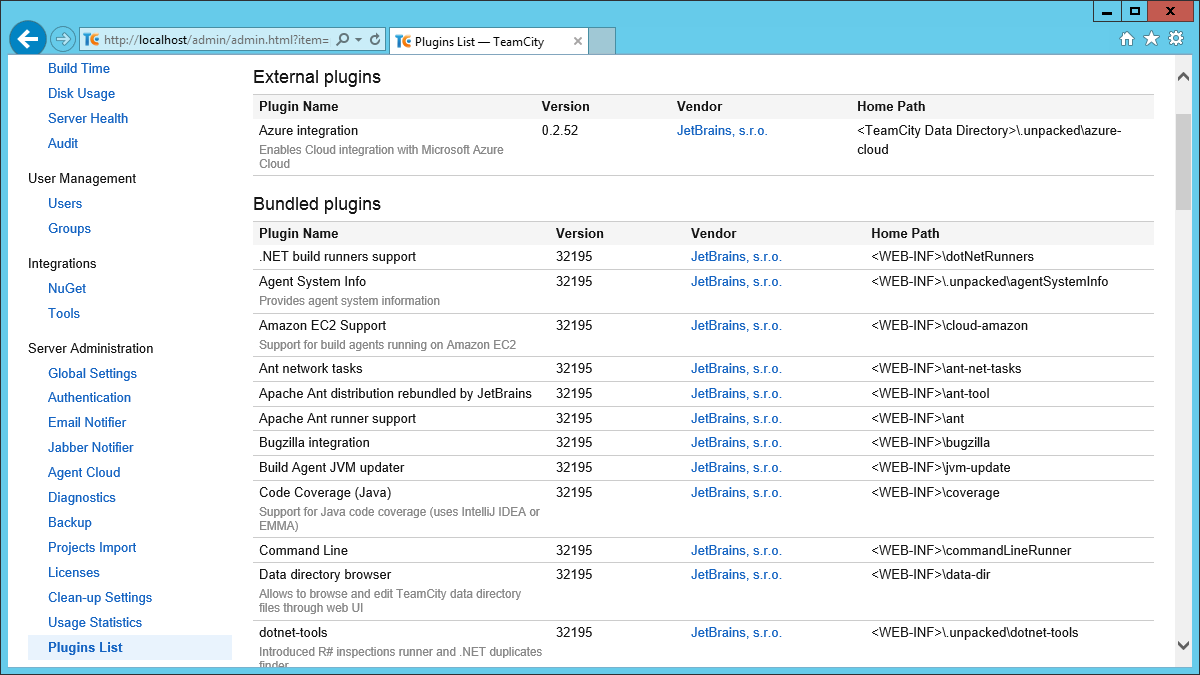
Open TeamCity UI (menu Administrations => Plugins Lists).
A new Azure integrations plugin should appear in the list of plugins.
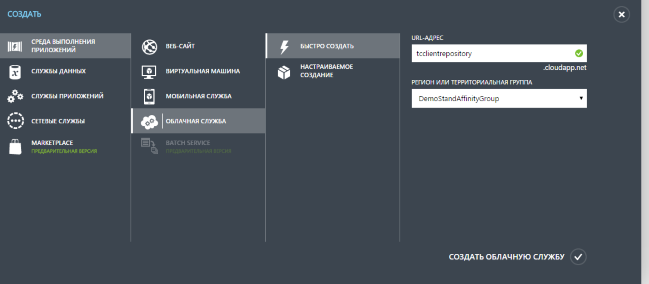
Next, create a new empty Cloud Service through the Azure console, which will act as a repository for storing TeamCity agent instances.
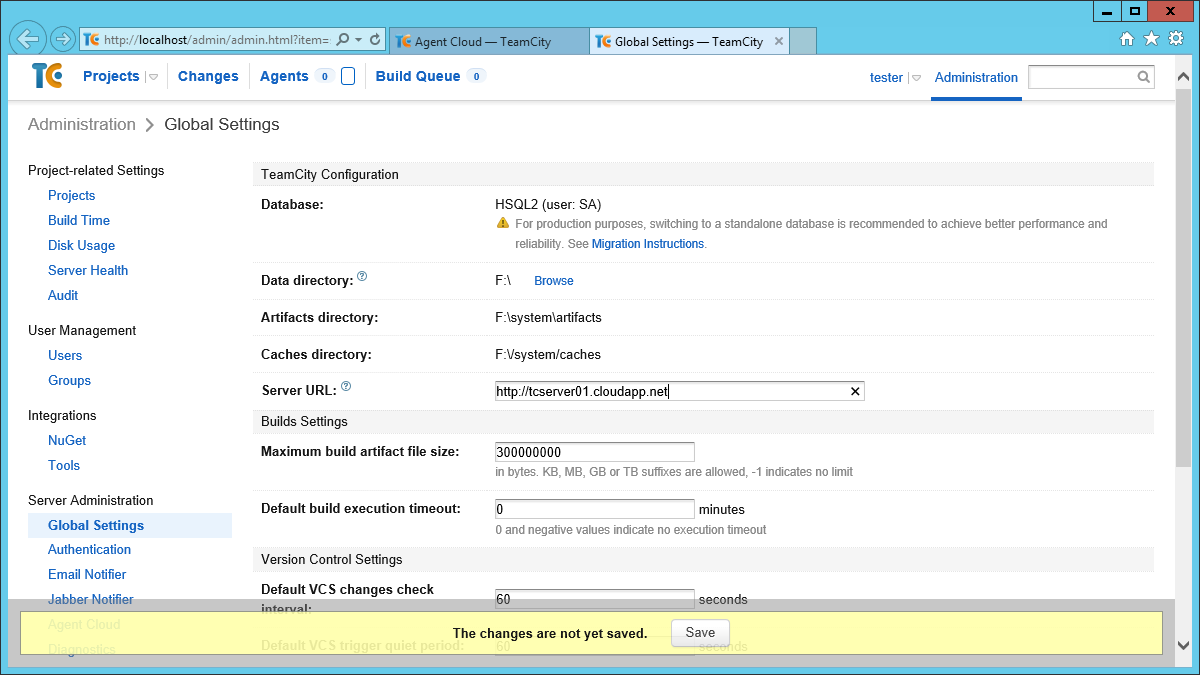
Go to Administration => Global Settings and write the correct full TeamCity server’s DNS:
Go to creating a new profile of the cloud agent Administration => Agent Cloud => Create new profile

Here you should specify the profile name, cloud type - Azure, management certificate and SubscriptionId from your Azure subscription (this data can be downloaded at https://manage.windowsazure.com/publishsettings ).
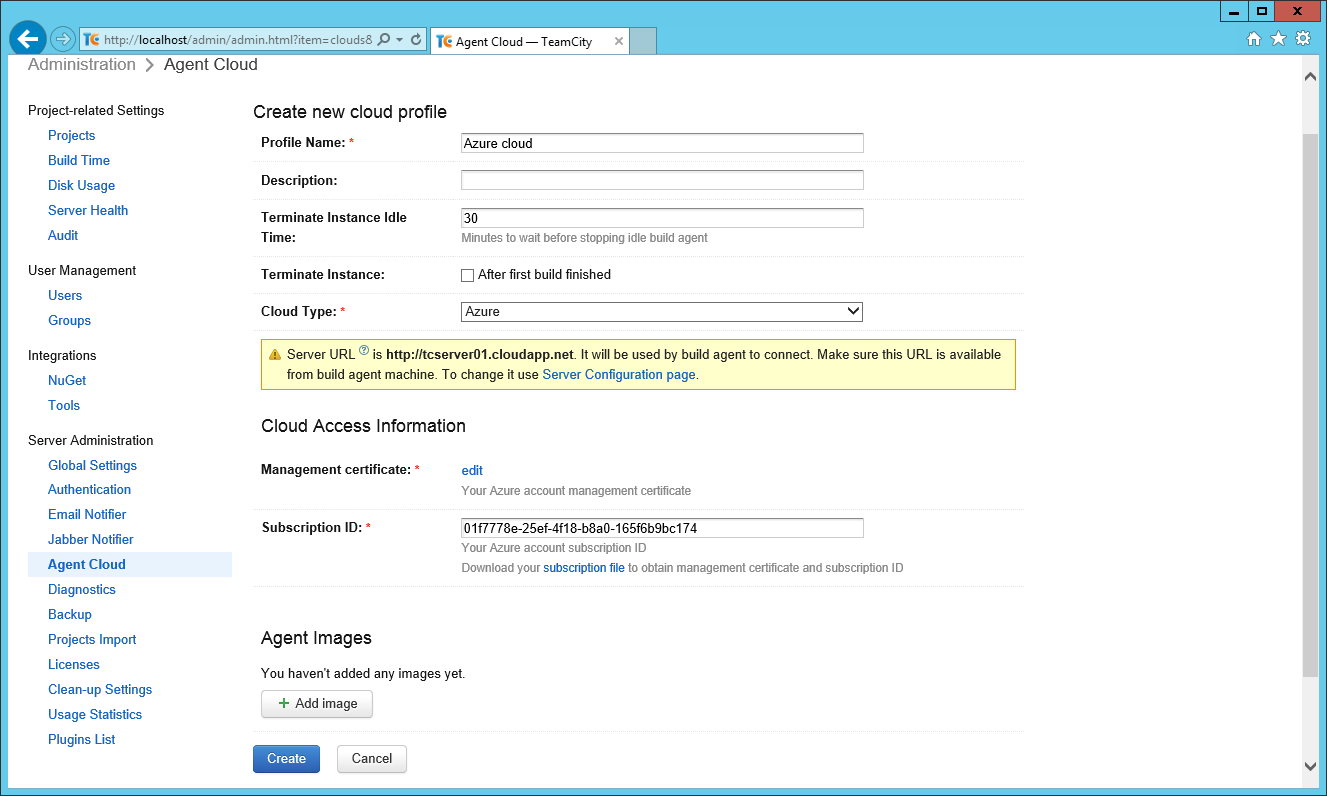
After filling in the main profile settings, click Add images and specify the image name. cloud agent virtual machine name, empty cloud service name, maximum number of agents, agent size, and name prefix for created agents
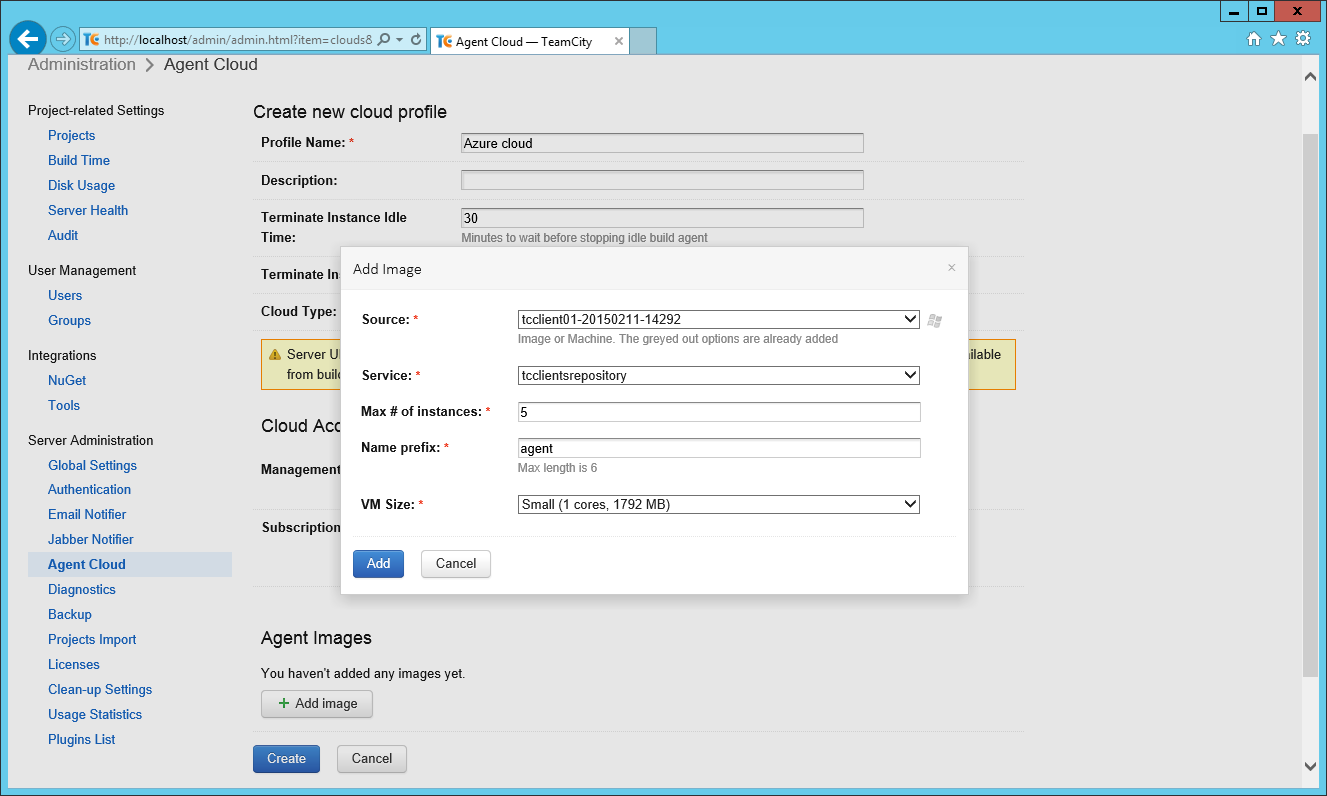
Note. The number of agent instances depends on the number of ports open in the firewall on the cloud image of the virtual agent.
Example : if the agent has a default port specified, i.e. 9090, then in that case , if firewallyou only opened port 9090, you can create only one agent, if in your image you have a range from 9090-9099, then you can create 10 agents.
After saving the settings, TeamCity will automatically launch a new cloud agent.
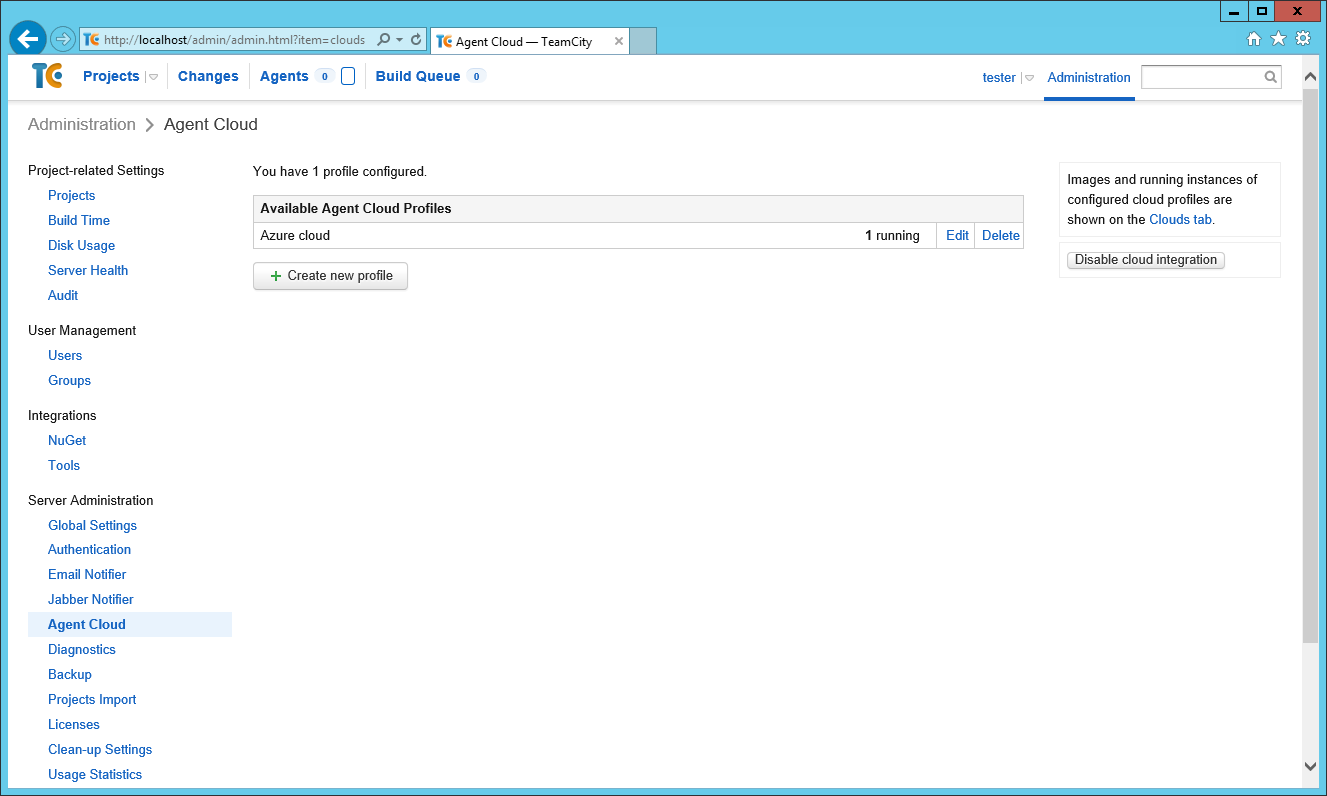
Agents management menu Agents => Cloud Agent, you can manage agents.

The agent will automatically create a virtual machine during startup:

Work check
Everything is created and configured. Now you can start checking our build.
To do this, we can click Run in the Projects menu.
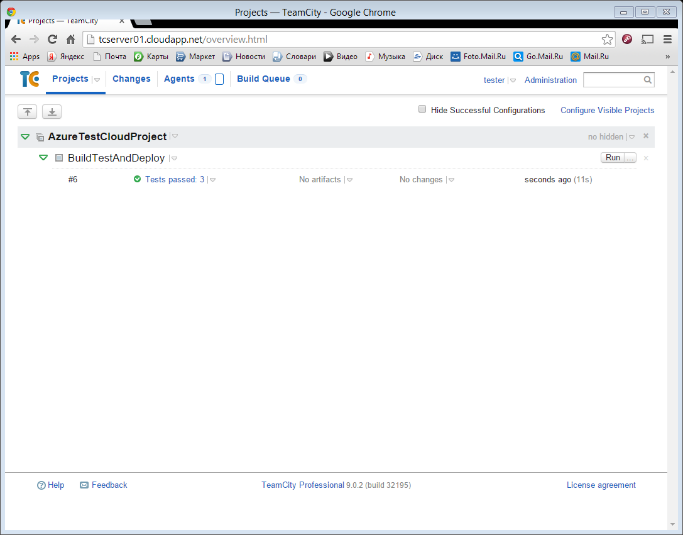
If you look at the logs of the build, you will see that the code is being downloaded from GitHub, builds, then unit tests are launched, and if everything is successful, then the deployment starts.
We created a build trigger, i.e. if we commit new changes to GitHub,

then our build will start automatically and in a few minutes - the build will automatically build up, run tests and automatically shut down the site in Azure