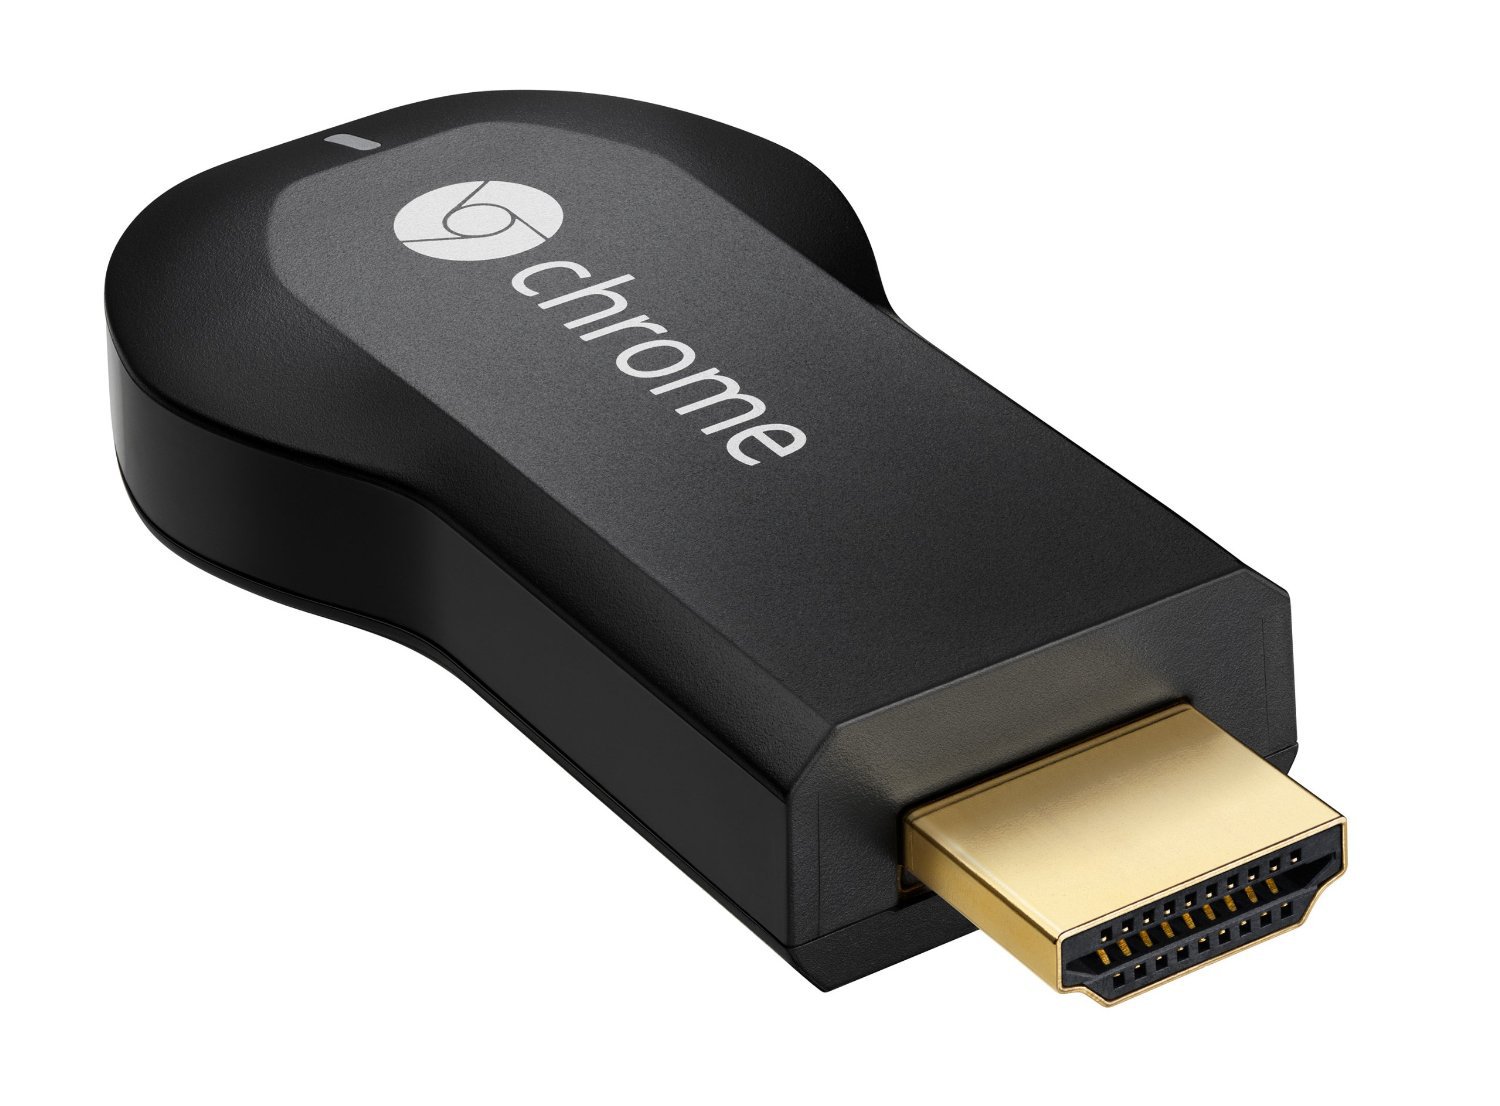
Taunting Google Cast, or a TV mouse

As soon as I found out about such a wonderful thing like Chromecast, I immediately ran to buy it, because turning two thousand of my TVs into SmartTV (or, at worst, not plugging more HDMI for watching movies) is a very fun prospect. However, an even more fun prospect is to start programming for it.
Most of the tasks for Chromcast that are being implemented now are the simplest video player applications. A common injustice for an environment that can execute HTML5 at the level of fresh Chrome. But here's the bad luck: there are no mouse events in this environment, which is logical. But this is not a problem for you and me.
So, for starters, let's create the simplest Sender App and Reciever App. Instructions for this are in the official documentation. In short, for this you need:
- Sign up here , register your Chromecast and your application;
- Create an HTML Sender application for Chrome ( instructions );
- Create an HTML Reciever application for a Cast device ( instructions ).
There is a small cheat that will allow you to avoid the extra step of uploading the created Receiver application to external hosting. When you have registered your Chromecast and added the application (you can register it on any left page on any left domain, the main thing is that it opens), you can open the debug of your application, as described here , and then simply enter in the JS console:
location.href = 'http://IP-вашего-локального-сервера/'
and thus open the Receiver application page from the local web server.
Well, let's start, in fact, to the experiment itself. All the magic of our application will be that we will transfer the coordinates of the mouse pointer from Chrome using the standard Google Cast API method for sending a message. The bottom line is that the connection between the Receiver and Sender applications goes through your local WiFi (and, apparently, WebSockets), so the data transfer delay is minimal.
To get started:
Actually, a function that creates magic in a Sender application:
Js
  function() {
    if (!$('body').data('casting')) {
      $('body').data('casting', true).on('mousemove', (function(e) {
        return window.session.sendMessage(namespace, {
          x: e.clientX,
          y: e.clientY
        }, (function() {}), (function() {}));
      }).throttle(10)).on('click', function() {
        return window.session.sendMessage(namespace, {
          event: 'click'
        }, (function() {}), (function() {}));
      });
    }
    return;
  }
CoffeeScript
->
  unless (body = $('body')).data 'casting'
    body
      .data 'casting', true
      .on 'mousemove', ((e) ->
          window.session.sendMessage namespace, { x: e.clientX, y: e.clientY }, (->), (->)
        ).throttle(10)
      .on 'click', ->
        window.session.sendMessage namespace, { event: 'click'}, (->), (->)
The throttle magic function in this case I borrowed from Sugar.JS . As many have guessed, it restricts the callback call no more than once every 10 ms, so as not to flood our Chromecast. Namespace is just a unique string, the name that is given to the data channel. In my case, this is 'urn: x-cast: com.google.cast.magnum.remote_control'.
We need to call this function at the moment when we establish a communication session with the Cast device, i.e. 1) inside sessionListener (in case of page refresh, if the connection has already been established), as well as 2) in the success callback in requestSession.
So, Sender now sends data about the coordinates of the mouse pointer, it remains to somehow process them in the Receiver:
Js
      this.cursor = document.createElement('div');
      this.cursor.style.position = 'absolute';
      this.cursor.classList.add('magnum-cursor');
      document.body.appendChild(this.cursor);
      this.messageBus = receiverManager.getCastMessageBus(this.namespace, cast.receiver.CastMessageBus.MessageType.JSON);
      return this.messageBus.onMessage = (function(_this) {
        return function(e) {
          if (e.data.x && e.data.y) {
            var element;
            _this.cursor.style.left = e.data.x + 'px';
            _this.cursor.style.top = e.data.y + 'px';
            element = document.elementFromPoint(e.data.x - 1, e.data.y - 1);
            if (_this.currentHover !== element) {
              if (_this.currentHover) {
                _this.currentHover.dispatchEvent(new Event('mouseleave'));
                _this.currentHover.classList.remove('hover');
              }
              _this.currentHover = element;
              _this.currentHover.dispatchEvent(new Event('mouseenter'));
              return _this.currentHover.classList.add('hover');
            }
          } else if (e.data.event) {
            return _this.currentHover.dispatchEvent(new Event(e.data.event));
          }
        };
      })(this);
CoffeeScript
    @messageBus = receiverManager.getCastMessageBus @namespace, cast.receiver.CastMessageBus.MessageType.JSON
    @messageBus.onMessage = (e) =>
      if e.data.x && e.data.y
        @cursor.style.left = e.data.x + 'px'
        @cursor.style.top = e.data.y + 'px'
        # we should get neighboor pixel; otherwise we will get cursor element forever.
        element = document.elementFromPoint e.data.x - 1, e.data.y - 1
        if @currentHover != element
          if @currentHover
            @currentHover.dispatchEvent new Event('mouseleave')
            @currentHover.classList.remove 'hover'
          @currentHover = element
          @currentHover.dispatchEvent new Event('mouseenter')
          @currentHover.classList.add 'hover'
      else if e.data.event
        @currentHover.dispatchEvent new Event(e)
receiverManager we create in advance in accordance with the documentation. cursor is just a div element that will run around the screen, replacing the cursor with us. Actually, that's what we did.
A complete ready-made example can be viewed on my github . Waiting for your comments.
PS: If the topic is interesting, and if I’m not too lazy, in the next issue I will tell you how to make a 3D remote control for the Google Cast application from your smartphone (just like the LG Magic Remote, and even cooler, because it's interactive).
