We use free SSL certificates to protect Azure web sites
- Tutorial

For almost 3 years, there has been a certification center, Let's Encrypt, which allows (without a gift) to get an X.509 certificate. Since March of this year, even wildcard certificates are supported, allowing you to protect all subdomains at once, rather than specifying a specific name for each.
A certificate of type DV (Domain Validation) is issued for a period of 90 days. It is possible to update the certificate (again, for free - without any zamanuh). Higher level certificates (Organization Validation or Extended Validation) are not issued by the service.
Let's Encrypt uses a protocol called ACME (Automated Certificate Management Environment). The main sponsors in the person of Electronic Frontier Foundation (EFF), Mozilla Foundation, Akamai, Cisco Systems can thank for the opportunity to receive a free certificate.
Under the cat you can read how to add SSL certificate to your Azure website for free.
The certificate is issued for 3 months and it would be nice if it was somehow automatically updated. The Azure extension, which I suggest you use, contains a built-in feature that will update the certificate using WebJob, but for its operation you need to create Blob storage. There is an extension option without automatic certificate renewal. It is much easier to set up. But I want to make out a more complicated option. Having dealt with it, you can deal with the simple option of not automatically renewing the certificate.

The most inexpensive replication option is LRS (here we do not need some sort of fancy replication). The access model is cool because data access will rarely occur - only once every 3 months.
We need a connection string to blob storage, which can be found here:

The value of this connection string must be saved in the Application Settings of our App Service with the Custom type and the following names:

Now that we have created a blob, we can add an extension to the App Service.

Going to the Extensions section of your App Service and clicking on Add + you will find 2 options. One with WebJobs updates the certificate automatically, the second does not. Once we have created a blob, we can choose the option with WebJobs.

Now you can go to the extension and click on Browse to open the extension.

Or the option is not for the lazy ones - enter the
https://имявашегосайта.scm.azurewebsites.net/letsencrypt/window with the following settings in the browser line :

Now let's figure out what values to get from. At the top of the form there is a description in English, but I will try to explain with screenshots and small comments.
The value of Tenant and SubscriptionId can be obtained by going to the billing section.
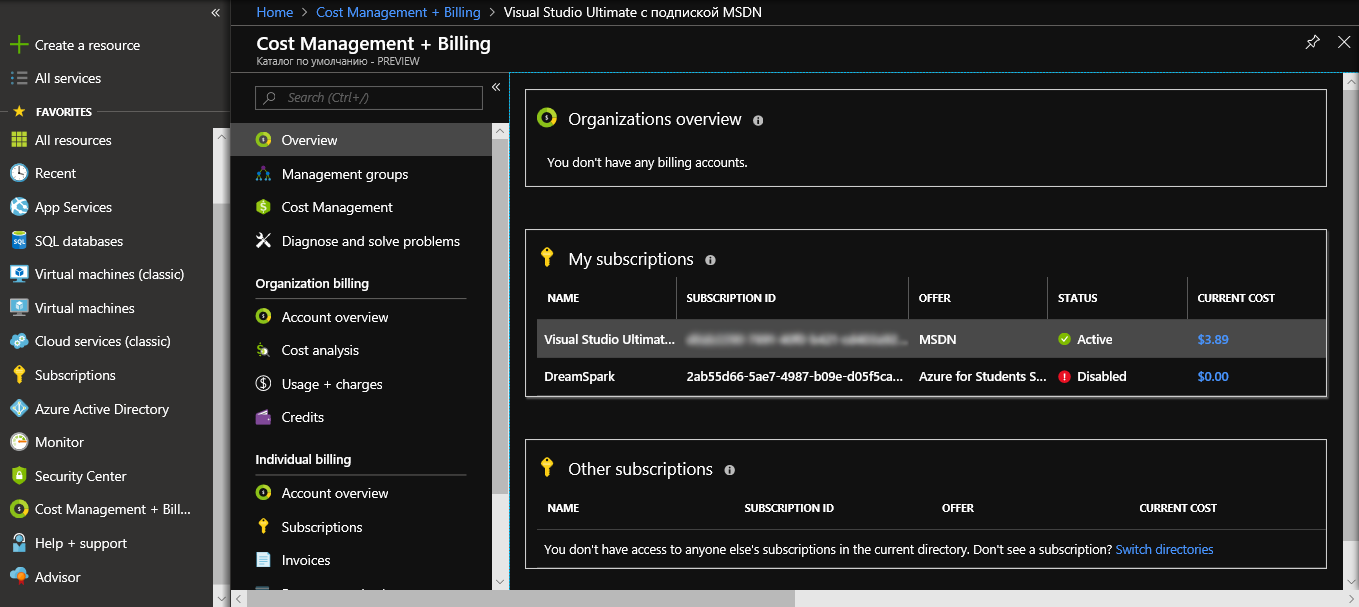
Click on the subscription.

Here you can see both the Subscription ID and the default directory name just below. The default directory is the desired Tenant.
ClientID and ClientSecret are a bit more complicated. We need to create a kind of account under which some tasks can be performed - service principal. You cannot sign in to Azure with this account. It is intended only to perform some internal tasks.
Create it through Azure Active Directory - App Registrations

Click + New application registration

From the data of the created application it is already possible to take the Application ID - this is the desired ClientID. Go to Settings and Keys

Enter the DESCRIPTION of the key to be created and click Save.

Copy the value of VALUE - this is the ClientSecret.
Service principal was created, but it needs to add rights. To do this, go to the resource group in which the App Service is located. Then go to IAM

and add a new permission for the created service principal with the role Contributor

Now we have the rights and all the values required to fill out the form. ResourceGroupName is the name of the group in which you are App Service. ServicePlanResourceGroupName is the name of the group whose service plan your App Service is located. The value of SiteSlotName can be omitted if you do not use Development Slots in the App Service. But check the box next to Update Application Settings is needed.
Having entered all that is required, click Next and on the next page we will see some information about existing certificates (if we suddenly repeat the process, then there will be something on the list).
We move on to Next and get the opportunity to choose host names:

After completing a request for a new certificate, you can make sure that it works by going to the website and clicking on the lock next to the certificate

The official English manual can be found here:
Let's Encrypt on Azure Web Apps