Home accounting on the CUBA platform. Part 2
This is a continuation of the article about the device of a small application created on the CUBA platform . The application is a system of accounting for home finances and was created for two purposes: firstly, to actually account for my finances, and secondly, to illustrate the capabilities of the platform with a simple example.
In the first part, I talked about the main parts of the application: data models, middle-layer business logic and screens created on the technology of the Generic UI platform. In the second part, as promised, I will talk about how to change the theme of Generic UI, how to change the behavior of the visual component, and describe the device of the additional UI for mobile devices written in JavaScript.
First, let me remind you what tasks the application solves:
- At any point in time it shows the current balance for all types of cash: cash, cards, deposits, debts, etc.
- Generates a report by categories of income and expenses, allowing you to find out what the money was spent on or where it came from in a certain period.
The source code of the application is on GitHub , the assembly and launch instructions are in the previous article . The CUBA platform is not free, but five simultaneous connections in a free license is quite enough for home use, so if someone wants to use it, please.
To study and refine the application, I recommend downloading and installing CUBA Studio, IntelliJ IDEA and the CUBA plugin for it.
UI theme
Let's start with a simple one - how to change and customize the theme of the main UI application design.
A lot of time has passed since the release of the first part of the article, and we managed to release a new version of the platform - 5.3, in which we added a new Halo theme. It is based on the Valo theme of the Vaadin framework, and in addition to what looks nice and scales well, it is also very easy to customize. In particular, to completely change the color scheme, only a few SCSS variables need to be redefined.
So it was enough for me to transfer the application to the new version of the platform, and now the user of the system can choose for himself in the Help> Settings window the design theme: old Havana or new Halo.
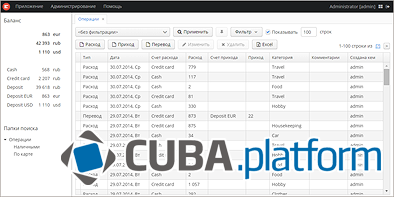
In the new topic, the application looks like this:
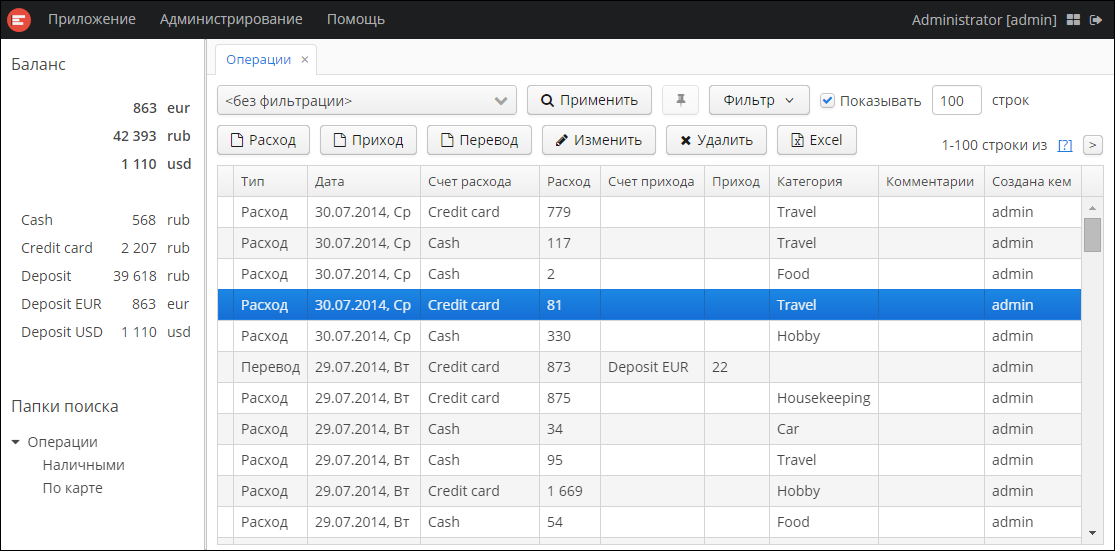
These are the default theme settings. The only thing I added is the style of the numbers of the final balance in the left panel. To do this, in the LeftPanel class for the Label components used to display totals, the style name is set: totals. Then, using CUBA Studio, I created a Halo theme extension. At the same time, the themes / halo subdirectory appeared in the project in the web module, in which you can override the theme settings. CSS was added to the halo-ext.scss file to define the totals style:
.v-label-totals {
 font-weight: bold;
}
The class name for the selector is easiest to determine by means of a browser in a running application.
The Halo theme is easy to adapt to your taste. I don’t have design abilities, so I’ll only give an example of defining a dark color scheme:
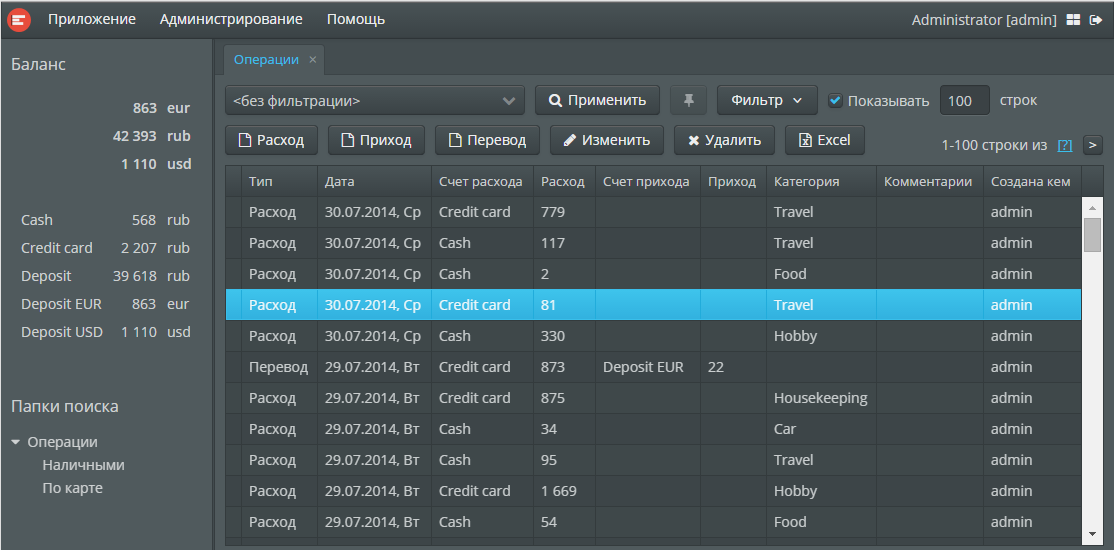
For this theme change, the following variable values are added to the halo-ext-defaults.scss file:
$v-background-color: #444D50;
$v-support-inverse-menu: false;
Similarly, with the help of theme variables, you can change the font size of various elements, indents, table settings, etc.
An interesting feature of the Halo theme is that it uses Font Awesome glyphs for the icons of standard platform components. In addition to the obvious advantage when scaling, this also allows you to automatically select the color of the icons depending on the background color - in the example above, I did not have to define a new set of icons for the dark background.
Customization of visual components
Now let's move on to the possibilities of changing the behavior of visual components, and more specifically, the client component code that runs in the browser. The CUBA components in the web client are implemented using the Vaadin framework technology, so the main method for developing the client part of the components is to use Java and compile in JavaScript using GWT. This is an extensive topic and requires a separate article, so here I will consider a simpler option - extending the component by implementing additional logic in JavaScript.
We state the problem. Now the operation amount field allows you to enter an arithmetic expression, which is calculated in the screen controller using the AmountCalculator class when saving the operation. That is, all this happens on the server side. The task is as follows: by pressing the “=” key in the amount field, calculate the expression on the client (in the browser) and immediately display the result in the field.
Computing an arithmetic expression in JavaScript is simple: check the expression for validity using a regular expression, and then execute through eval (). The main question is how to connect your JavaScript to the right place in the client code of the application? Starting with version 7, Vaadin has a special component extension mechanism for this, and more specifically, the AbstractJavaScriptExtension class. I took advantage of it.
The web module created the Java class CalcExtension, inherited from AbstractJavaScriptExtension. All he does is take a TextField instance in the constructor and pass it to the inherited extend () method, that is, it “extends” in some of its own way. In addition, this class has a JavaScript annotation with the name of the file in which the client logic is written in JavaScript.
// CalcExtension.java
@JavaScript("textfieldcalc.js")
public class CalcExtension extends AbstractJavaScriptExtension {
   public CalcExtension(TextField textField) {
       super.extend(textField);
   }
}
The extension is connected to the com.vaadin.ui.TextField component obtained from the TextField CUBA component in the initAmount () method of the AmountCalculator class:
// AmountCalculator.java
public void initAmount(TextField amountField, BigDecimal value) {
	com.vaadin.ui.TextField vTextField = WebComponentsHelper.unwrap(amountField);
	new CalcExtension(vTextField);
	...
The textfieldcalc.js file is located in the web / VAADIN directory of the web module. When you build the application, it is automatically copied to the VAADIN directory of the web application - there are also GWT widgetsets, themes and other resources. The file defines a global function with a name corresponding to the full name of the Java extension class, but with periods replaced by underscores.
// textfieldcalc.js
window.akkount_web_operation_CalcExtension = function() {
   var connectorId = this.getParentId();
   var input = $(this.getElement(connectorId));
   input.on("keypress", function(event) {
       if (event.which == 61) {
           event.preventDefault();
           var x = event.target.value;
           if (x.match(/([-+]?[0-9]*\.?[0-9]+[\-\+\*\/])+([-+]?[0-9]*\.?[0-9]+)/)) {
               event.target.value = eval(x);
           }
       }
   });
}
This function is called when the component is initialized, and this in it will point to a special object through which interaction with the framework is carried out. The methods of this object are described in JavaDocs by the AbstractJavaScriptExtension class, and with their help you can get the DOM element that implements the component, in this case, input. Next, an event listener is hung on the element using jQuery, which performs the necessary actions. The result is achieved - when the user presses the “=” key (code 61), the expression in the field is calculated and the result is put back into the field.
Optional JavaScript UI
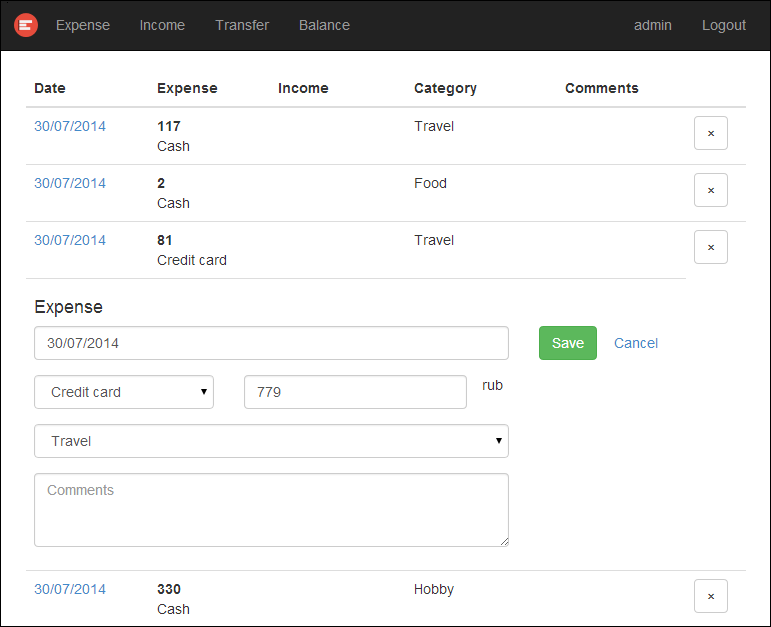
In the practice of developing applications on CUBA, an additional front-end is usually created for “external” users: customers, mobile employees, etc. These are either websites or mobile applications with a specific design and usability requirements, which dictates the use of low-level native technologies. Such an additional UI requires an order of magnitude more development and support efforts than the CUBA Generic UI. Fortunately, the required functionality of an additional UI, as a rule, is much less than the functionality of the entire enterprise information system.
In the described application, an additional responsive UI on Backbone.js + Bootstrap serves for the convenience of working on mobile devices. It allows you to only enter operations and see the current balance. Report by category and directory management are not implemented, filtering and sorting operations, too.
Consider the server side first.
CUBA includes a portal module, which includes, among other things, a universal REST API for working with a data model. Through it, there is the main interaction of the client JavaScript application with the middle layer. Only two additional API methods were created in the project: obtaining the current balance and obtaining the last used account. Everything else is implemented by a universal API.
To use the REST API in your project, you need to create a portal module in it. The easiest way to do this in CUBA Studio is with the Create portal module command in the Project properties section . At the same time, a web application stub is also created on Spring MVC, which serves as an example of authentication and work with the middle layer. This preparation is not used in our application, therefore everything except the PortalController class and configuration files in the src root has been deleted.
The PortalController class is a Spring MVC controller and contains two methods: getBalance () and getLastAccount (), called via HTTP GET. These are the methods that complement the standard REST API of the platform, and they are implemented similarly: first, authentication, then the logic of the method, including calling middle layer services and generating the result in JSON. Thus, the main logic of the method is executed in the context of the user session, the key of which is passed in the method parameter.
// PortalController.java
@Inject
protected Authentication authentication;
@RequestMapping(value = "/api/balance", method = RequestMethod.GET)
public void getBalance(@RequestParam(value = "s") String sessionId,
                   	HttpServletRequest request,
                   	HttpServletResponse response) throws IOException {
	if (!authentication.begin(sessionId)) {
    	response.sendError(HttpServletResponse.SC_UNAUTHORIZED);
    	return;
	}
	try {
    	JSONObject result = new JSONObject();
    	...
    	response.setContentType("application/json;charset=UTF-8");
    	PrintWriter writer = response.getWriter();
    	writer.write(result.toString());
    	writer.flush();
	} catch (Throwable e) {
    	response.sendError(HttpServletResponse.SC_INTERNAL_SERVER_ERROR);
	} finally {
    	authentication.end();
	}
}
The standard REST API of the platform includes login and logout methods, obtaining entities by ID and by JPQL query, committing modified instances - in general, everything for CRUD operations. Together with two specific methods of the PortalController class, this is enough for the client JavaScript application to work.
Let's move on to the client side of the additional UI.
Client code is located in the web / akkount directory of the portal module. It is loaded into the browser using the PortalDispatcherServlet servlet, the configuration of which is in the portal-dispatcher-spring.xml file.
Actually, the application consists of one host HTML file and a set of models and views of Backbone.js. The layout and design are done on Bootstrap, a few specific CSS is in the css / akkount.css file. The main.js script is the entry point to the application - it initializes the Backbone router located in the router.js file. In addition, main.js contains some common functions, variables and constants.
Authentication works as follows. After the login, the session key received from the server is stored in the script variable main.js and in sessionStorage. When reloading the page, the key is taken from sessionStorage, cookies are not used. If an error 401 was received while performing operations loading (the session key is invalid due to session expiration on the server), then the login is redirected to view. For permanent storage of the username (if the checkbox is selected in the login window), localStorage is used.
Of interest may be a way to exchange data between Backbone.js models and the middle layer of the application through the standard CUBA REST API. To do this, the Backbone.sync () function is redefined in the main.js script, and it delegates the synchronization to the cubaAPI object located in the cuba-api.js file.
// main.js
Backbone.sync = function(method, model, options) {
   options || (options = {});
   switch (method) {
       case 'create':
           app.cubaAPI.create(model, options);
           break;
       case 'update':
           app.cubaAPI.update(model, options);
           break;
       case 'delete':
           app.cubaAPI.remove(model, options);
           break;
       case 'read':
           if (model.id)
               app.cubaAPI.load(model, options);
           else
               app.cubaAPI.loadList(model, options);
           break;
   }
};
For the cubaAPI object methods to work, the Backbone models must contain some additional fields: entityName, jpqlQuery, maxResults, view. They are used to generate the corresponding request parameters in the loadList () method. The update () and remove () methods simply generate JSON with the commitInstances or removeInstances property, respectively.
// cuba-api.js
(function() {
    app.cubaAPI = {
        loadList: function(collection, options) {
            var url = "api/query.json?s=" + app.session.id
                + "&e=" + collection.model.entityName + "&q=" + encodeURIComponent(collection.jpqlQuery);
            if (collection.maxResults)
                url = url + "&max=" + collection.maxResults;
            if (collection.view)
                url = url + "&view=" + collection.view;
            $.ajax({url: url, type: "GET",
                success: function(json) {
                    options.success(json);
                },
                error: function(xhr, status) {
                    options.error(xhr, status);
                }
            });
        },
        update: function(model, options) {
            var json = {
                "commitInstances": [_.clone(model.attributes)]
            };
            var url = "api/commit?s=" + app.session.id;
            $.ajax({url: url, type: "POST", contentType: "application/json", data: JSON.stringify(json),
                success: function(json, status, xhr) {
                    options.success(json);
                },
                error: function(xhr, status) {
                    options.error(xhr, status);
                }
            });
        },
        remove: function(model, options) {
            var json = {
                "removeInstances": [_.clone(model.attributes)]
            };
            var url = "api/commit?s=" + app.session.id;
            $.ajax({
            ...
            });
        },
        ...
The CUBA REST API is capable of returning object graphs with circular references to JSON. To do this, an object that is present in the path from the root more than once is replaced by an object with the ref attribute equal to the identifier of the repeating object. In order to replace such ref objects with real objects, cubaAPI created the parse () method, which overrides the parse () methods of models and collections of Backbone.js.
// main.js
Backbone.Model.prototype.parse = function(resp) {
   return app.cubaAPI.parse(resp);
};
Backbone.Collection.prototype.parse = function(resp) {
   return app.cubaAPI.parse(resp);
};
The initialize () function of the model has also been redefined in order to generate entity identifiers in a form ready for transfer to the CUBA REST API:
// main.js
Backbone.Model.prototype.initialize = function() {
   if (!this.get("id"))
       this.set("id", this.constructor.entityName + "-" + app.guid());
};
Otherwise, the additional UI is built in a quite standard way for Backbone.js.
Thanks for attention!
Our immediate plans include publishing articles on creating visual components for CUBA on GWT and on the PostgreSQL server resiliency support tool developed by Haulmont.