Visual editing of markup inside an Android application
Preamble
Eclipse and Idea have their own visual editing markup tools for Android applications. NetBeans lacks this happiness. The desire to create something similar for the familiar NetBeans with relatively simple means led to the idea of moving the visual editing process into the application itself. There are several reasons:
- Natural Preview markup using Android itself;
- the ability to work offline without a desktop IDE (it may be interesting, first of all, to designers);
- "God is God, and Caesar is Caesar." When implementing it is convenient to use the existing data structures of View objects, class constants, etc.
How does it work?
Mirror tree markup. The main idea is parallel to the tree of markup objects (View), which Android generates when loading Layout, the program creates a mirror tree of its own objects (classes of the same name with the prefix Z - Zview, ZButton, ...). Each of them has a link to the object - the original. Classes have inheritance similar to View, and support all the functionality associated with traversing the tree, for example, when generating xml markup files, creating View parameter lists. In addition, the mirror tree is the main data structure for describing an open Layout: each object contains two important parameters - a vector of markup parameters for the View and a mirror descriptor object for LayoutParams.
View options.The initial variety of View parameters is supported by a group of ZParam successor classes, each of them implements all the specifics of the external and internal representation of the parameters of a given type, conversion, invocation of its editing dialog, determination of compliance with the types of values in the compiled file. Currently implemented types are int, hex (hexadecimal int), boolean, float, string, charSequence, dimen (dimensions), id (resource identifier), image, color, enumInt (a list of named integer constants), enumString, enumClass (list of named integer classes). In the latter case, for each enum class, its own derived class is created.
The parameter vector for each View is deserialized from the corresponding xml file located in assets. To simplify the procedure for creating such files, the application has a component that searches for getters / setters for all View and creates a description of the proposed parameters from them. Then these files are manually edited according to the documentation.
LayoutParams layout options. For markup options, similar description files do not exist. Instead, LayoutParams is read for each View (its type depends on the type of the ancestor), then with the help of reflection, the handle of the same name class is generated - ZLP and its derivatives, each class creates a vector of parameters and writes values read from the corresponding LayoutParams into it.
Compiled Layout xml.In the Android application file (apk), the xml files for the Layout description are contained in compiled form. A detailed description of the format is available at justanapplication.wordpress.com/category/android/android-binary-xml . The undoubted advantages of the format are a limited number of internal data types for parameters, simple enough to parse it with homegrown means (for example, to view a dump or retrieve parameters in a mirror markup tree). In addition, the internal Android parser is the android.content class. res.XmlBlock is able to create a View from a byte array containing data in a similar format.
Remark . In the apk file, the compiled files are contained in a compressed form. However, in our case, this is not important, because the XmlBlock parser gets them already unzipped.
How it works?
At startup, the application polls Android classes for the collection of necessary constants by means of reflection and generates tables in the form of <name-value> pairs:
- resource identifiers from R.java (separately for different types - subclasses);
- View class constants
- android.R.attr - internal name constants for all parameters;
- android.R.styleable - symbolic designation of the constants used in the parameters.
For all types of View from the xml-files placed in assets, the vectors of parameter-descriptor objects (ZParam classes) are deserialized.
Editing in general is done this way. The original unedited Layout is loaded through the resource id by the standard LayoutInflater. A loaded View creates a mirror tree of objects, for each View the original vector of parameters is copied. Then, its own CXmlResourceParser, built on the basis of the standard android.content.res.XmlResourceParser, reads the parameters of all View and writes them to ZParam objects. Parameter objects whose values were read from the markup file are marked, so that they will always be highlighted in the general list of parameters. Event handlers of all View are configured to the editing dialog program code.
When changing any parameters, the native CXmlParser writes a byte array in the format of the compiled xml file, from which the XmlBlock parser creates a modified View, thus changing the Preview image. CXmlParser does the same thing when saving changes to the binary file for a long time. When loading a modified Layout, the same scheme works, only with a different pair of parsers: internal android.content. res.XmlBlock for loading View and its own CXmlParser for reading parameters.
For external use, markup can be exported to a regular xml file. For this, we use our own tools of the ZView and ZParam class groups.
Data placement. All data is located in the GUIWizard directory on the SD card. The application creates a directory with the name of its own package. The generated xml files of the edited markup are written there with the names of the Layouts. Auxiliary compiled markup binaries with the cxml extension are written to the data subdirectory. The generated parameter files for the View are written to the project directory with the names of their own classes (for example, android.widget.ImageView.xml).
Comment. Initially, it was assumed that when editing the changed parameters will be immediately written by the setters to the corresponding View, and if they are absent, directly into the private View fields. Similarly, to get the current values of the fields it was supposed to call getters. However, in the future it turned out that there are quite a few exceptions in the unambiguity “parameter-field-setter-getter”. For example, several setters can correspond to one parameter, one setter can take several parameters. Therefore, it was decided to completely abandon the interaction of ZView - View objects. Instead, after each parameter change, a compiled xml markup file is generated and written to the byte stream (i.e., this is not a file in the literal sense of the word). Then the XmlBlock parser creates a modified View from it.
Reflection, how without it?
The application intensively uses reflection, including for:
- reading Android parameter name constants, application resources, and View class constants;
- generating objects of groups of classes Zview, Zparam and Zlayout depending on the class name of the current object;
- bypass access restrictions in some classes of Android.
NetBeans Integration
A module built into NetBeans does a trivial job. When an additional button is pressed, through ADB calls, it scans the contents of the SDCard / GUIWizard / <Android application package name> directory. The package name is extracted from the manifest file of the current project selected in the project window. All files with the extension .xml are copied to / res / layout and deleted. Older versions are renamed with the extension .orig. Module sources - bitbucket.org/solus_rex/netbeans_guiwizard_plugin
Status quo
The source code for the project is available at bitbucket.org/solus_rex/android_guiwizard.
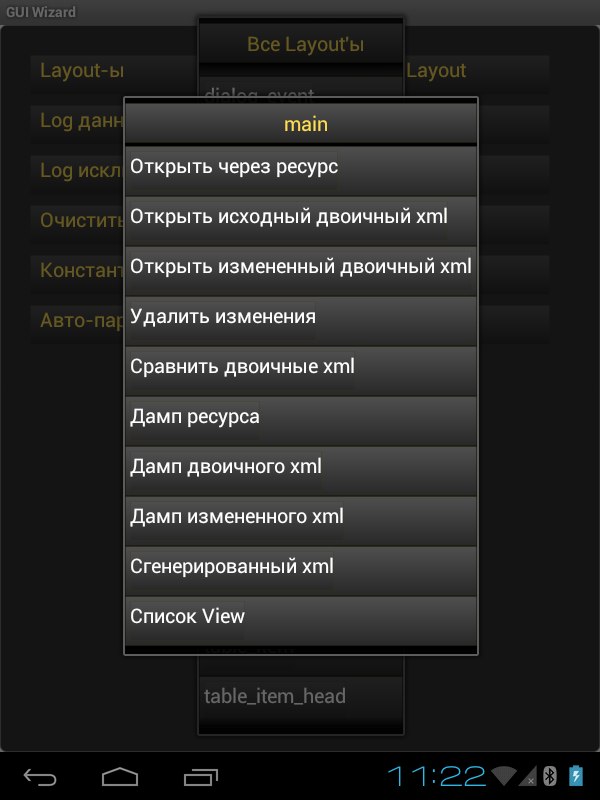
To debug the parsing of a compiled markup file, you can use the binary files contained in the application itself. To do this, you need to unzip the apk file and copy the xml files from res / layout to the GUIWizard / <application package> / data subdirectory (recall that they are contained there in a compiled binary format). In the layout, you can perform a byte comparison of the source binary markup file and the file generated by the program when their dimensions match. To do this, the application, when writing the output file, sorts the table of names and parameter lists in the order in which they were in the source file.
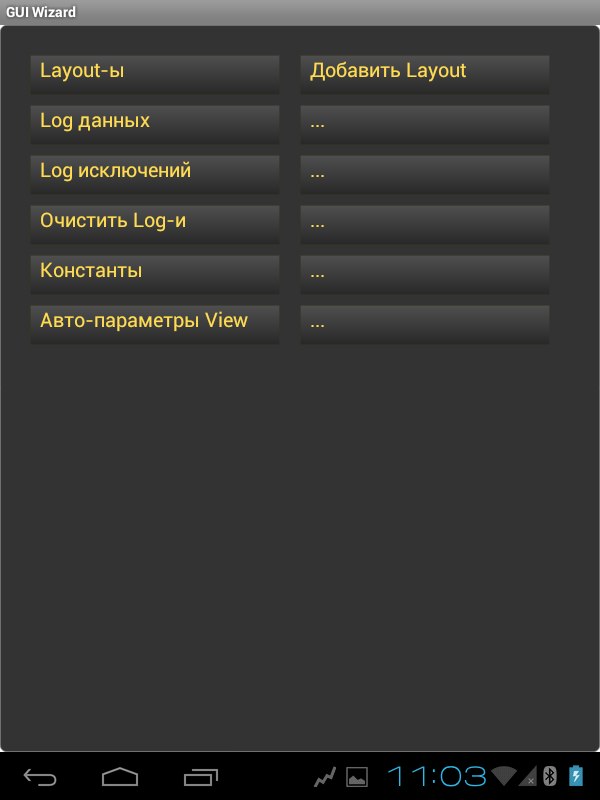
The aim of the current stage was to test the main ideas and implement them on the layout. The layout allows you to:
- view lists of constants;
- read your own data logs and exception stacks;
- generate View parameter description files;
- create new empty Layout;
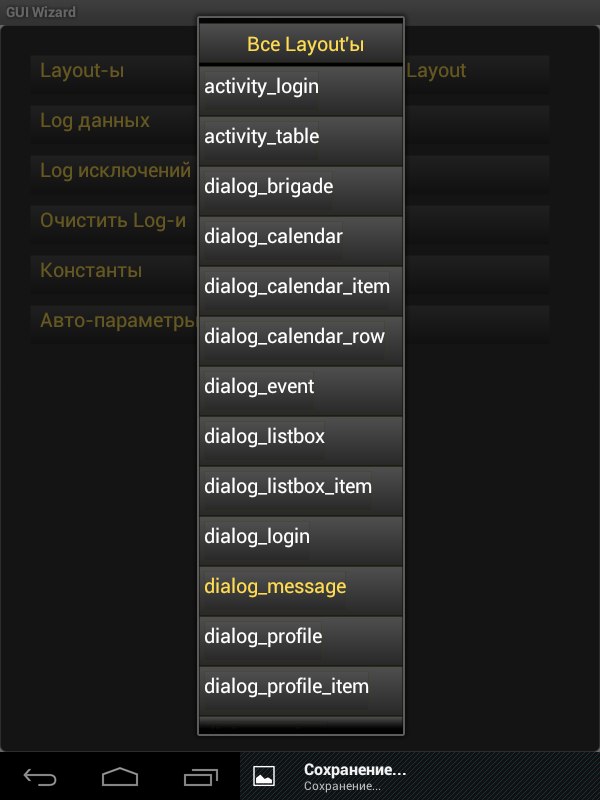
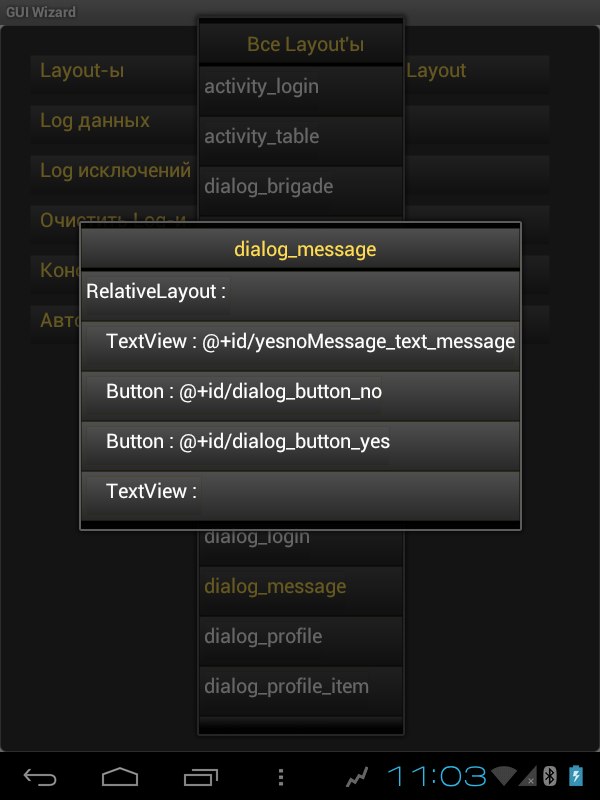
- view the Layout list (in all lists, a short click executes the main command, a long click brings up the context menu of the commands).
 |  |  |
A long click brings up a menu of commands executed on Layout. In Preview, a short click on any element brings up a list of its parameters, a long click on a message with the generated xml tag. In the command menu, the “View List” item displays a list with the names and types of the View, formatted by nesting. A short click in this list brings up the already mentioned list of parameters, a long click brings up the context menu in which there is a command to add a new View as a child to the selected one.
 | 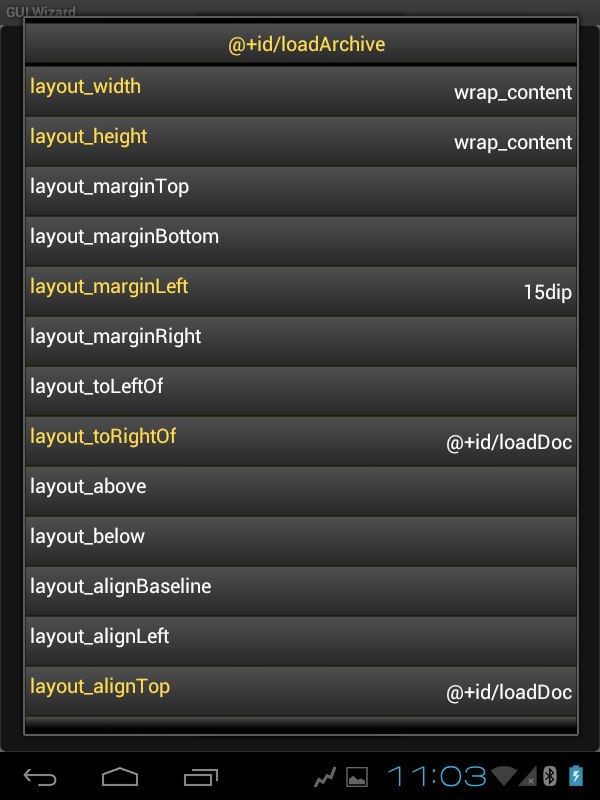 |  |
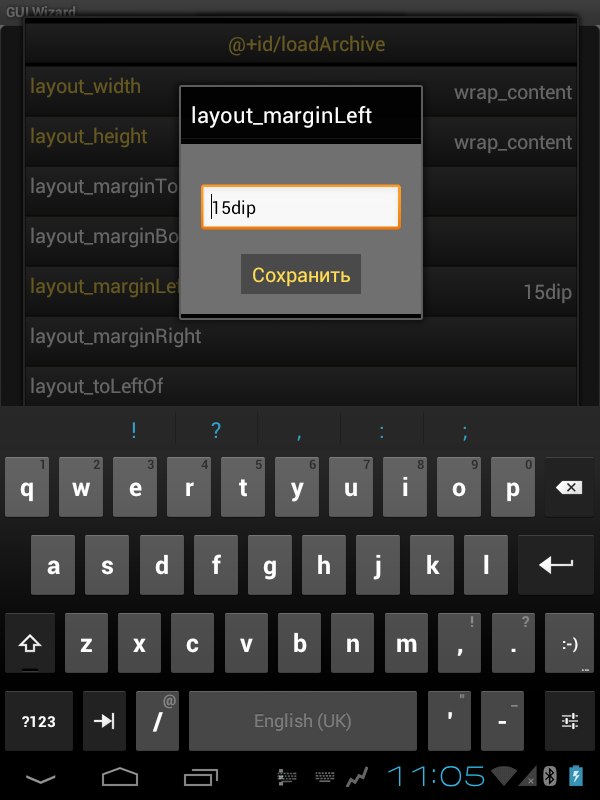
A short click in the parameter list brings up a dialog corresponding to its type, and a long click brings up a list of resources that can be assigned to it.
 |  |  |
The question of adding new resources remains open - they should be wired into the original project.