Change the monitor backlight (ourselves)
- From the sandbox
- Tutorial
Good day!
In this post, I would like to consider such a sore LCD monitors as failed backlight lamps, try to figure out why this happens, and change them accordingly. Those interested, please follow the green man.
PS
There are 27 photos under the cut
- Dear, I apologize in advance for the quality of the subsequent photos, I photographed on a toaster ....
- I also want to note that the monitors do not differ much in their basic design, so don’t be scared if you don’t find any screws al something else in the place that shows me in the photo, they are somewhere nearby ...
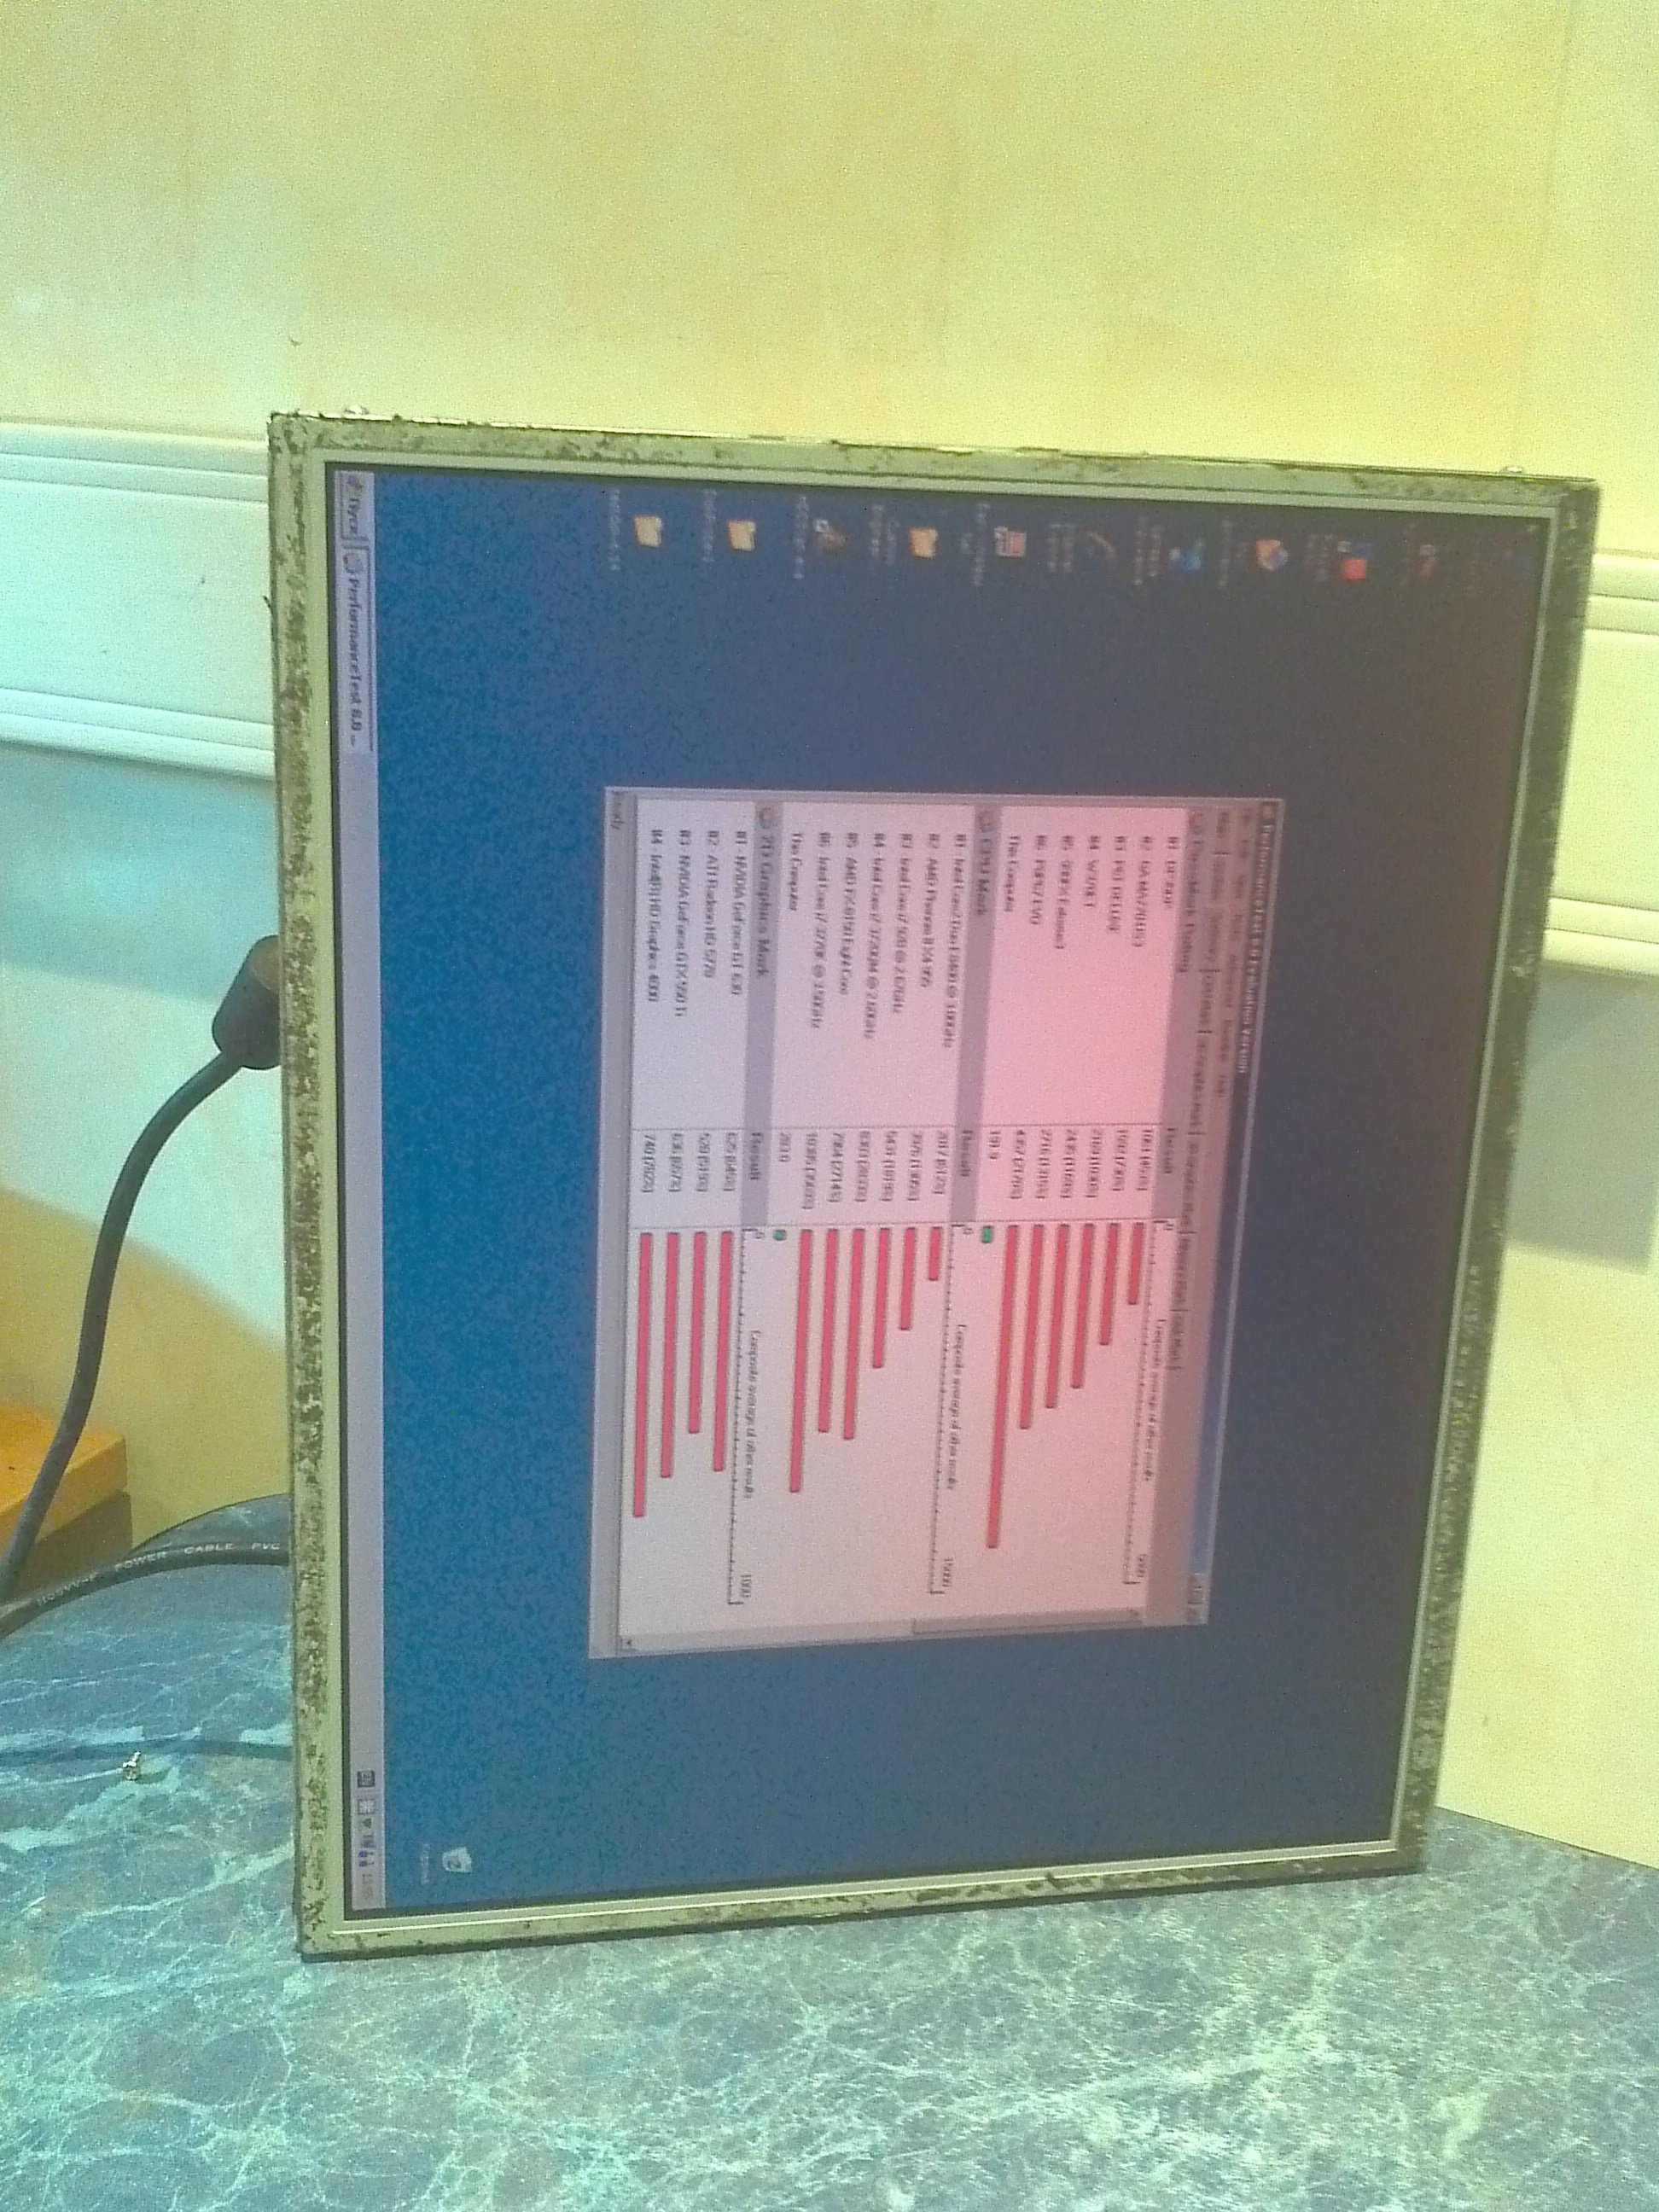
So, we have a monitor that works almost in romantic, red-pink colors. The operating time of such a monitor is unpredictable ... but as a rule it does not exceed 2-3 hours, after which your eyes are given time to breathe, and the brain to ponder the questions of being.
The problem is the failed backlight of the monitor matrix, but why did this happen?
There are a lot of reasons for this situation:
- production defects,
- shorting of the metal parts of the lamp to the metal frame of the matrix,
- physical damage, etc.
But still, let's get a little deeper into the theory.
But why then does he continue to work? and such a short period of time?
Everything is simple.
It is worth noting that monitors most often use 2 blocks of 2 lamps ( on the top and bottom of the monitor ), which should evenly distribute light along the fiber under the matrix.
If one or more lamps fail, the rest continue to work. But the inverter ( which powers them ) is a smart thing, and if it “sees” that something is wrong with one or more of its wards, it decides to stop its work so as not to harm it.
Well, let's get down to disassembly?
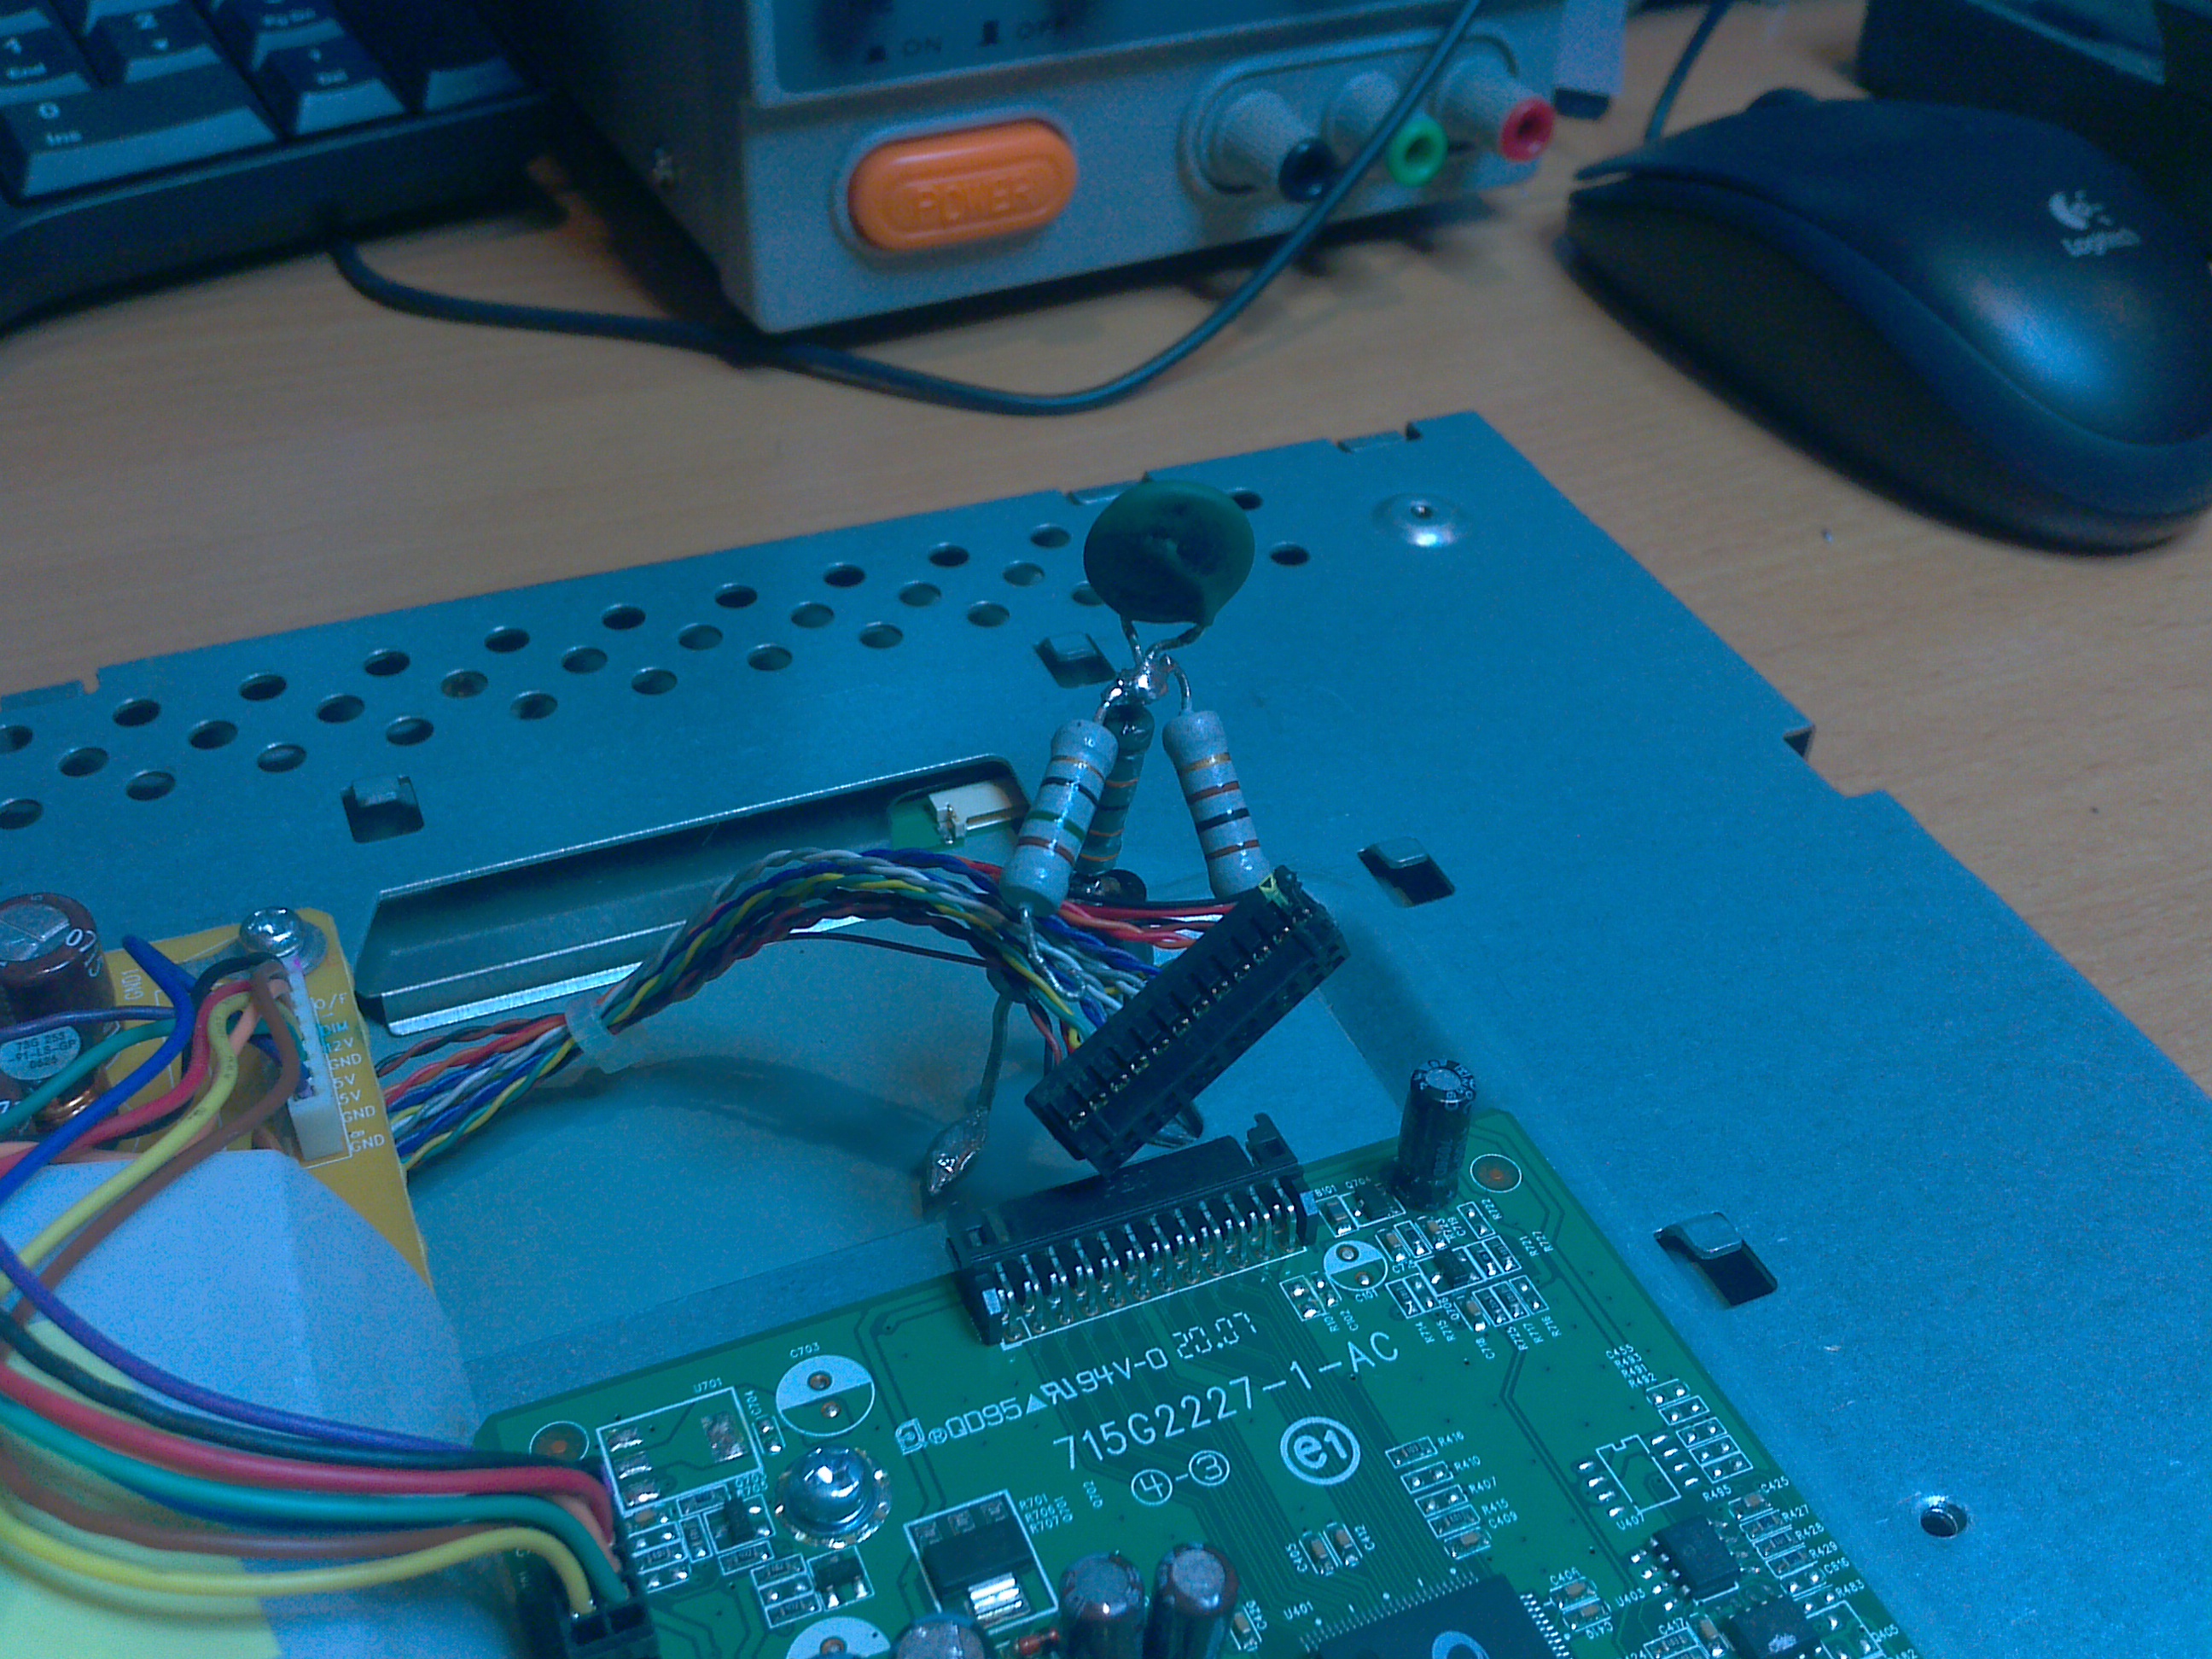
We start by disconnecting all the cables from the inverter unit and the monitor controller,
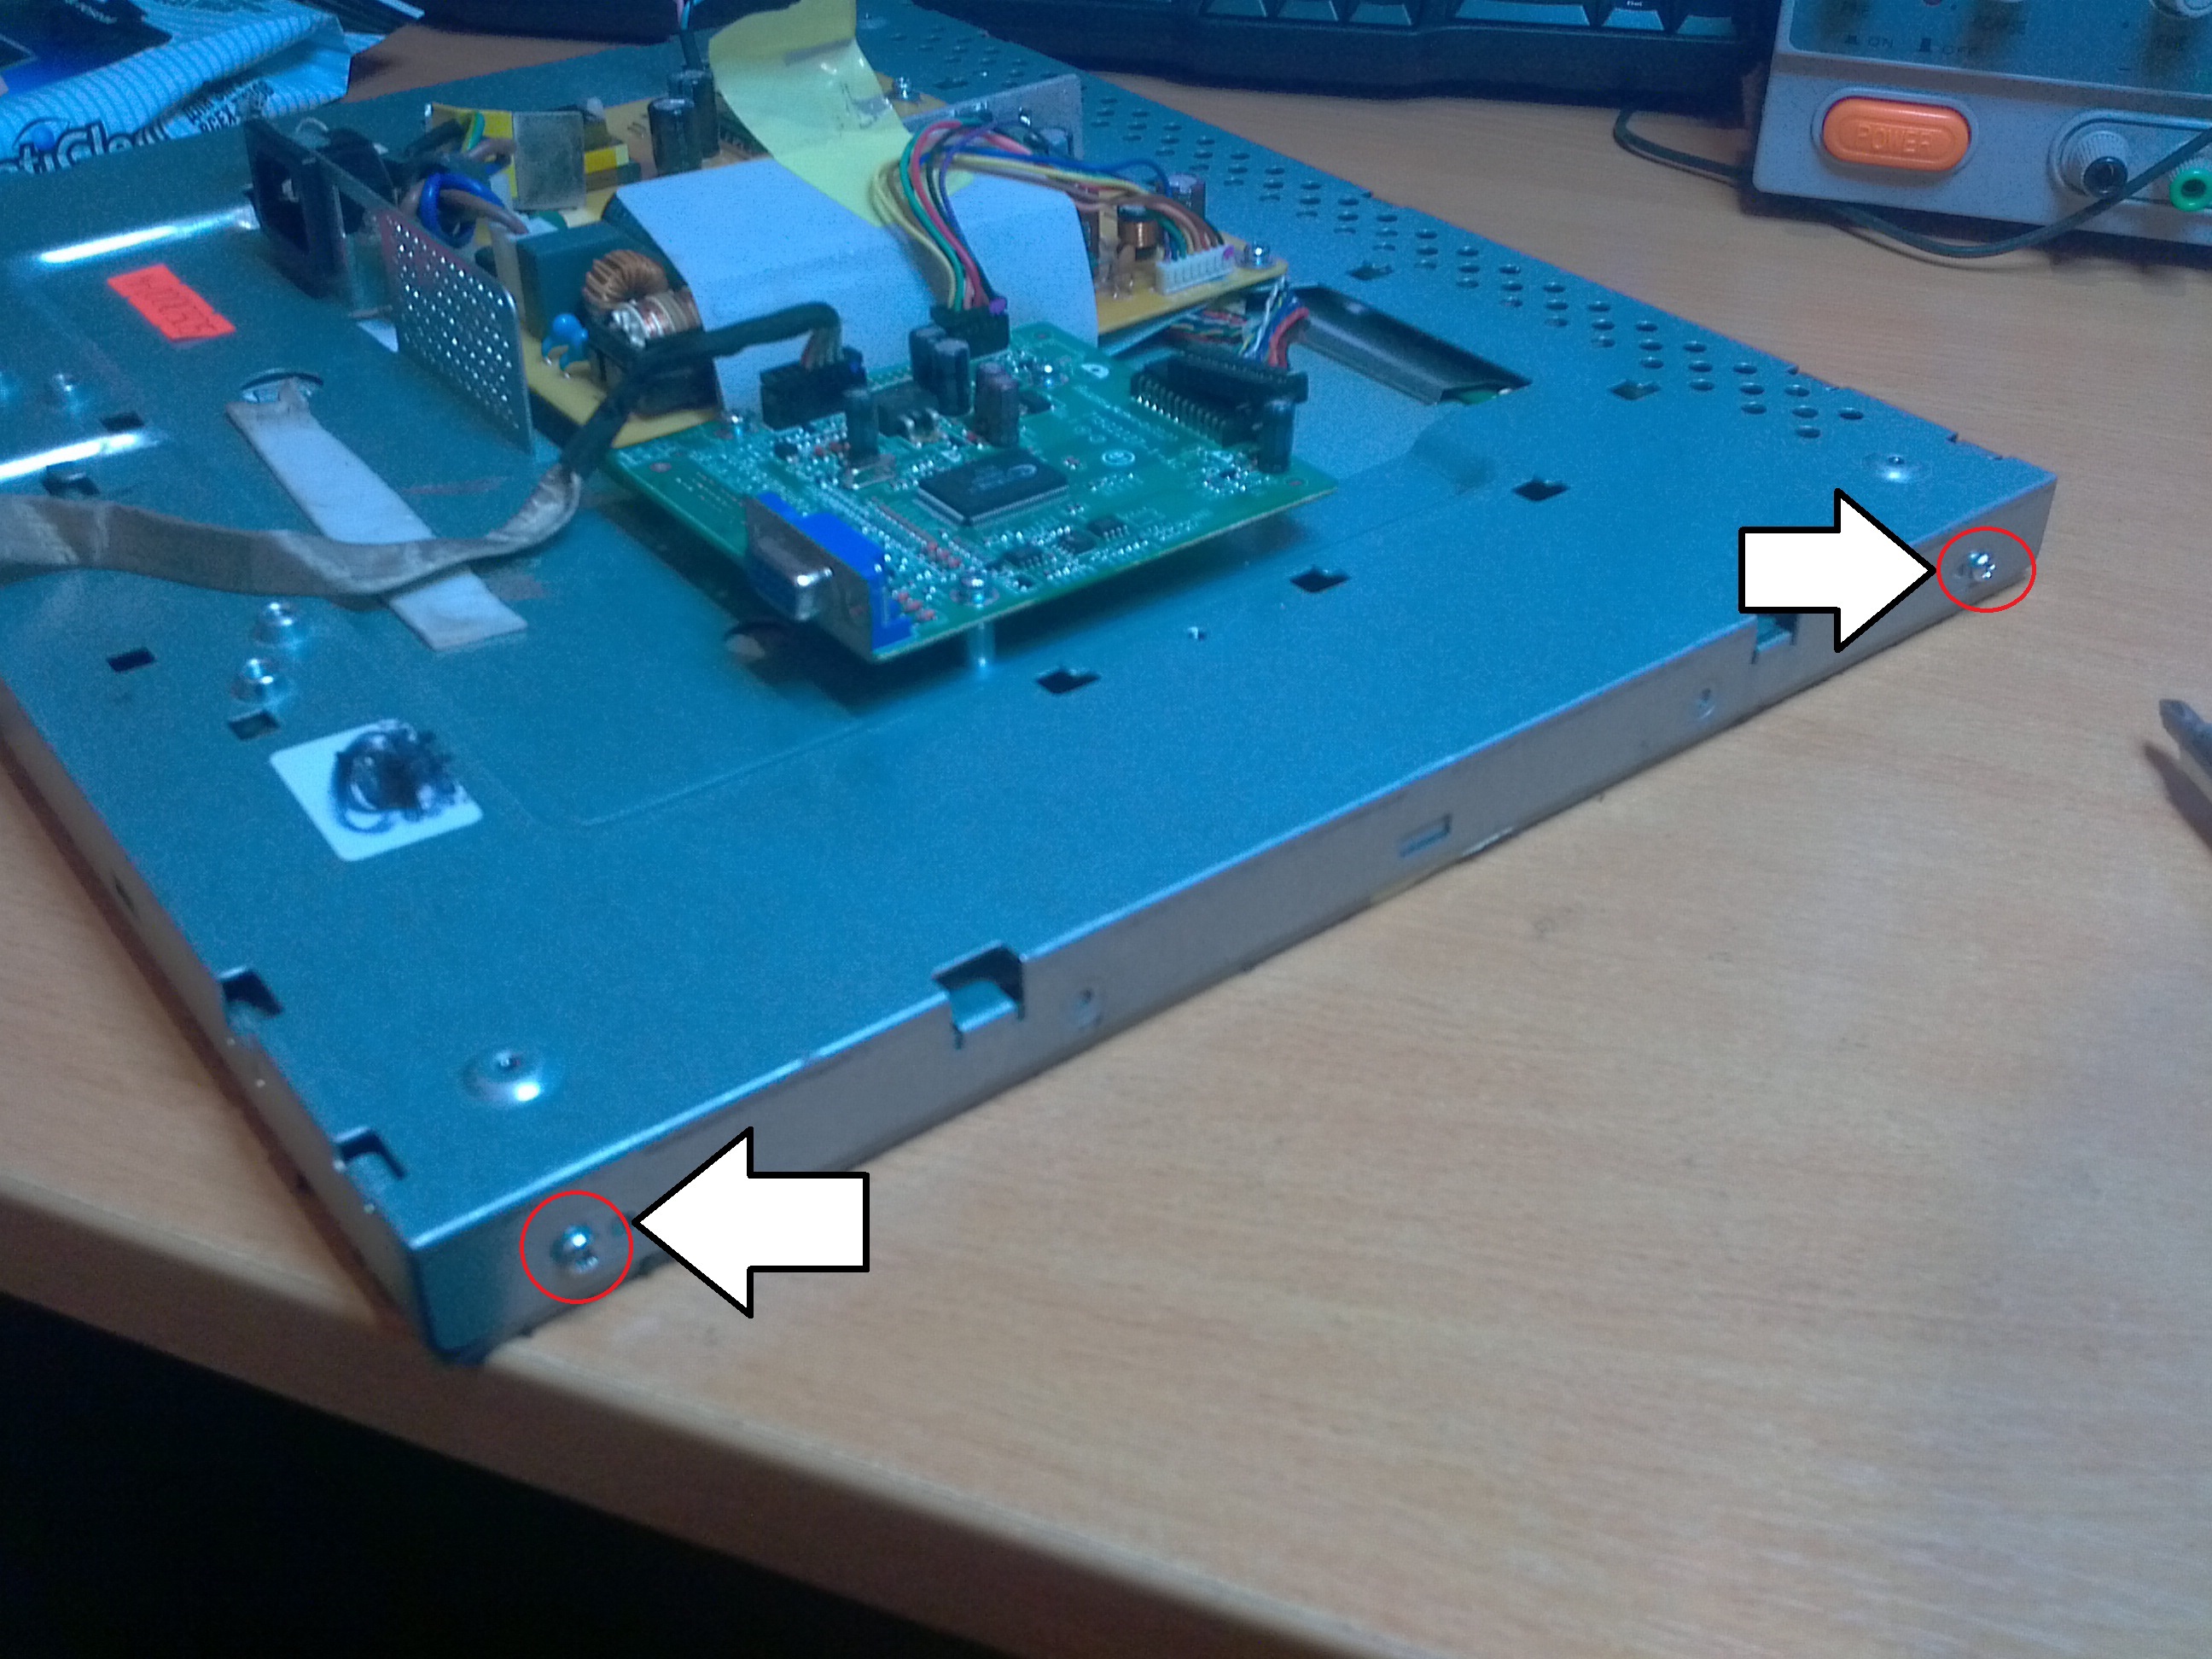
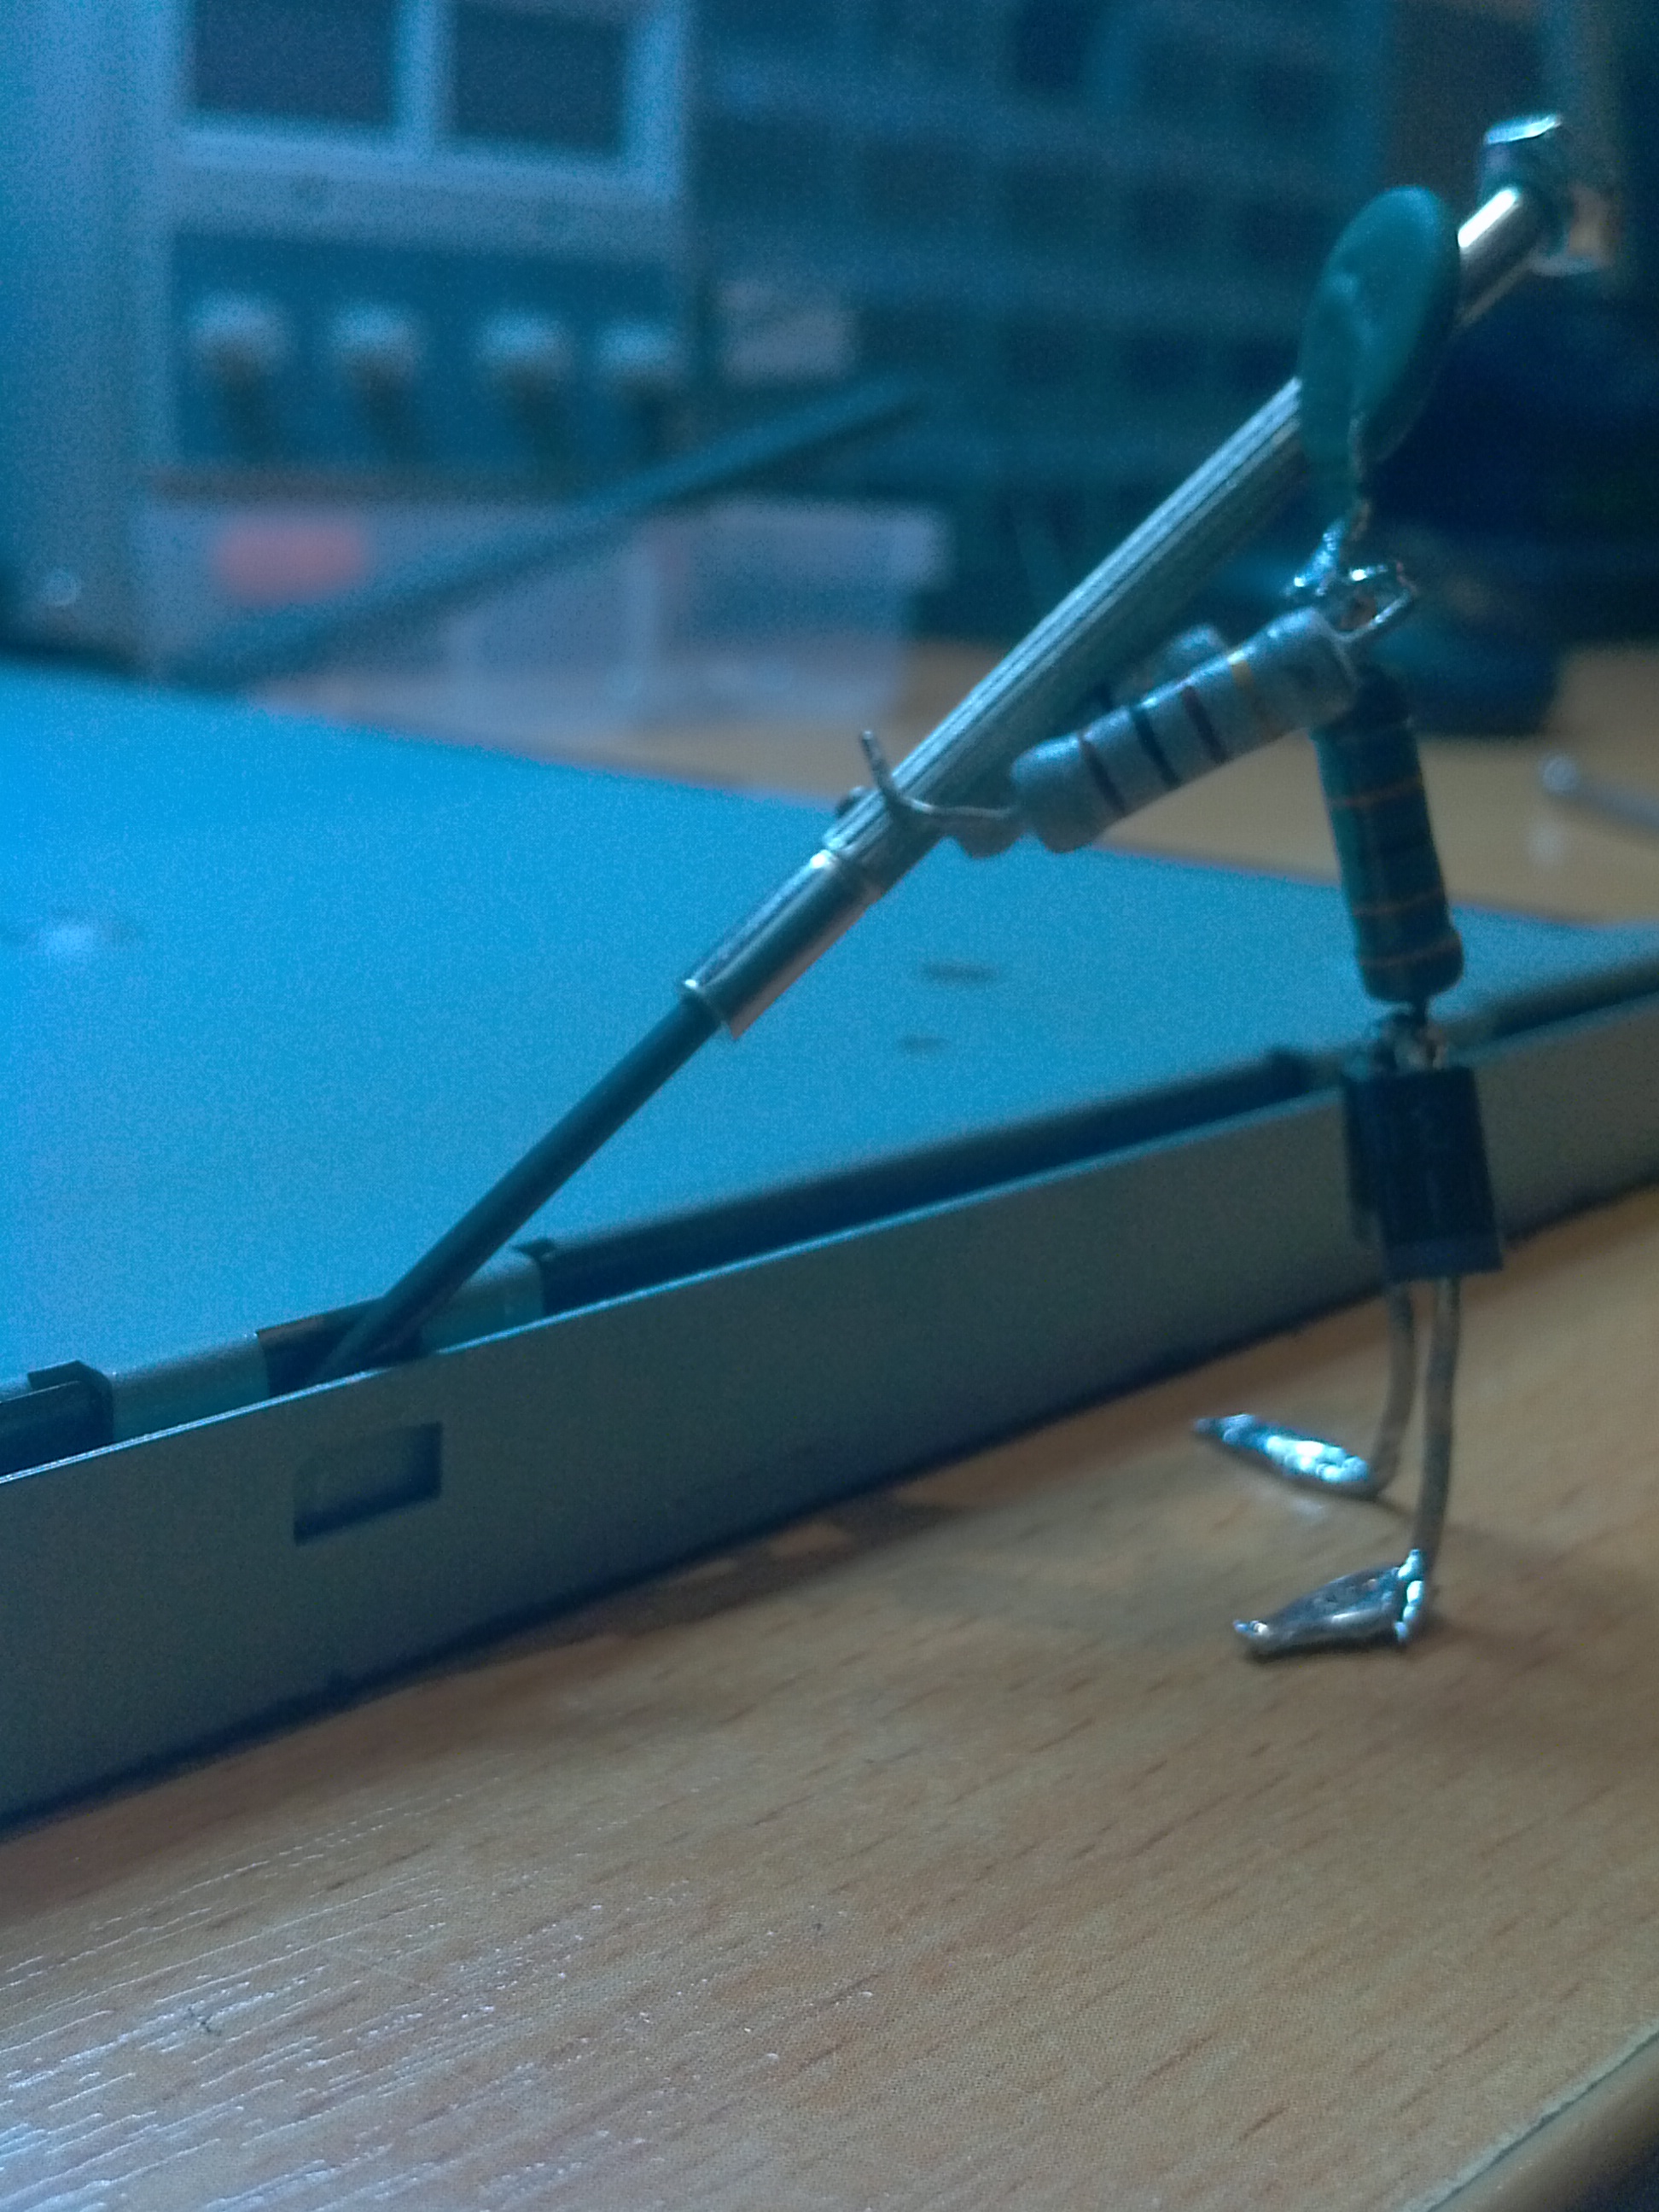
Next, we take a screwdriver in our hands and begin to poke it into all the possible screws located around the perimeter of our still whole monitor. We untwist them!
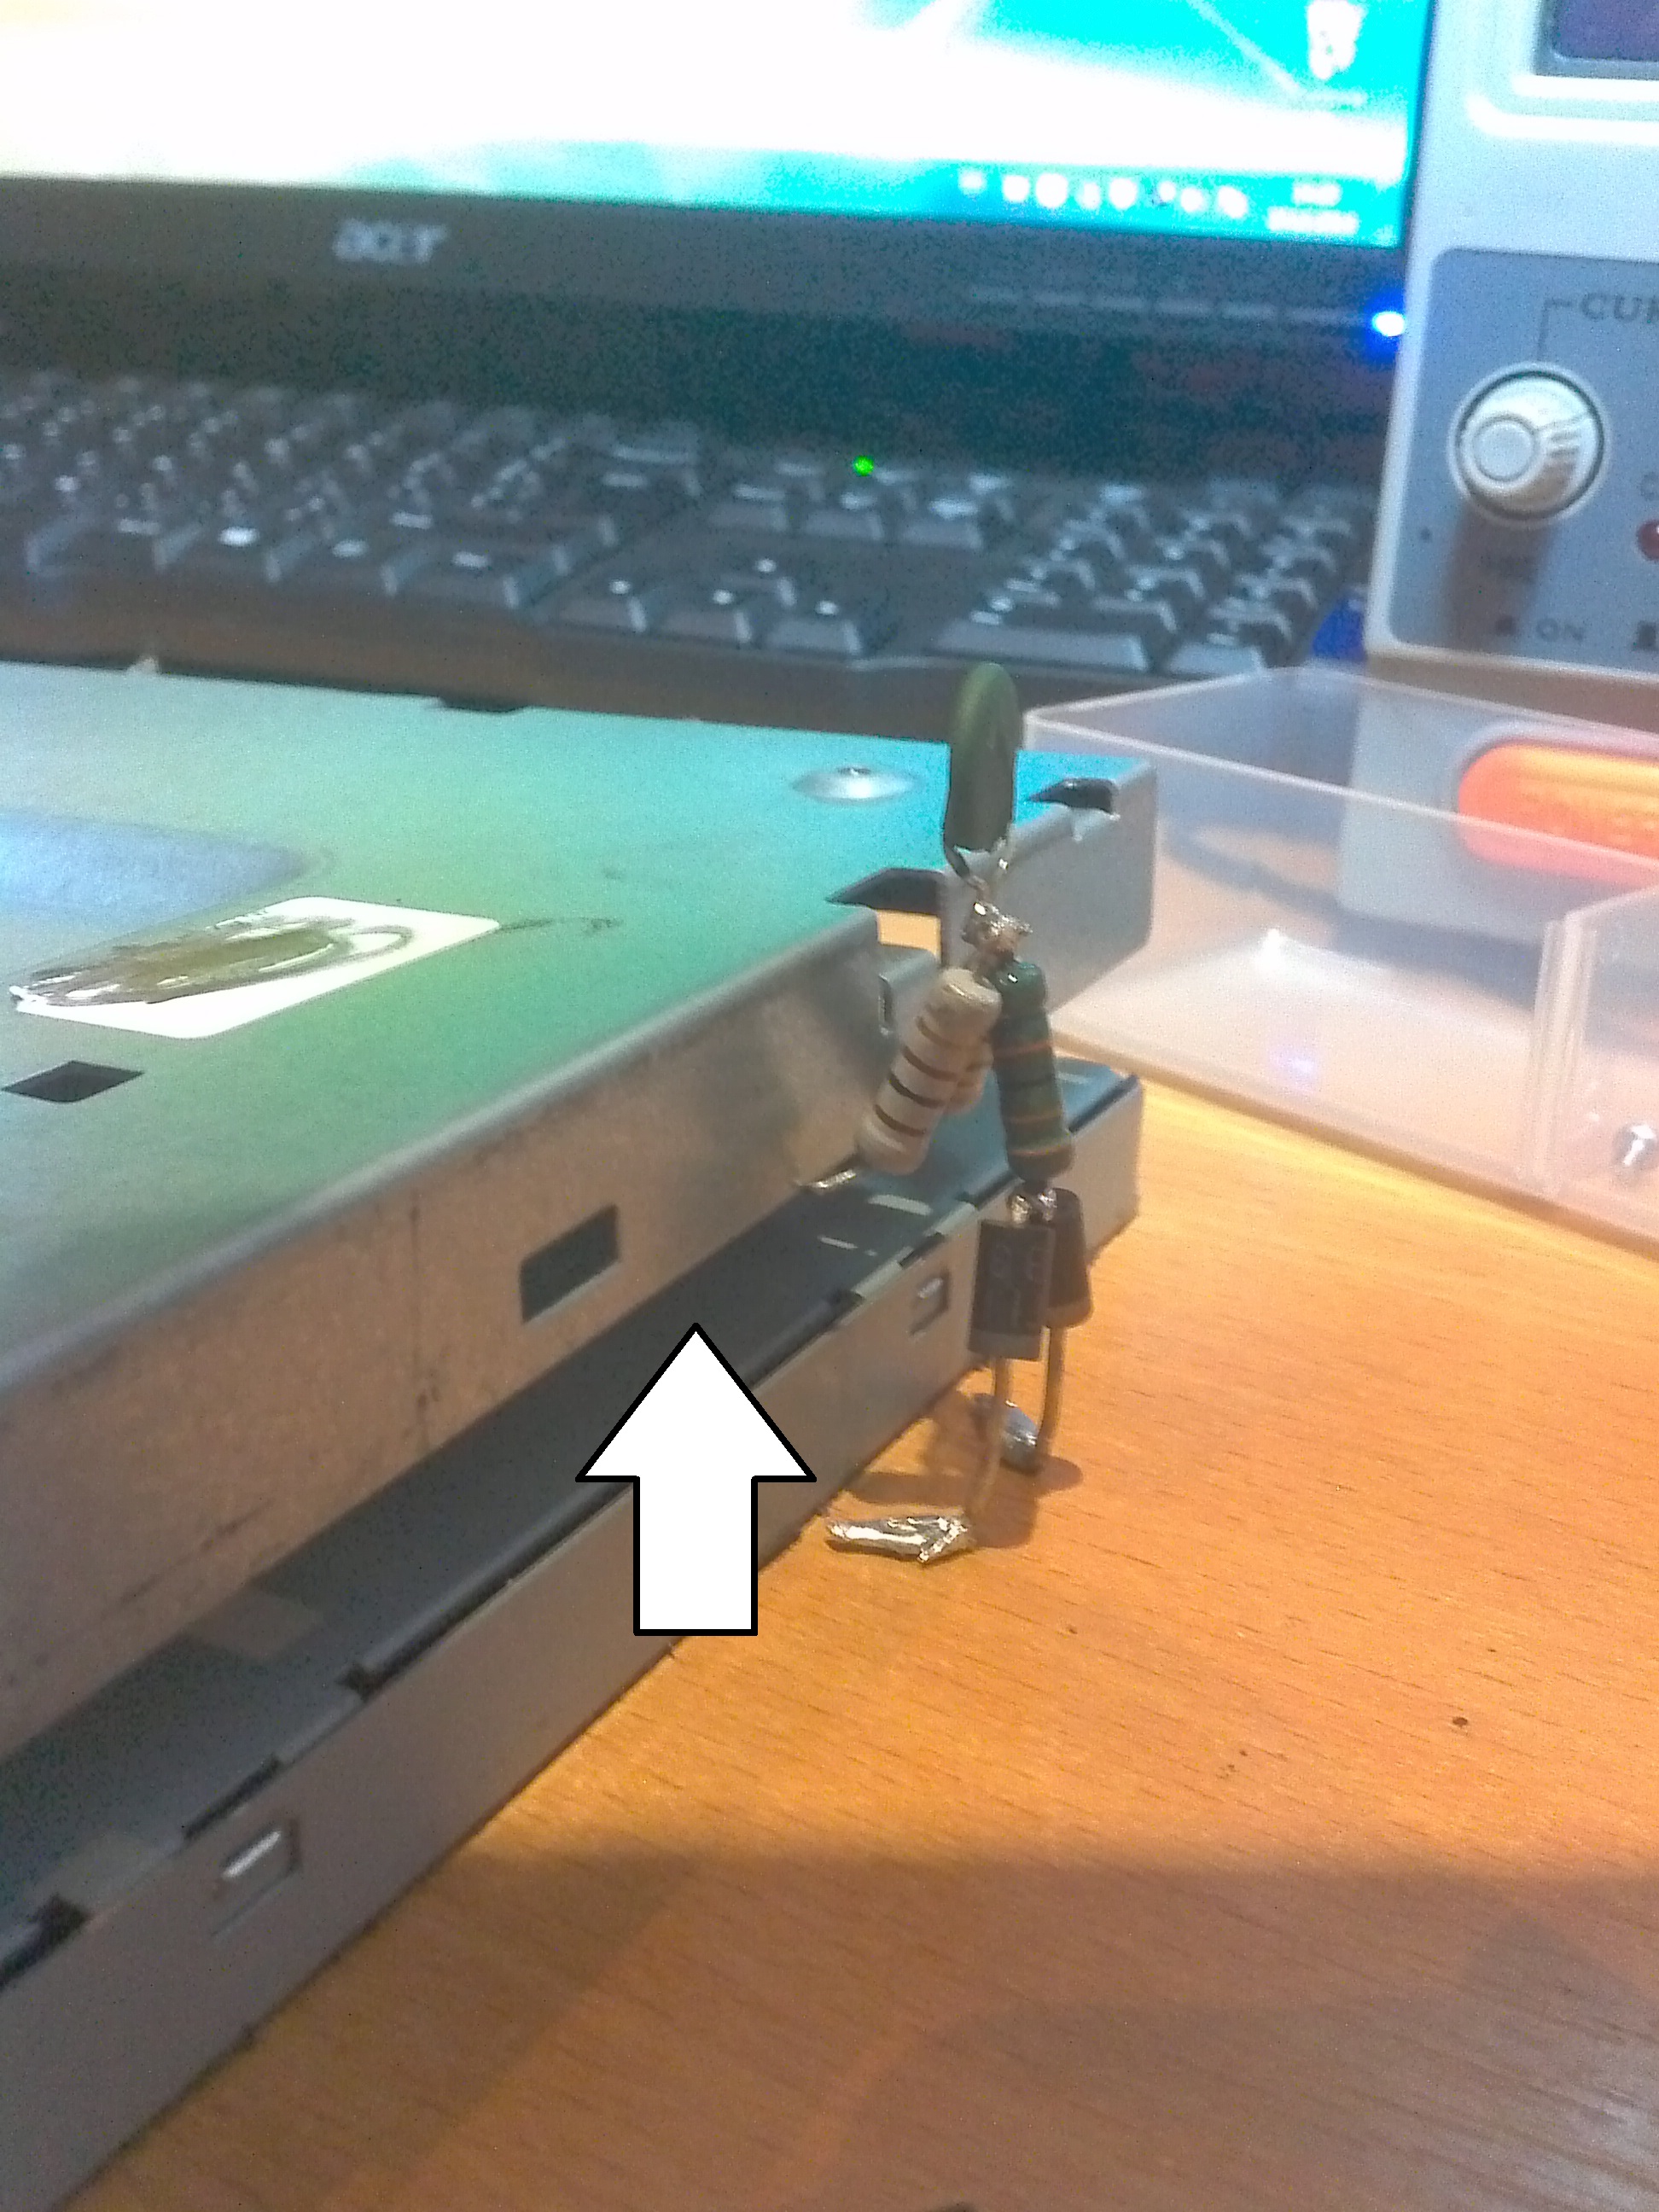
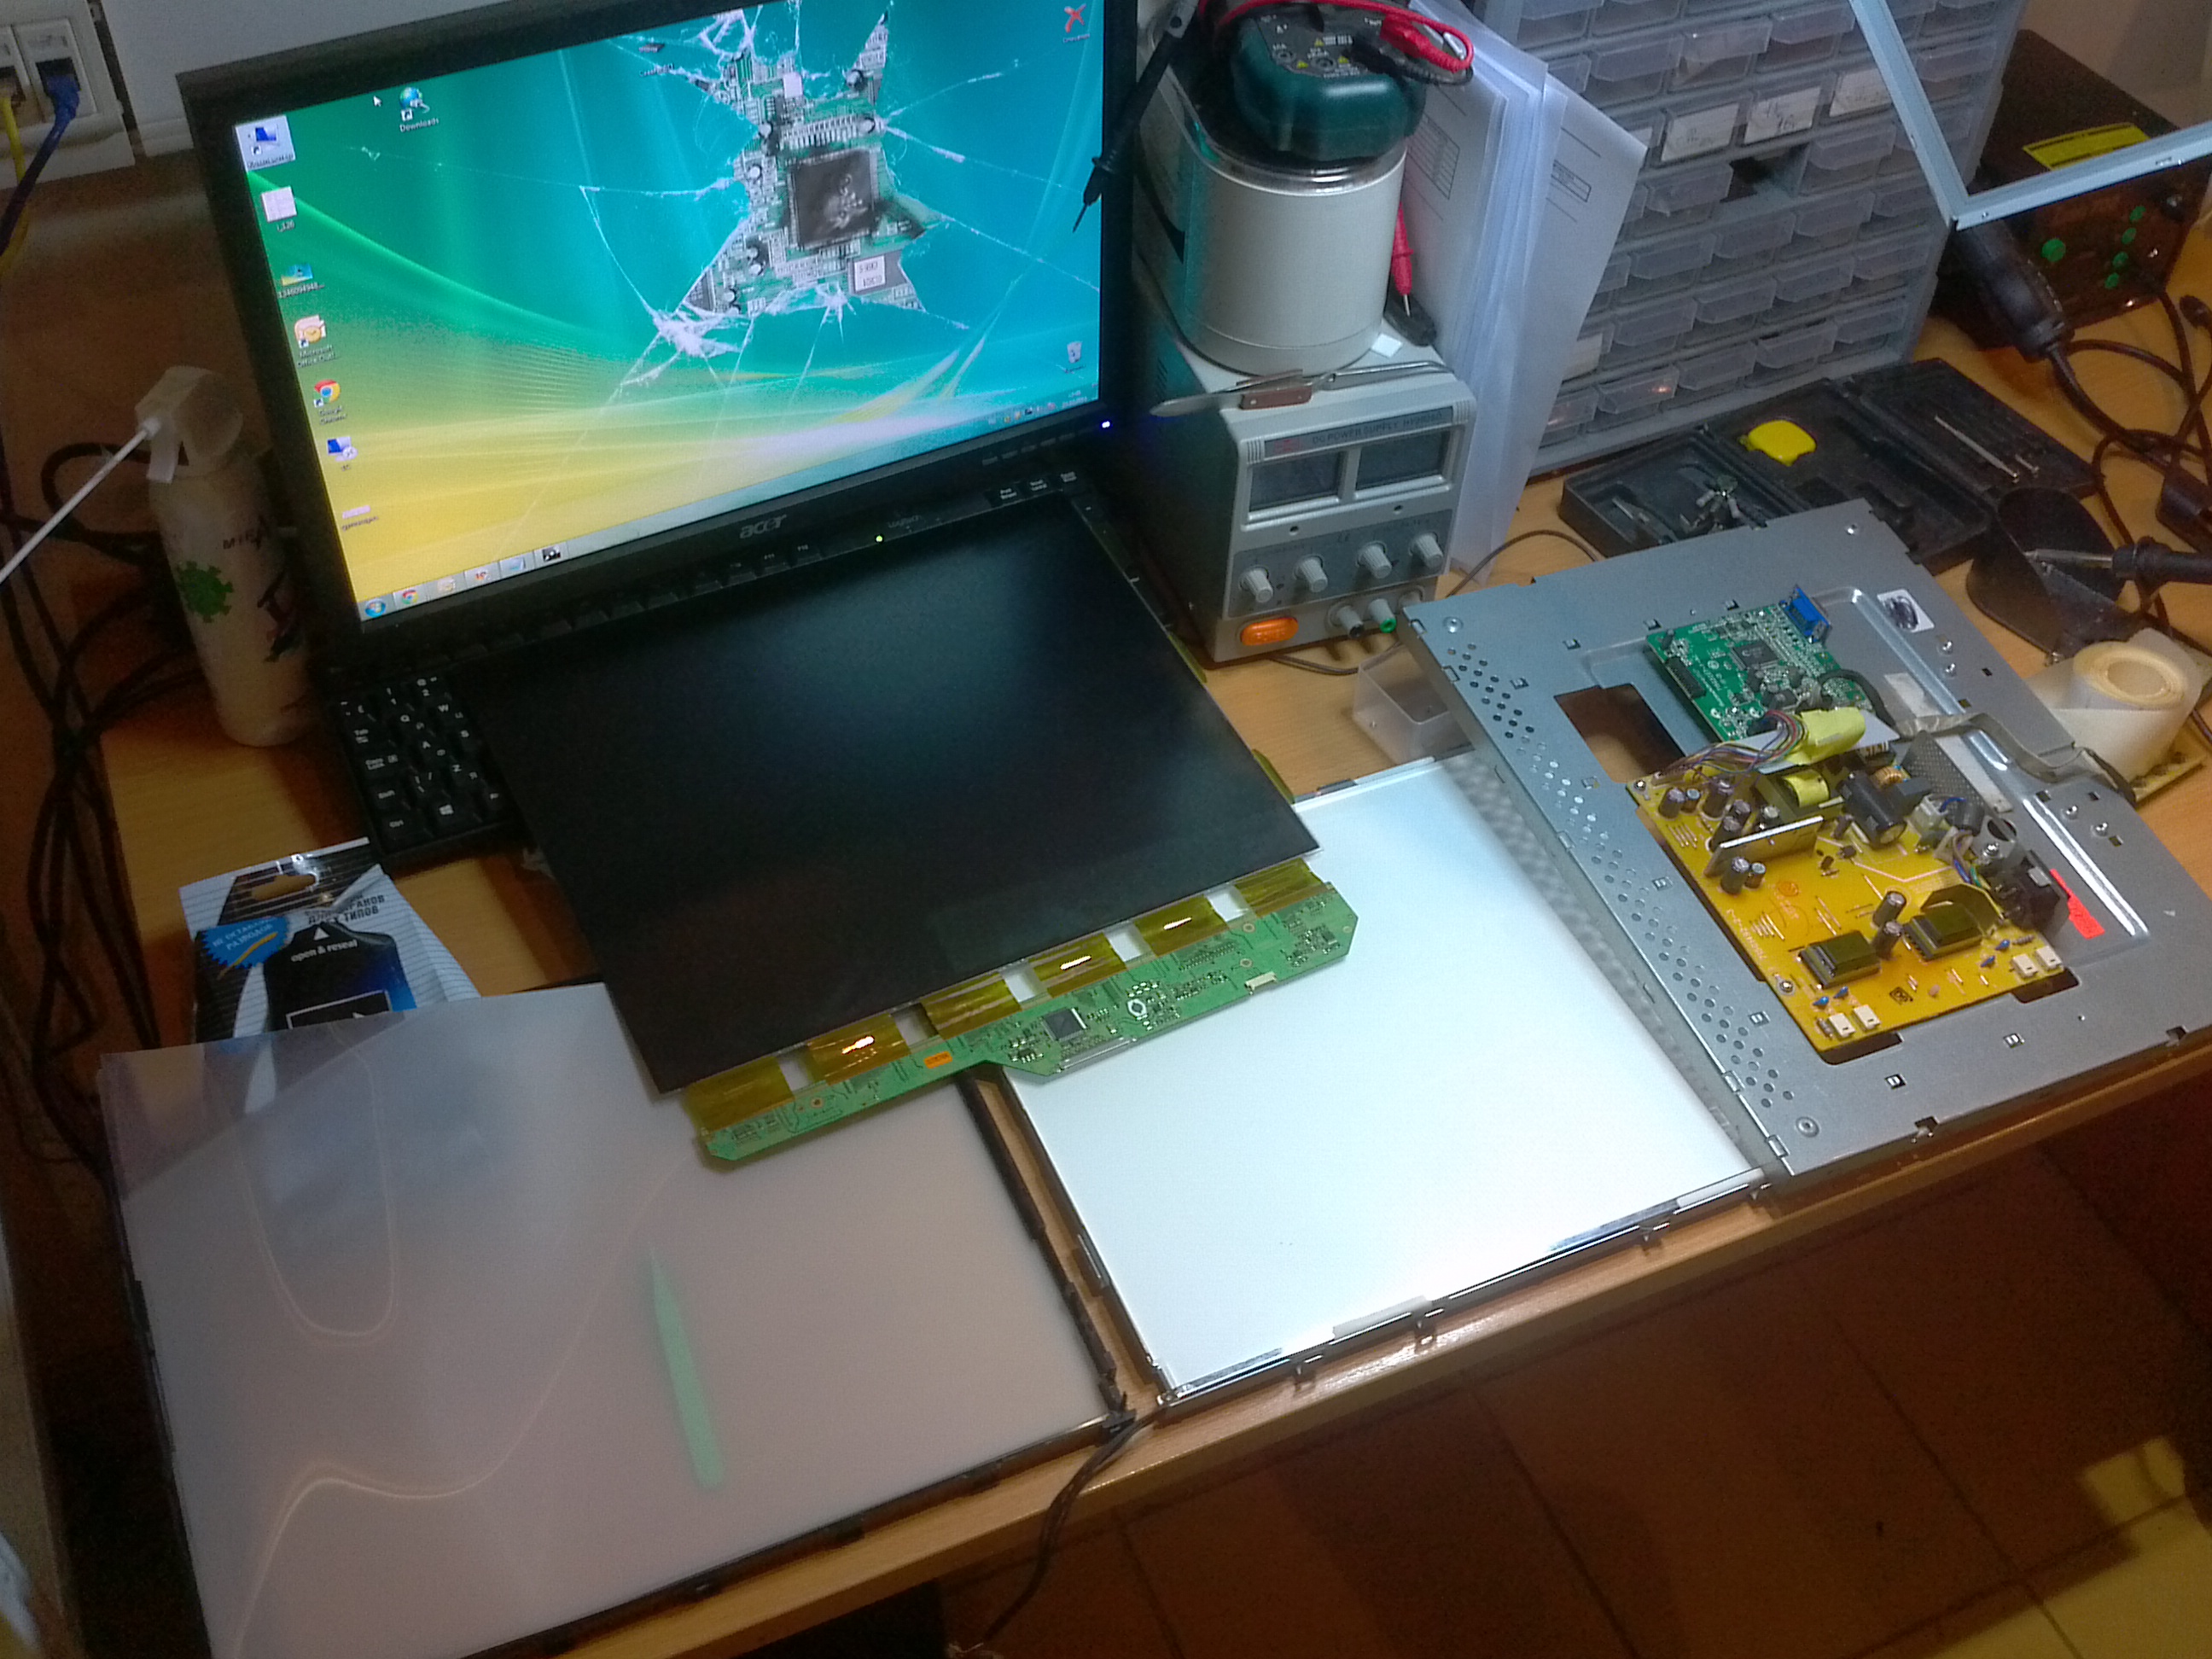
remove the back panel with the power supply and controller
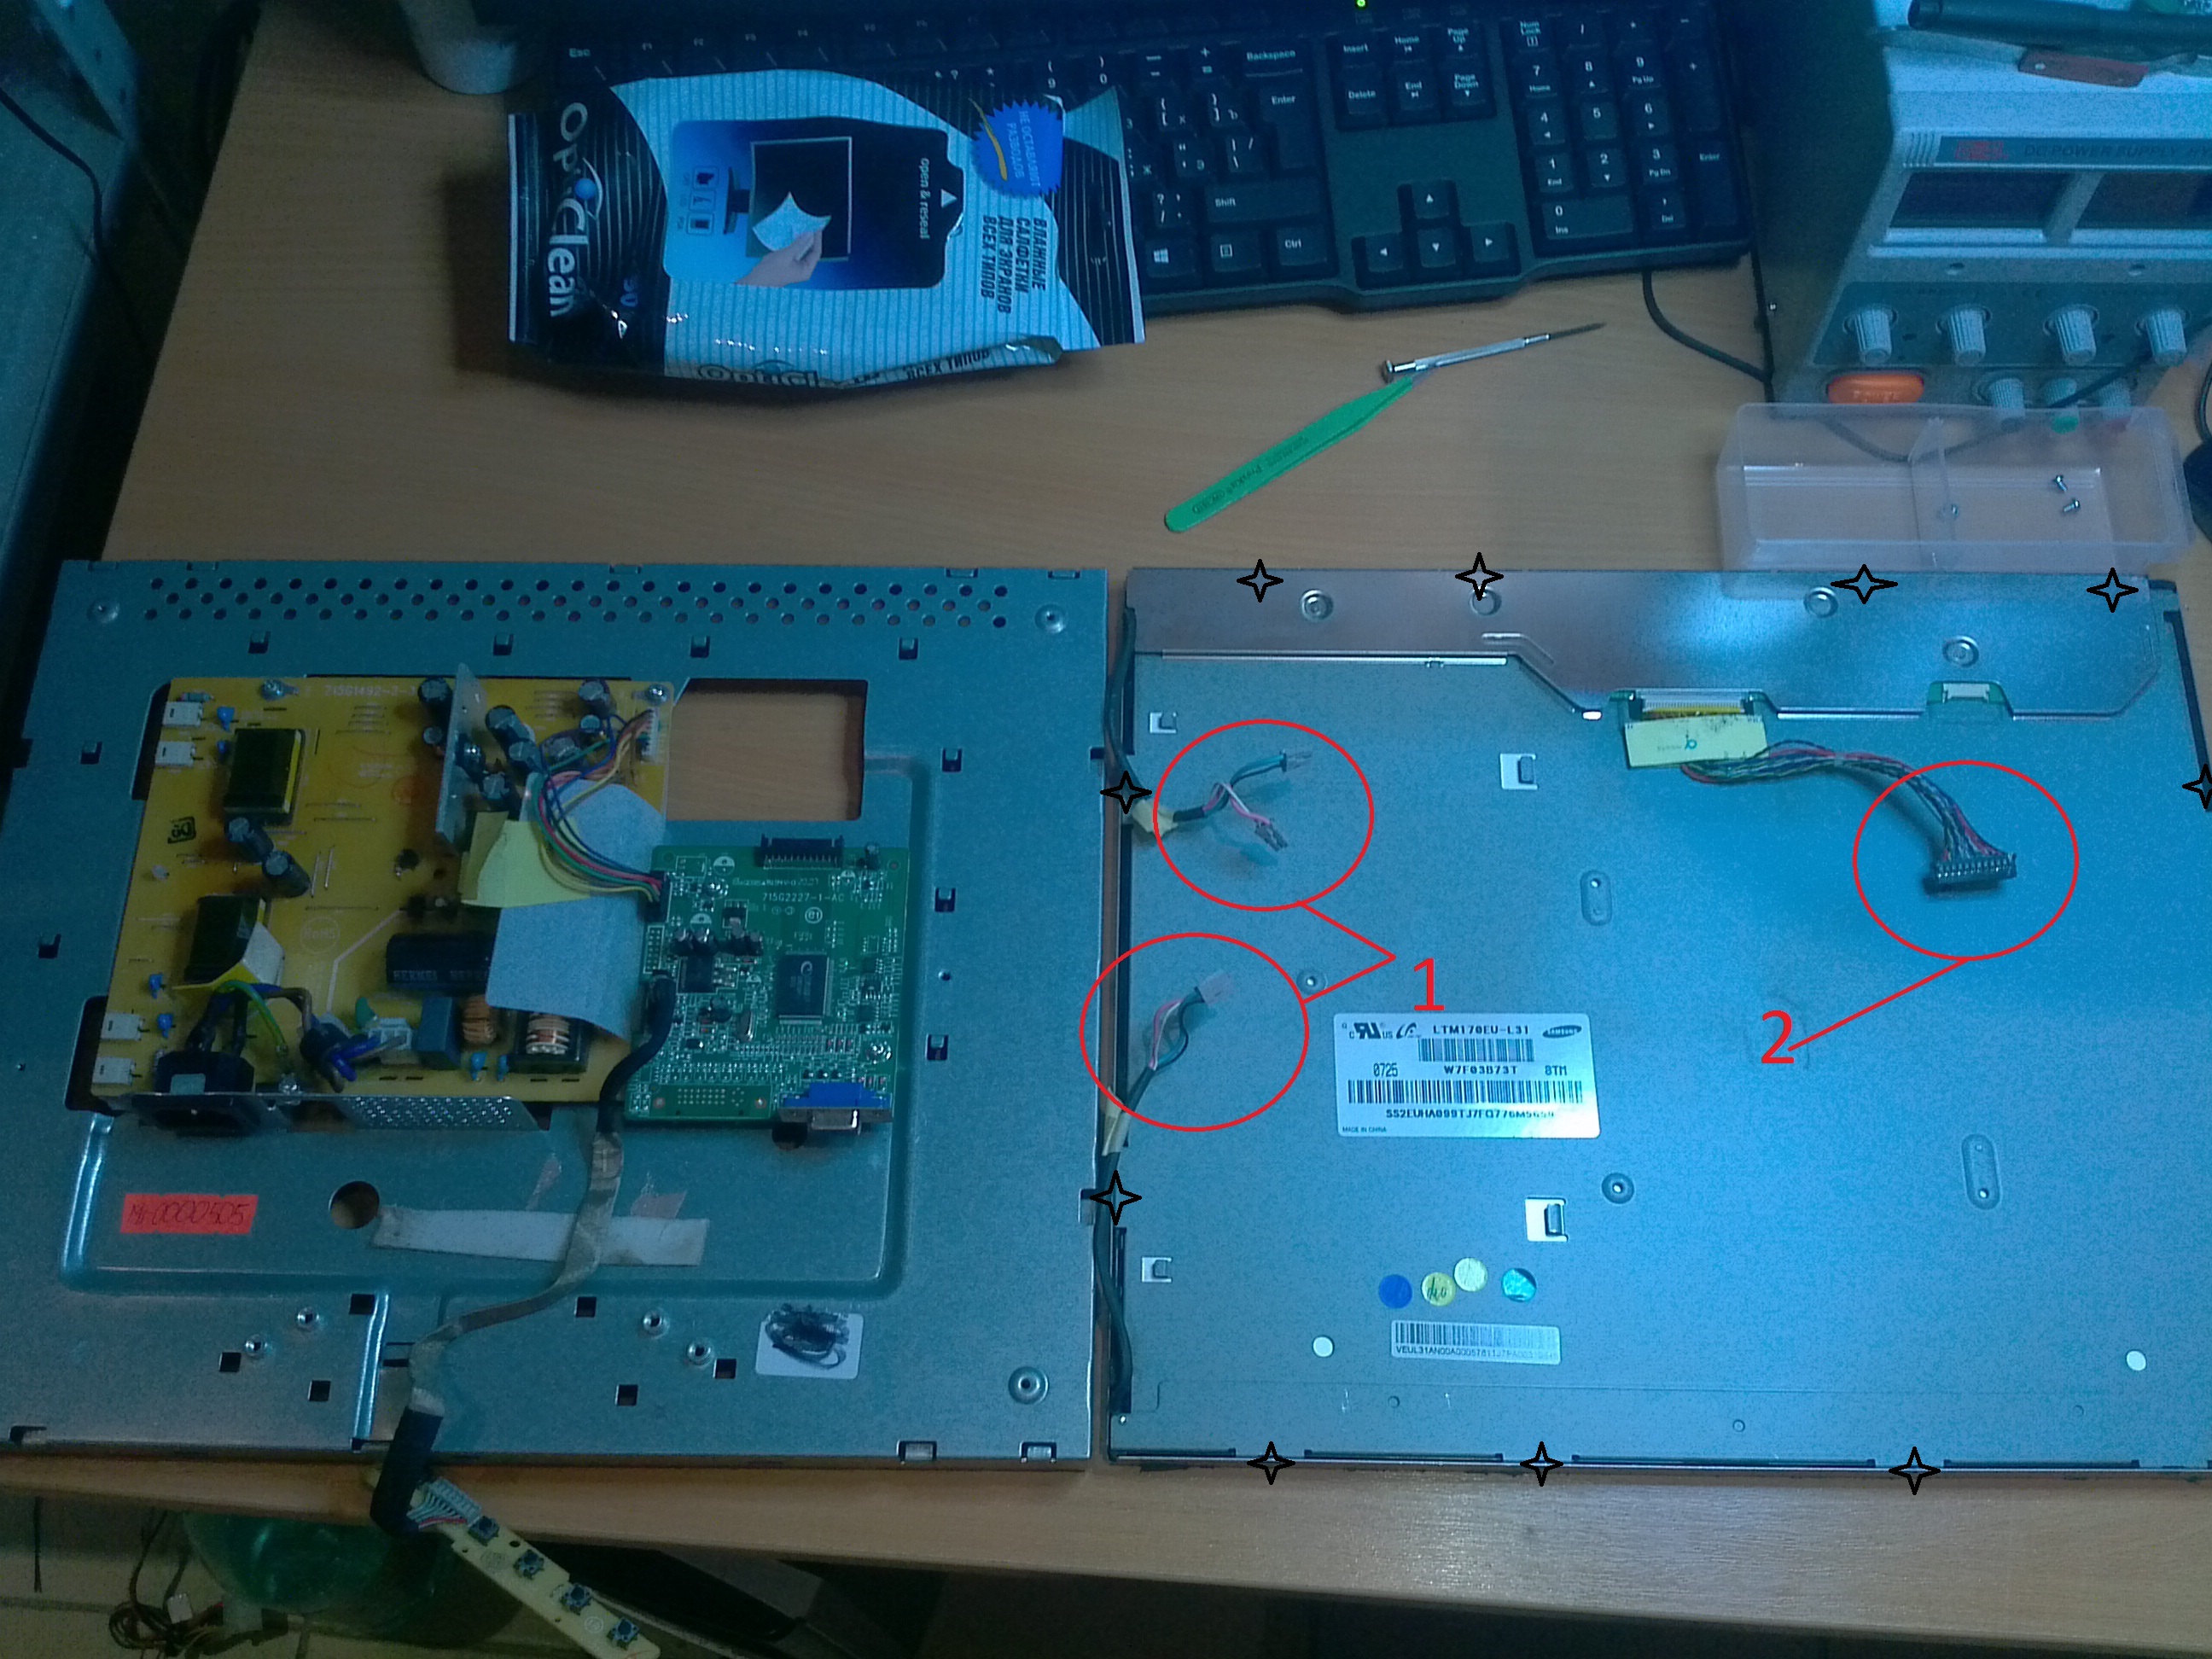
Removed? excellent ... What we see, the number 1 we have marked the power wires going to the coveted lamps.
2 - a loop going to our matrix.
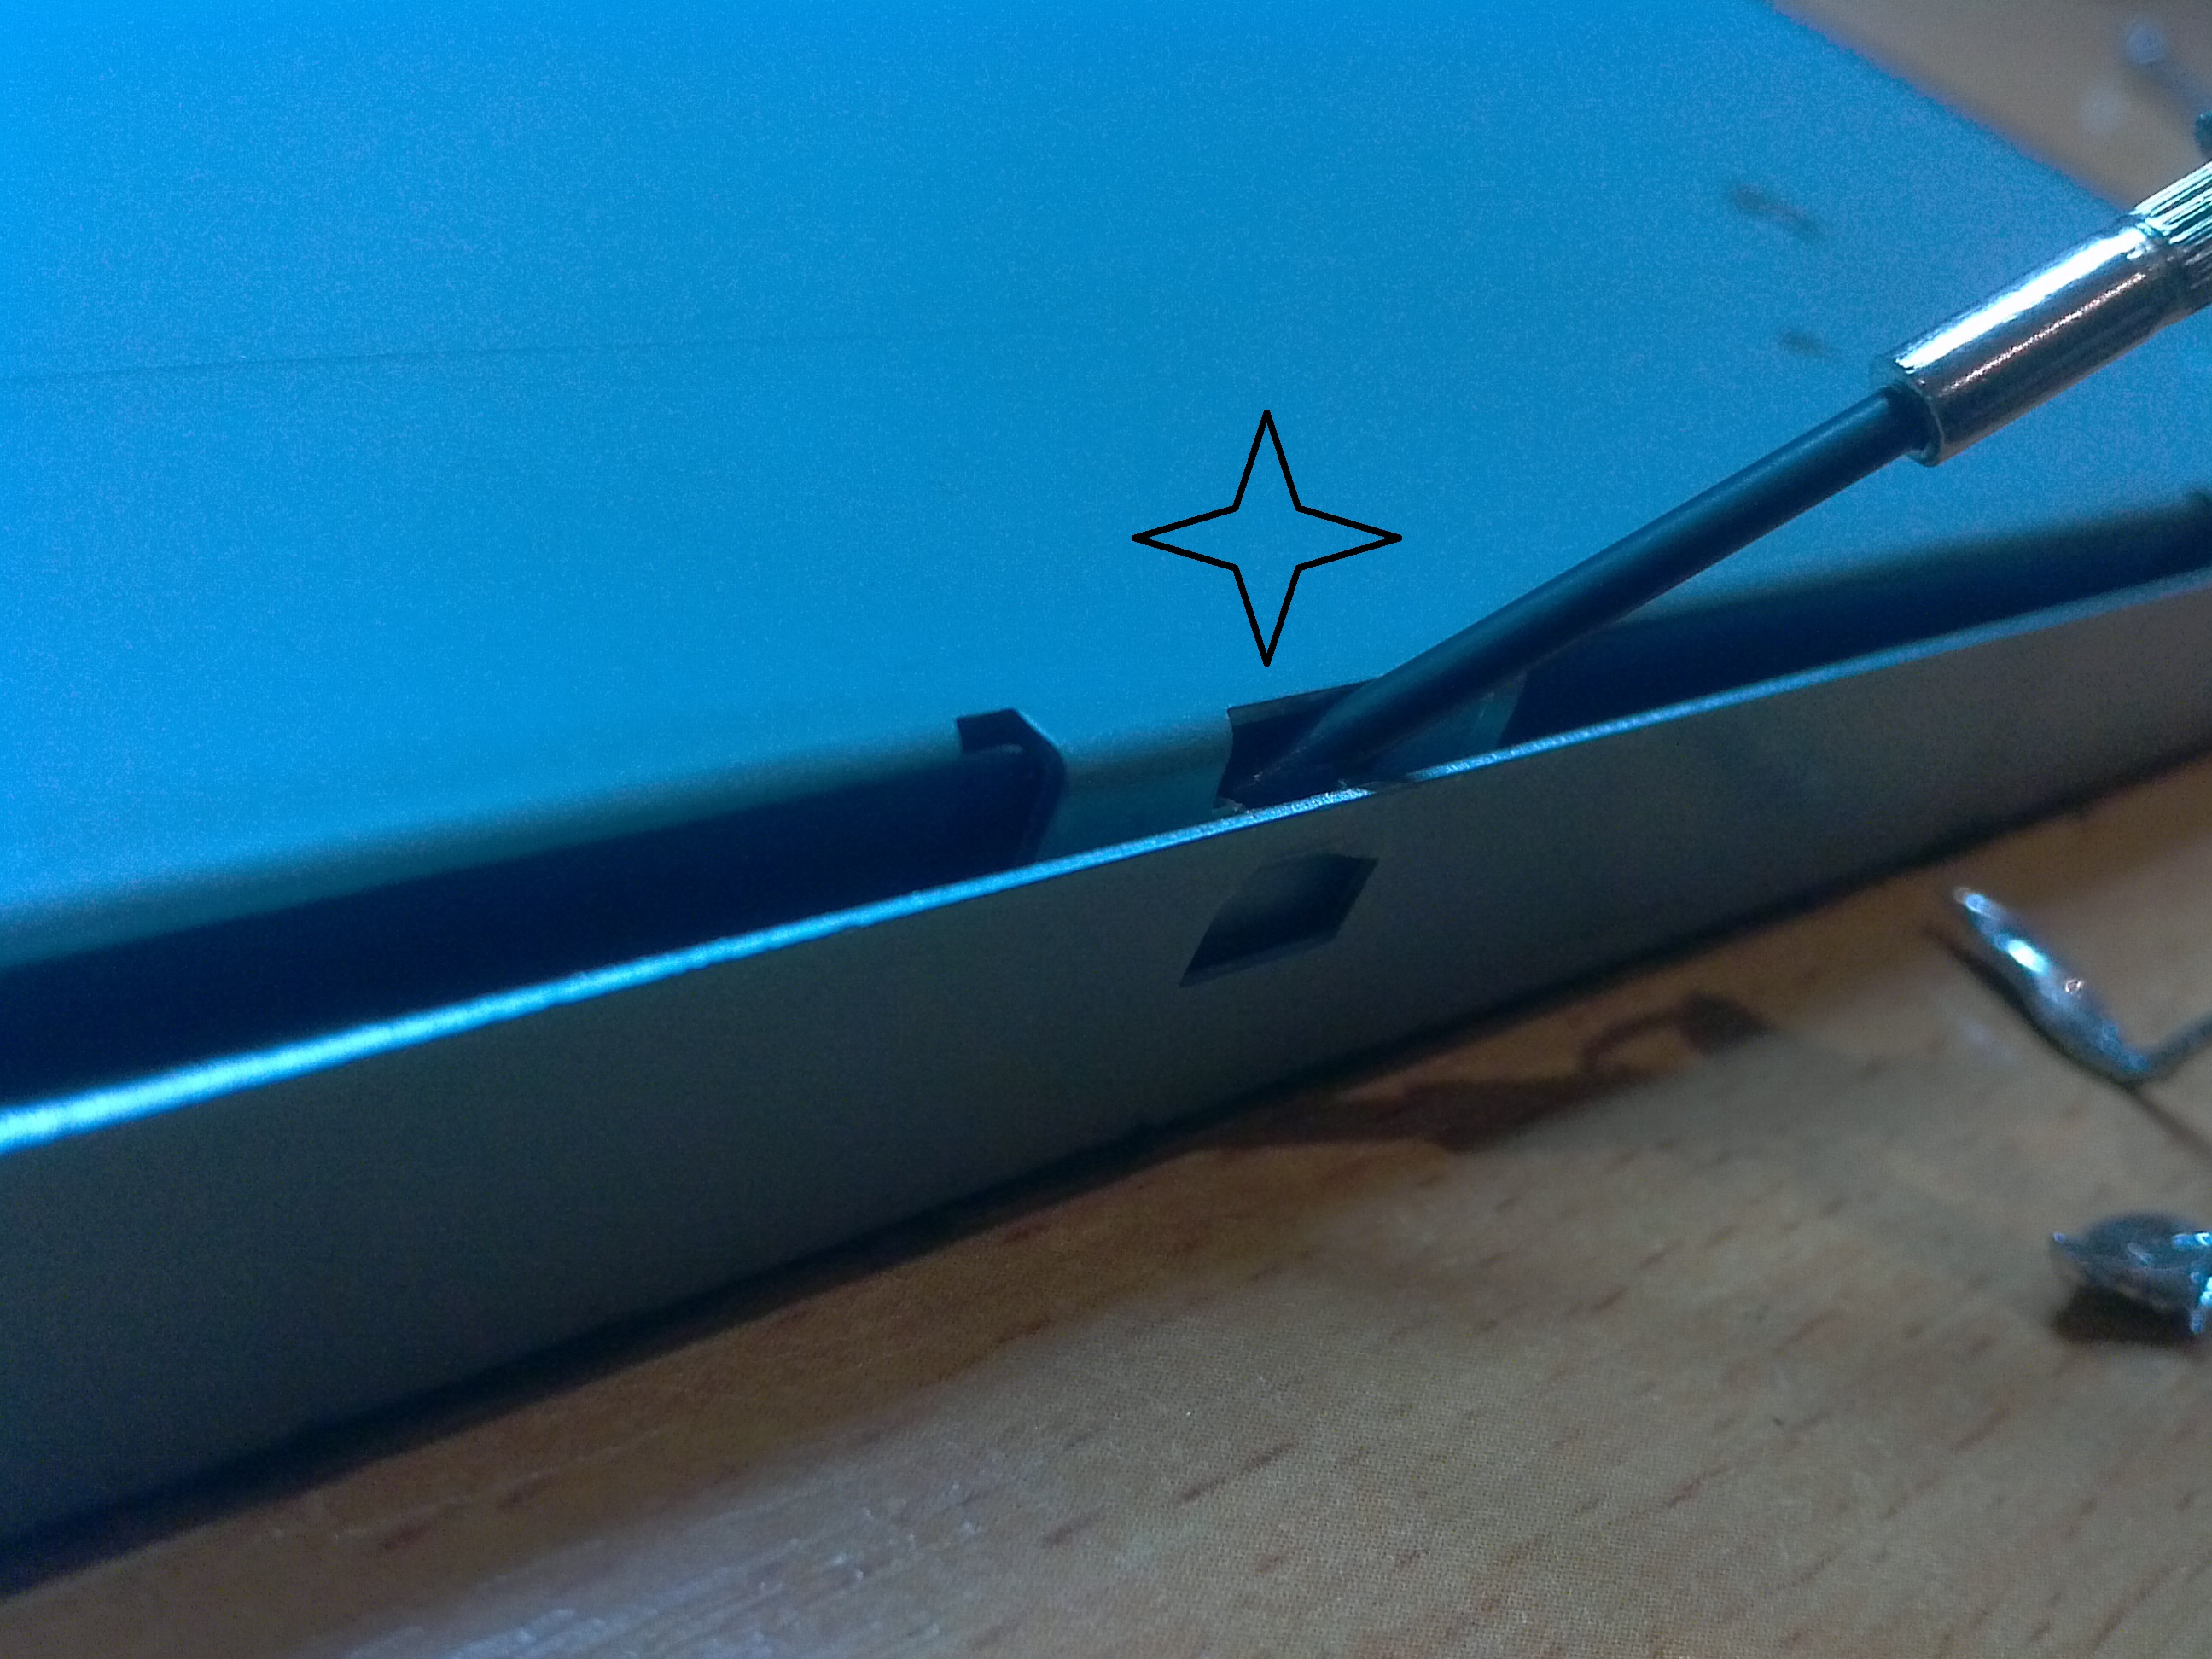
Asterisks indicate the places that need to be tucked up so that we can continue disassembling the
panel on the left we are removing so far, we don’t need it now
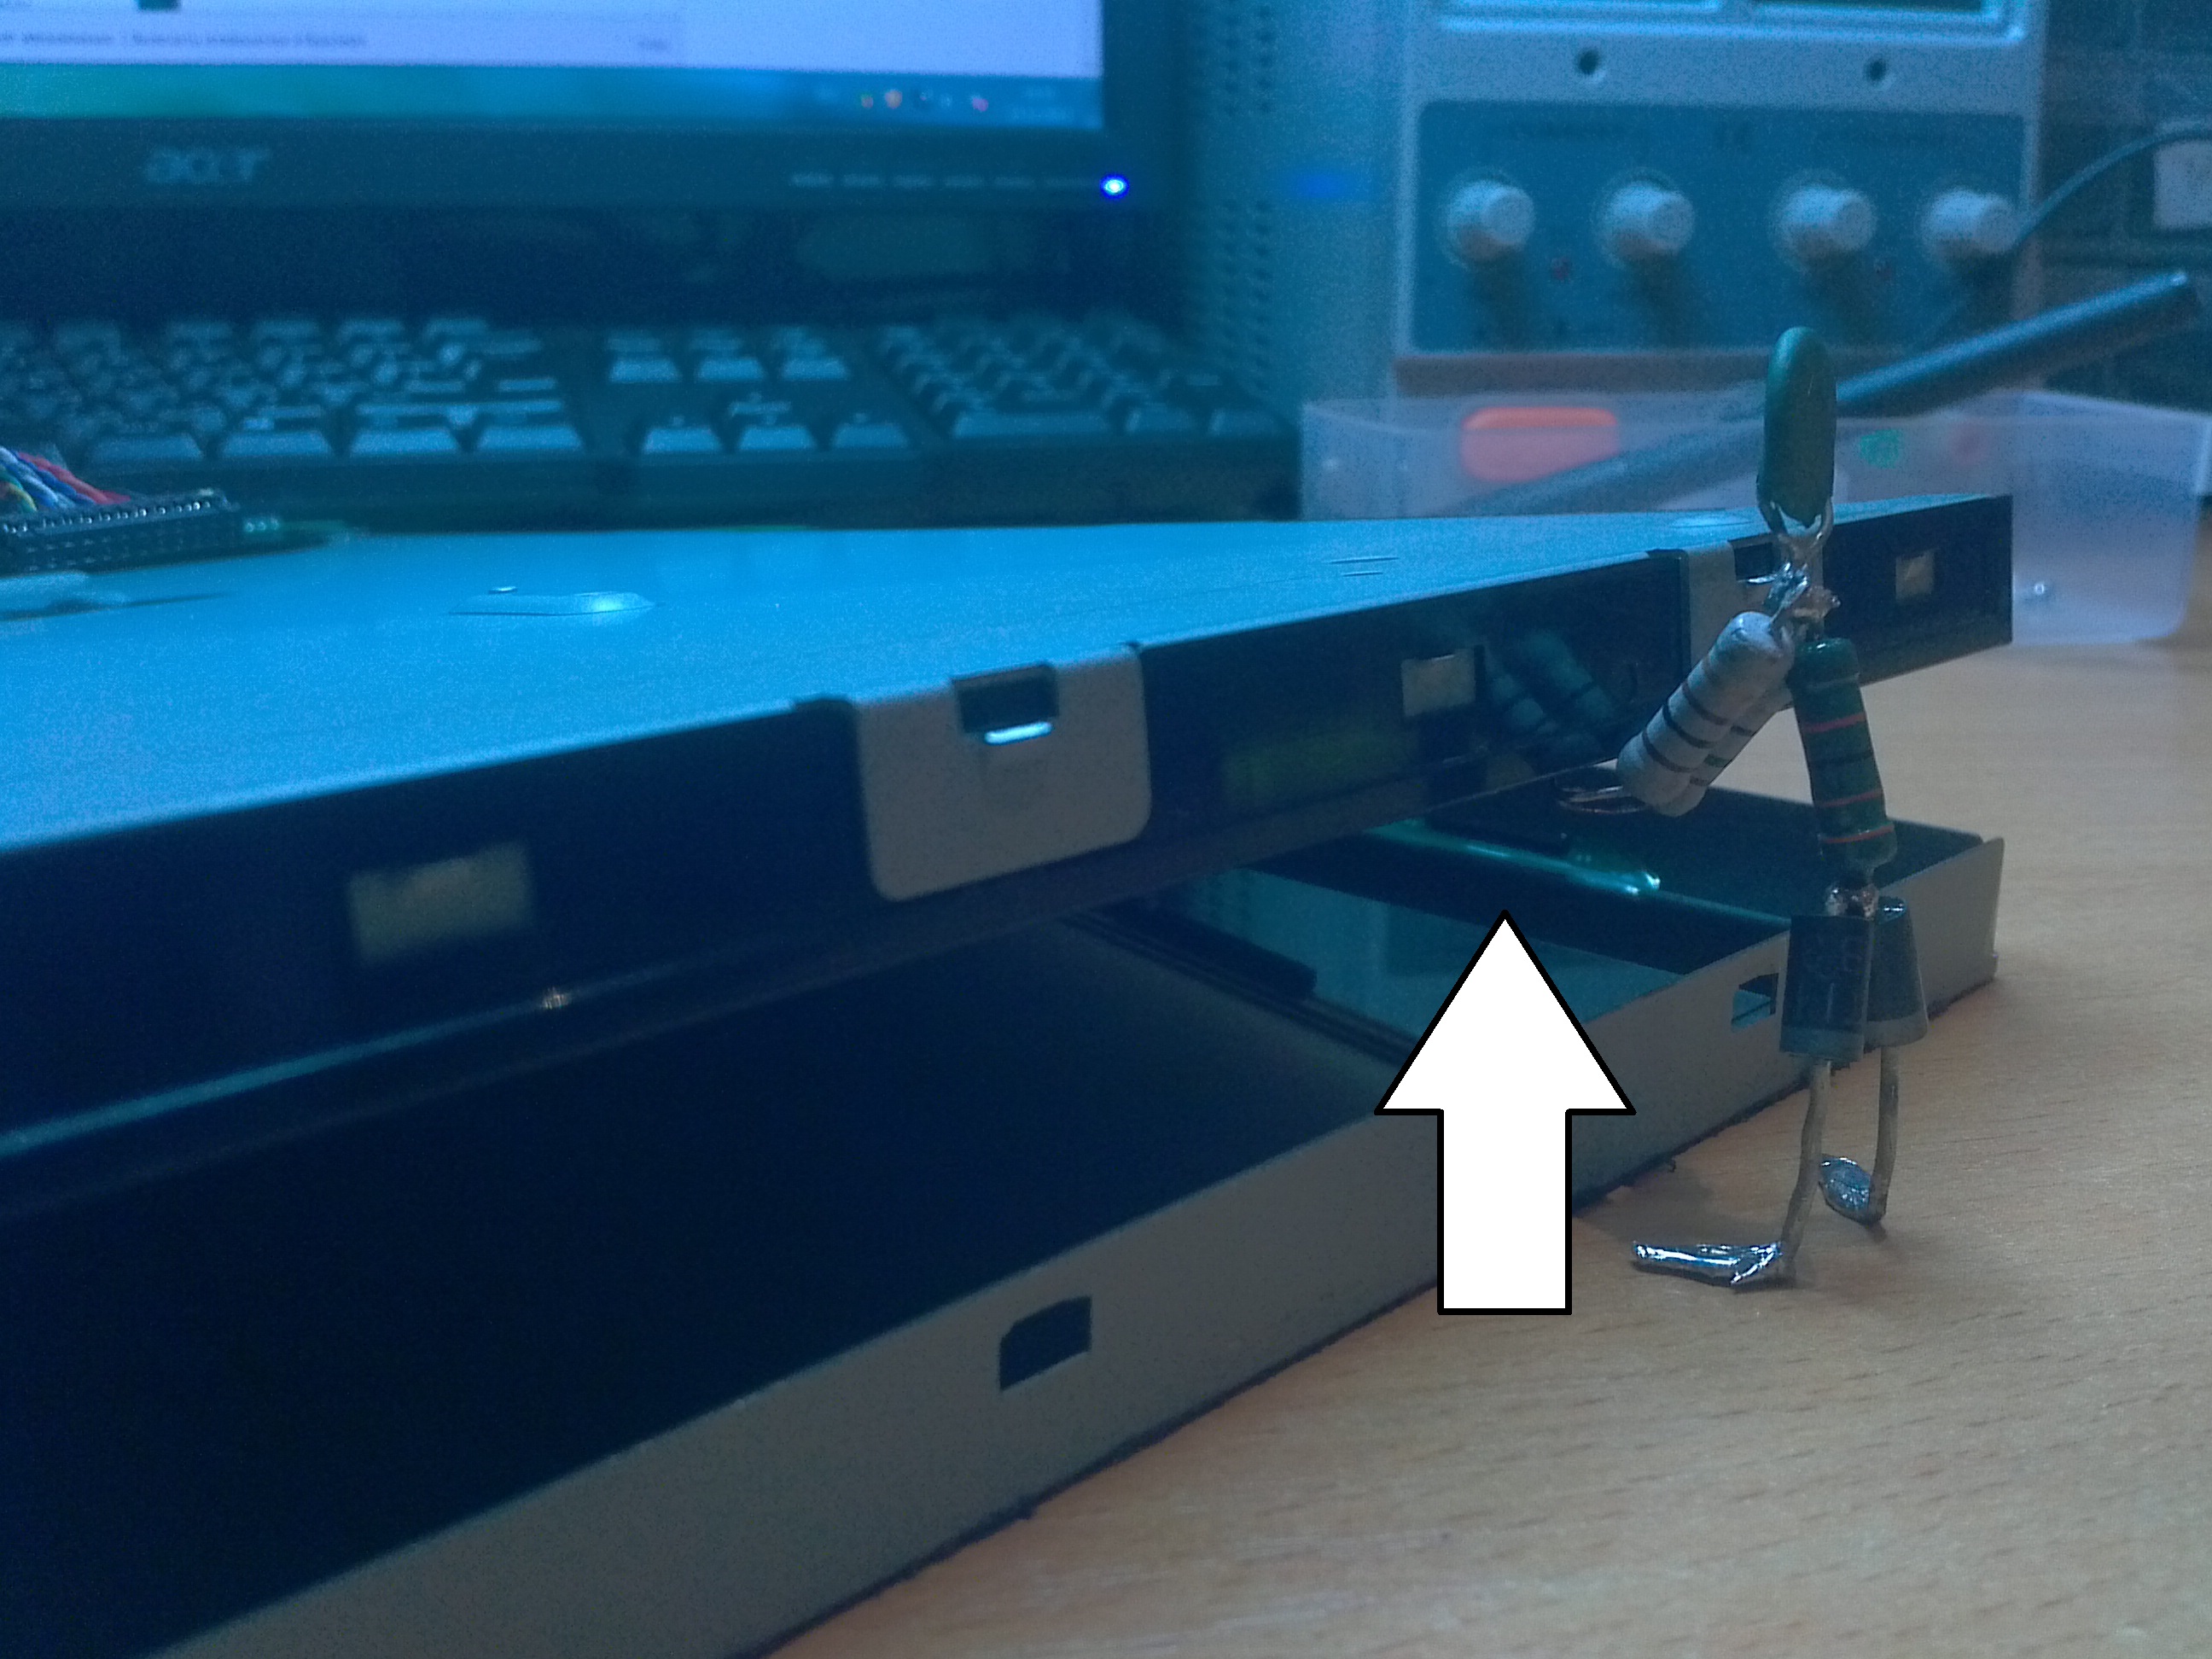
and again we are sorting our “nesting doll”
Excellent, almost half the way,
now let’s explain:
5 - our matrix with numbers 640x480 ~ 1920x1080)
6- a signal decoder connected to the matrix by the data line of rows / columns
7 - a light guide with light filters
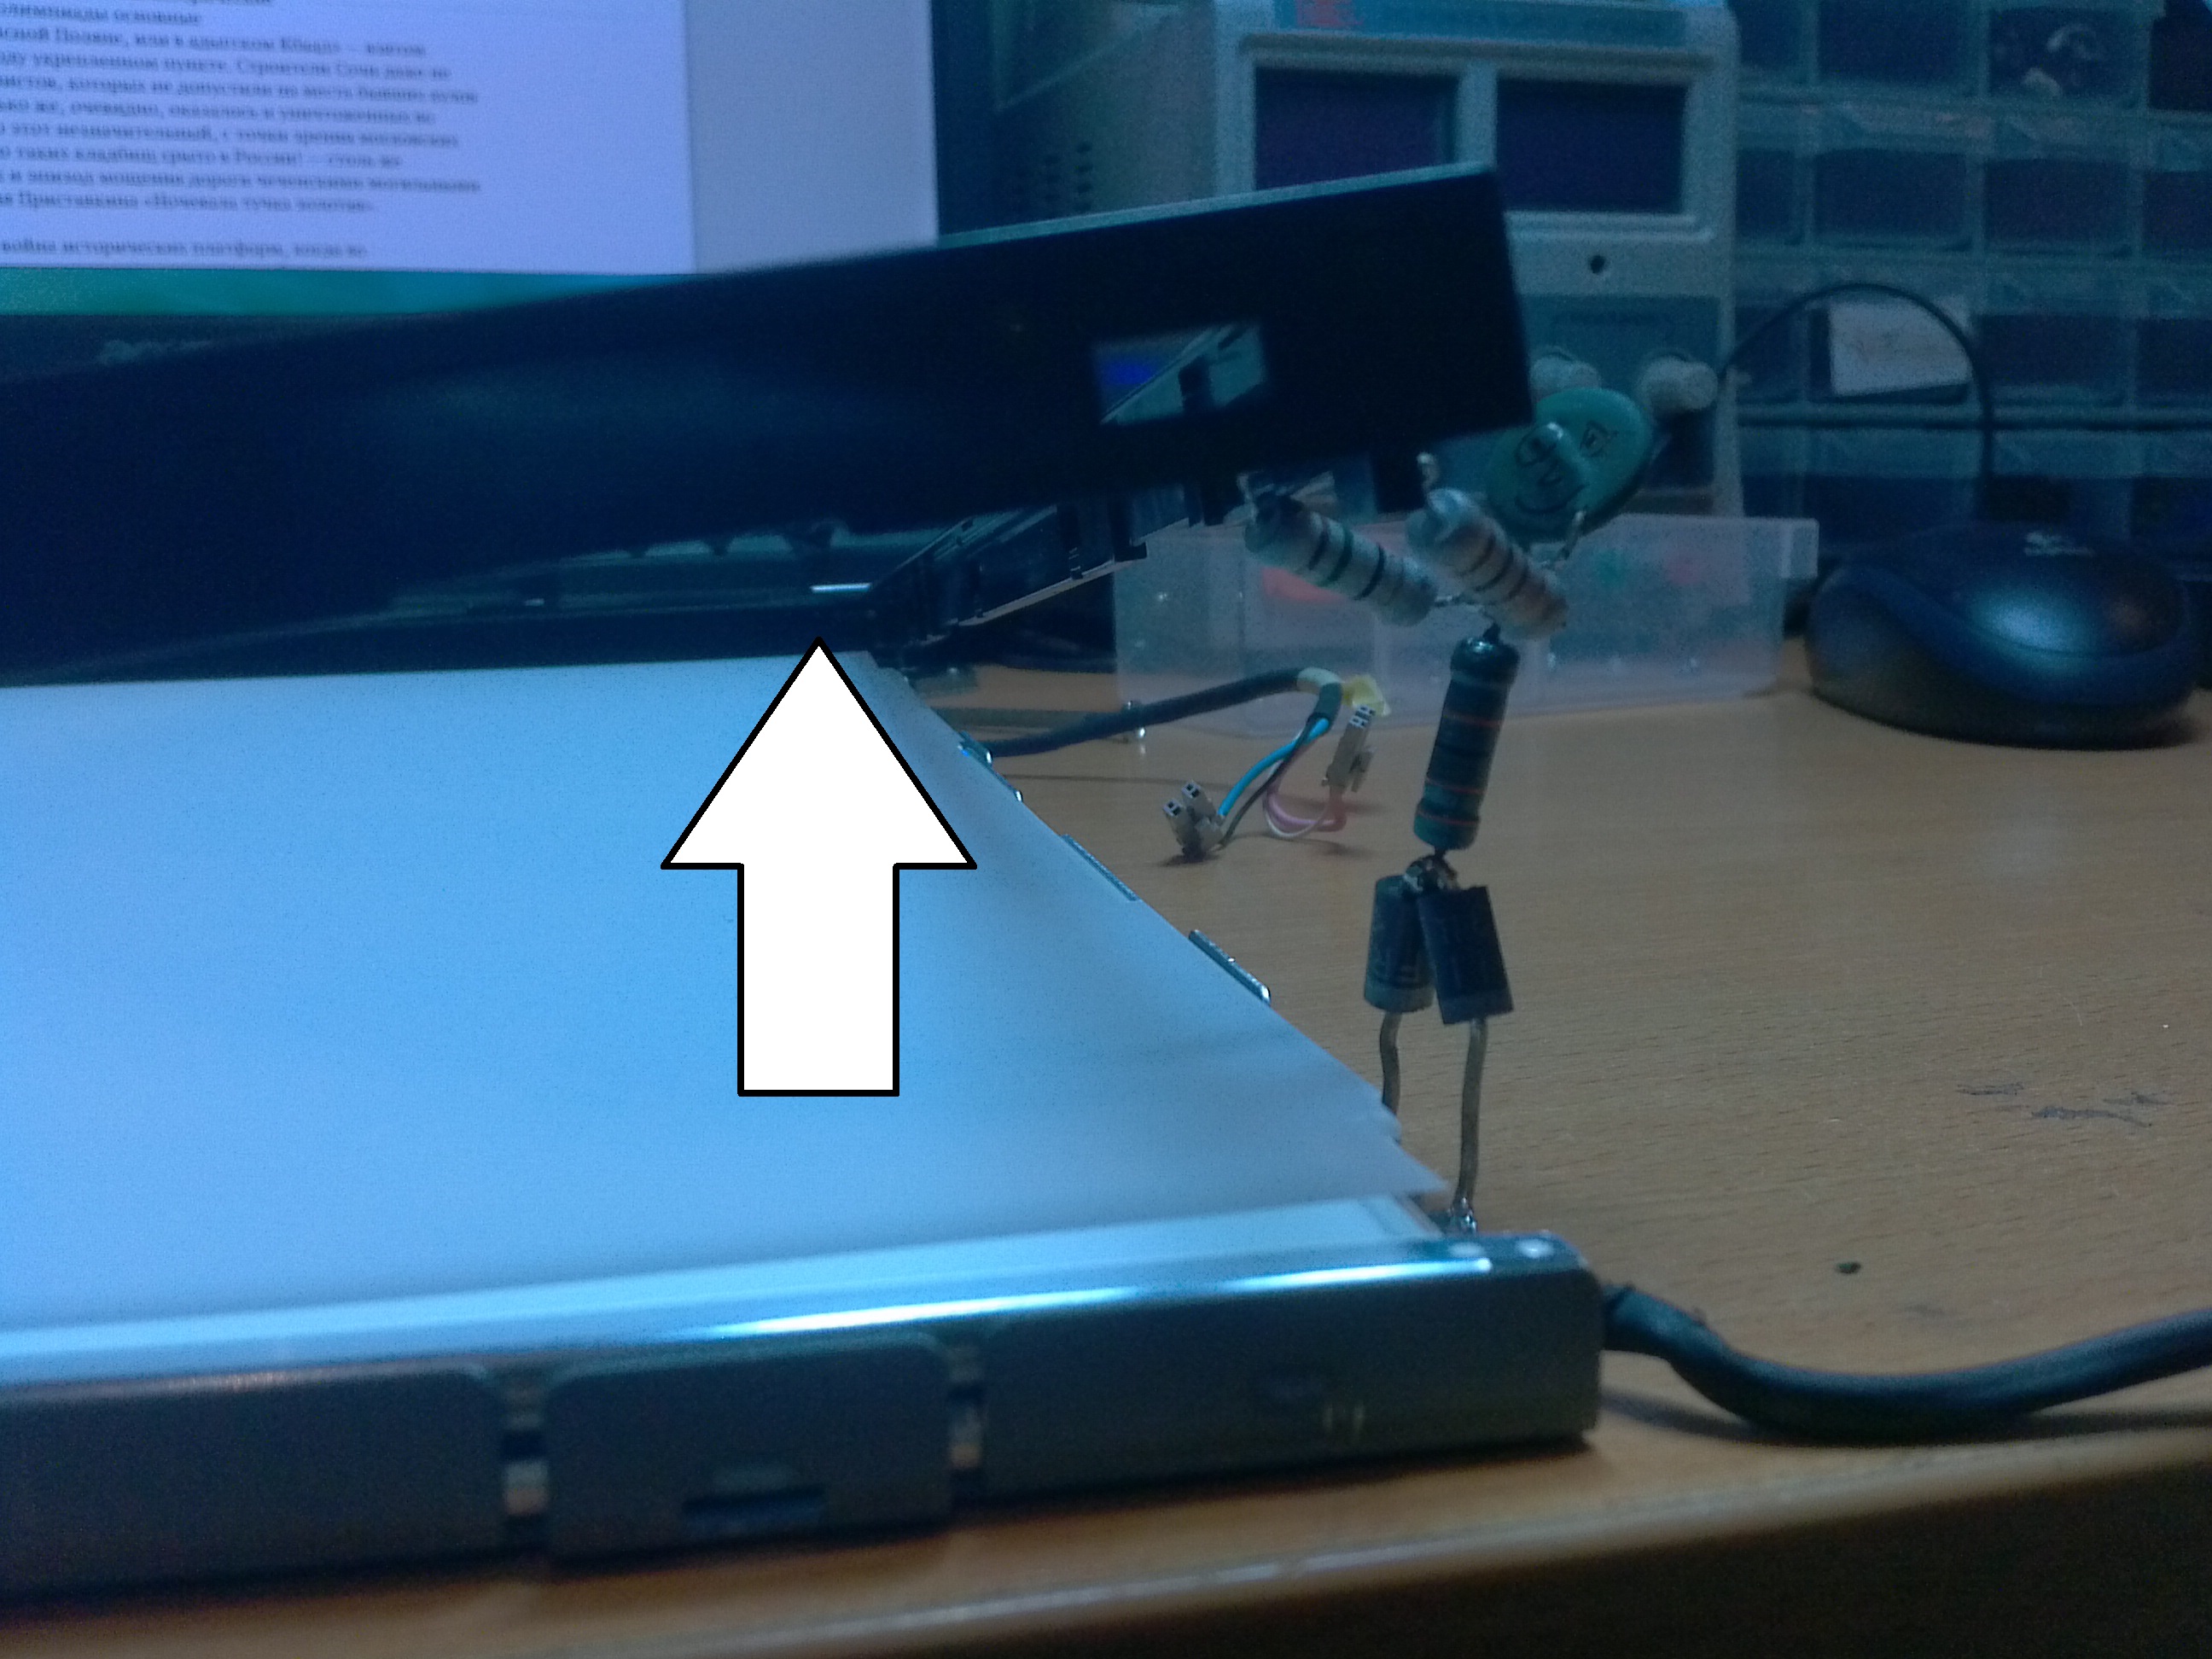
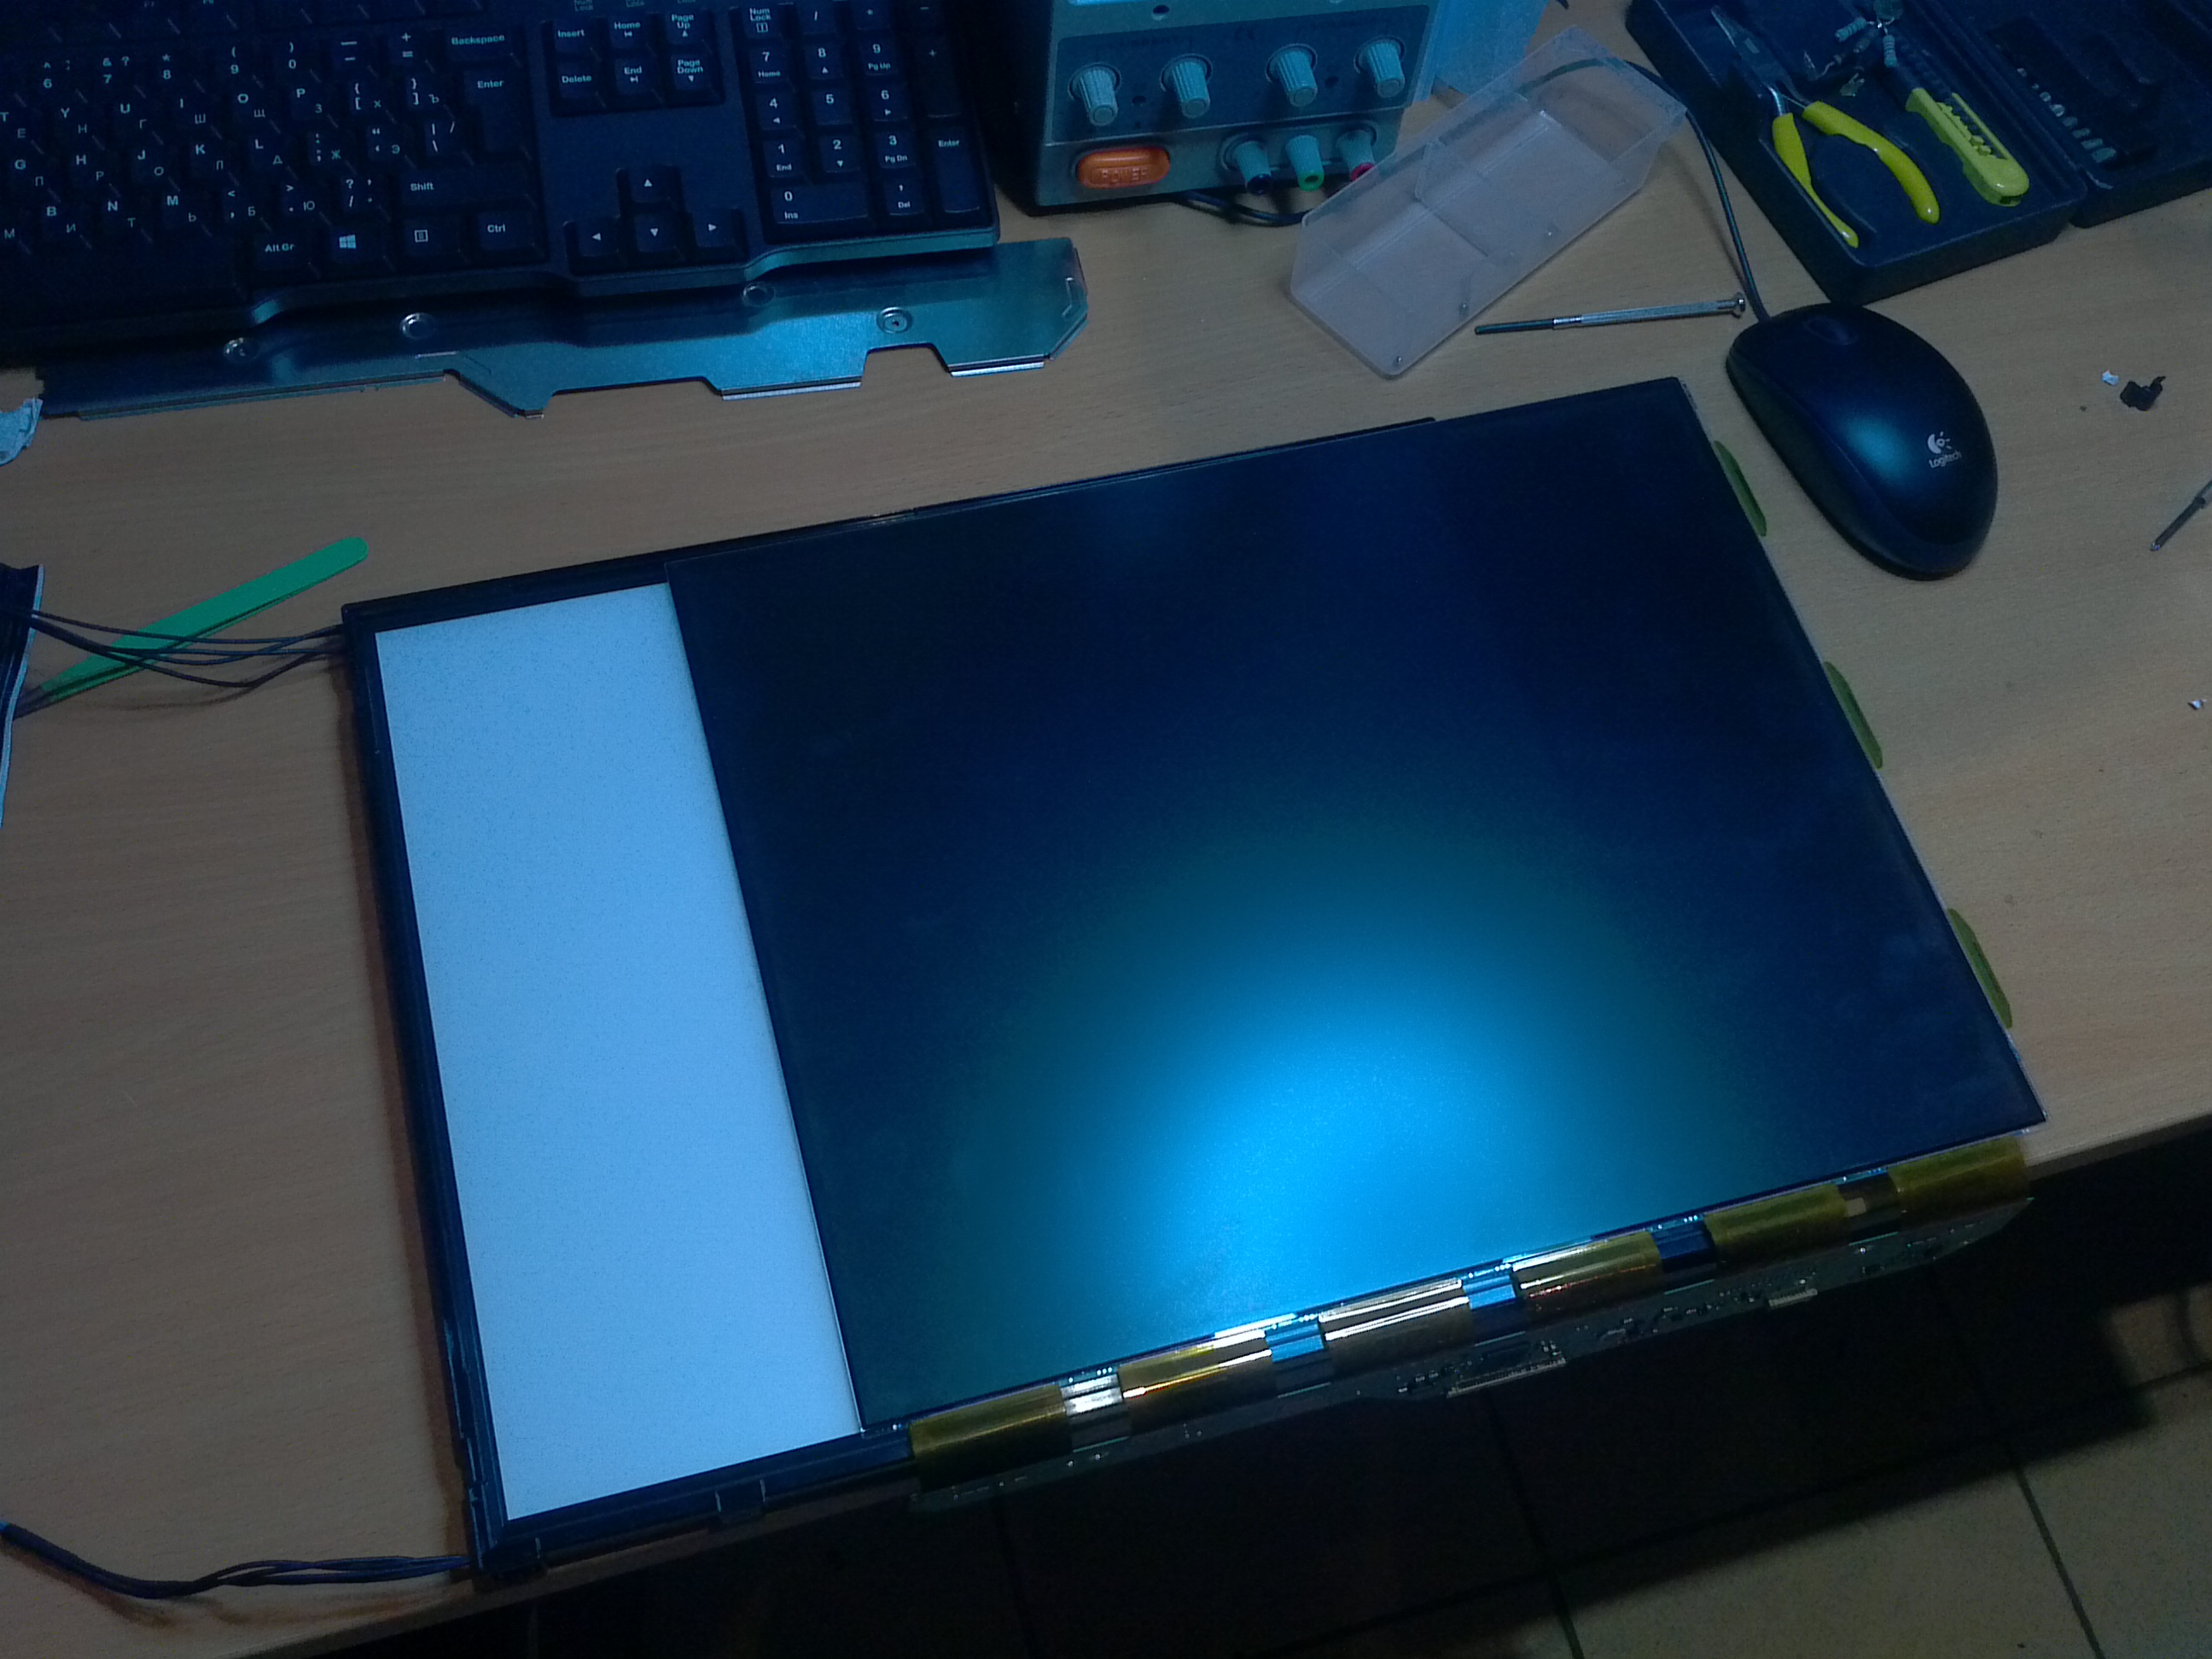
Next we go deeper into the "wilds of the monitor" and remove the plastic frame around the perimeter ...

Under the black frame there are 2 thin films lying on top of each other, and under them a light guide.
8 - light filter
9 - polarizing film
10 - light guide
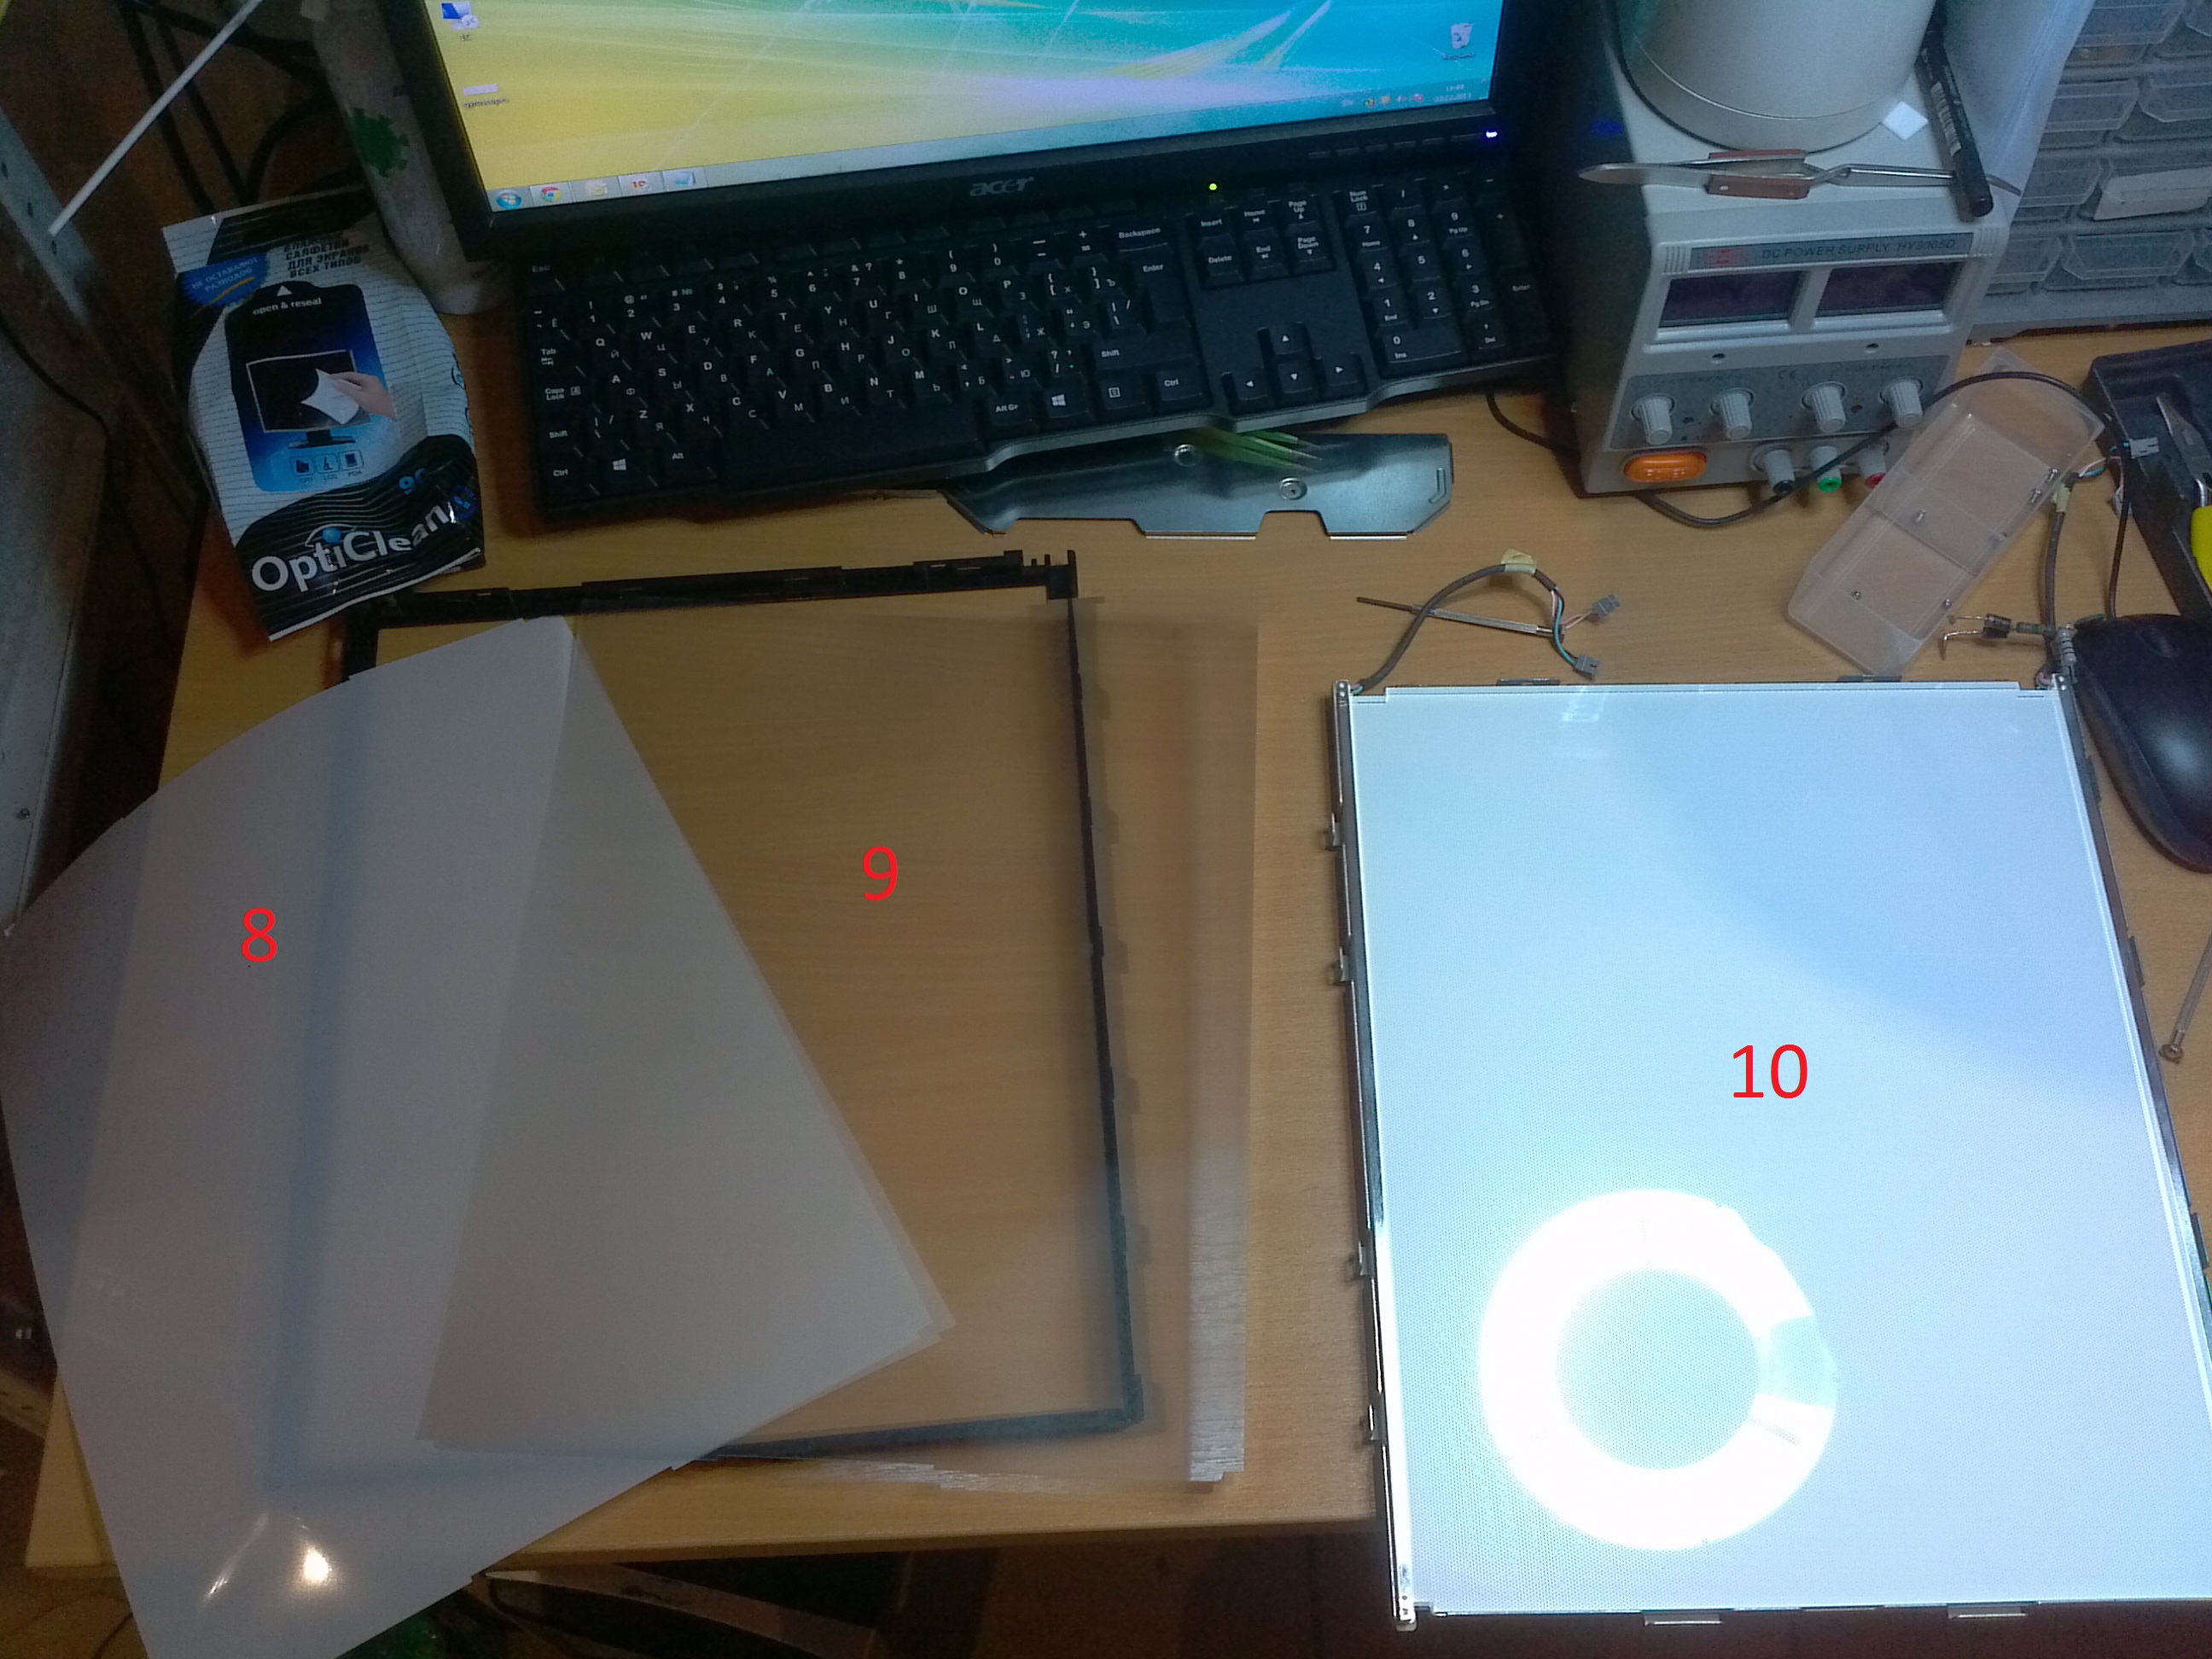
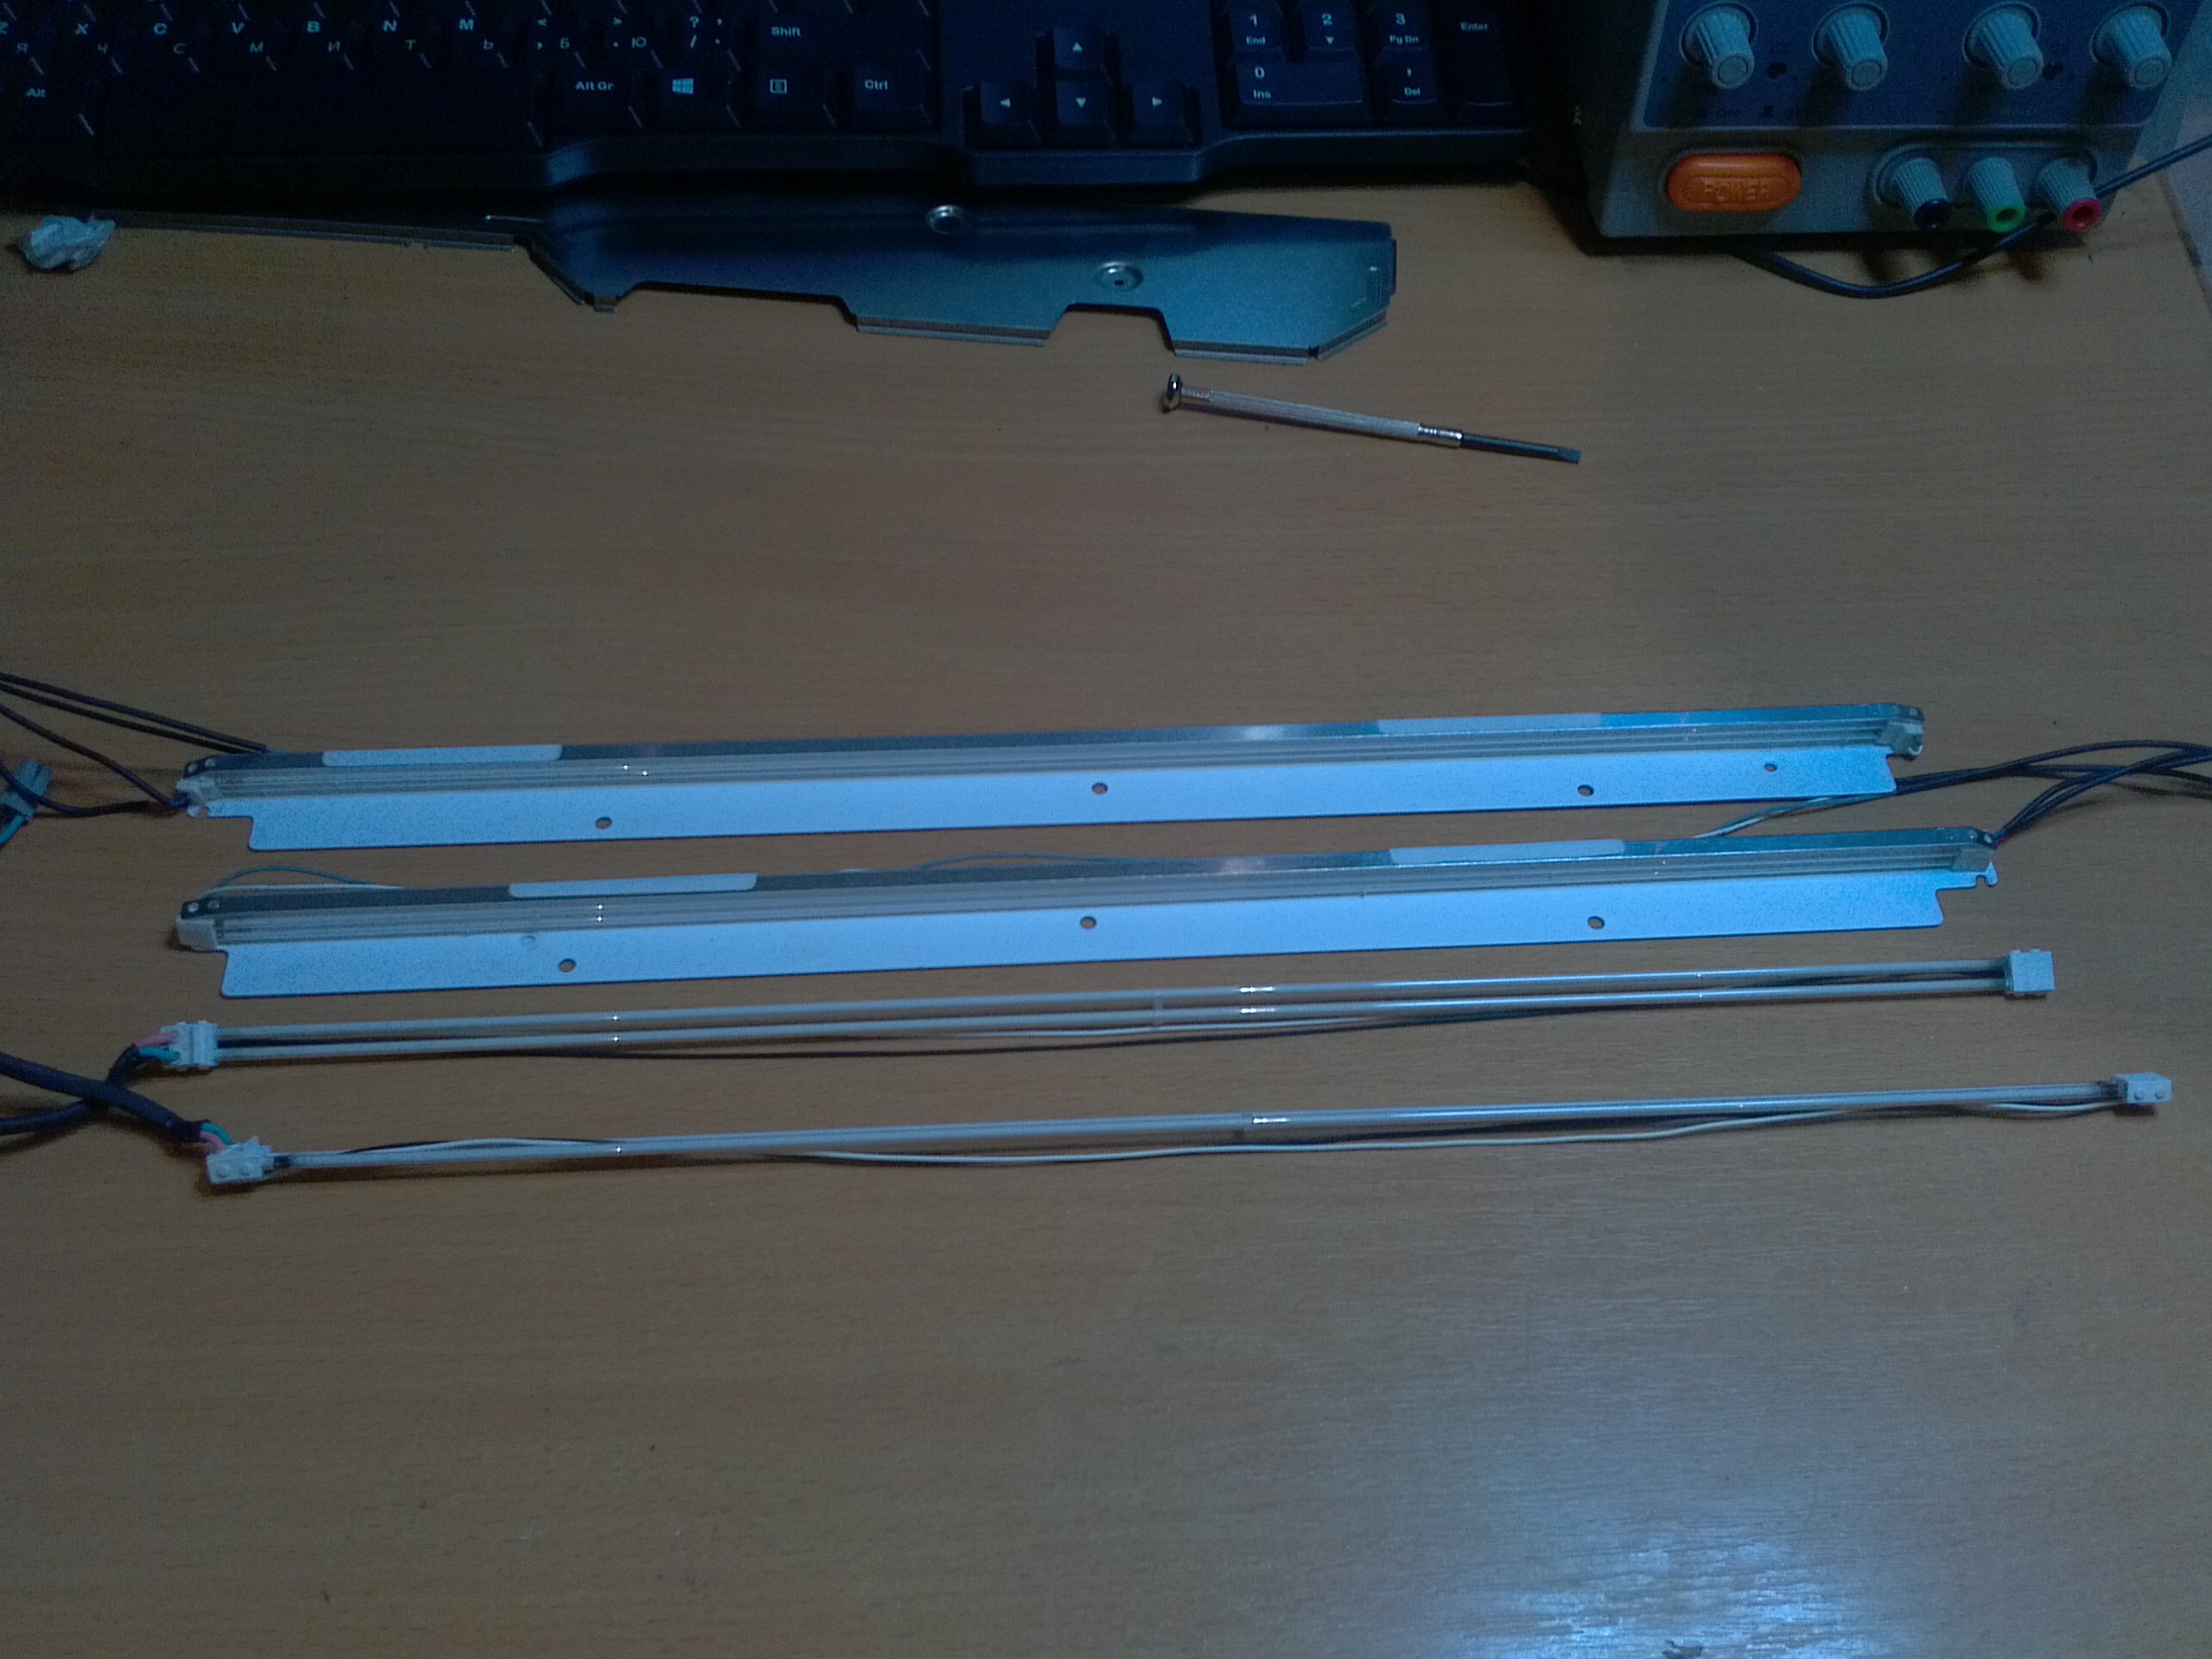
Now we take out a large acrylic piece ( 10 ) and finally we can see the
heroes of the occasion ... Those assholes because of which we traveled this way ( 11 ) of the
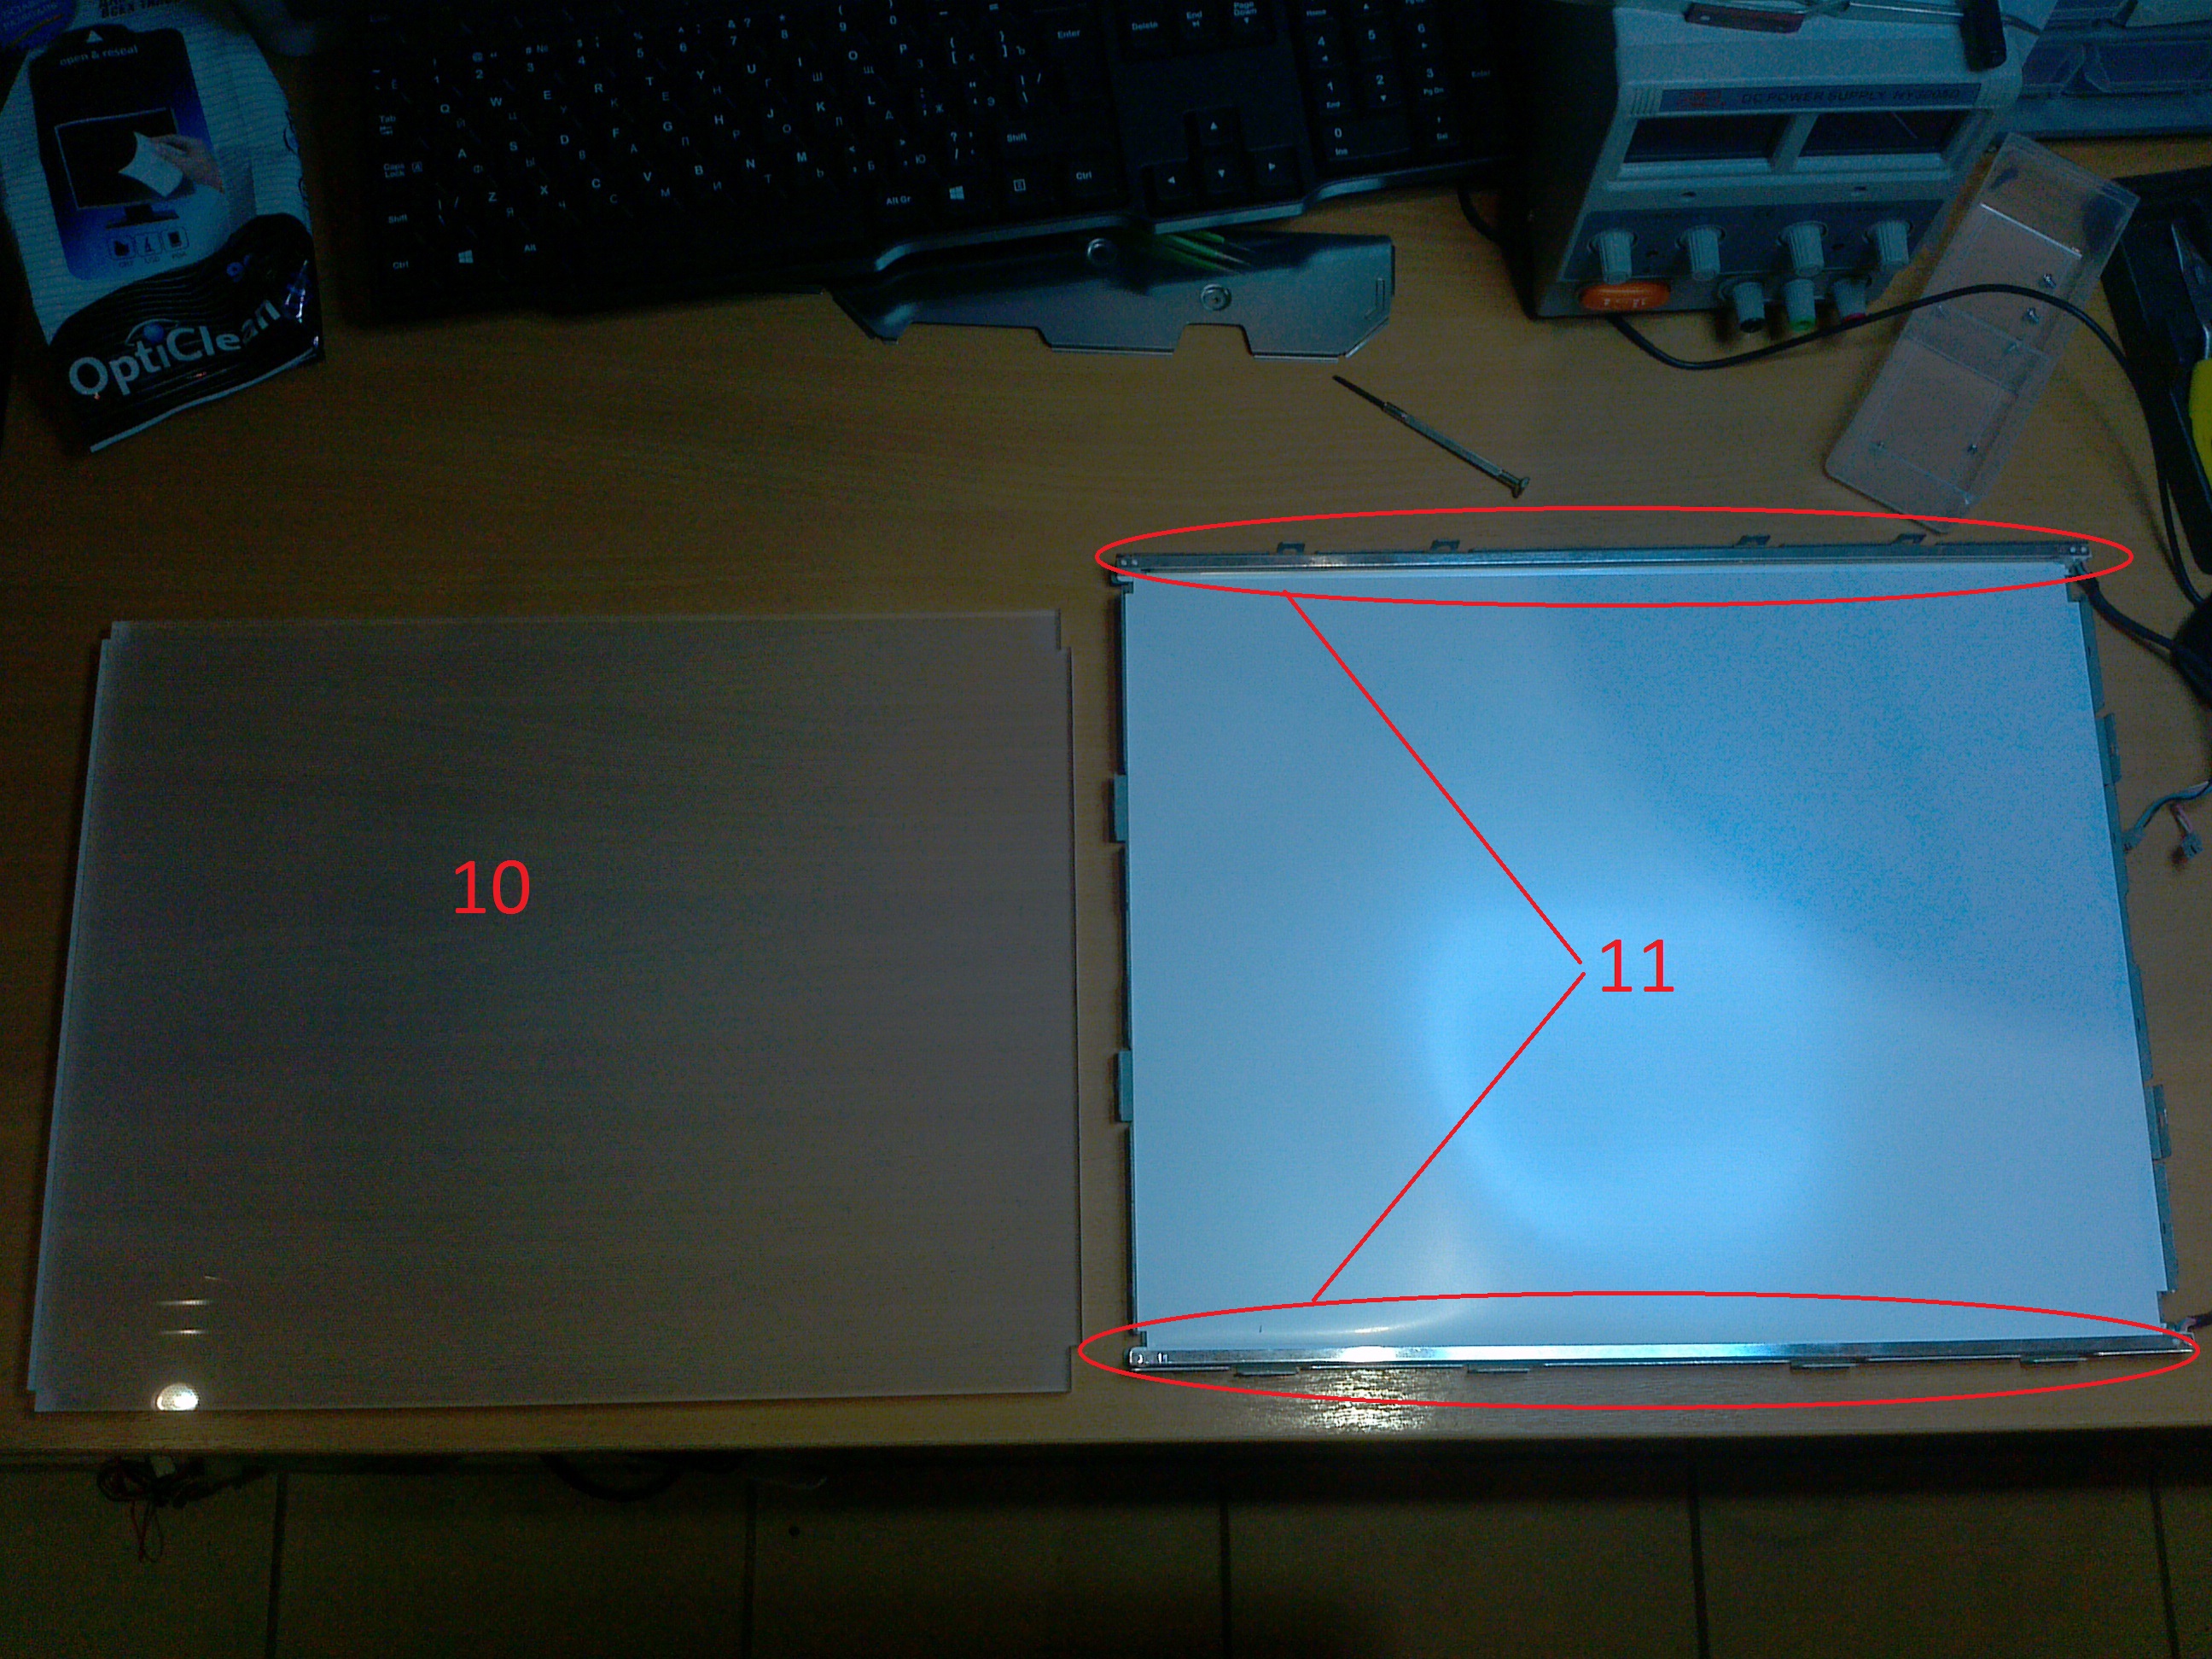
Lord. Ibring to your attention
By the way about the lamps.
Did you know:
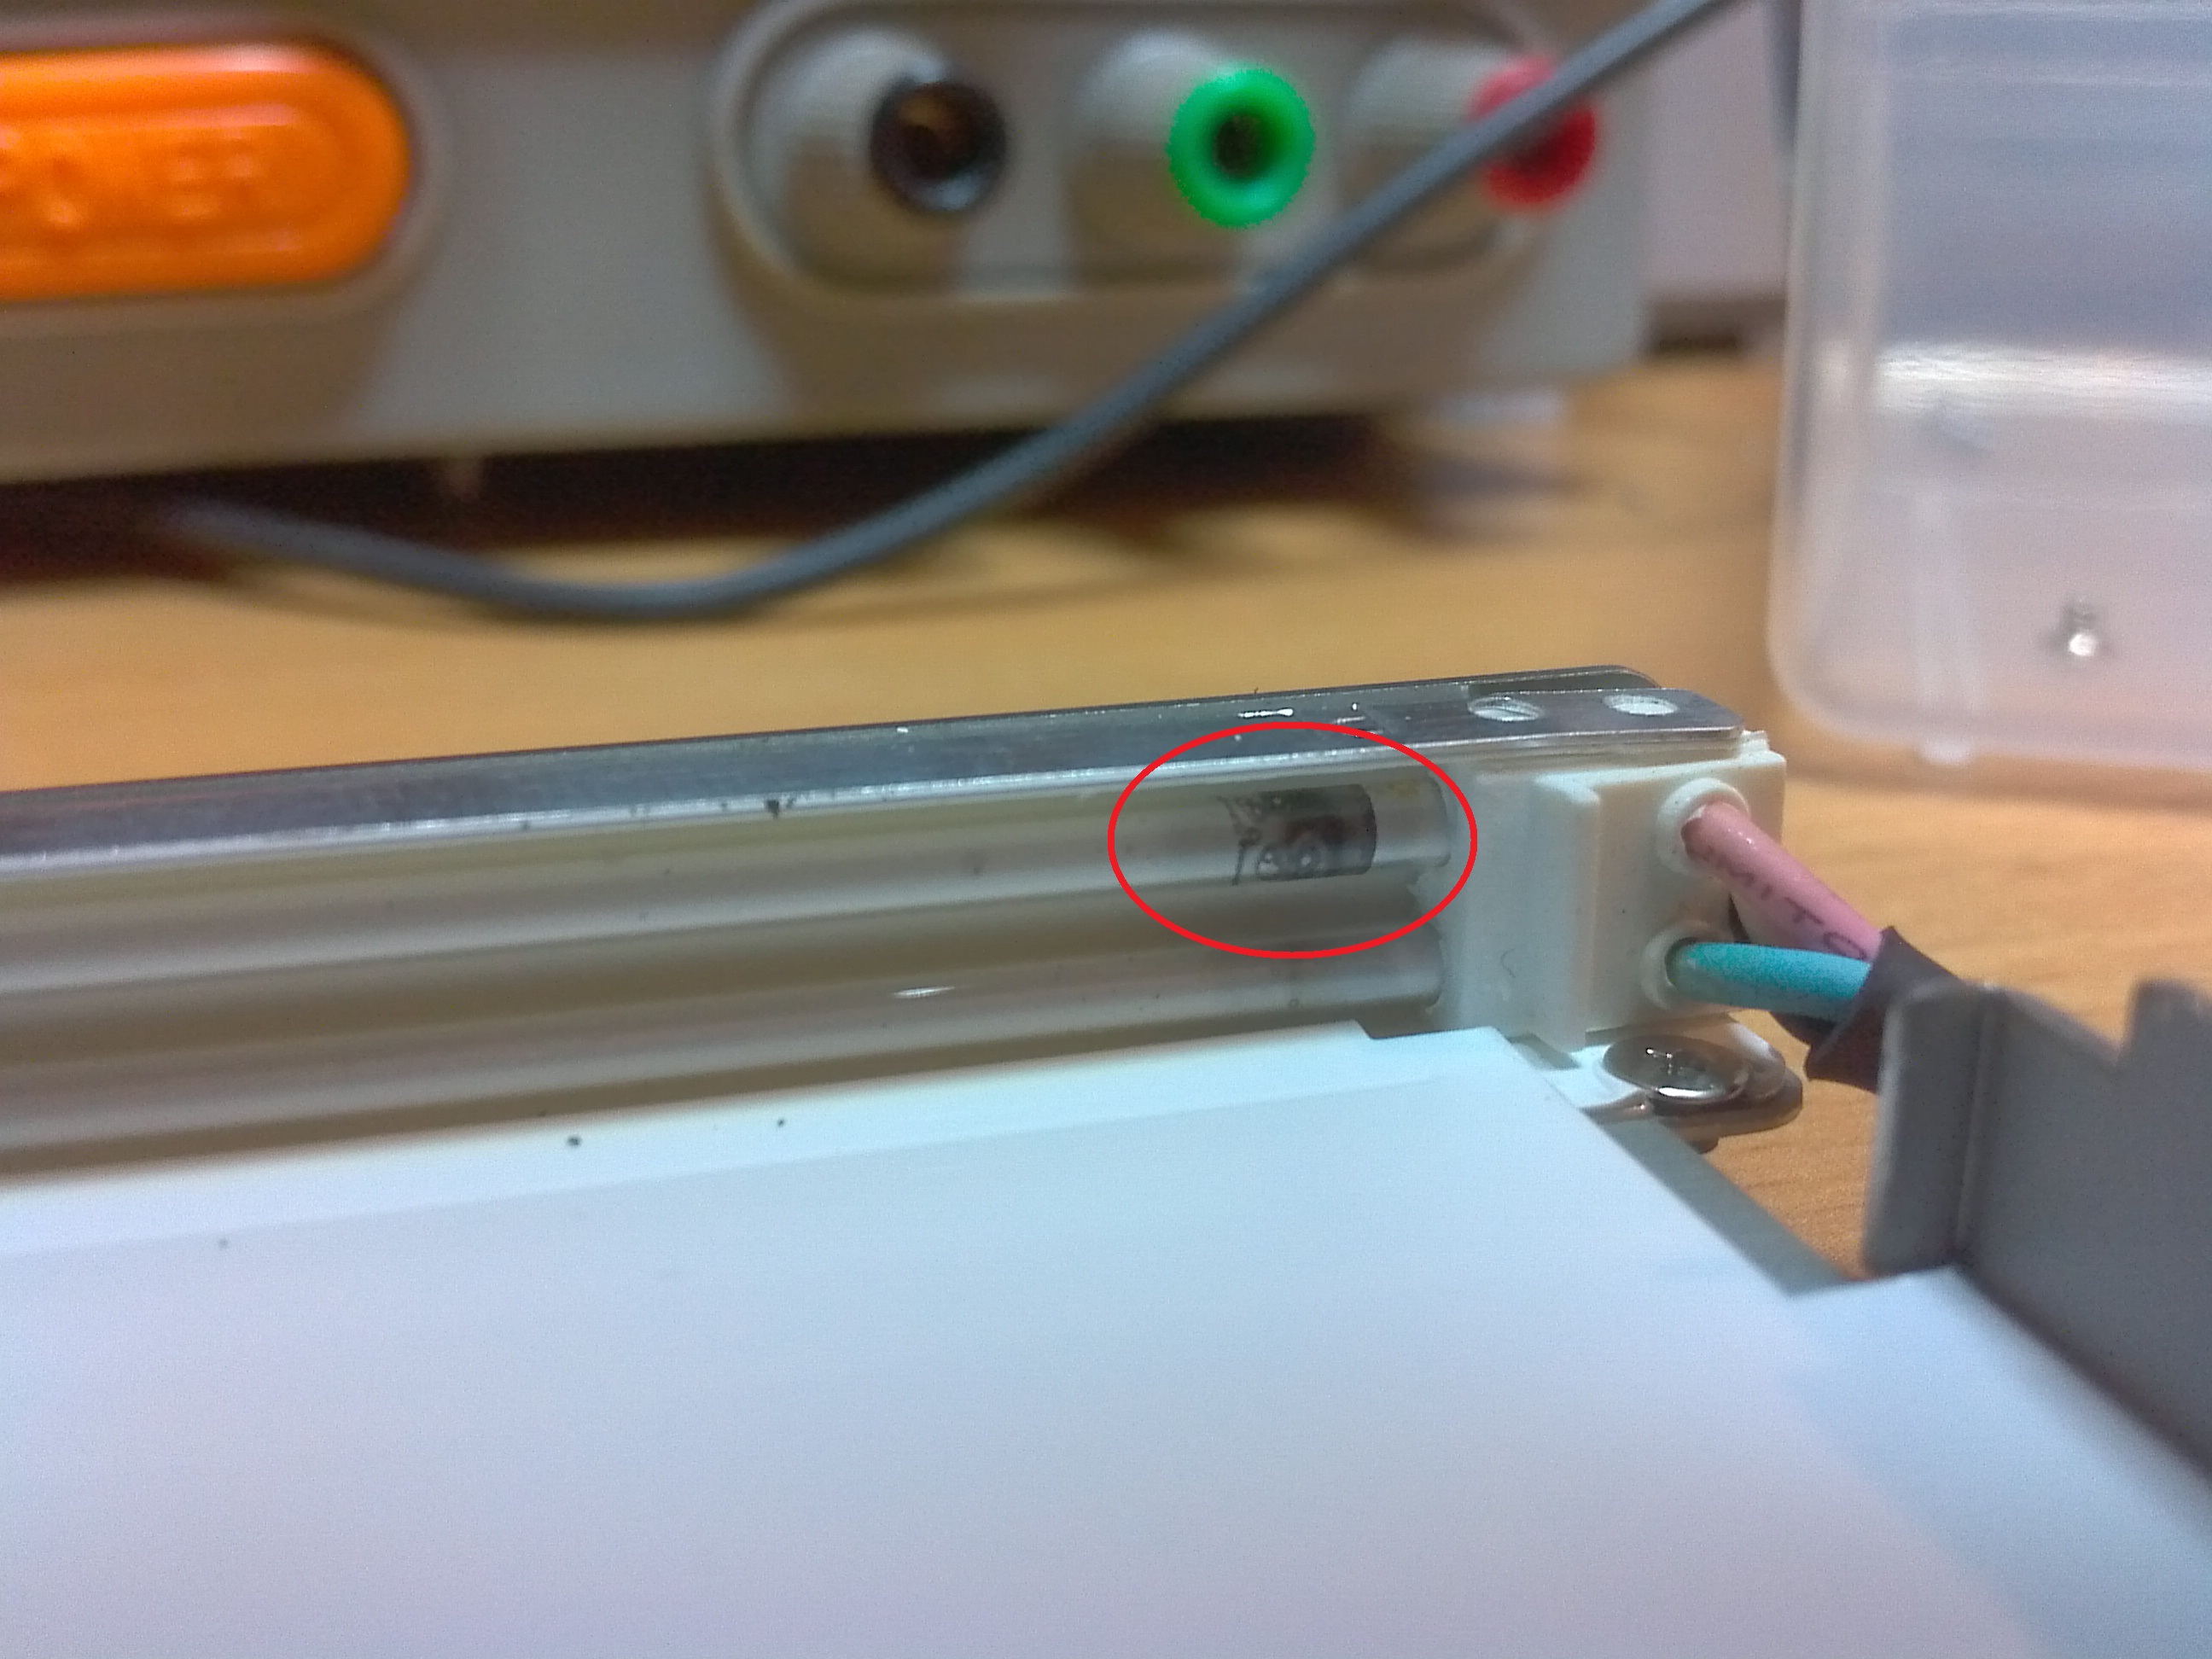
As we see, they really burned out. (“black marks” around the cathodes hint at this)

We unscrew them by first pulling out the reflective substrate ( or maybe you don’t have to do this in your monitor )
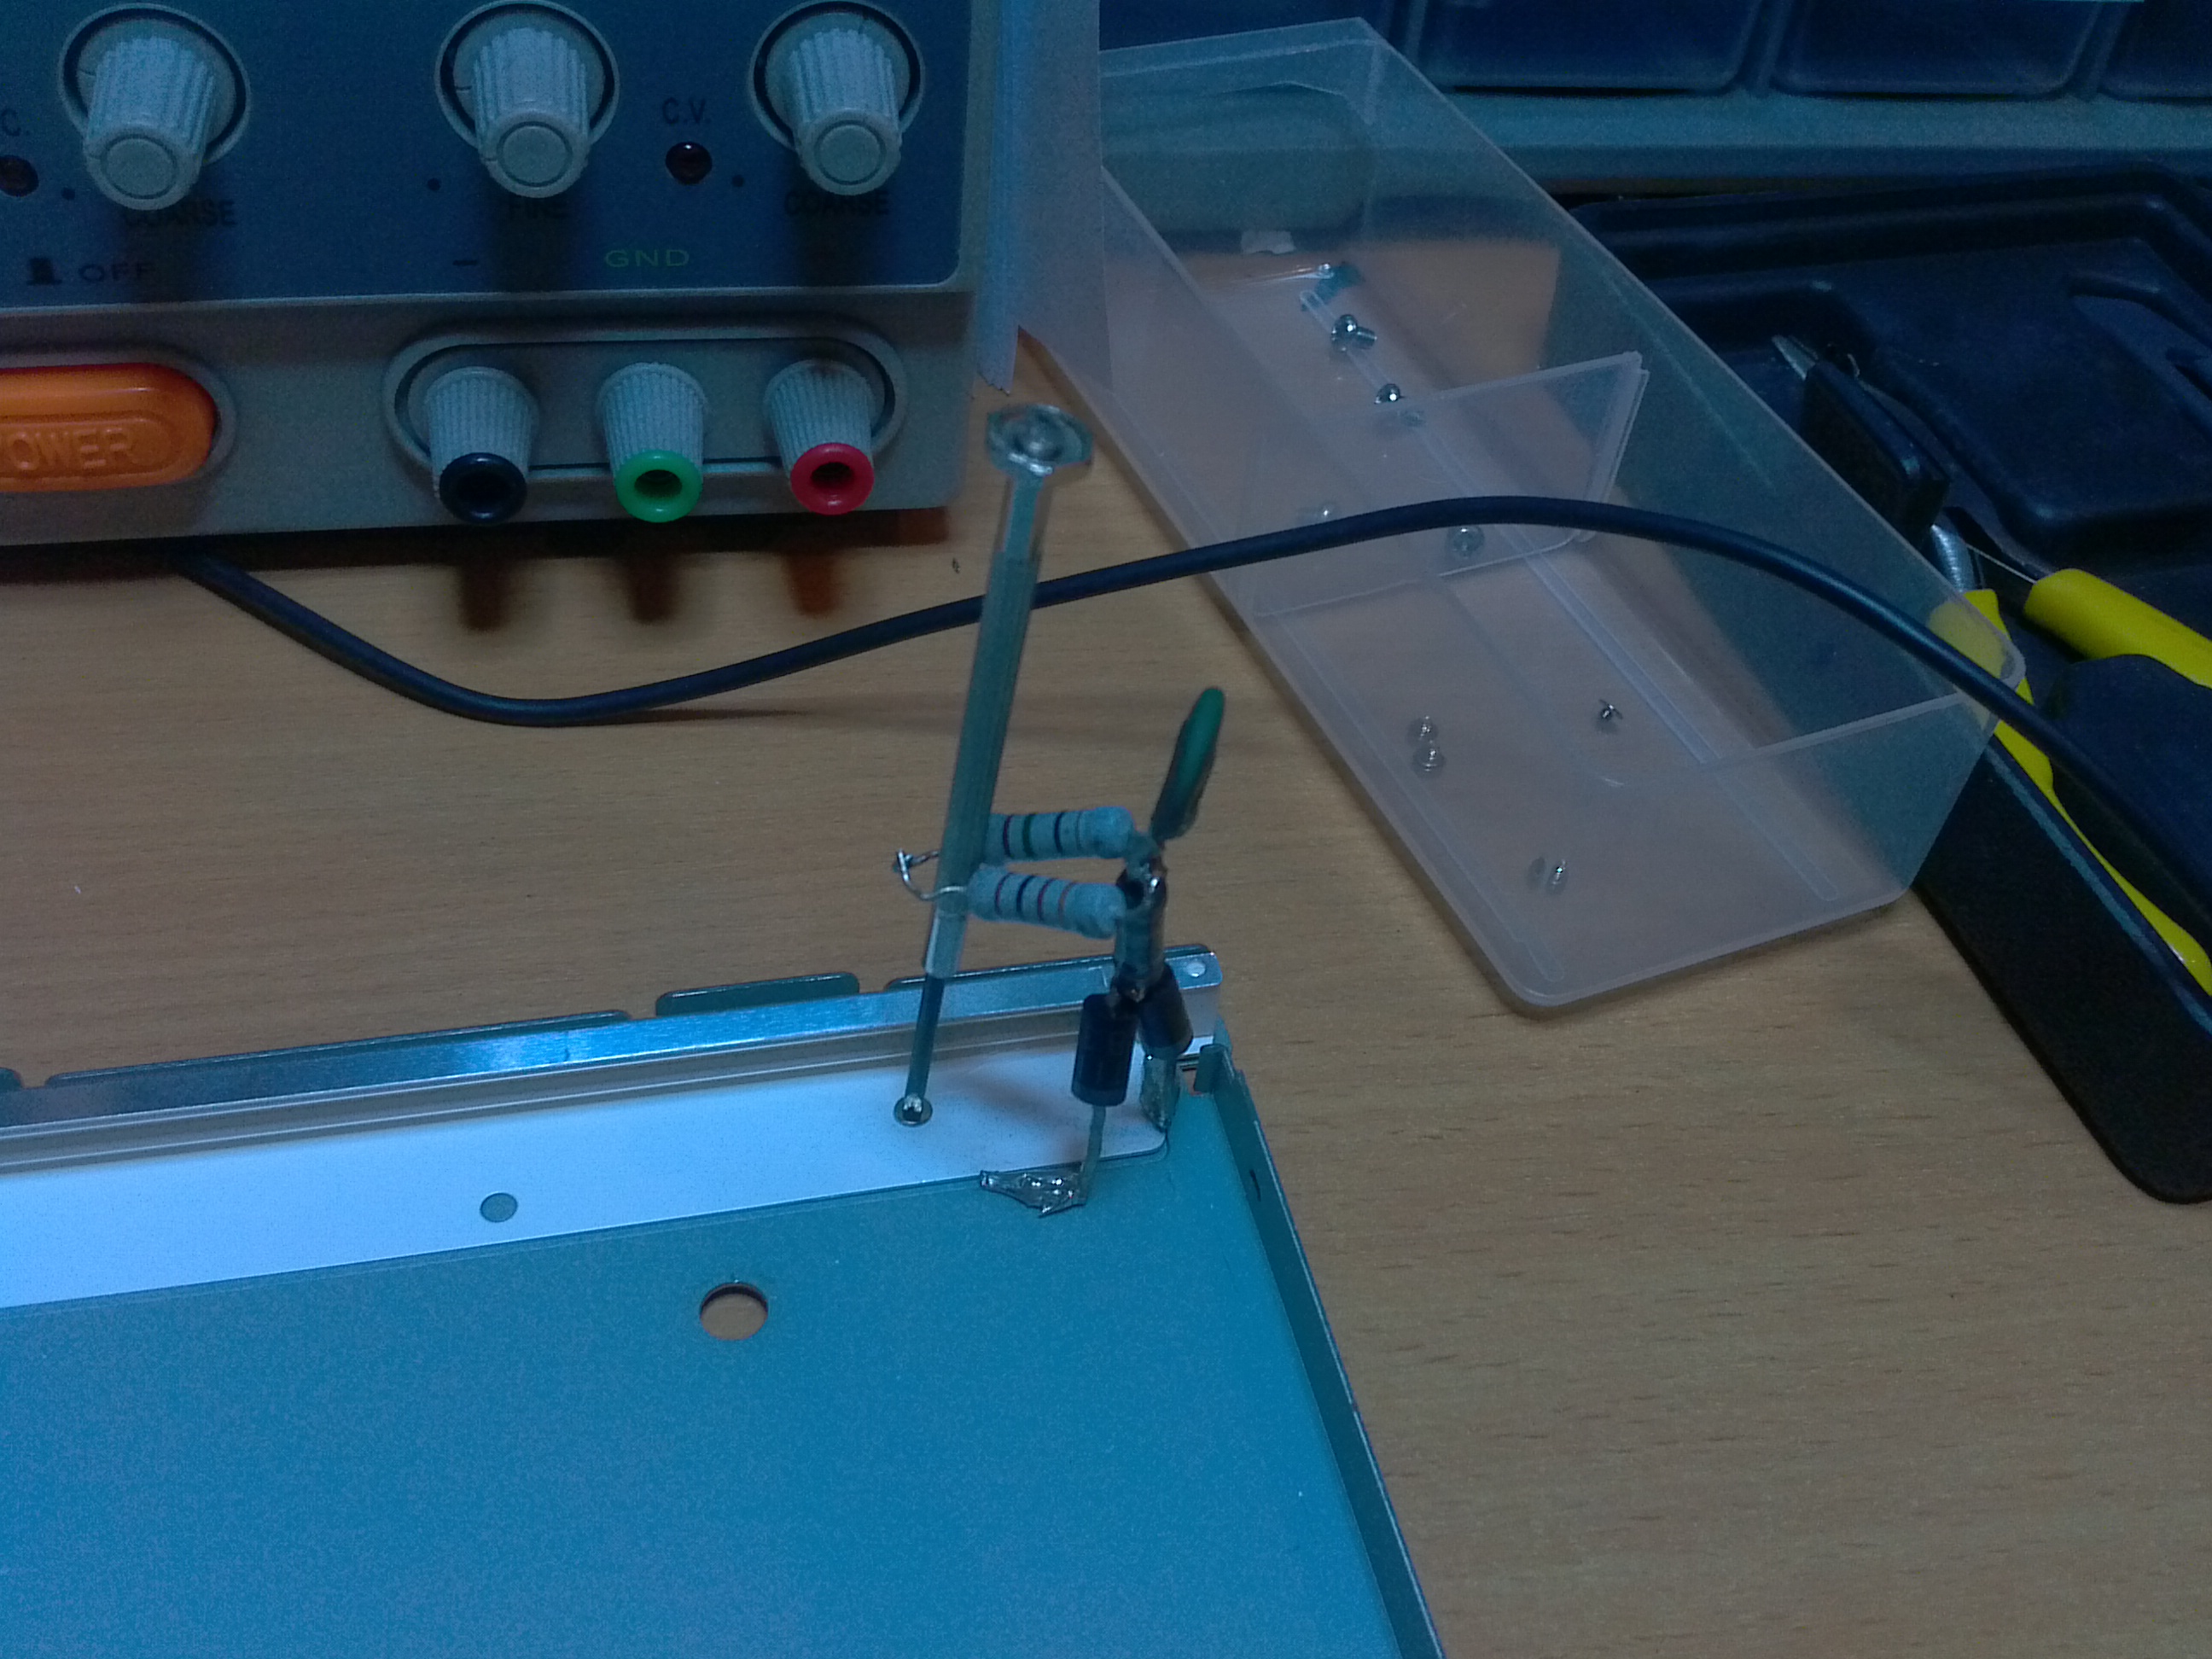
Next, we take obviously working, working lamps ...
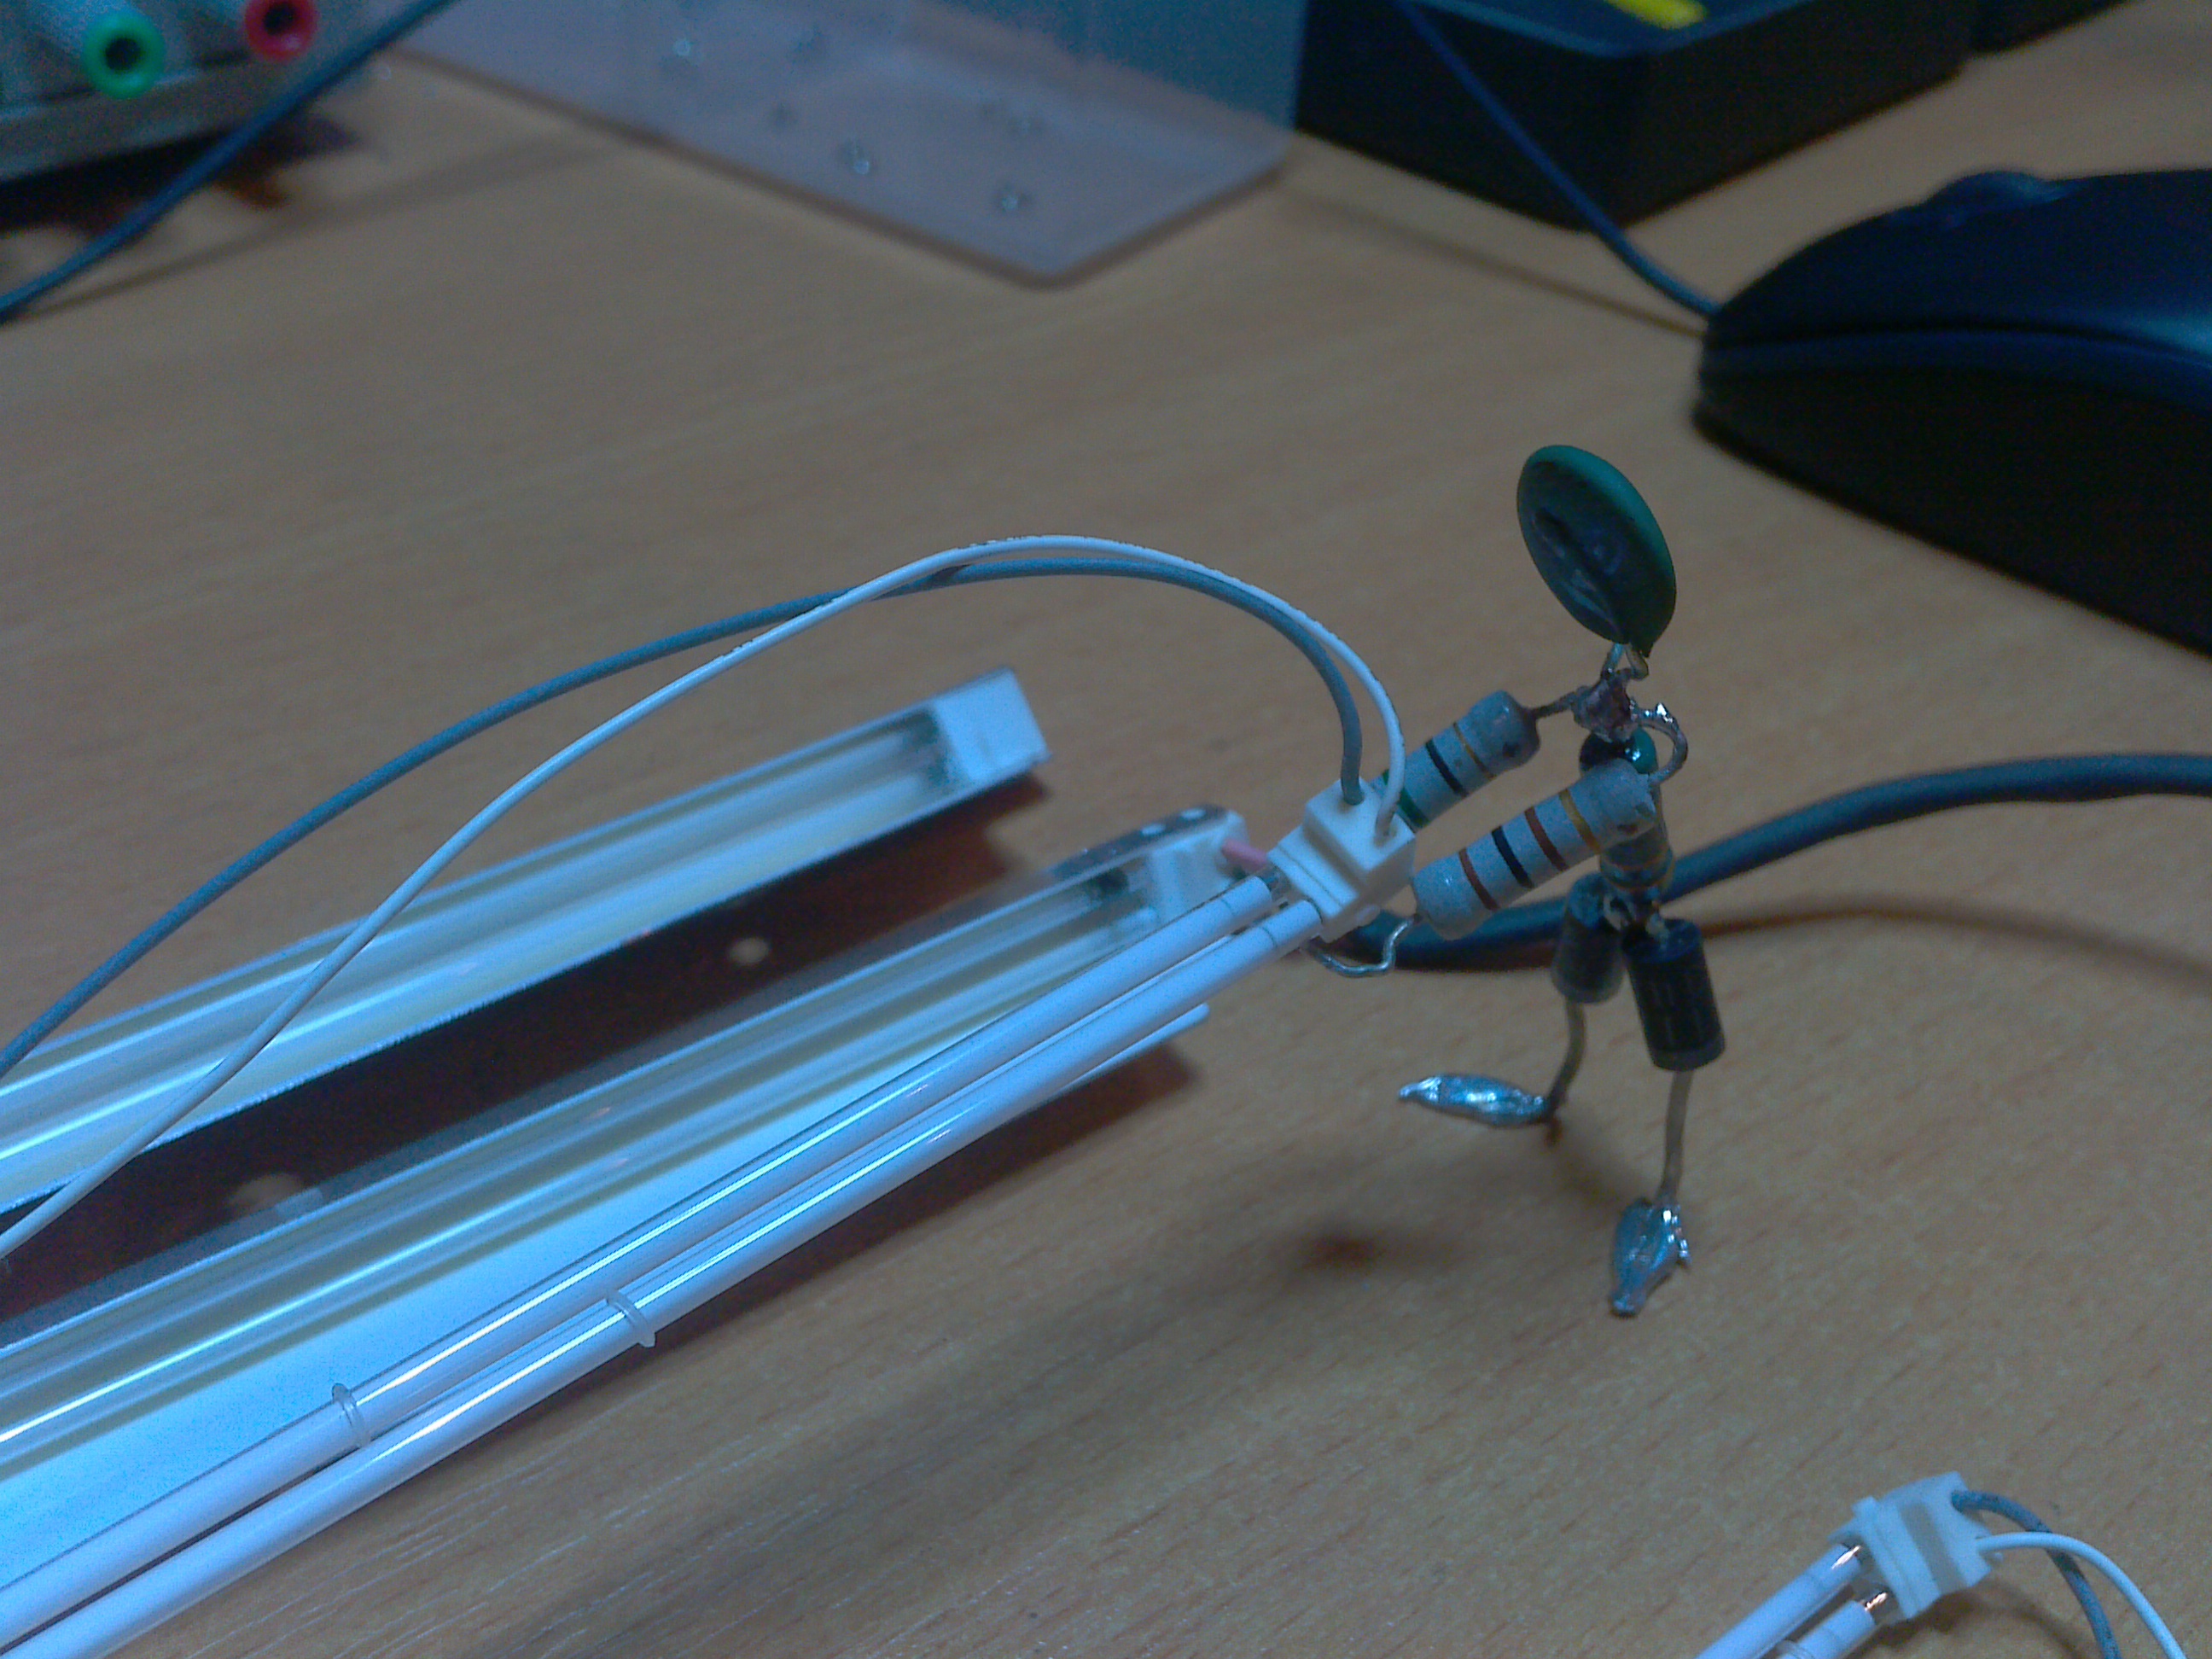
... and swap them ( I want to note that it’s worth to be careful, because they are quite fragile. I also advise you to securely fasten the wires and watch so that there is no breakdown in the future. We isolate everything to the maximum! )
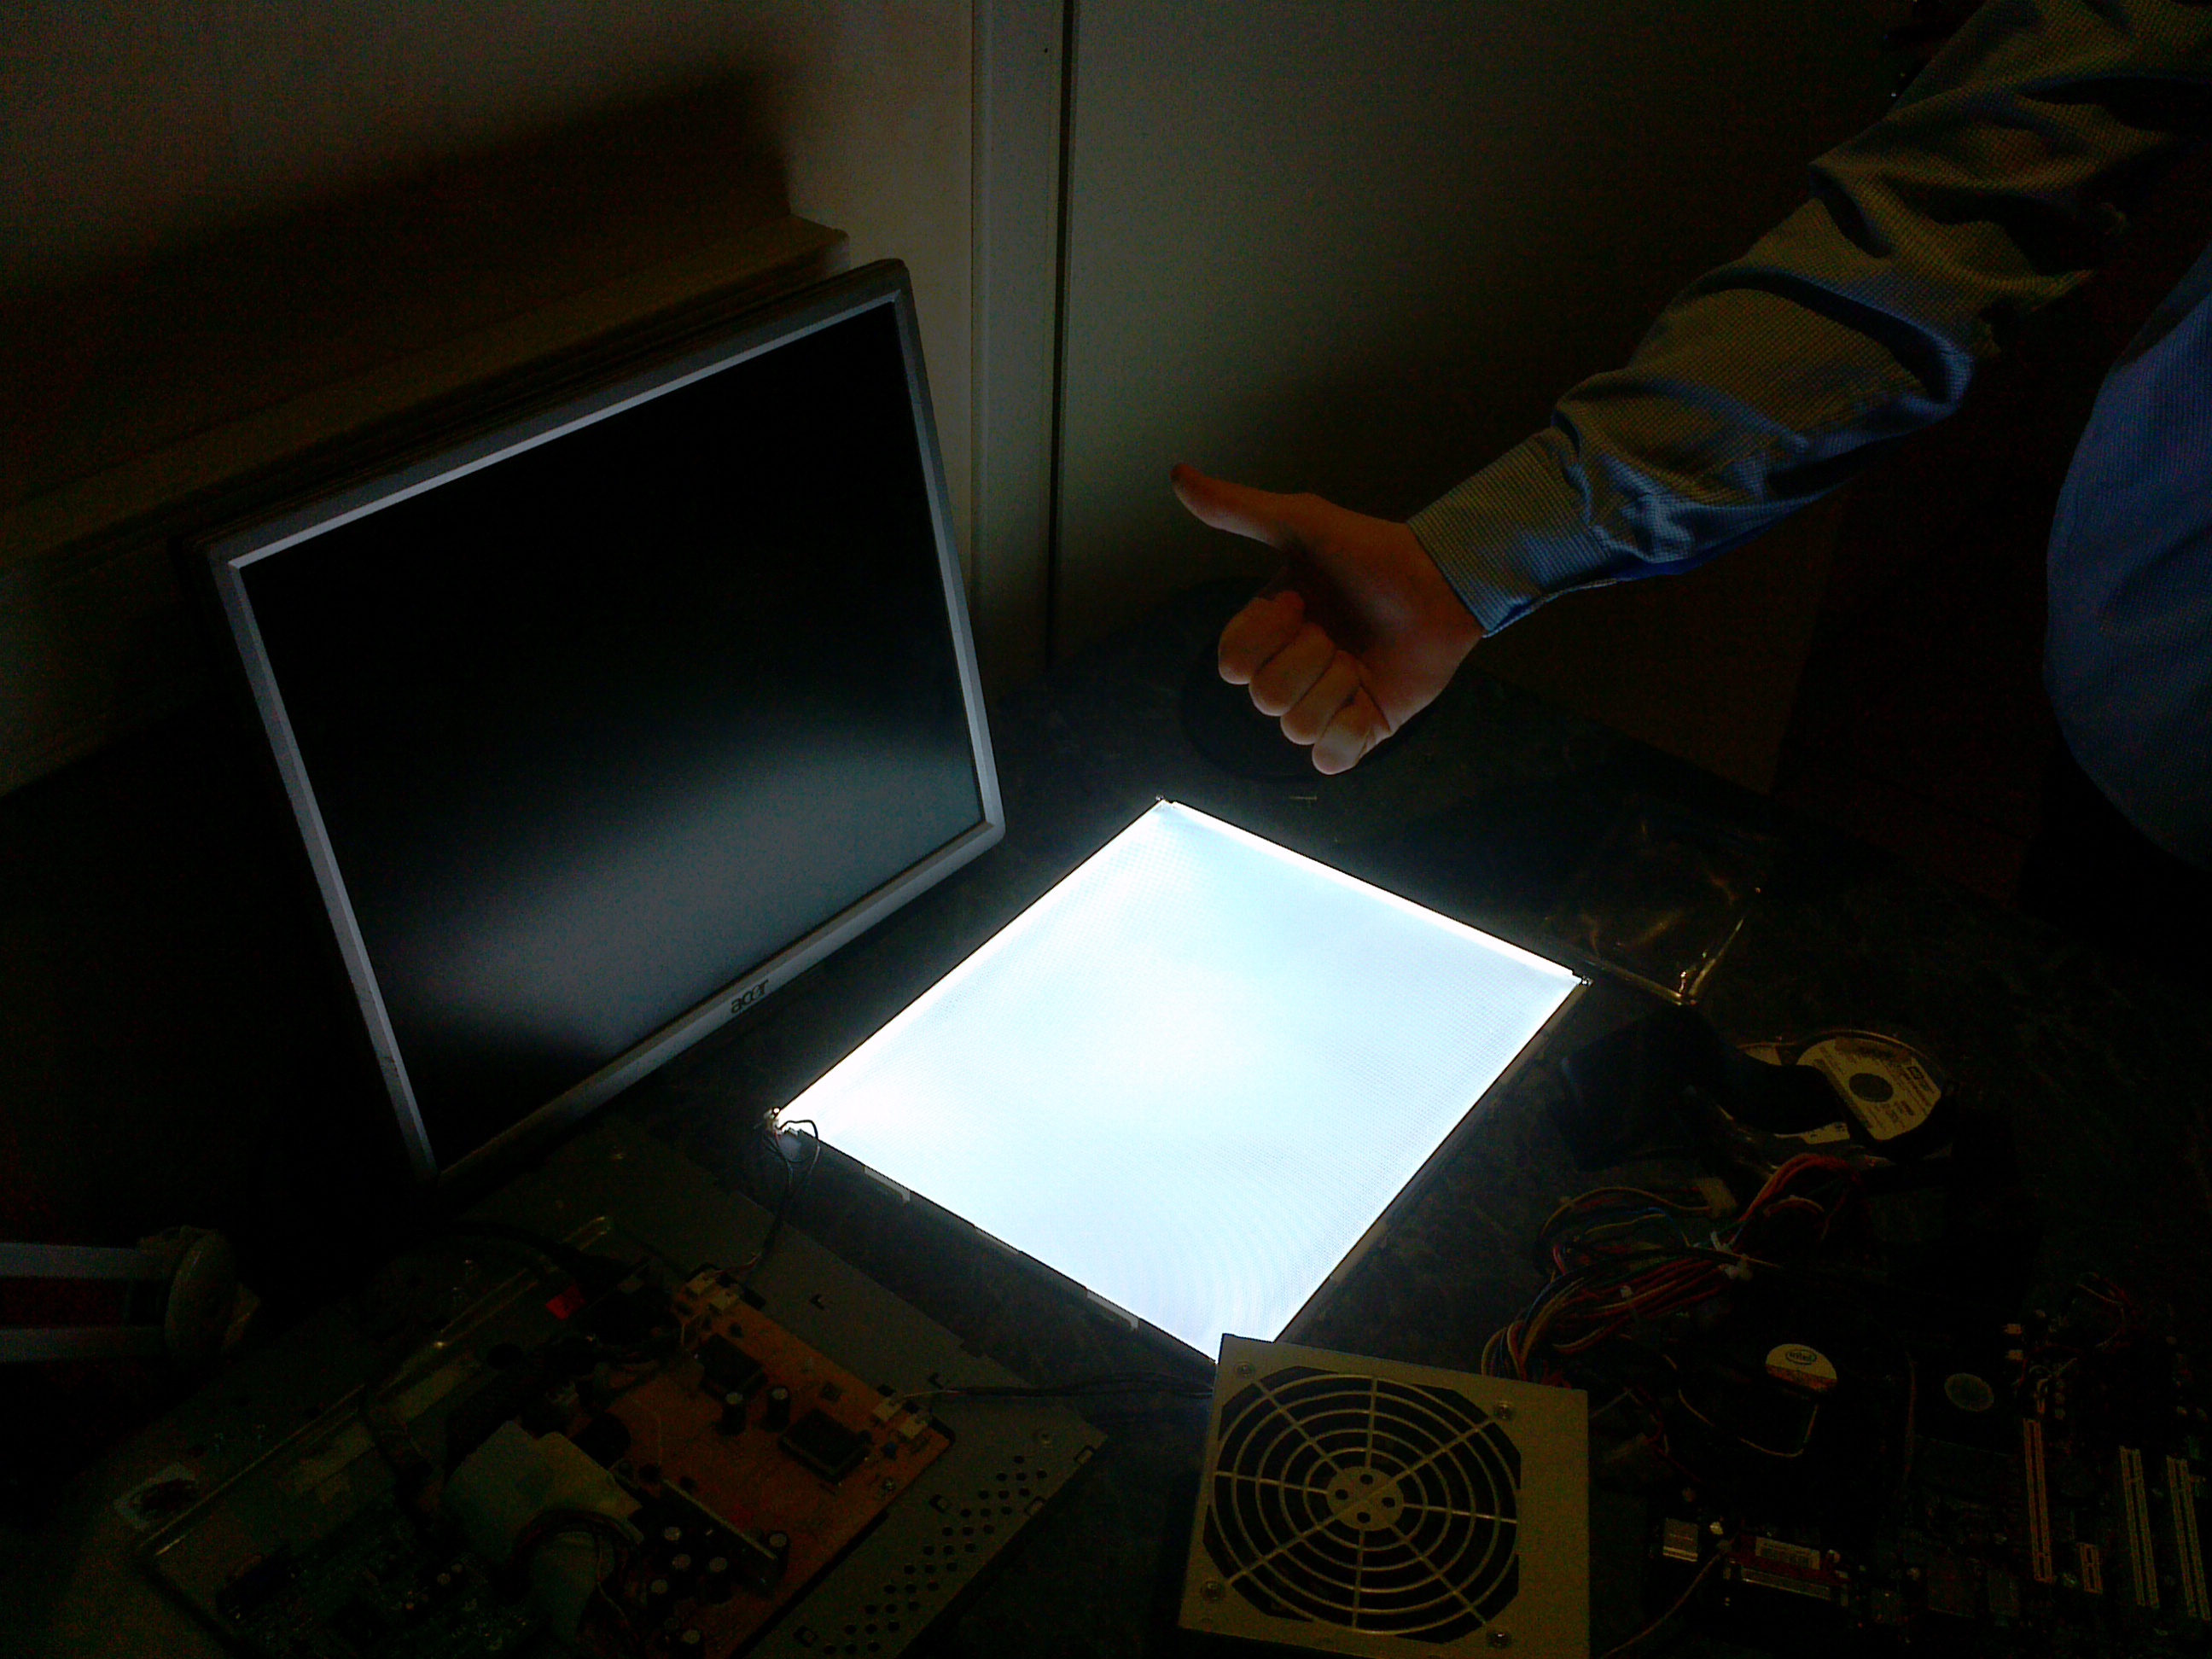
Now we will put our lamps back in place, screw them in, return the reflective contraption and lay the light guide in place.
We connect - everything works! (Before that, it also worked, but not correctly, only 1.5 lamps were on, I did not bother to capture this action in a disassembled form. I confess )
Well, well ... the hardest part is behind, it remains to put everything back together.
Getting down.
We return the films to their place, close them with a plastic frame and put our matrix on top, fix it with a metal frame.
(Here you should not forget about such a thing as dust ... before you collect everything, it’s worth blowing all the components of the monitor with air, it will not take long, but it will affect the image quality)
Turn over and put the last “detail” back in place

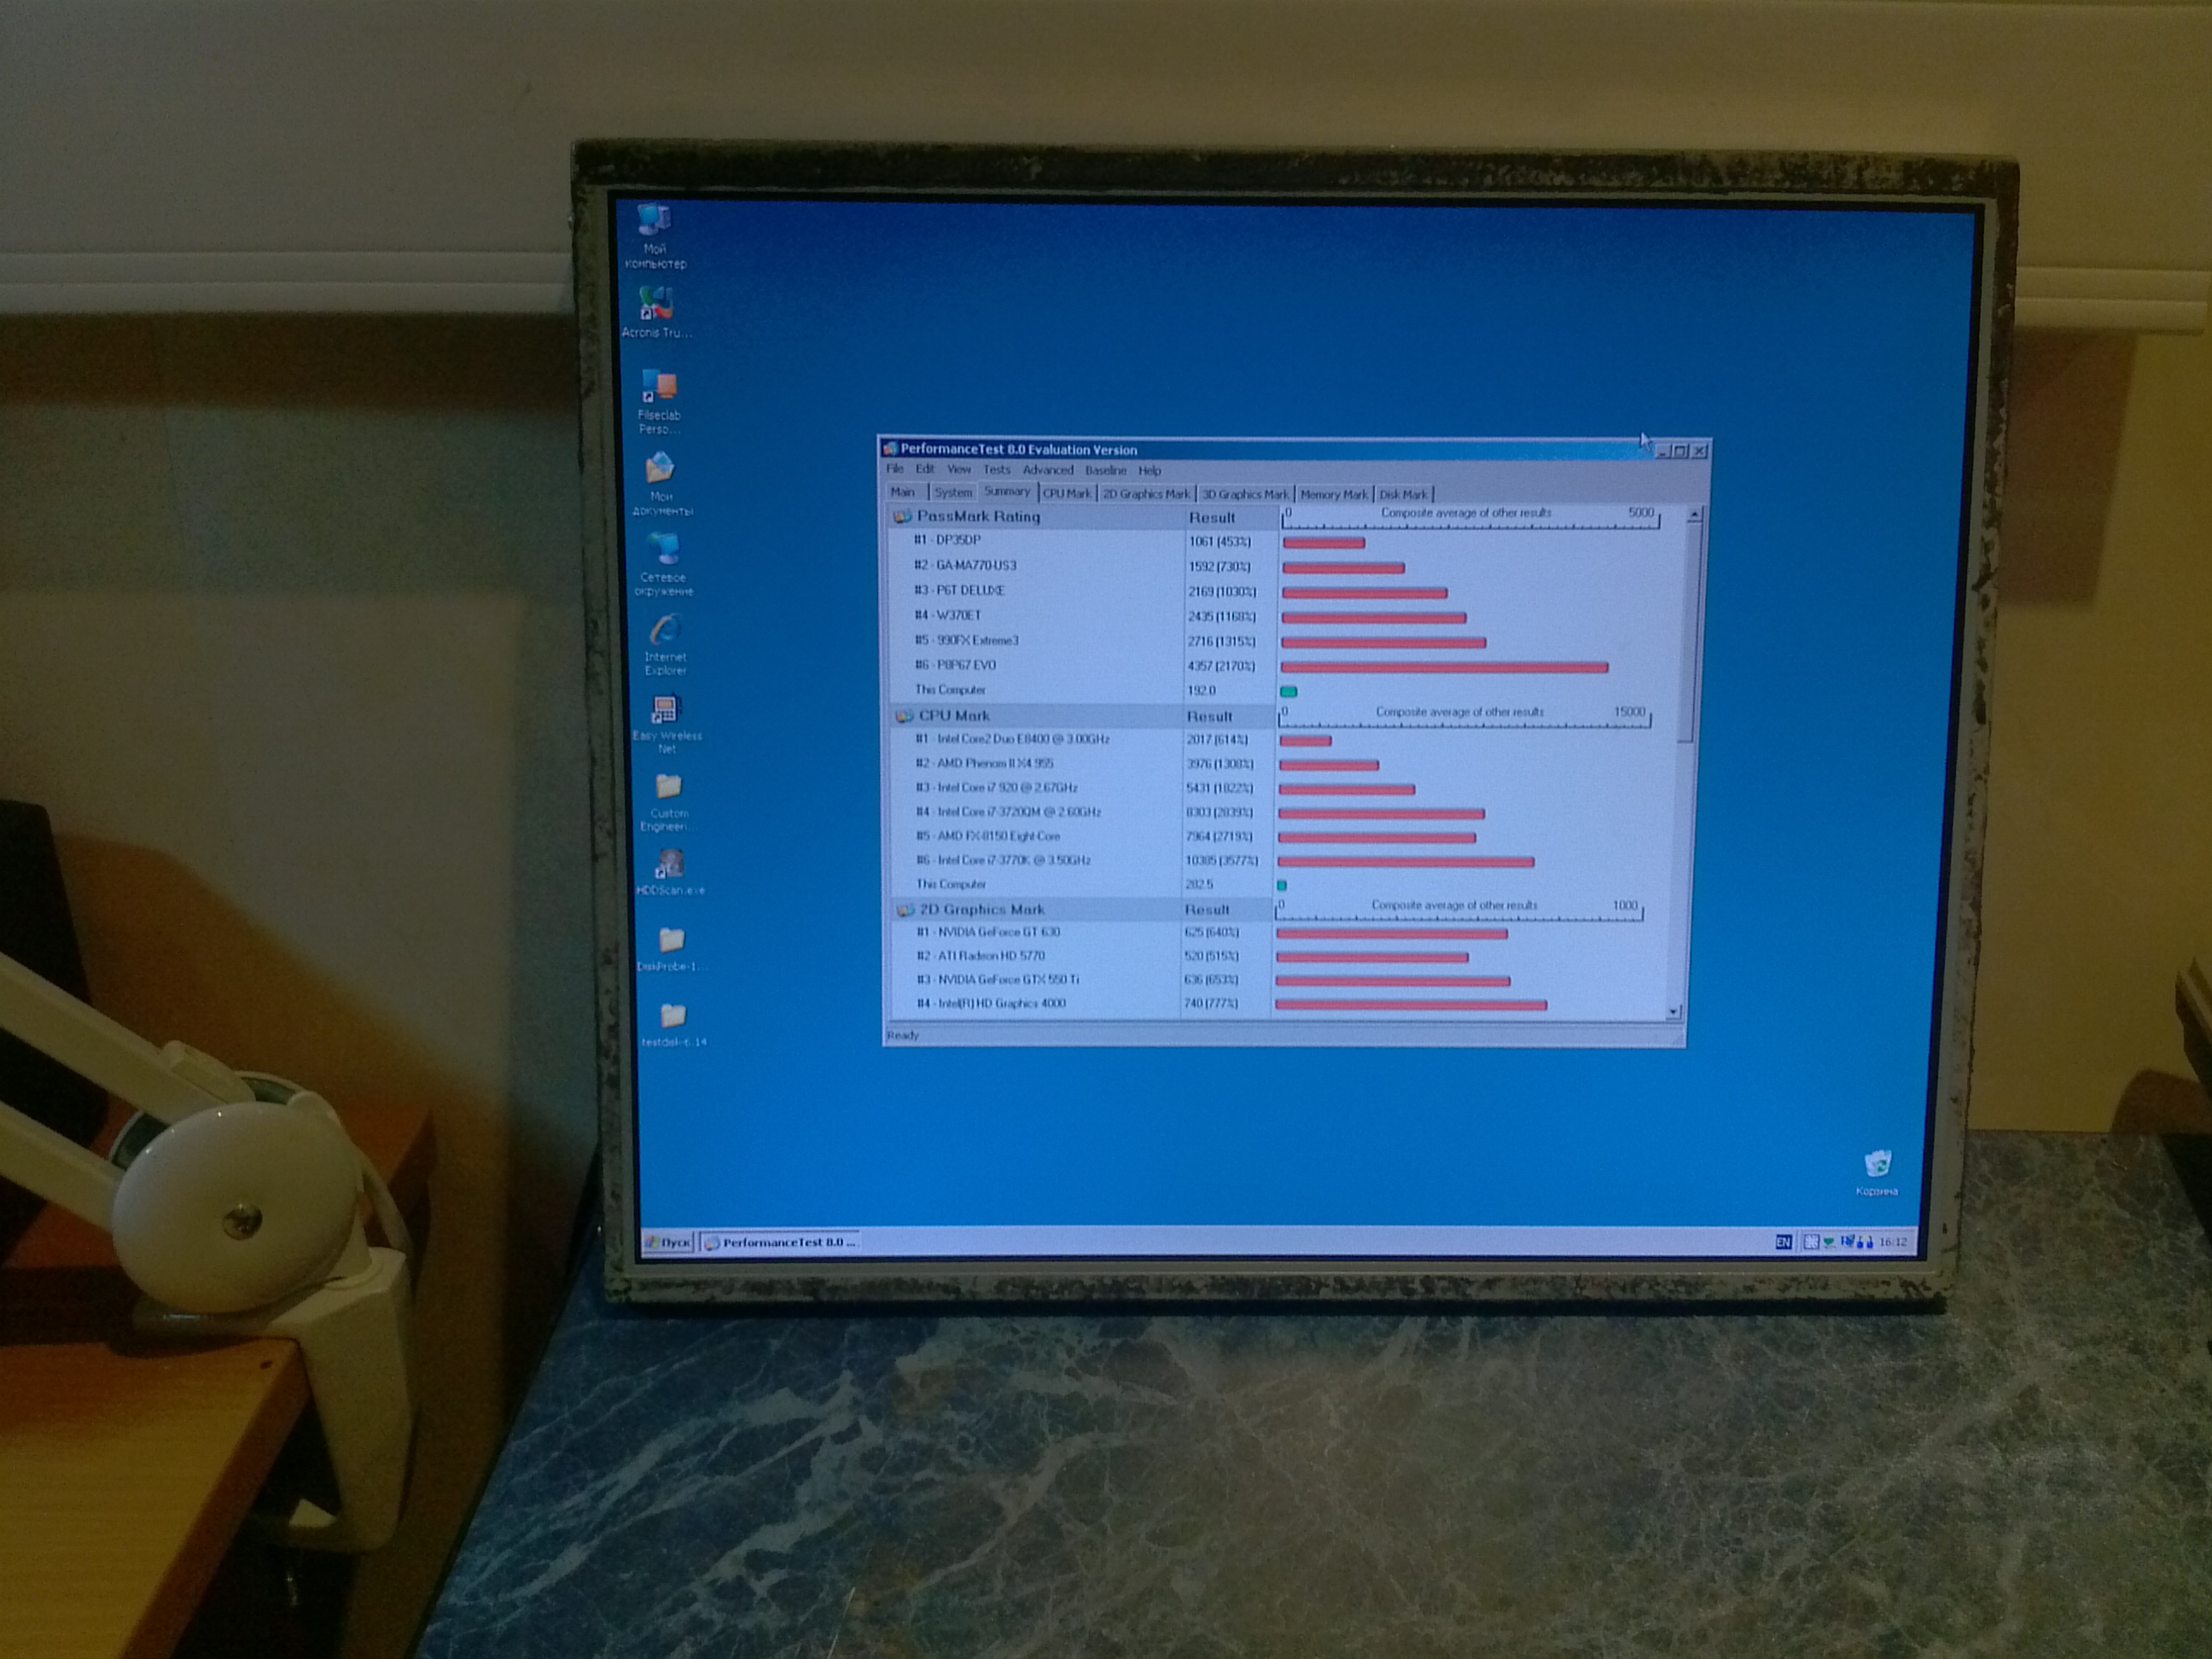
Connect to the “stand” and rejoice !
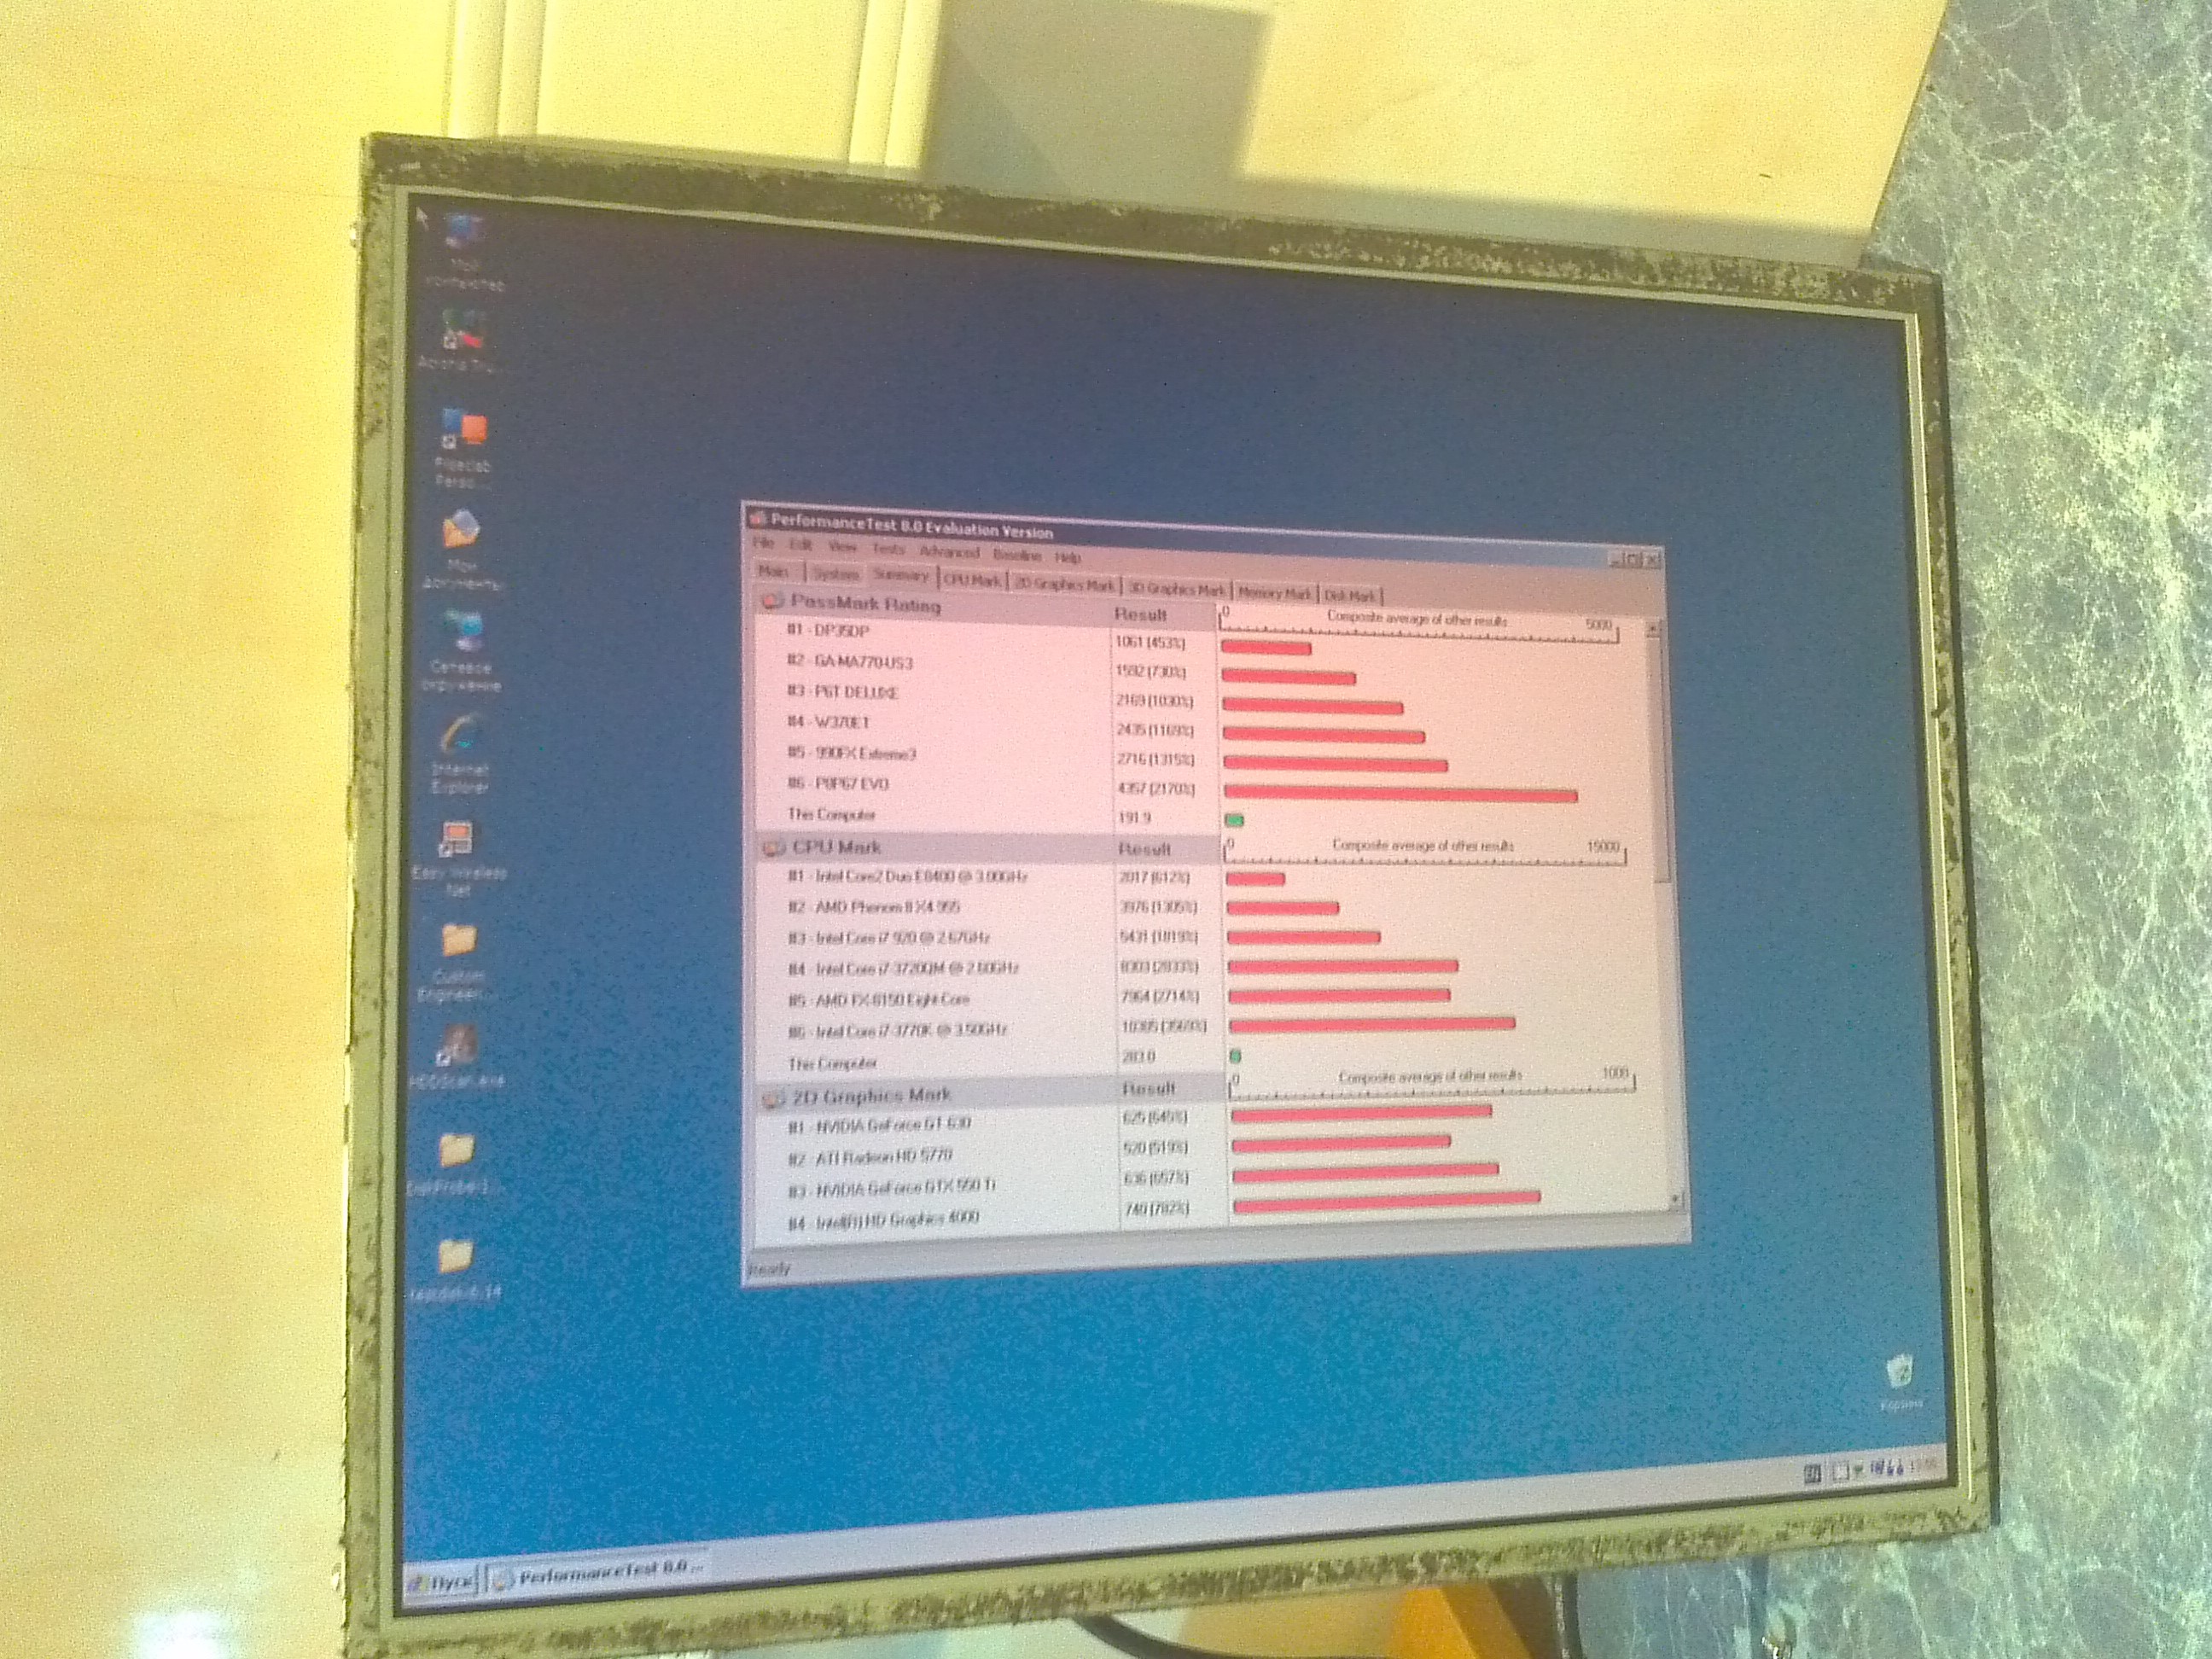
Everything works, traces of uneven illumination are not noticed,
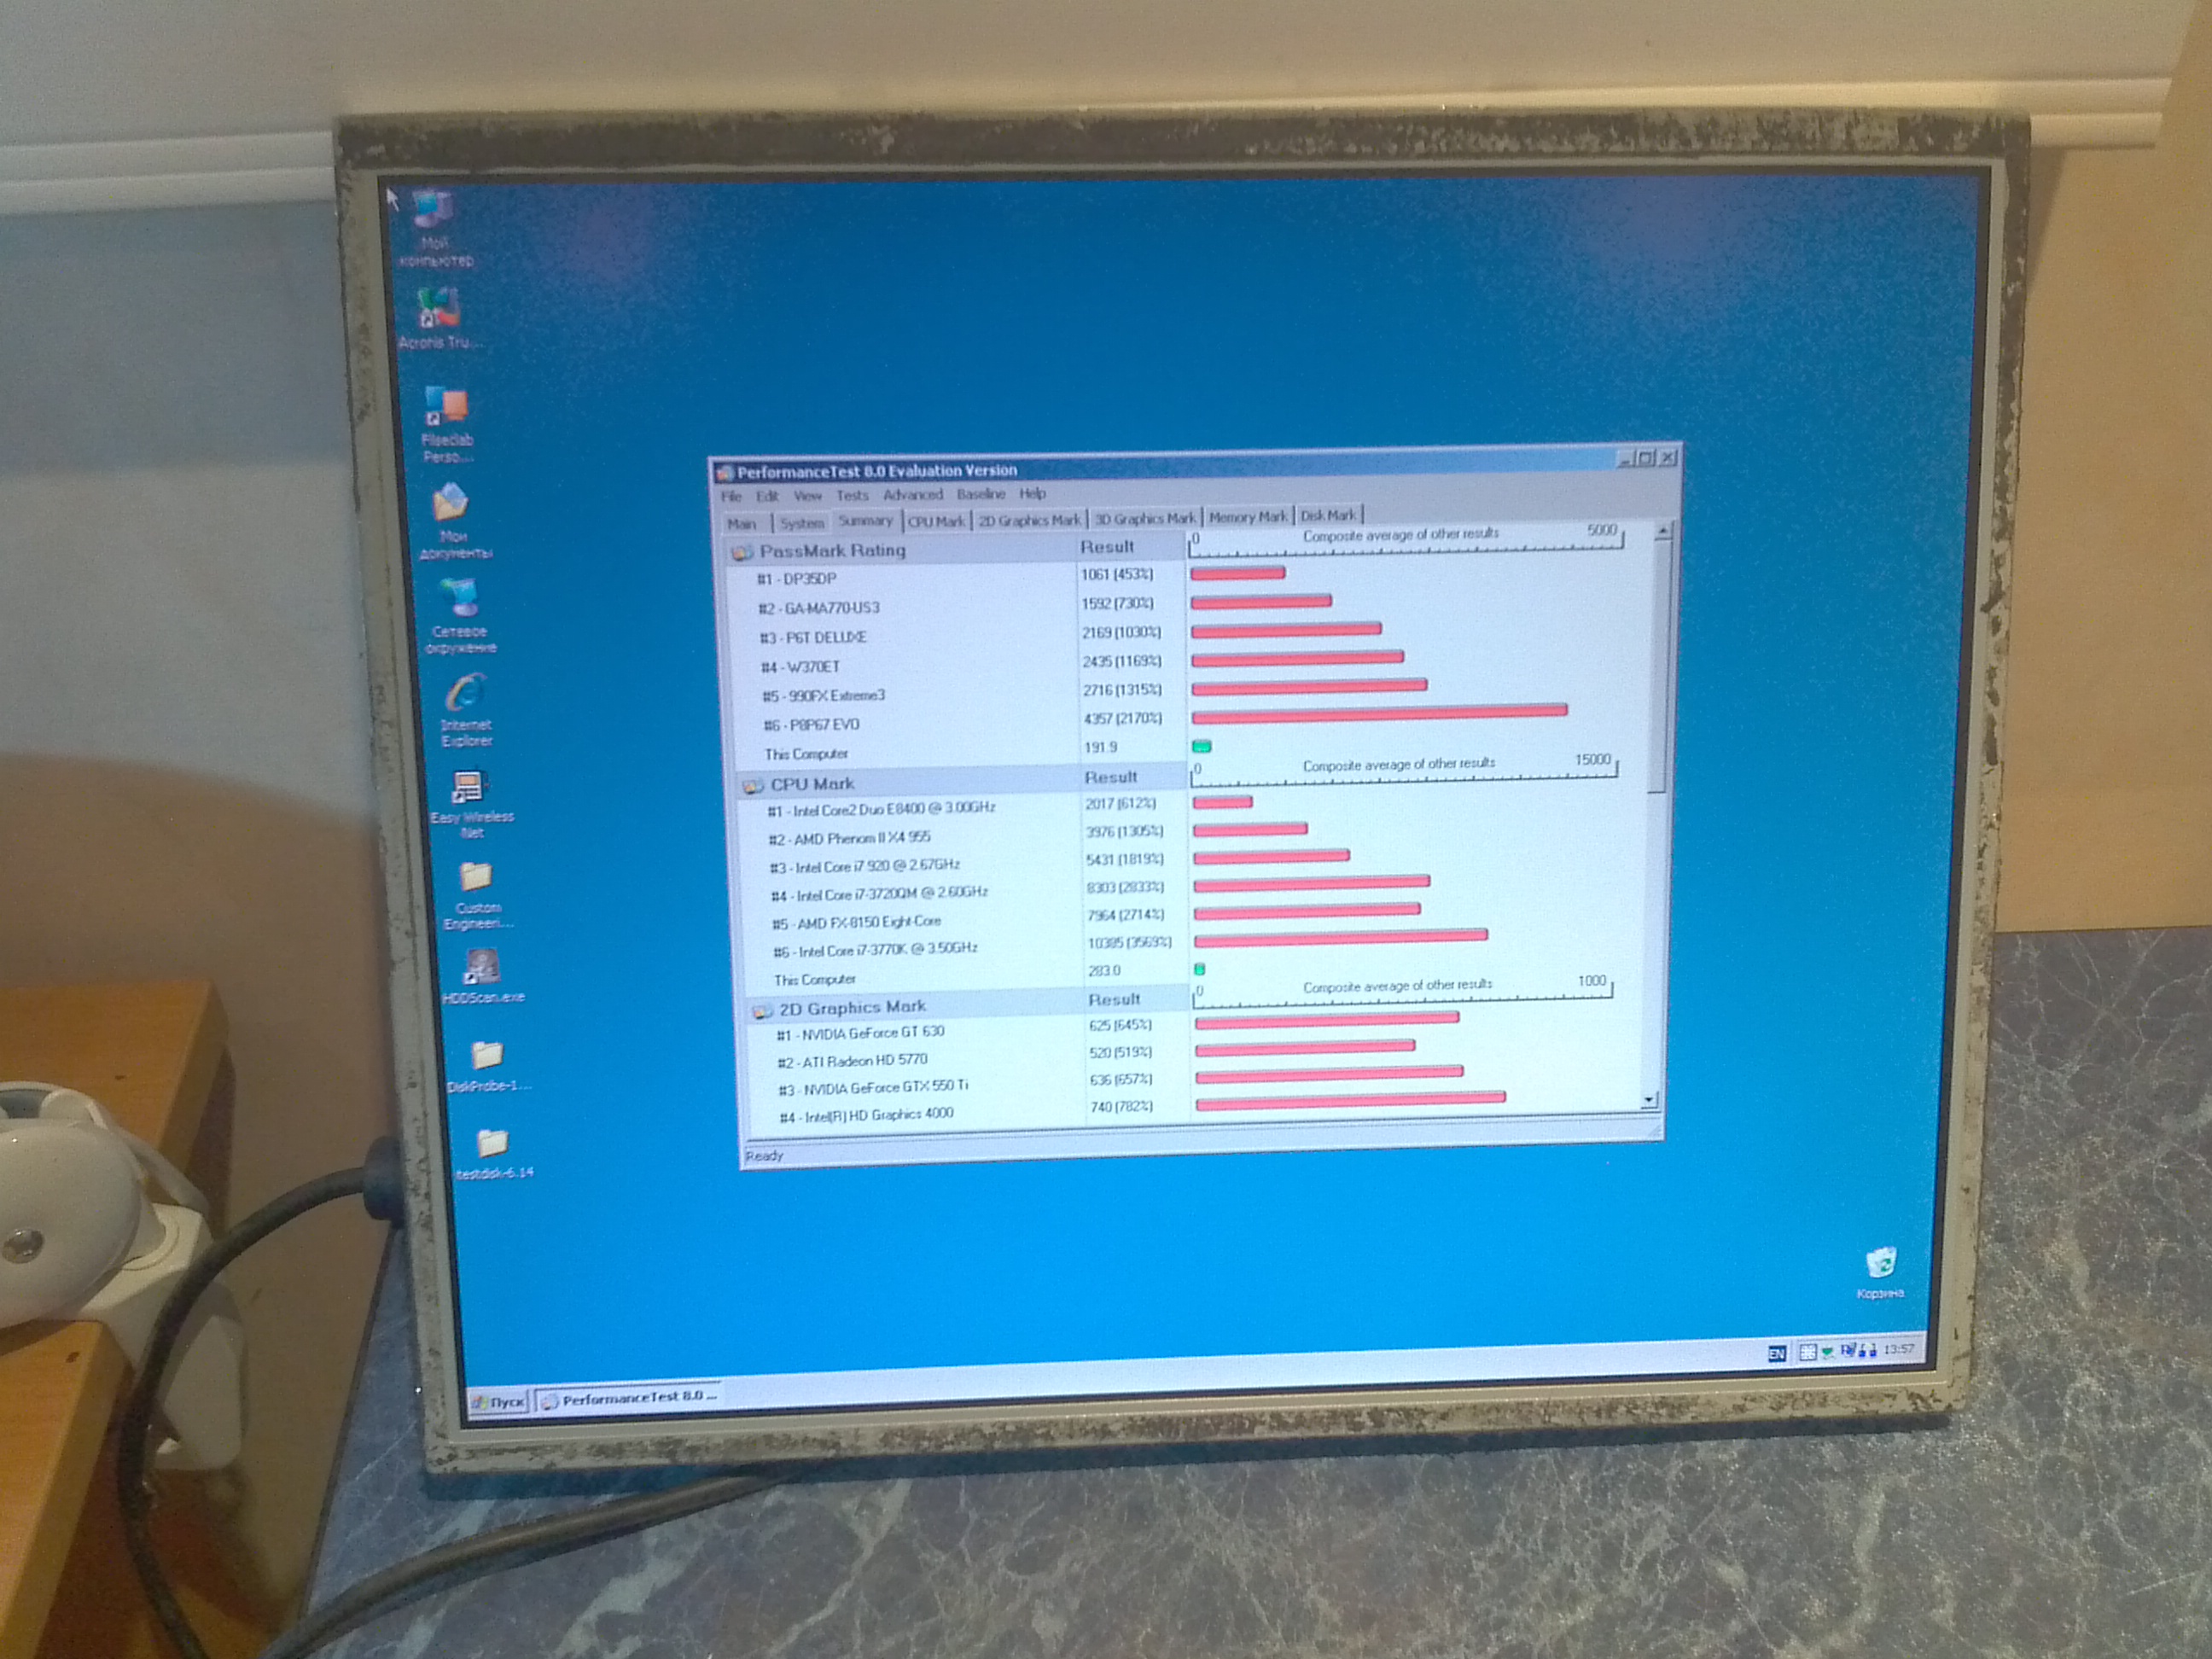
normal flight.
Fin.
_______________________________________________________________________________
What I want to say in conclusion.
0. It is not so difficult to replace the lamps yourself, it would be a desire.
You can also experiment, and replace the lamp with an LED strip. But you need to remember that an LED strip does not give a completely uniform light + to everything it may very well be that your burn out \ 1 or more LEDs will become a little dimmer, and then the backlight will become uneven. Also, do not forget about the color temperature of the LEDs
1. When replacing the lamps, you need to know their exact size, I was guided by this table.
2 . Why did I decide to write this article?
Faced with the repair of the monitor for the first time, I climbed into“A certain search engine” , and did not see the detailed instructions ...
noooo, I do not say that I did not find them, they were, but they seemed to me incomplete, therefore it was decided to collect this material and post it here. You never know who comes in handy ...
3 . Links to similar \ used \ additional materials:
cheklab.ru/archives/2534 ( solid article on the device of various types of monitors)
radiokot.ru/lab/hardwork/30 (replacing backlight + some background information)
habrahabr.ru/post/182772 (we revive the monitor if there are no new lamps at hand)
radioskot.ru/publ/remont/zamena_ljuminiscentnykh_lamp_podsvetki_v_monitore_na_svetodiodnye/4-1-0-594 (successful replacement of lamps with LED strip)
www.yaplakal.com/forum2/topic471720.html (almost successful replacement of lamps with LED strip)
4 P.S.
If habrazhiteli interesting posts on the repair and restoration of equipment, then I would be happy to share the material.
Comments and suggestions are welcome!
Thanks for attention.
In this post, I would like to consider such a sore LCD monitors as failed backlight lamps, try to figure out why this happens, and change them accordingly. Those interested, please follow the green man.
PS
There are 27 photos under the cut
- Dear, I apologize in advance for the quality of the subsequent photos, I photographed on a toaster ....
- I also want to note that the monitors do not differ much in their basic design, so don’t be scared if you don’t find any screws al something else in the place that shows me in the photo, they are somewhere nearby ...
So, we have a monitor that works almost in romantic, red-pink colors. The operating time of such a monitor is unpredictable ... but as a rule it does not exceed 2-3 hours, after which your eyes are given time to breathe, and the brain to ponder the questions of being.
The problem is the failed backlight of the monitor matrix, but why did this happen?
There are a lot of reasons for this situation:
- production defects,
- shorting of the metal parts of the lamp to the metal frame of the matrix,
- physical damage, etc.
But still, let's get a little deeper into the theory.
LCD matrices work in the light, that is, the monitor must have a light source that transmits through the matrix. The quality of the monitor depends on the light source quite significantly. For stationary LCD displays and TVs, direct backlighting is usually used when light sources (lamps or LEDs) are distributed over the entire area of the panel. ©
But why then does he continue to work? and such a short period of time?
Everything is simple.
It is worth noting that monitors most often use 2 blocks of 2 lamps ( on the top and bottom of the monitor ), which should evenly distribute light along the fiber under the matrix.
If one or more lamps fail, the rest continue to work. But the inverter ( which powers them ) is a smart thing, and if it “sees” that something is wrong with one or more of its wards, it decides to stop its work so as not to harm it.
Well, let's get down to disassembly?
We start by disconnecting all the cables from the inverter unit and the monitor controller,
Next, we take a screwdriver in our hands and begin to poke it into all the possible screws located around the perimeter of our still whole monitor. We untwist them!
remove the back panel with the power supply and controller
Removed? excellent ... What we see, the number 1 we have marked the power wires going to the coveted lamps.
2 - a loop going to our matrix.
Asterisks indicate the places that need to be tucked up so that we can continue disassembling the
panel on the left we are removing so far, we don’t need it now
and again we are sorting our “nesting doll”
Excellent, almost half the way,
now let’s explain:
5 - our matrix with numbers 640x480 ~ 1920x1080)
6- a signal decoder connected to the matrix by the data line of rows / columns
7 - a light guide with light filters
Next we go deeper into the "wilds of the monitor" and remove the plastic frame around the perimeter ...
Under the black frame there are 2 thin films lying on top of each other, and under them a light guide.
8 - light filter
9 - polarizing film
10 - light guide
Now we take out a large acrylic piece ( 10 ) and finally we can see the
heroes of the occasion ... Those assholes because of which we traveled this way ( 11 ) of the
Lord. I
By the way about the lamps.
Did you know:
that CCFL lamps are used in LCD panels, which in Russian means a fluorescent lamp with a cold cathode. Its principle is almost the same as hot (in common people "fluorescent lamps"). The only difference is that to obtain the plasma in hot, the initial heating of the cathodes is used, and in cold plasma, it is obtained due to the high voltage applied to the cathodes. Further, a plasma having an ultraviolet radiation spectrum enters the phosphor, the white coating that you see through the flask, and is converted last into visible radiation (white light) ©
As we see, they really burned out. (“black marks” around the cathodes hint at this)
We unscrew them by first pulling out the reflective substrate ( or maybe you don’t have to do this in your monitor )
Next, we take obviously working, working lamps ...
... and swap them ( I want to note that it’s worth to be careful, because they are quite fragile. I also advise you to securely fasten the wires and watch so that there is no breakdown in the future. We isolate everything to the maximum! )
Now we will put our lamps back in place, screw them in, return the reflective contraption and lay the light guide in place.
We connect - everything works! (Before that, it also worked, but not correctly, only 1.5 lamps were on, I did not bother to capture this action in a disassembled form. I confess )
Well, well ... the hardest part is behind, it remains to put everything back together.
Getting down.
We return the films to their place, close them with a plastic frame and put our matrix on top, fix it with a metal frame.
(Here you should not forget about such a thing as dust ... before you collect everything, it’s worth blowing all the components of the monitor with air, it will not take long, but it will affect the image quality)
Turn over and put the last “detail” back in place
Connect to the “stand” and rejoice !
Everything works, traces of uneven illumination are not noticed,
normal flight.
Fin.
_______________________________________________________________________________
What I want to say in conclusion.
0. It is not so difficult to replace the lamps yourself, it would be a desire.
You can also experiment, and replace the lamp with an LED strip. But you need to remember that an LED strip does not give a completely uniform light + to everything it may very well be that your burn out \ 1 or more LEDs will become a little dimmer, and then the backlight will become uneven. Also, do not forget about the color temperature of the LEDs
1. When replacing the lamps, you need to know their exact size, I was guided by this table.
2 . Why did I decide to write this article?
Faced with the repair of the monitor for the first time, I climbed into“A certain search engine” , and did not see the detailed instructions ...
noooo, I do not say that I did not find them, they were, but they seemed to me incomplete, therefore it was decided to collect this material and post it here. You never know who comes in handy ...
3 . Links to similar \ used \ additional materials:
cheklab.ru/archives/2534 ( solid article on the device of various types of monitors)
radiokot.ru/lab/hardwork/30 (replacing backlight + some background information)
habrahabr.ru/post/182772 (we revive the monitor if there are no new lamps at hand)
radioskot.ru/publ/remont/zamena_ljuminiscentnykh_lamp_podsvetki_v_monitore_na_svetodiodnye/4-1-0-594 (successful replacement of lamps with LED strip)
www.yaplakal.com/forum2/topic471720.html (almost successful replacement of lamps with LED strip)
4 P.S.
If habrazhiteli interesting posts on the repair and restoration of equipment, then I would be happy to share the material.
Comments and suggestions are welcome!
Thanks for attention.