Setting up your own GIT / SVN / Mercurial server based on SCM Manager for Tomcat under Debian
- From the sandbox
- Tutorial
The other day, the team was faced with the fact that Bitbucket became small for us, and the focus on the likeness of corporate security, in any case, sooner or later will require moving from private repositories located outside the company to its own infrastructure. After surfing the Internet, it was decided to stop on a ready-made SCM-manager solution for several reasons
OS to install: Debian7
It is worth noting that before this we have not encountered a similar one and the article is the result of several hours of throwing on the Internet and manuals.
SCM was
installed on Tomcat, since Redmine is spinning on it. Installation and configuration under the cat itself:
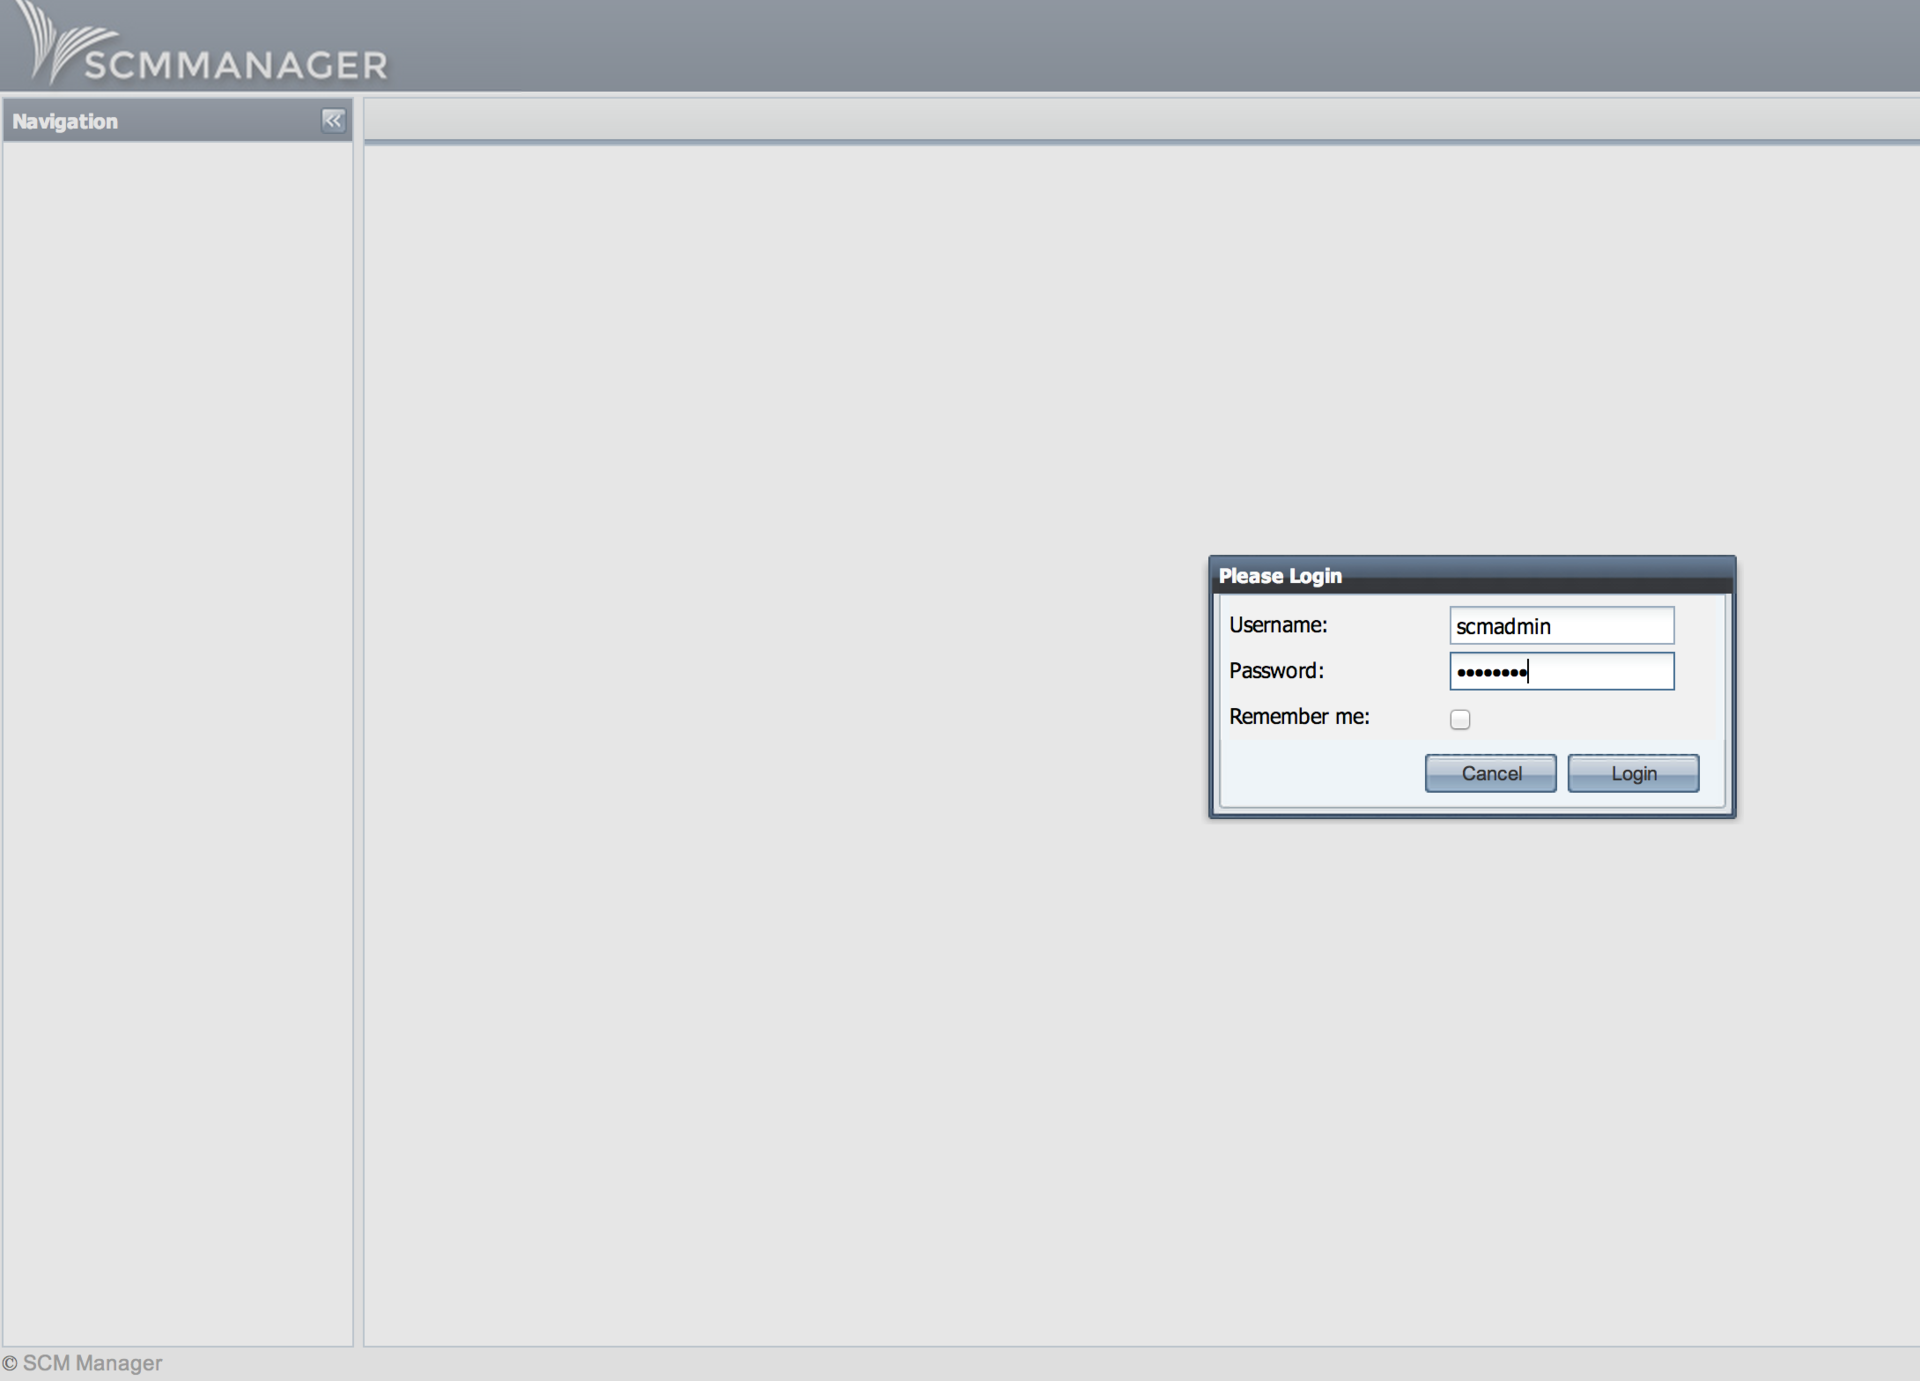
Login details: scmadmin / scmadmin
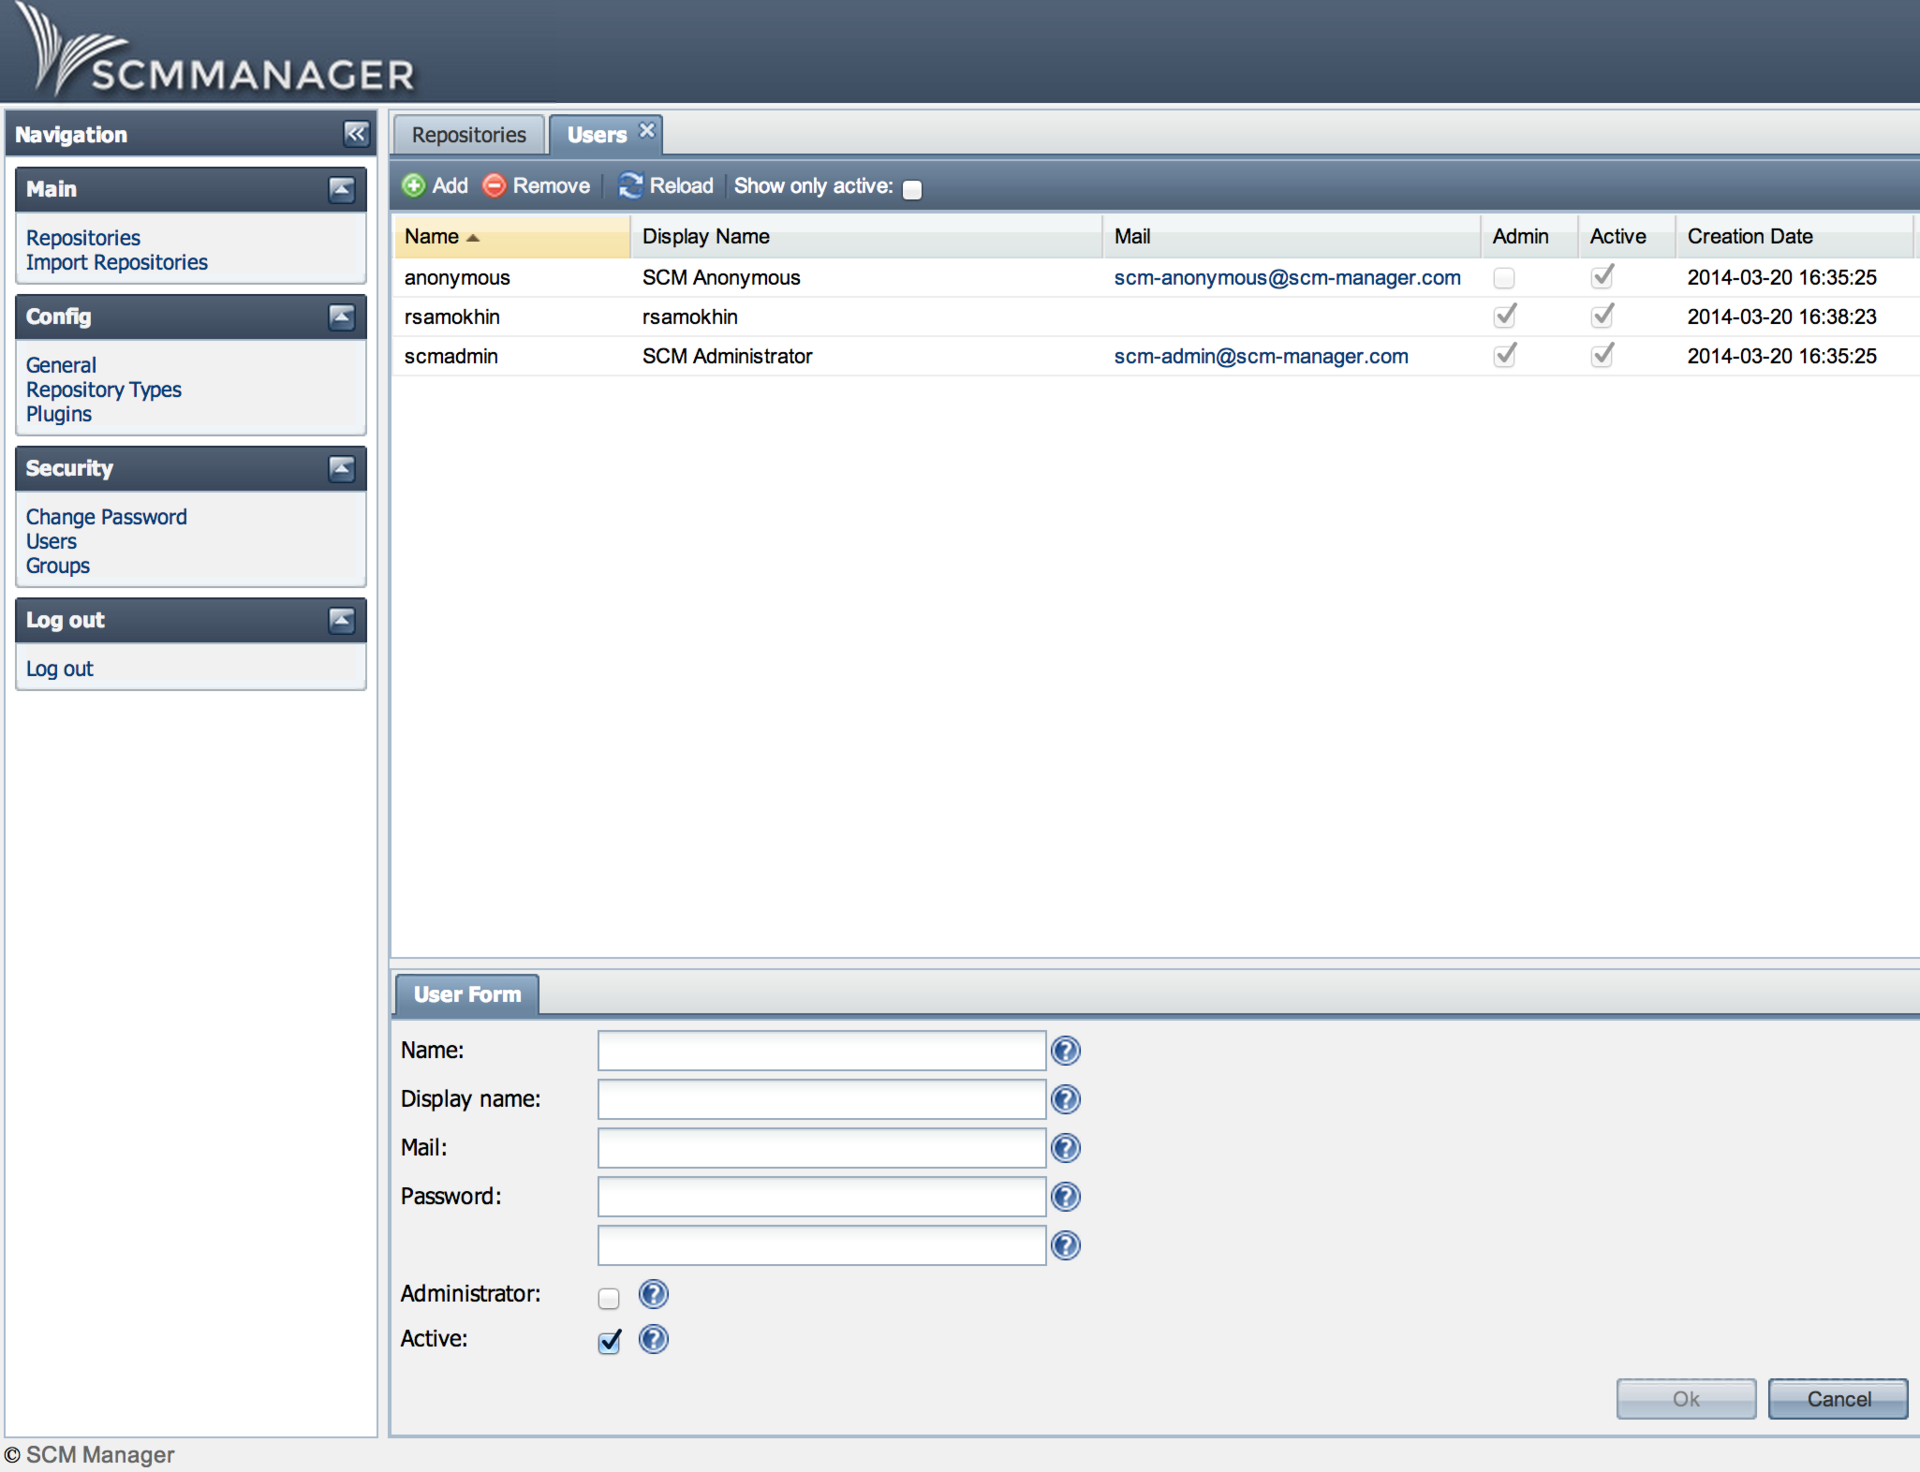
In the Users section, add your own
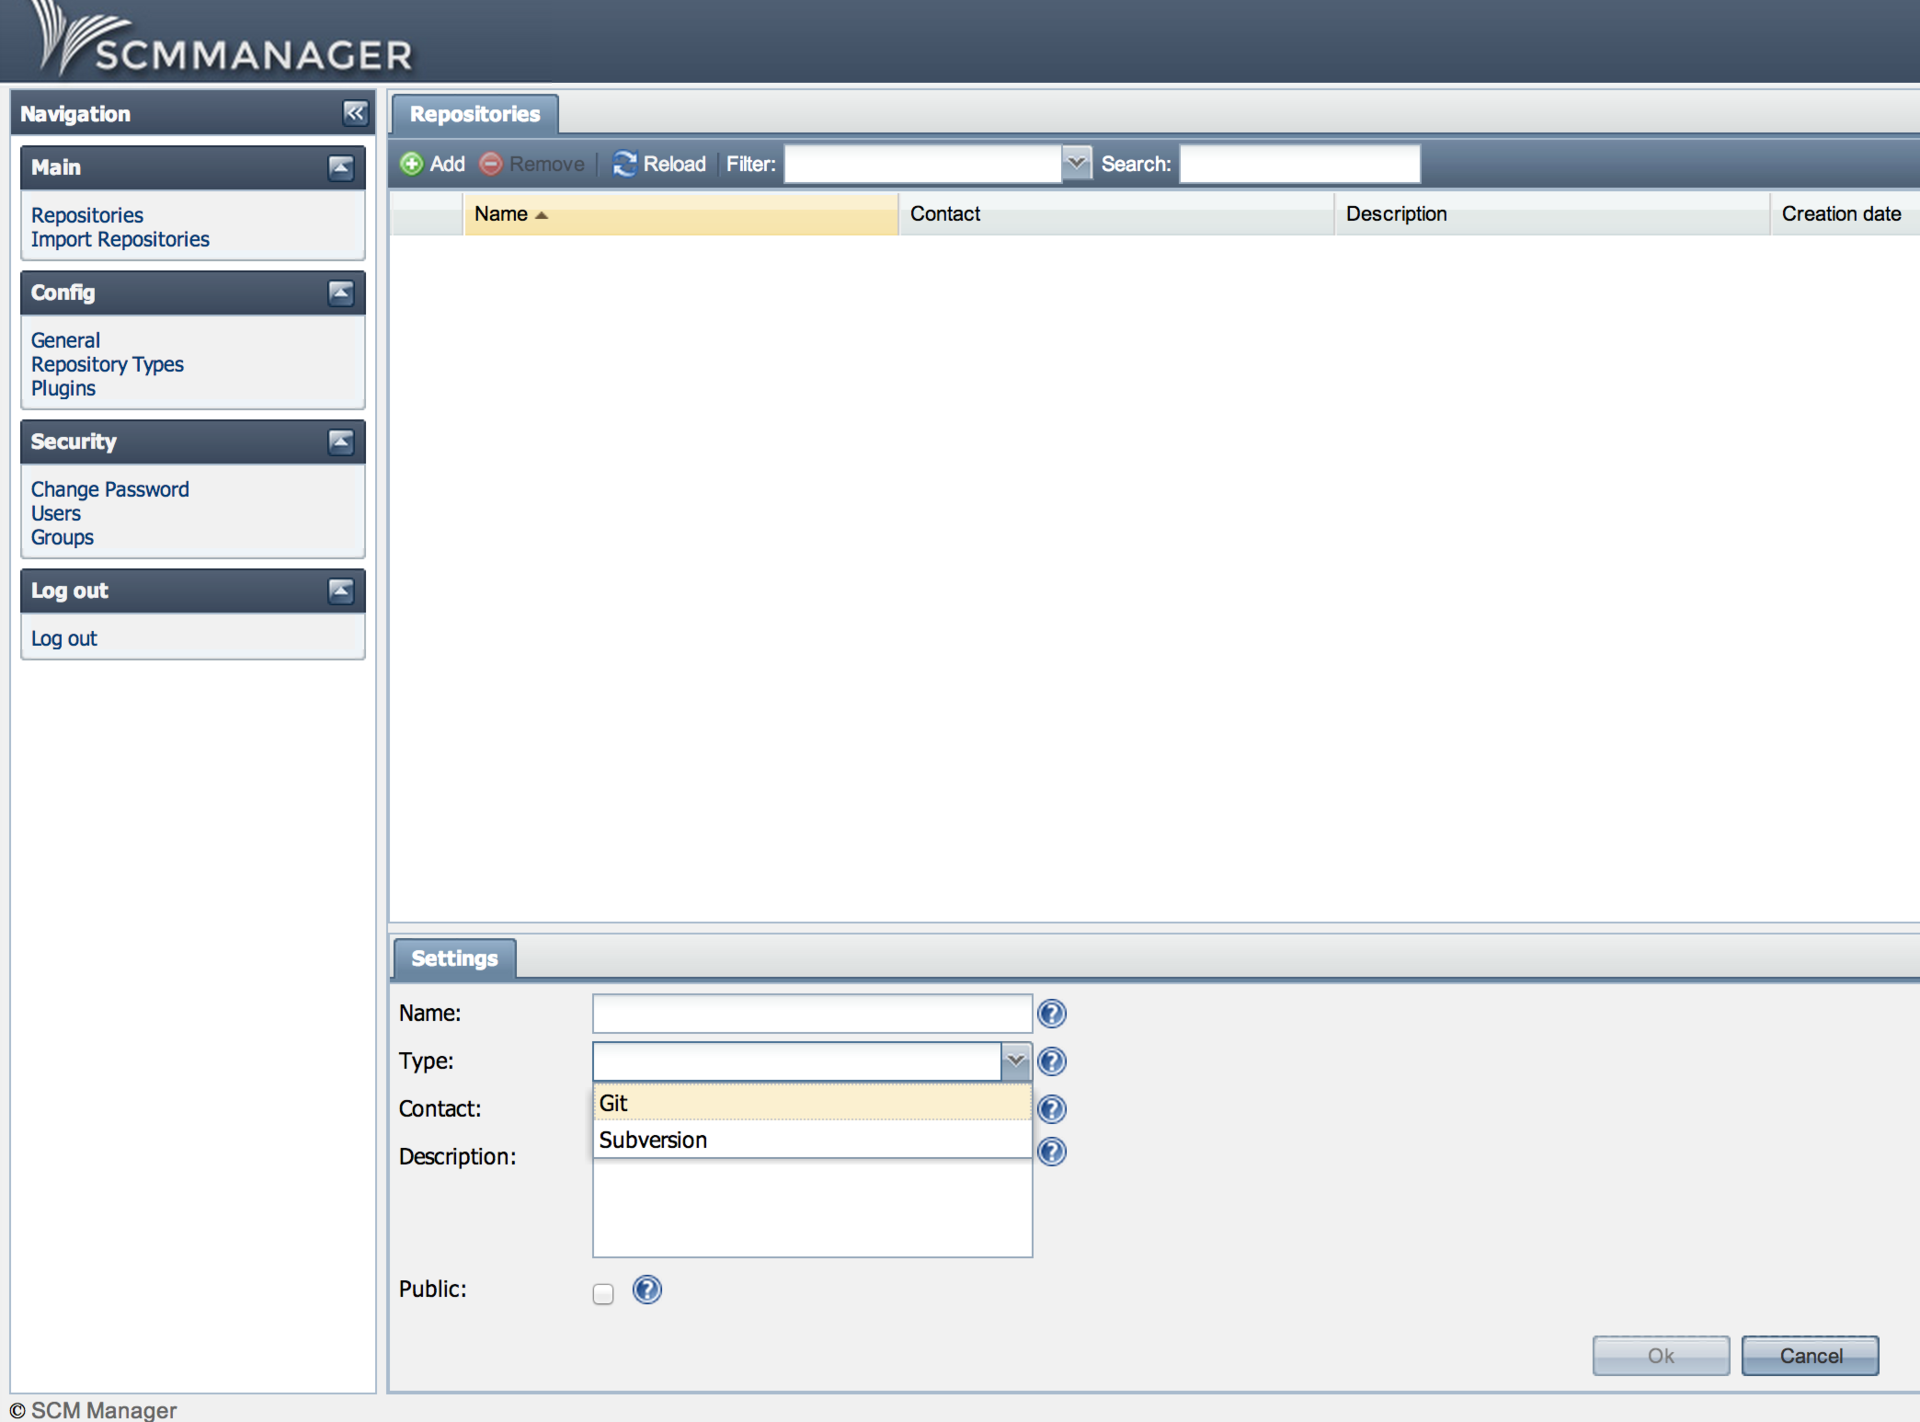
Create your own repository
In the future, it is available at the link
http: //***.***.***.178/scm/git/tglync, which we clone further.
Repositories can be easily imported, and there are also many ready-made plugins, using which you can configure SCM for yourself, for example, add notifications. Plugins are also connected via the web interface.
If desired, the SCM web client can also be customized externally.
Thank you all, I hope it was not useless.
- Easy installation
- Easy administration via web interface
- Support for GIT and SVN (important as both are used)
OS to install: Debian7
It is worth noting that before this we have not encountered a similar one and the article is the result of several hours of throwing on the Internet and manuals.
SCM was
installed on Tomcat, since Redmine is spinning on it. Installation and configuration under the cat itself:
Utility Setup
- Install JRE (required for Apache Tomcat)
su apt-get install openjdk-6-jre - Download the latest version of Apache Tomcat from here (Required for the SCM-manager services to work)
cd /tmp wget file http://www.sai.msu.su/apache/tomcat/tomcat-7/v7.0.41/bin/apache-tomcat-7.0.41.tar.gz - Unpack it, remove the garbage and drop the folder with Tomcat in / etc
tar xzf apache-tomcat-7.0.41.tar.gz mv apache-tomcat-7.0.41 tomcat7 rm apache-tomcat-7.0.41.tar.gz mv /tmp/tomcat7/ /etc - Let's create a group, a user for Tomcat and assign rights to the directory
groupadd tomcat7 useradd -g tomcat7 -d /etc/tomcat7 tomcat7 usermod -G www-data tomcat7 chown -R tomcat7:tomcat7 /etc/tomcat7 - Add Tomcat to autoload (Pay attention to the JAVA_HOME variable in the script - you may not have amd64, it depends on the server architecture)
nano /etc/init.d/tomcat#!/bin/bash CATALINA_HOME=/etc/tomcat7; export CATALINA_HOME JAVA_HOME=/usr/lib/jvm/java-6-openjdk-amd64; export JAVA_HOME TOMCAT_OWNER=tomcat7; export TOMCAT_OWNER JAVA_OPTS="-Xms128M -Xmx128M"; export JAVA_OPTS start() { echo -n "Starting Tomcat: " su $TOMCAT_OWNER -c $CATALINA_HOME/bin/startup.sh } stop() { echo -n "Stopping Tomcat: " su $TOMCAT_OWNER -c $CATALINA_HOME/bin/shutdown.sh } case "$1" in start) start ;; stop) stop ;; restart) stop start ;; *) echo $"Usage: tomcat {start|stop|restart}" exit esacchmod +x /etc/tomcat7/bin/*.sh chmod +x /etc/init.d/tomcat - We start and check the server
/etc/init.d/tomcat start
http: //***.***.***.178: 8080 - To access the Tomcat interface to a file
nano /etc/tomcat7/conf/tomcat-users.xml
add a line inside the tag - Throw Tomkat service to port 80 Right but difficult
nano /etc/tomcat7/conf/server.xml
We change the lines
We put authbind in order to transfer it to ports below 1024apt-get install authbindtouch /etc/authbind/byport/80 chmod 500 /etc/authbind/byport/80 chown tomcat7 /etc/authbind/byport/80
To filenano /etc/tomcat7/bin/setenv.sh
write downCATALINA_OPTS="-Djava.net.preferIPv4Stack=true"
and change the last line in the filenano /etc/tomcat7/bin/startup.shexec authbind --deep "$PRGDIR"/"$EXECUTABLE" start "$@" - Not quite right
/sbin/iptables -t nat -I PREROUTING -p tcp --dport 80 -j REDIRECT --to-port 8080 /sbin/service iptables save - Reboot Tomcat
/etc/init.d/tomcat restart
SCM installation
- Download SCM-manager from here
cd /tmp wget file http://maven.scm-manager.org/nexus/content/repositories/releases/sonia/scm/scm-webapp/1.32/scm-webapp-1.32.war - Transferring it to Tomcat webapps daddy
mv scm-webapp-1.32.war scm.war mv scm.war /etc/tomcat7/webapps - We are waiting for the application to deploy, check it http: //***.***.***.178/scm/
Login details: scmadmin / scmadmin
In the Users section, add your own
Create your own repository
In the future, it is available at the link
http: //***.***.***.178/scm/git/tglync, which we clone further.
Repositories can be easily imported, and there are also many ready-made plugins, using which you can configure SCM for yourself, for example, add notifications. Plugins are also connected via the web interface.
If desired, the SCM web client can also be customized externally.
Thank you all, I hope it was not useless.