Light of time: to the roots
The article will focus on trying to bring a copy of a Nixon Newton watch to the original.
(25 photos + GIF)
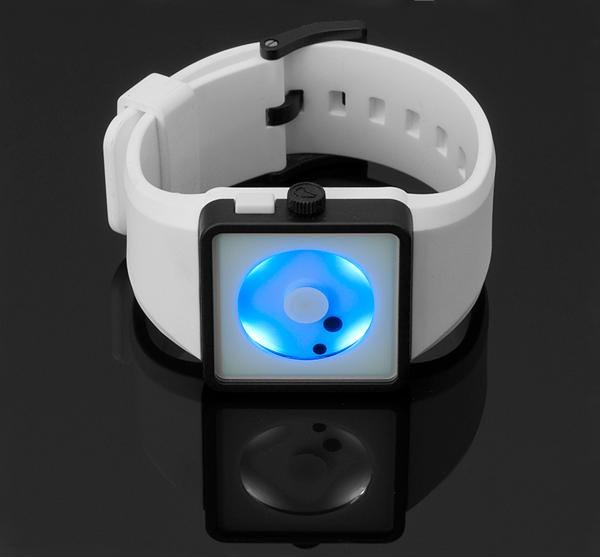
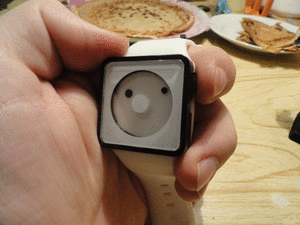
It so happened that I got a watch in my hands, which is a copy of Newton's Nixon watch.
They differed from the original ones by the lack of backlight and the color of what should have been a button.
In the original version it is white, and in the copy it is black, probably so as not to catch the eye.
Yes, also somewhere I lost a pip for setup. Actually, this made me get into the watch and add functionality.
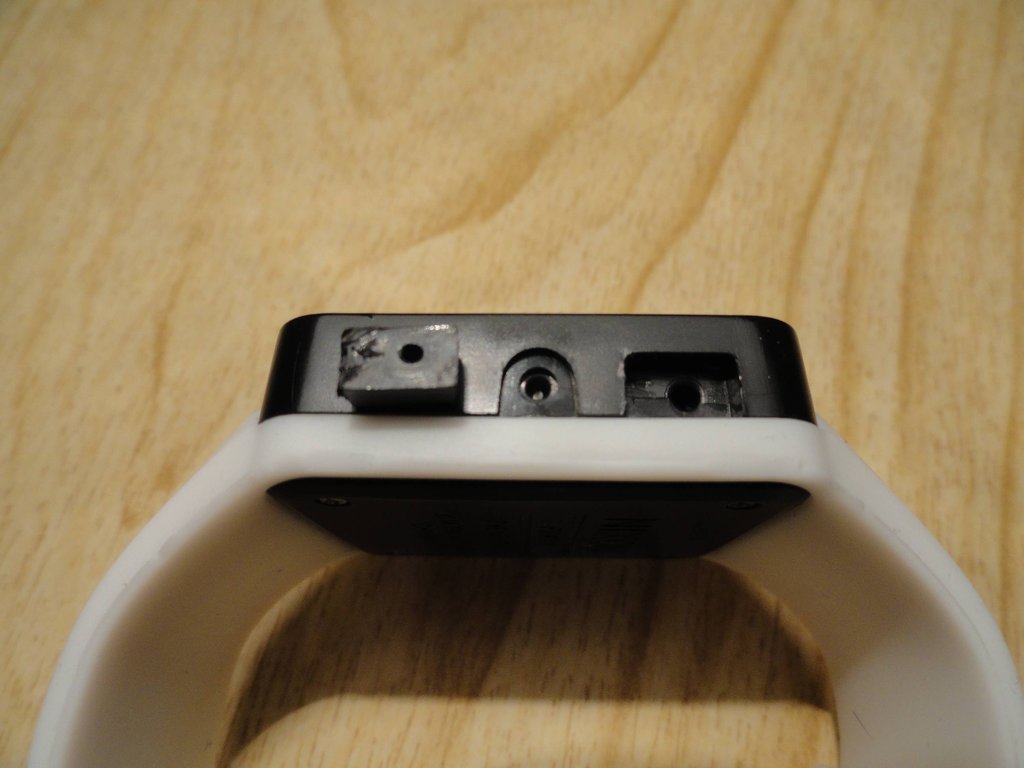
You can also mention the casting quality of the strap - the holes are not cut.
We pick up the pipka, a hole appears under our gaze, a hole is also present in the pipka itself. Toli authors somewhere hijacked the original mold, or maybe they also produce copies with some functionality.
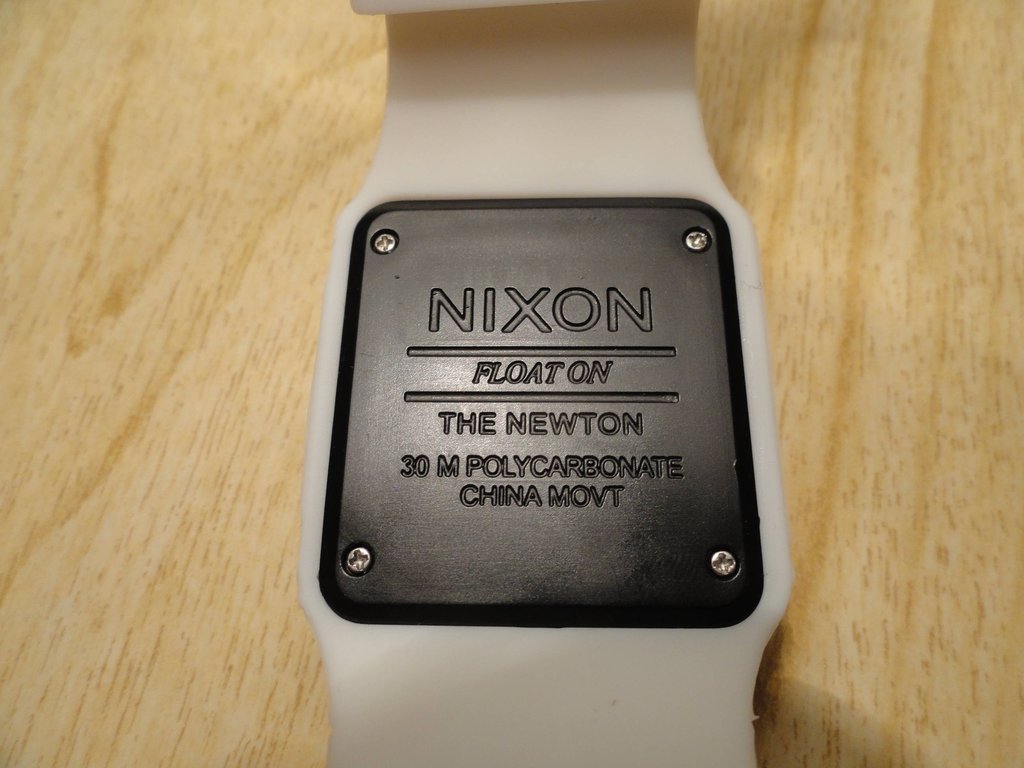
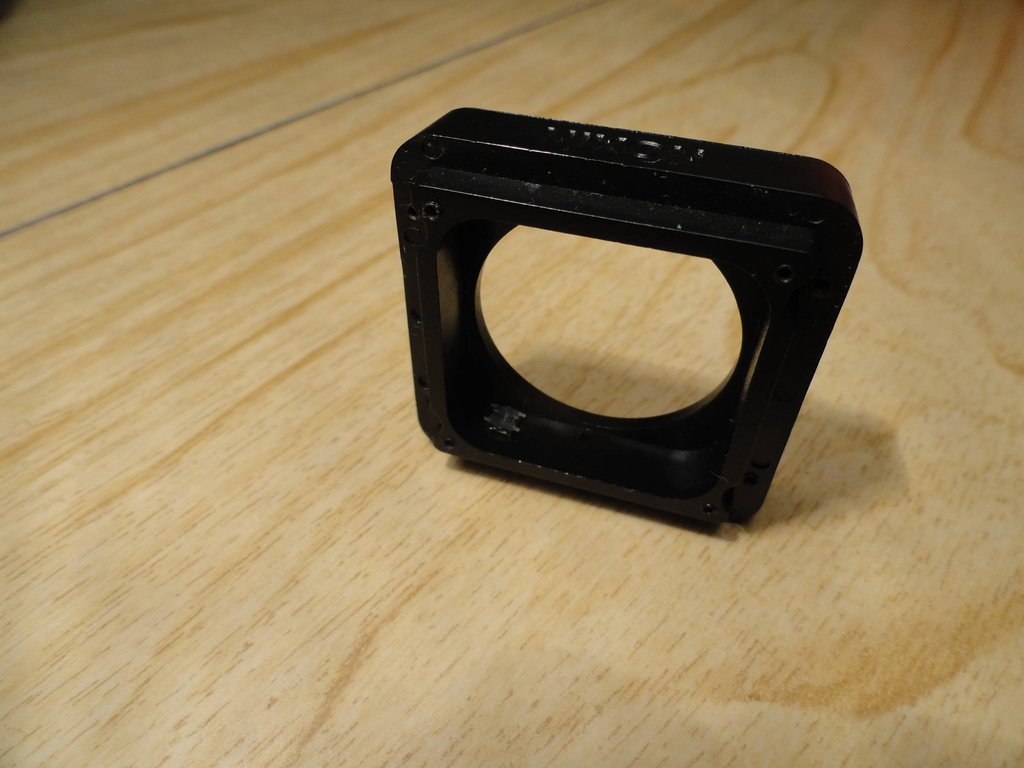
We begin to disassemble. The cover is fastened with four screws.
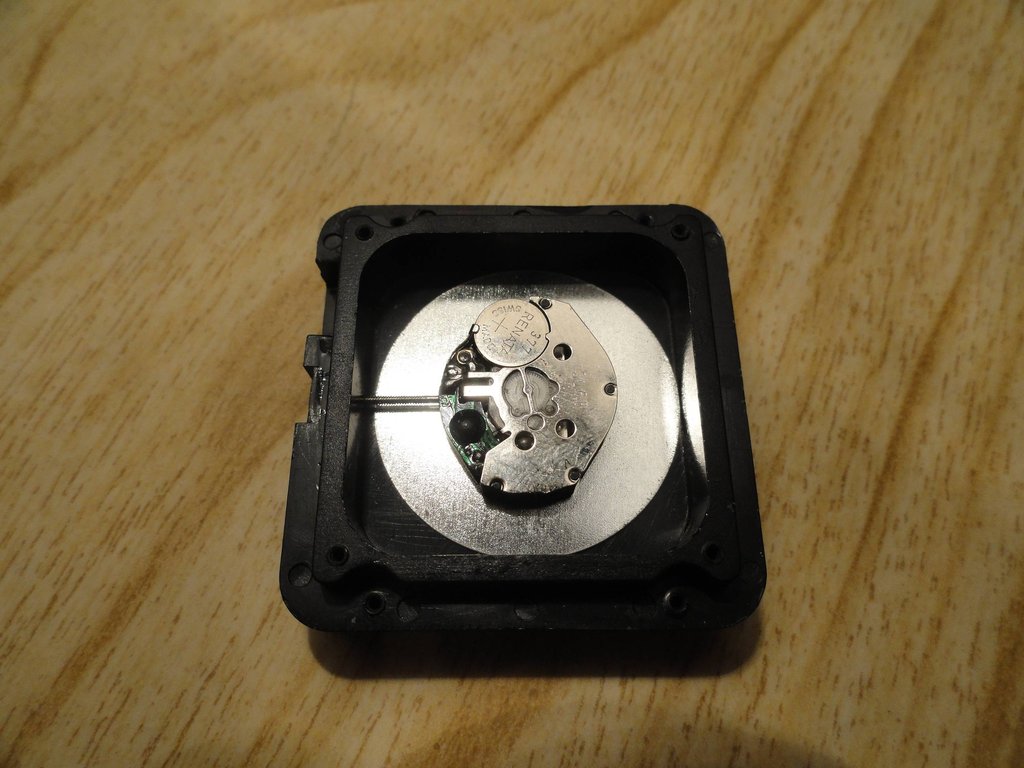
Under it, we see the watch mechanism, a plastic cap, four screws holding the case in the strap and the casting flaws of the strap.

Unscrew the screws again. We remove all unnecessary.
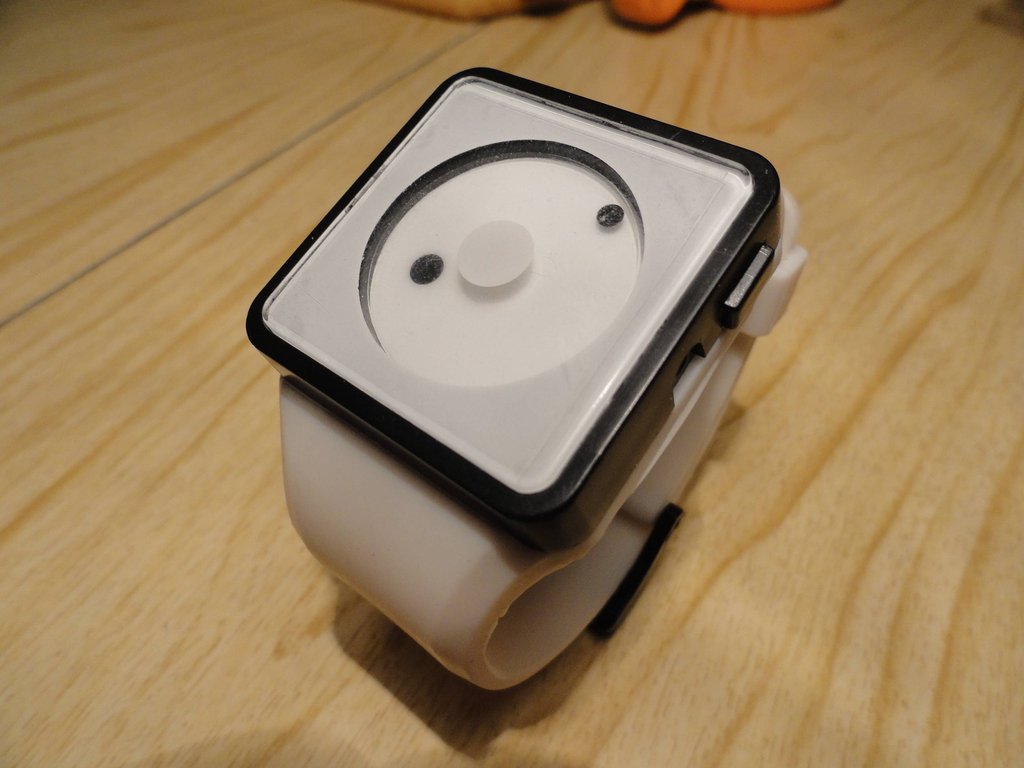
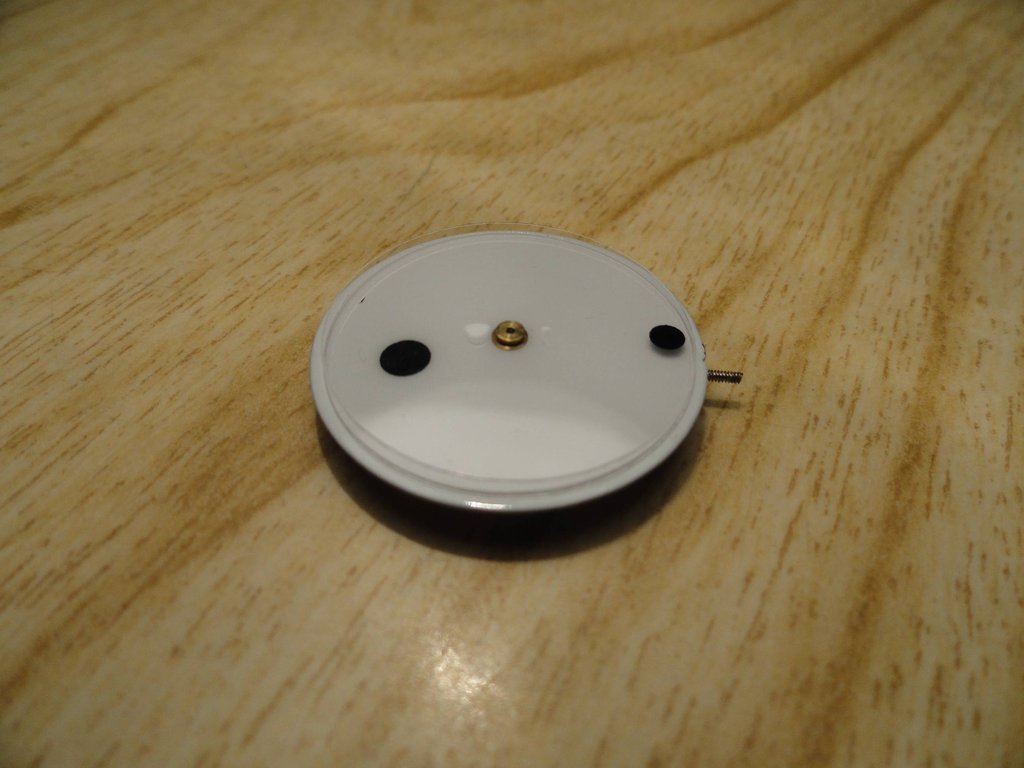
This is how the dial itself looks.
There is only one building left to make some changes.
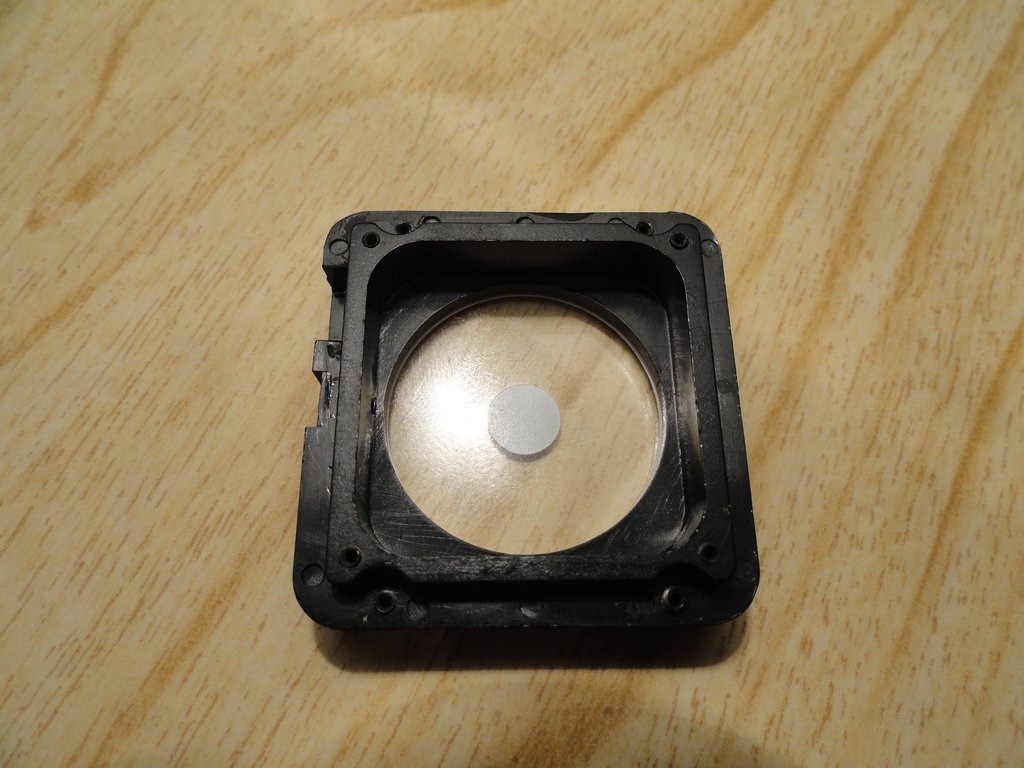
We remove the "glass". On it, by the way, there is a protective film. The “glass” is simply glued around the edge.


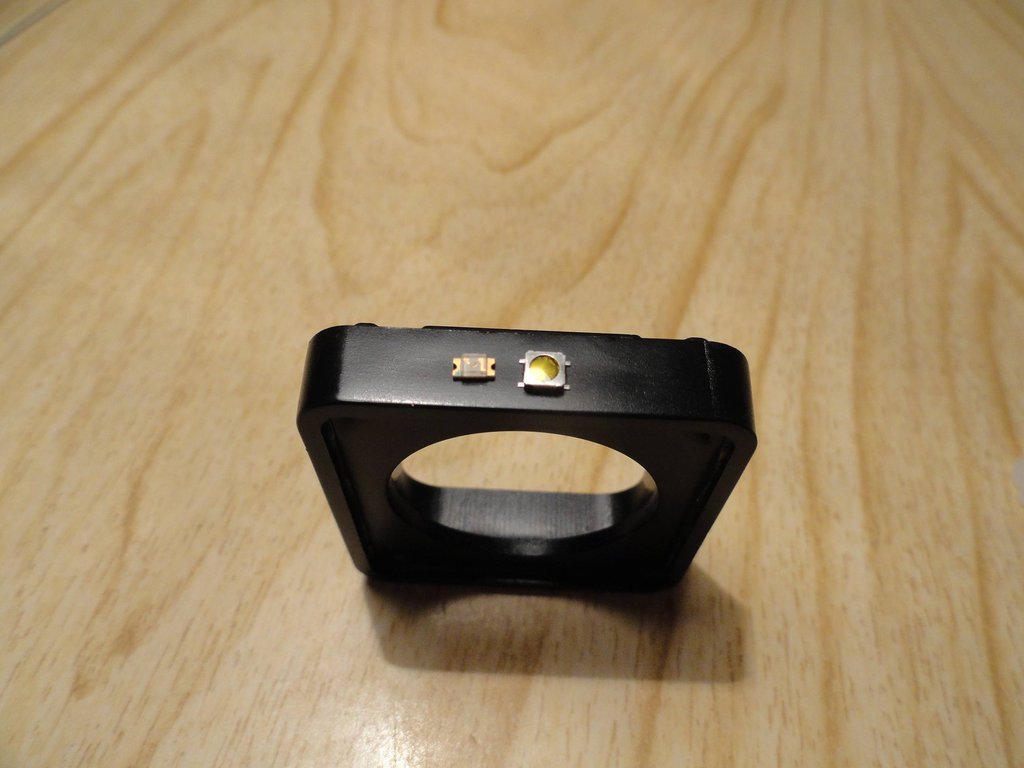
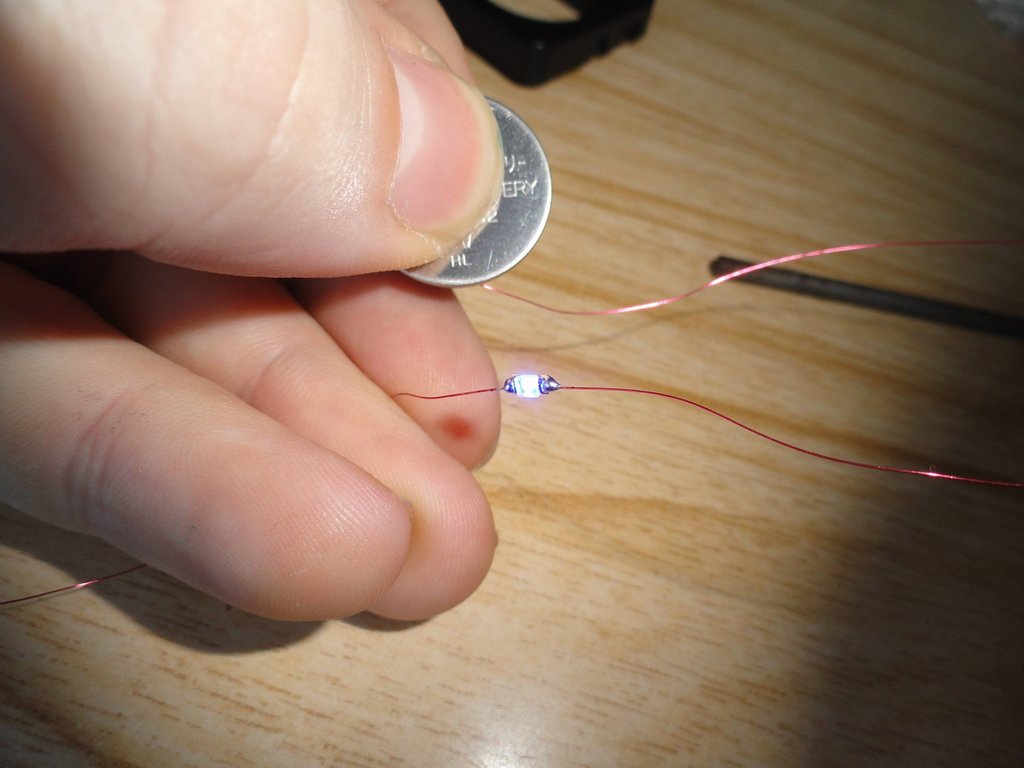
It's time to choose the LEDs for the backlight. I took not the smallest. The thickness of the body was enough.
A micro button was taken to the LEDs.
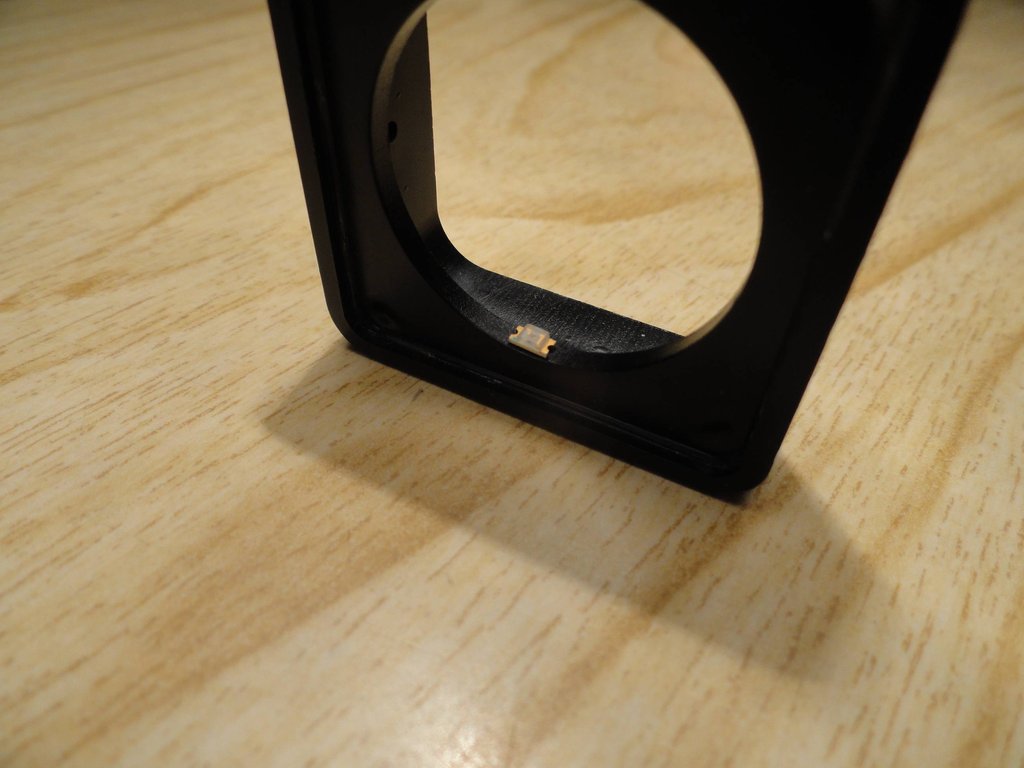
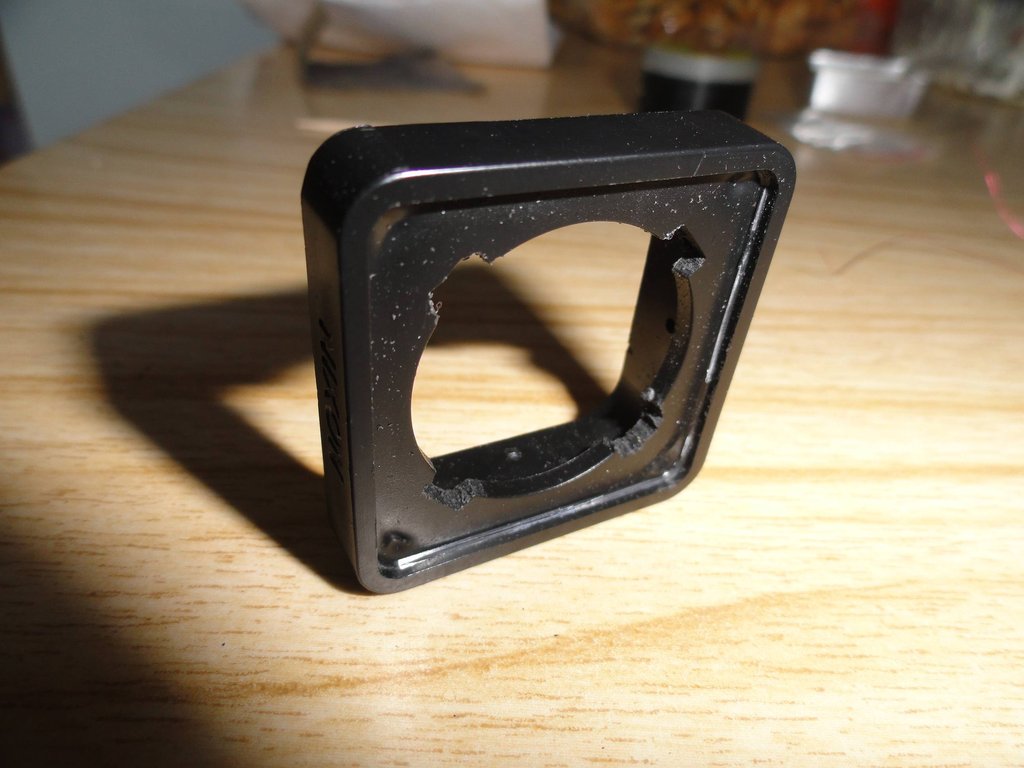
Manufacturers have done the hole, so we will have less work left.
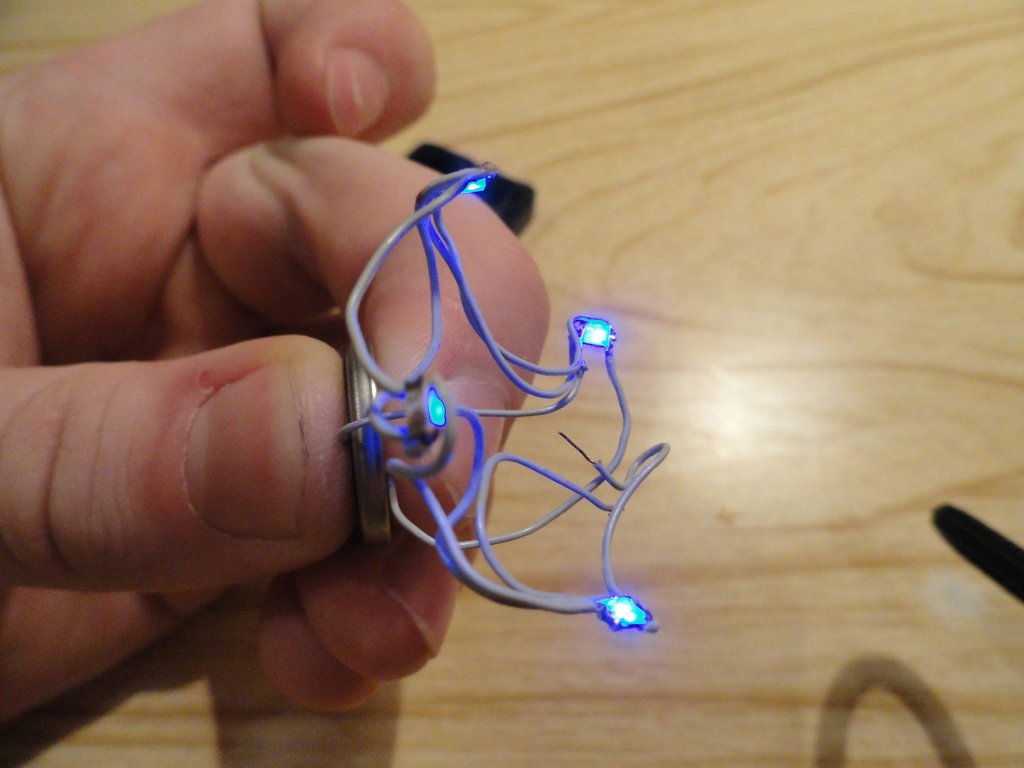
Let's drop the LEDs in future places

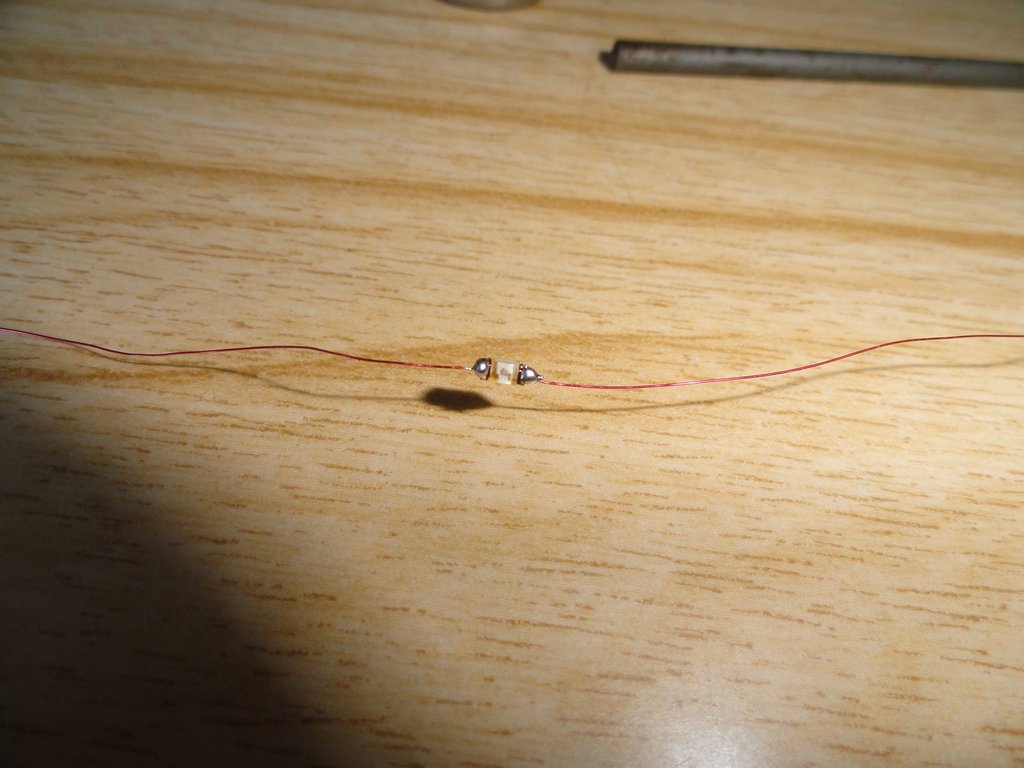
The question arose of how to connect all this. Various conductors have been tested. In the photo, a wire from the headphones. The first time I worked with such small LEDs.
It's time to make the seats. For these purposes a file was used.
In the end, the wires were taken from the IDE loop.
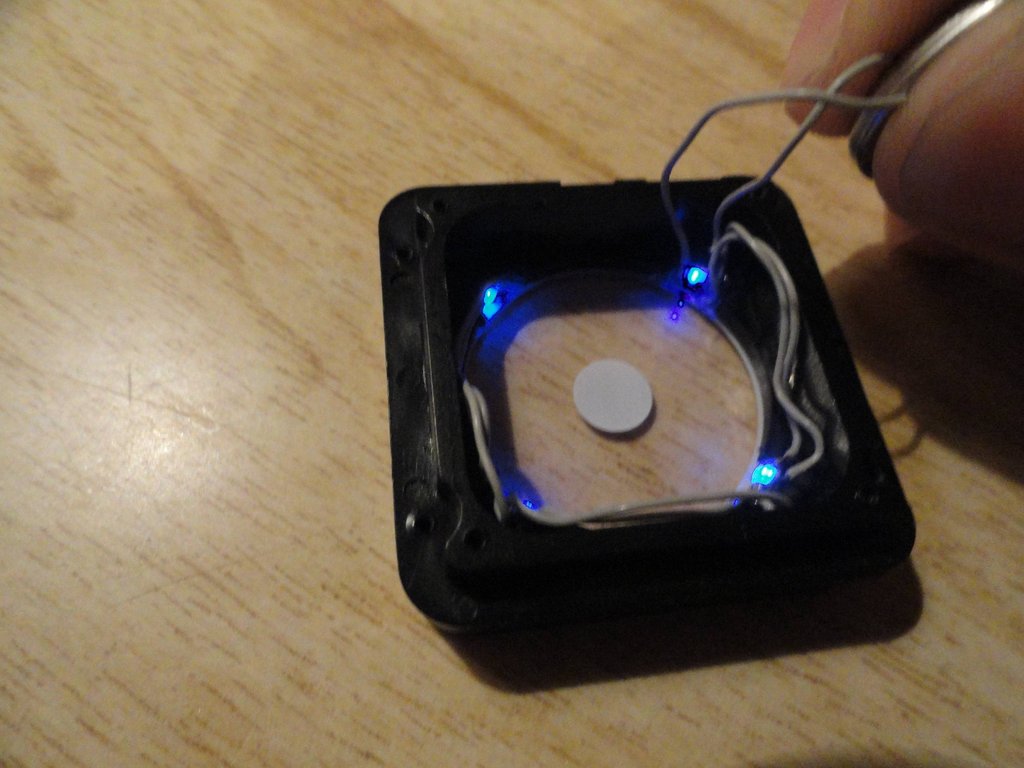
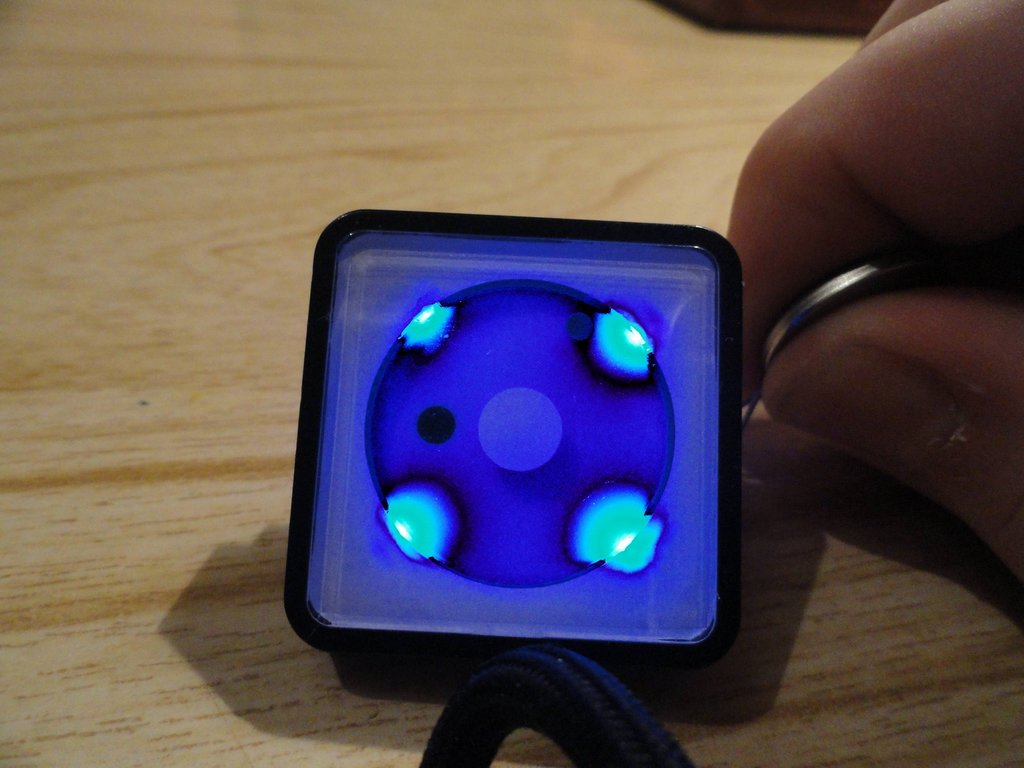
We look how it all looks in place.
Put the clockwork in place, check. The light is not as soft as the original.
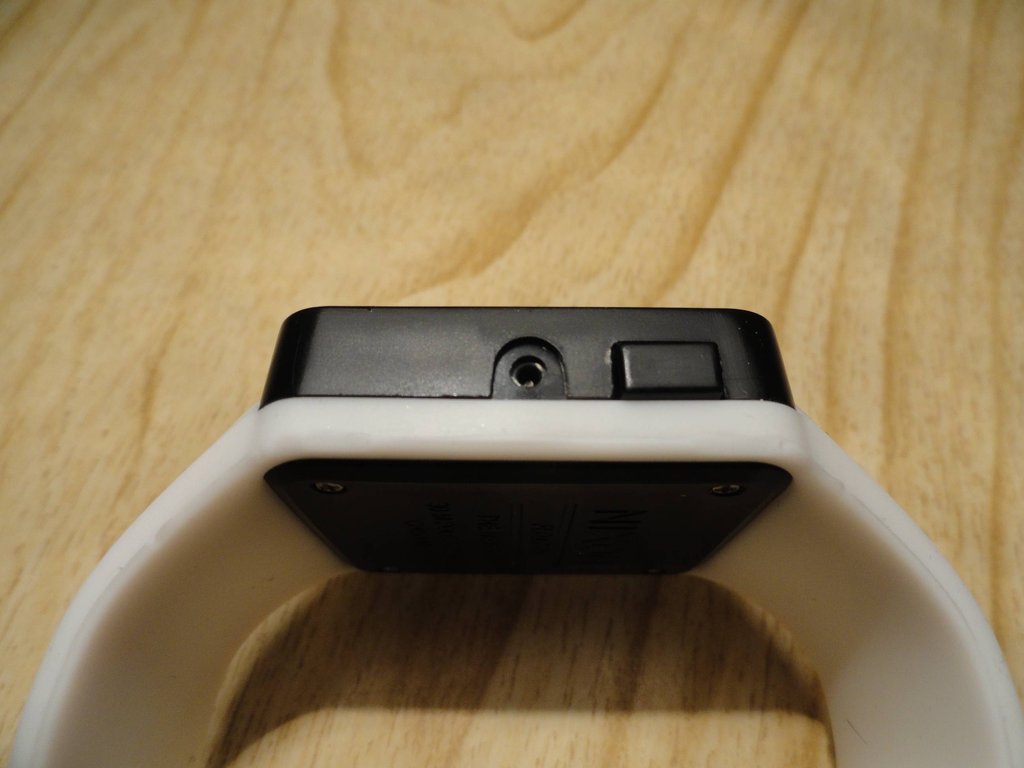
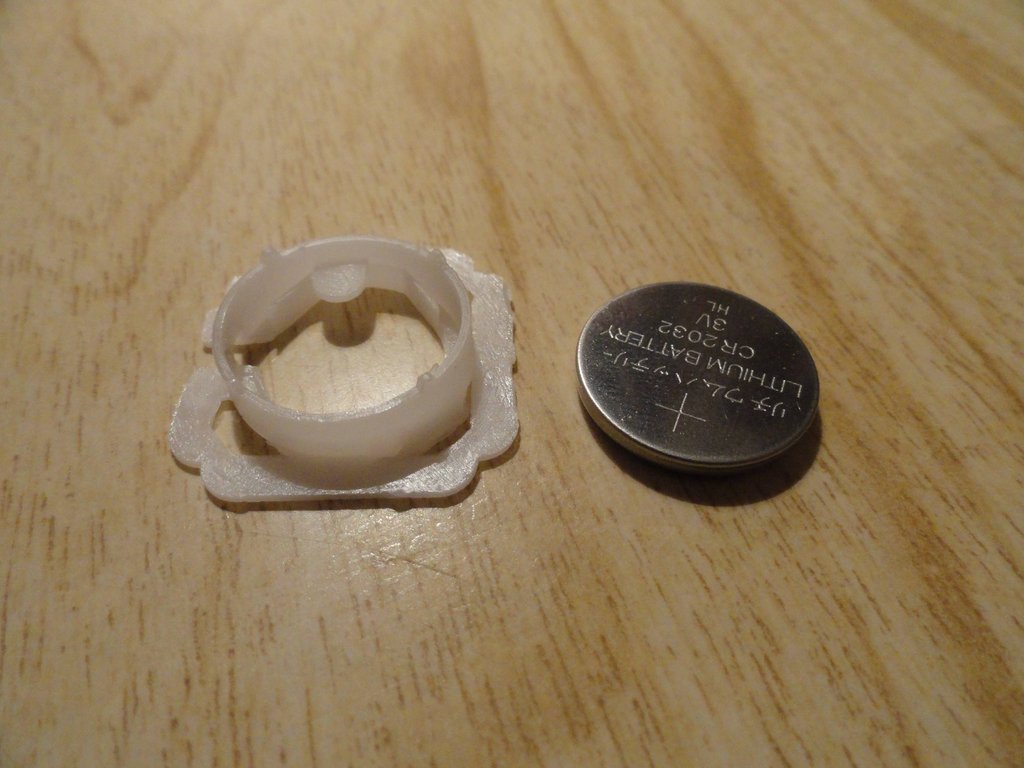
We look at how you can place the battery. Perhaps in the original it is somehow located in a plastic plug, but the battery did not fit into this plug, I had to fiddle. Traces of vandalism did not appear on the photograph.
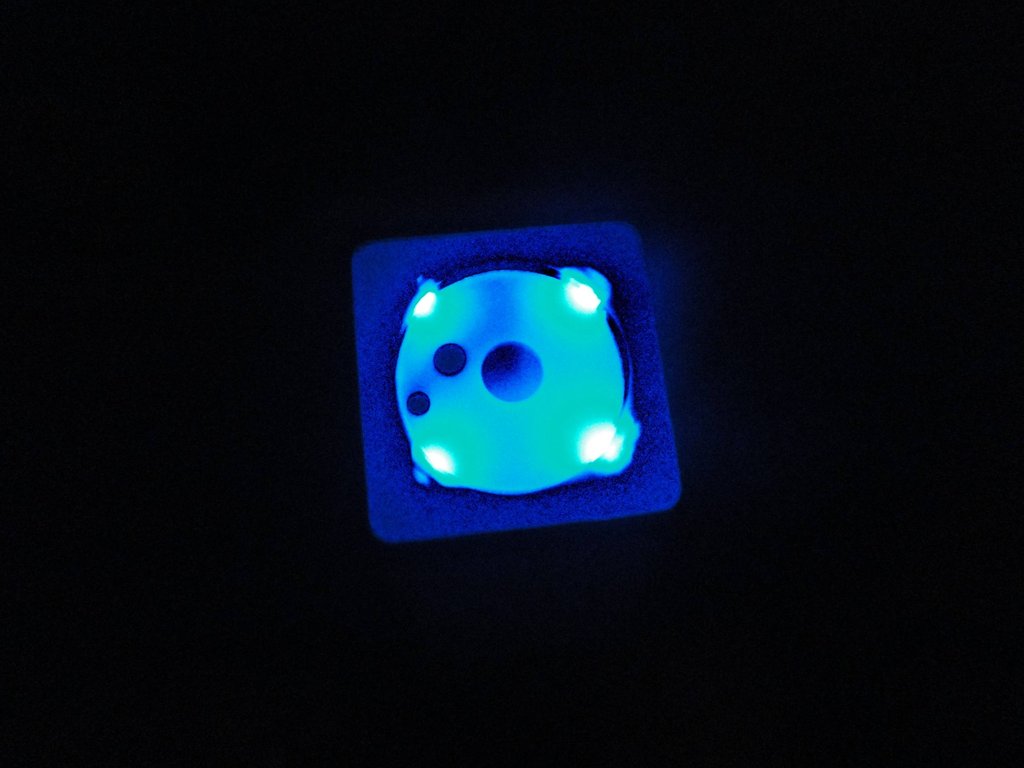
Putting it all together. Glows, works. But there is one “but.” It all works now without a button.
We are preparing the operating room and the patient for implantation of a button.

The button was just set on hot melt adhesive. Connected to a pipette with a nail trimmer of a suitable diameter. Wild, but it works.
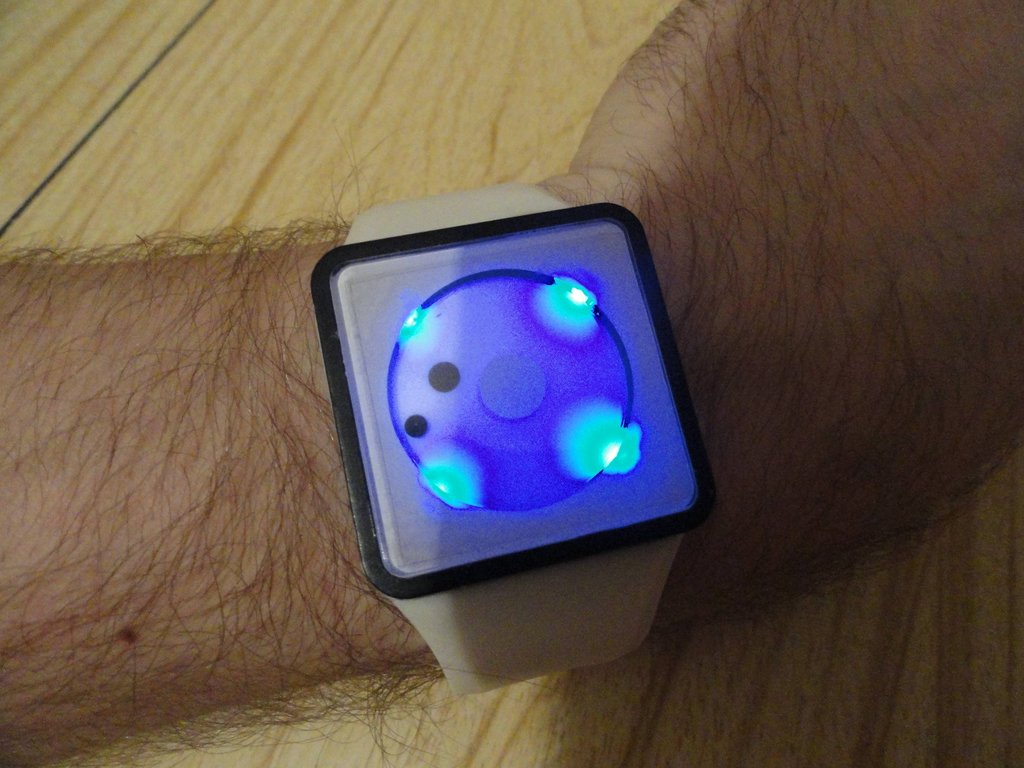
You can continue to move the copy closer to the original.
At least replace the pipette with a white one. You can also make the backlight as in the original. There is no need to hold a button. Pressed - the backlight turned on for a few seconds and turned off. If there is a simple solution to this issue - in the comments.
(25 photos + GIF)
It so happened that I got a watch in my hands, which is a copy of Newton's Nixon watch.
They differed from the original ones by the lack of backlight and the color of what should have been a button.
In the original version it is white, and in the copy it is black, probably so as not to catch the eye.
Yes, also somewhere I lost a pip for setup. Actually, this made me get into the watch and add functionality.
You can also mention the casting quality of the strap - the holes are not cut.
We pick up the pipka, a hole appears under our gaze, a hole is also present in the pipka itself. Toli authors somewhere hijacked the original mold, or maybe they also produce copies with some functionality.
We begin to disassemble. The cover is fastened with four screws.
Under it, we see the watch mechanism, a plastic cap, four screws holding the case in the strap and the casting flaws of the strap.
Unscrew the screws again. We remove all unnecessary.
This is how the dial itself looks.
There is only one building left to make some changes.
We remove the "glass". On it, by the way, there is a protective film. The “glass” is simply glued around the edge.
It's time to choose the LEDs for the backlight. I took not the smallest. The thickness of the body was enough.
A micro button was taken to the LEDs.
Manufacturers have done the hole, so we will have less work left.
Let's drop the LEDs in future places
The question arose of how to connect all this. Various conductors have been tested. In the photo, a wire from the headphones. The first time I worked with such small LEDs.
It's time to make the seats. For these purposes a file was used.
In the end, the wires were taken from the IDE loop.
We look how it all looks in place.
Put the clockwork in place, check. The light is not as soft as the original.
We look at how you can place the battery. Perhaps in the original it is somehow located in a plastic plug, but the battery did not fit into this plug, I had to fiddle. Traces of vandalism did not appear on the photograph.
Putting it all together. Glows, works. But there is one “but.” It all works now without a button.
We are preparing the operating room and the patient for implantation of a button.
The button was just set on hot melt adhesive. Connected to a pipette with a nail trimmer of a suitable diameter. Wild, but it works.
You can continue to move the copy closer to the original.
At least replace the pipette with a white one. You can also make the backlight as in the original. There is no need to hold a button. Pressed - the backlight turned on for a few seconds and turned off. If there is a simple solution to this issue - in the comments.