SharePoint 2013 Farm on Windows Azure SharePoint 2013
- Tutorial

This is the continuation of our article series on creating a SharePoint 2013 farm in Windows Azure. You can find the first chapters at the following links:
- SharePoint 2013 Farm on Windows Azure AD DC
- SharePoint 2013 Farm on Windows Azure SQL Server 2012
- SharePoint 2013 Farm on Windows Azure SharePoint 2013 (this article)
This article discusses how to add SharePoint 2013 to a domain and the next steps to configure it.
Create a virtual machine template
Using a familiar pattern, create a new virtual machine based on a template with Windows Server 2012 .
Install SharePoint 2013
Connect to the newly created virtual machine and download SharePoint Server 2013 Preview from the official site .
Dependencies
As in the previous version, you must first install the dependencies
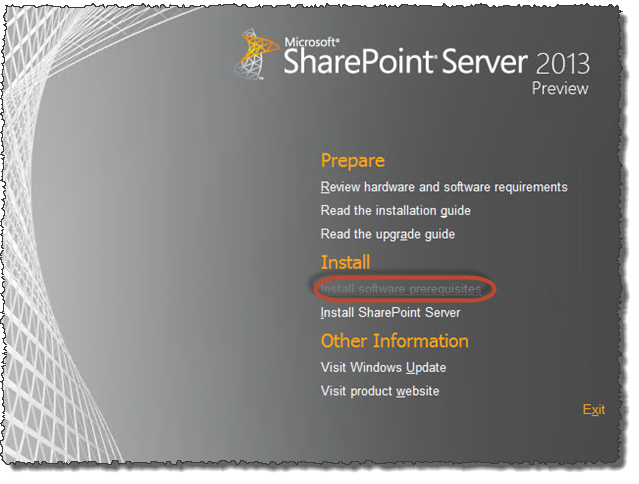
Start SharePoint Installer screen is
the first step of the wizard, you can see a list of all the dependencies

list of all dependencies in the first step of the installation wizard
Next, the installer prompts you to restart the server. After the reboot, the installation will continue and as a result you will see a window with a message about the successful installation of dependencies

A window with a message about the successful installation of dependencies
"Basic" installation
We proceed directly to the installation of SharePoint 2013.
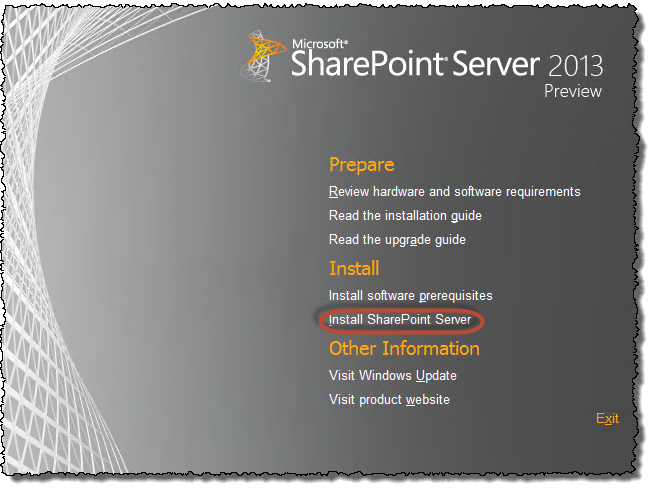
We select the installation of SharePoint Server.
Immediately you need to enter the key that was sent to your mail, or you can find it on the product download page.
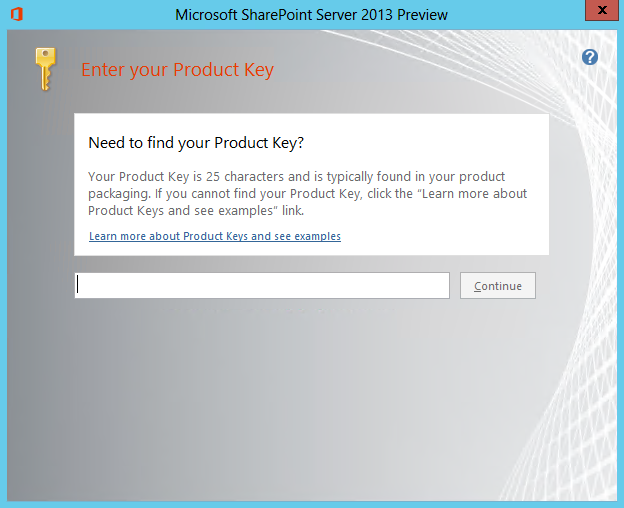
Enter the product key.
Read and accept the terms of the license agreement and click Continue .
Select Full and click Install Now .
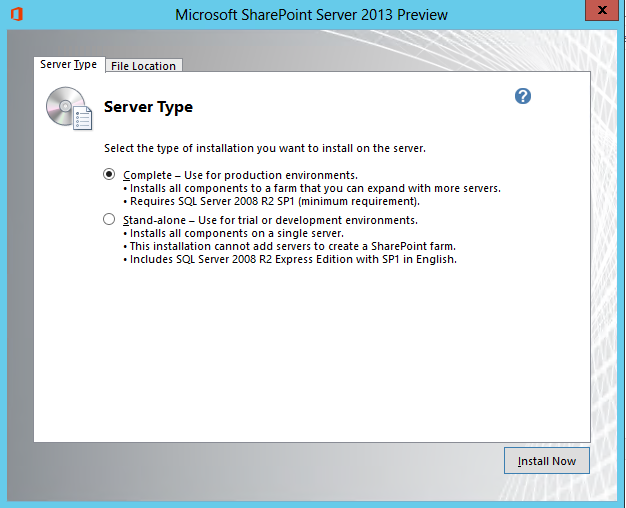
Choosing an installation type
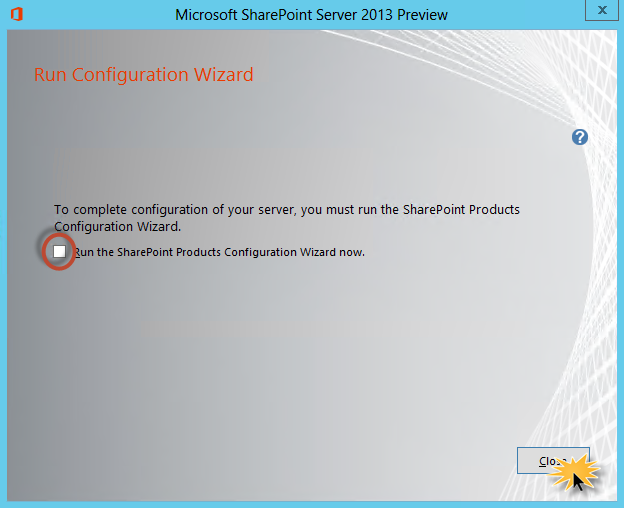
On the launch page of the setup wizard, clear the check box Run the SharePoint Products Configuration Wizard now and click Close .
The final step of the SharePoint installation wizard
Let's move on to creating a virtual machine image.
Create a virtual machine image
Run the command prompt as administrator and run sysprep
%WINDIR%\system32\sysprep\sysprep.exe /oobe /generalize /shutdownWait for the system preparation program to complete, it will close the virtual machine.
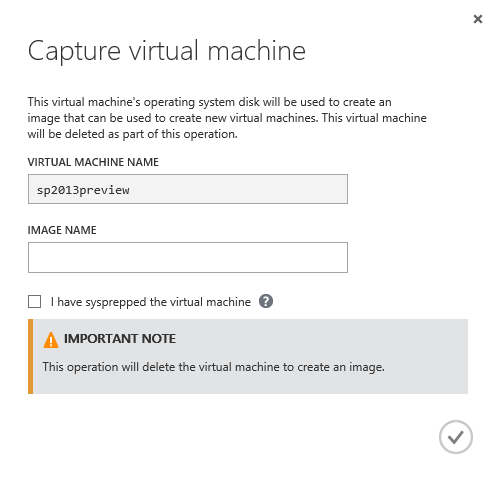
Open the Virtual Machine Management page in Azure. Highlight a machine with SharePoint 2013 and click Capture to create an image from it.

Creating a machine image
In the dialog that opens, enter the name of the image and check the box that the machine was prepared using sysprep.
Virtual machine image settings window.
Be sure to wait for the image creation operation to complete before proceeding with the next steps.
Thus, we prepared an image with SharePoint 2013, on the basis of which we will create servers with SharePoint 2013 and add them to the previously created domain.
Add two servers based on the template to the domain
To create new servers based on the template you just created, use PowerShell.
I draw your attention to the fact that the script creates load balancing between machines and adds them to the availability group. Explanations on the use of load balancing and availability groups are given below.
# Подписки к Azure
Get-AzureSubscription | Select SubscriptionName
$subscriptionName = "ВАША-ПОДПИСКА"
$storageAccount = "ВАША-АККАУНТ-ХРАНИЛИЩА"
Select-AzureSubscription $subscriptionName
Set-AzureSubscription $subscriptionName -CurrentStorageAccount $storageAccount
# Параметры облачного сервиса
$serviceName = "SP2013-Service"
$serviceLabel = "SP2013-Service"
$serviceDesc = "Cloud Service for SharePoint 2013 Farm"
# Список всех образов виртуальных машин
Get-AzureVMImage | Select ImageName
$spimage = 'НАЗВАНИЕ-СОЗДАННОГО-ВАМИ-ОБРАЗА'
$vnetname = 'SP2013-VNET'
$subnetName = 'SP2013Farm-Subnet'
$ag = 'SP2013-AG'
# IP адрес контроллера домена
$primaryDNS = '192.168.1.4'
# Группы доступности
$avsetsp = 'avsetsp'
# Настройки домена
$domain = 'contoso'
$joindom = 'contoso.com'
$domuser = 'administrator'
$dompwd = 'pass@word1'
$advmou = 'OU=AzureVMs,DC=contoso,DC=com'
# Создаем SP VM1
$size = "Large"
$spvm1 = New-AzureVMConfig -Name 'SP-VM1' -AvailabilitySetName $avsetsp `
            -ImageName $spimage -InstanceSize $size |
        Add-AzureProvisioningConfig -WindowsDomain -Password $dompwd `
            -Domain $domain -DomainUserName $domuser -DomainPassword $dompwd `
            -MachineObjectOU $advmou -JoinDomain $joindom |
        Add-AzureEndpoint -Name 'http' -LBSetName 'lbhttp' -LocalPort 80 -PublicPort 80 `
            -Protocol tcp -ProbeProtocol http -ProbePort 80 -ProbePath '/healthcheck/iisstart.htm' |
        Set-AzureSubnet $subnetName
# Создаем SP VM2
$size = "Large"
$spvm2 = New-AzureVMConfig -Name 'SP-VM2' -AvailabilitySetName $avsetsp `
            -ImageName $spimage -InstanceSize $size |
        Add-AzureProvisioningConfig -WindowsDomain -Password $dompwd `
            -Domain $domain -DomainUserName $domuser -DomainPassword $dompwd `
            -MachineObjectOU $advmou -JoinDomain $joindom |
        Add-AzureEndpoint -Name 'http' -LBSetName 'lbhttp' -LocalPort 80 -PublicPort 80 `
            -Protocol tcp -ProbeProtocol http -ProbePort 80 -ProbePath '/healthcheck/iisstart.htm' |
        Set-AzureSubnet $subnetName
$dns1 = New-AzureDns -Name 'dns1' -IPAddress $primaryDNS
New-AzureVM -ServiceName $serviceName -ServiceLabel $serviceLabel `
            -ServiceDescription $serviceDesc `
            -AffinityGroup $ag -VNetName $vnetname -DnsSettings $dns1 `
            -VMs $spvm1,$spvm2
Thus, four servers are already included in the domain.
Customize SharePoint
Go to any of your servers running SharePoint and run the Setup Wizard products SharePoint 2013 (SharePoint 2013 Products the Configuration Wizard ) .
Follow the steps of the wizard and on the Connect to a server farm page , select the Create a new server farm
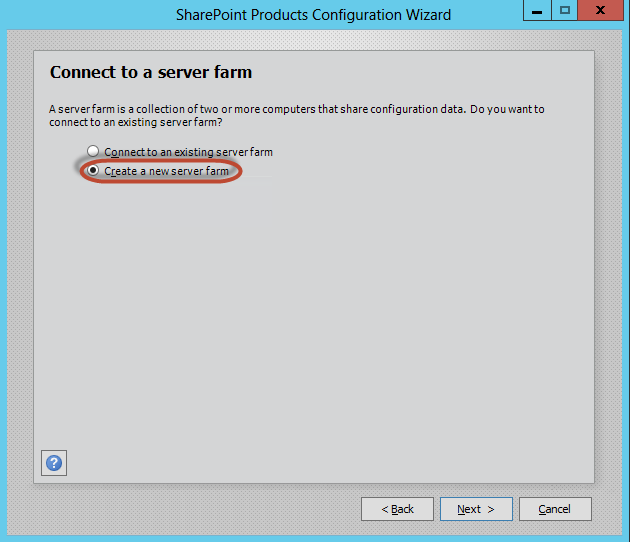
option. Select the option to create a server farm.
Next, specify the settings for connecting to the database server.

Settings for connecting to the database server
Enter the passphrase that will be used to connect new servers to the farm
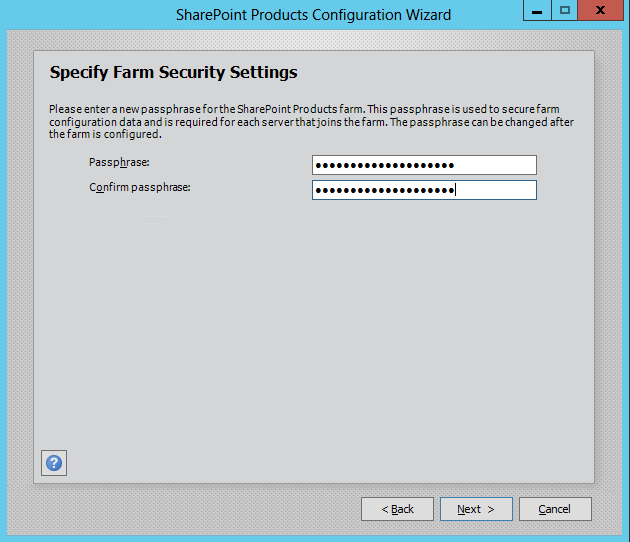
Create a passphrase
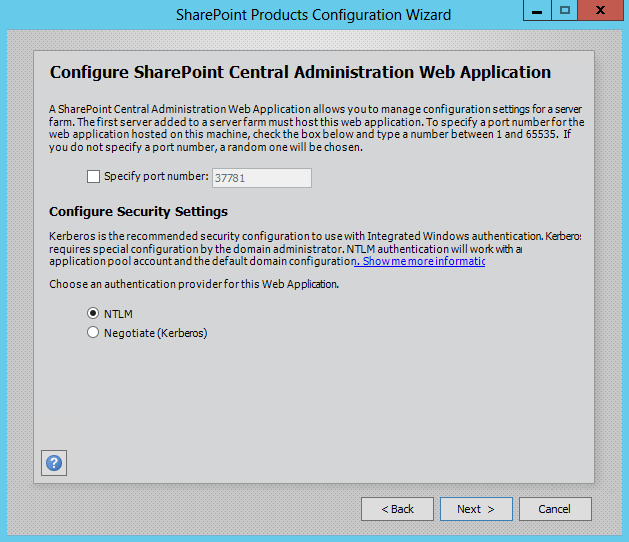
Set up the SharePoint Central Administration Web application. Select NTLM as the authentication provider.
Central Administration Web Application
Settings Check the settings and click Next . When the configuration settings are applied, click Finish.

The final page with the settings
Next, the farm configuration wizard starts. We will not follow the steps in this wizard and close the window to continue.
Test connecting a SharePoint farm to a second machine
Connect to the second virtual machine with SharePoint and add it to the SharePoint farm using the already well-known SharePoint Products Configuration Wizard , but this time you need to select the Connect to an existing server farm option Connect to an existing server
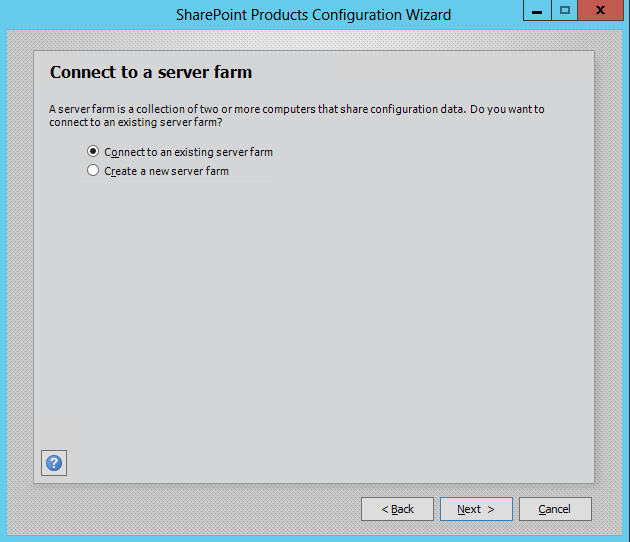
farm
Next, specify the database server and download the list of available configuration databases by clicking on the Retrieve Database Names button
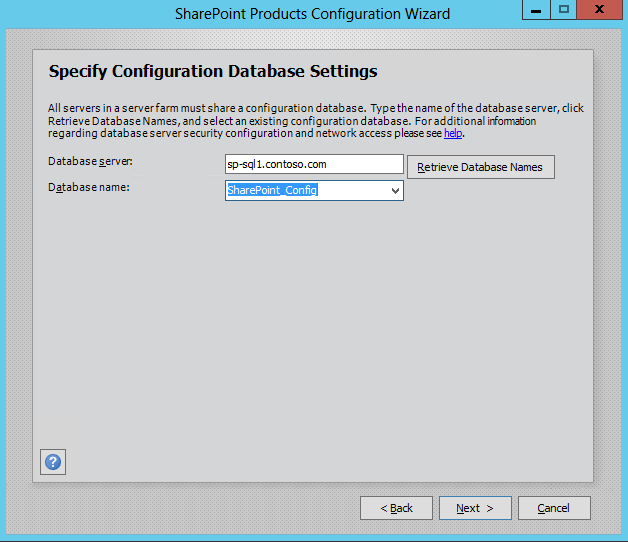
Selecting a configuration database
Finally, enter the farm passphrase Enter the farm

passphrase
Check the settings and click Next . When the configuration settings are applied, click Finish.
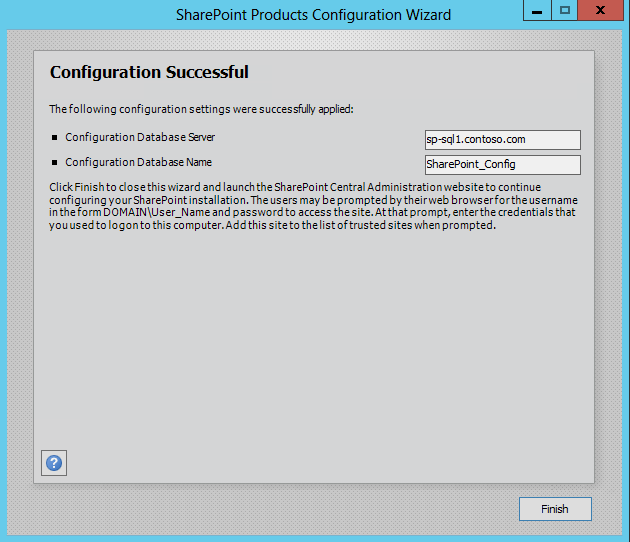
Last window of the SharePoint Products Configuration Wizard
Set up load balancing
You can use load balancing to distribute traffic load (for example, if you use multiple web servers with SharePoint).
The mechanism just adding endpoint ( endpoint ) on the same machine, and further connection to the other endpoint machines.
By going to the endpoint settings, you can see which machines are balanced. In this case, the virtual IP address of both machines is the same. This means that when loading the website, the balancing for the user is transparent. Internally, Windows Azure will redirect traffic to one of the balanced machines.

Endpoint Settings
Configure Availability Group
By adding virtual machines to the set, you guarantee their diversity across different domains, which increases fault tolerance in case of failure of one of the domains.

Availability Group
If you want to learn more about availability groups for virtual machines, see the Manage the Availability of Virtual Machines article .
Thus, we built a SharePoint 2013 farm in Azure, which consists of four servers — an Active Directory domain controller, SQL Server 2012, and two with SharePoint Server 2013 Preview.