Use JPEG with transparency
 Of course, the JPEG format does not support transparency, but the idea of using JPEG instead of PNG for transparent textures has been exciting for a long time. Comrade PaulZi recently suggested using the SVG format for HTML, which stores the image itself and the mask. Jim Studt suggests using EXIF fields in JPEG and storing masks there, and displaying them on a web page using Canvas.
 Both methods are relatively difficult to use, and are designed for the web, so I settled on the simplest option: store lossy JPEG for RGB and a lossless mask in PNG separately, and combine them at the stage of obtaining UIImage in the program. I want to say right away that I write in MonoTouch, because I bring the code in C #, although in ObjC this is done almost exactly the same, taking into account the syntax.
Channel separation
For separation, I use ImageMagik console utilities .
This command separates the alpha channel:
convert file.png -channel Alpha -separate file.mask.pngThe following command creates a JPEG file, discarding transparency data. Typically, some other utilities (including Photoshop) when converting a PNG file to JPEG add a certain monochrome color to it and only then save it in RGB, which gives a beautiful but incorrect picture with pre-multiplied alpha.
convert file.png -quality 90 -alpha off file.jpgThe quality of the received file is regulated by the quality 90 parameter . 90% of the quality for JPEG is more than Apple puts for screenshots of programs and films. I think everyone can adjust this value to their taste.
Optimization
The mask is obtained as an 8-bit Grayscale PNG without transparency. This format is perfectly compressed through optipng or through the website www.tinypng.org .
With JPEG, the situation is more interesting. It could be limited only to a quality task, but recently I came across a wonderful utility jpegrescan from Loren Merritt, one of the developers of ffmpeg and the x264 encoder ( on his account there are suspicions that he is a representative of an alien mind or cybernetic brain ).
The utility uses an unusual approach: it selects different coefficients for Progressive compression and selects the most optimal ones. You win from 5 to 15% with identical picture quality. The utility does not have its own page, only the topic with discussion and the perl code itself: pastebin.com/f78dbc4bc
In order not to enter commands manually each time, I wrote a simple bash script:
#!/bin/bash
basefile=${1##*/}
maskfile="${basefile%.*}.mask.png"
jpegfile="${basefile%.*}.jpg"
convert $1 -channel Alpha -separate $maskfile
convert $1 -quality 90 -alpha off $jpegfile
optipng $maskfile
jpegrescan $jpegfile $jpegfile
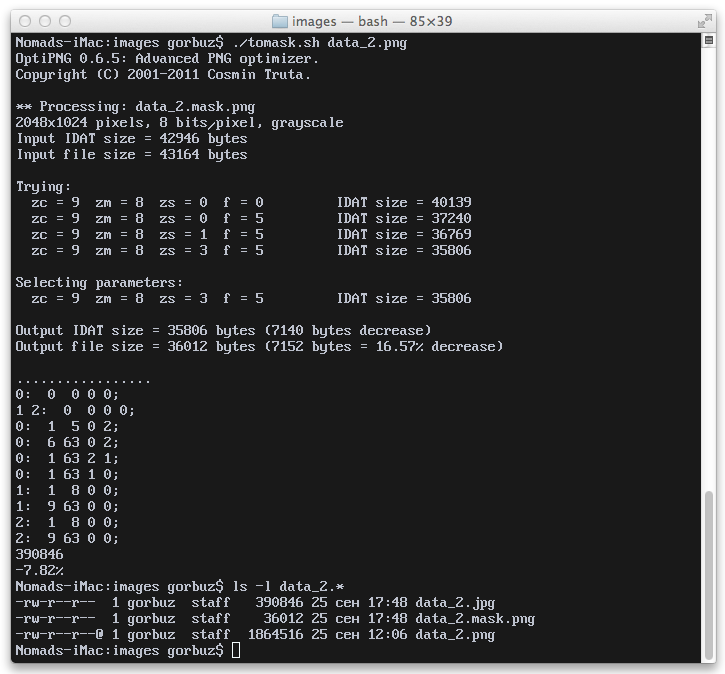
Here is the result of the script:

In my case, from a 1.8MB file I got two files of 380Kb and 35Kb.
Gluing
Gluing itself is done very simply - two pictures are loaded into UIImage, then CGImage is created based on them with the WithMask method (in ObjC these are CGImageRef and initWithMask, respectively), and then it is wrapped in a new UIImage.
		UIImage result;
		using(UIImage uiimage = UIImage.FromFile(file))
		using(UIImage mask = UIImage.FromFile(maskFile))
		{
			CGImage image = uiimage.CGImage;
			image = image.WithMask(mask.CGImage);
			result = UIImage.FromImage(image, uiimage.CurrentScale, uiimage.Orientation);
		}
In a real project, I made it a little more complicated and check for the presence of a * .mask.png file and if it is missing, I return the usual UIImage.FromFile ().
Profit

Visually, the game has not changed in any way. The delay in loading and gluing textures by eye is not noticeable, so I did not measure it. The project itself was reduced by 6 (!!) megabytes, both in .ipa form and in iTunes and on the device.

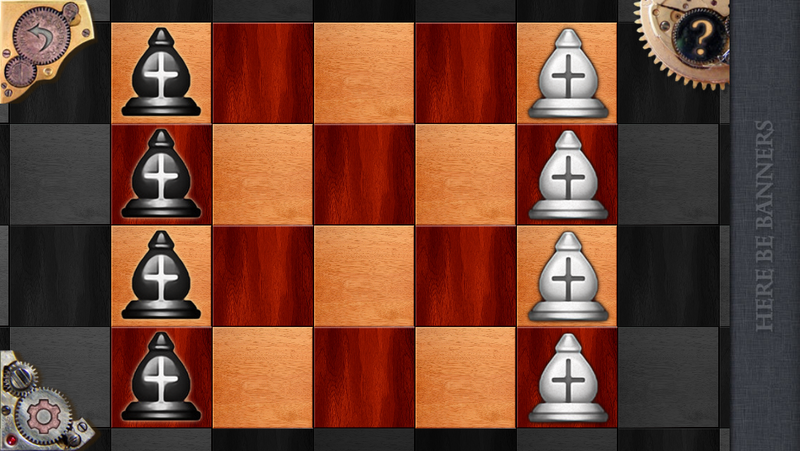
Screen from a game in PNG. No artifacts or compression / transparency issues are visible.
A little confused by the doubled number of images in the project folder, but you can survive it. Code changes are minimal. For interface graphics, this method is not ideal because of the need to manually assign UIImage, and not load from NIB / XIB, but it is quite suitable for its own controls or textures. Even if you save JPEG with 100% quality, the size of the resulting files may be smaller than the original PNG without loss of quality.
PS ImageMagick and optipng are put from ports (MacPorts / Fink / Brew) and are named the same. The jpegrescan script downloads from pastebin and uses the jpeg port
