Glue several pdf files into one using Mac OS
In order to simply “glue” several PDF files into one it is not necessary to buy editors in the App Store, it is enough to use the basic features of Preview and Automator , and now I will show how to do it.
First, select the first document and tear it off using the View program.
In the top menu, select the tab “View” and “Thumbnails” (or Cmd + Alt + 2).
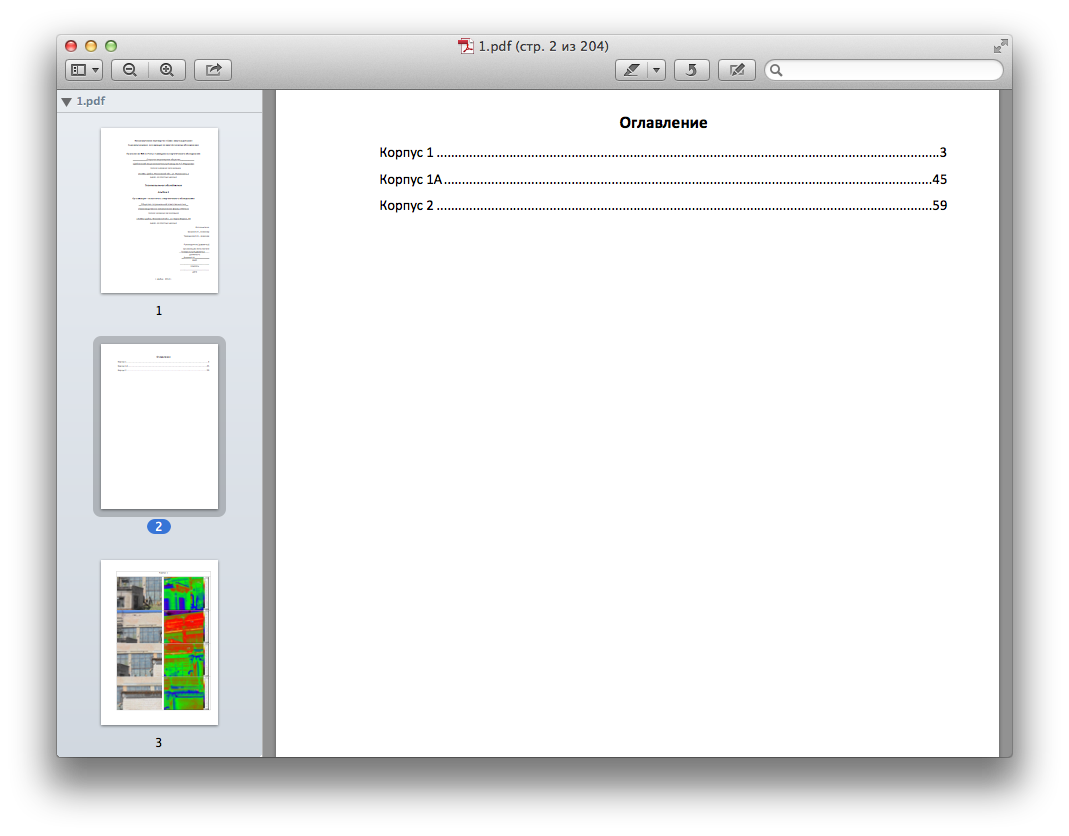
Scroll the panel of thumbnails to the end and drag our second document to the last place. You can also arrange the page order as you wish.
And now, to save a new document, in the top menu, select “File” and “Export”. In the settings we specify the “PDF” format. Done! :)
Also gluing files can be automated.
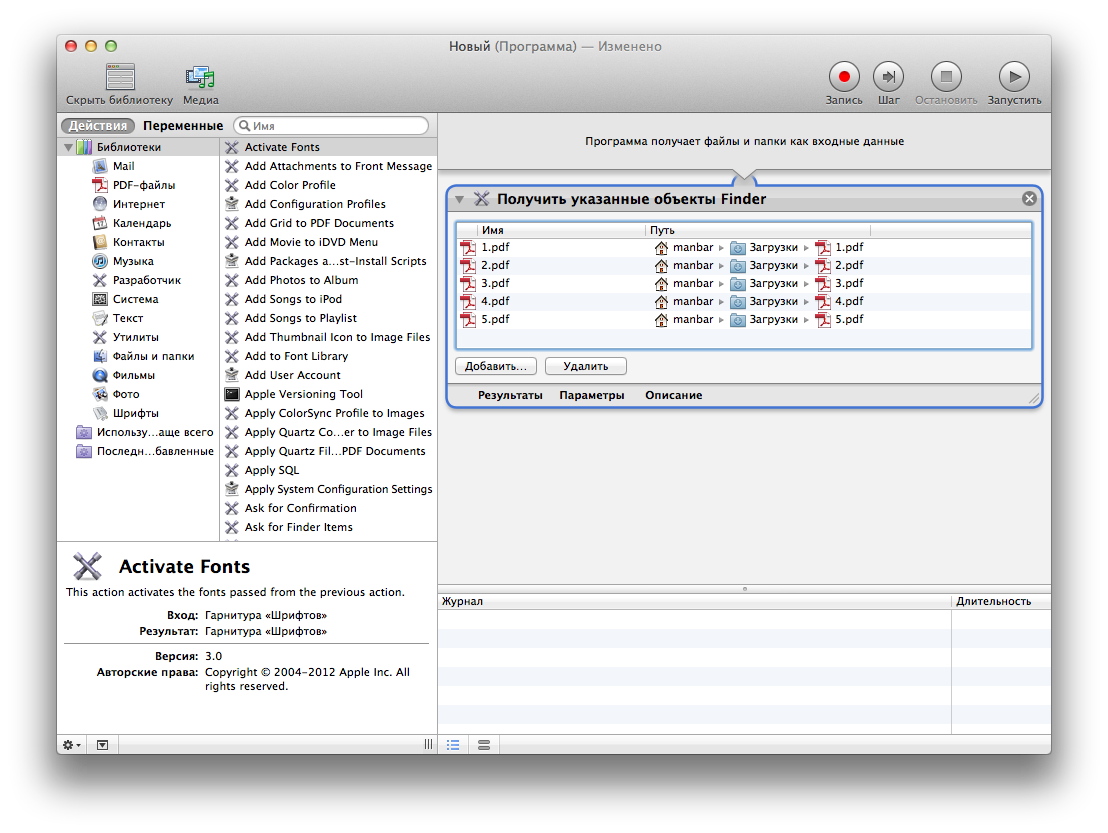
First we need to open the Automator application, it is by default in any modern Mac OS (it lies in the Applications folder). After starting Automator, select the “Program” icon in the menu and press “Select”.

Now we need to choose the documents that we will glue. To do this, simply select them in the Finder, drag them into Automator and immediately arrange them in the correct order.
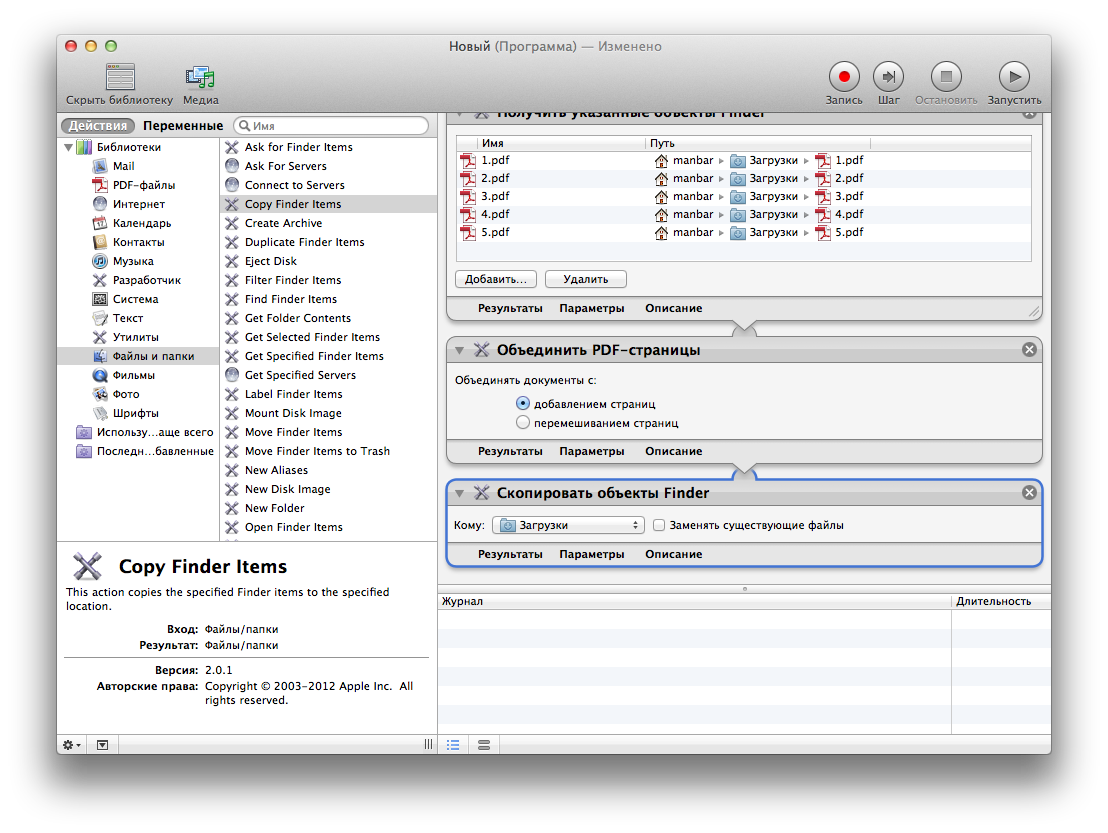
Next, in the left menu of the "Libraries" select the item "PDF-files" and double-click on the action "Combine PDF Pages". In order for the files to be glued together in order, you need to select the option “add pages” in the action settings.

We need to copy the resulting file to a convenient location. To do this, we select the “Files and folders” item in the “Libraries” menu and the “Copy Finder Items” action in it. In the settings, select the folder into which our final file will be copied.
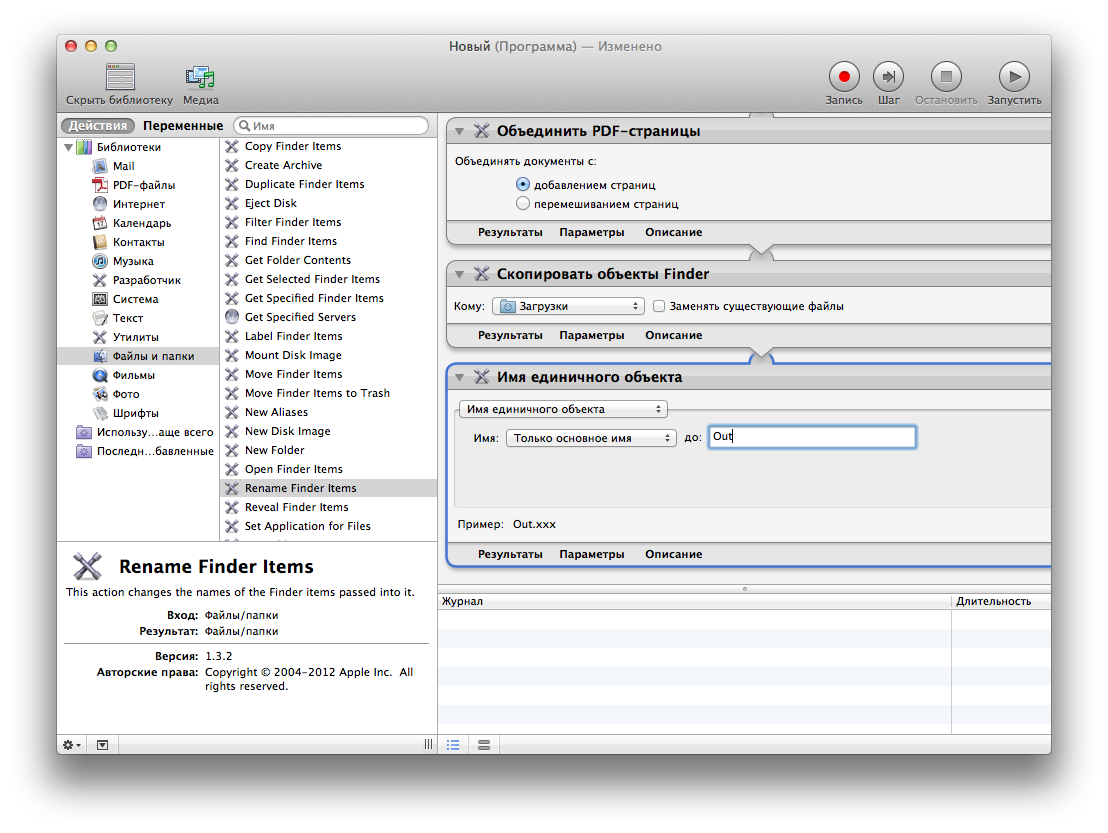
In order for our document not to go missing, we will rename it. In the “Files and folders” item, select “Rename Finder Items”. In the settings we specify the parameters “Name of a single object”, “Only the main name” and in the option “before” write the future name of our file.
And the last action is the launch of our program! In the upper right corner we find the “Run” button and click “Ok”.
The resulting file will be in the folder that you specified.
UPD: thanks, shir :)
Glue pdf files using the Preview program
First, select the first document and tear it off using the View program.
In the top menu, select the tab “View” and “Thumbnails” (or Cmd + Alt + 2).
Scroll the panel of thumbnails to the end and drag our second document to the last place. You can also arrange the page order as you wish.
And now, to save a new document, in the top menu, select “File” and “Export”. In the settings we specify the “PDF” format. Done! :)
Also gluing files can be automated.
Gluing a lot of pdf files using Automator
First we need to open the Automator application, it is by default in any modern Mac OS (it lies in the Applications folder). After starting Automator, select the “Program” icon in the menu and press “Select”.
Now we need to choose the documents that we will glue. To do this, simply select them in the Finder, drag them into Automator and immediately arrange them in the correct order.
Next, in the left menu of the "Libraries" select the item "PDF-files" and double-click on the action "Combine PDF Pages". In order for the files to be glued together in order, you need to select the option “add pages” in the action settings.
We need to copy the resulting file to a convenient location. To do this, we select the “Files and folders” item in the “Libraries” menu and the “Copy Finder Items” action in it. In the settings, select the folder into which our final file will be copied.
In order for our document not to go missing, we will rename it. In the “Files and folders” item, select “Rename Finder Items”. In the settings we specify the parameters “Name of a single object”, “Only the main name” and in the option “before” write the future name of our file.
And the last action is the launch of our program! In the upper right corner we find the “Run” button and click “Ok”.
The resulting file will be in the folder that you specified.
UPD: thanks, shir :)