XNA Draw: improving the graphics of the game
- Tutorial

Hello.
All my eight articles on Habré are articles on game dev, most of them are connected with such a wonderful framework like XNA. The first acquaintance with XNA was an article on the creation of a musical toy , then the complexity of the articles grew, I started writing about particle systems , and then about shaders and shaders .
In general, I wanted to finish on the shaders, however, if I need to supplement them a little, I will talk about several algorithms for improving the graphics in the game. Examples of improvements:
If interested - under the habrakat.
Introduction
We will again touch upon the 2D component of the games and will work only with pixel shaders.
This article will be slightly different from my others, theory and practice will go right away, it is understood that you have already read articles about shaders here and here .
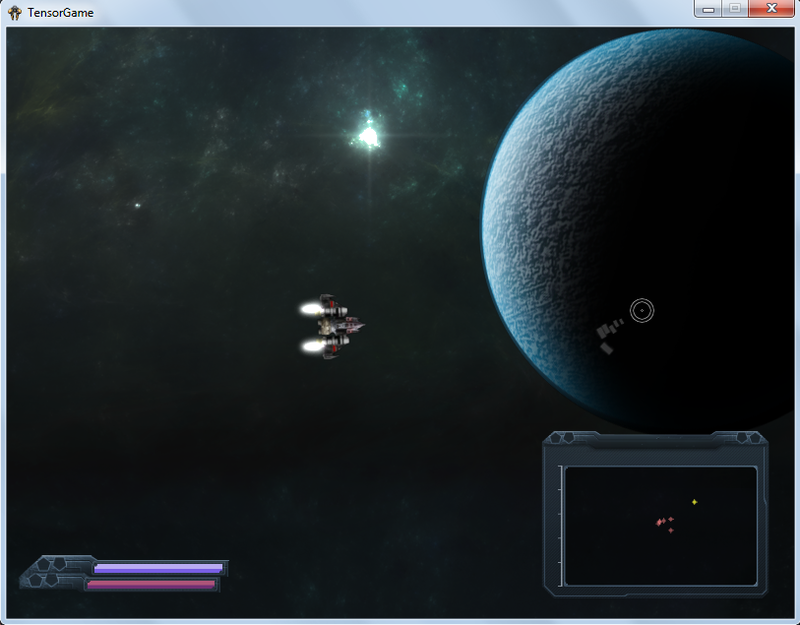
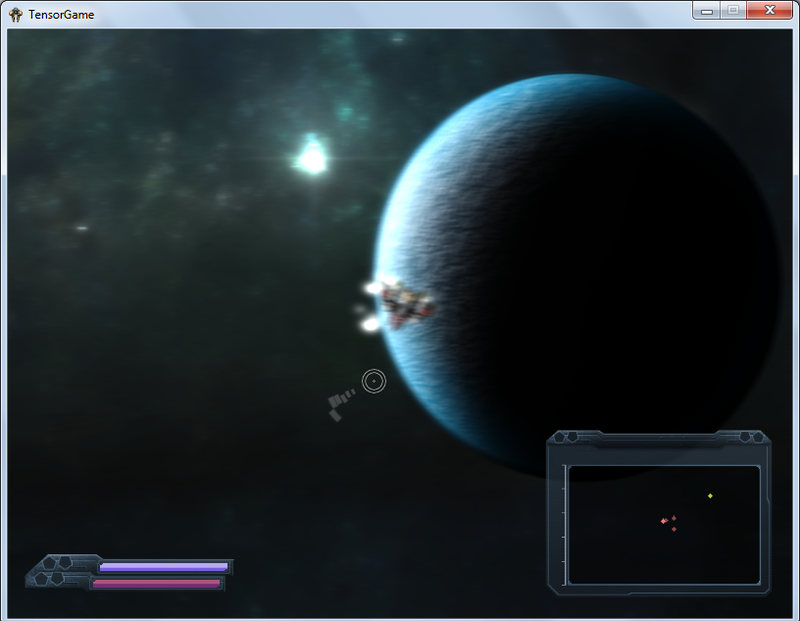
Consider all the effects that were used in the game and a couple of effects that were not there, the video is quite old, and the game has already undergone qualitative changes since then.
Distortion
The very first effect that catches your eye is distortion:
This effect is not processed by a special shader, in general, it is the same as in the article I wrote earlier.
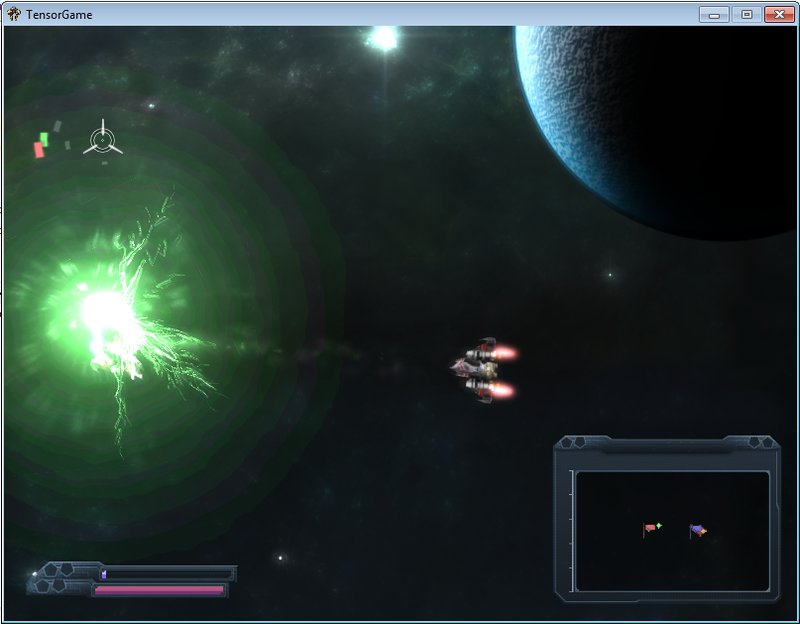
Let's look at that explosion effect.
Here the following textures are used:
In the upper left corner - the texture of smoke, smoke forms “rings” around the explosion, a bright area in the explosion that quickly goes out and the train from the rocket. It is the main texture of this effect. Used as a visible texture and a distorting texture.
Next - the point, next to the smoke, thanks to it - there are lightnings that come from the center of the explosion. Also used as visible texture and distorting texture.
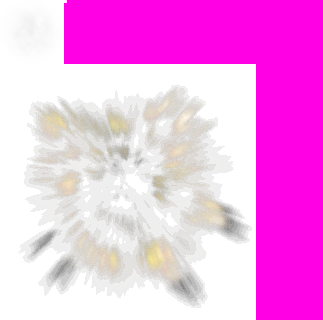
Well, for added beauty - particles from the explosion, the largest texture on the strip. But it’s worth noting that the player will never see her straight. It is distorting and disappears quite quickly.
PS a couple of tips for beginners making a particle system:
- Never create particles during the game, use the Pool Object pattern .
- Never create a texture property on a particle class. Use enum and a single texture (strip), where all the textures of your particles are. Because if during the process of drawing particles you constantly change the state of the graphic device (change the texture, for example) - do not expect high speeds from your system.
- The rule: “The more particles, the more beautiful” - it does not always work.
HUD Distortion
The second effect that could be noticed in the video was the distortion of the interface.
Games like Crysis 2 and Deus Ex: Human revolution inspired me to this effect . There, with the death - the interfaces began to distort in various ways. It seemed interesting to me. Also, I have increased the distortion of the interface with a simple hit.
For example, the death of a player:
This shader is very similar to the one that was before - image distortion. However, fundamentally different from him. The distortions do not come from the distortion map, but from mathematical formulas, let's look at the shader code (the shader is as simple as possible for understanding):
float force; // сила "тряски" интерфейса
float timer; // некотое значение, которое постоянно инкриментиуется.
float random1; // случаное число
float random2; // случаное число
float initialization; // временная шкала "инициализации" интерфейса
float desaturation_float; // степень потери цвета
sampler TextureSampler : register(s0);
float4 main(float4 color : COLOR0, float2 texCoord : TEXCOORD0) : COLOR0
{
	texCoord.y += cos(texCoord.x) * timer * 0.0002f * force; // тряска
	if(initialization > 0)
	{
		texCoord.x += cos(texCoord.y) * initialization; // инициализация
	}
	if(texCoord.y > random1 && texCoord.y < random2) // искажения
	{
		float moving = force;
		if(timer > 100) moving *= -1.0;
		texCoord.x += timer / 5000.0 * moving * random2;
		color *= 1 + random2 * force;
	}
	if(timer < 20 && force > 0.3) // искажения цветов
	{
		color.b = random2;
		color.g = random1;
	}
	if(timer > 50) // эффект "голограммы"
	{
		color *= 1 + random1/3 * (1 + force);
	}
	float4 source = tex2D(TextureSampler, texCoord);
	float4 sourceR = tex2D(TextureSampler, texCoord + float2(0.01*force*random1, 0));
	sourceR.g = 0;
	sourceR.b = 0;
	float4 sourceB = tex2D(TextureSampler, texCoord - float2(0.01*force*force*random2, 0));
	sourceB.r = 0;
	sourceB.g = 0;
	float4 sourceG = tex2D(TextureSampler, texCoord - float2(0.01*force*((random1+random2) / 2), 0));
	sourceG.r = 0;
	sourceG.b = 0;
	float4 output = (sourceR+sourceB+sourceG);
	output.a = source.a;
	float greyscale = dot(output.rgb, float3(0.3, 0.59, 0.11));
	output.rgb = lerp(greyscale, output.rgb, 1.0 - desaturation_float);
    return color * output;
}
technique HUDDisplacer
{
    pass DefaultPass
    {
        PixelShader = compile ps_2_0 main();
    }
}
The code is quite simple, and the shader result in itself looks spectacular.
Static texture to dynamic texture
Creating “living” textures from less living. For example, few people noticed - the flicker of distant stars in the video above. Although, the texture itself is static.
Consider this shader:
float modifer; // случаное число
sampler TextureSampler : register(s0);
float4 main(float4 color : COLOR0, float2 texCoord : TEXCOORD0) : COLOR0
{
	float4 output = tex2D(TextureSampler, texCoord);
	float greyscale = dot(output.rgb, float3(0.3, 0.59, 0.11));
	if(greyscale > 0.2)
	{
		color *= 1 + (modifer*greyscale / 1.5);
		if(greyscale > 0.8)
		{ color *= 1 + (modifer*2); }
	}
    return color * output;
}
technique BackgroundShader
{
    pass DefaultPass
    {
        PixelShader = compile ps_2_0 main();
    }
}
If the brightness of the pixel ( grayscale ) is more than 20% - a slight flicker is created, if more than 80% - strong.
This cannot be shown in the picture, everything is visible in the video.
Well, consider two more effects that are not in the video and they are implemented in newer versions.
Bloom (glow effect)
The glow effect is familiar to everyone, also referred to as Bloom (bloom).
The idea is simple, we extract bright areas from the image (some threshold is entered), then draw our scene and a blurry scene on top. Bright areas begin to glow.
Examples in the pictures:
Scene brightness:
Original scene:
Finished scene:

Consider the shader code, it consists of two parts, a shader that extracts brightness and a shader that forms the final image.
Listing a shader that extracts brightness:
sampler TextureSampler : register(s0);
float4 main(float2 texCoord : TEXCOORD0) : COLOR0
{
  float4 c = tex2D(TextureSampler, texCoord);
  float BloomThreshold = 0.1;
  return saturate((c - BloomThreshold) / (1 - BloomThreshold));
}
technique ThresholdEffect
{
    pass DefaultPass
    {
        PixelShader = compile ps_2_0 main();
    }
}
Listing a shader that gives the final result:
texture bloomMap;
sampler TextureSampler : register(s0);
sampler BloomSampler : samplerState
{
	Texture = bloomMap;
	MinFilter = Linear;
	MagFilter = Linear;
	AddressU = Clamp;
	AddressV = Clamp;
};
// Псевдо-гауусово размытие
const float2 offsets[12] = {
 -0.326212, -0.405805,
 -0.840144, -0.073580,
 -0.695914,   0.457137,
 -0.203345,   0.620716,
  0.962340, -0.194983,
  0.473434, -0.480026,
  0.519456,   0.767022,
  0.185461, -0.893124,
  0.507431,   0.064425,
  0.896420,   0.412458,
 -0.321940, -0.932615,
 -0.791559, -0.597705,
};
float4 AdjustSaturation(float4 color, float saturation) {
  float grey = dot(color, float3(0.3, 0.59, 0.11));
  return lerp(grey, color, saturation);
}
float4 main(float4 color : COLOR0, float2 texCoord : TEXCOORD0) : COLOR0
{
  float BlurPower = 0.01; // 0.01
  float BaseIntensity = 1;
  float BloomIntensity = 0.4; // 0.4
  float BaseSaturation = 1;
  float BloomSaturation = 1;
  float4 original = tex2D(TextureSampler, texCoord);
  // размытие
  float4 sum = tex2D(BloomSampler, texCoord);
  for(int i = 0; i < 12; i++){
    sum += tex2D(BloomSampler, texCoord + BlurPower * offsets[i]);
  }
  sum /= 13;
  original = AdjustSaturation(original, BaseSaturation) * BaseIntensity;
  sum = AdjustSaturation(sum, BloomSaturation) * BloomIntensity;
  return sum + original;
}
technique BloomEffect
{
    pass DefaultPass
    {
        PixelShader = compile ps_2_0 main();
    }
}
Motion Blur
Well, the last effect, this motion blur, in combination with other effects, gives them “softness”, we move the mouse sharply and:
It is realized, too, quite simply:
float rad = direction_move.x;
float xOffset = cos(rad);
float yOffset = sin(rad);
for(int idx=0; idx<15; idx++)
{
	texCoord.x = texCoord.x - 0.001 * xOffset * direction_move.y;
	texCoord.y = texCoord.y - 0.001 * yOffset * direction_move.y;
	c += tex2D(TextureSampler, texCoord);
}
c /= 15;
Where direction_move is the motion vector.
Conclusion
With the help of such things - you can give your game a big "twist", and such things are done quite simply.
On this, I think, the “course” on 2D games is over, after some time I’ll start writing about creating three-dimensional games.
PS the creation of this game (the one in the video) - most likely will remain at this stage. I do not have enough resources (time, enthusiasm, inspiration) to work on such a large project alone - suicide.
PSS is a huge request, write me a personal message about mistakes / mistakes, do not write comments without a useful semantic load.
PSSS I will be glad to new contacts ;-)
I wish you success!