We test the modular printer "3D START" - part 2. Flat Print Setup
In the first part of the review, we introduced the reader to the general features of a 3D printer 3D START. It was found that print quality deserves special attention and explanation. In the second part, we will explain how to set up the printer so that printing is smooth. We connected the monitor and set up the printer with it.
The first part of the review . If you do not configure the printer, printing is not always normal. We will show how to configure the slicer and the monitor.
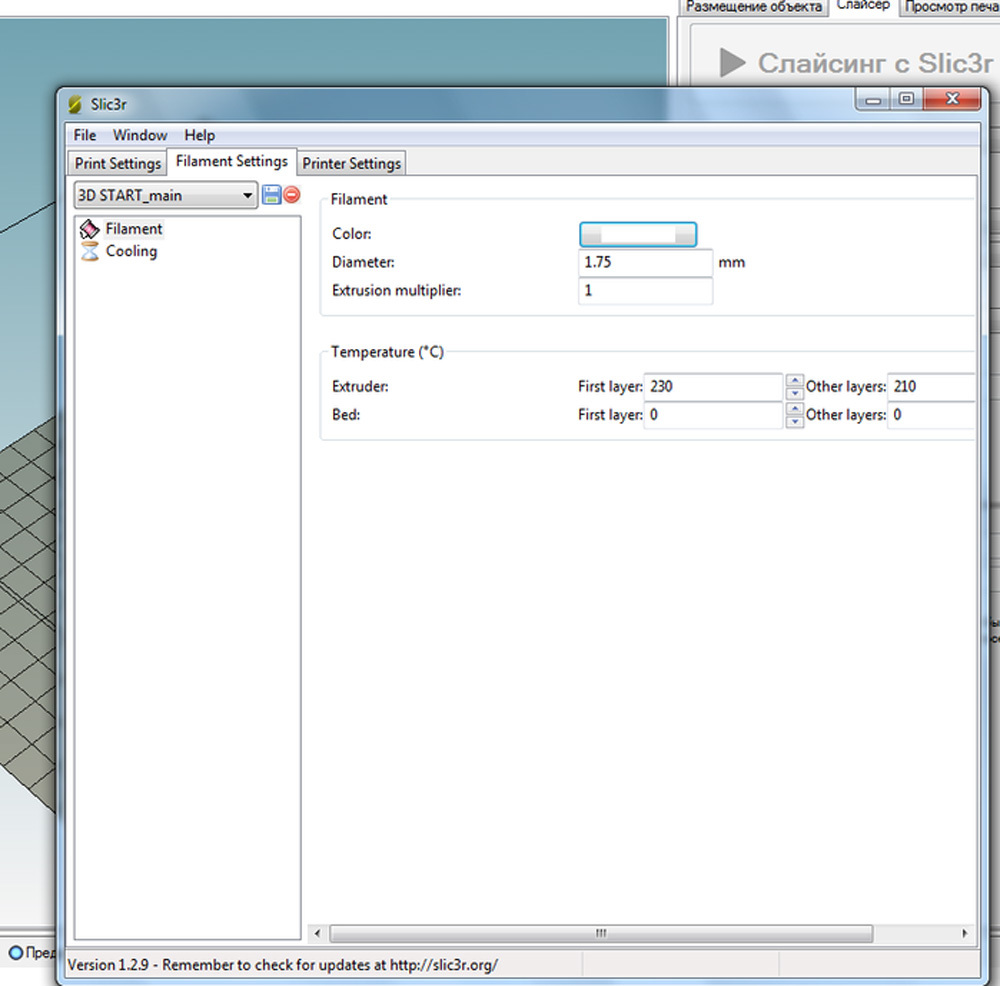
Temperature setting
We set the initial and subsequent temperature and diameter of the thread.
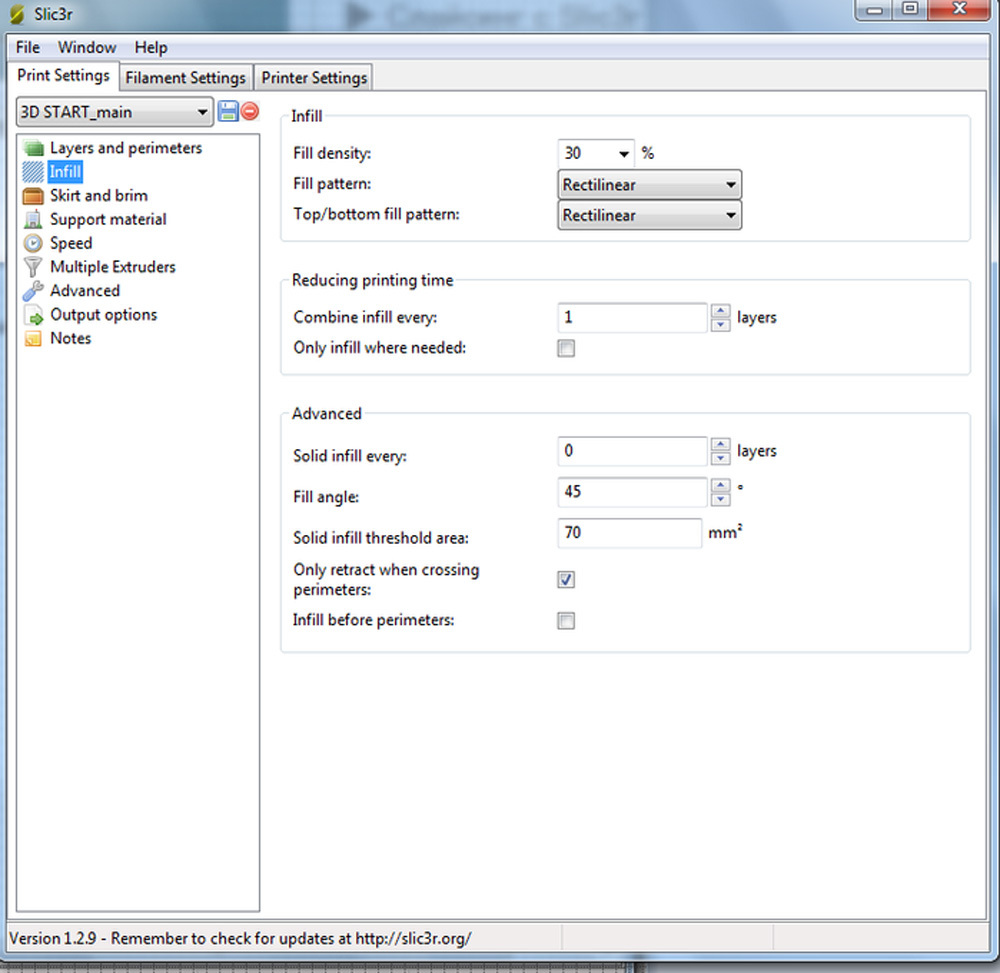
Configuring the parameter “Same filling pattern”
Choose Rectilinear hatching, its% can be increased, printing will be longer, but the filling is more dense.
Types of supports
There are three types of support: Rectilinear, Rectilinear Grid, Honeycomb.
Types of filling
There are more fill types than support types. In addition, they may differ in density depending on the specified percentage of filling in the settings of the slicer.
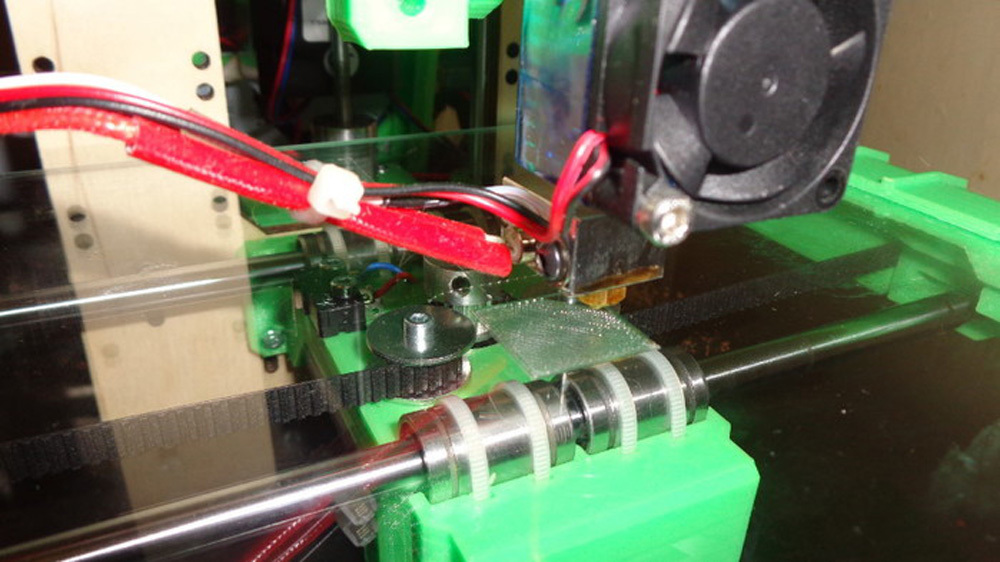
Problems printing the first layer
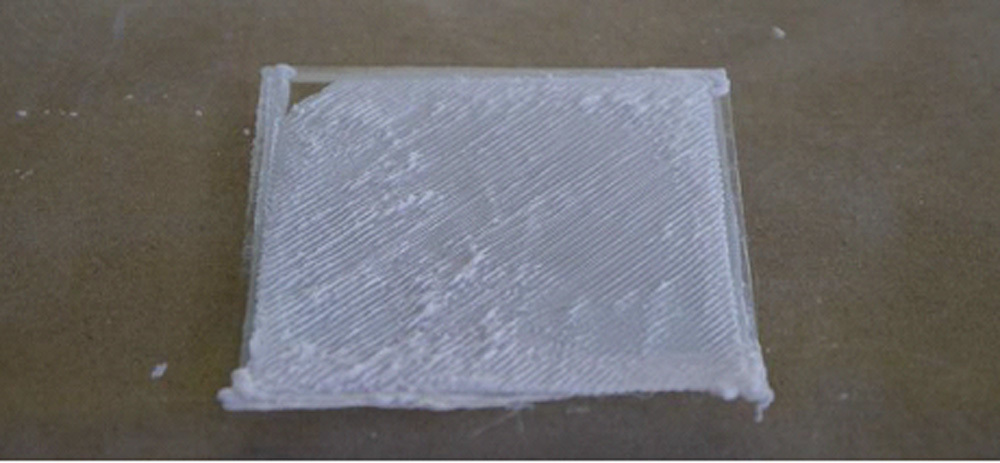
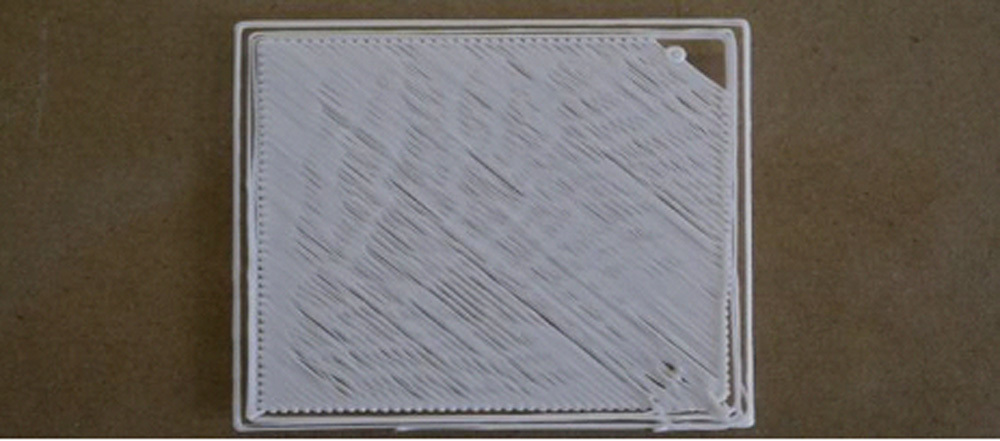
1.1. The nozzle is low.
The extruded plastic at the next pass rests with an overlap on the plastic extruded into the previous passage, forming a wavy surface.
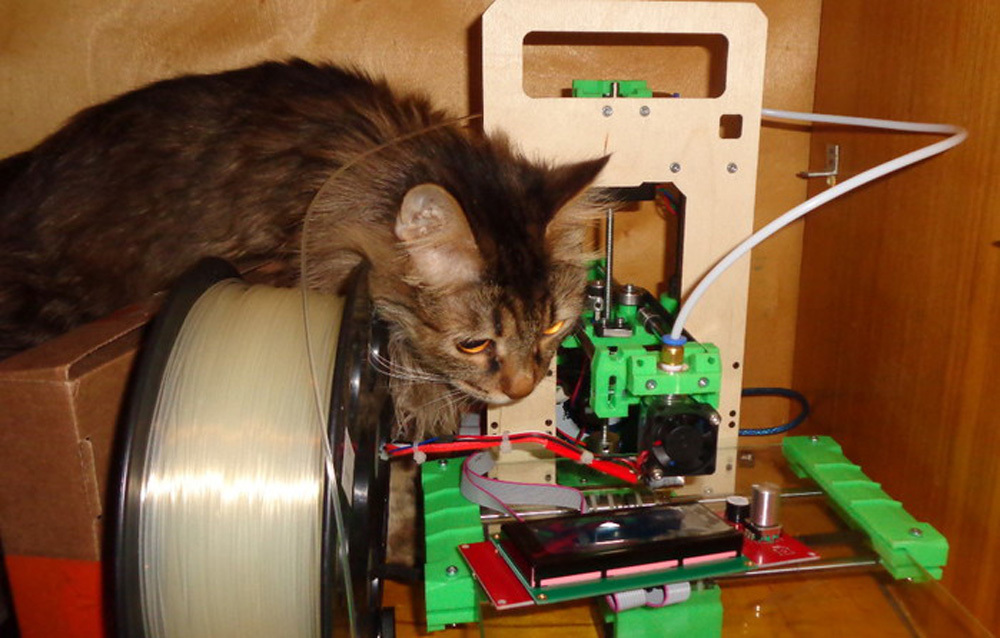
3D Smart controller with monitor
This printer has the ability to connect a 3D Smart controller for autonomous configuration of operating modes and printing from an SD card.
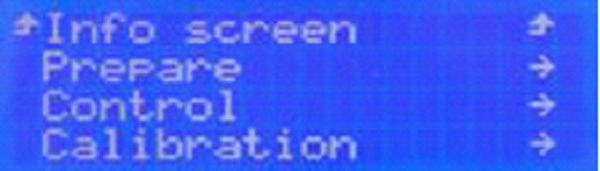
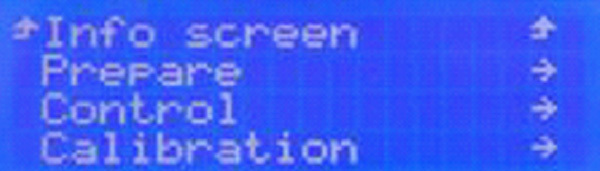
1.2. Go to the printer control menu, click on the encoder knob once.
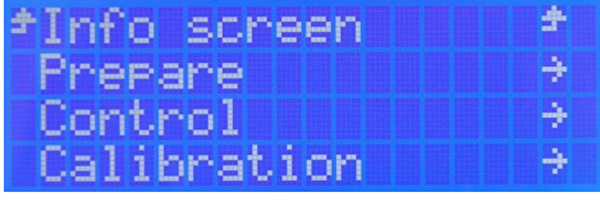
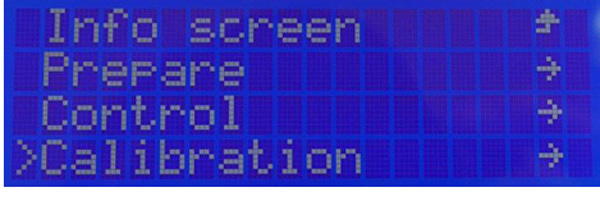
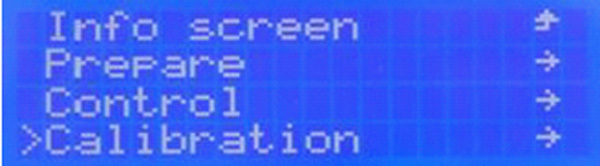
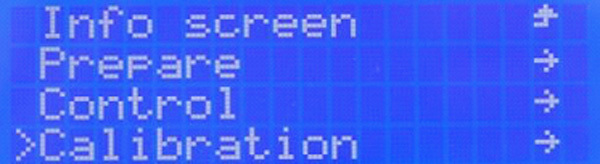
1.3. Turn the encoder knob, select the “Calibration” tab.
Selecting this item, click once on the encoder.
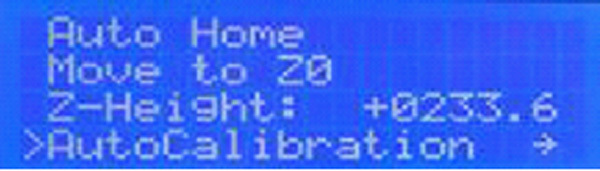
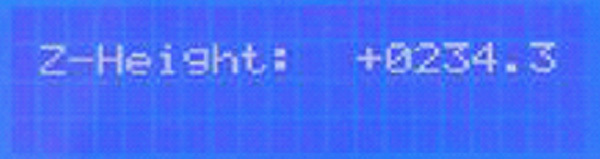
1.4. Turning the encoder knob, select the “Z-Height” tab.
Select this item by pressing once on the encoder.
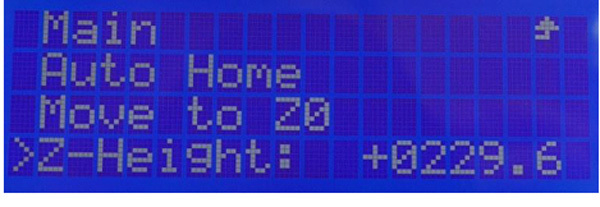
1.5. Turning the encoder slowly clockwise, we change the value after the decimal point by one unit, thereby reducing this value.
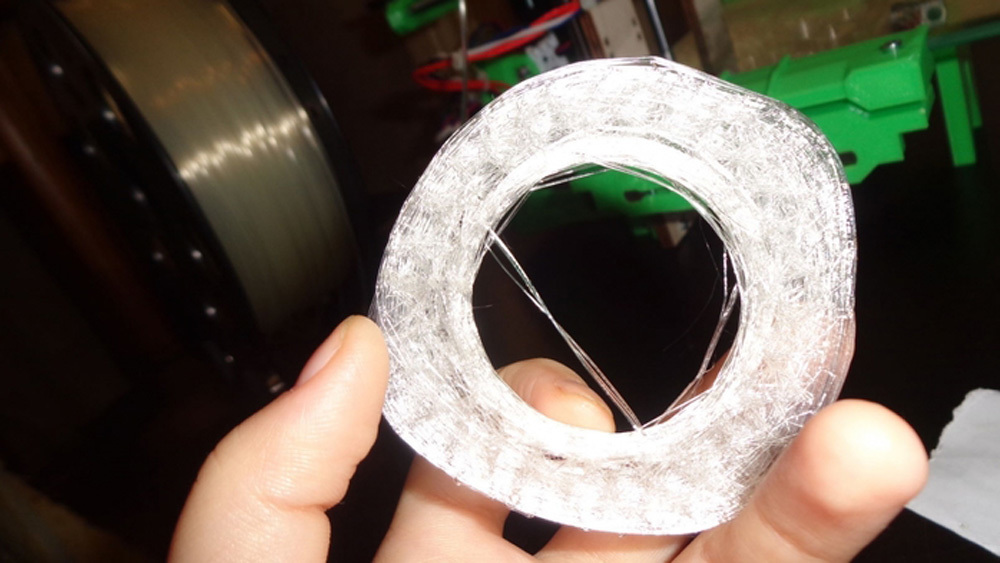
1.6. The nozzle is high, extruded plastic at the next pass falls, forming a gap with plastic, extruded into the previous passage.
1.7. We carry out points 1.1 ... 1.4, described above. Turning the encoder slowly counterclockwise, we change the value after the decimal point by one unit, thereby increasing this value.
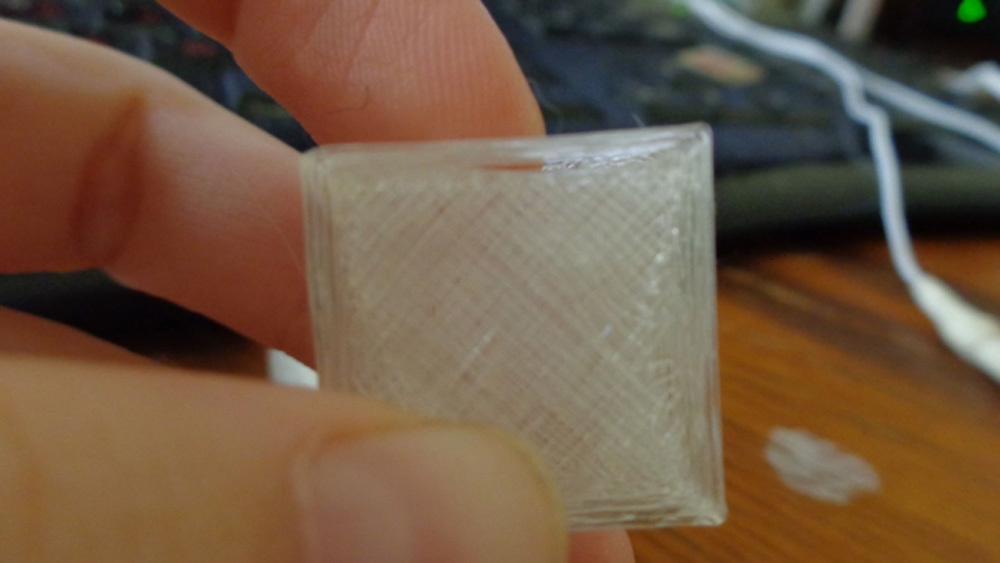
1.8. Seal, with nozzle height set correctly.
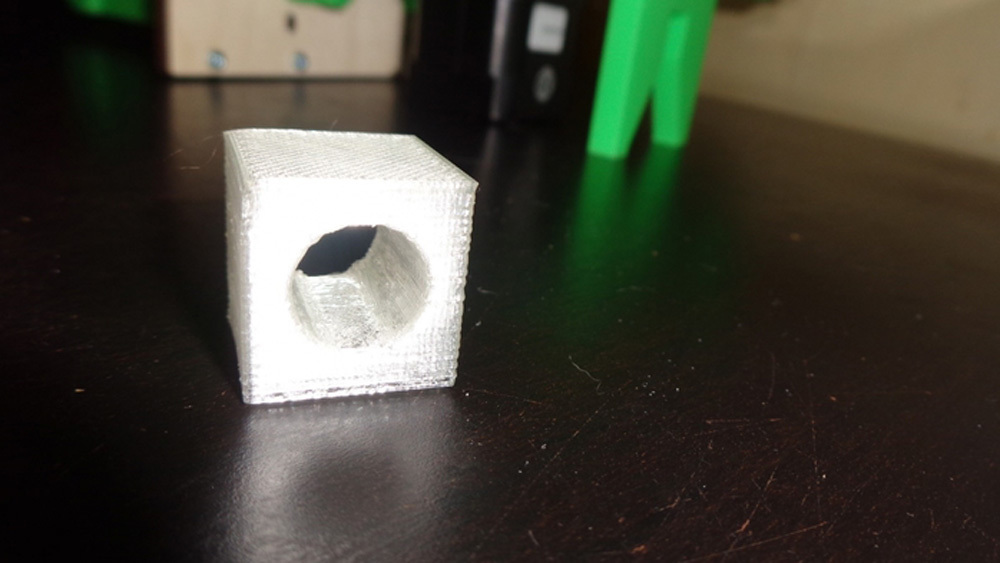
The side is dense, even. She is still unscathed.
Autocalibration
Autocalibration should be carried out only if the height of the first layer is different over the entire surface, i.e. on one axis the nozzle is high, and on the other axis the nozzle is low.
2.1. Make sure there is no plastic residue on the nozzle.
2.2. Check that the printer platform and printhead are not heated.
2.3. Go to the printer control menu by pressing the encoder knob once.
2.4. Turn the encoder knob to select the “Calibration” tab. Then click once on the encoder.
2.5. In the opened “Calibration” item, turning the encoder knob, select the “AutoCalibratoin” item. Click once on the encoder.
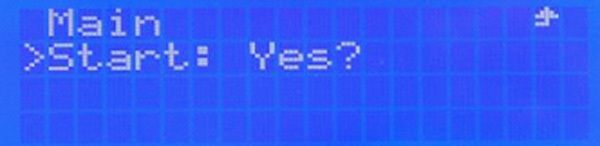
2.6. To start auto calibration, select “Start: Yes?” And press the encoder once.
2.7. When the printer completes the calibration, it will beep and move the print head between the “Y” and “Z” axes.
2.8. After the printer has completed the calibration, it is necessary to set the working height. Enter the printer control menu by pressing the encoder knob once.
2.9. Turn the encoder knob to select the “Calibration” tab. Click once on the encoder.
2.10. Turning the encoder knob, select the “Z-Height” tab. Click once on the encoder.

2.11. Turning slowly the encoder left / right decreases / increases the height by one unit after the decimal point (234.3-234.2).
2.13. We put a part of the album sheet to check the required distance between the nozzle and the desktop. It should move between the nozzle and the table with a slight friction. Calibration complete.
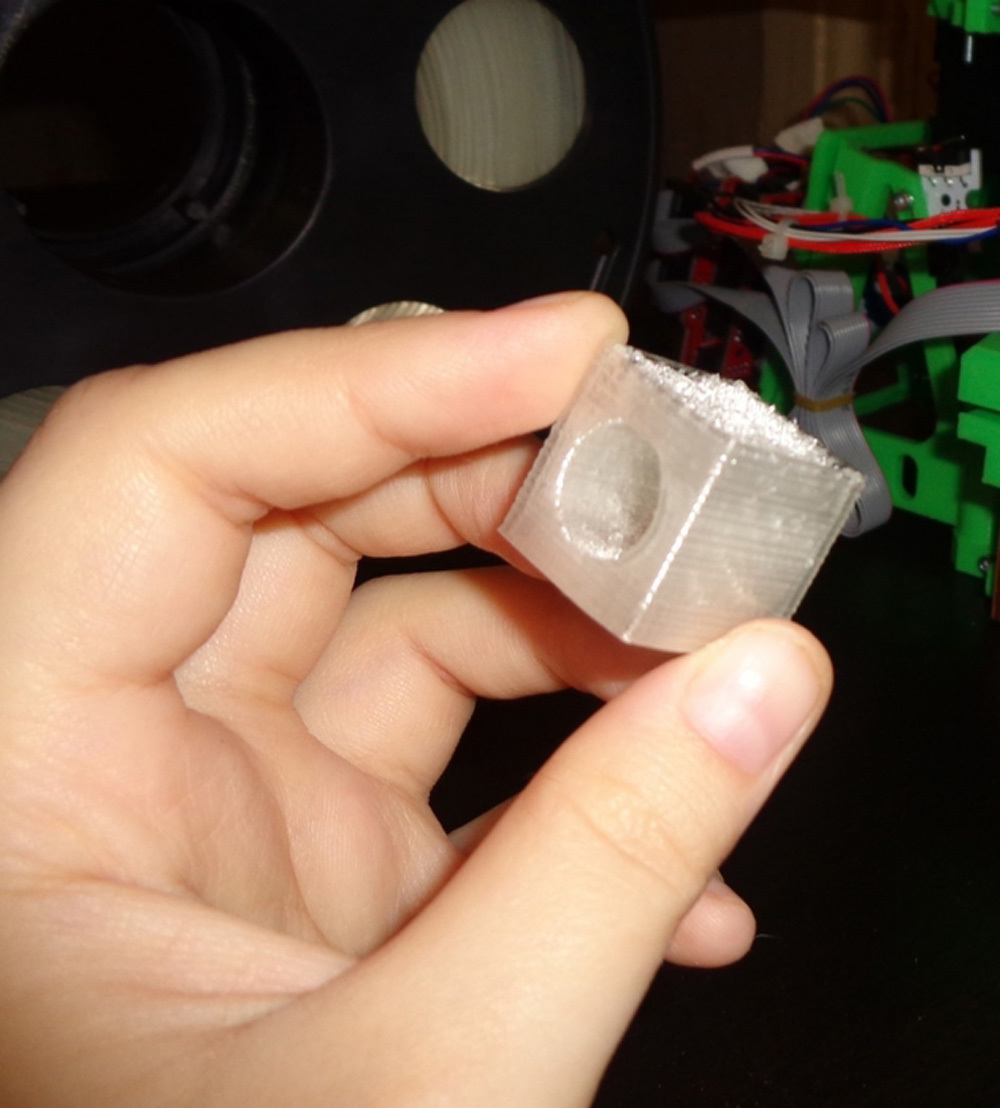
As a result of printing on a 3D START printer, we get a decent solid test block.
Connecting a printer to a 3D Smart controller with a monitor is not particularly difficult.
The third part of the review is devoted to the monitor settings.
Author Elena Zaitseva, Saratov