Making the ubiquitous Splash Screen on iOS

Hi Habr!
I will talk about the implementation of animation transition from splash screen to other screens of the application. The task arose as part of a global rebranding, which could not do without changing the splash screen and the appearance of the product.
For many developers involved in large projects, solving the problems associated with creating beautiful animations becomes a breath of fresh air in the world of bugs, complex features and hot fixes. Such tasks are relatively easy to implement, and the result is pleasing to the eye and looks very impressive! But there are times when standard approaches are not applicable, and then you need to come up with all kinds of workarounds.
At first glance, in the task of updating the splash screen, the creation of animation seems to be the most difficult, and the rest is “routine work”. The classic situation: first we show one screen, and then with a custom transition we open the next one - everything is simple!
As part of the animation, you need to make a hole on the splash screen in which the contents of the next screen are displayed, that is, we definitely need to know which one is
viewdisplayed under the splash. After starting Yula, the tape opens, so it would be logical to attach to the viewappropriate controller.But what if you run the application with a push notification that leads to the user profile? Or open a product card from a browser? Then the next screen should not be a tape at all (this is far from all possible cases). And although all the transitions are made after opening the main screen, the animation is tied to a specific one
view, but which controller? In order to avoid
if-elseblocks to handle each situation, splash screen will be displayed at the levelUIWindow. The advantage of this approach is that we absolutely don’t care what happens under the splash: in the main window of the application, a tape can load, pop-up or make an animated transition to some screen. Next, I will talk in detail about the implementation of our chosen method, which consists of the following steps:- Preparing a splash screen.
- Animation of the appearance.
- Hide animation.
Splash screen preparation
First you need to prepare a static splash screen - that is, a screen that appears immediately when the application starts. There are two ways to do this : provide images of different resolutions for each device, or make this screen c
LaunchScreen.storyboard. The second option is faster, more convenient and recommended by Apple itself, so we will use it:
Everything is simple:
imageViewwith a gradient background and imageViewwith a logo. As you know, this screen cannot be animated, so you need to create another, visually identical, so that the transition between them is invisible. In
Main.storyboardadd ViewController: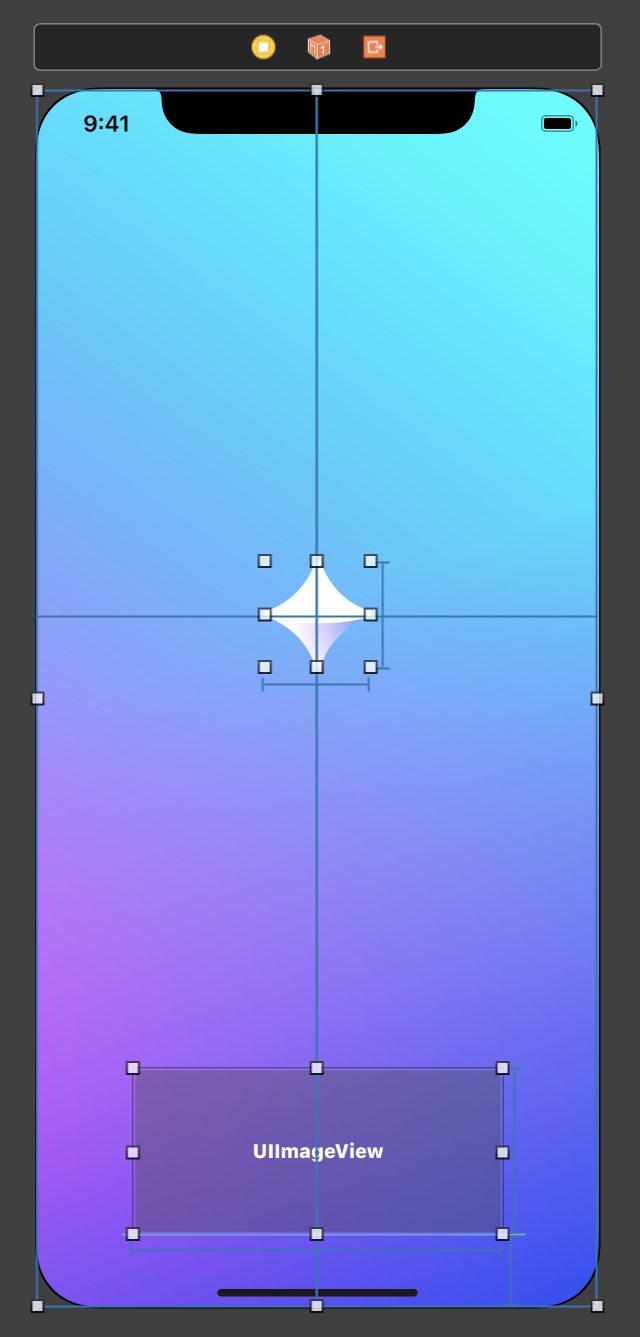
The difference from the previous screen is that there is another one
imageViewin which random text is substituted (of course, it will be hidden initially). Now create a class for this controller:final class SplashViewController: UIViewController {
@IBOutlet weak var logoImageView: UIImageView!
@IBOutlet weak var textImageView: UIImageView!
var textImage: UIImage?
override func viewDidLoad() {
super.viewDidLoad()
textImageView.image = textImage
}
}In addition
IBOutletto the elements for the elements we want to animate, this class also has a property textImage- a randomly selected picture will be transferred to it. Now go back to Main.storyboardand point to the appropriate controller class SplashViewController. At the same time, ViewControllerlet's put in the initial one imageViewwith a screenshot of Yula so that there is no blank screen under the splash. Now we need a presenter who will be responsible for the logic of showing and hiding the slash screen. We write the protocol for it and immediately create a class:
protocol SplashPresenterDescription: class {
    func present()
    func dismiss(completion: @escaping () -> Void)
}
final class SplashPresenter: SplashPresenterDescription {
     func present() {
        // Пока оставим метод пустым
     }
    func dismiss(completion: @escaping () -> Void) {
        // Пока оставим метод пустым
    }
}
The same object will select text for a splash screen. The text is displayed as a picture, so you need to add the appropriate resources to
Assets.xcassets. The names of the resources are the same, except for the number - it will be randomly generated: private lazy var textImage: UIImage? = {
let textsCount = 17
let imageNumber = Int.random(in: 1...textsCount)
let imageName = "i-splash-text-\(imageNumber)"
return UIImage(named: imageName)
}()It was not by chance that I made it
textImagenot an ordinary property, namely lazy, later you will understand why. At the very beginning, I promised that the splash screen will be shown in a separate one
UIWindow, for this you need:- create
UIWindow; - create
SplashViewControllerand make itrootViewController`om; - set
windowLevelmore.normal(default value) so that this window is displayed on top of the main one.
In
SplashPresenteradd: private lazy var foregroundSplashWindow: UIWindow = {
let splashViewController = self.splashViewController(with: textImage)
let splashWindow = self.splashWindow(windowLevel: .normal + 1, rootViewController: splashViewController)
return splashWindow
}()
private func splashWindow(windowLevel: UIWindow.Level, rootViewController: SplashViewController?) -> UIWindow {
let splashWindow = UIWindow(frame: UIScreen.main.bounds)
splashWindow.windowLevel = windowLevel
splashWindow.rootViewController = rootViewController
return splashWindow
}
private func splashViewController(with textImage: UIImage?) -> SplashViewController? {
let storyboard = UIStoryboard(name: "Main", bundle: nil)
let viewController = storyboard.instantiateViewController(withIdentifier: "SplashViewController")
let splashViewController = viewController as? SplashViewController
splashViewController?.textImage = textImage
return splashViewController
}You may find it strange that the establishment
splashViewControllerand splashWindowmade into a separate function, but later it will come in handy. We have not yet begun to write animation logic, but in
SplashPresentera lot of code. Therefore, I propose to create an entity that will deal directly with animation (plus this division of responsibilities):protocol SplashAnimatorDescription: class {
func animateAppearance()
func animateDisappearance(completion: @escaping () -> Void)
}
final class SplashAnimator: SplashAnimatorDescription {
private unowned let foregroundSplashWindow: UIWindow
private unowned let foregroundSplashViewController: SplashViewController
init(foregroundSplashWindow: UIWindow) {
self.foregroundSplashWindow = foregroundSplashWindow
guard let foregroundSplashViewController = foregroundSplashWindow.rootViewController as? SplashViewController else {
fatalError("Splash window doesn't have splash root view controller!")
}
self.foregroundSplashViewController = foregroundSplashViewController
}
func animateAppearance() {
// Пока оставим метод пустым
}
func animateDisappearance(completion: @escaping () -> Void) {
// Пока оставим метод пустым
}It is passed to the constructor
foregroundSplashWindow, and for convenience it is "extracted" from it rootViewController, which is also stored in properties, like foregroundSplashViewController. Add to
SplashPresenter: private lazy var animator: SplashAnimatorDescription = SplashAnimator(foregroundSplashWindow: foregroundSplashWindow)and fix his methods
presentand dismiss: func present() {
animator.animateAppearance()
}
func dismiss(completion: @escaping () -> Void) {
animator.animateDisappearance(completion: completion)
}Everything, the most boring part behind, you can finally start the animation!
Appearance animation
Let's start with the animation of the appearance of the splash screen, it is simple:
- The logo (
logoImageView) is increasing . - The text appears on the fade and rises slightly (
textImageView).
Let me remind you that by default it
UIWindowis created invisible, and there are two ways to fix this:- call his method
makeKeyAndVisible; - set property
isHidden = false.
The second method is suitable for us, since we do not want to
foregroundSplashWindowbecome keyWindow. With this in mind, we
SplashAnimatorimplement the method animateAppearance(): func animateAppearance() {
foregroundSplashWindow.isHidden = false
foregroundSplashViewController.textImageView.transform = CGAffineTransform(translationX: 0, y: 20)
UIView.animate(withDuration: 0.3, animations: {
self.foregroundSplashViewController.logoImageView.transform = CGAffineTransform(scaleX: 88 / 72, y: 88 / 72)
self.foregroundSplashViewController.textImageView.transform = .identity
})
foregroundSplashViewController.textImageView.alpha = 0
UIView.animate(withDuration: 0.15, animations: {
self.foregroundSplashViewController.textImageView.alpha = 1
})
}I don’t know about you, but I would like to launch the project as soon as possible and see what happened! It remains only to open
AppDelegate, add the property there splashPresenterand call the method on it present. At the same time dismiss, we will call it after 2 seconds so that it does not return to this file: private var splashPresenter: SplashPresenter? = SplashPresenter()
func application(_ application: UIApplication, didFinishLaunchingWithOptions launchOptions: [UIApplication.LaunchOptionsKey: Any]?) -> Bool {
splashPresenter?.present()
let delay: TimeInterval = 2
DispatchQueue.main.asyncAfter(deadline: .now() + delay) {
self.splashPresenter?.dismiss { [weak self] in
self?.splashPresenter = nil
}
}
return true
}The object itself is deleted from memory after hiding the splash.
Hooray, you can run!

Hiding animation
Unfortunately (or fortunately), 10 lines of code will not cope with the animation of hiding. It is necessary to make a through hole, which will still rotate and increase! If you thought that “this can be done with a mask”, then you are absolutely right!
We will add a mask to the
layermain application window (we don’t want to bind to a specific controller). Let's do it right away, and at the same time hide it foregroundSplashWindow, since further actions will occur under it. func animateDisappearance(completion: @escaping () -> Void) {
guard let window = UIApplication.shared.delegate?.window, let mainWindow = window else {
fatalError("Application doesn't have a window!")
}
foregroundSplashWindow.alpha = 0
let mask = CALayer()
mask.frame = foregroundSplashViewController.logoImageView.frame
mask.contents = SplashViewController.logoImageBig.cgImage
mainWindow.layer.mask = mask
} It is important to note here that
foregroundSplashWindowI hid through the property alpha, and not isHidden(otherwise the screen will blink). Another interesting point: since this mask will increase during the animation, you need to use a higher resolution logo for it (for example, 1024x1024). So I added in SplashViewController: static let logoImageBig: UIImage = UIImage(named: "splash-logo-big")!Check what happened?
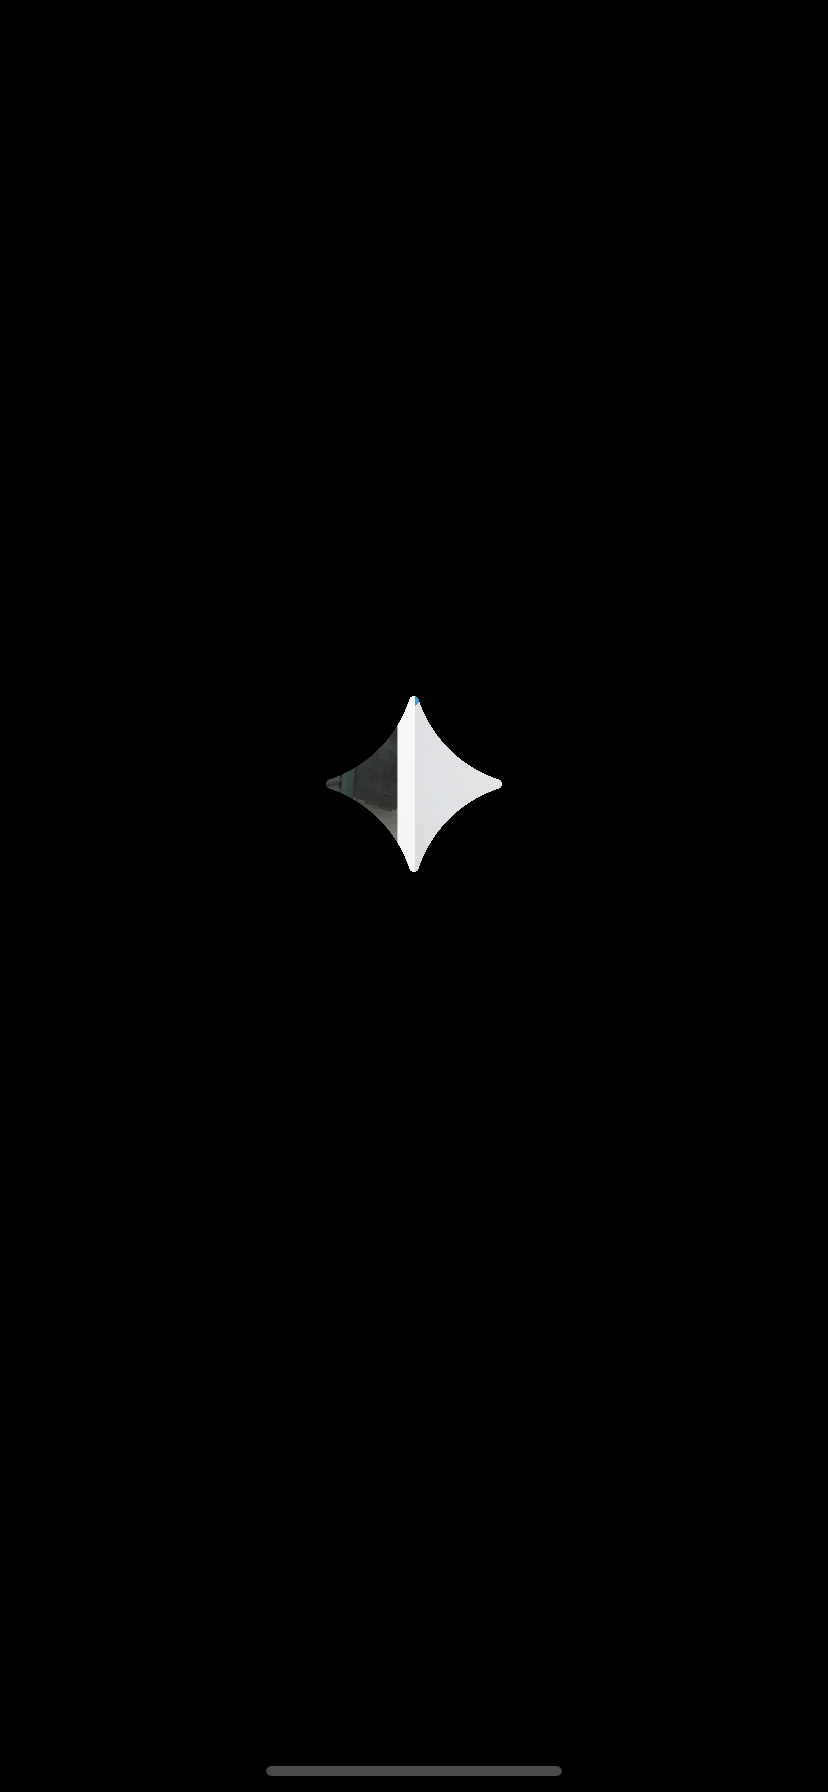
I know, now it does not look very impressive, but everything is ahead, let's move on! Particularly attentive could notice that during the animation the logo does not become transparent immediately, but for some time. To do this, on
mainWindowtop of all subviewsadd imageViewwith a logo that will be hidden by the fade. let maskBackgroundView = UIImageView(image: SplashViewController.logoImageBig)
maskBackgroundView.frame = mask.frame
mainWindow.addSubview(maskBackgroundView)
mainWindow.bringSubviewToFront(maskBackgroundView)So, we have a hole in the form of a logo, and under the hole the logo itself.
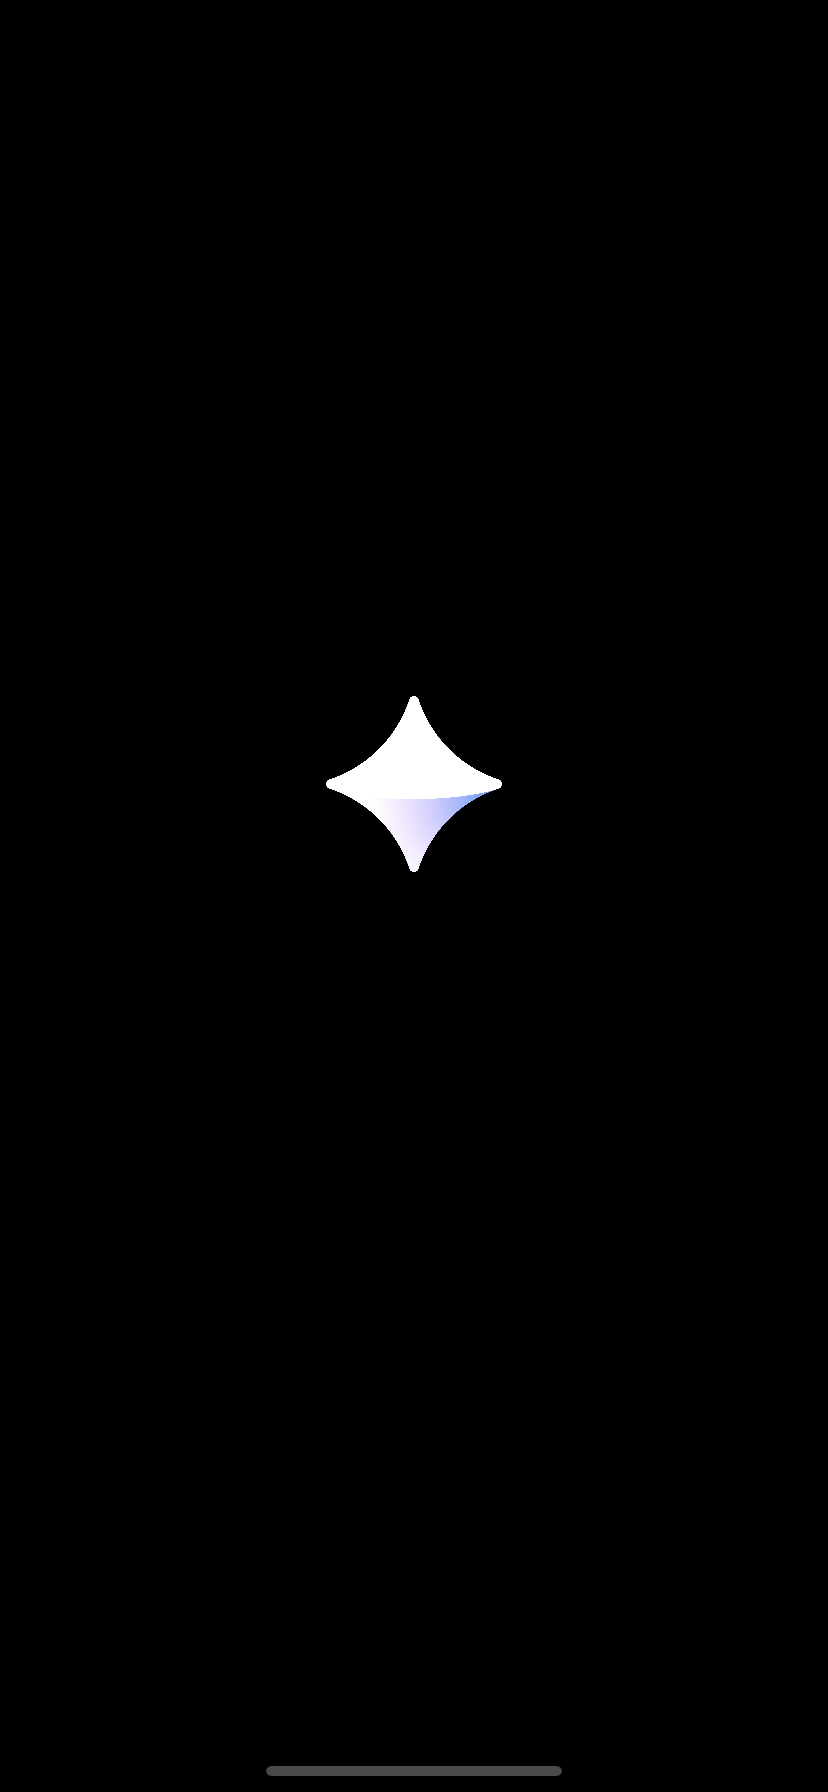
Now back to the place of a beautiful gradient background and text. Any ideas how to do this?
I have: put another one
UIWindowunderneath mainWindow(that is, with a smaller one windowLevel, let's call it backgroundSplashWindow), and then we will see it instead of a black background. And, of course, rootViewController'he will have om SplashViewContoller, only he will need to hide it logoImageView. To do this, SplashViewControllercreate a property: var logoIsHidden: Bool = falseand
viewDidLoad()add in the method : logoImageView.isHidden = logoIsHiddenLet's finish
SplashPresenter: add another parameter to the method , which will be passed on to :splashViewController(with textImage: UIImage?)logoIsHidden: BoolSplashViewControllersplashViewController?.logoIsHidden = logoIsHiddenAccordingly, where it is created
foregroundSplashWindow, you need to pass to this parameter false, and for backgroundSplashWindow- true: private lazy var backgroundSplashWindow: UIWindow = {
let splashViewController = self.splashViewController(with: textImage, logoIsHidden: true)
let splashWindow = self.splashWindow(windowLevel: .normal - 1, rootViewController: splashViewController)
return splashWindow
}()You also need to forward this object through the constructor to
SplashAnimator(similarly foregroundSplashWindow) and add properties there: private unowned let backgroundSplashWindow: UIWindow
private unowned let backgroundSplashViewController: SplashViewControllerSo that instead of a black background we see the same splash screen, right before hiding
foregroundSplashWindowyou need to show backgroundSplashWindow: backgroundSplashWindow.isHidden = falseMake sure that the plan was a success:
Now the most interesting part is the hide animation! Since you need to animate
CALayer, and not UIView, we turn to for help CoreAnimation. Let's start with the rotation: private func addRotationAnimation(to layer: CALayer, duration: TimeInterval, delay: CFTimeInterval = 0) {
let animation = CABasicAnimation()
let tangent = layer.position.y / layer.position.x
let angle = -1 * atan(tangent)
animation.beginTime = CACurrentMediaTime() + delay
animation.duration = duration
animation.valueFunction = CAValueFunction(name: CAValueFunctionName.rotateZ)
animation.fromValue = 0
animation.toValue = angle
animation.isRemovedOnCompletion = false
animation.fillMode = CAMediaTimingFillMode.forwards
layer.add(animation, forKey: "transform")
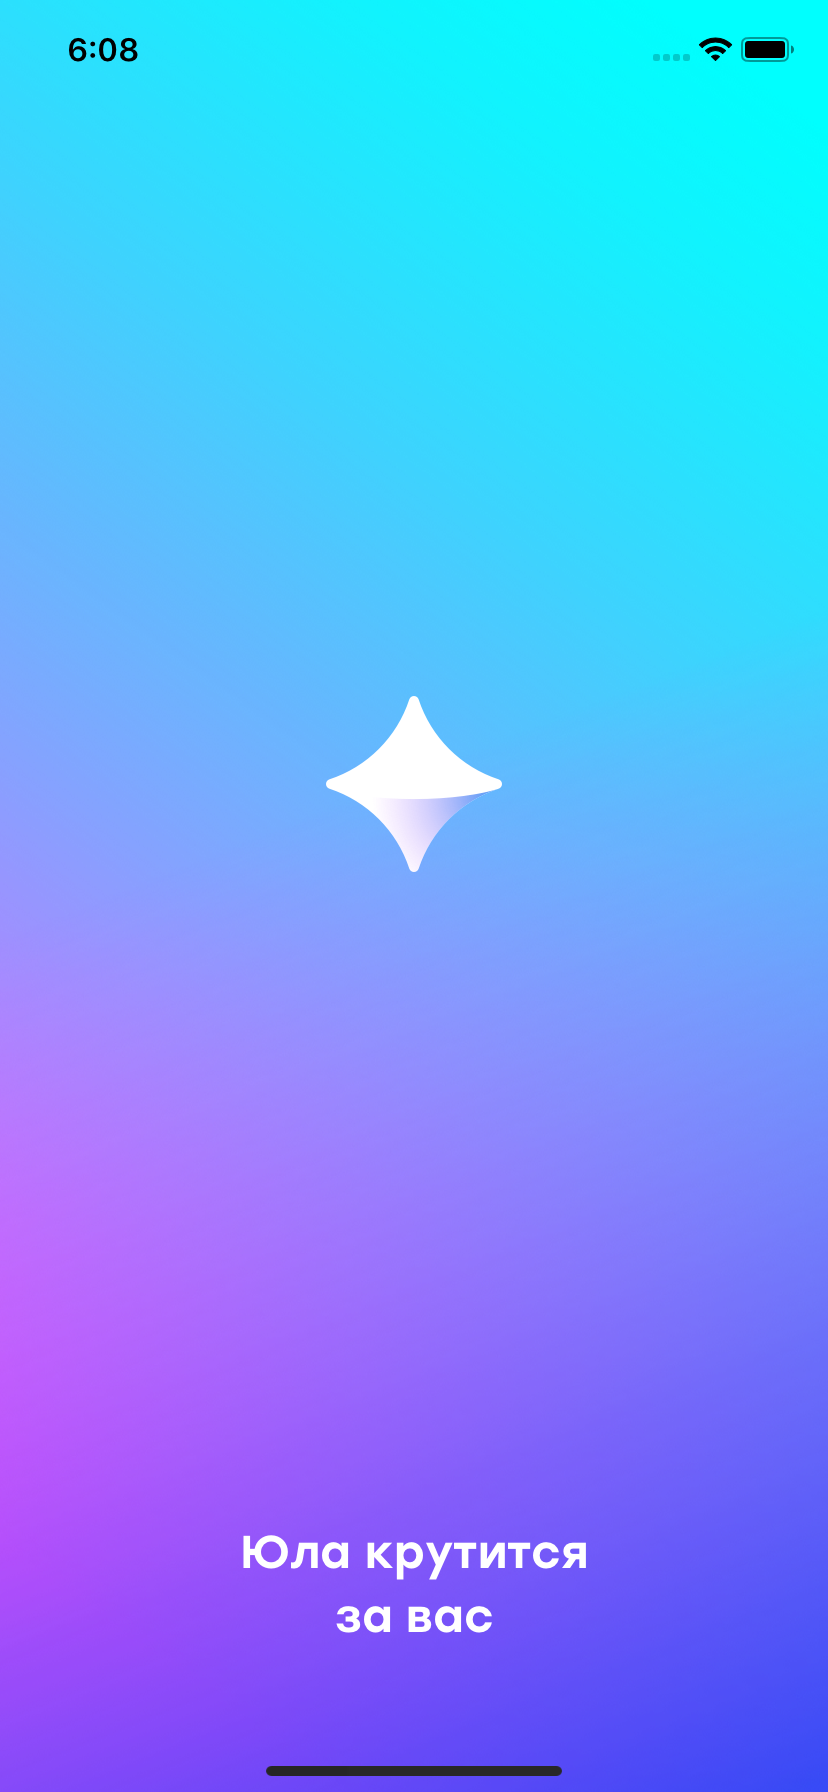
}As you can see, the rotation angle is calculated based on the size of the screen, so that Yula on all devices spins to the upper left corner.
Logo scaling animation:
    private func addScalingAnimation(to layer: CALayer, duration: TimeInterval, delay: CFTimeInterval = 0) {
        let animation = CAKeyframeAnimation(keyPath: "bounds")
        let width = layer.frame.size.width
        let height = layer.frame.size.height
        let coefficient: CGFloat = 18 / 667
        let finalScale = UIScreen.main.bounds.height * coeficient
        let scales = [1, 0.85, finalScale]
        animation.beginTime = CACurrentMediaTime() + delay
        animation.duration = duration
        animation.keyTimes = [0, 0.2, 1]
        animation.values = scales.map { NSValue(cgRect: CGRect(x: 0, y: 0, width: width * $0, height: height * $0)) }
        animation.timingFunctions = [CAMediaTimingFunction(name: CAMediaTimingFunctionName.easeInEaseOut),
                                     CAMediaTimingFunction(name: CAMediaTimingFunctionName.easeOut)]
        animation.isRemovedOnCompletion = false
        animation.fillMode = CAMediaTimingFillMode.forwards
        layer.add(animation, forKey: "scaling")
    }
It is worth paying attention to
finalScale: the final scale is also calculated depending on the size of the screen (in proportion to the height). That is, with a screen height of 667 points (iPhone 6), Yula should increase 18 times. But first, it decreases slightly (in accordance with the second elements in arrays
scalesand keyTimes). That is, at the point in time 0.2 * duration(where durationis the total duration of the scaling animation), Yula’s scale will be 0.85. We are already at the finish line! In the method, we
animateDisappearancestart all the animations: 1) Scaling the main window (
mainWindow). 2) Rotation, scaling, disappearance of the logo (
maskBackgroundView). 3) Rotation, scaling of the “hole” (
mask). 4) The disappearance of the text (
textImageView). CATransaction.setCompletionBlock {
mainWindow.layer.mask = nil
completion()
}
CATransaction.begin()
mainWindow.transform = CGAffineTransform(scaleX: 1.05, y: 1.05)
UIView.animate(withDuration: 0.6, animations: {
mainWindow.transform = .identity
})
[mask, maskBackgroundView.layer].forEach { layer in
addScalingAnimation(to: layer, duration: 0.6)
addRotationAnimation(to: layer, duration: 0.6)
}
UIView.animate(withDuration: 0.1, delay: 0.1, options: [], animations: {
maskBackgroundView.alpha = 0
}) { _ in
maskBackgroundView.removeFromSuperview()
}
UIView.animate(withDuration: 0.3) {
self.backgroundSplashViewController.textImageView.alpha = 0
}
CATransaction.commit()I used
CATransactionto complete the animation. In this case, it is more convenient than animationGroup, since not all animations are done through CAAnimation.
Conclusion
Thus, at the output we got a component that does not depend on the context of the application launch (whether it was a diplink, a push notification, a normal start, or something else). Animation will work correctly anyway!
You can download the project here.