.NET Core Workers as Windows Services
- Transfer
In .NET Core 3.0, we introduce a new type of application template called Worker Service. This template is designed to give you a starting point for writing long-running services in .NET Core. In this walkthrough, we will create a worker and run it as a Windows service.
Creation worker
Note. In our pre-release versions, the worker template is on the same menu as the web templates. This will change in a future release. We intend to place the Worker Service template directly in the Create New Project Wizard.
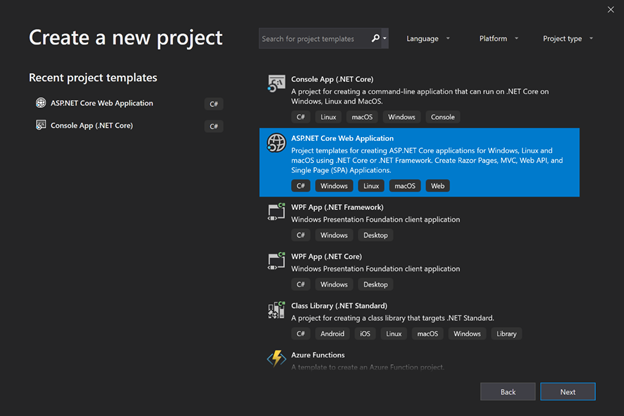
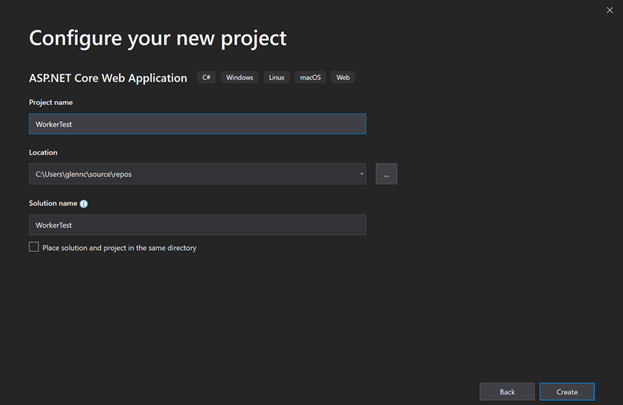
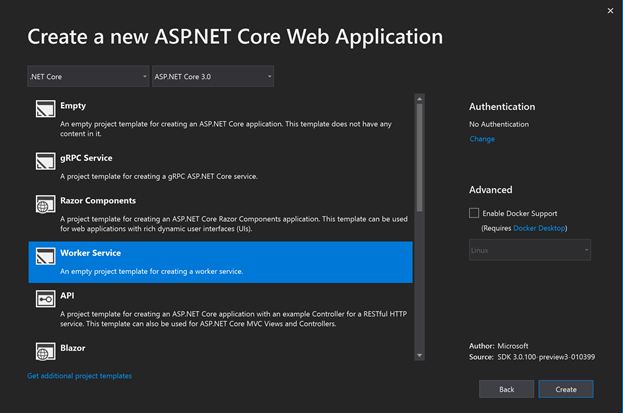
Creating a Worker in Visual Studio
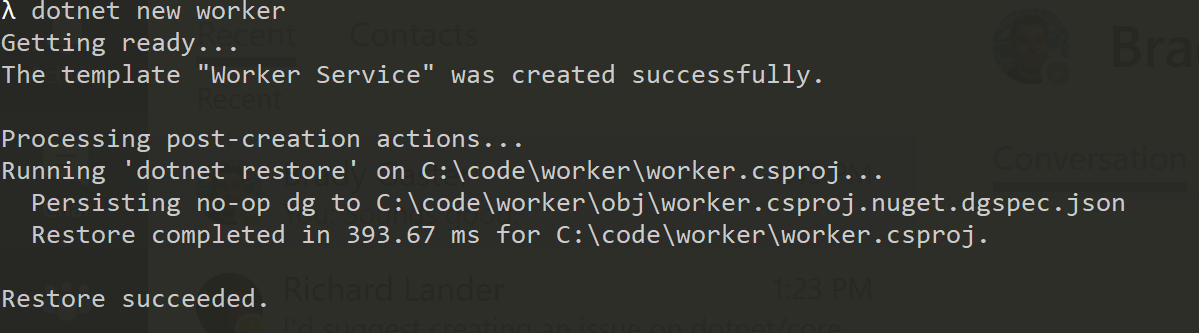
Creating a Worker on the Command Line
Run dotnet new worker
Running as a Windows service
To start as a Windows service, we need our worker to see start and stop signals from the ServiceBase.NET type , which connects Windows Service systems to .NET applications. To do this, you need:
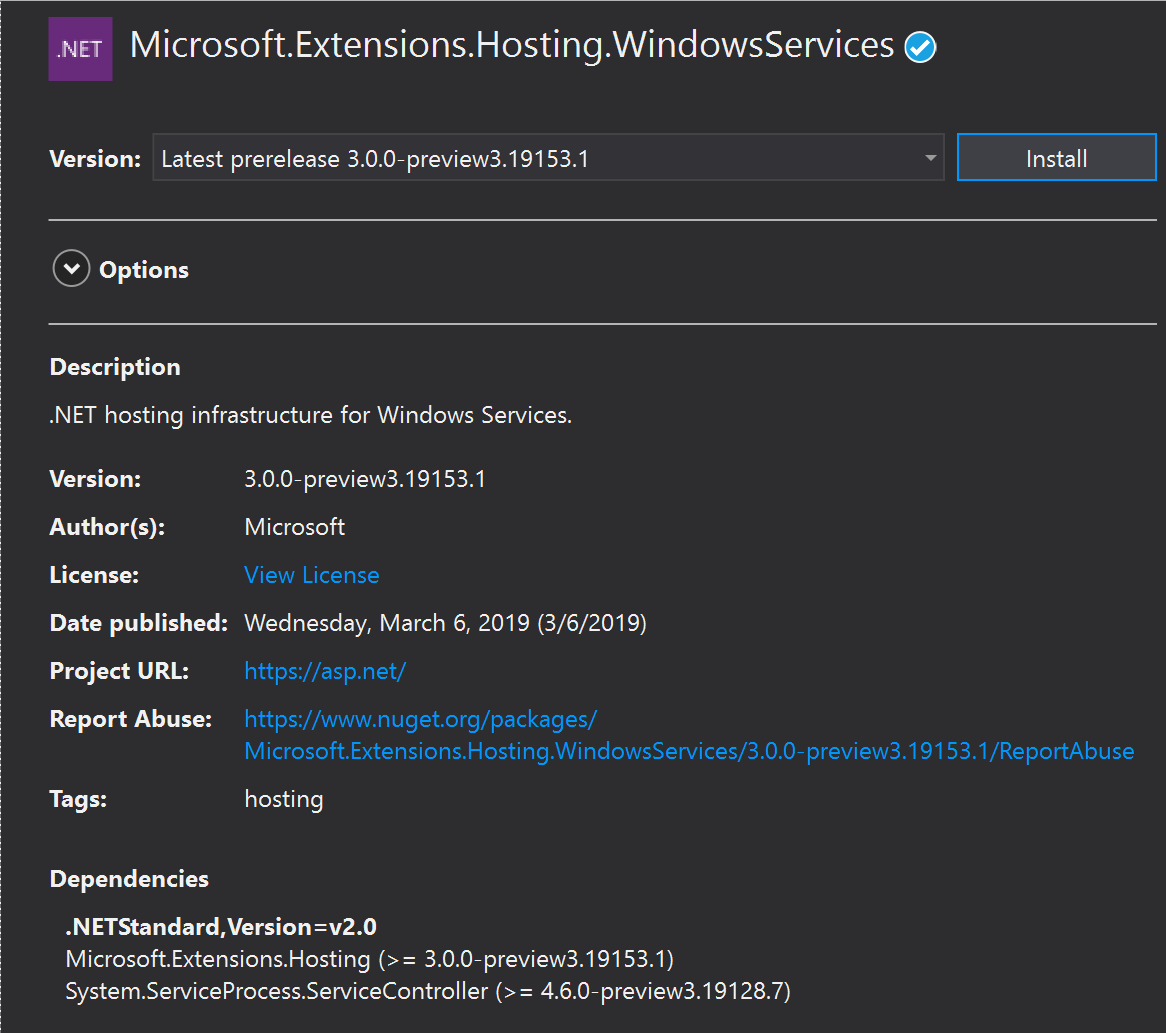
Add NuGet Package Microsoft.Extensions.Hosting.WindowsServices
Add call UseServiceBaseLifetime to HostBuilder in Program.cs
public class Program
{
    public static void Main(string[] args)
    {
        CreateHostBuilder(args).Build().Run();
    }
    public static IHostBuilder CreateHostBuilder(string[] args) =>
        Host.CreateDefaultBuilder(args)
            .UseServiceBaseLifetime()
            .ConfigureServices(services =>
            {
                services.AddHostedService();
            });
}
This method does a few things. Firstly, it checks if the application really works as a Windows service, if it is not, then it performs noops, which makes this method safe to call when running locally or as a Windows service.
Secondly, it configures your host to use ServiceBaseLifetime. ServiceBaseLifetime works with ServiceBase to help control the lifetime of your application when it starts as a Windows service. This overrides the standard one ConsoleLifetime that processes signals such as CTL + C.
Install Worker
Once we got the worker using ServiceBaseLifetime we need to install it:
First, let's publish the app. We will install the Windows Service in-place, which means that the executable will be blocked every time the service starts. Publishing is a good way to make sure that all the files needed to start the service are in one place and ready to install.
dotnet publish -o c:\code\workerpub
Next, you can use sc utility in the admin command line
sc create workertest binPath=c:\code\workerpub\WorkerTest.exe
For instance:

Security note: This command starts the service as a local system, which is not what you need . Instead, you should create a service account and start the Windows service as this account. We will not talk about this here, but there is some ASP.NET documentation here: https://docs.microsoft.com/en-us/aspnet/core/host-and-deploy/windows-service?view=aspnetcore- 2.2
Logging
The logging system has an Event Log service, which can send log messages directly to the Windows event log. To enter the event log, you can add a Microsoft.Extensions.Logging.EventLog package and then change yours Program.cs:
public static IHostBuilder CreateHostBuilder(string[] args) =>
    Host.CreateDefaultBuilder(args)
        .ConfigureLogging(loggerFactory => loggerFactory.AddEventLog())
        .ConfigureServices(services =>
        {
            services.AddHostedService();
        });
Further work
In the following previews, we plan to improve the use of Workers with Windows Services:
- Rename UseWindowsServiceBaseLifetime to UseWindowsService
- Add automatic and improved integration with the event log at startup as a Windows service.
Conclusion
We hope that you will try out our new template and want to know how it works. You can send any error messages or suggestions here: https://github.com/aspnet/AspNetCore/issues/new/choose
