Turn DSLogic Basic into DSLogic Plus
- Tutorial
 Hello, Habr!
 In this article I will tell how to modify DSLogic Basic to DSLogic Plus.
Perhaps for some this will not be news.
In any case, I collected information from a foreign forum , removed everything superfluous and tell you.
Who cares - I ask for a cat.
Foreword
Somehow I read a DSLogic review / comparison from a friend of VBKesha , and desired.
The thing is very interesting, I will not describe why DSL and not Saleae. The taste and color, as they say.
However, then it was at a very biting price of $ 200 (now, in principle, the price has not changed much).
But relatively recently, in the well-known Chinese market, I came across DSLogic Basic (> $ 53).
Inquiring at forums, in chat rooms and Google - I found out that this version differs from Plus only in the absence of external RAM, and the RAM itself is easily mined in the same market (> $ 1).
And for the mod, it is enough to solder the RAM and change one byte in the eeprom firmware on the analyzer board.
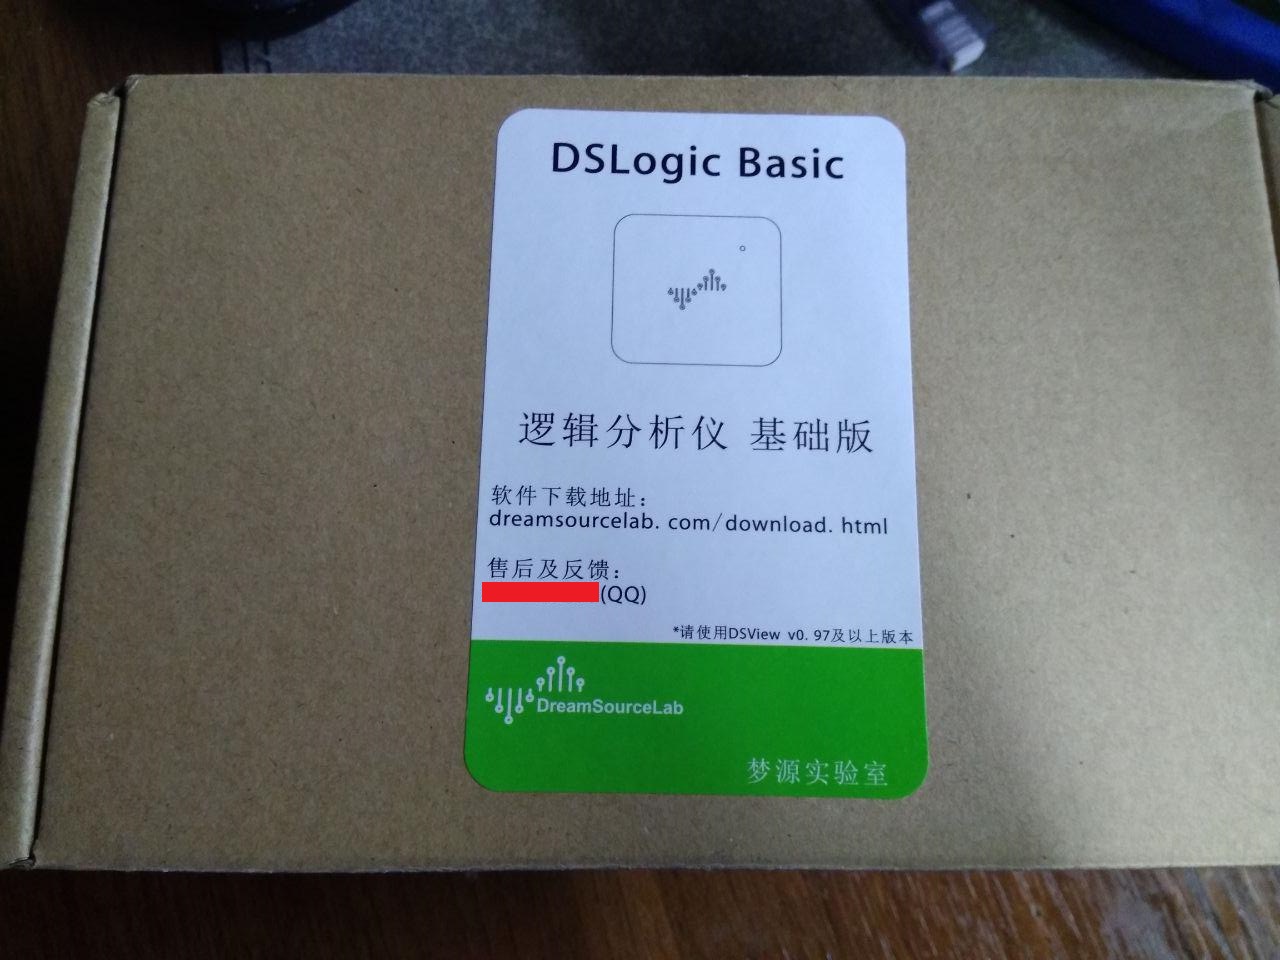
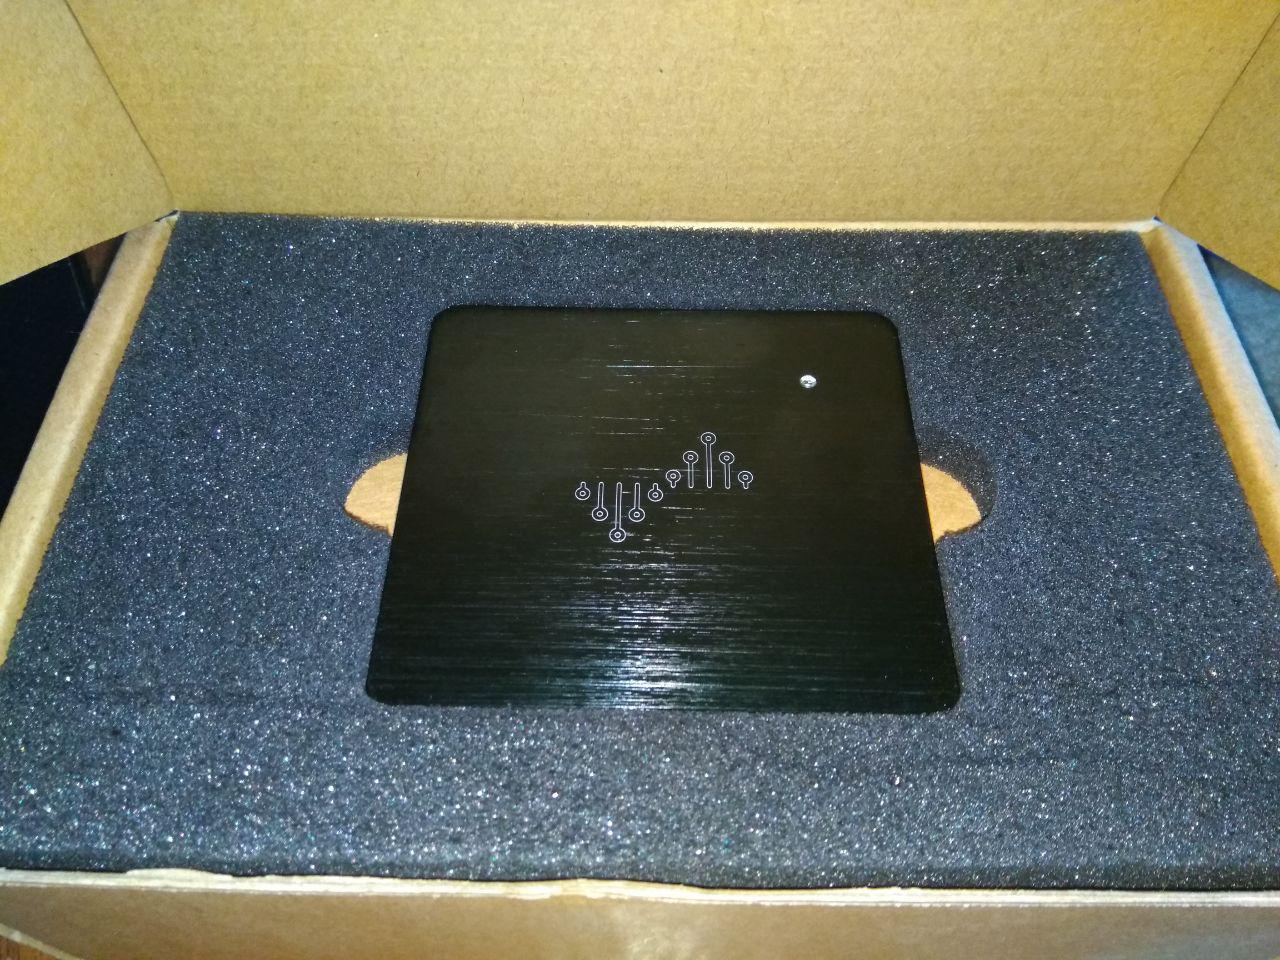
Unpacking
Although unpacking was already in the article mentioned above, 3 years have passed already, something has changed ...
We are opening, we are building a brick factory.

We open further and find a loss (smile).
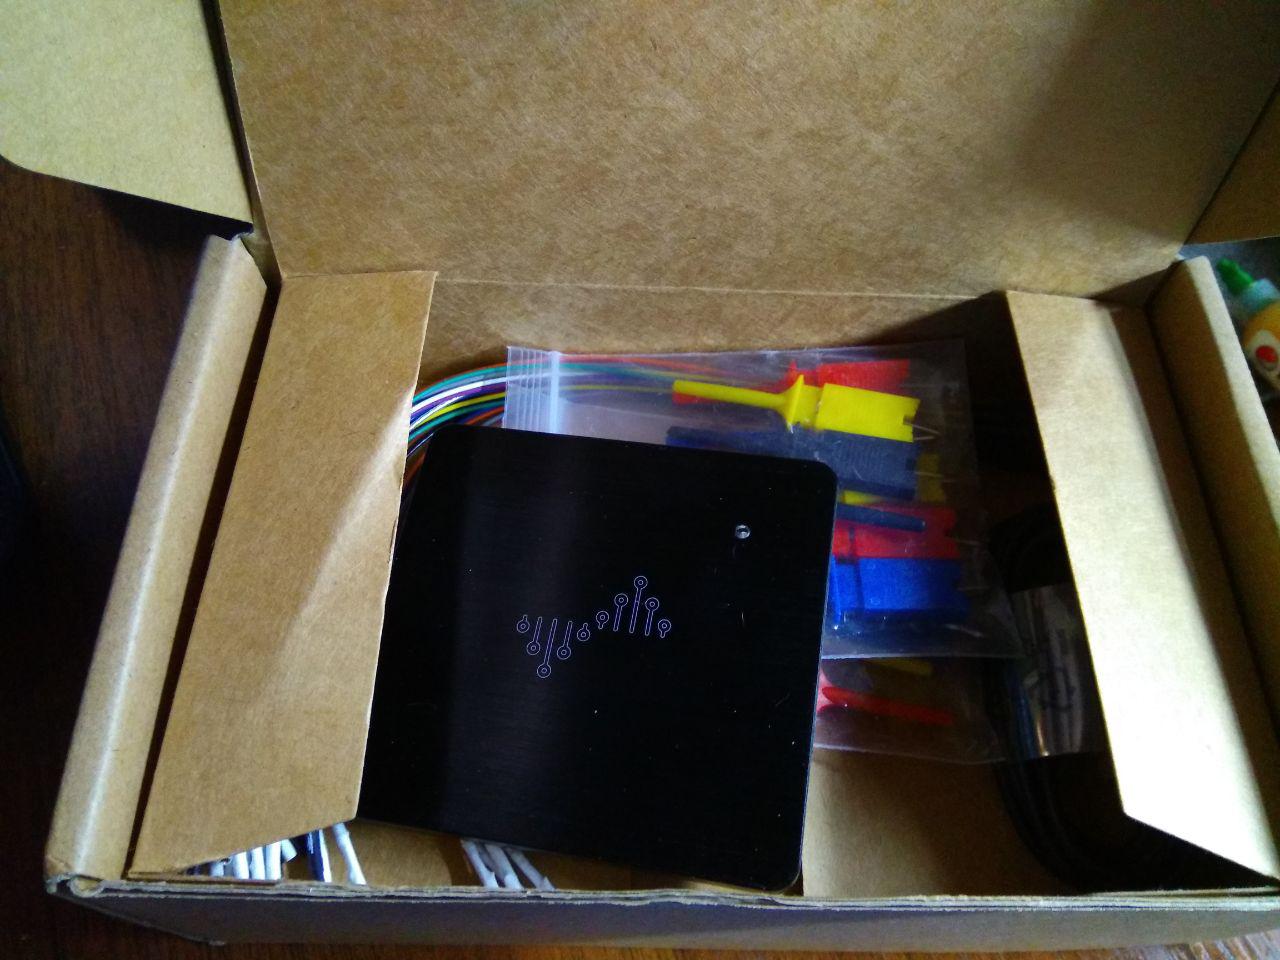
Options:
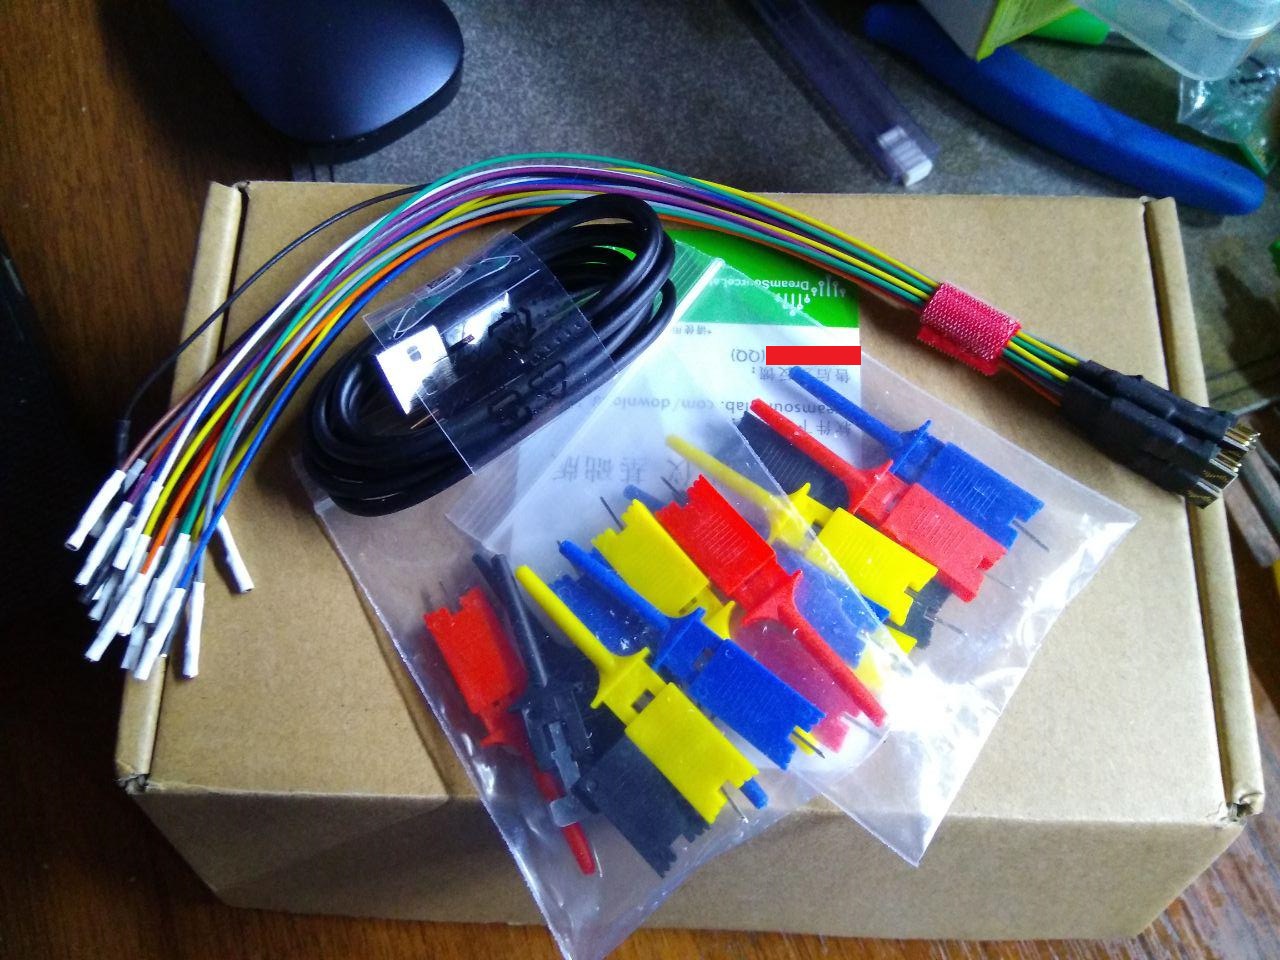
Wires - divided into bundles of 4 inputs (which is more convenient, IMHO), but not coaxial (on the off site coaxial), not as bad as it might seem (although in the future it will probably be replaced by coaxial).
Cable - USB Type-C (2.0 HS only).
Probes - have not changed (I’ll also likely change in the future).
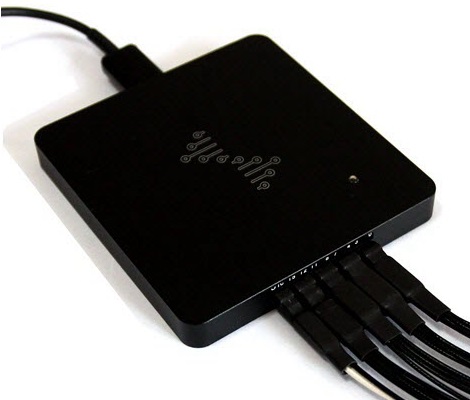
Hero of the occasion.
In software, it is defined as follows:

We are opening, we are building a brick factory.
We open further and find a loss (smile).
Options:
Wires - divided into bundles of 4 inputs (which is more convenient, IMHO), but not coaxial (on the off site coaxial), not as bad as it might seem (although in the future it will probably be replaced by coaxial).
Cable - USB Type-C (2.0 HS only).
Probes - have not changed (I’ll also likely change in the future).
Hero of the occasion.
In software, it is defined as follows:
Getting to work
The author is not responsible for your failures!
All that you do - you do at your own peril and risk!
You will need:
- Soldering iron;
- A programmer with support for firmware I2C EEPROM 24 **** (
- * Just in case, an archive with firmware (PASS: 8S] 7P # cGaB / X7p-N).
- RAM AS4C16M16SA or equivalent (4 page - analogues) ;
- The device itself.
Reveal
Hidden text
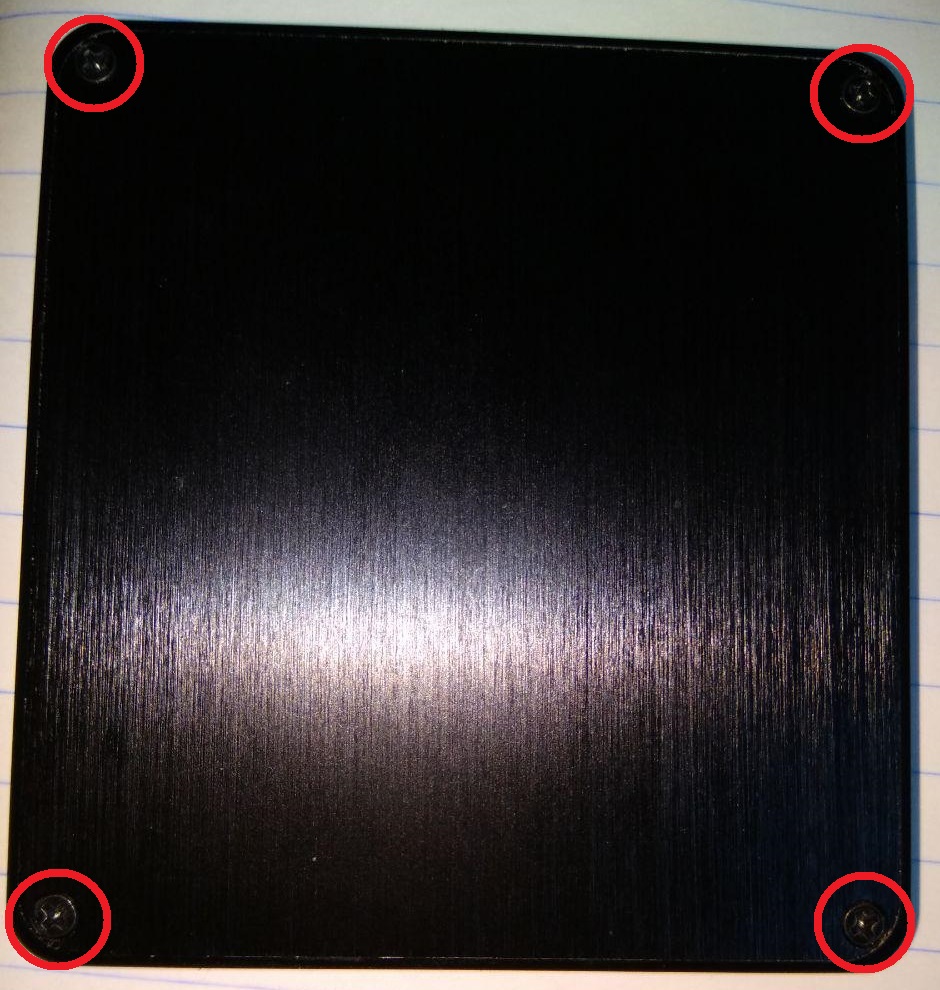
We unscrew 4 bolts, pry the cover with tweezers or a suction cup.
Carefully perform the following steps:
Carefully perform the following steps:
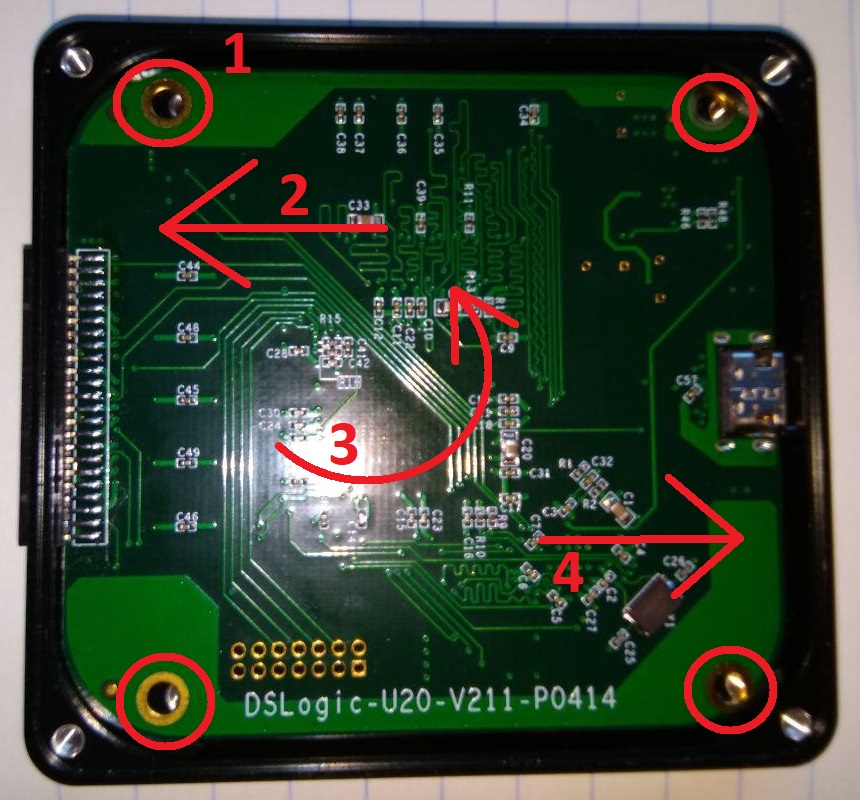
- We unscrew 4 more bolts securing the board to the case.
- We move the board towards the channel input connector.
- Bend the board slightly.
- We take out the board by crushing fingers on the channel inputs connector.
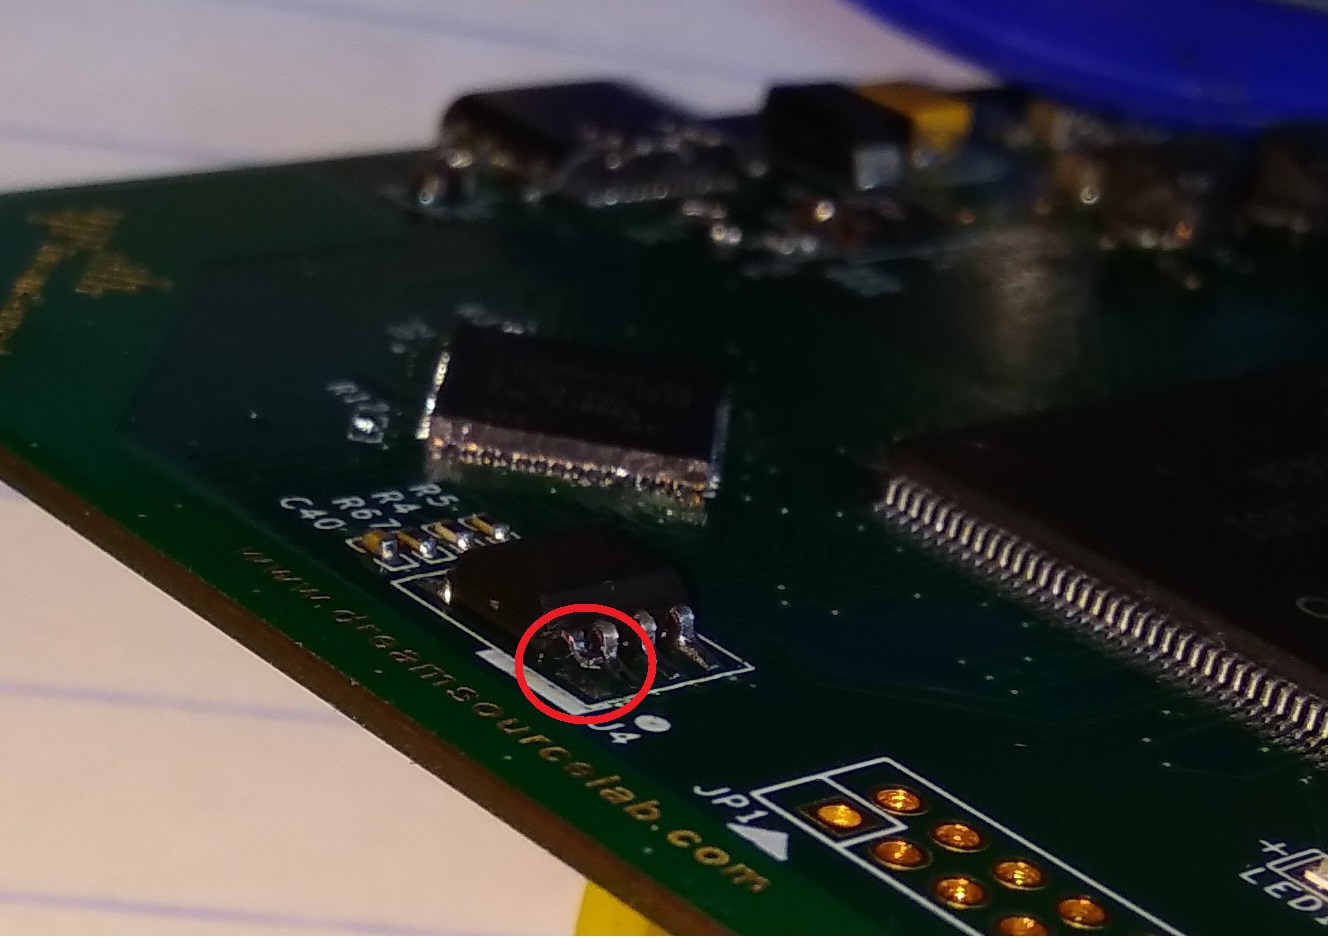
We solder RAM, prepare for firmware
Hidden text
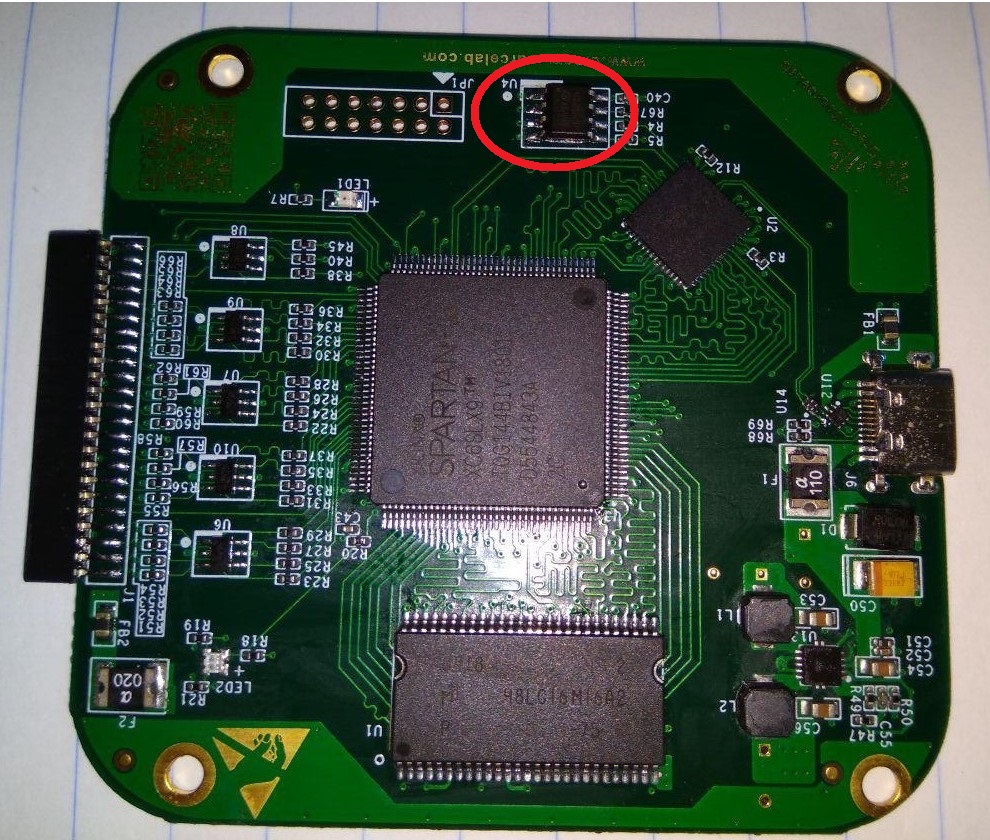
On the board we see free space, on it we solder the RAM observing the key .
Solder the contacts thoroughly with a soldering iron, do not leave the snot!

We see the chip in the 8-foot case - this is I2C EEPROM, it needs to be flashed.
The EZP2010 programmer did not master the firmware (error when comparing, each time at a different address).
Therefore, I take a programmer based on CH341A.
In order not to solder the chip - I use a SOIC8 SOP8 clip.
Since the first EEPROM pin on the board is connected to power, and on the programmer to the ground - I warm it with a soldering iron and slightly raise the first pin with tweezers:
Then carefully (so as not to press the first pin back), I hook the clothespin observing the key .
And only then I connect the programmer to the PC.
Solder the contacts thoroughly with a soldering iron, do not leave the snot!
We see the chip in the 8-foot case - this is I2C EEPROM, it needs to be flashed.
The EZP2010 programmer did not master the firmware (error when comparing, each time at a different address).
Therefore, I take a programmer based on CH341A.
In order not to solder the chip - I use a SOIC8 SOP8 clip.
Since the first EEPROM pin on the board is connected to power, and on the programmer to the ground - I warm it with a soldering iron and slightly raise the first pin with tweezers:
Then carefully (so as not to press the first pin back), I hook the clothespin observing the key .
And only then I connect the programmer to the PC.
Firmware
1) Read the EEPROM.
2) We do a search on the HEX request 0E 2A, and change the next byte 21 to 20:


3) Firmware, check.
After a successful firmware:
- I turn off the programmer.
- I solder the first pin back.
- I connect to the PC.
In software, it is defined as follows: We

check the work on some kind of hardware, for example, UART.
If everything is OK - turn off, wash with alcohol, collect.
If the data is broken - once again, carefully solder the RAM or change it.
Profit!
The result - we get a logic analyzer worth $ 150-200 (+ customs), at a price of ~ $ 60 (including shipping).
UPD:
Supplement (512Mb RAM).
Up to 512Mb RAM I think is not advisable.
Since the source code for the firmware is publicly available - from the kickstarter version, i.e. outdated and much has changed.
At least there will be no logic voltage adjustment.
In addition, the circuit is different, which means that in order to collect the source data for the latest version of the board (DSLogic Plus, and others), you need to redraw the board into a circuit, which is not so simple, considering that the board is multi-layered, you need to unsolder all the components (DSLogic I have alone, because I’m not ready to sacrifice him yet).
Thanks for attention!
When copying, please leave a link to the source.
With questions, please contact in the comments, as I can - I will help.