As the third time in my life I saw a thermal imager alive and held it in my hands for the first time

Hello, Habr! First, I’ll talk about previous times.
I first saw a thermal imager in 2010. The size and layout of it resembled a screwdriver. And it was an “alcoholic” device, completely refusing to work, if not “treating” it with liquid nitrogen. As it heated, the picture became more noisy, until, finally, it finally disappeared. But as soon as the device was “watered” again, it again regained the long-wave infrared “vision”.
Second time...
... happened in 2015, and it was already a more miniature device, although also a screwdriver-like layout. But the main thing - it was “encoded” and no longer required consumables, costing only electricity to work. I have only read about the next generations of thermal imagers. I remember how surprised I was at all with tiny devices connected to a smartphone via a USB host. They no longer required cooling the matrix - not even Peltier elements, and consumed very little power. But such a device threatened to damage the connector - both a smartphone and its own. Of course, if used carefully, there is no such danger.
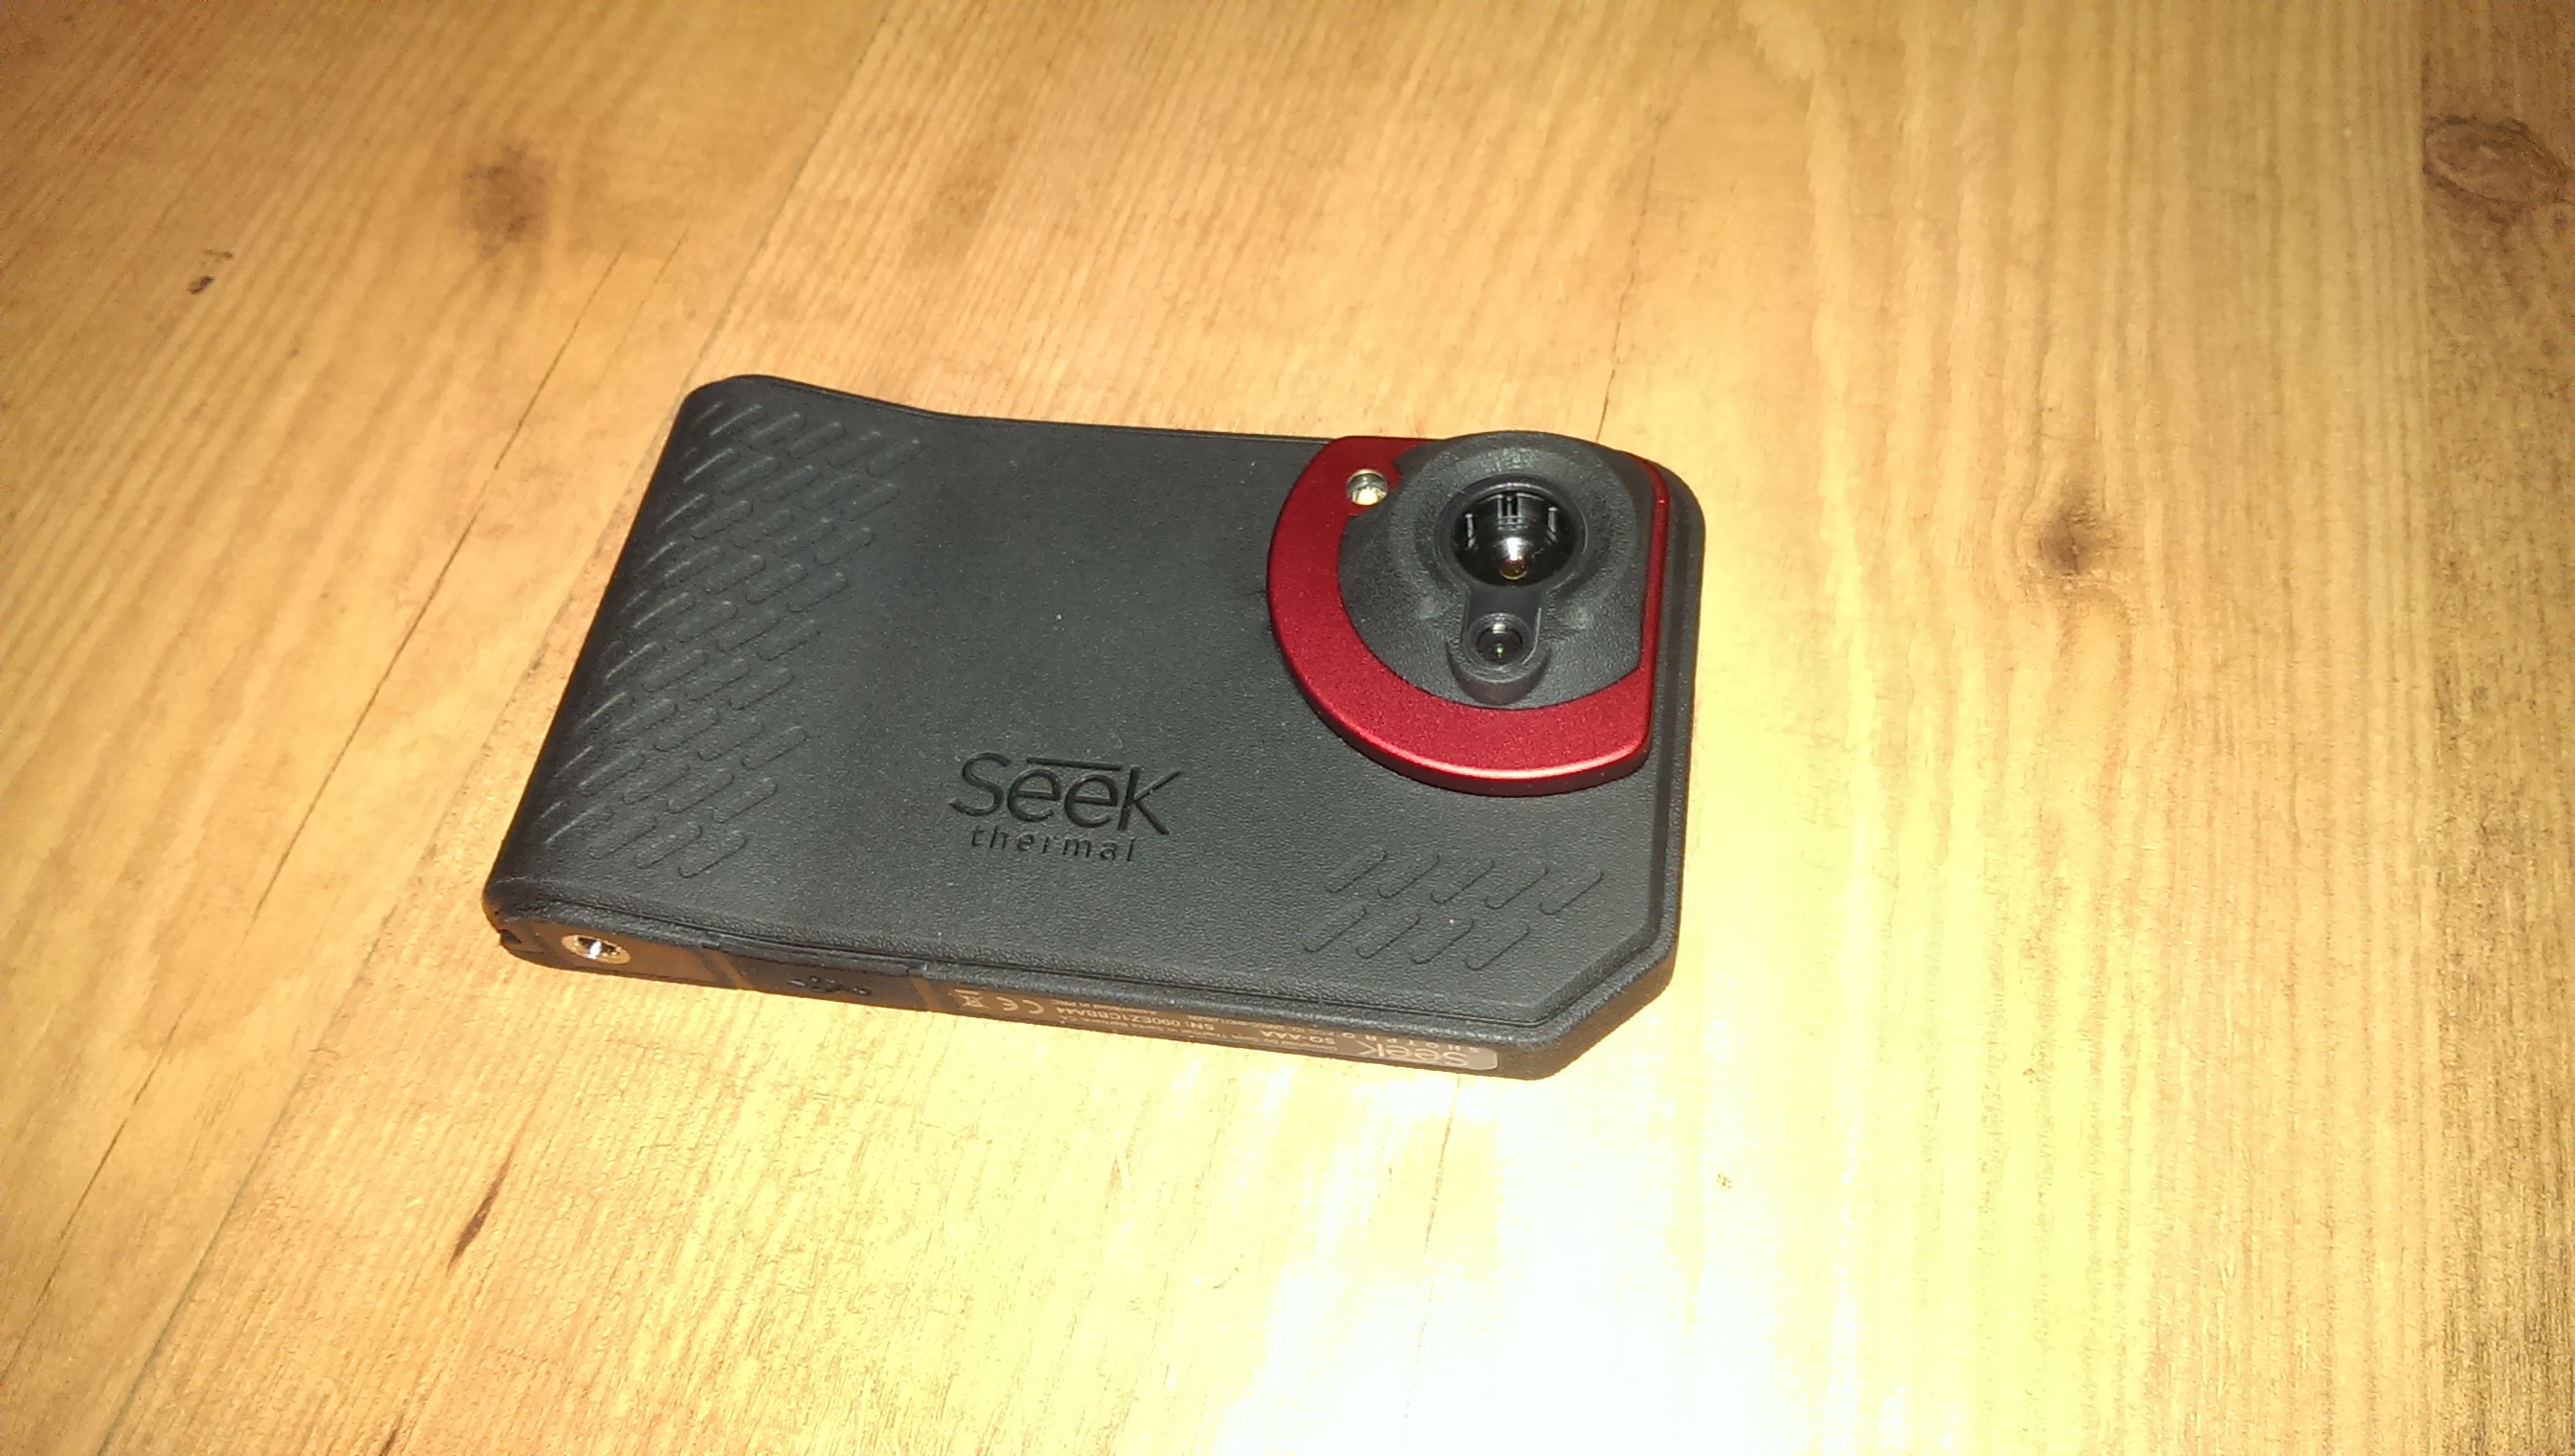
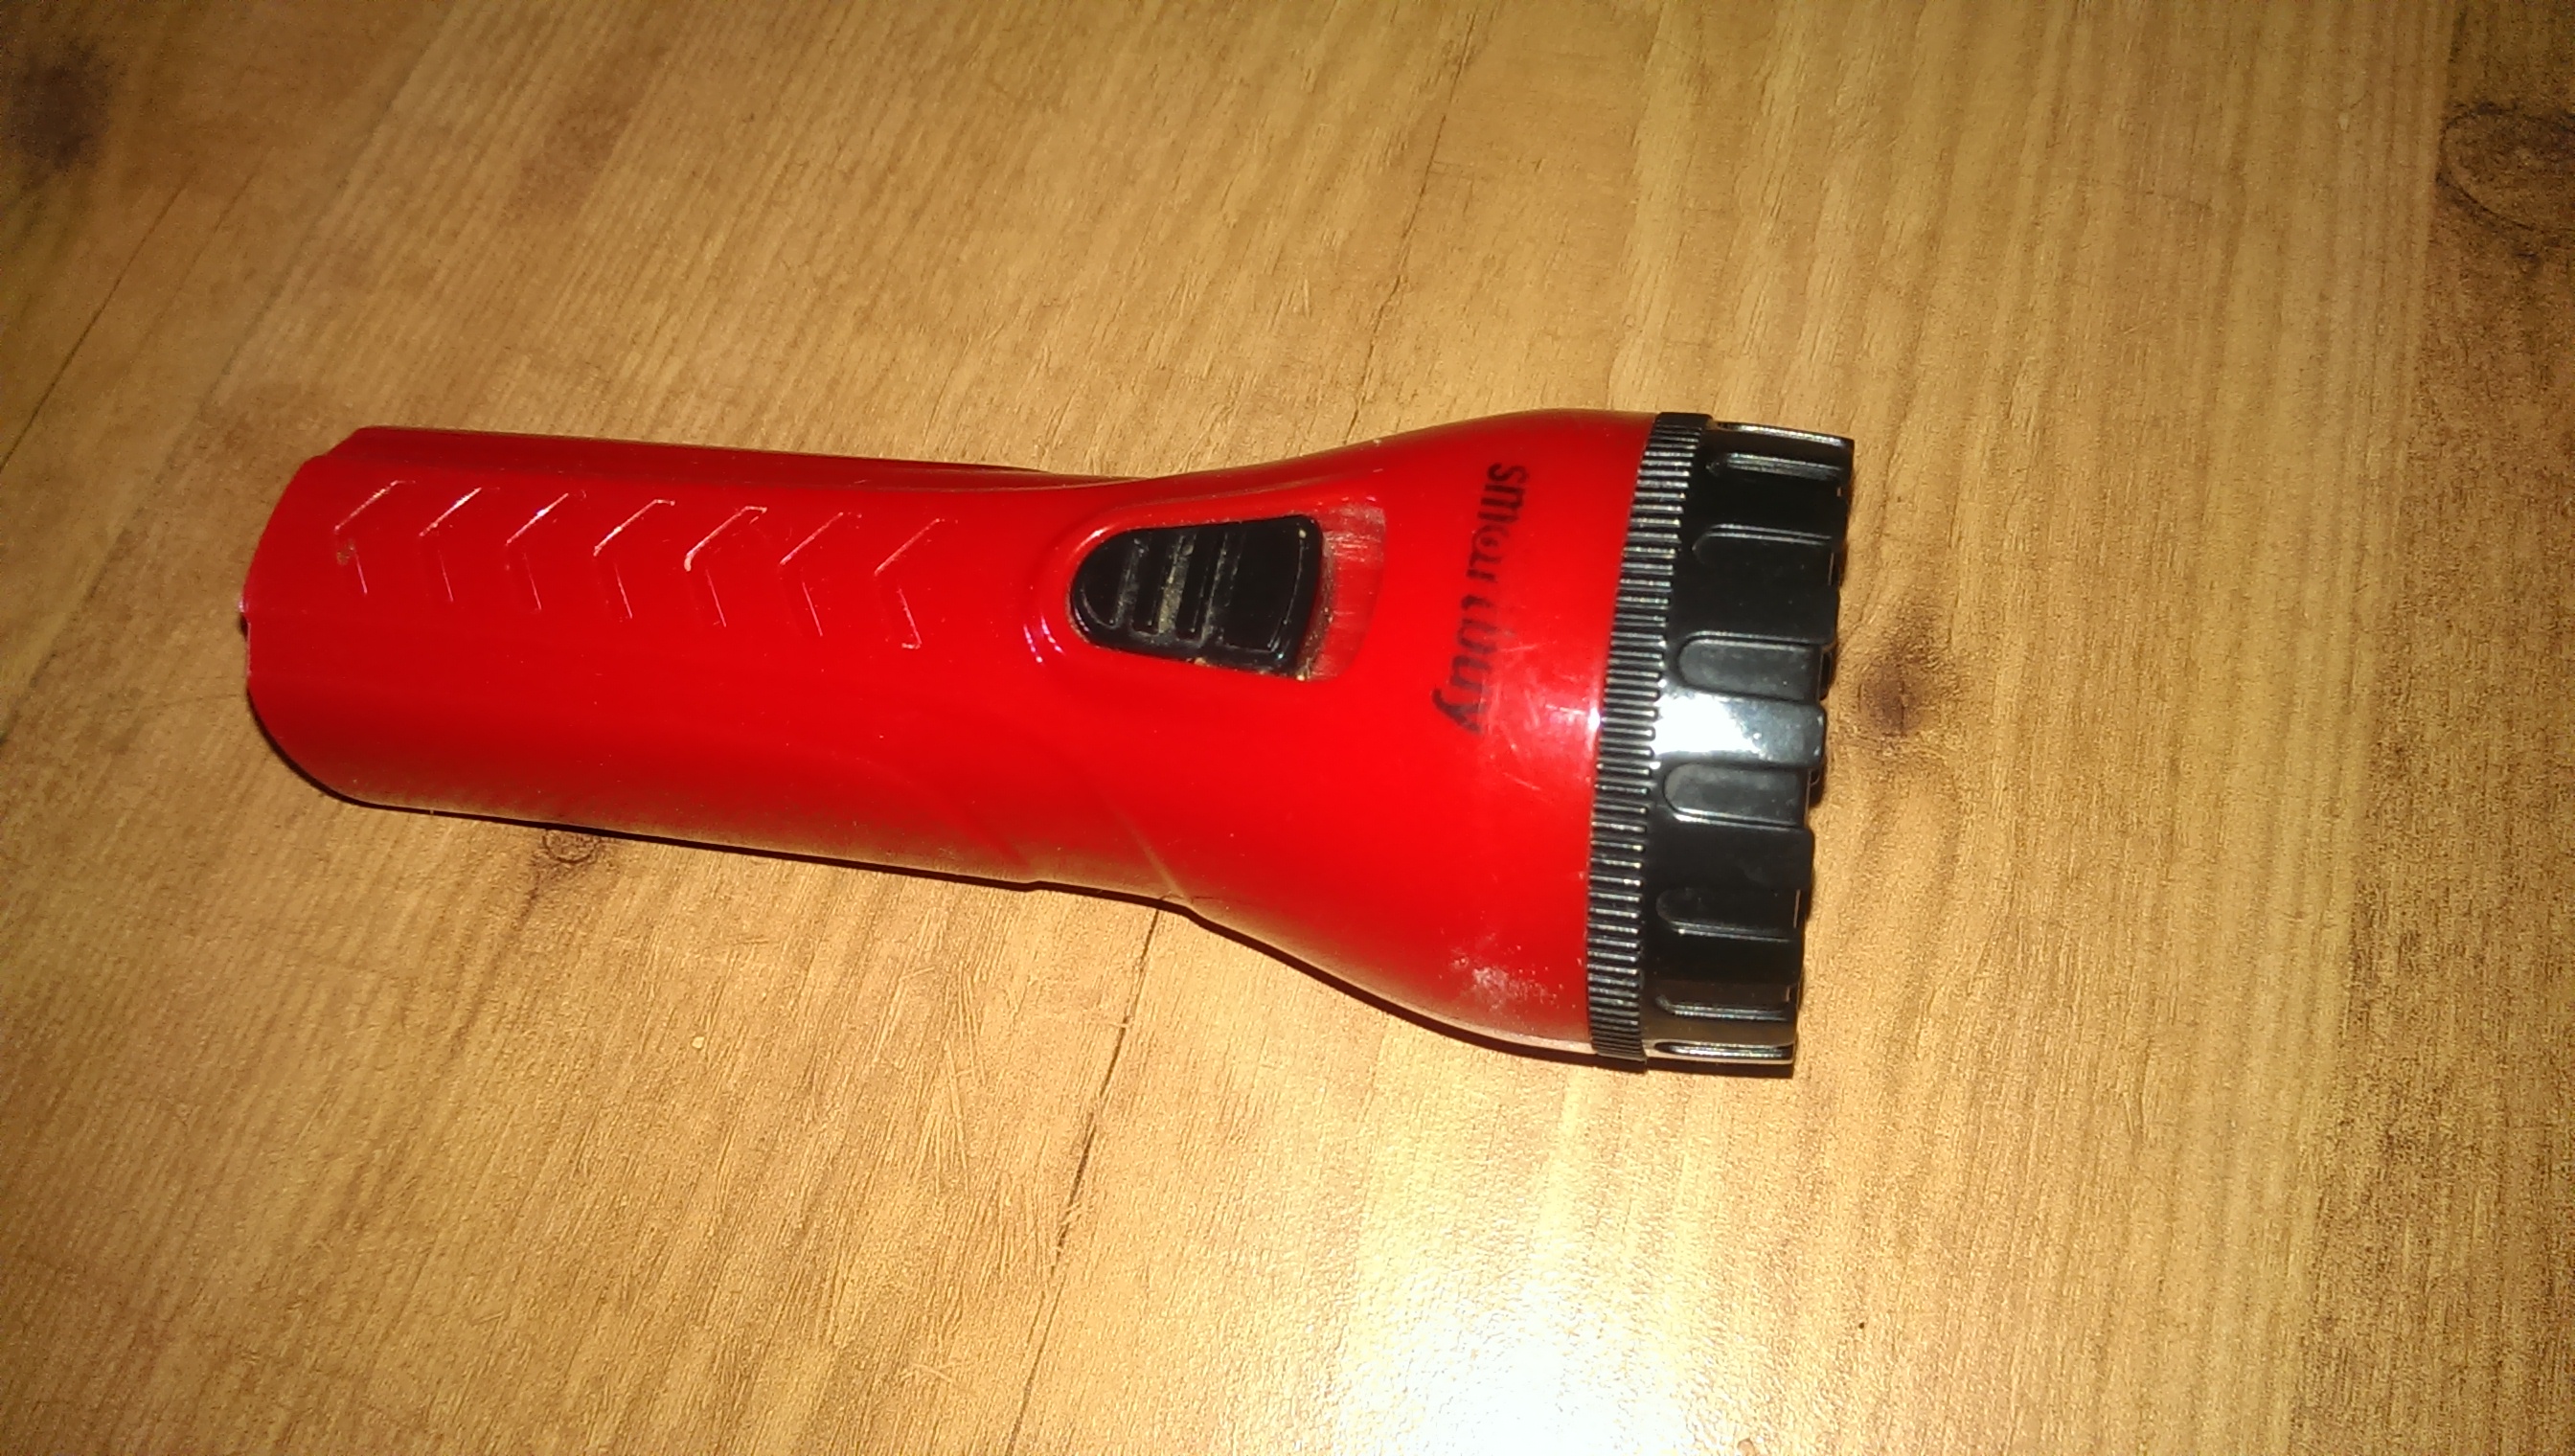
And here came the third time, which differs from the previous two in that it was possible not only to look at the thermal imager alive, but also to hold it in hands, to press buttons. The company Dadget provided me with this one, under the name Seek Thermal Shot Pro, for testing, and the device turned out to be a form factor hitherto unfamiliar to me: like a digital dust box. It turns out that such exist. And on the display side it looks like a smartphone at all, but not frameless. On the contrary, it’s very, very framework, thick and rather weighty, like the old PDA. In general, smartphones would be like that. I hope that Energizer's experiments in this area will push other manufacturers to do the same.
In addition, there is no point in making a thermal imager prefix IP54, because then the smartphone should be the same. And here you are.

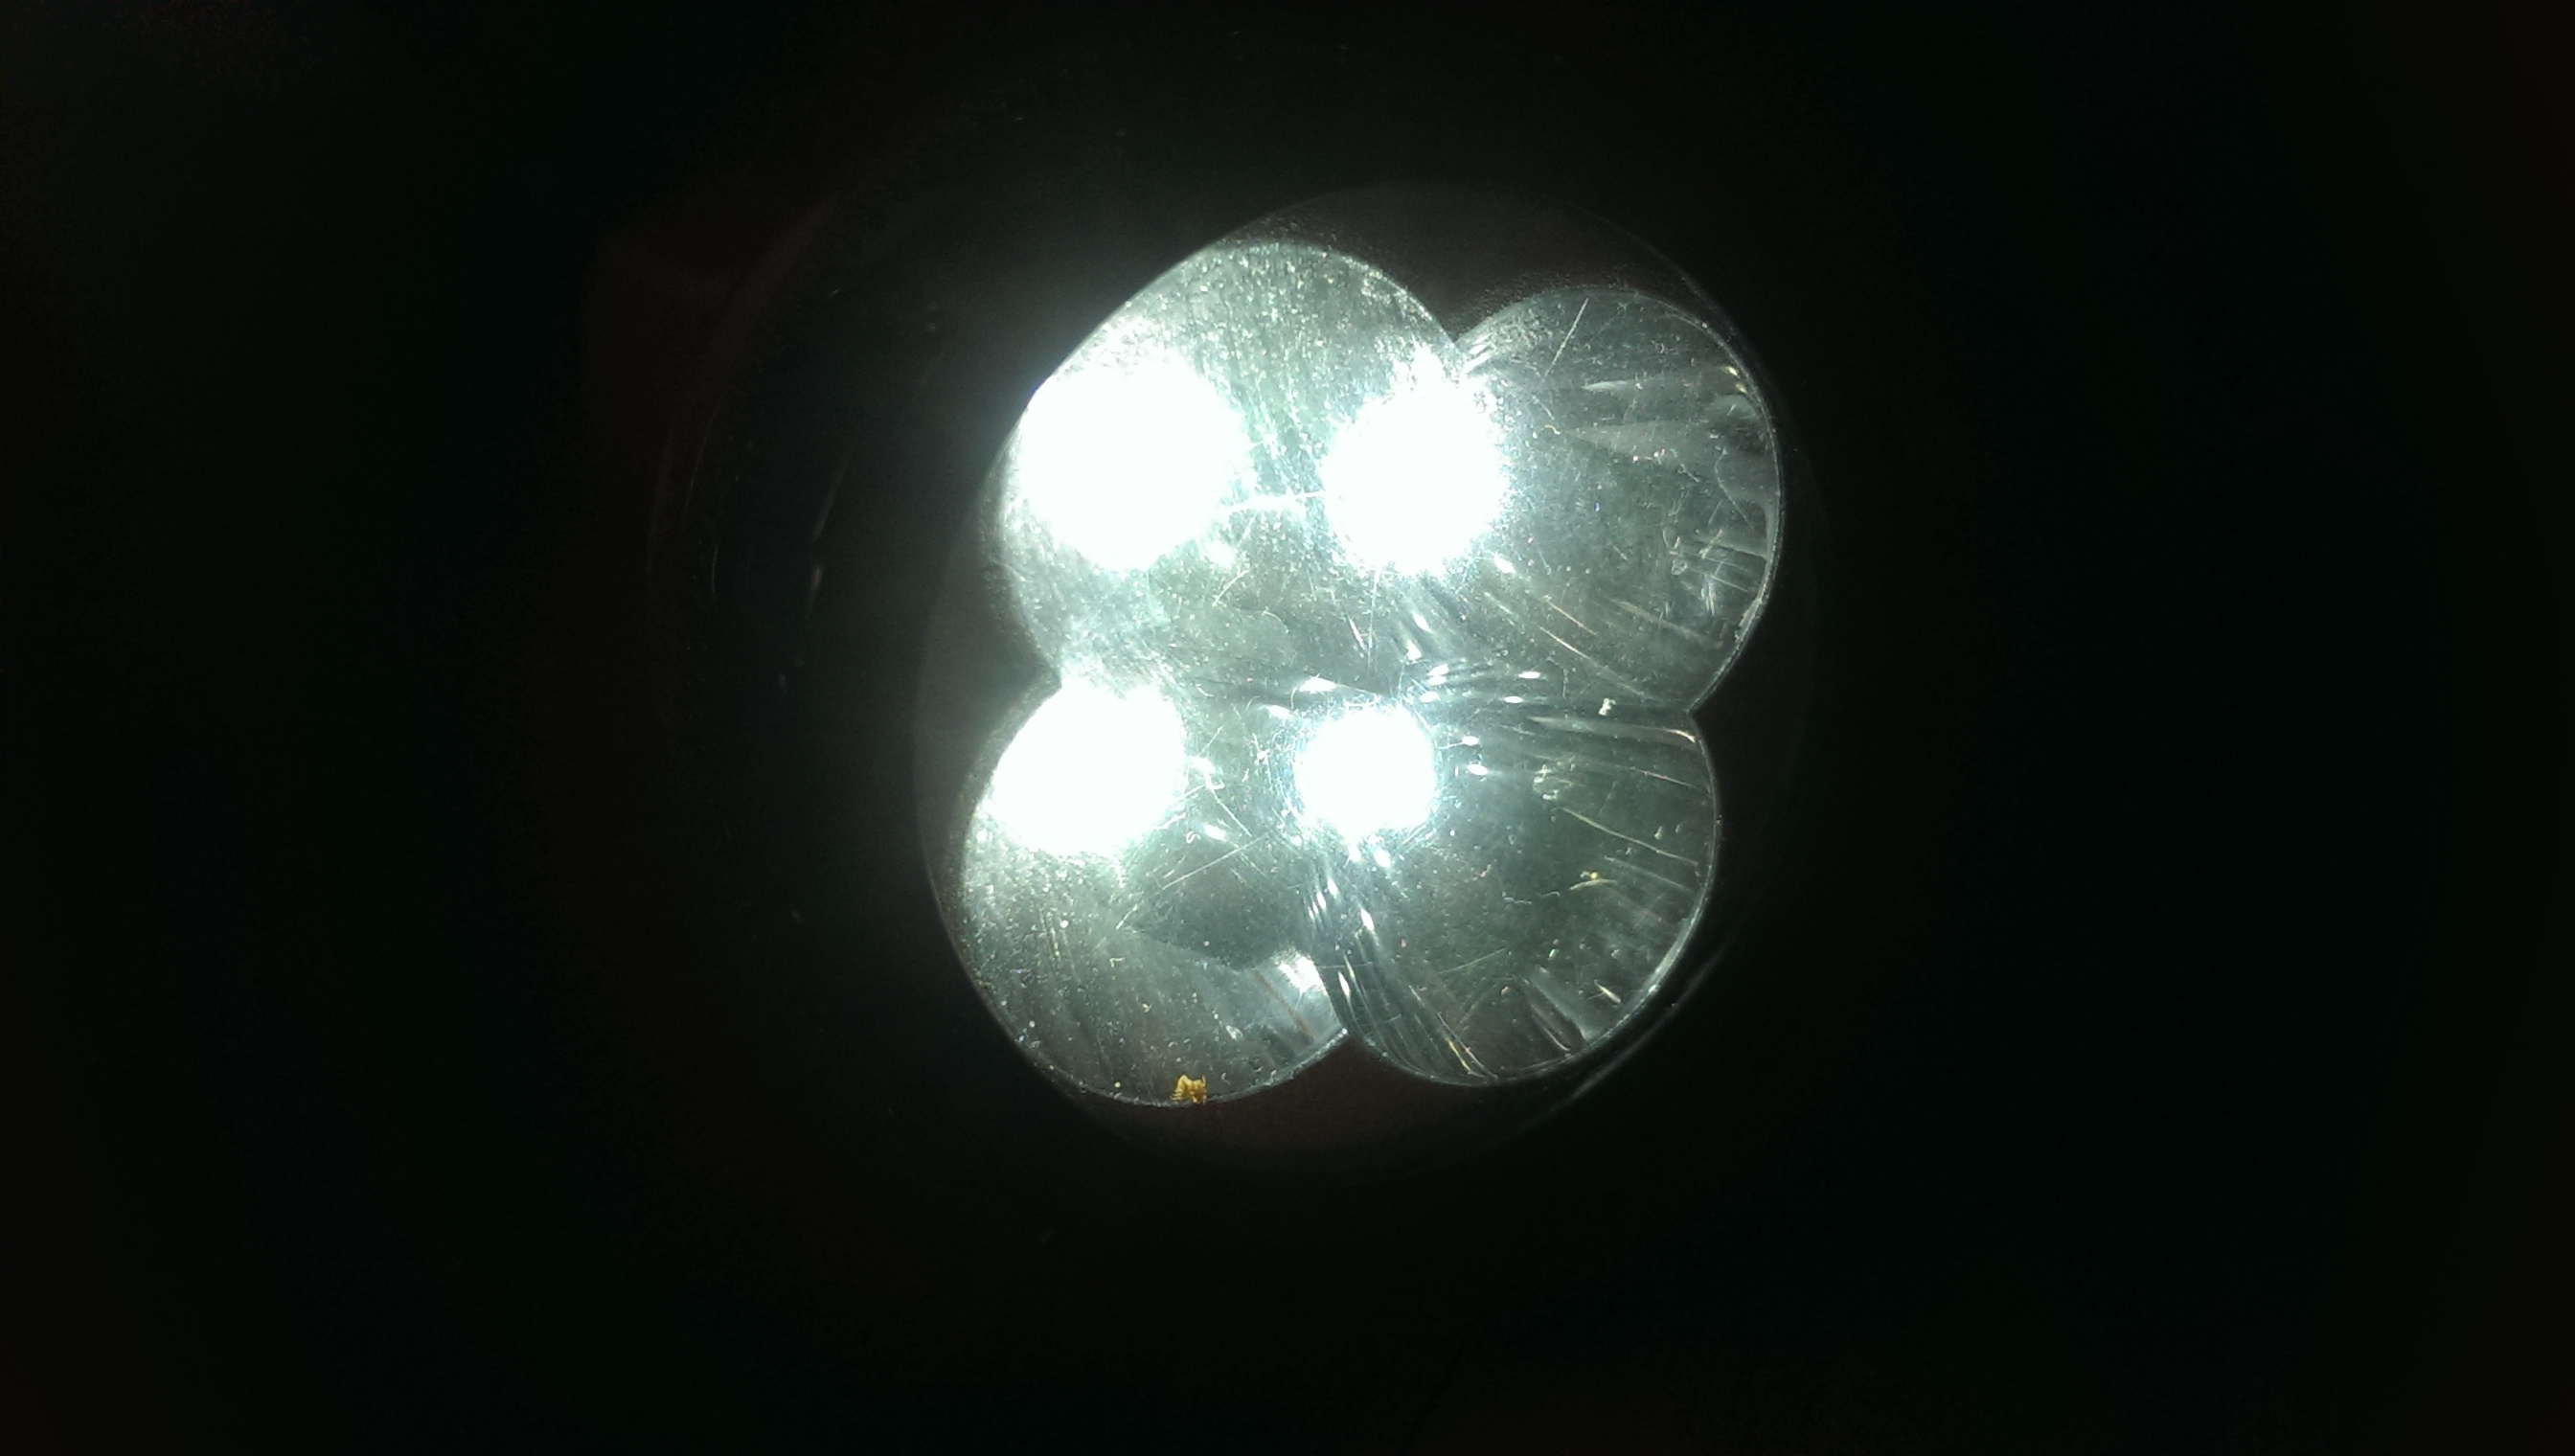
From the side of the cameras there are two lenses: for long-wave infrared rays and for visible light. And a flashlight is a flashlight, not a flash. If it is turned on, it glows continuously, regardless of whether the picture is currently being taken.
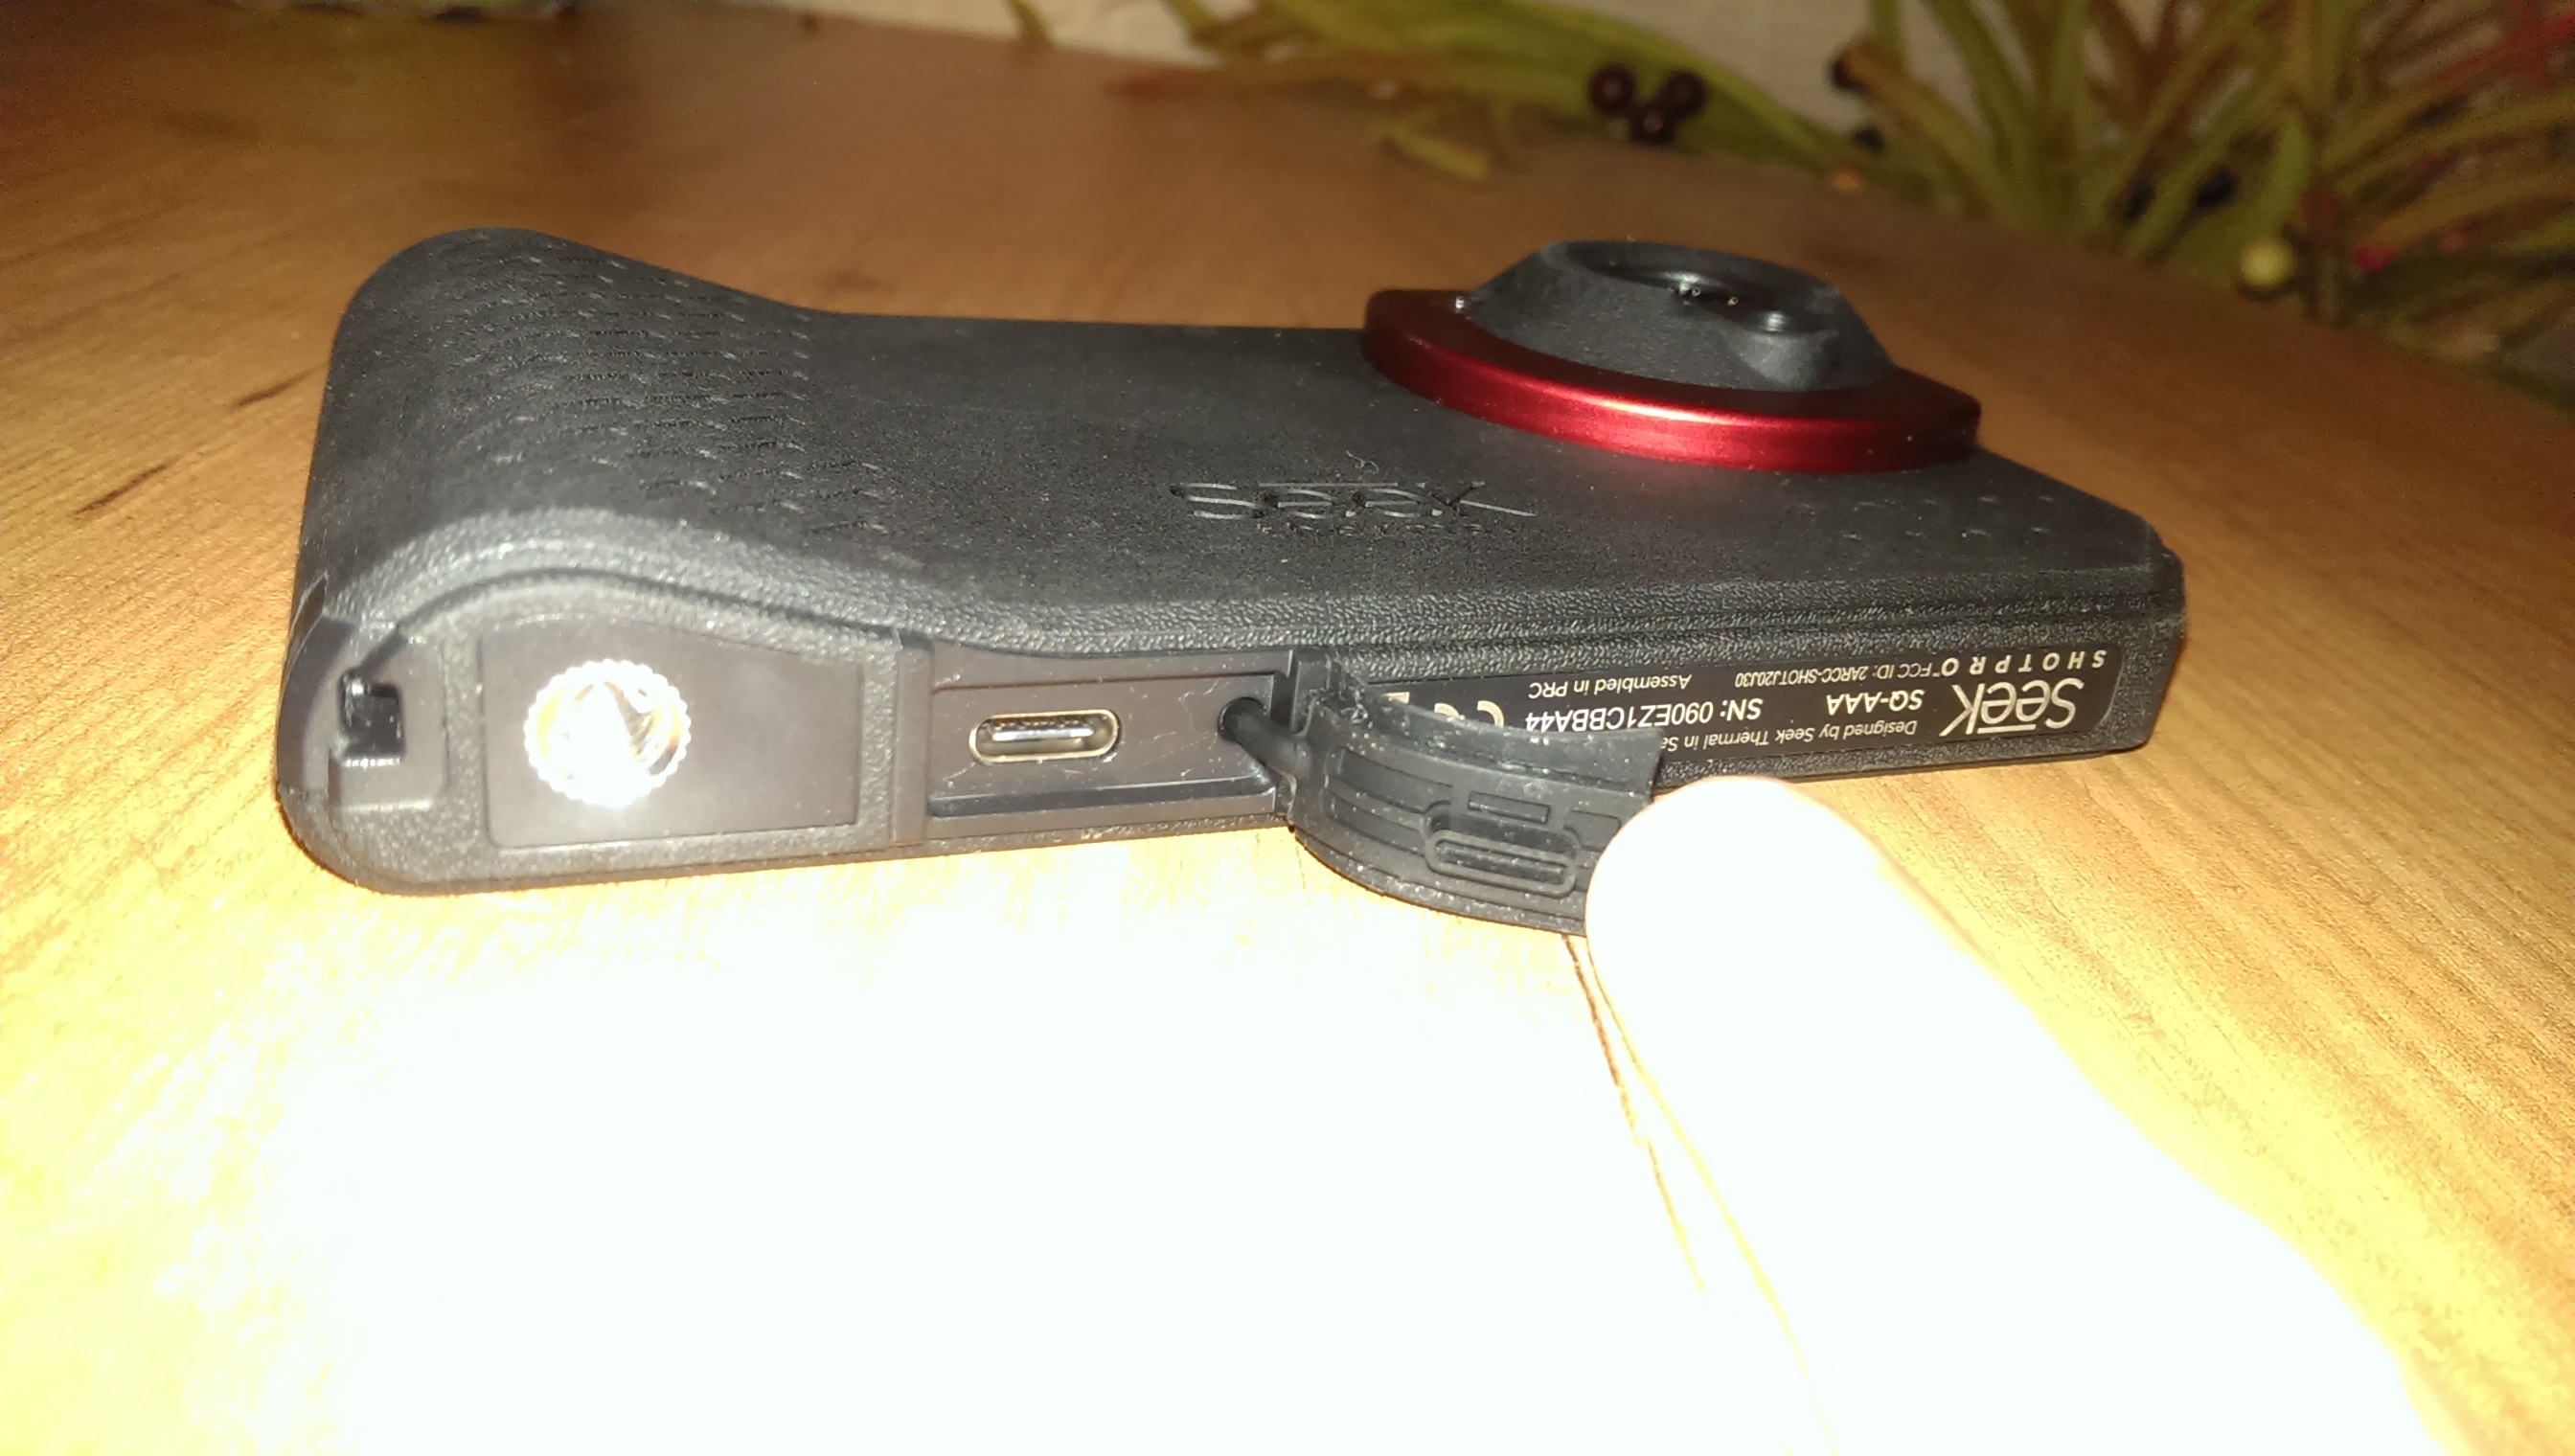
Bottom - tripod socket (thickness allows) and Type C connector.
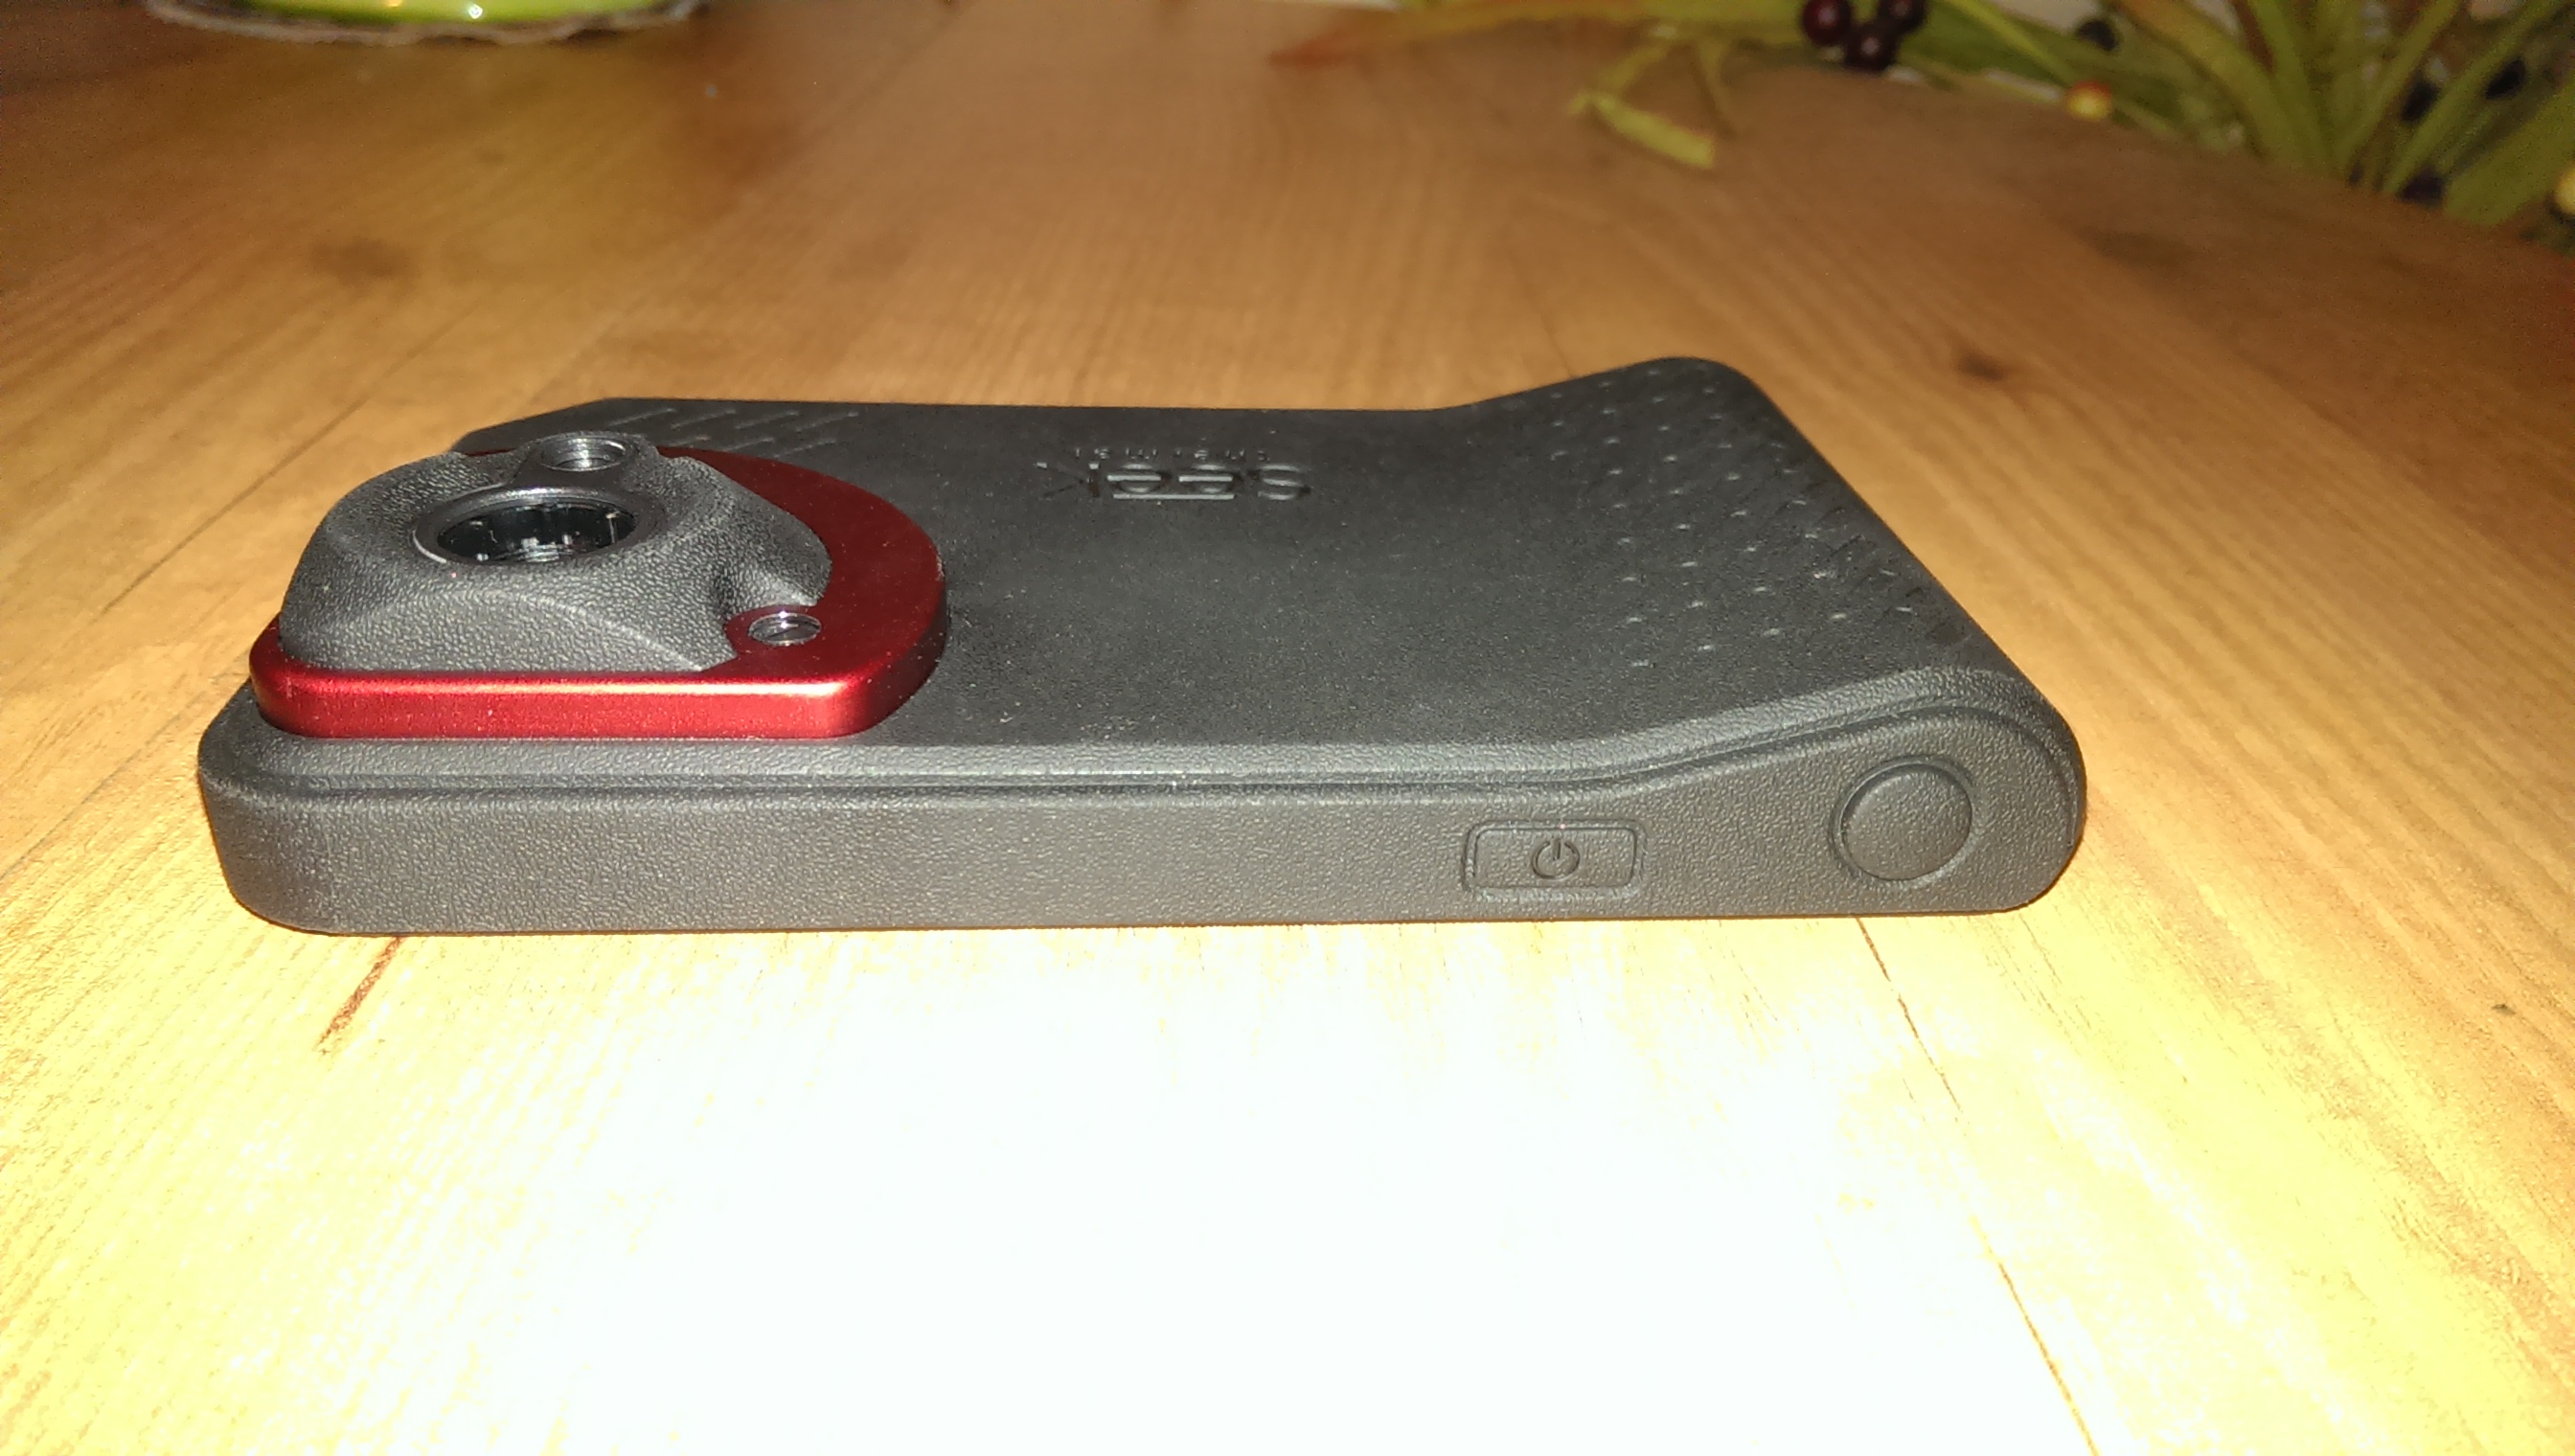
Above - two buttons, their functions:
               | Короткое    | Длинное
               | нажатие     | нажатие
---------------+-------------+-------------
Включение      | Вкл/выкл    | Вкл/выкл
               | фонарь      | прибор
---------------+-------------+-------------
Съёмка         | Сделать     | Начать
               | снимок;     | видеосъёмку
               | прекратить  |
               | видеосъёмку |
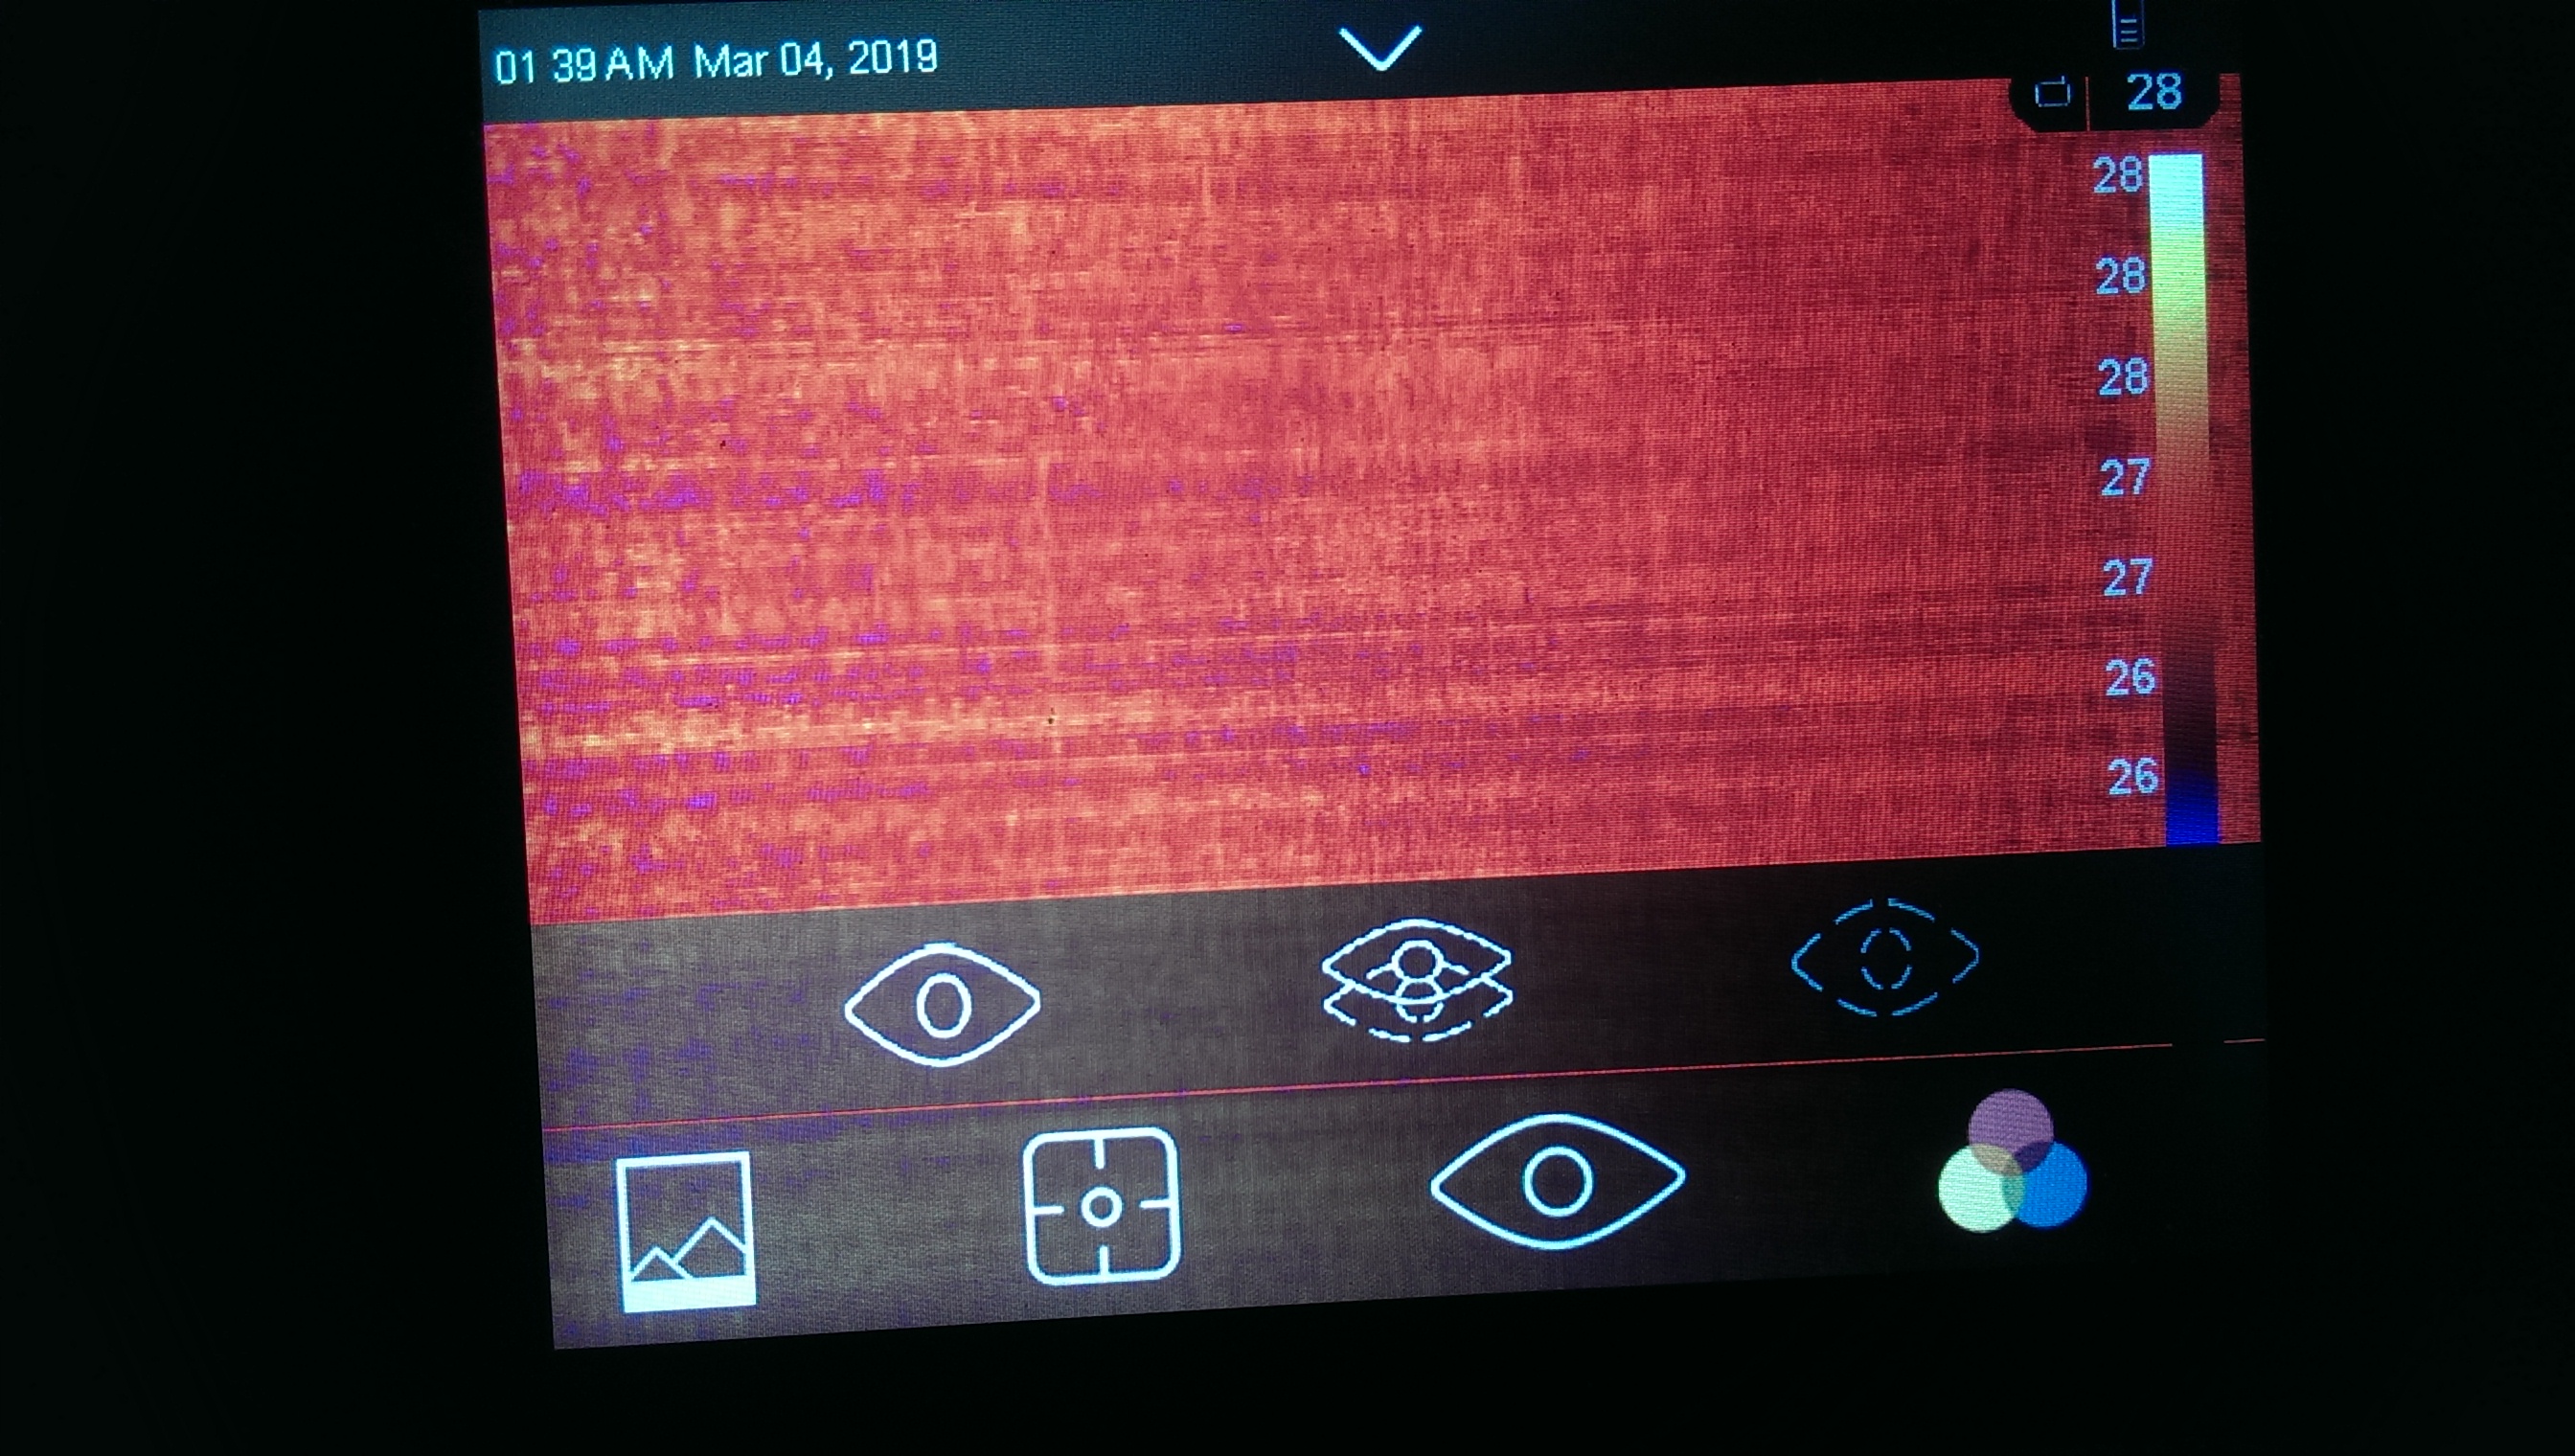
Thermal imagers in the form factor of the digital dust chamber have significantly better characteristics than those made in the form of prefixes to the smartphone. So, the device provided to me for testing has a resolution of 320x240, a frame rate of 9 Hz, and a temperature measurement accuracy of 0.5 degrees. Do not be surprised, for a thermal imager, such a resolution is considered simply amazing. It happens and 80x60.
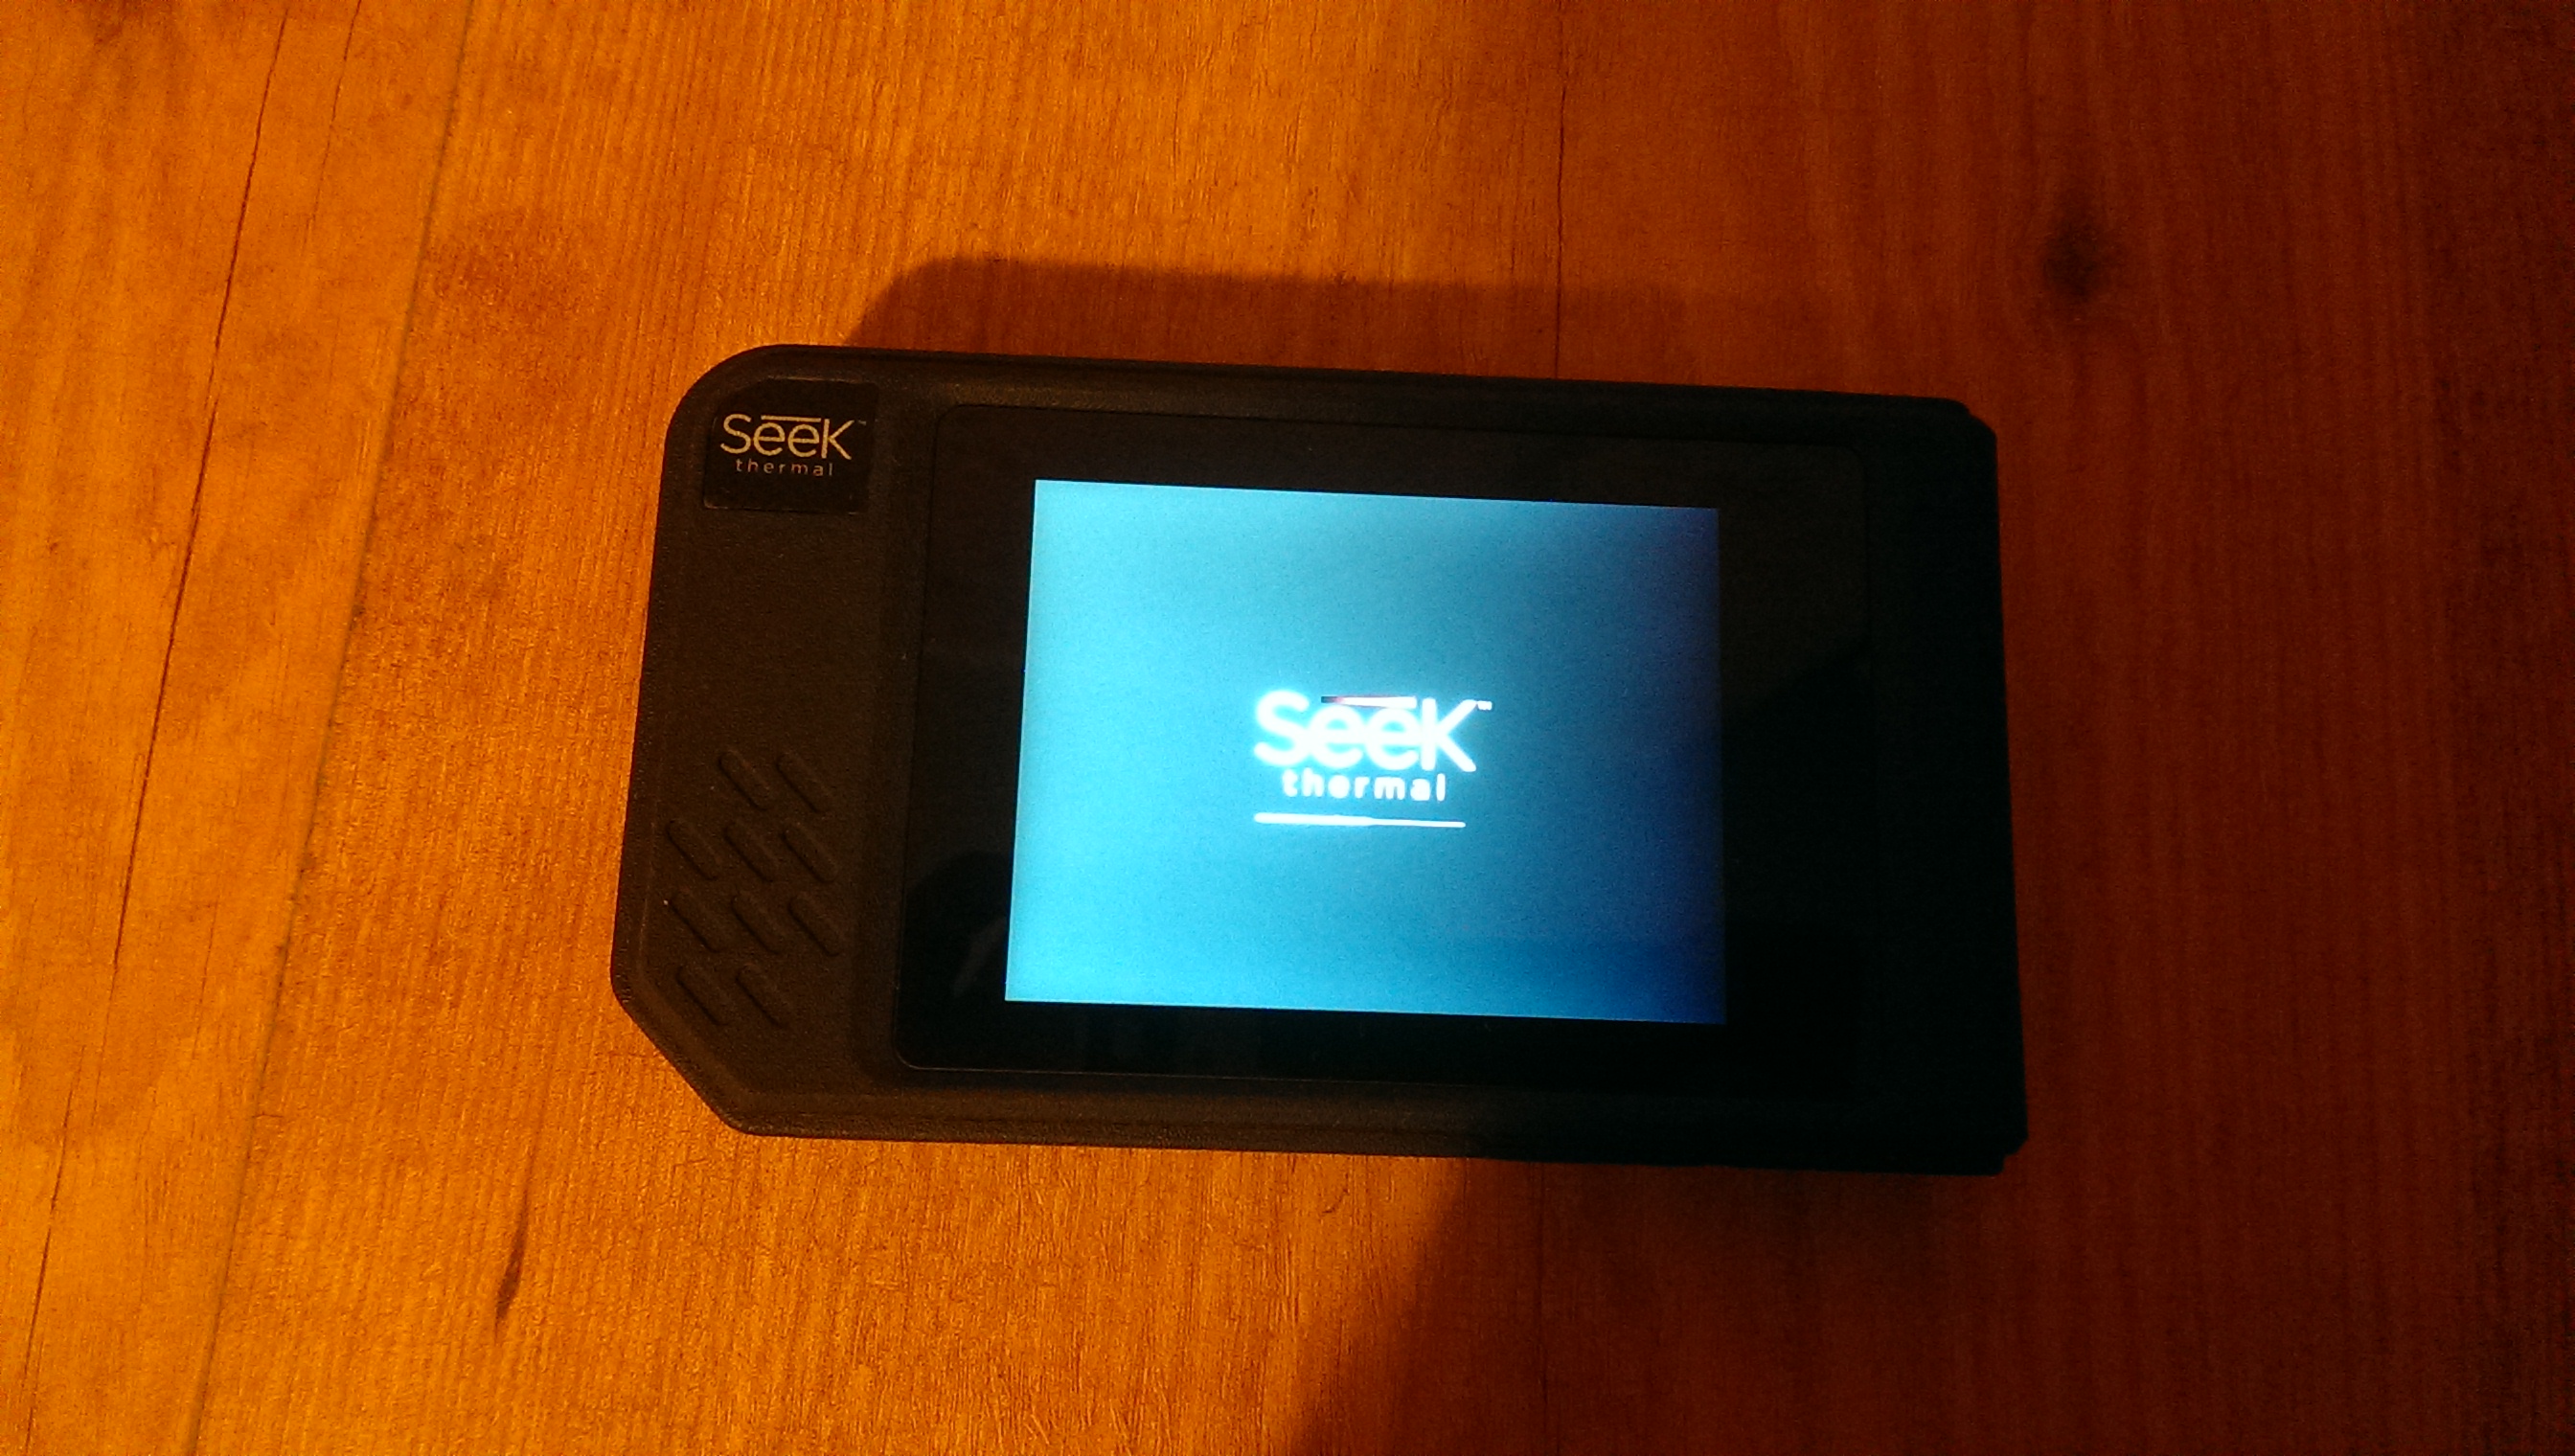
Turn on the thermal imager. It loads not in an example faster than a smartphone. Comparable to phones on Nucleos RTOS, perhaps it is there.
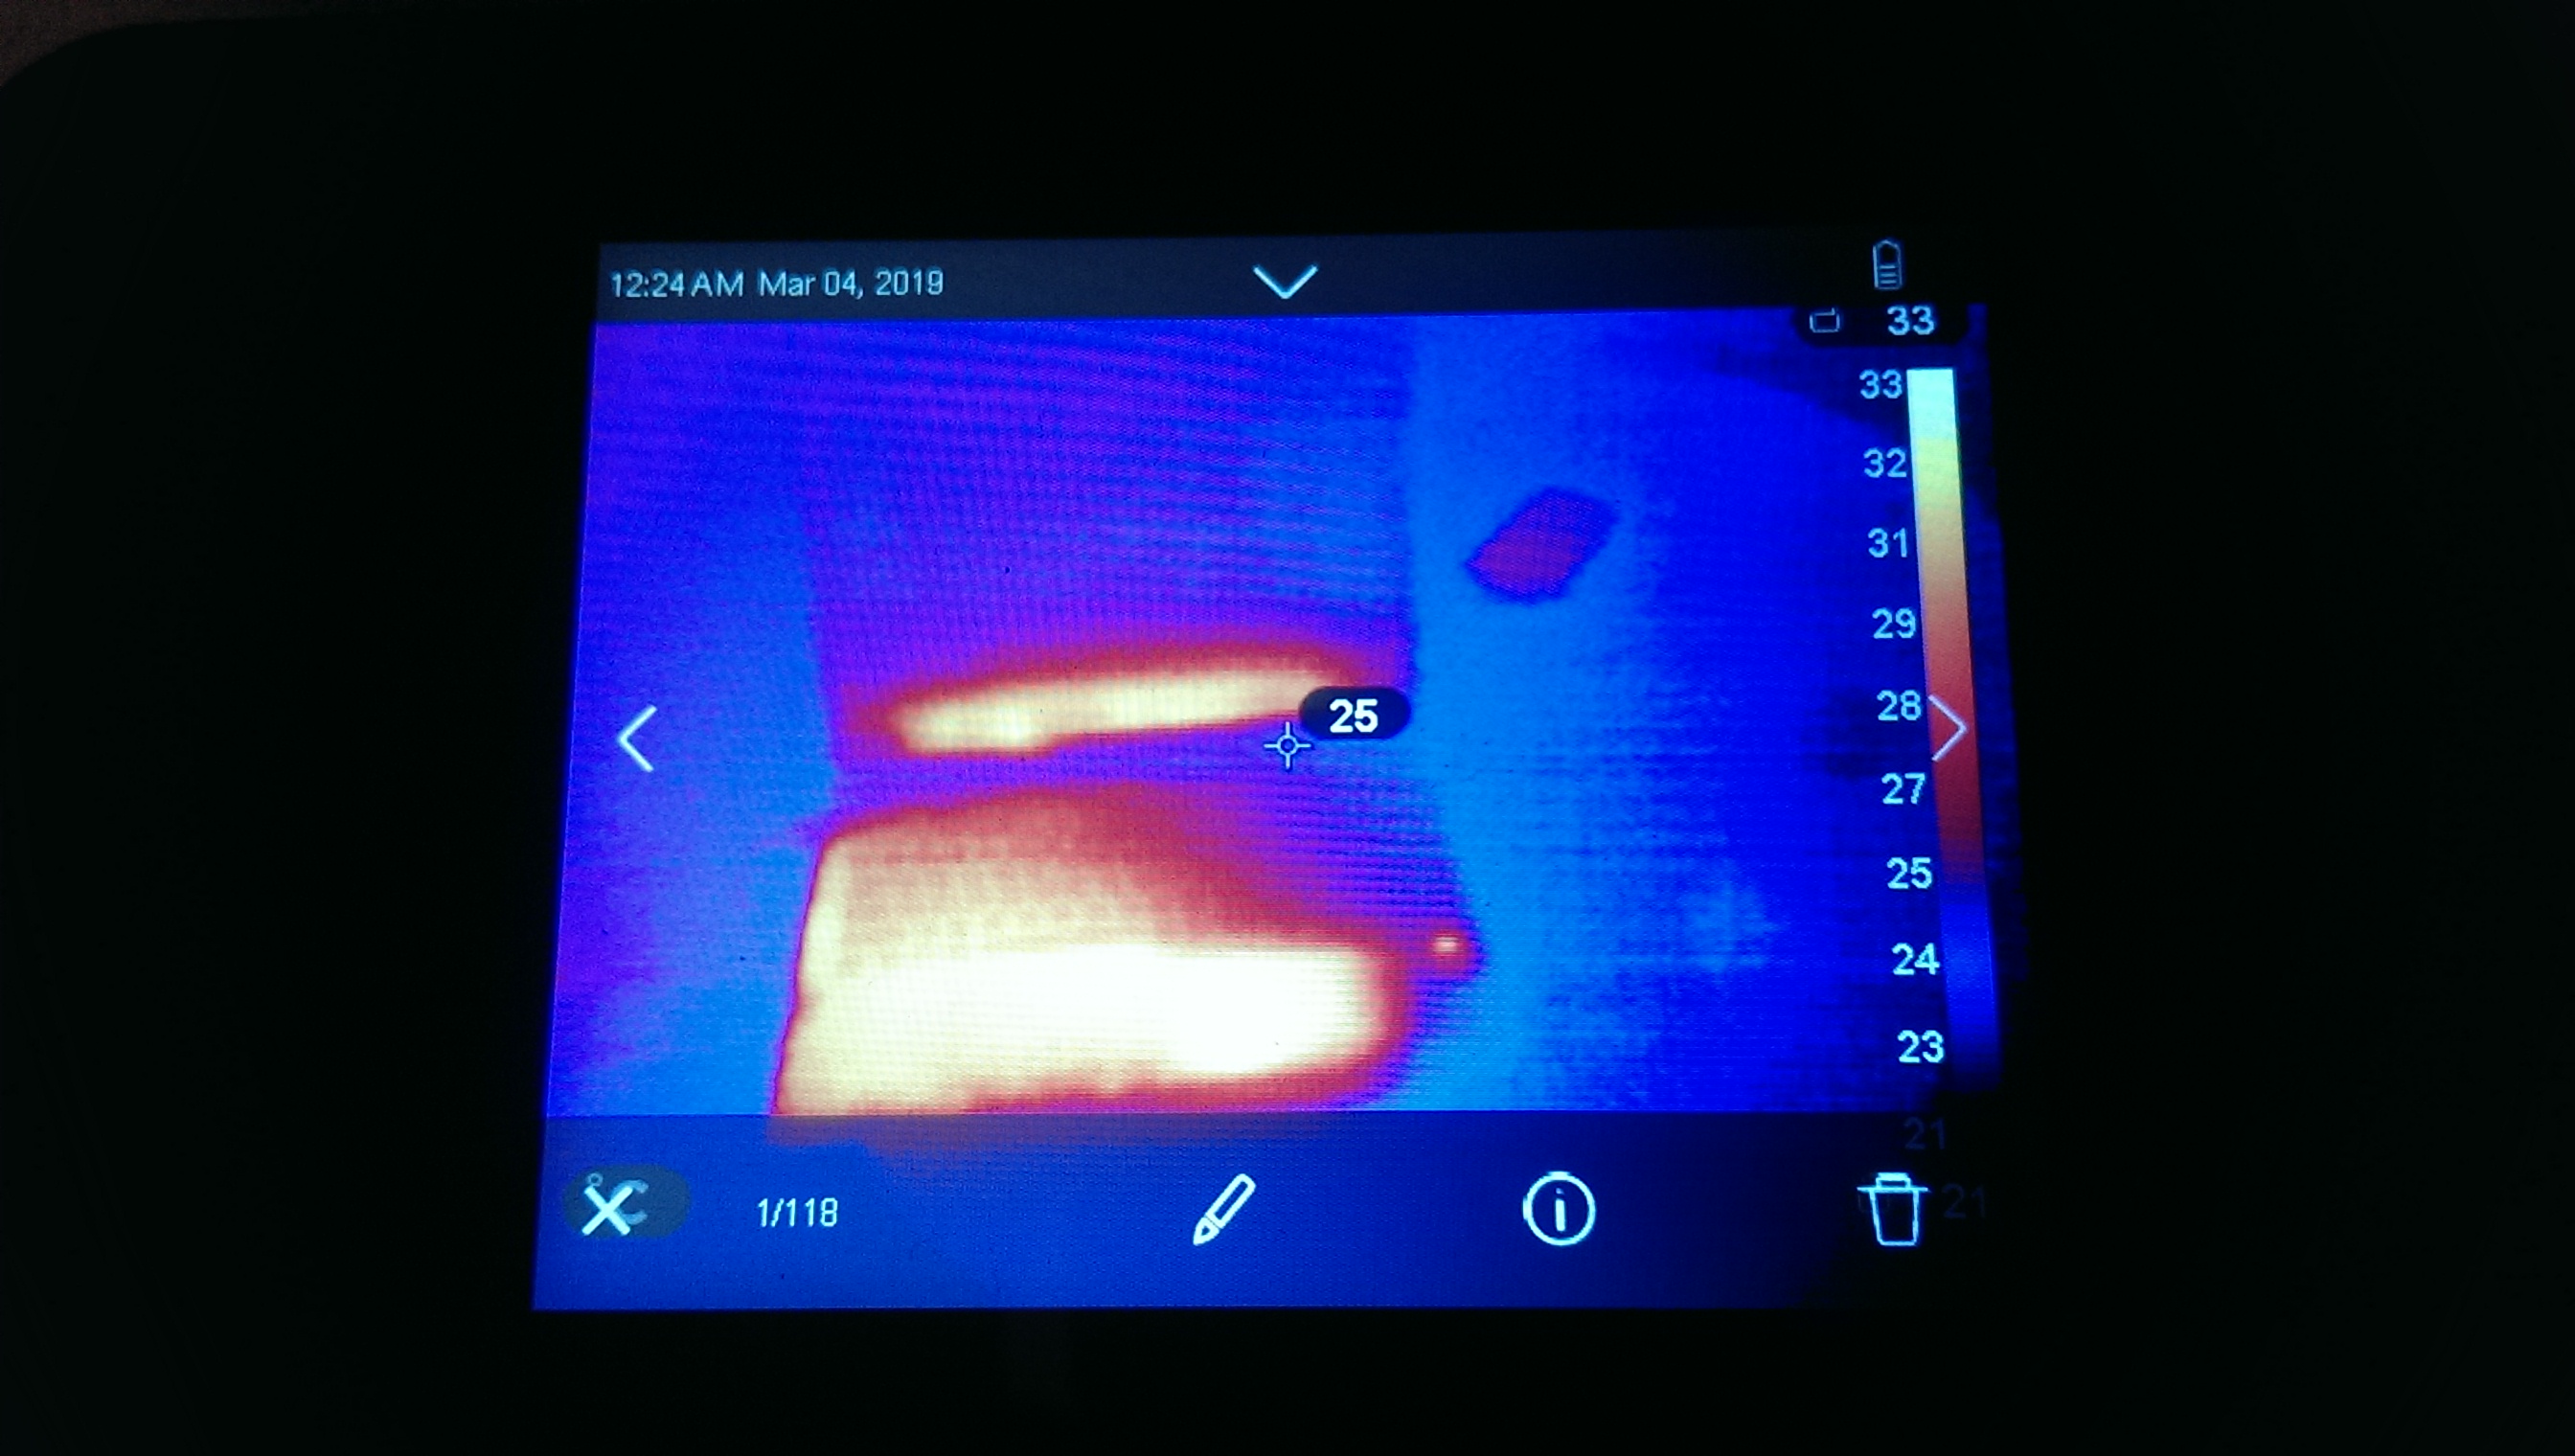
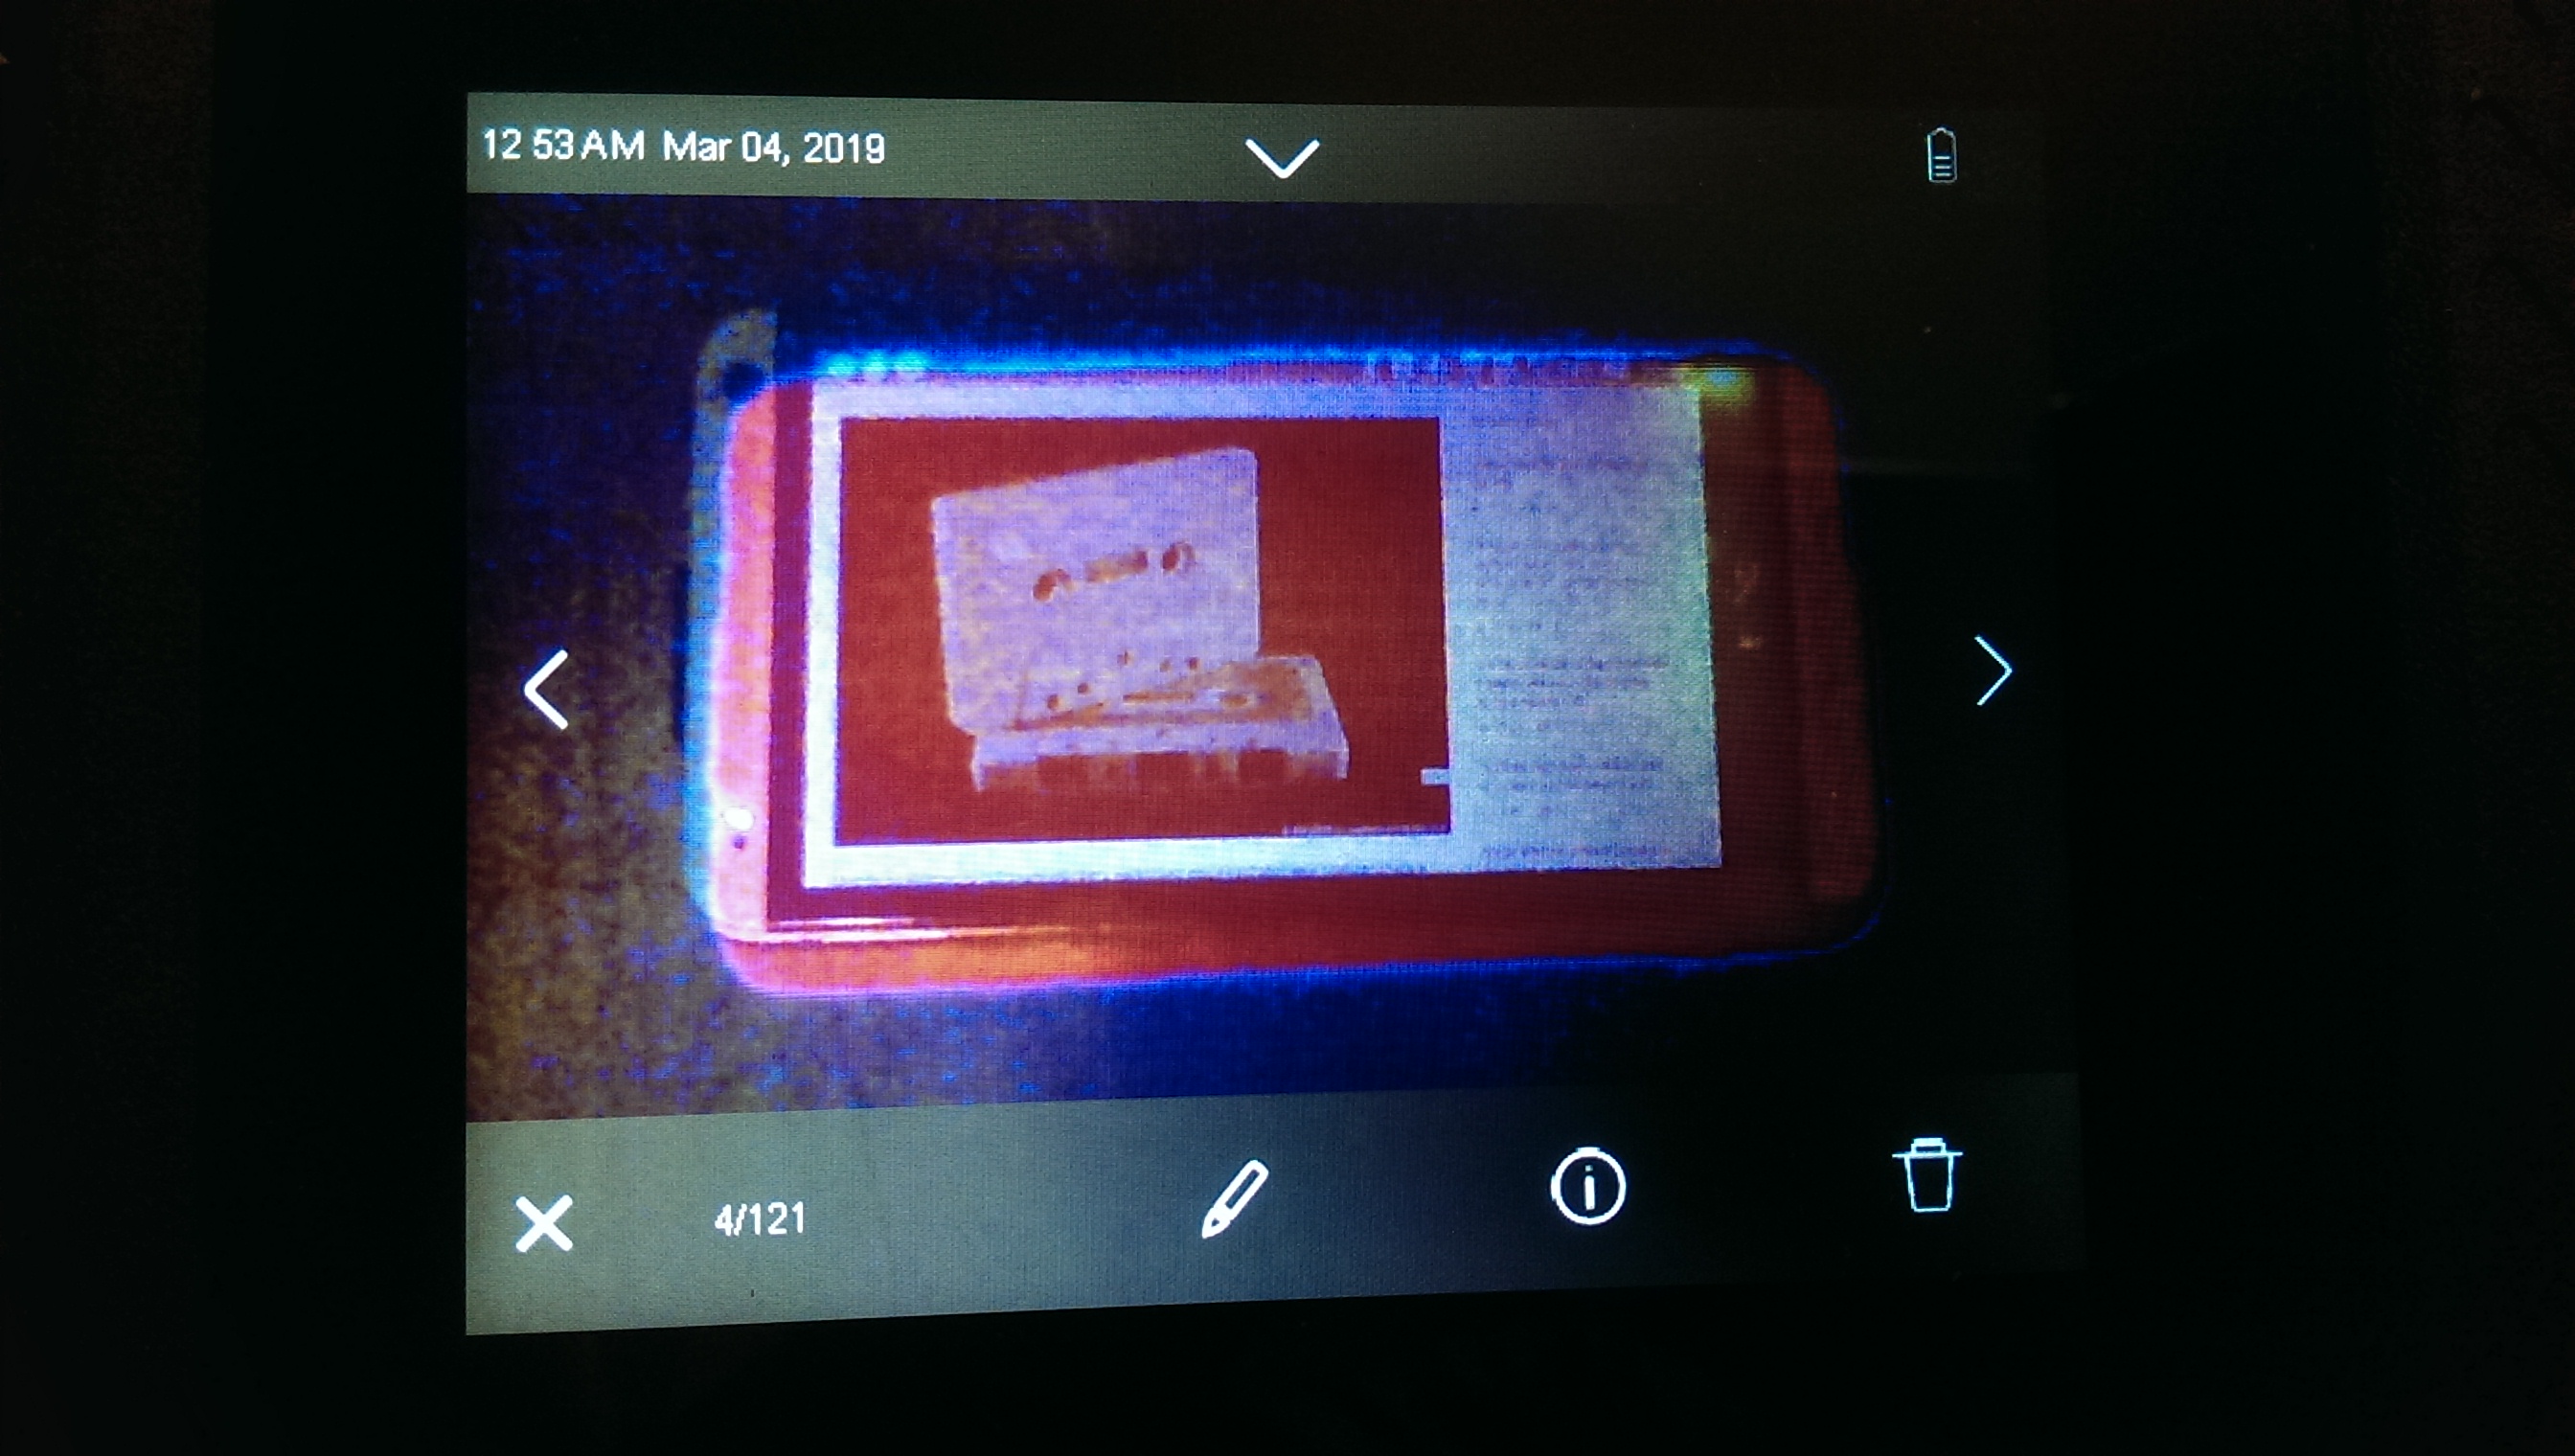
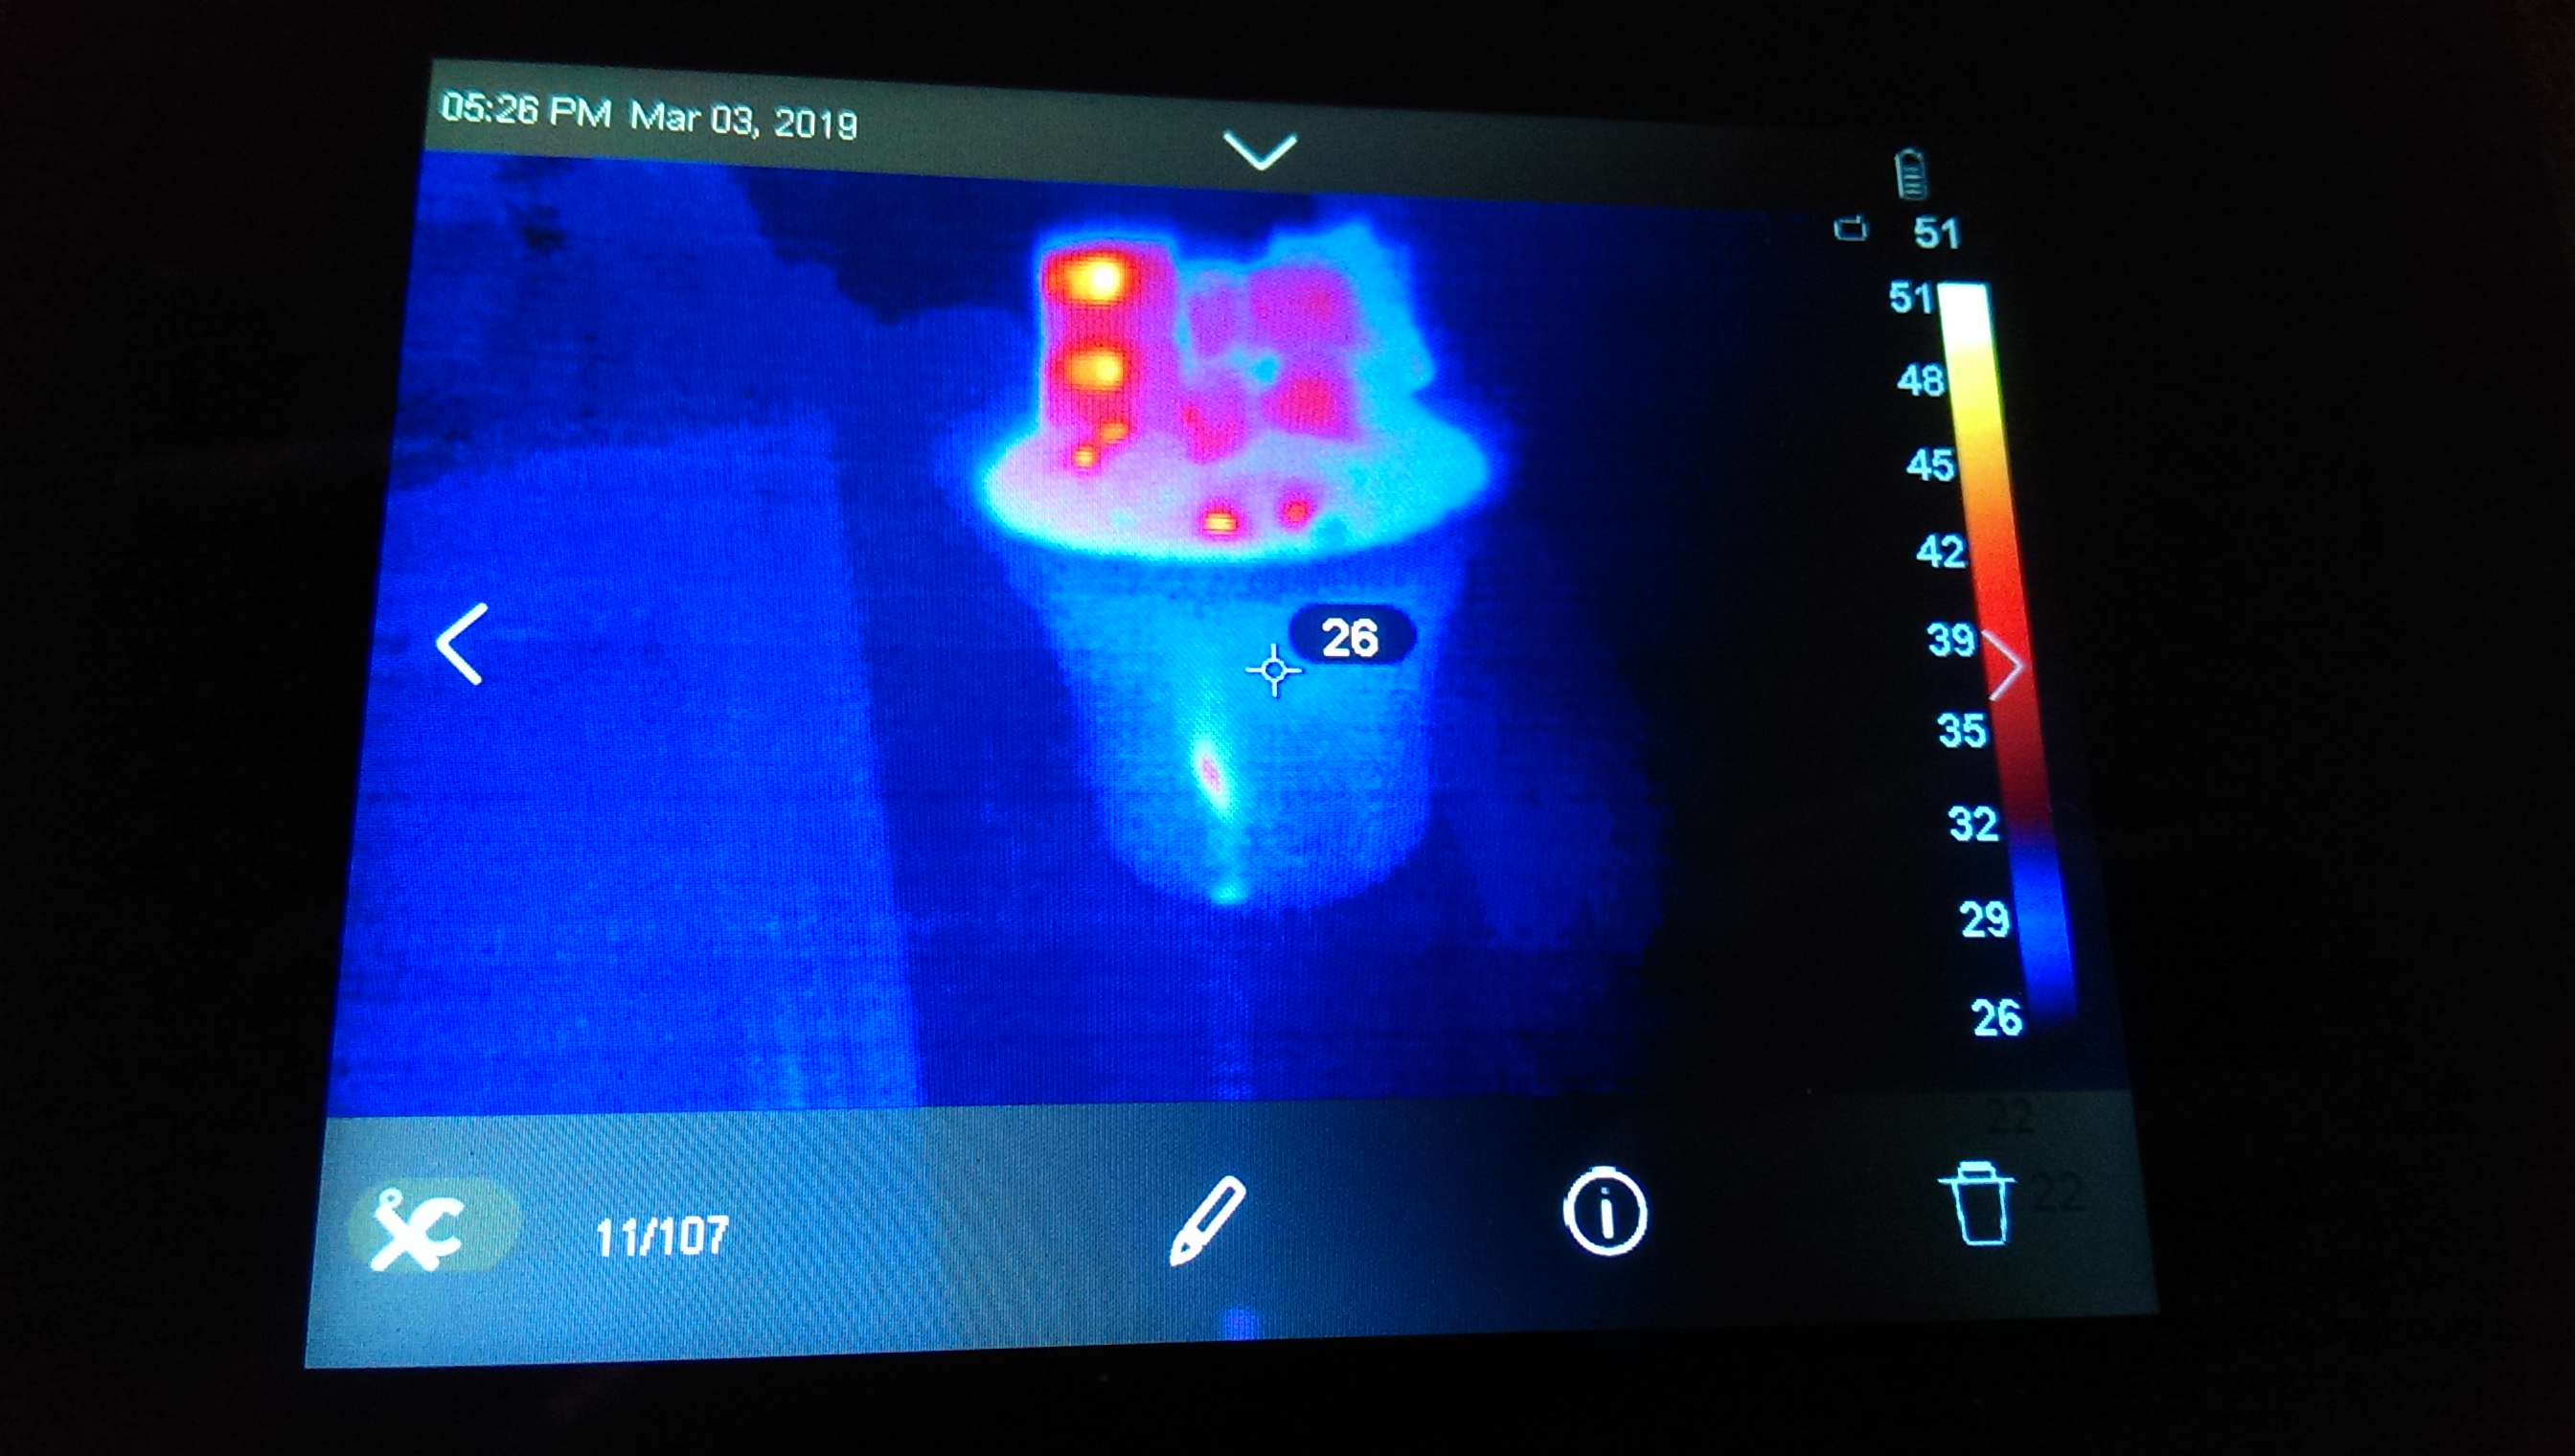
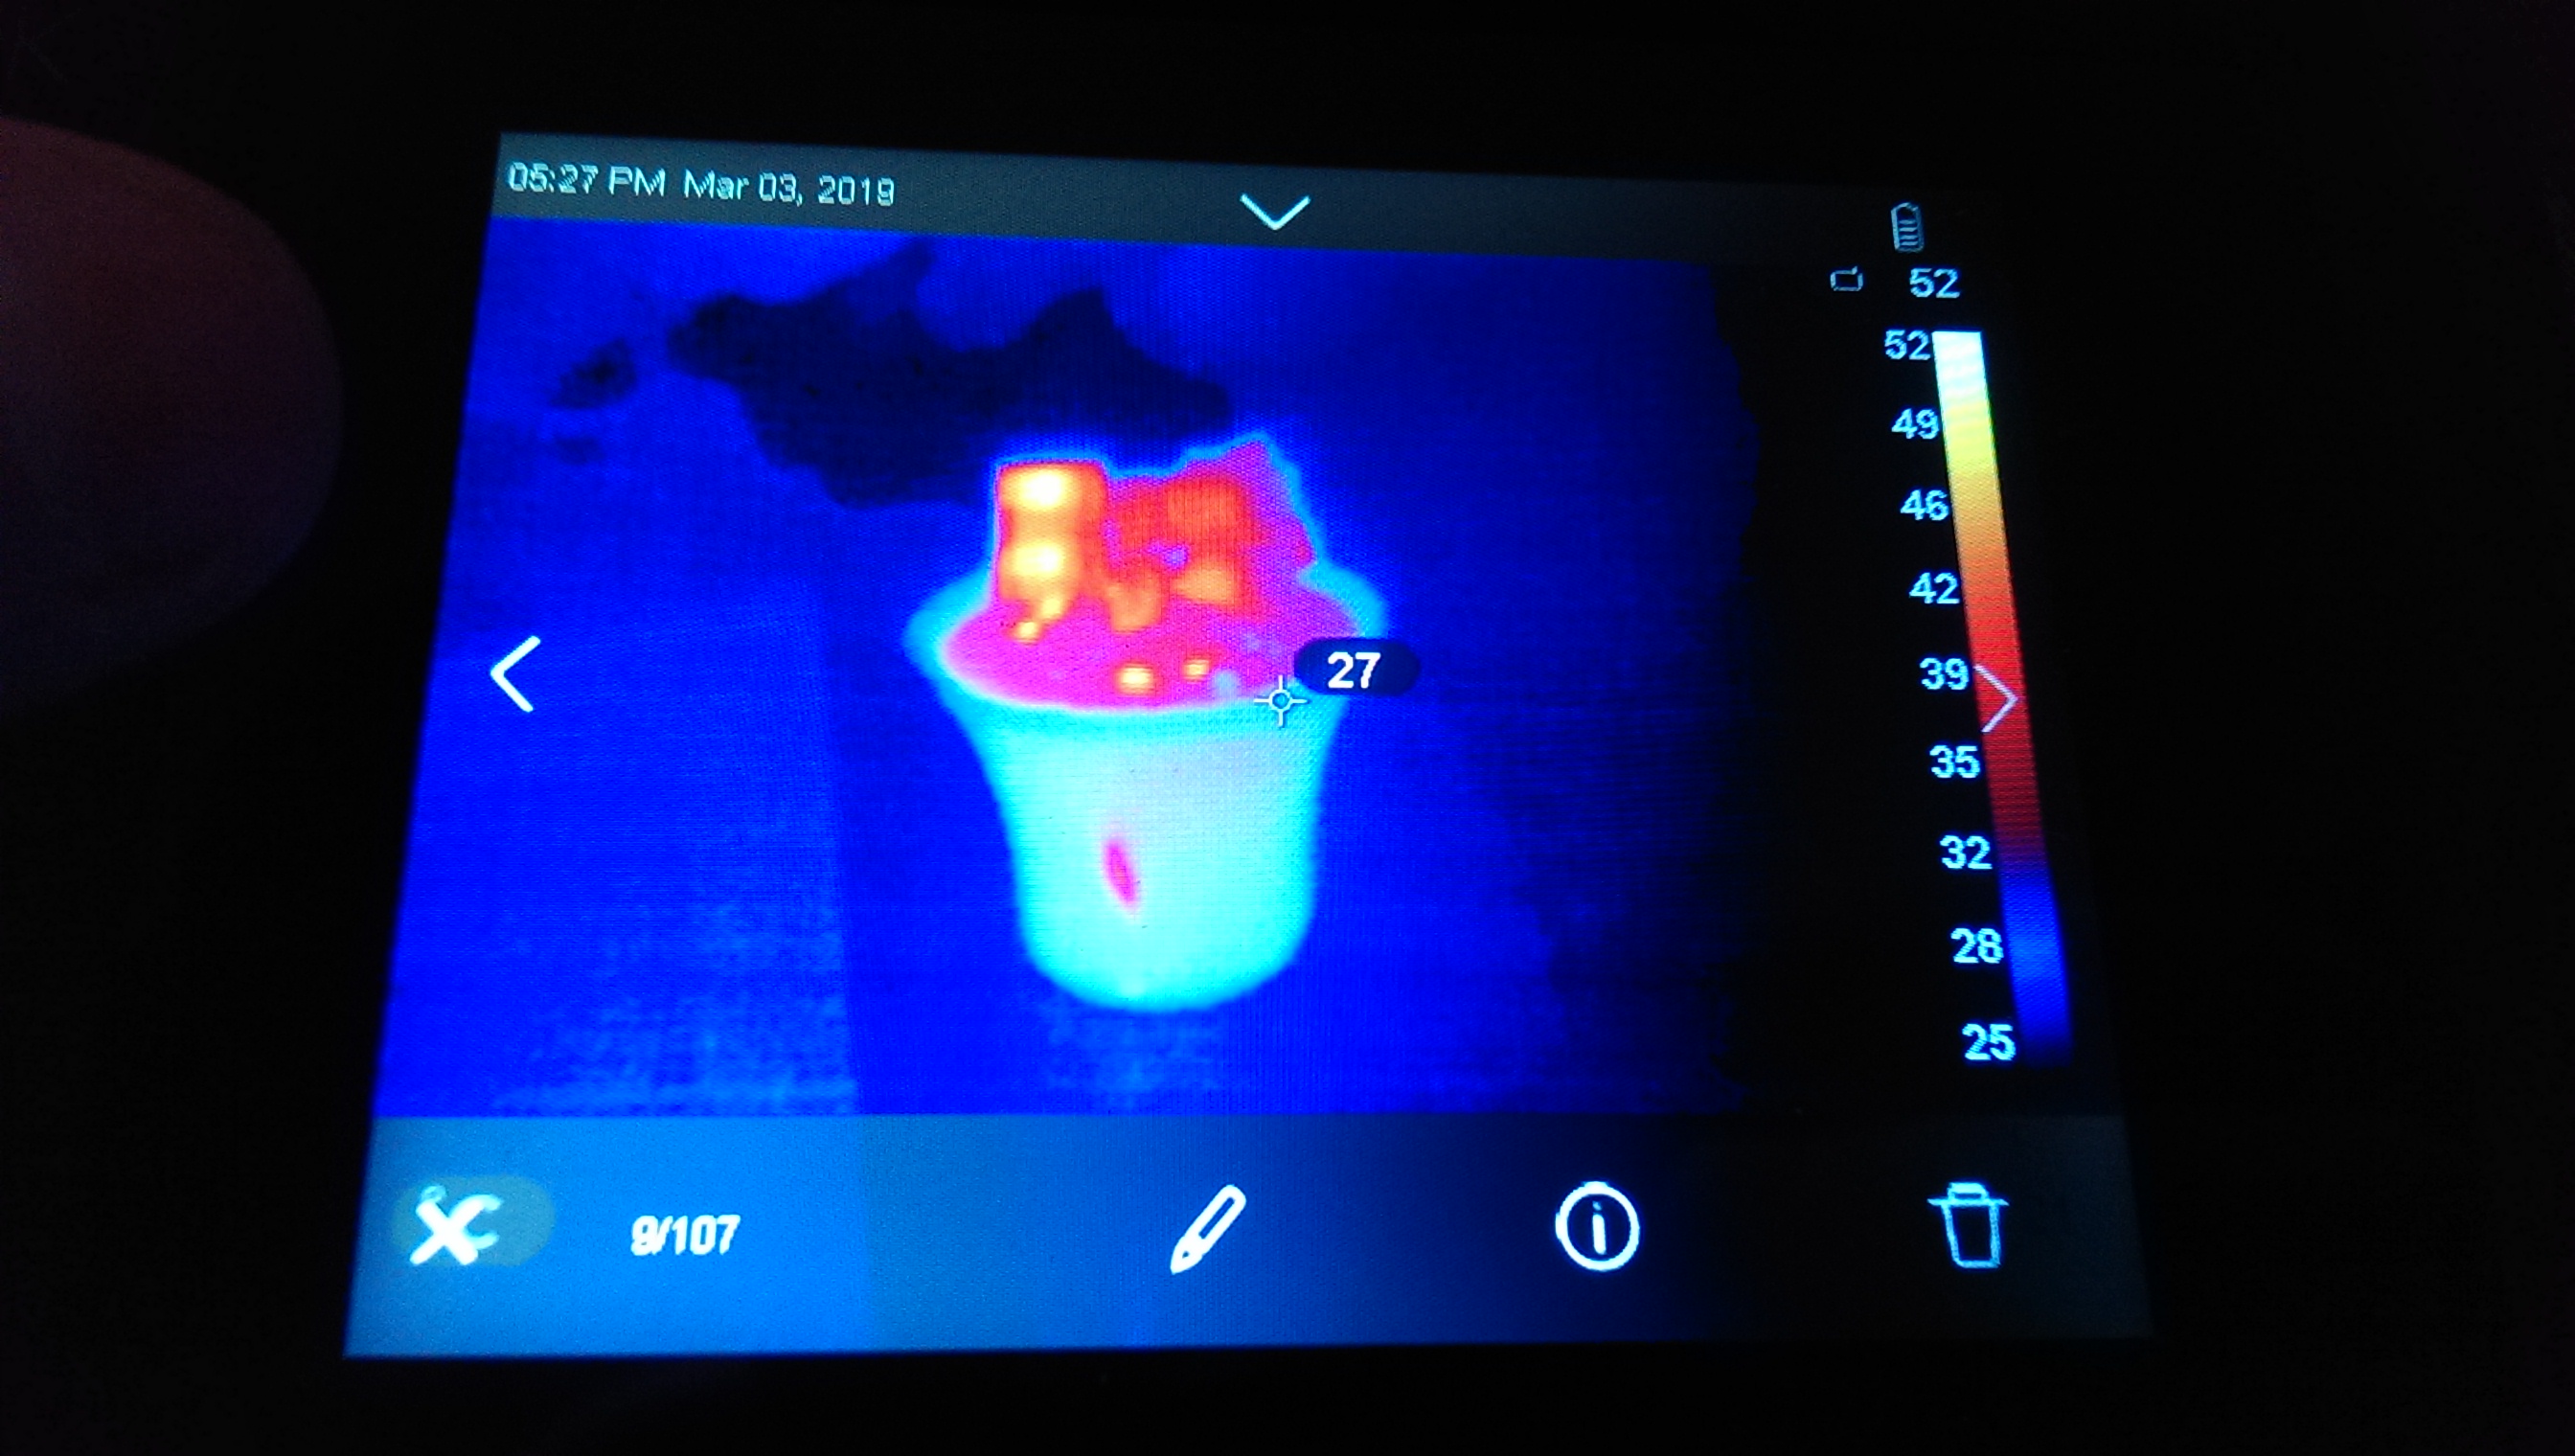
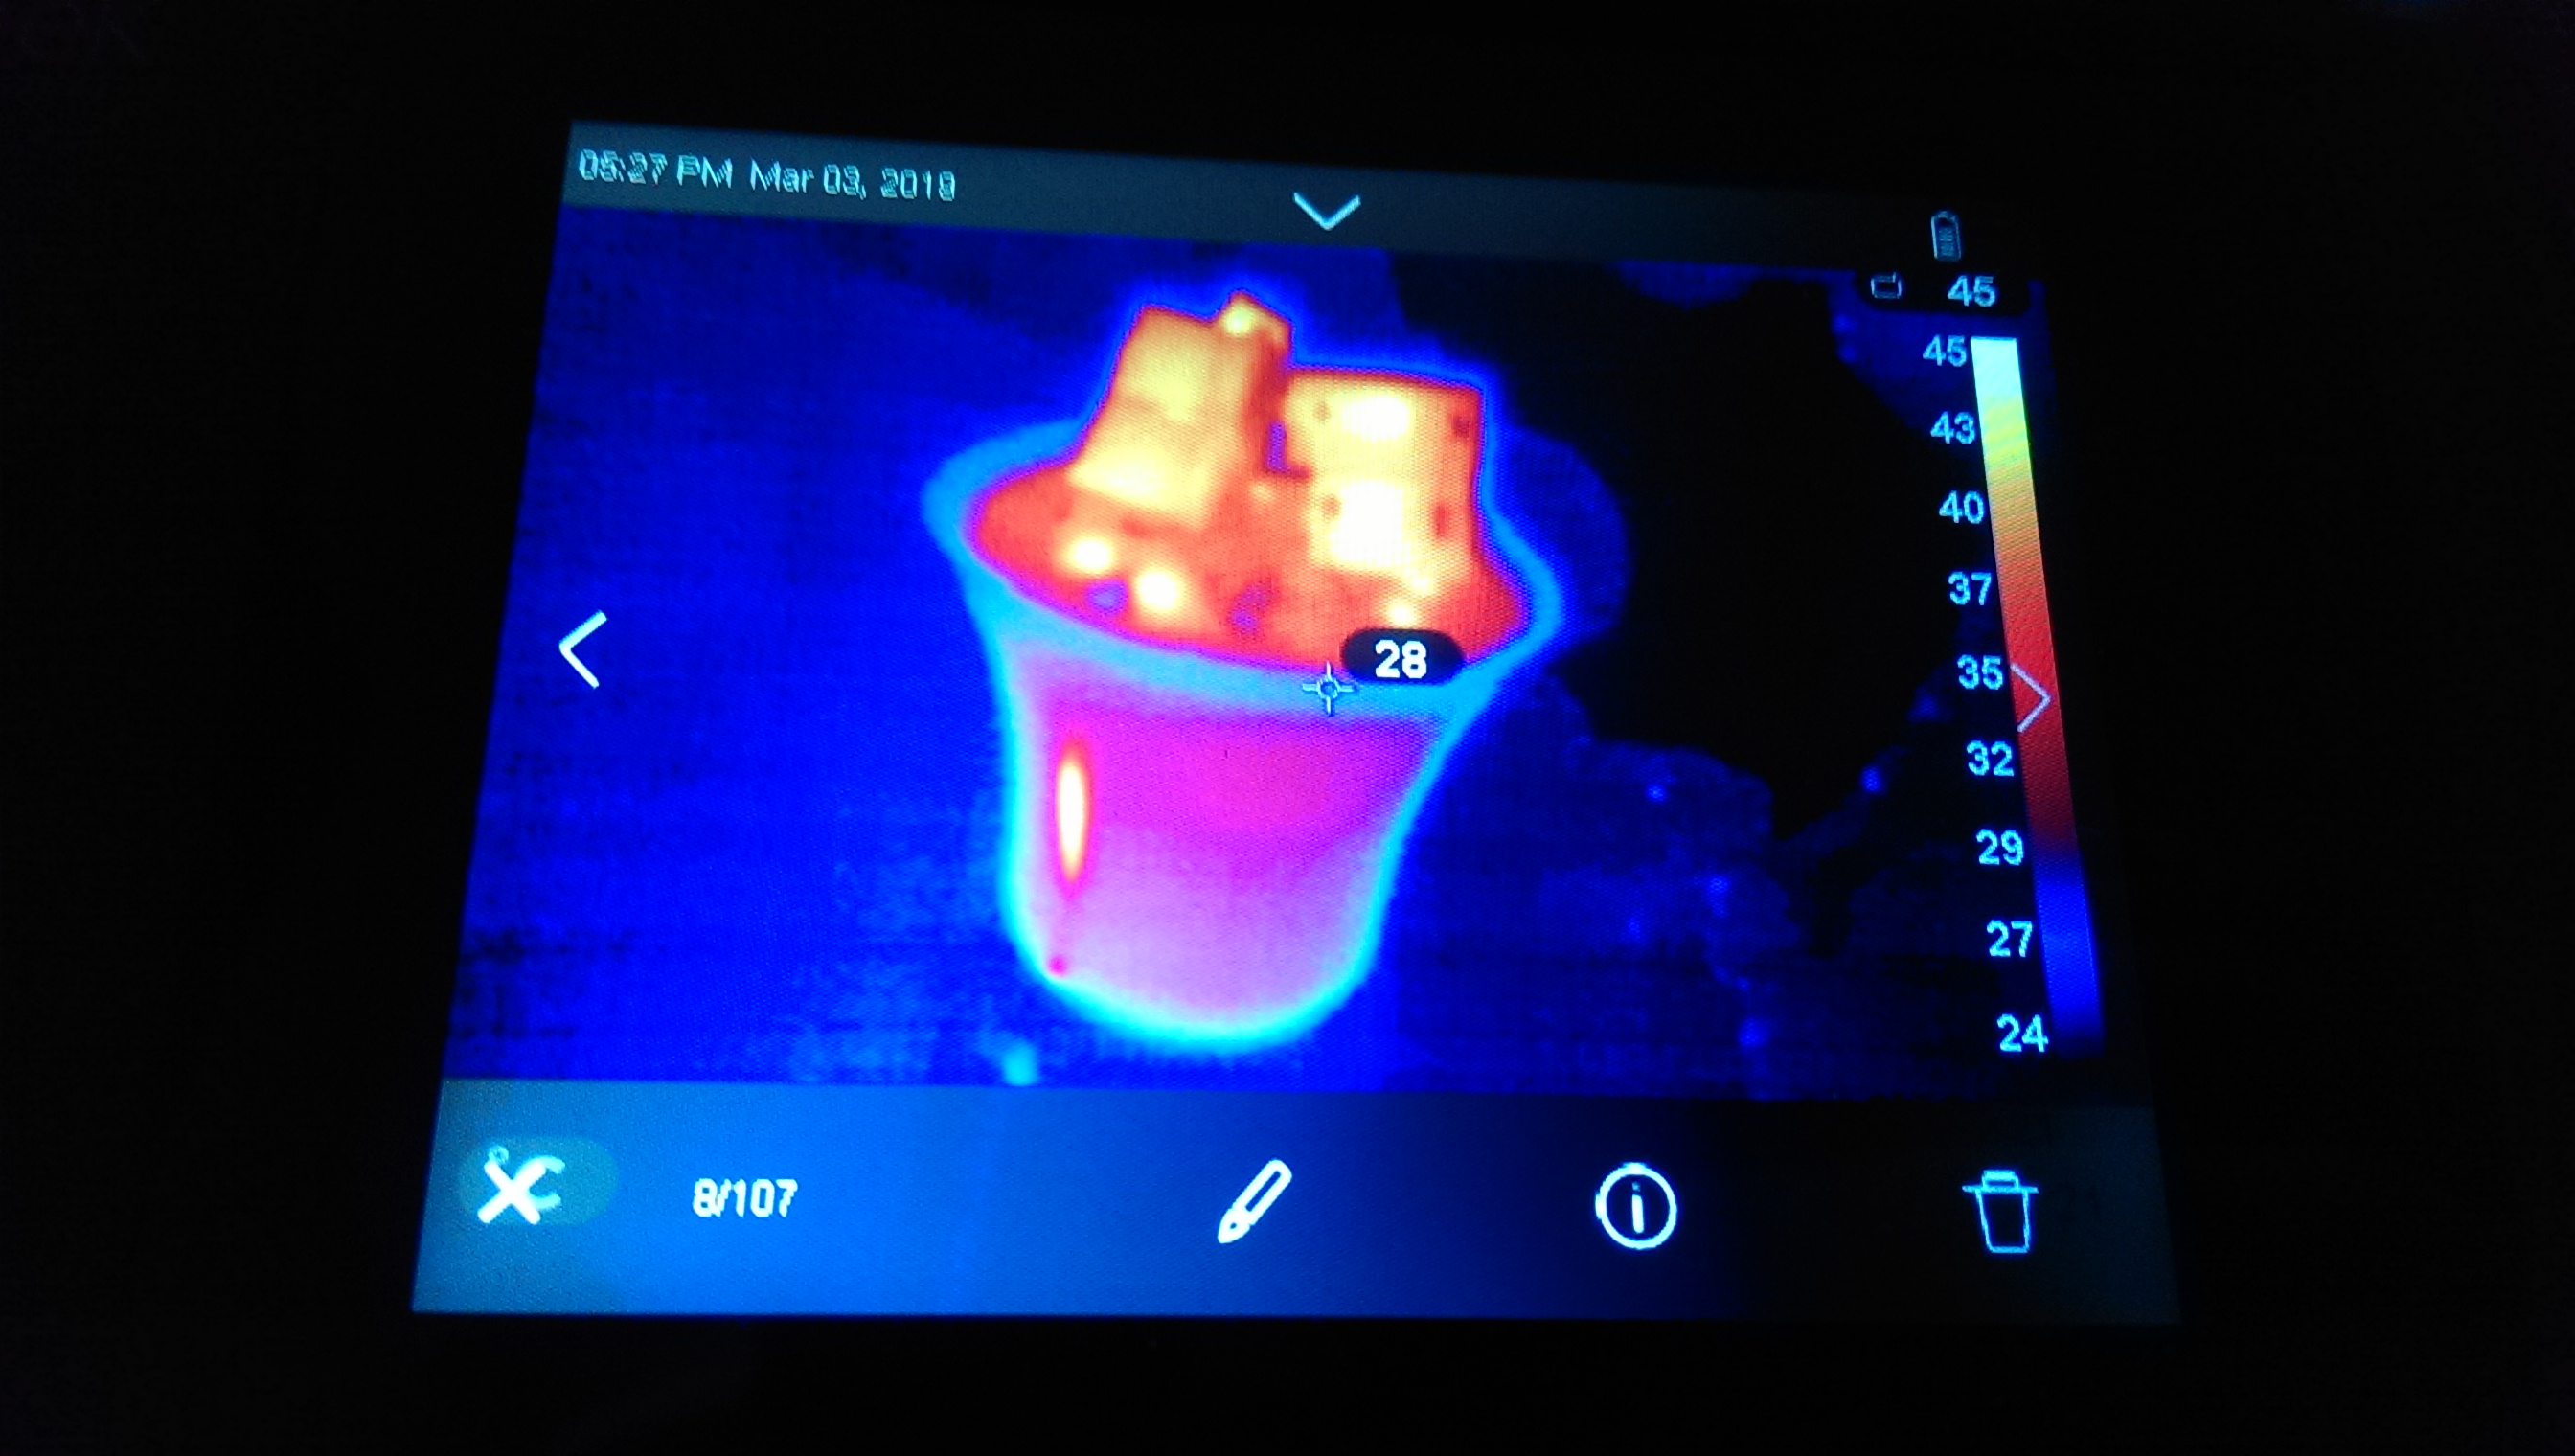
The device is ready to work right after boot. Let's try to shoot something. Chargers included in the extension cord:
Charging 4-inch smartphone, the warmest - plug:

5-inch smartphone that took all the photos in the article. When the Camera application is running, the brightness of the backlight automatically switches to the maximum, and the energy consumption increases:

Charging laptop:
It’s working:
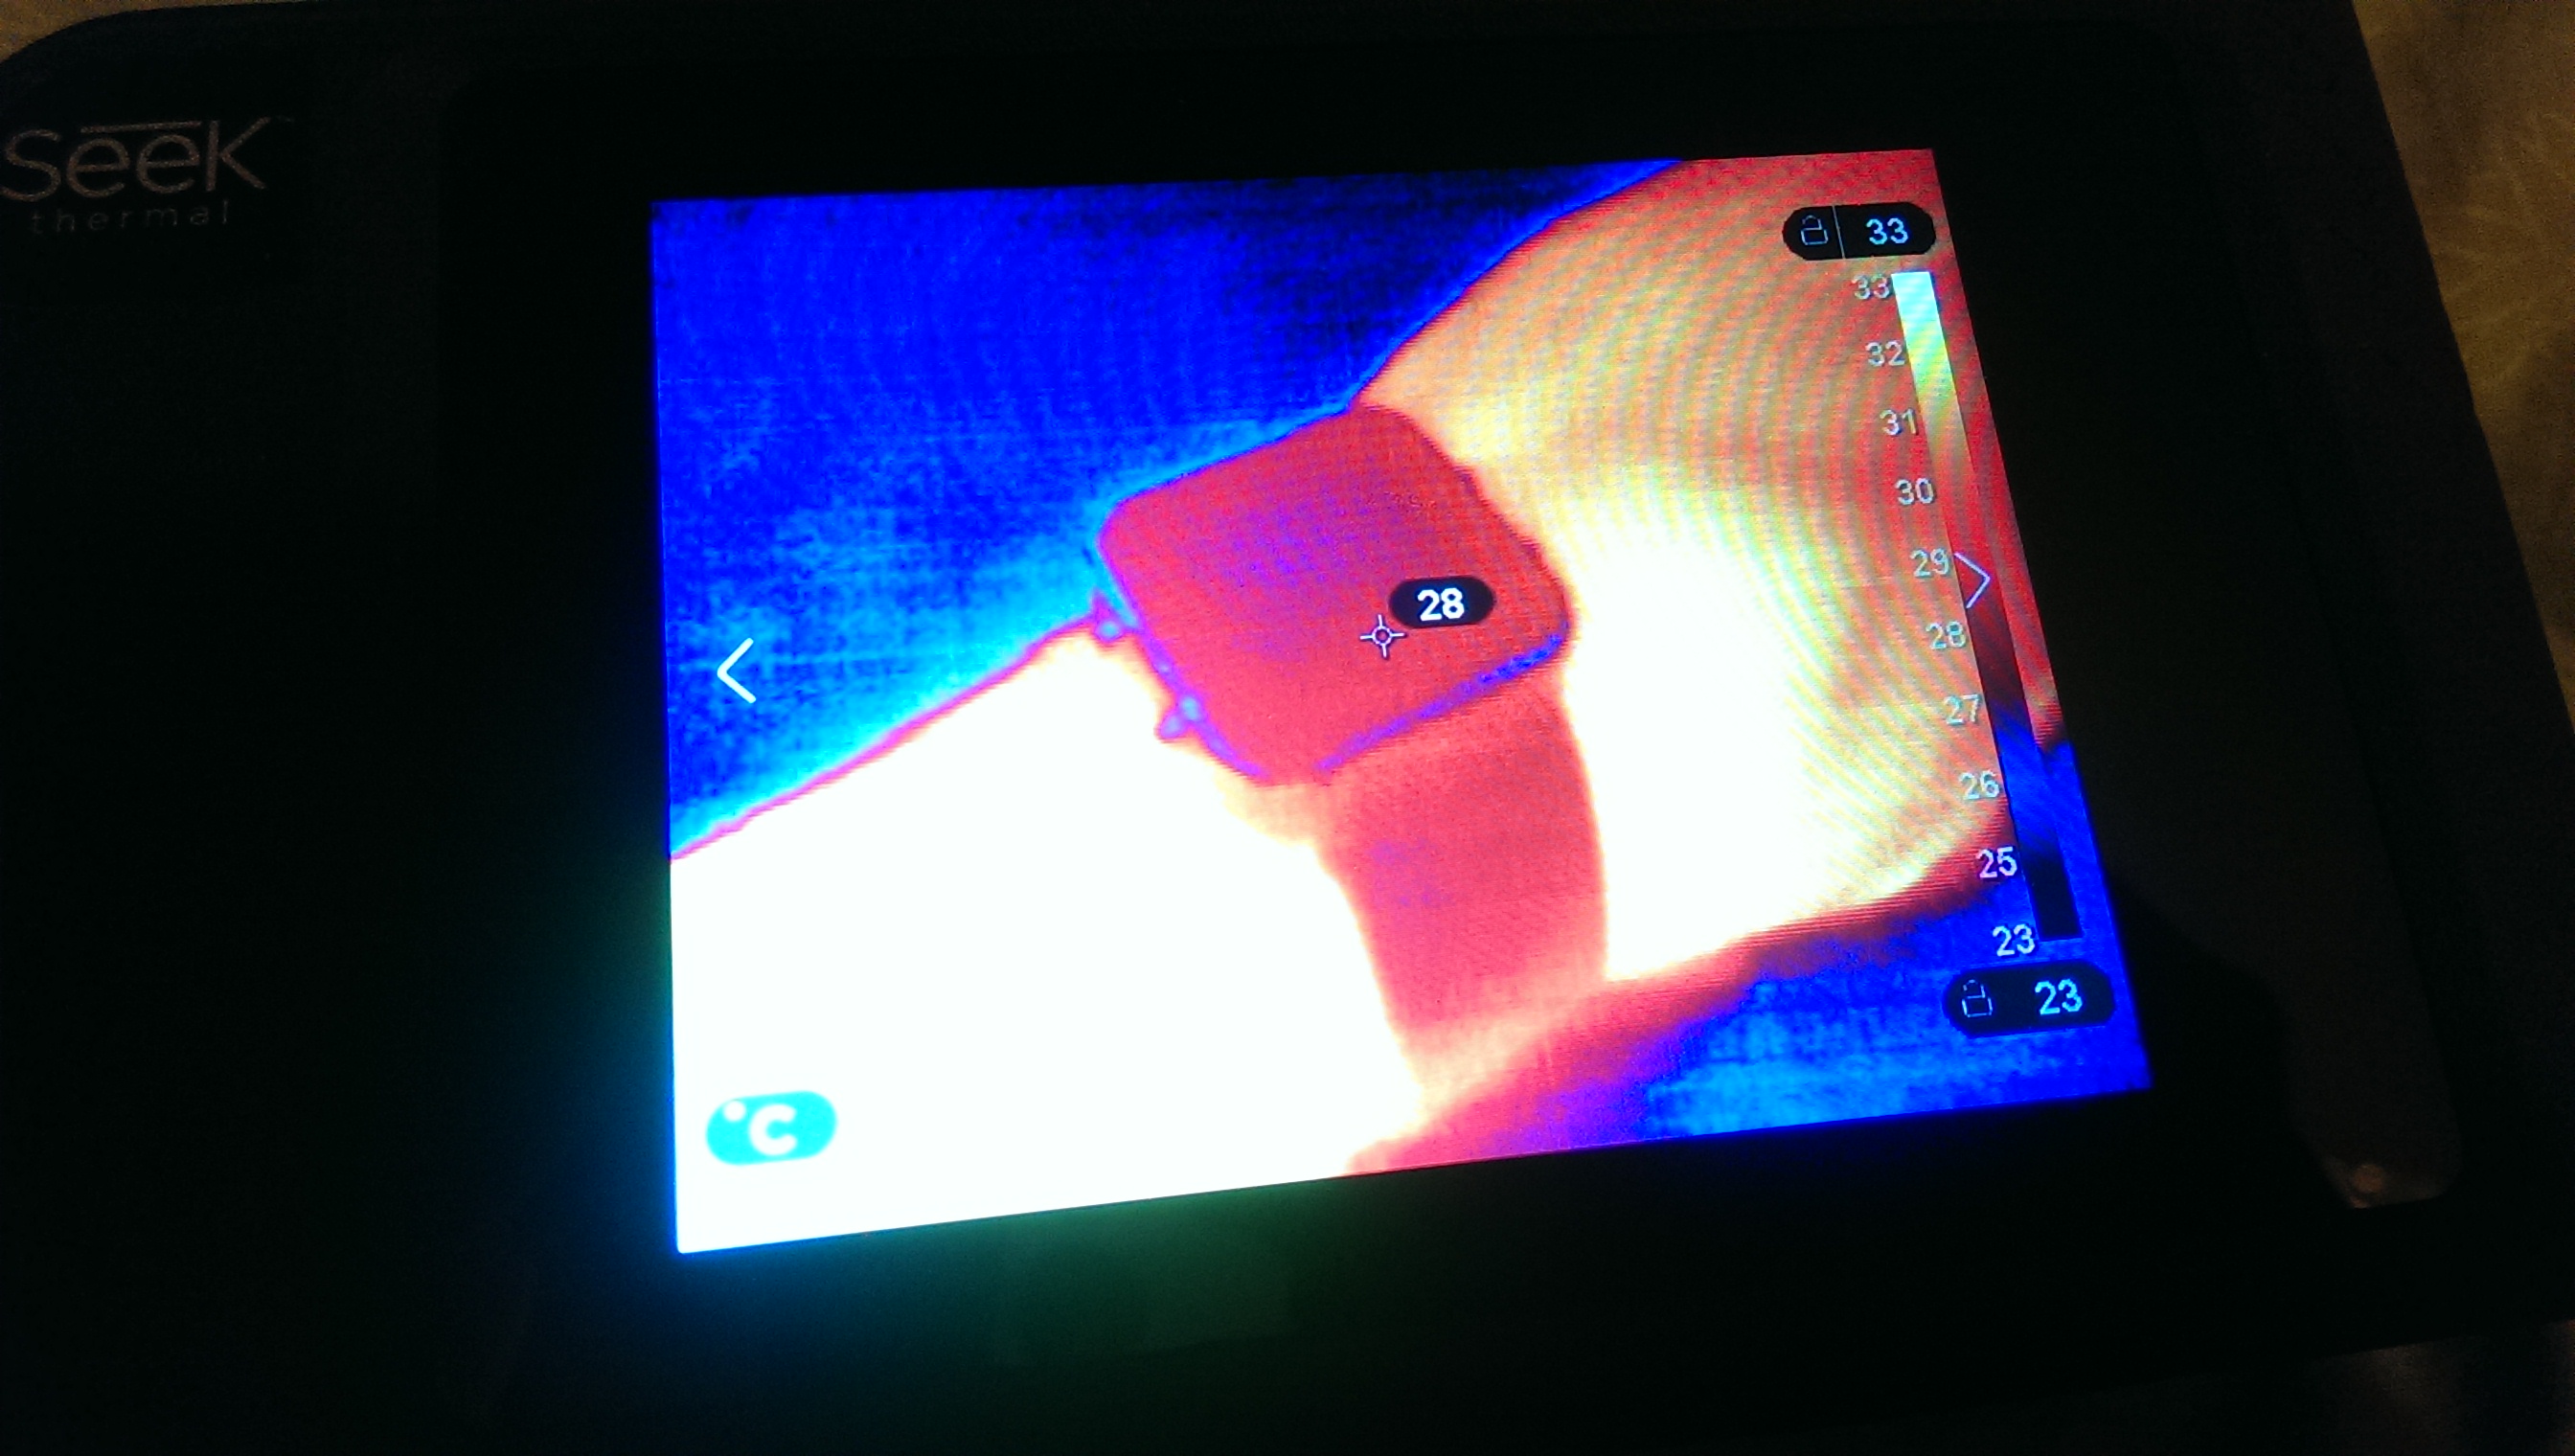
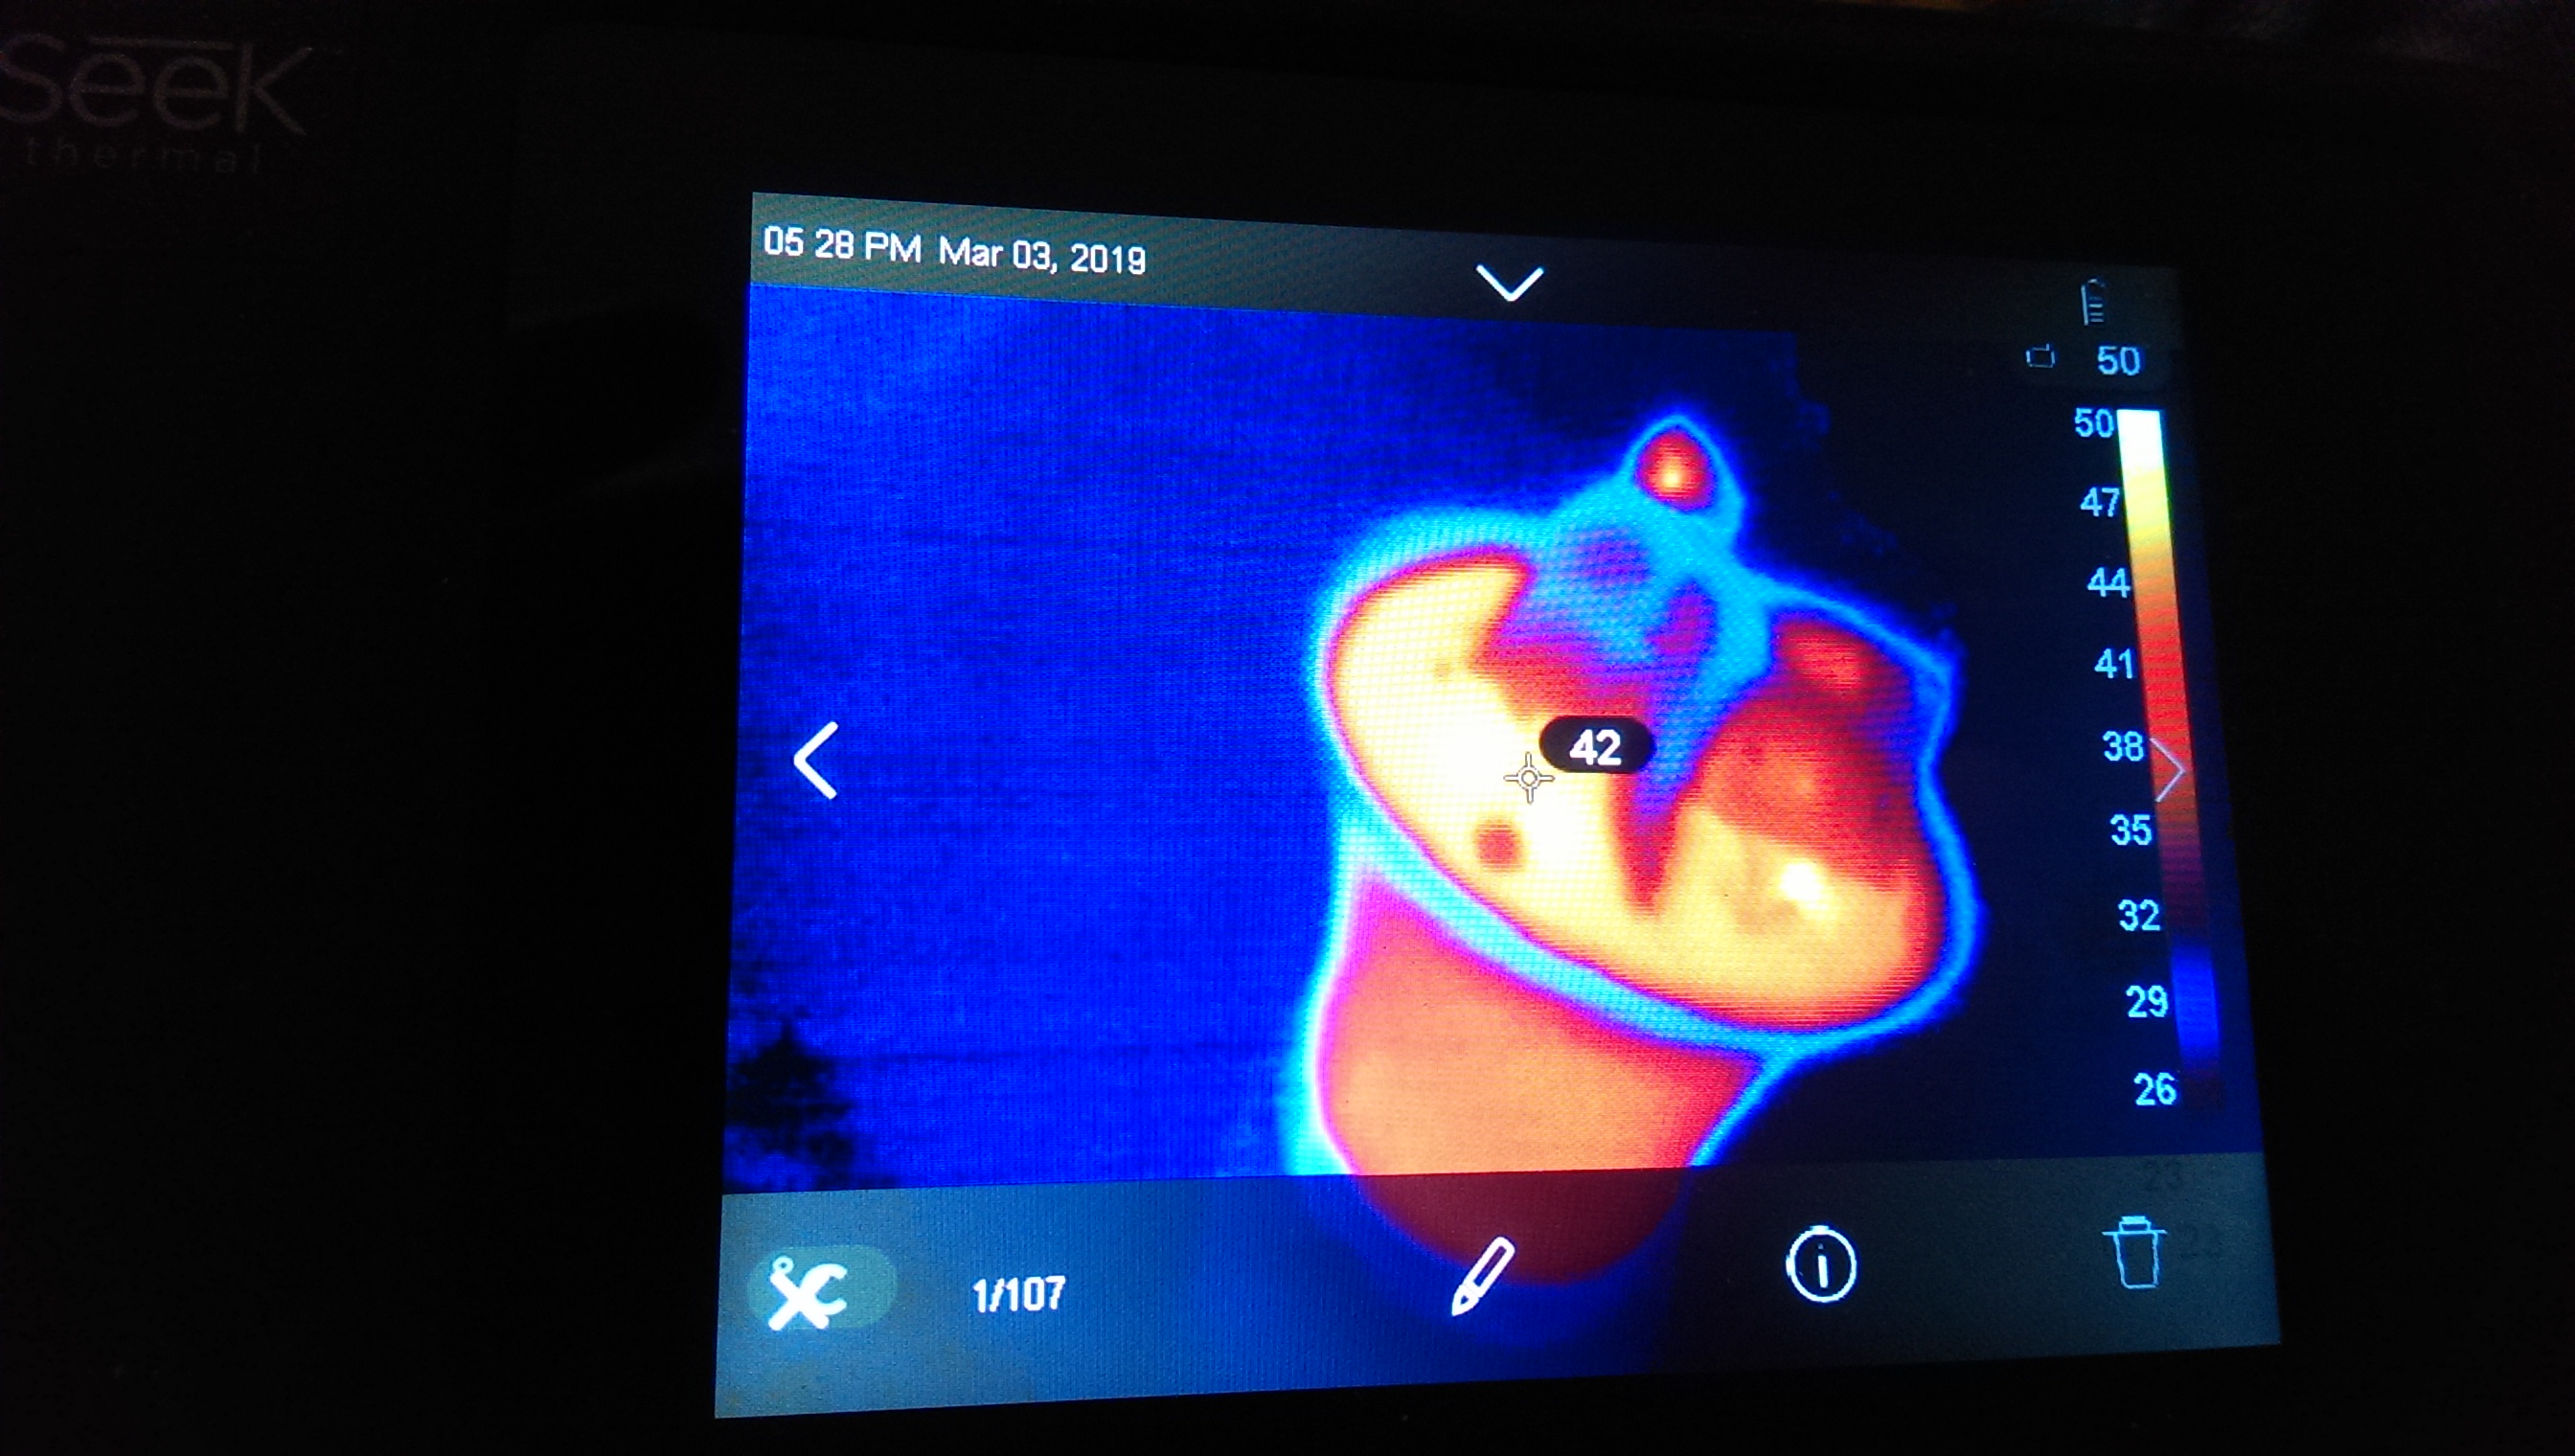
Charging razor. The Panasonic logo is painted with silver paint, which shields the long-wave infrared radiation according to the principle of a thermos:
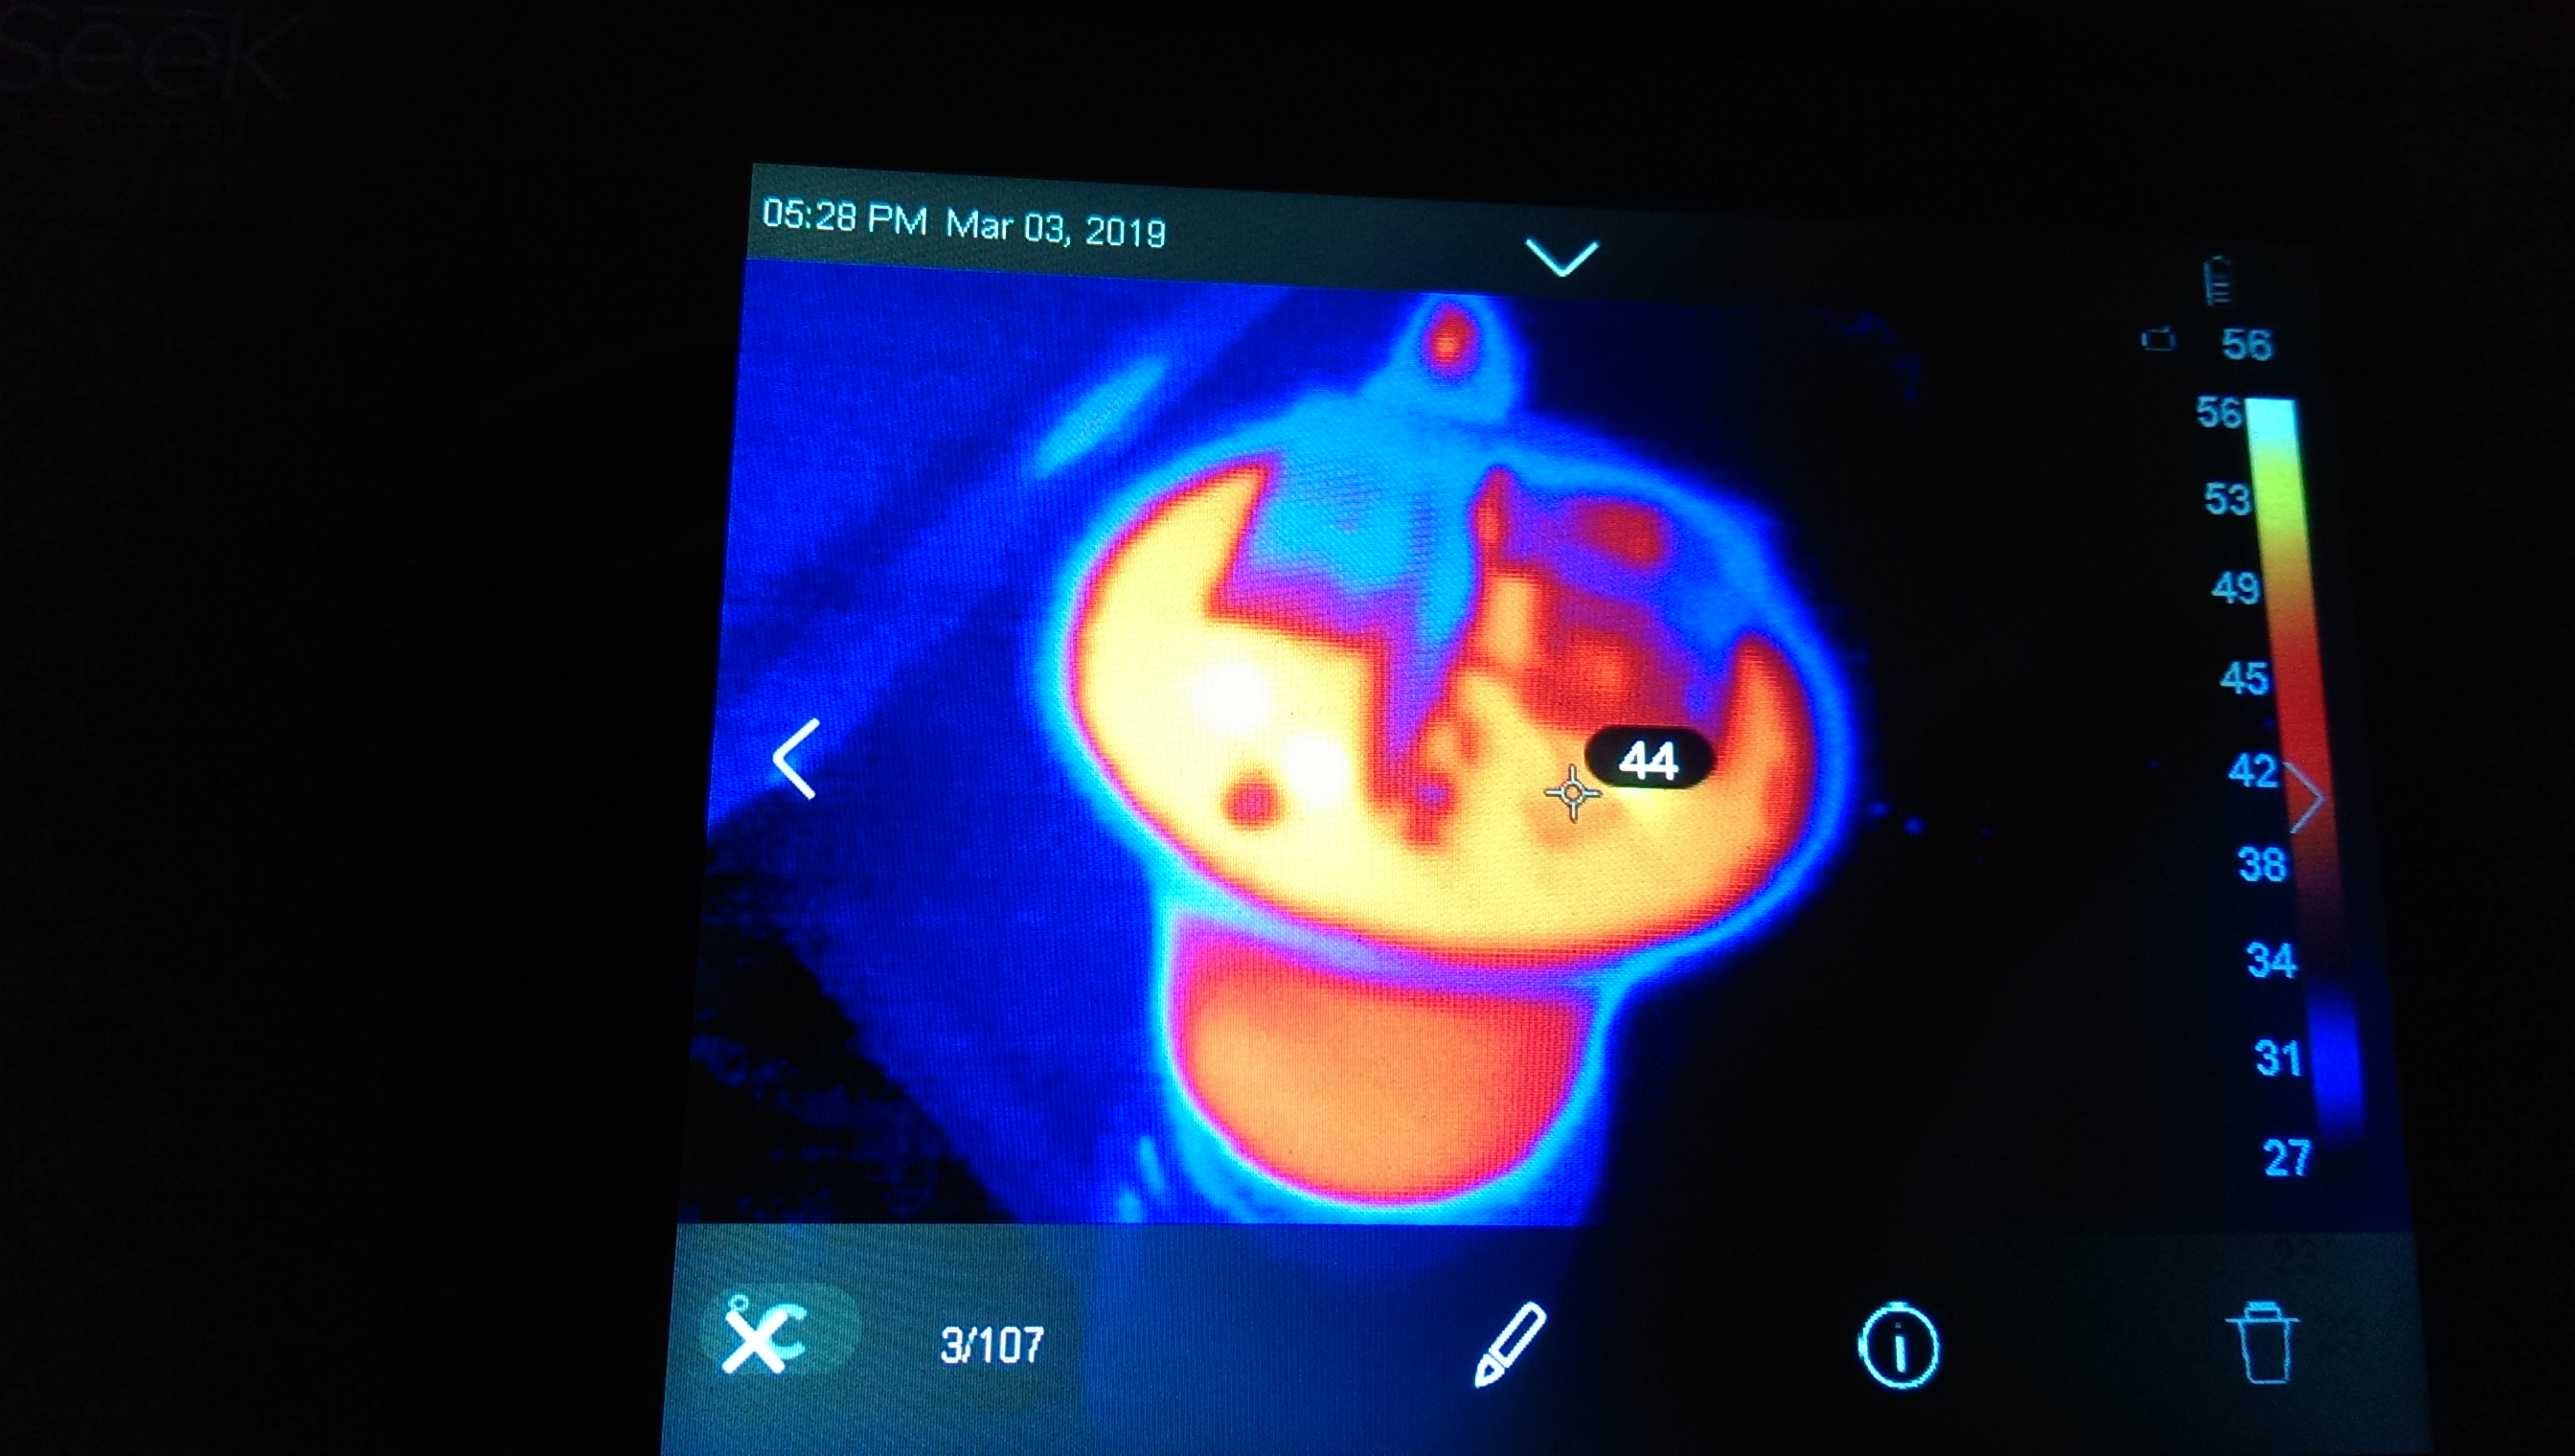
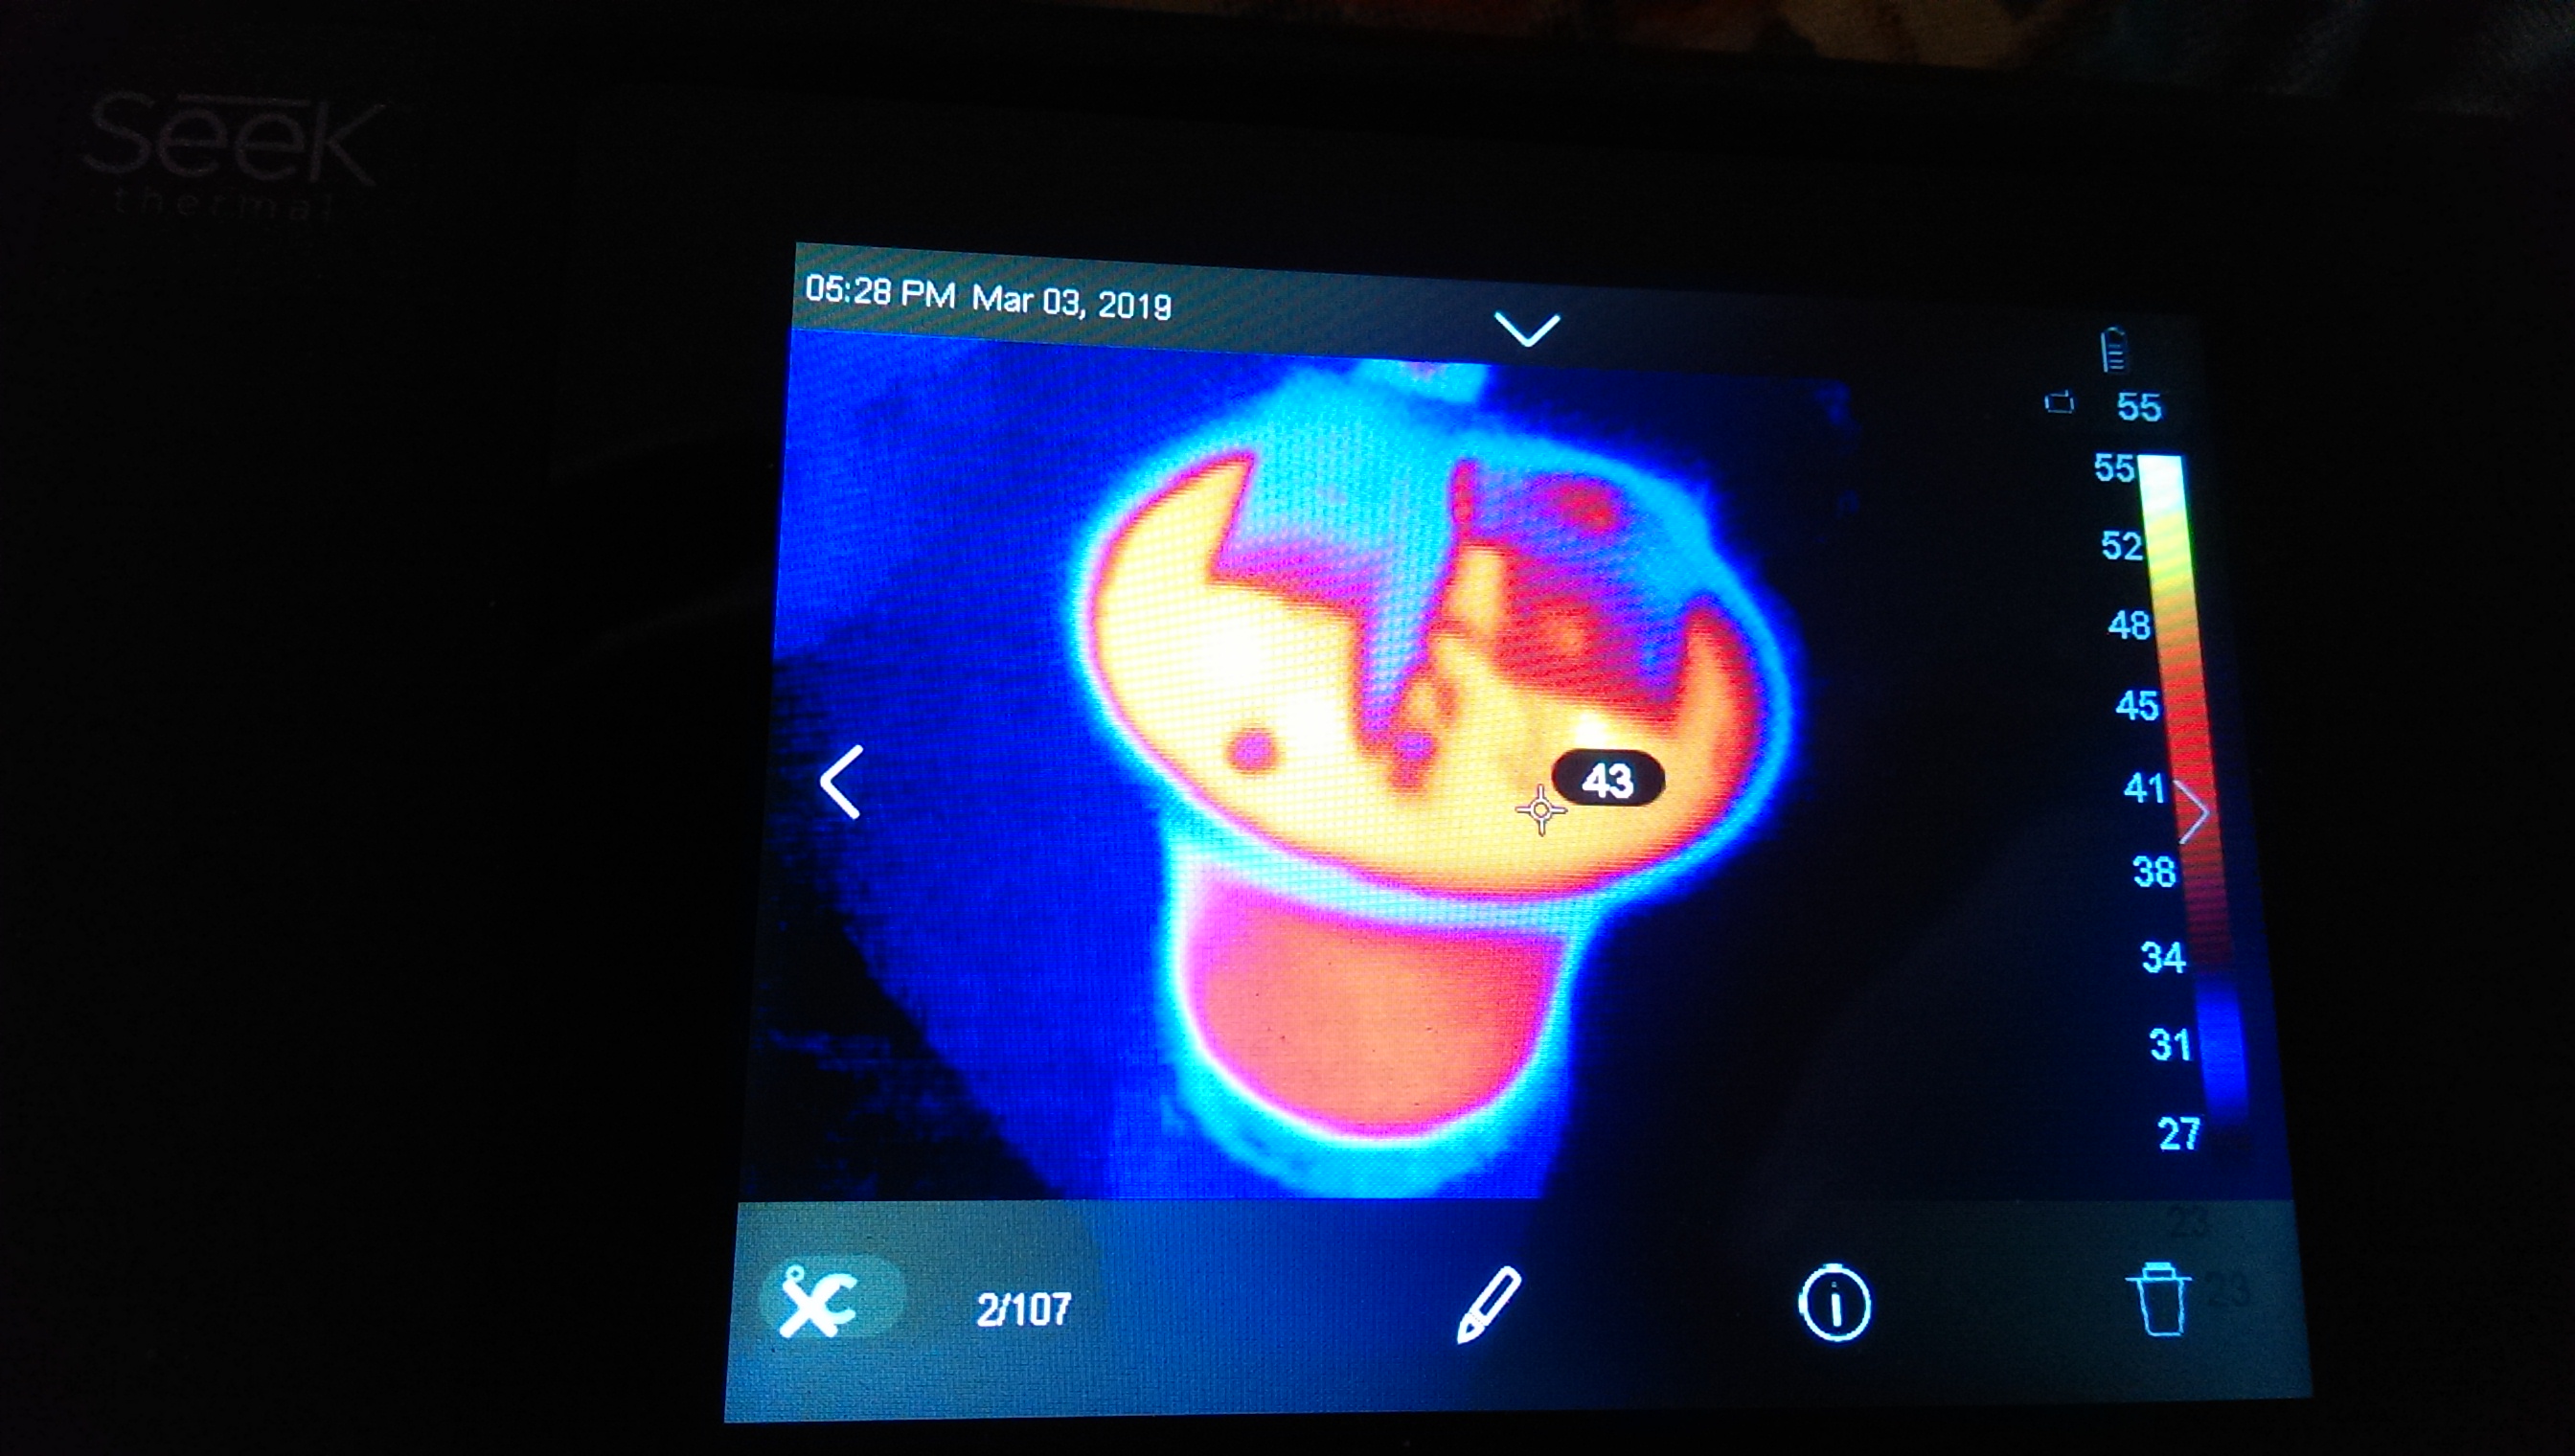
LED hand-heated watches:
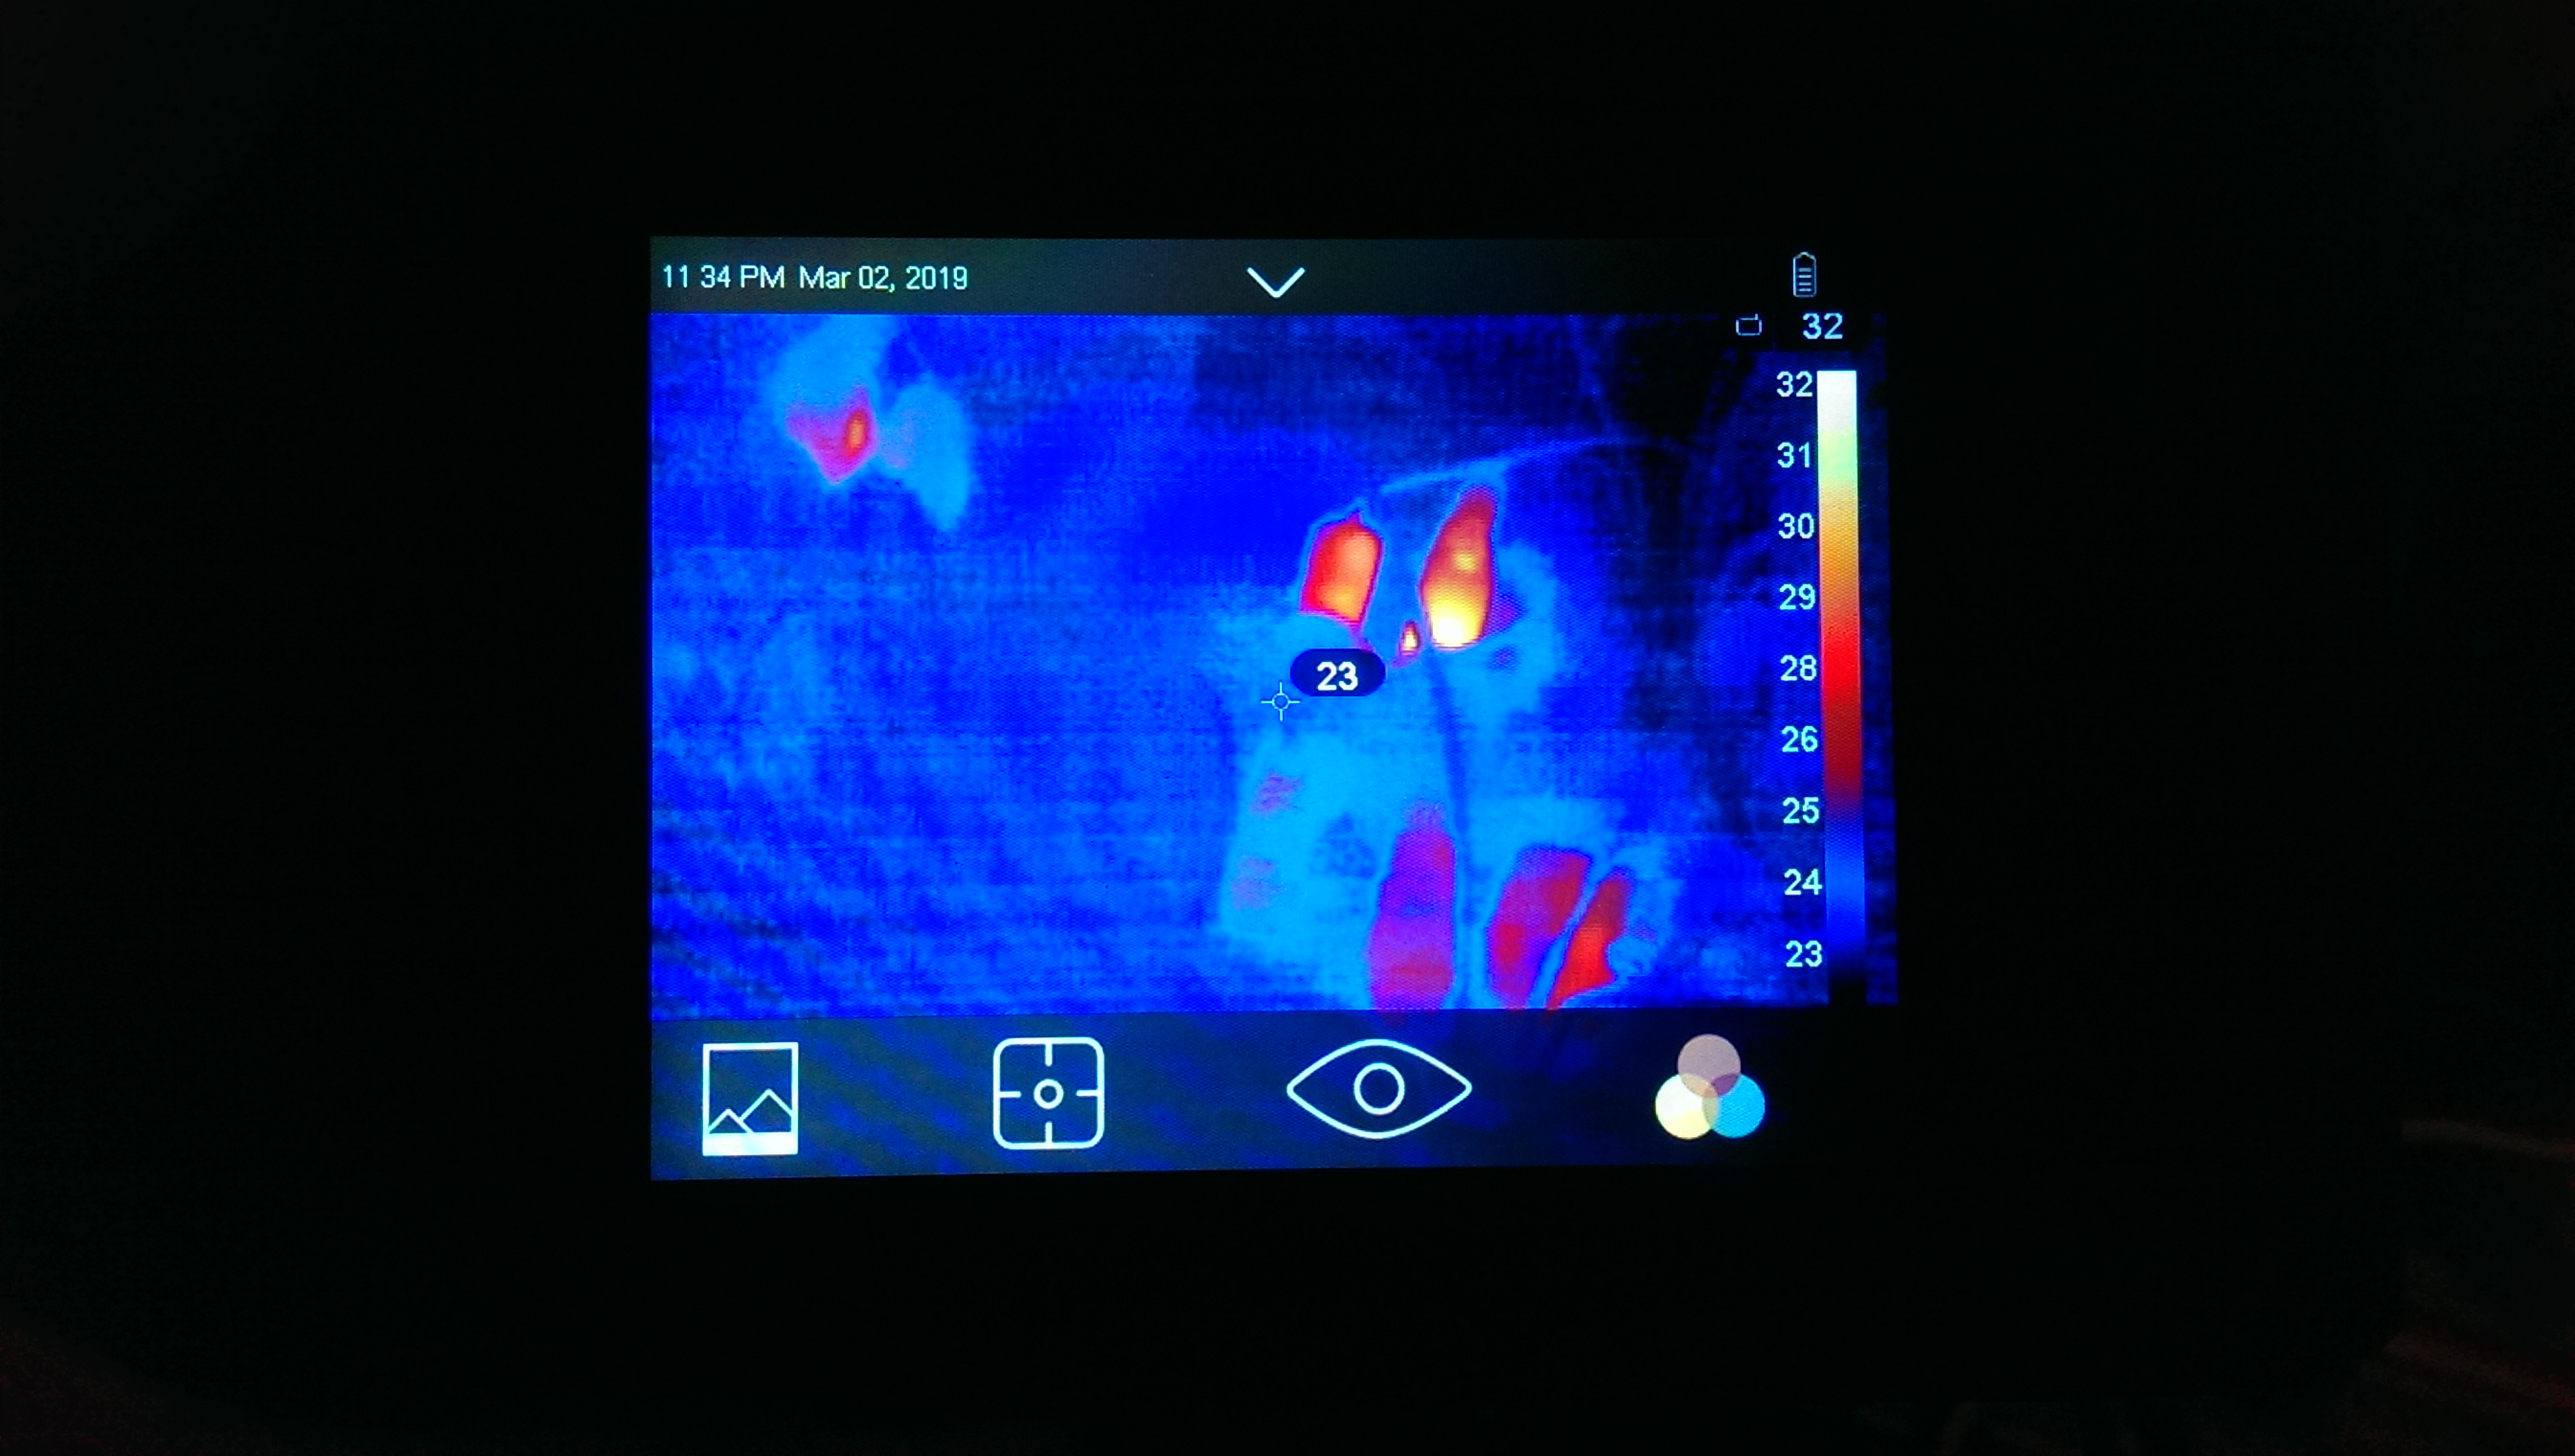
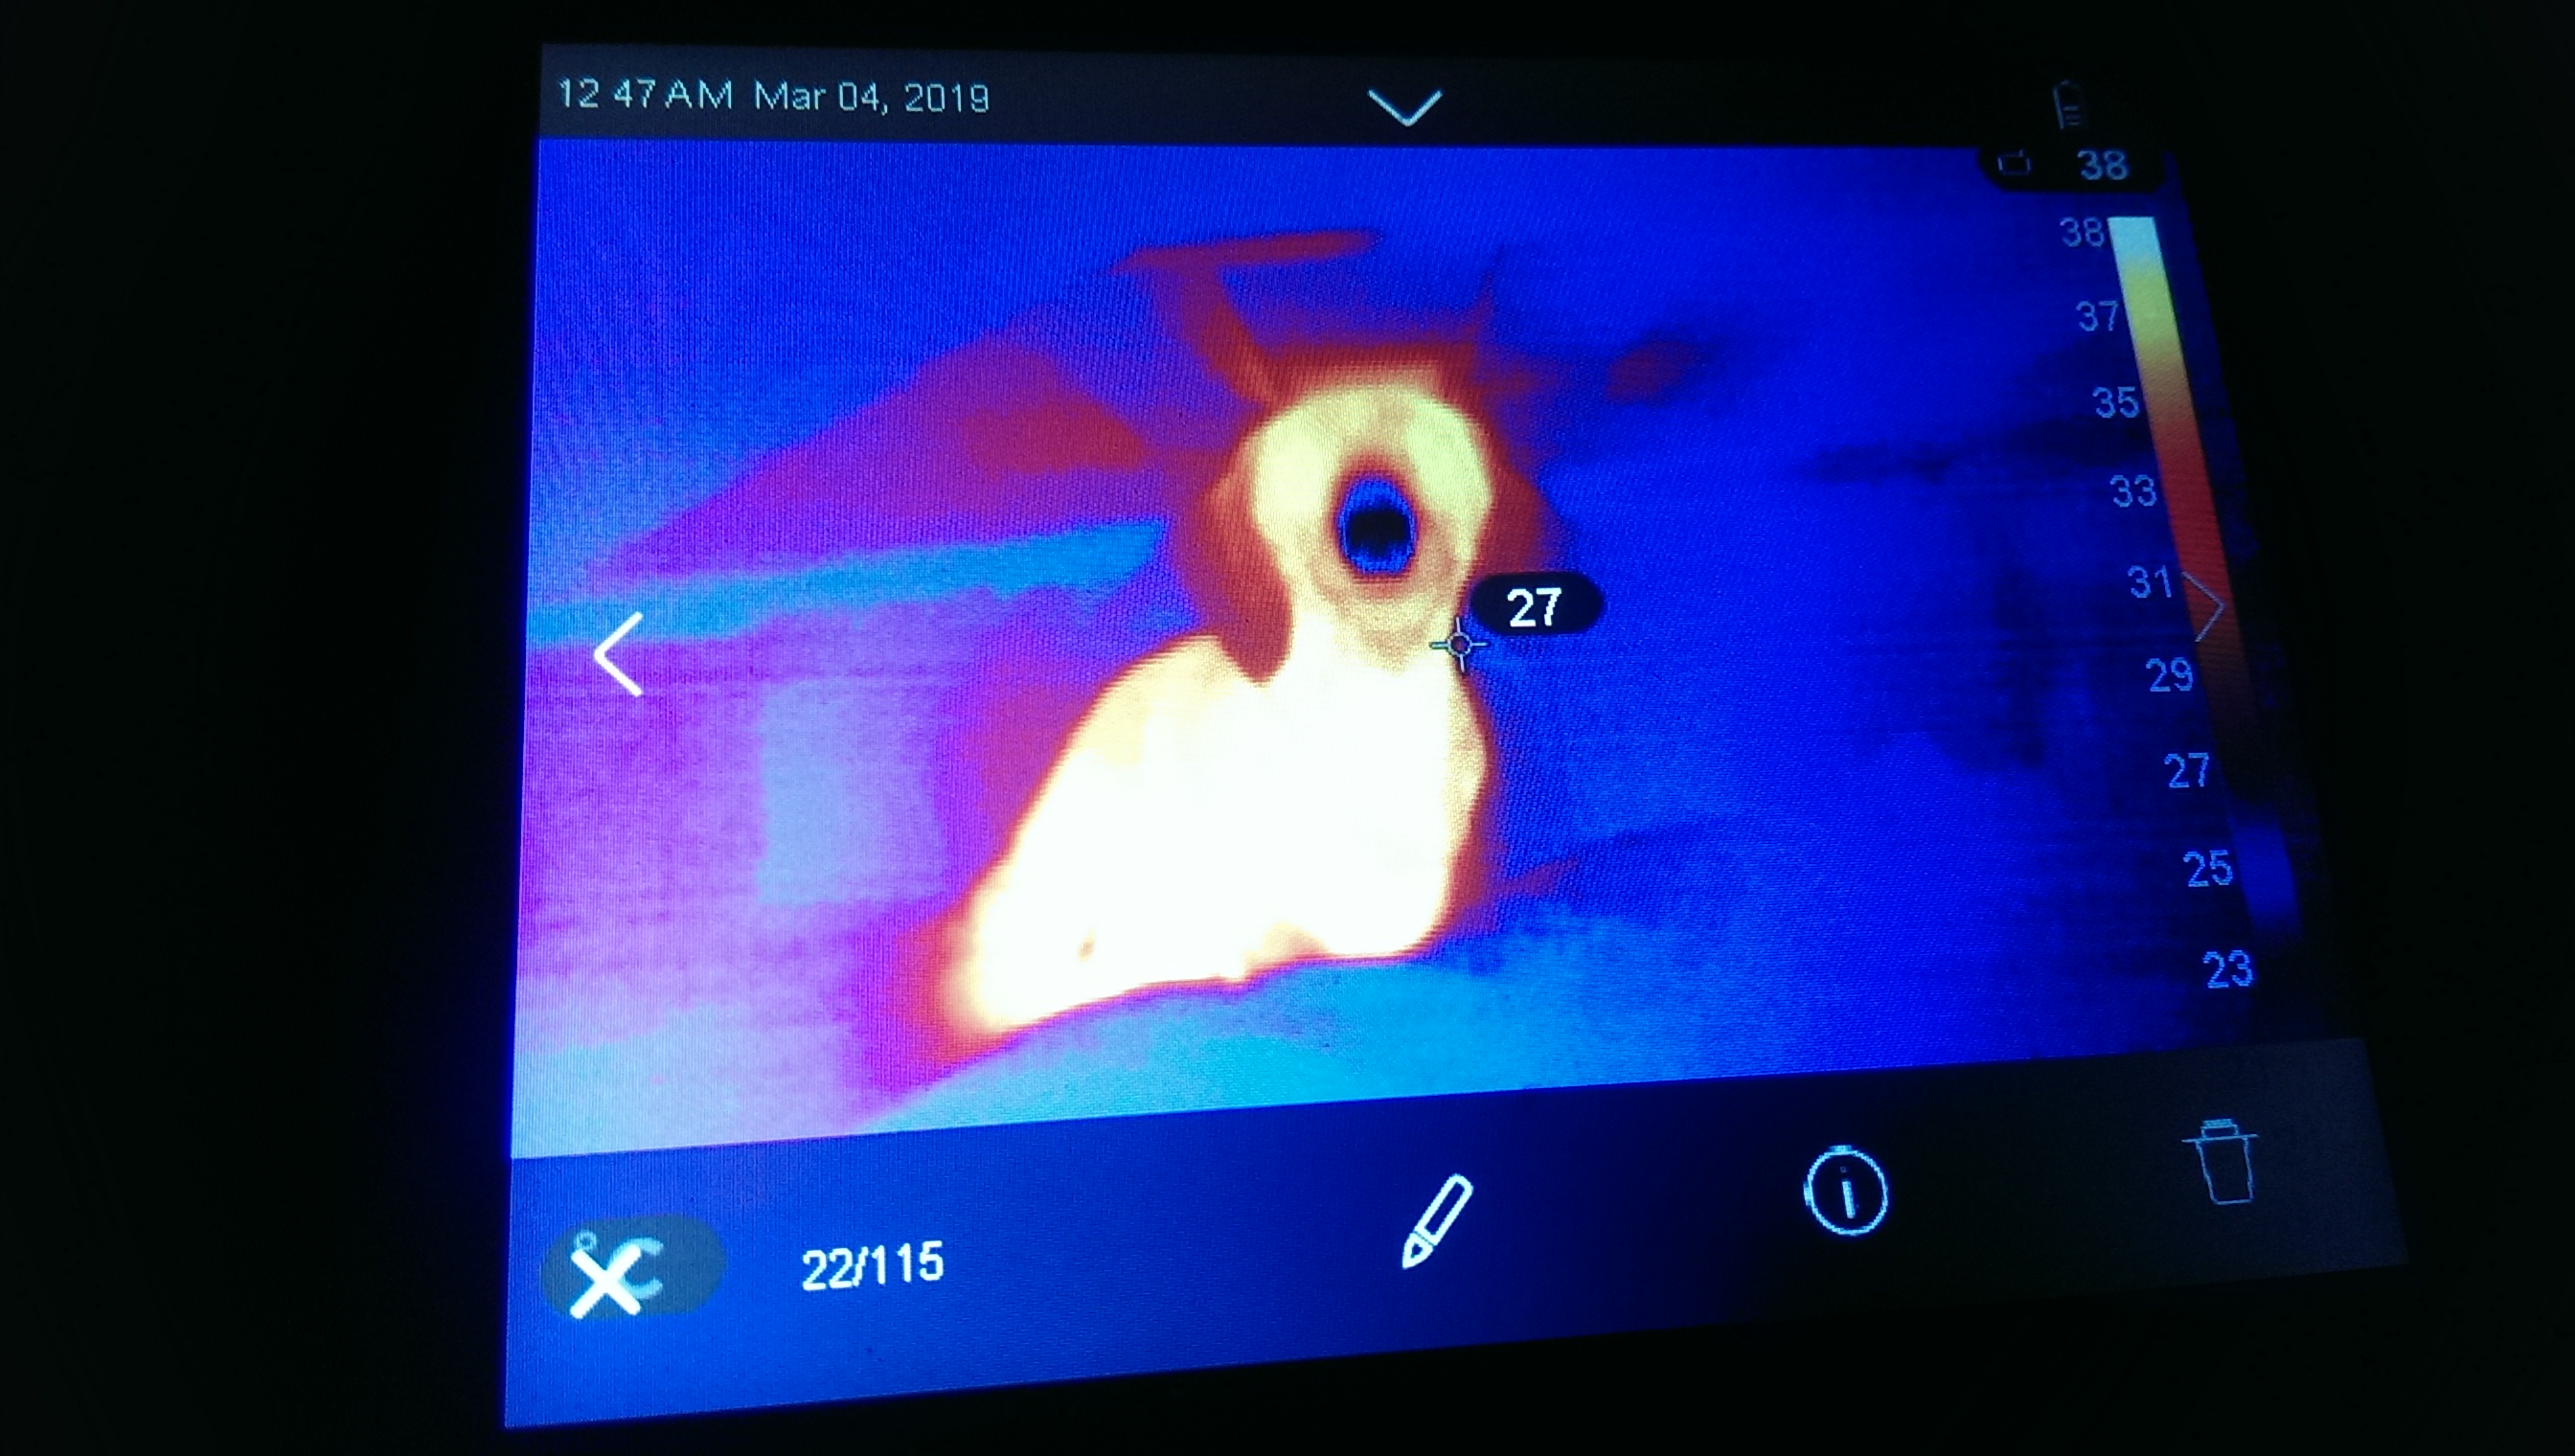
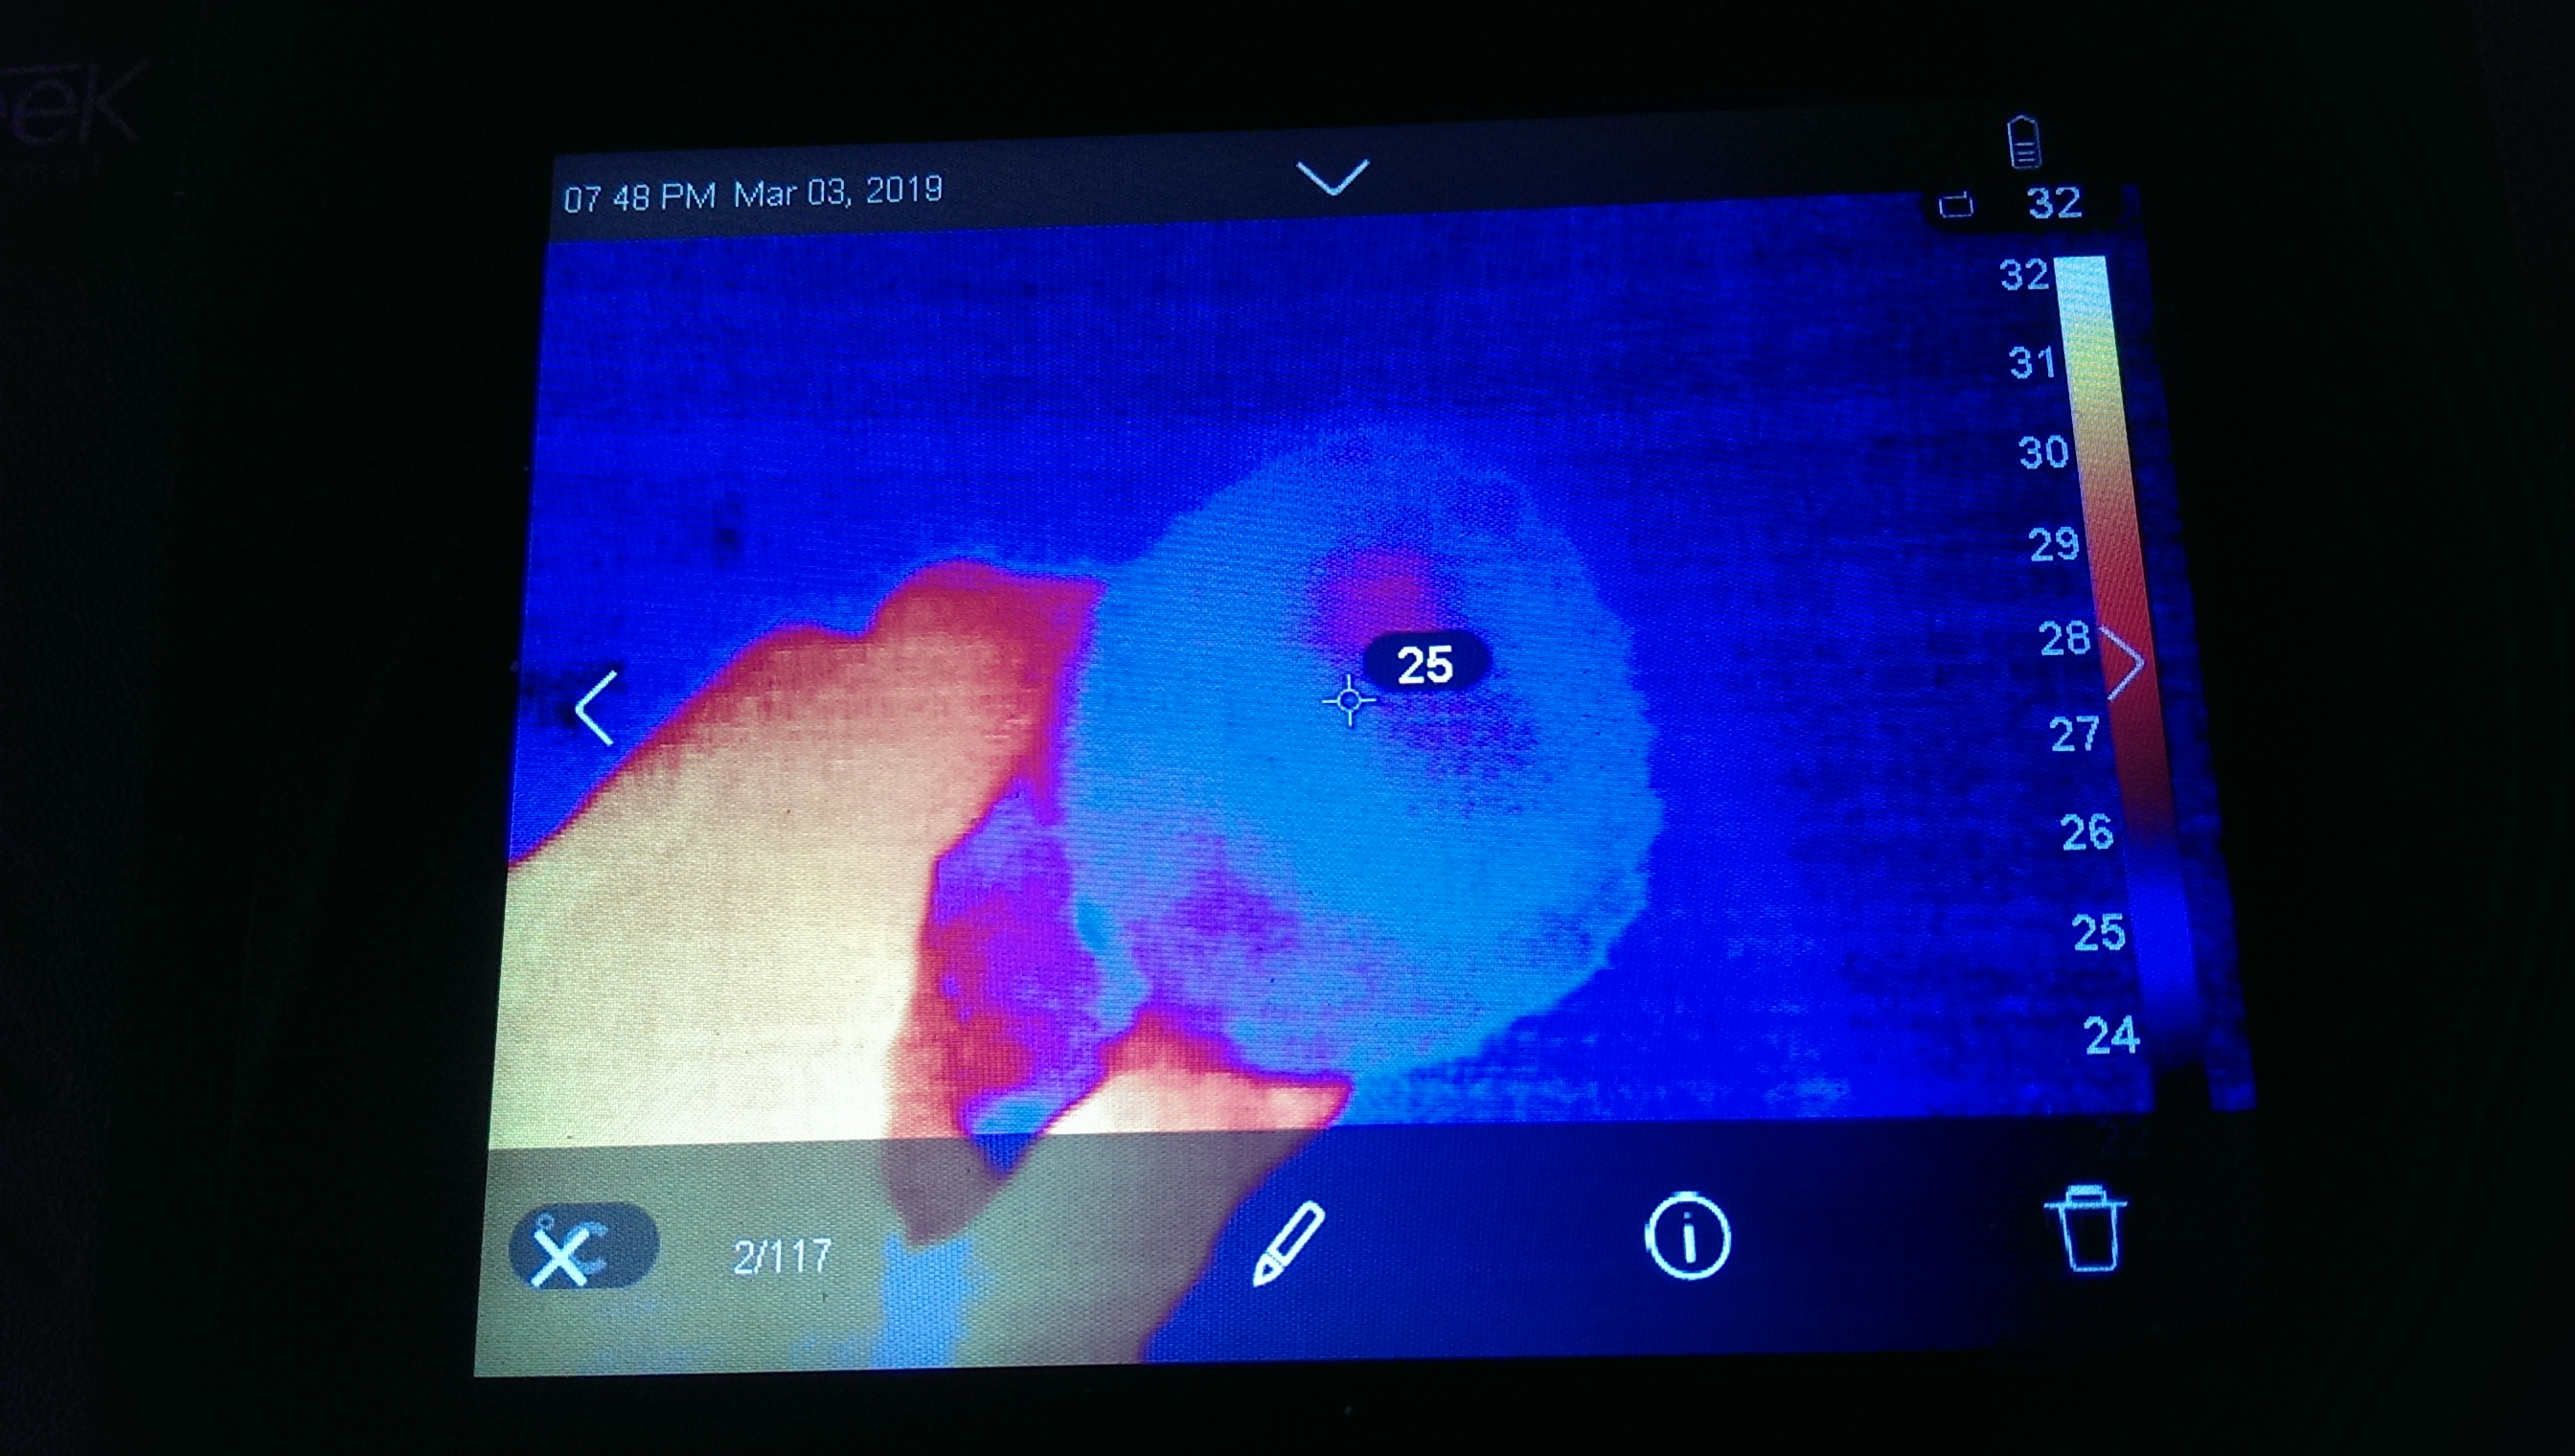
Friend of a person. With a very efficient air intake cooling system:
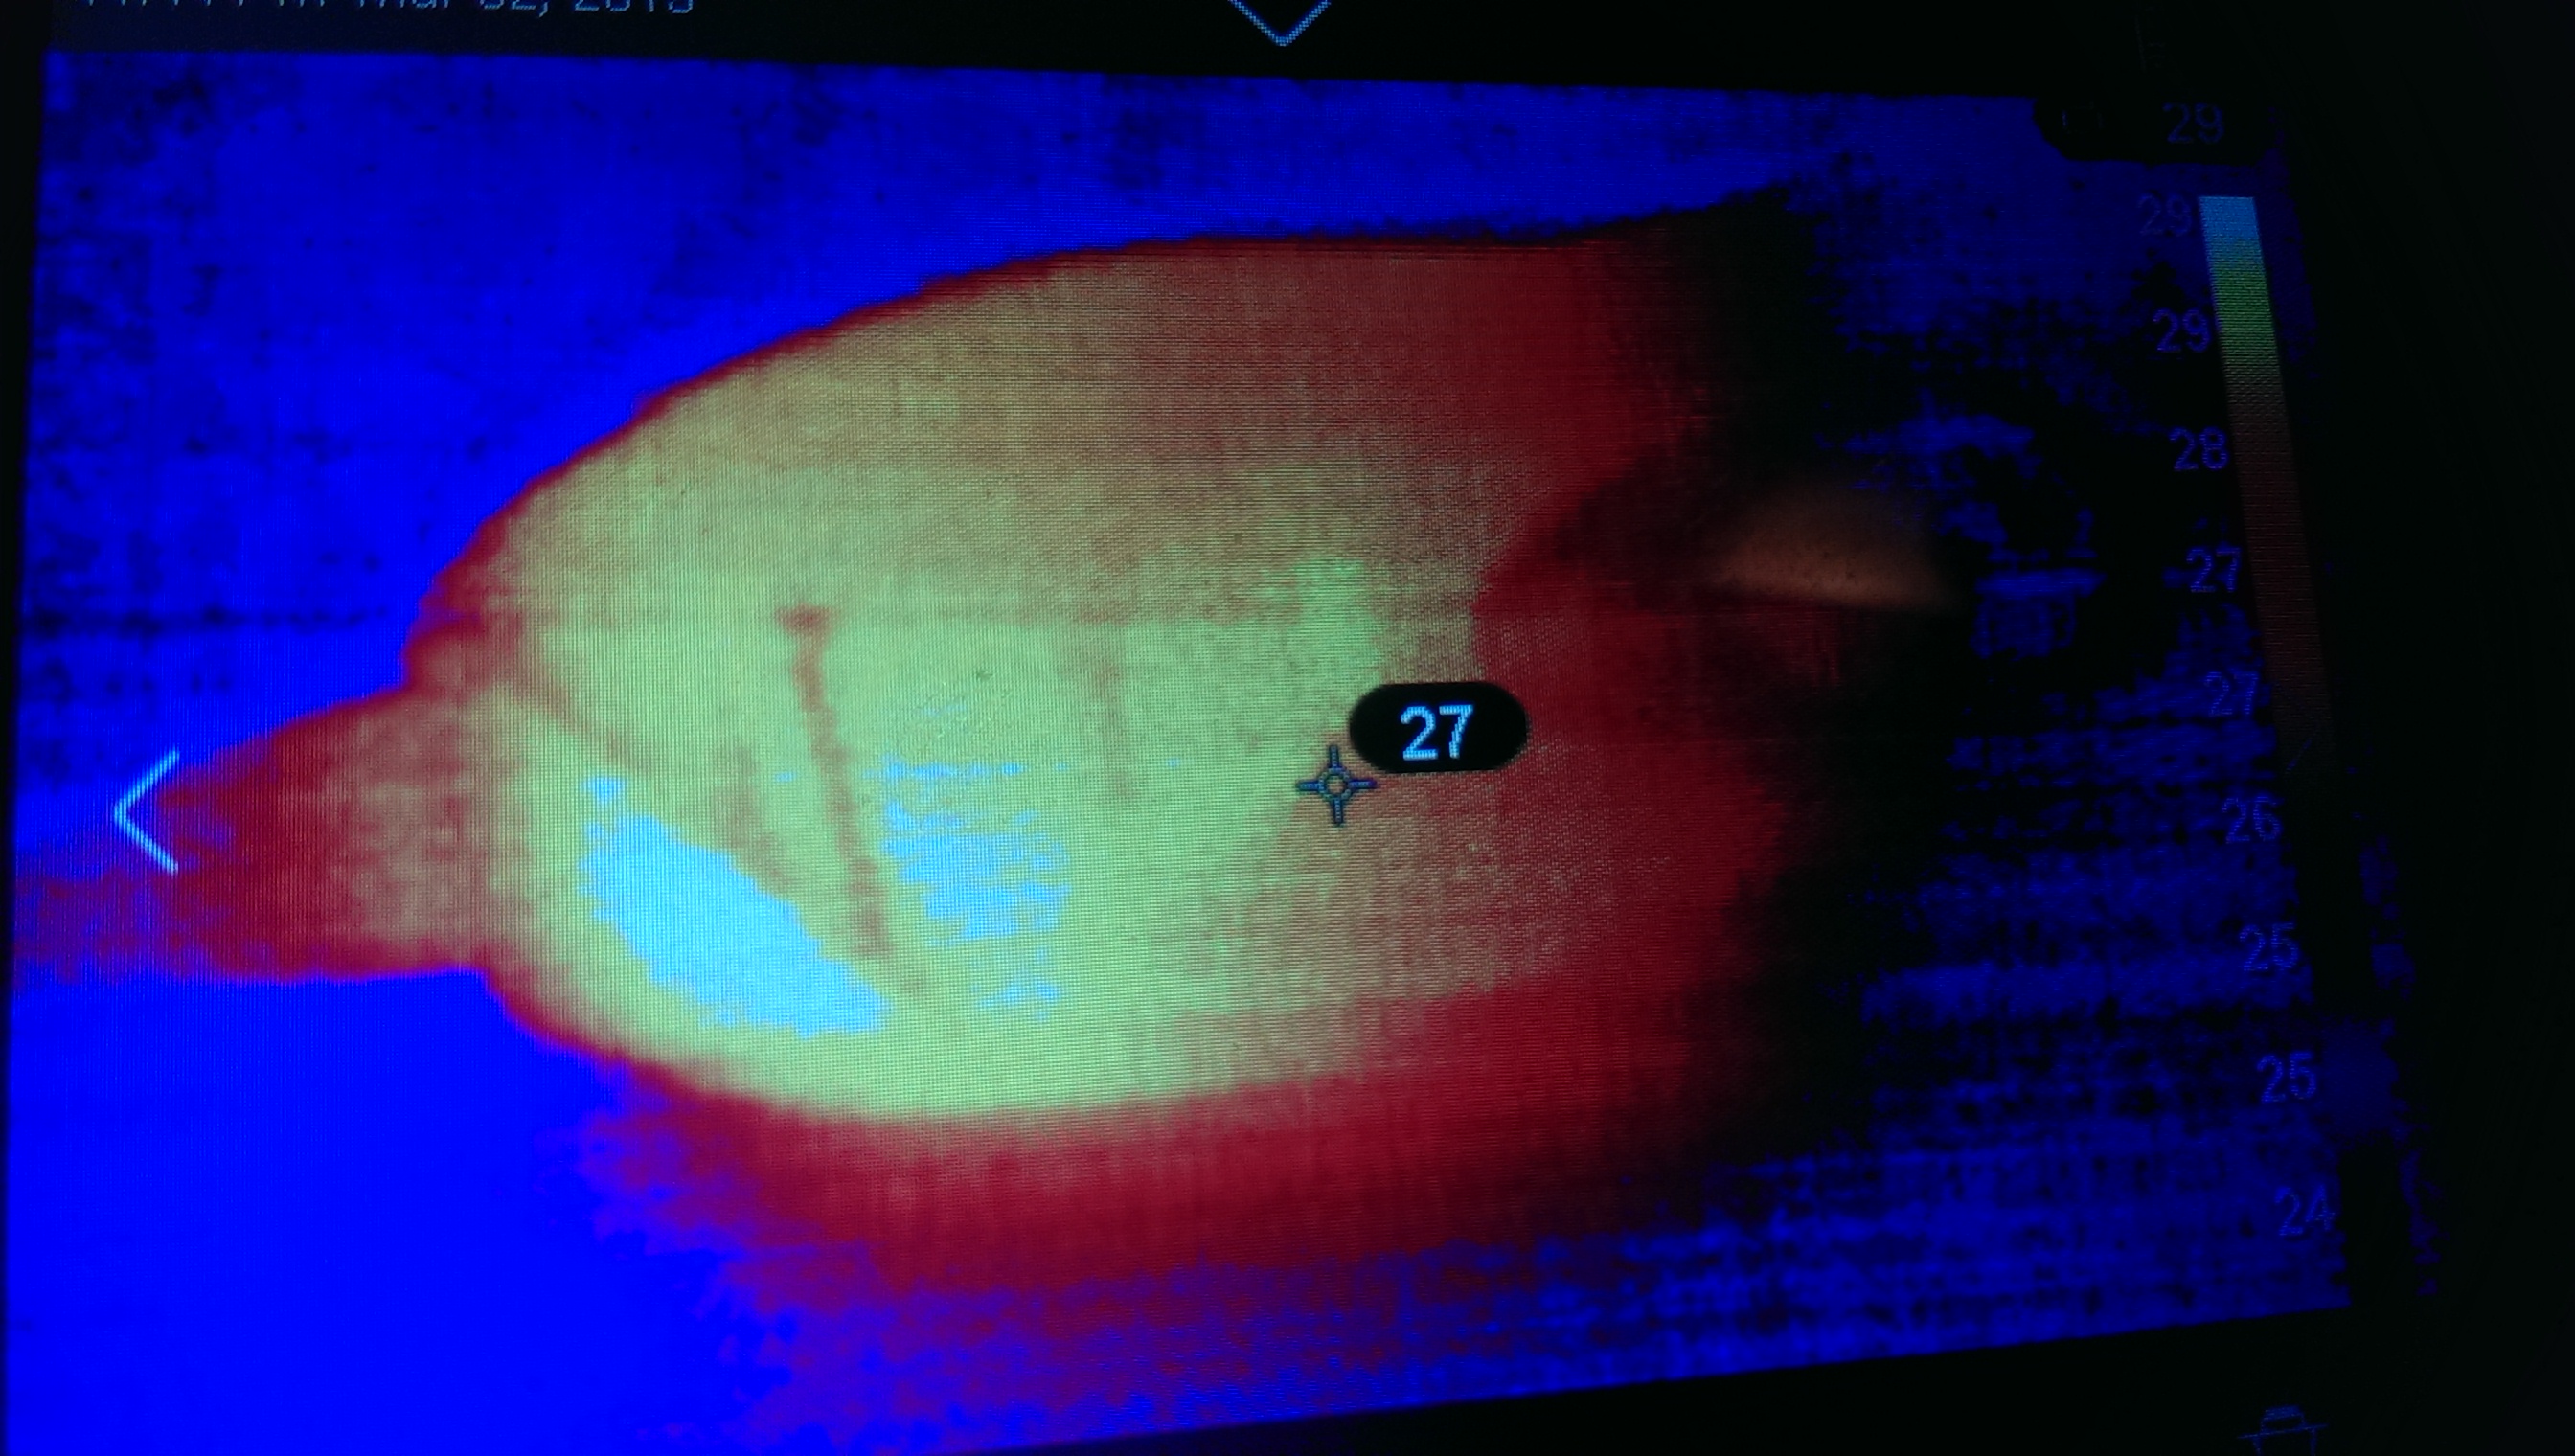
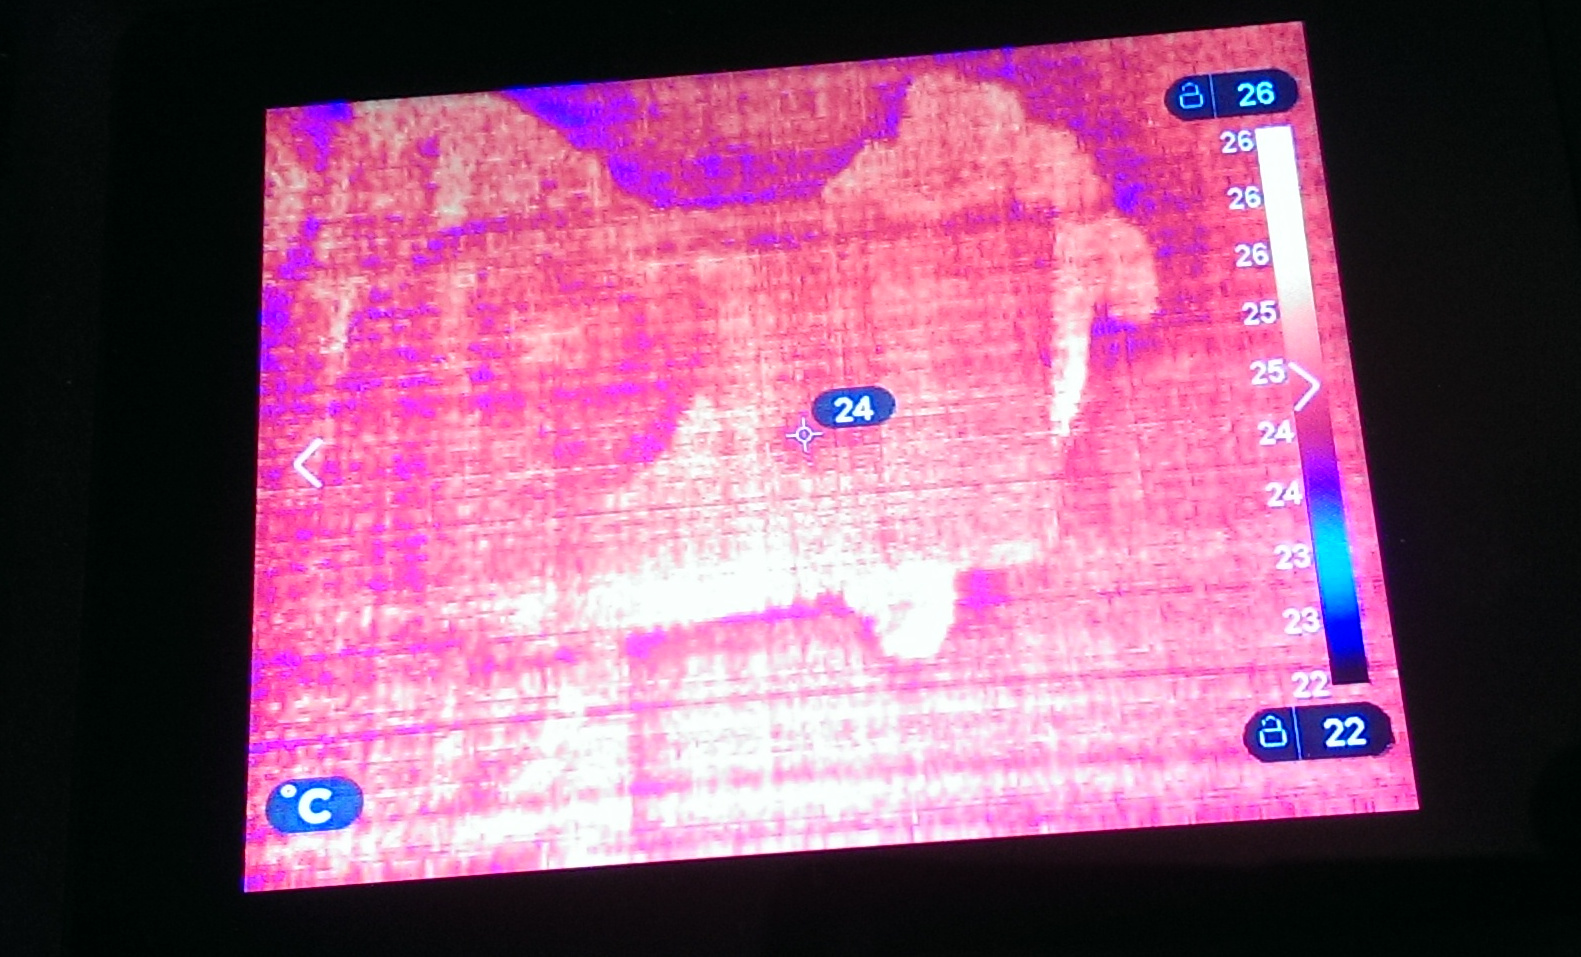
The thermal imager itself reflected in the mirror. As you can see, it is also not cold, but the long-wavelength IR mirror does not reflect very well.
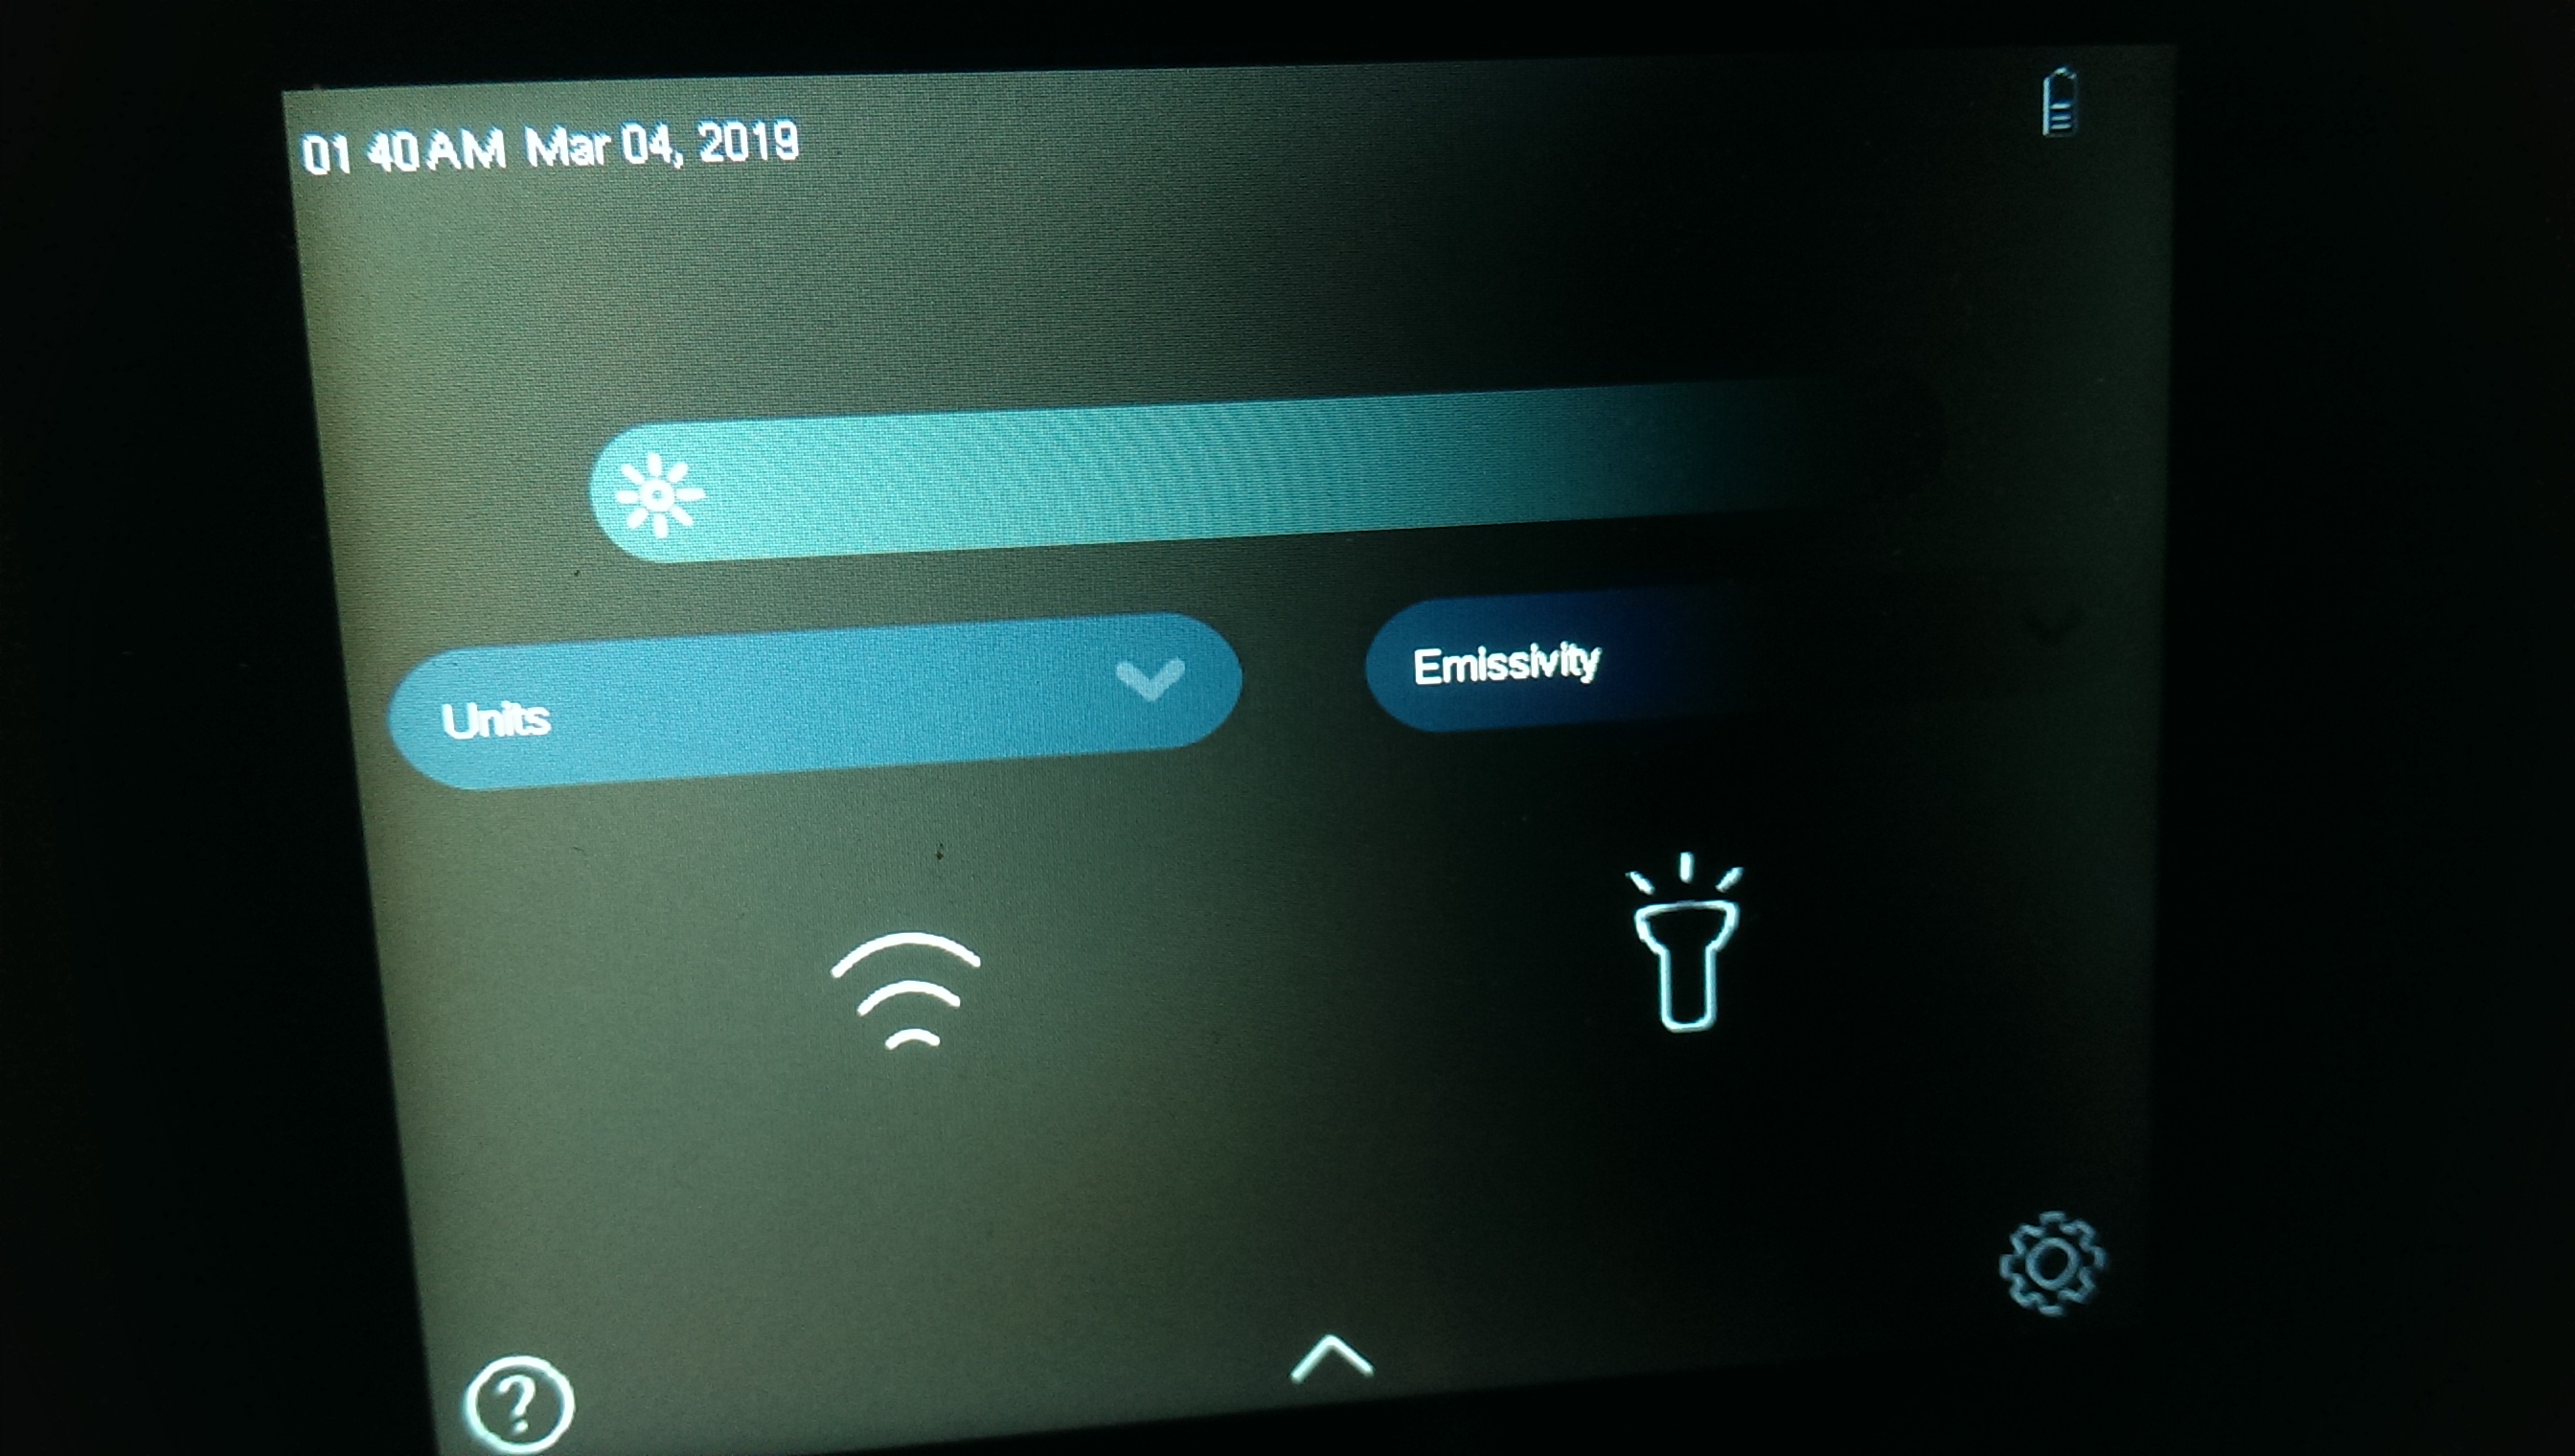
The menu allows you to switch palettes, view and edit the captured image, select the mode of combining the thermal image with the visible one, turn on the flashlight and access point, indicate the emission factor of the material from which the subject is made, choose automatic or manual movement of the temperature scale relative to the palette, etc. The flashlight can also be turned on and off as indicated in the table above.

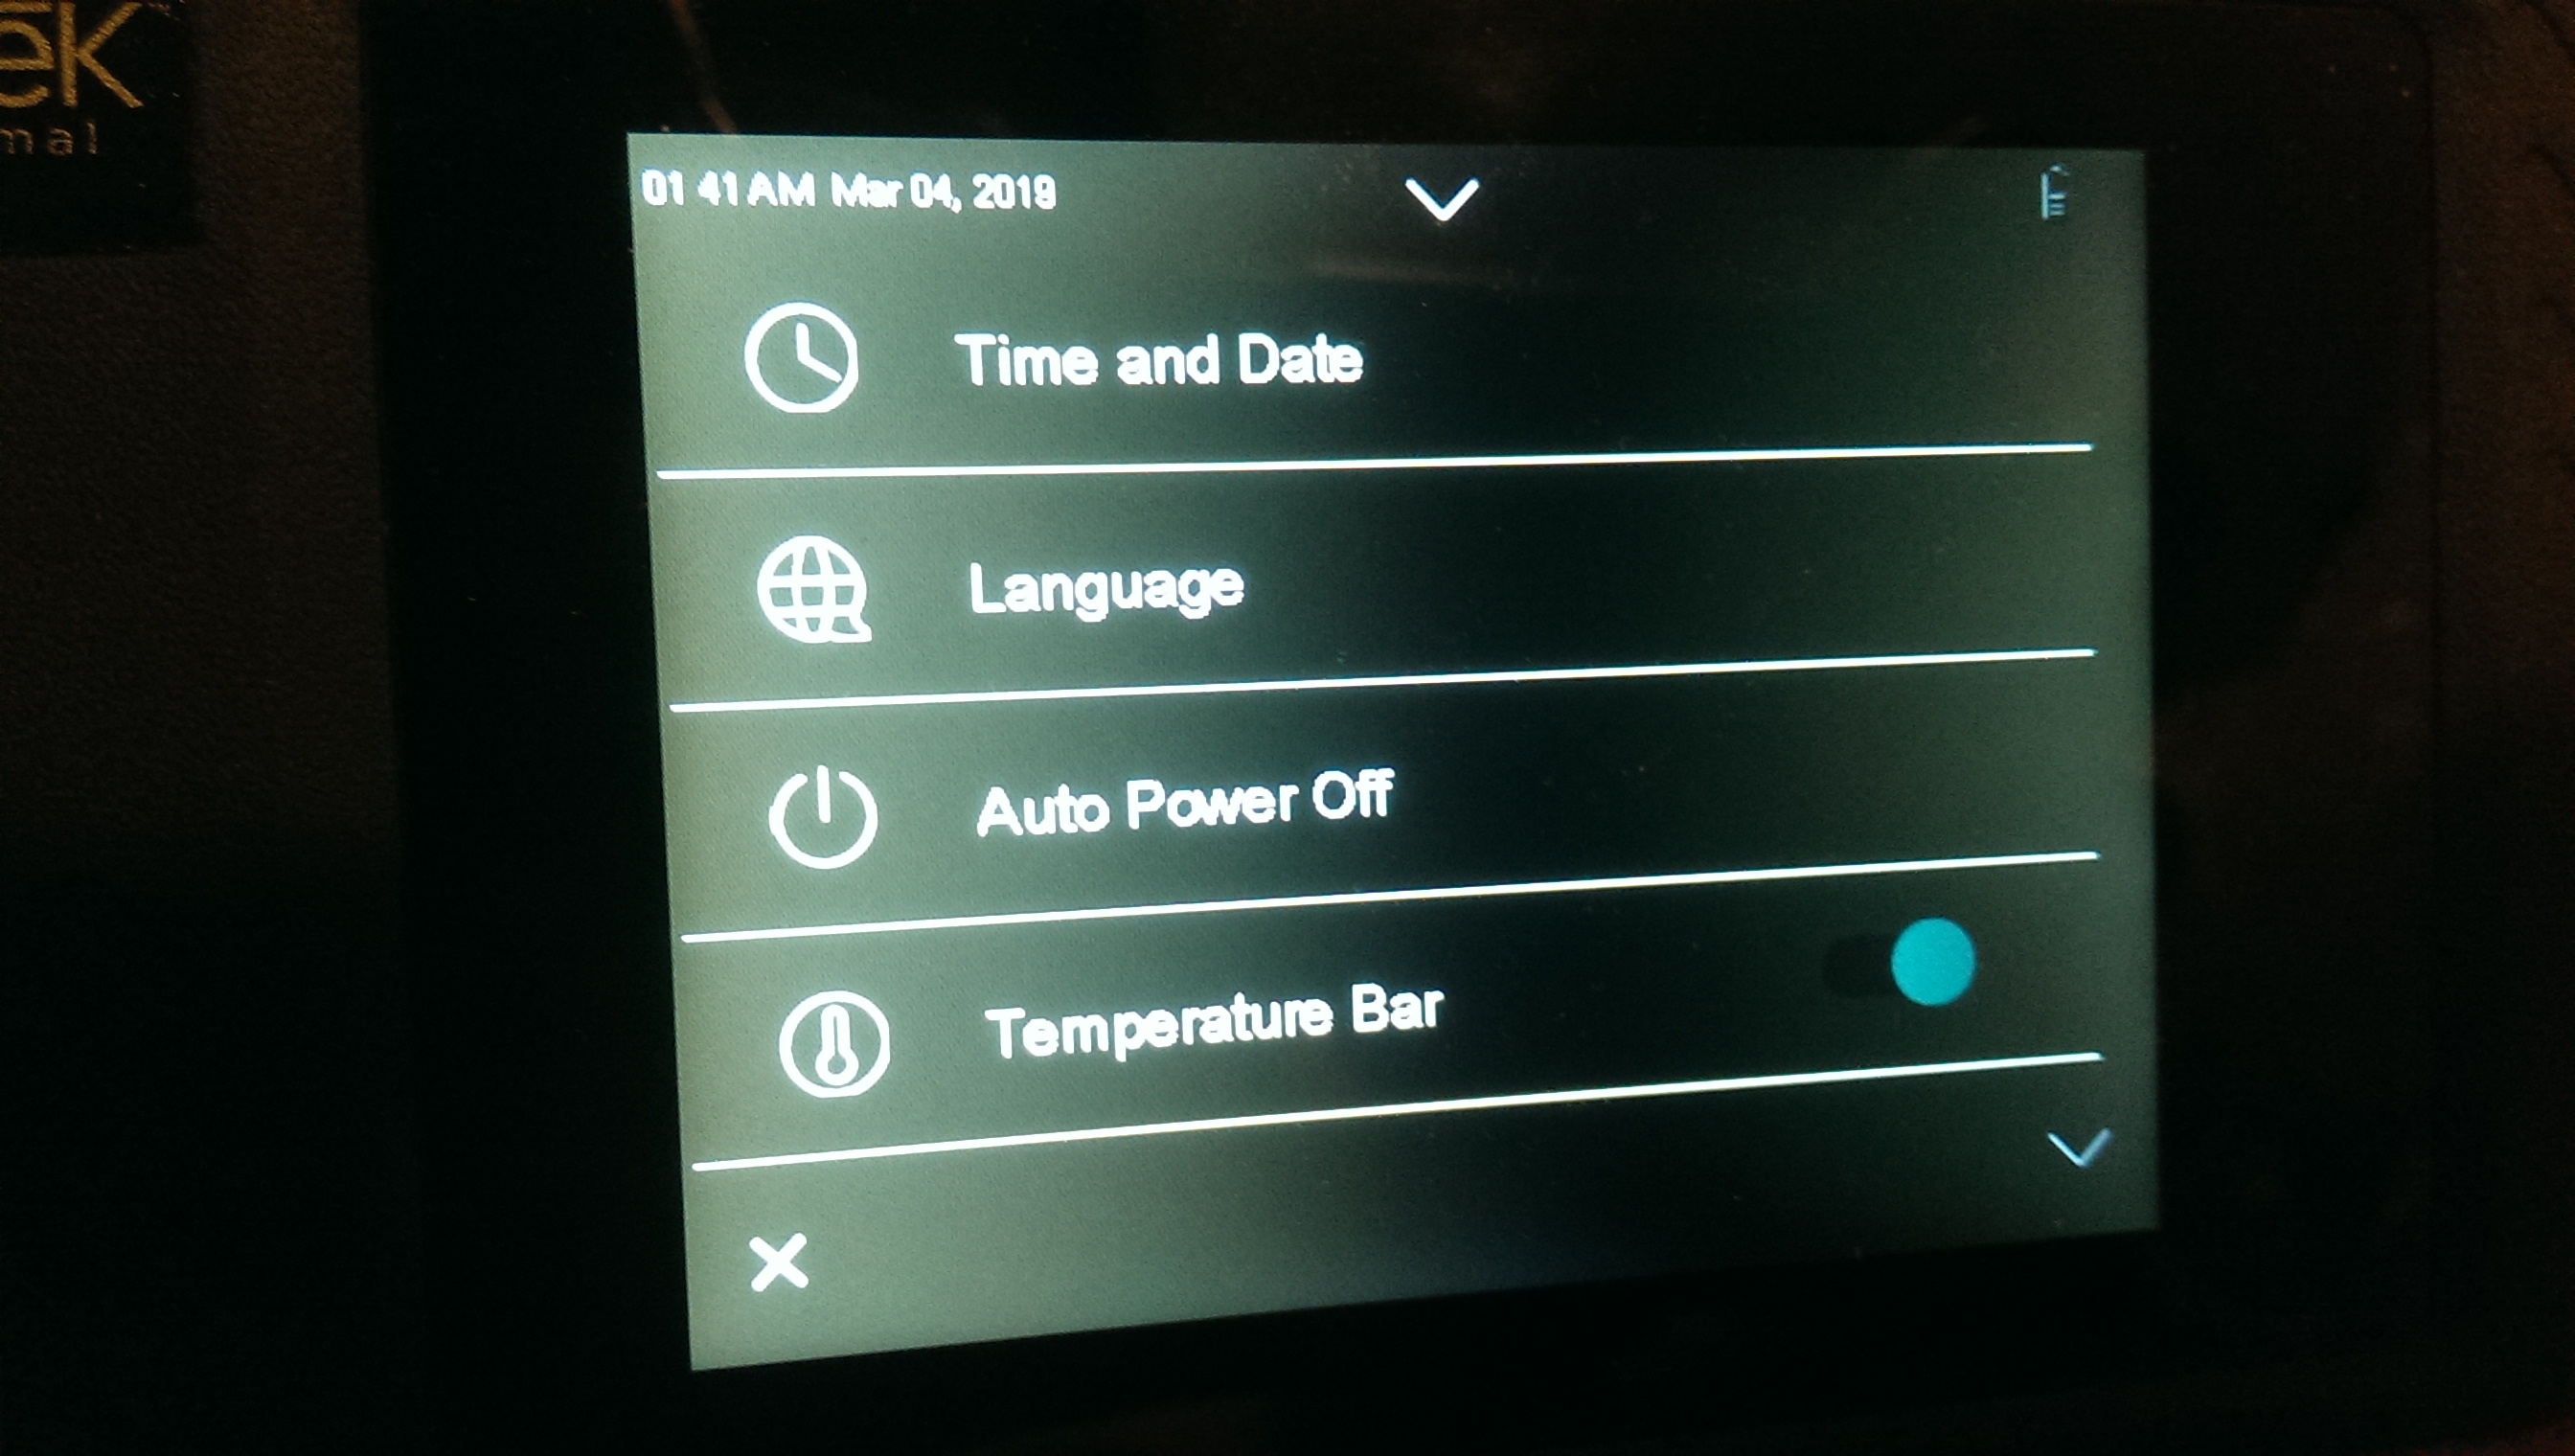
If something is not clear, the “help of the hall” is provided:

Let's try combination. Nearby it is imperfect:
But you can configure it, as well as the ratio of the brightness of the visible and thermal images:
From afar, the combination turns out to be ideal itself:
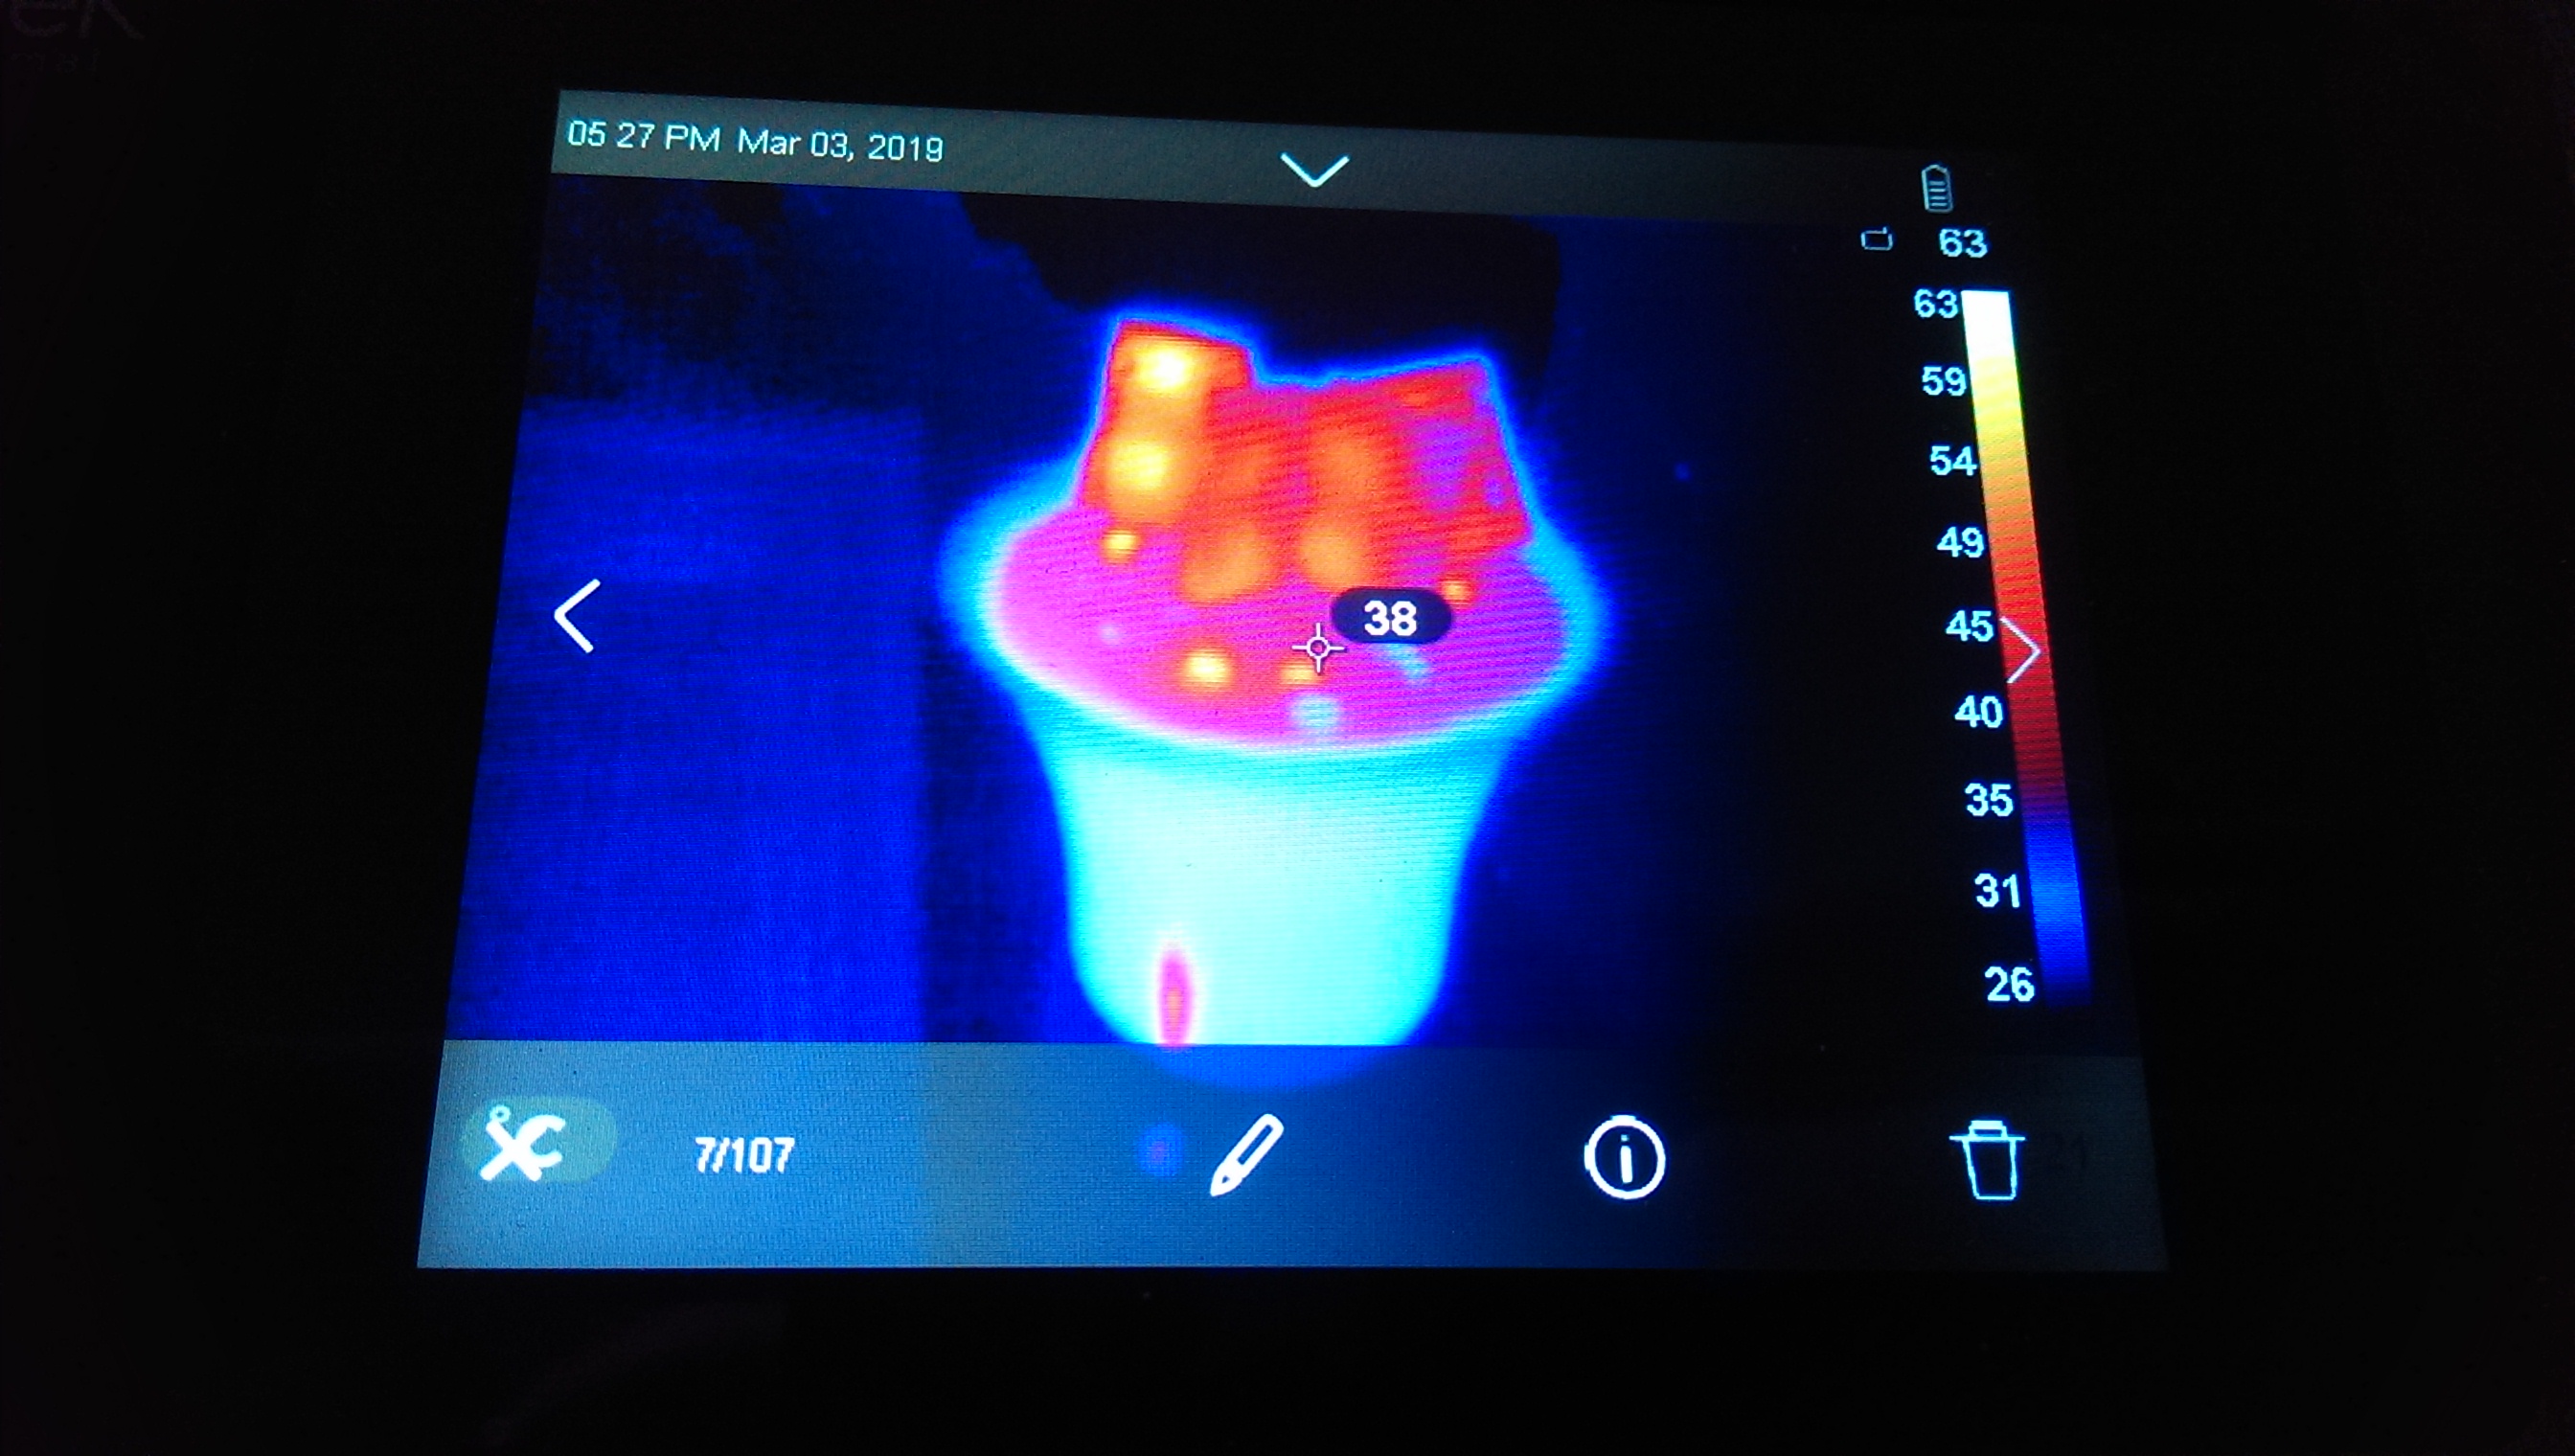
If a radical extension of people's lives is a matter of the near, but future, then with massive LED lamps you can try to do this now. I have repeatedly suggested in the comments to try using a fan for this. Of course, for production it is better to be silent, but for experience it is also suitable:

But how do you know how much the temperature of the LEDs has decreased? You can not touch, there is a capacitor power supply. This is where the thermal imager comes to the rescue.
In the lamp that I fixed in the previous issue, the LEDs are now of two types. Established, which have not yet burned out, are installed on a special board with high thermal conductivity. And the new ones, installed instead of the blown ones, are located on pieces of the line - in fact, an ordinary board that does not differ in good thermal conductivity. I had to take measures to reduce the current through them.
A regular LED is two crystals connected in series:
-->|-->|--
Instead of each of the blown regular LEDs, it is soldered in such a design from two pieces of the line:
-o-->|-->|--o-
 |          |
 +-->|-->|--+
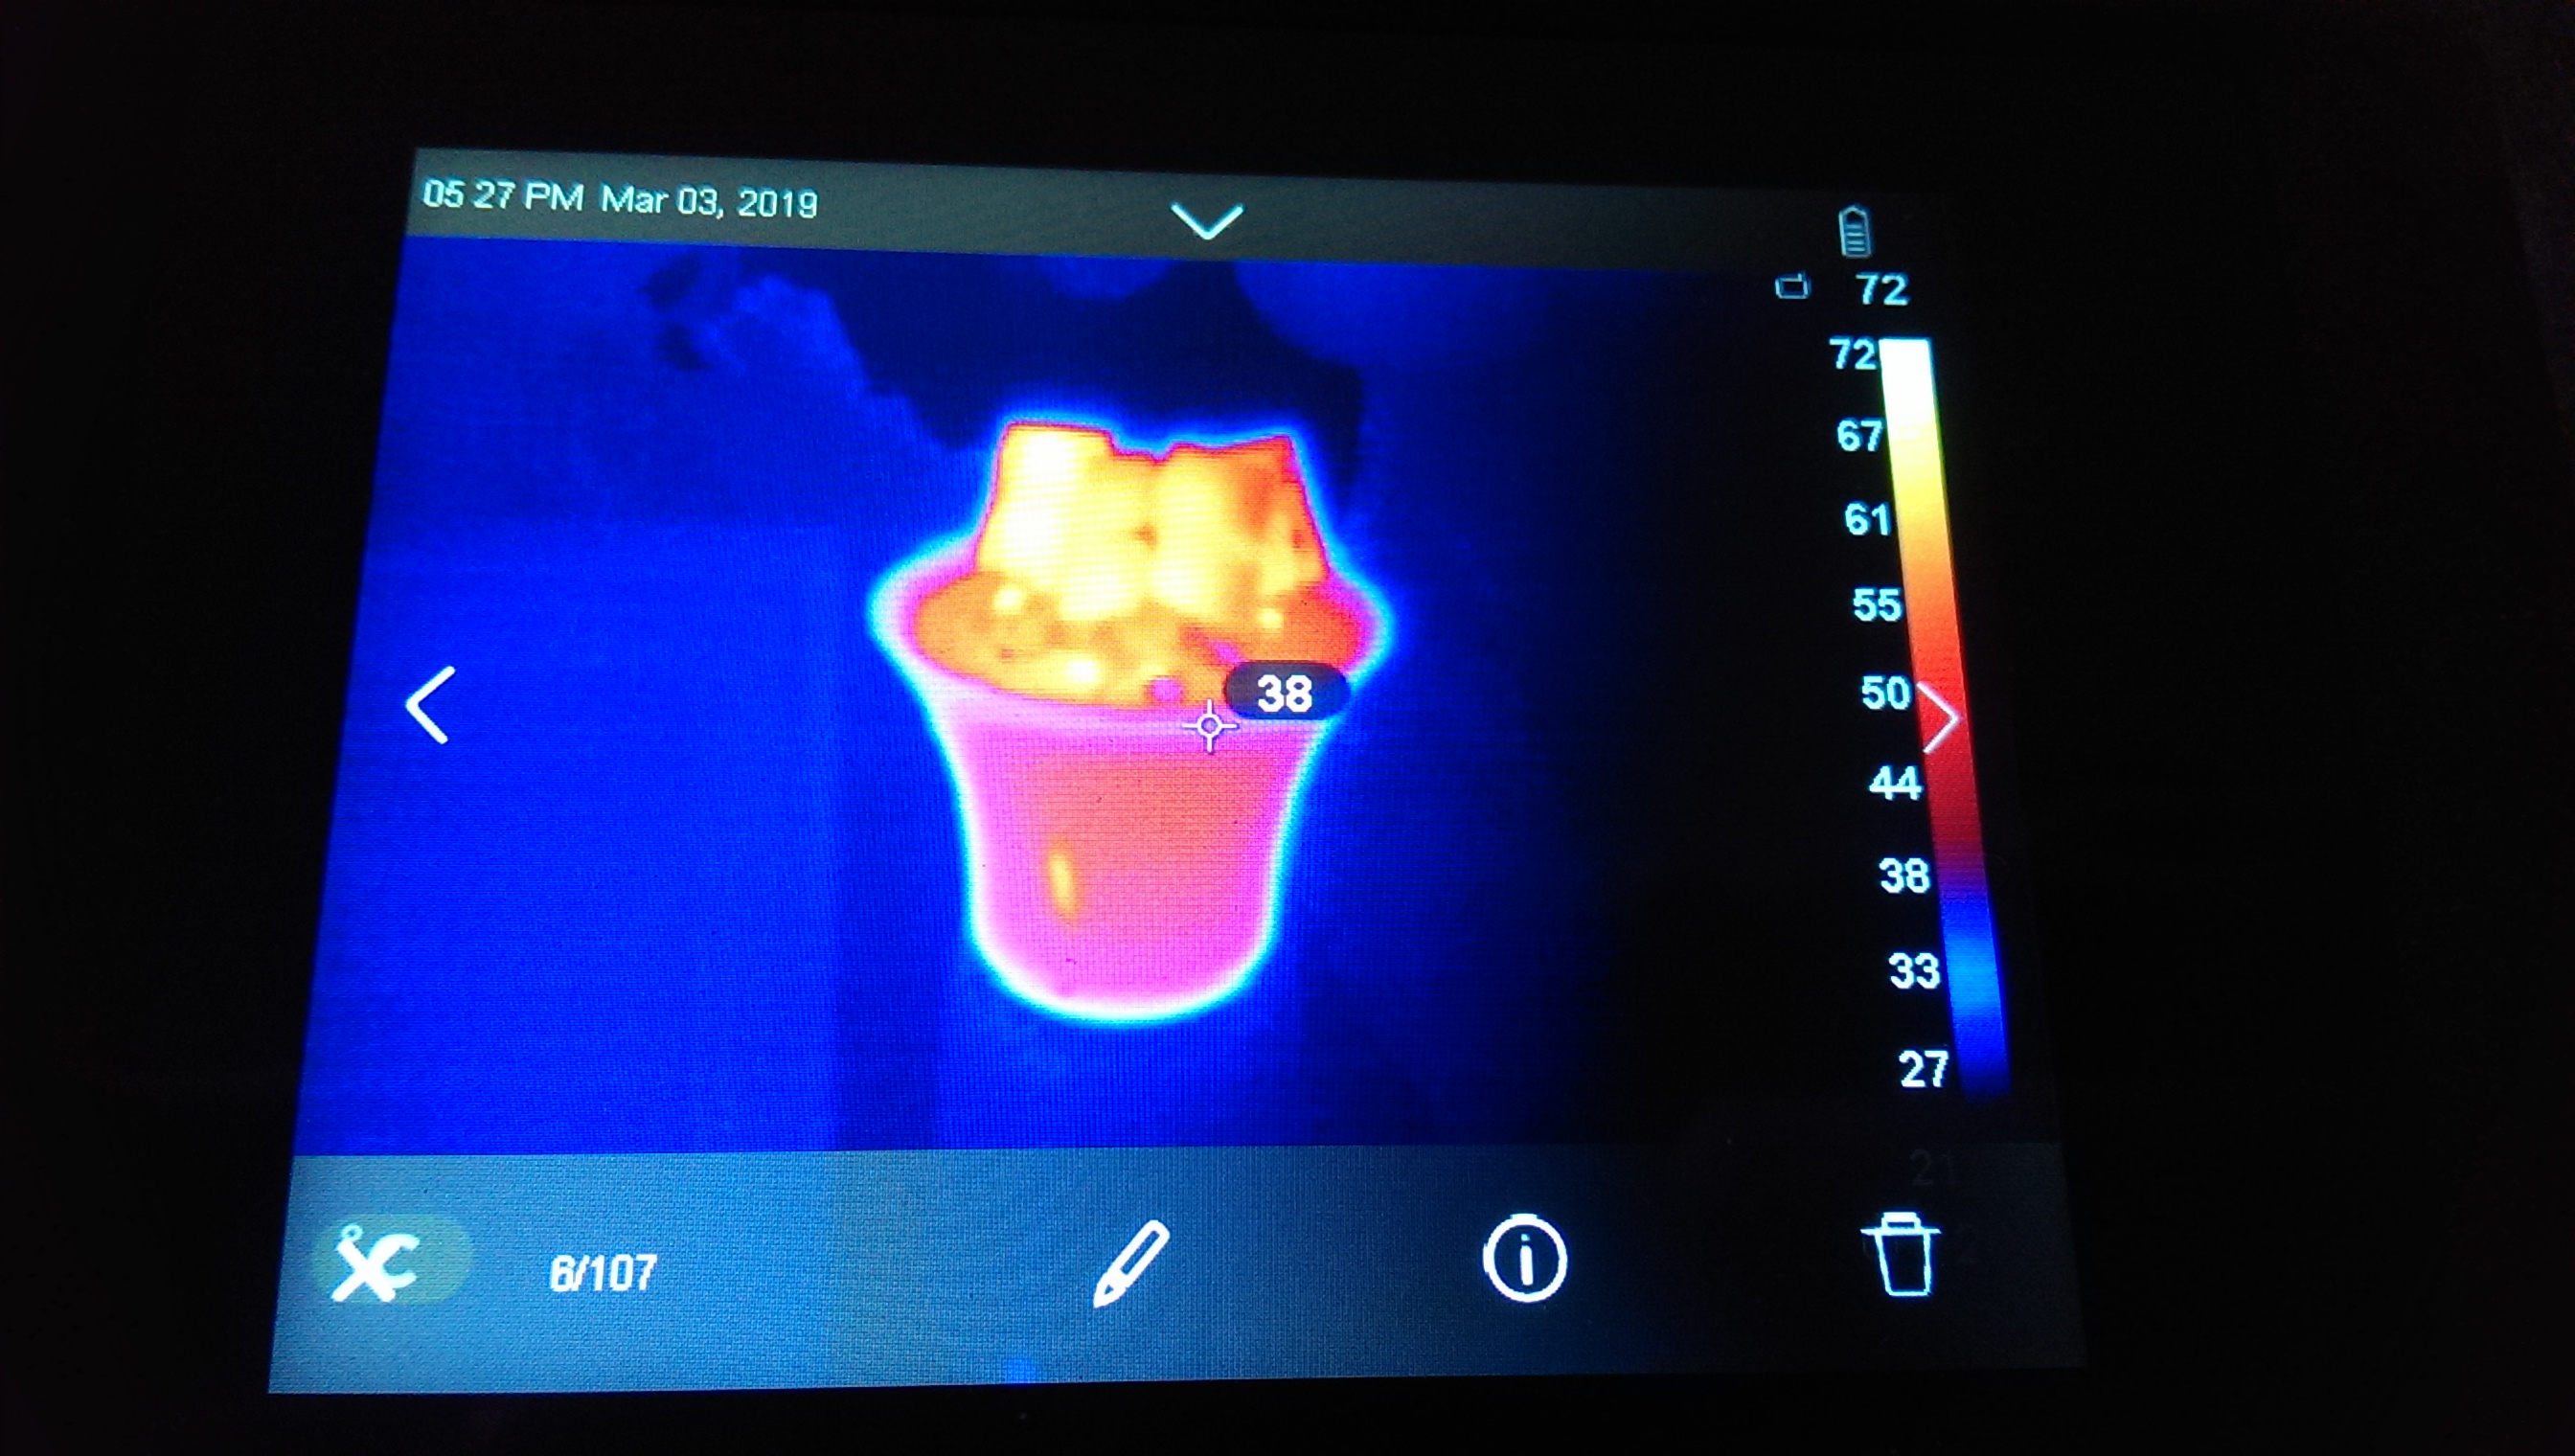
Thus, on the one hand there is no heat sink, on the other - the current through each crystal is half as much as in the original. Let's see what is heated. That's how it looks right after power is applied - it’s clear that the diodes on the pieces of the line are the first to heat up:
As the warm-up goes, the others, as well as the board and case, are pulled up. Notice how the temperature scale automatically moves relative to the palette.

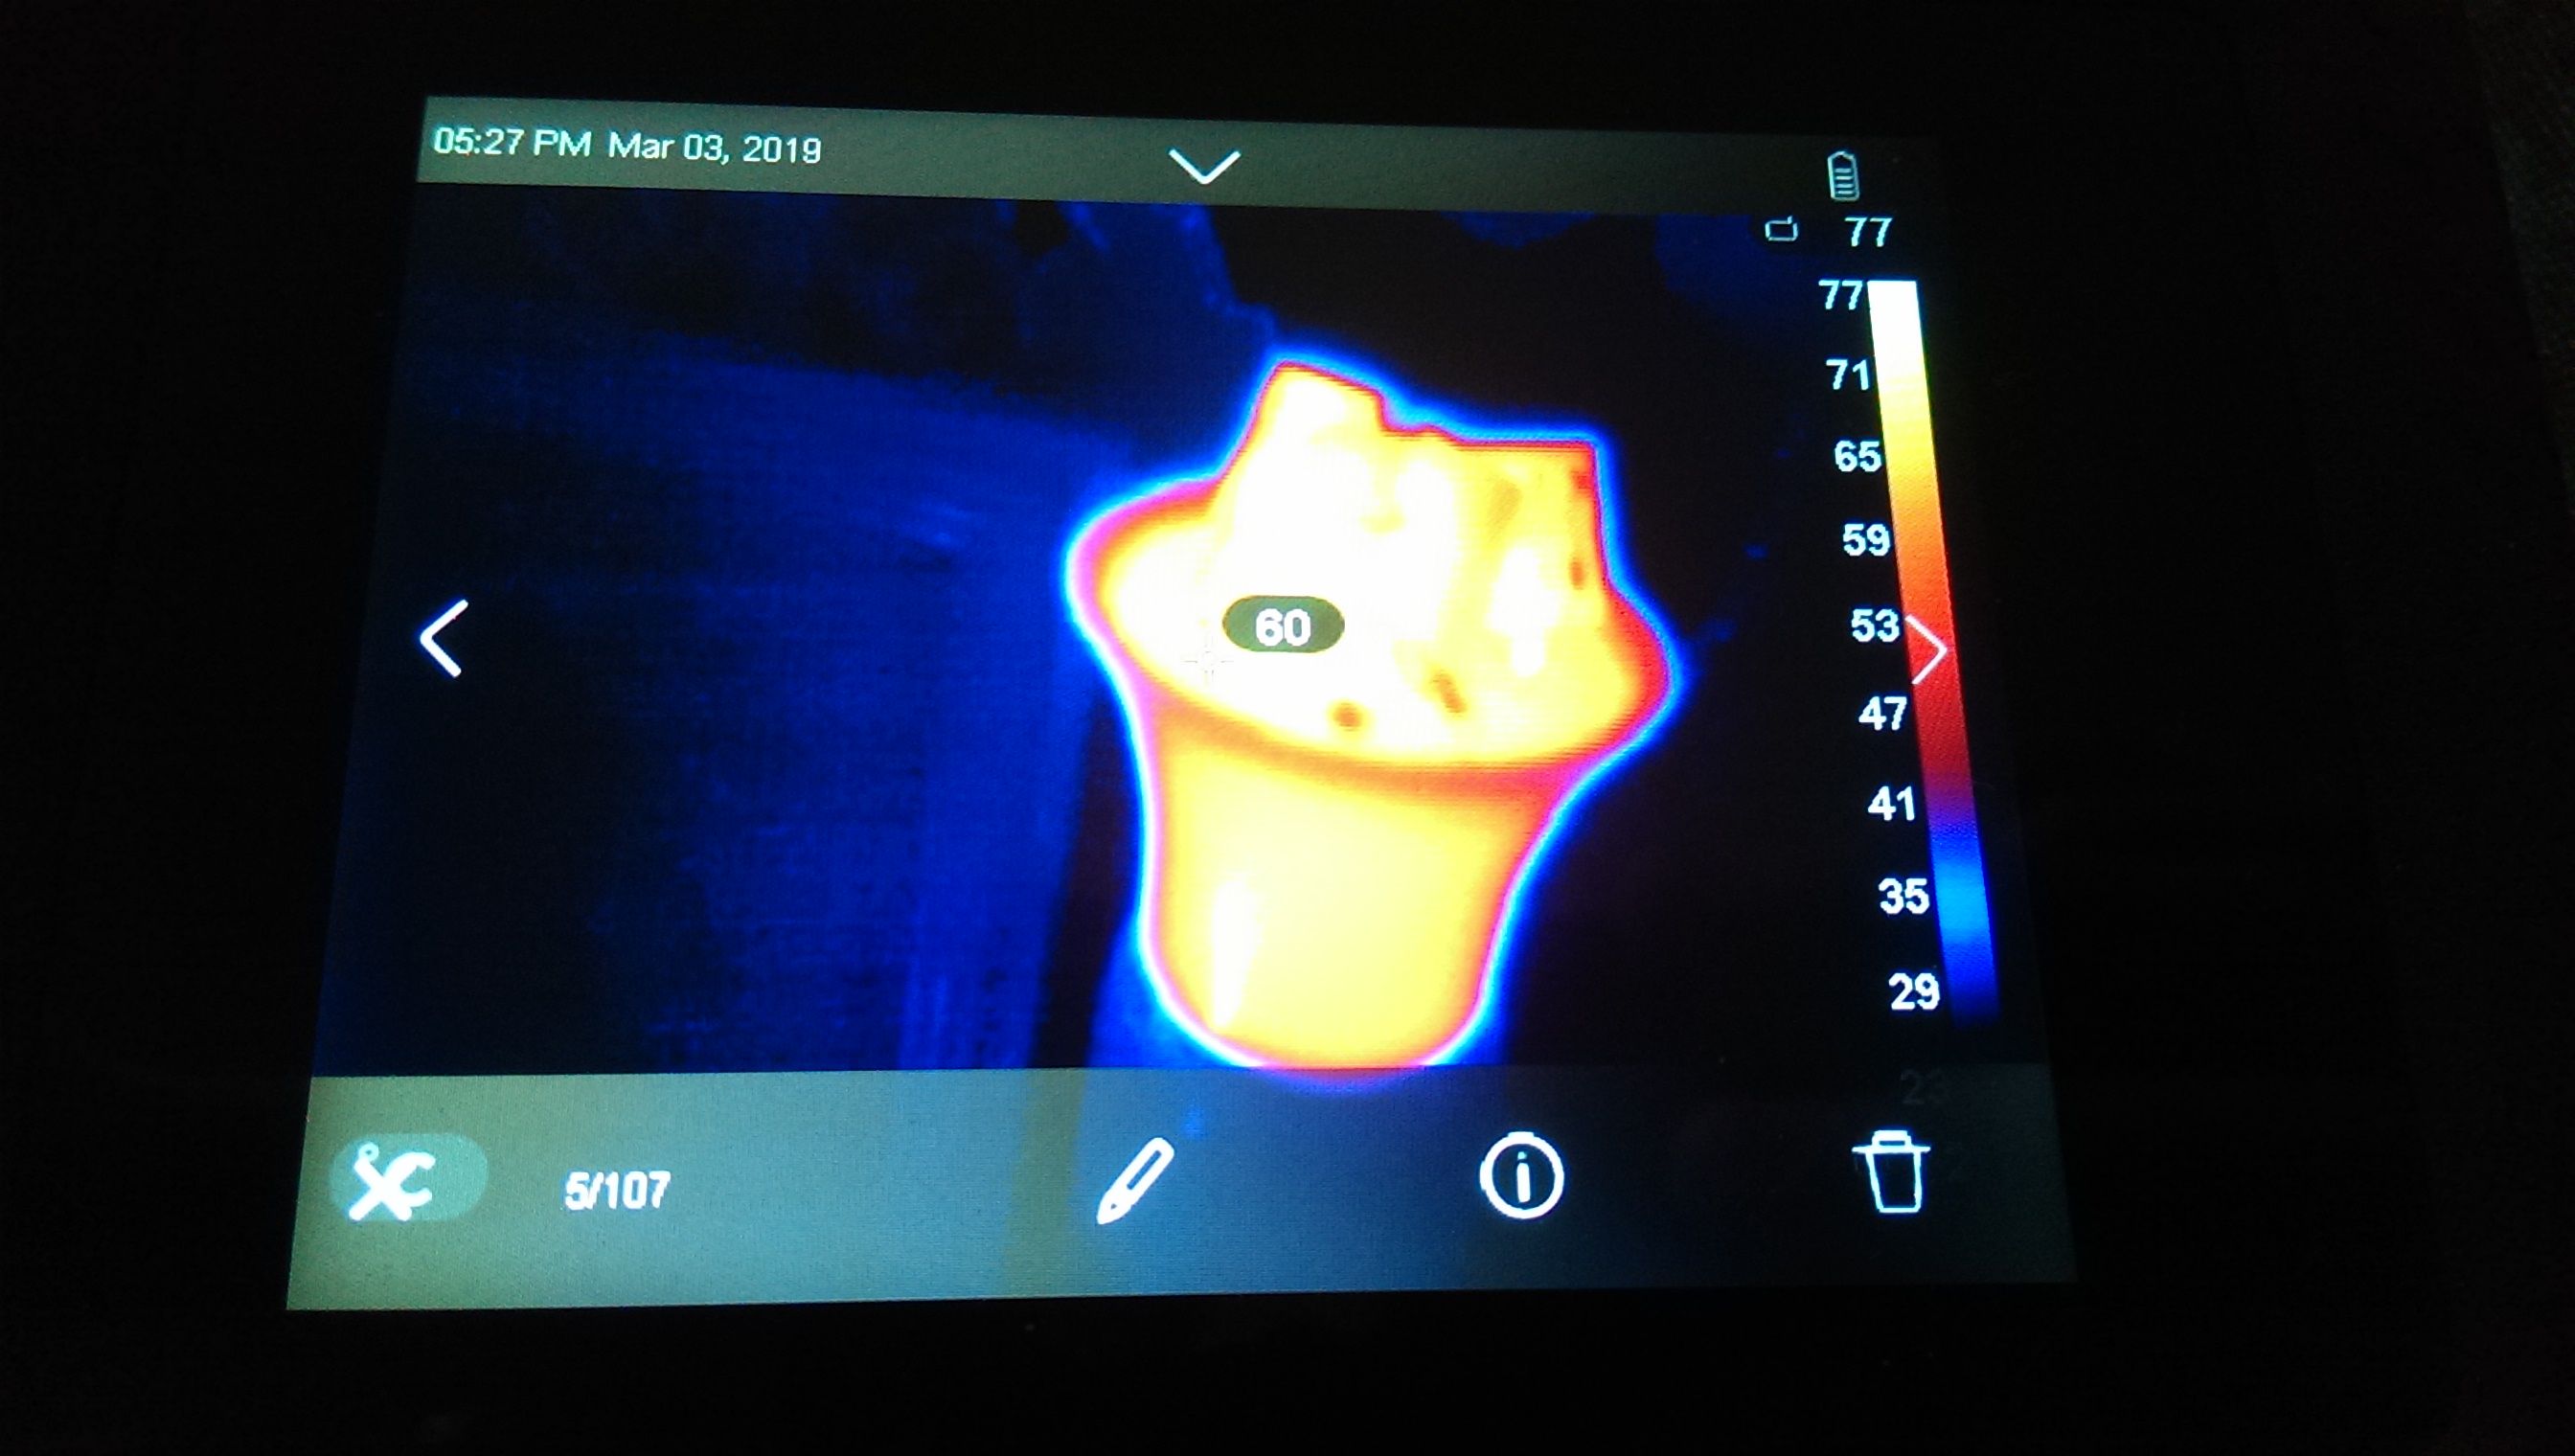
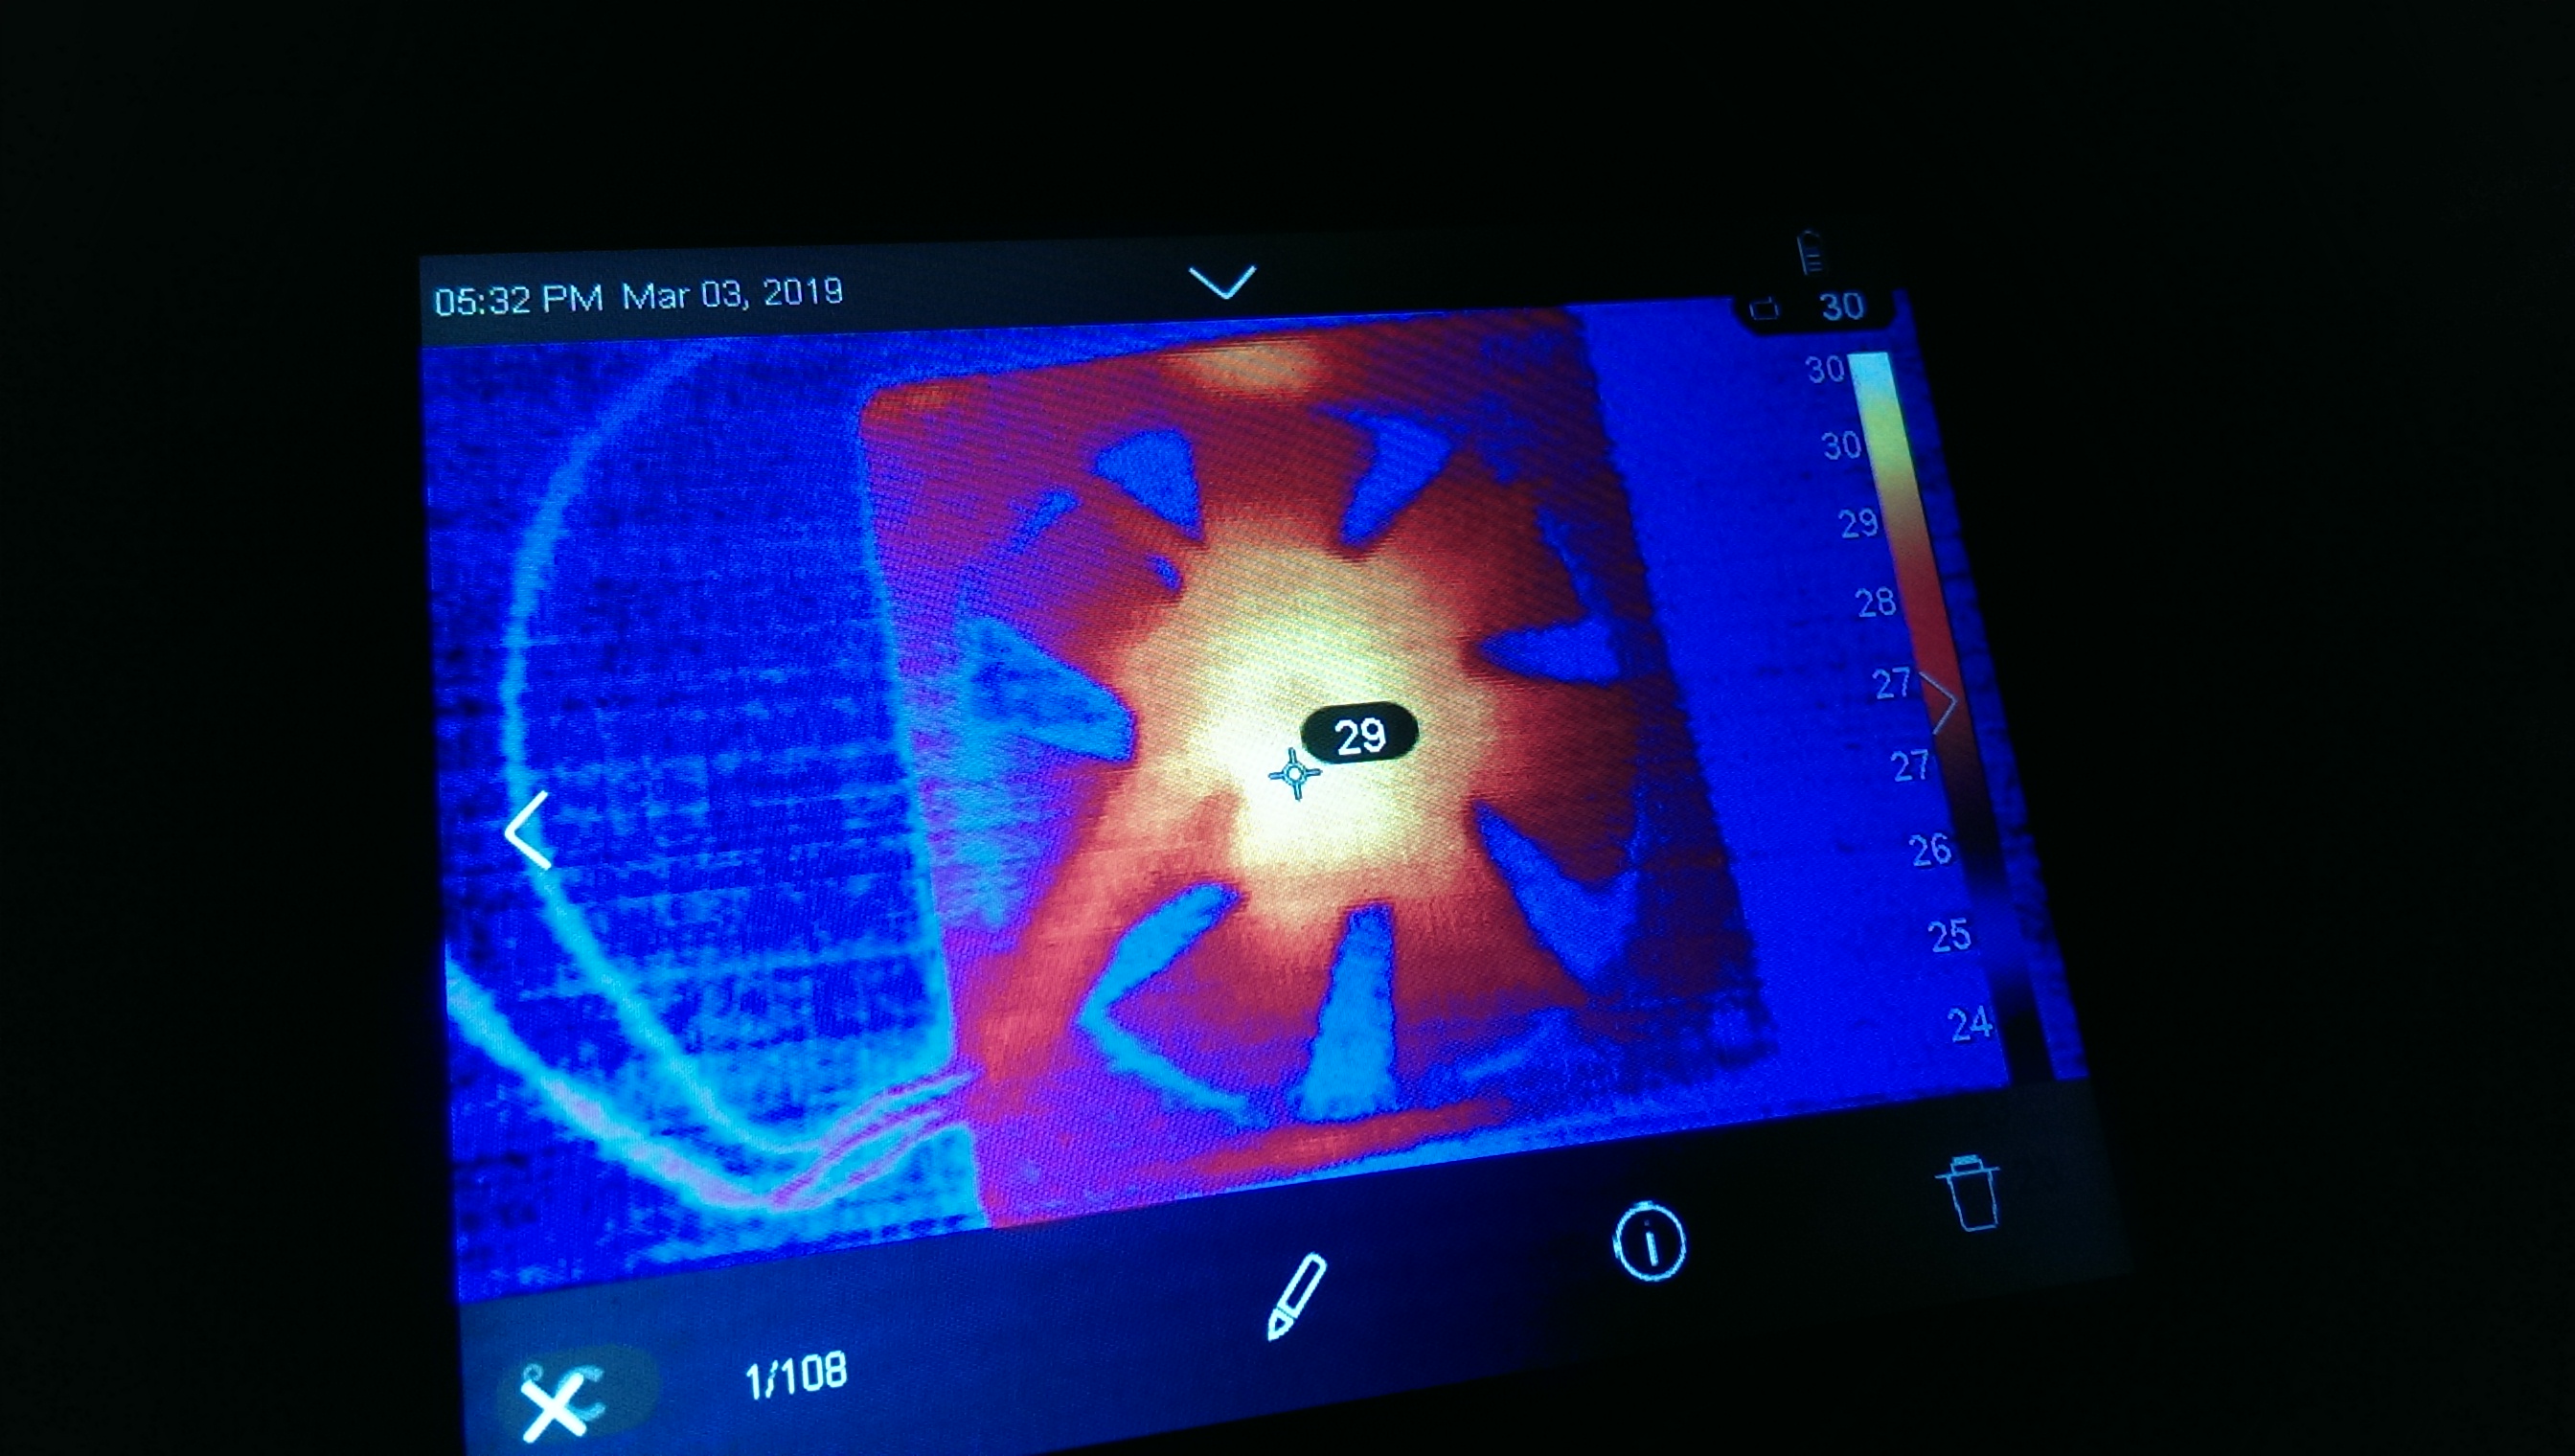
What happens after turning on the fan:

As you can see, this method is quite effective, especially for diodes without a heat sink. Well, a fan - what about a fan? About three minutes already off, but ...
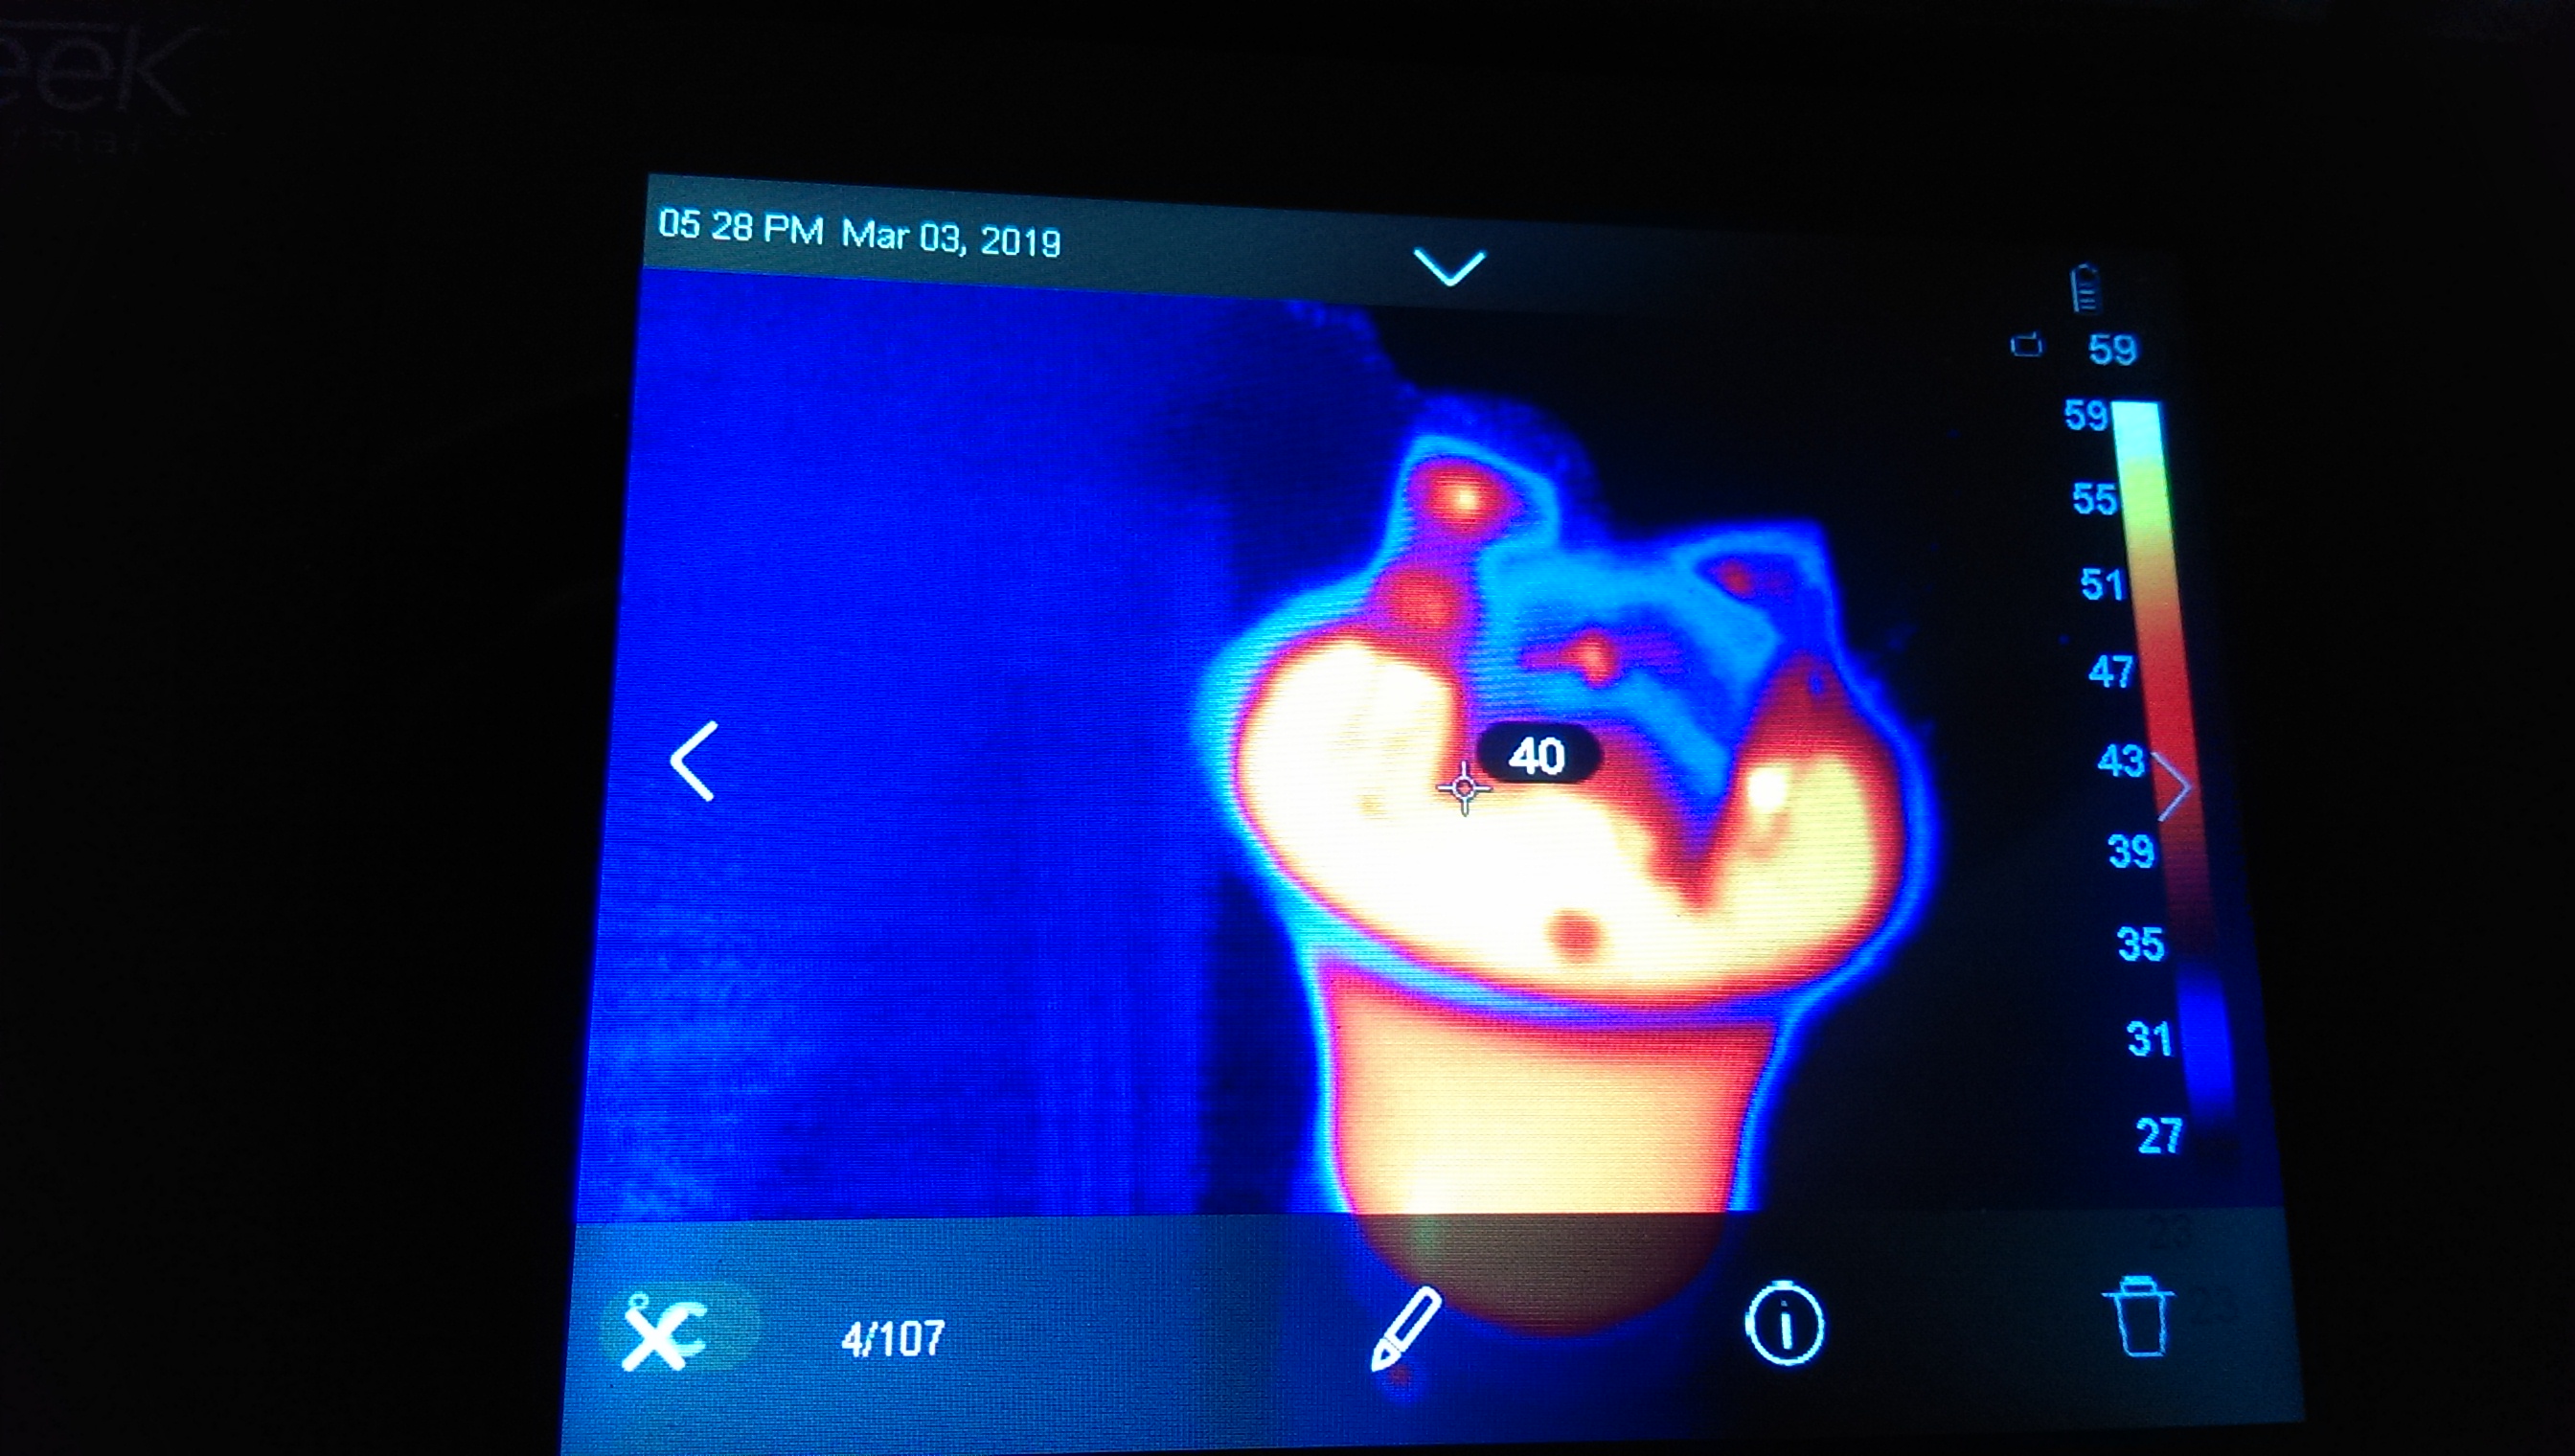
Many complaints are caused by budget lights, where LEDs are used not lighting, but indicator. Often they turn out to be “overclocked”, and the current through each of the diodes exceeds the allowed 20 mA, sometimes significantly. And here is an example of the correct flashlight, and not converted:
Here, the current through each of the four diodes is negligible, even when the battery (4 V gel) is fully charged. The flashlight worked for several minutes, we’ll take a picture that speaks for itself:
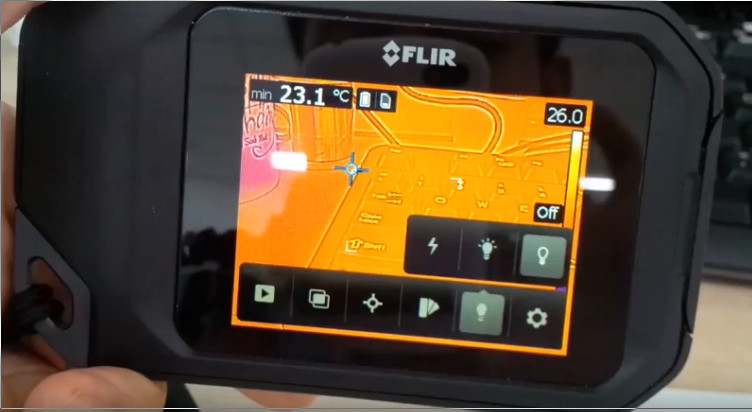
Of course, there are other thermal imagers in the form factor like a digital dust box. Interesting, for example, Flir C3 (photo from here) having exactly the same layout. But it is more expensive, and its resolution is like that of a thermal imager-set-top box for a smartphone: 80x60. There is interpolation up to 320x240, but this is not at all. And the temperature scale is not so convenient - without divisions, only the current minimum and maximum are shown.
As before, any competent blogger with a fairly large portfolio can participate in testing products from the Dadget assortment. SeekThermal Shot is a line of monoblock thermal imagers, independent professional devices that do not require a connection to a smartphone or computer. It consists of a younger model Shot with a matrix of 206x156 pixels, a viewing angle of 36 degrees, a detection range of up to 300 m; and the older model ShotPRO (320x240 pixels, a viewing angle of 57 degrees and a range of up to 500m). For both thermal imagers of the line, readers can get a 10% discount on the SHOTPRO promotional code, here are links to both models: SeekThermal Shot , SeekThermal Shot Pro . For cooperation with legal entities and wholesale purchases, write to retail@dadget.ru and receive special conditions.