Minimalist super universal scarf for ATtiny-24/44/84/441/841

A small handkerchief for microcontrollers ATtiny 24 ----> 841 diluted so that on the same board you can solder (not simultaneously) many different types of transistors and registers without remaking the board. For everyone who is interested or for those who want to transfer from Arduino to something cheaper, if the capacity of that Arduino for the product is excessive.
The fee is one-sided - the second side is free for creativity, I haven’t checked all of the presented ones personally - in view of the crisis, it was not needed.
ATtiny 24 ... 44 ... 84 ... (they are with the letter “a” at the end) ... 441 ... 841 are fully compatible in legs and codes, the difference in memory, frequencies and small things. ATtiny841 specifications. Although the prices are now ruble ... yes, they have grown. And specifications 24.
The initial purpose is a 4, 8-channel relatively dull blinker with LEDs for the production of any signs, trading stands, etc., when it is impossible to predict in advance - what sizes, power, number of channels and circulation will be the next order. (Particularly annoying are some large corporations that order in May something of five pieces by August, seven circles of hell of approvals, how they get it - a bunch of “fairies” from them and neither the act nor the money - and suddenly in November: “These are exactly the same - thousand - install-mount-enable to NG ").
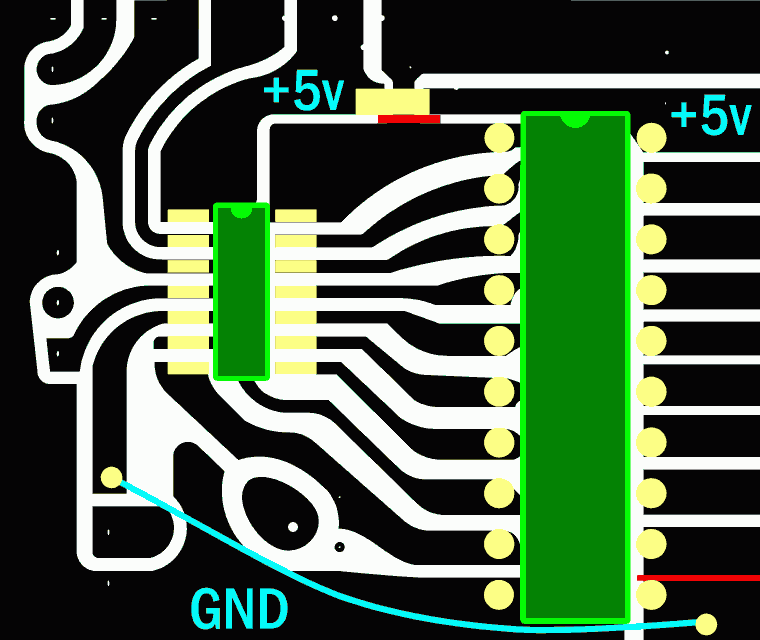
The board itself:
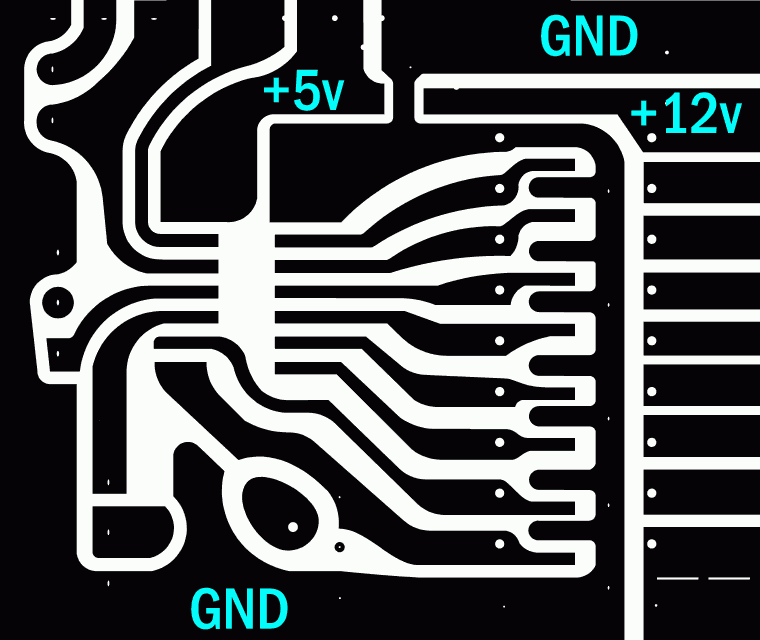
(further in red it is shown that it is necessary to cut through - if necessary)
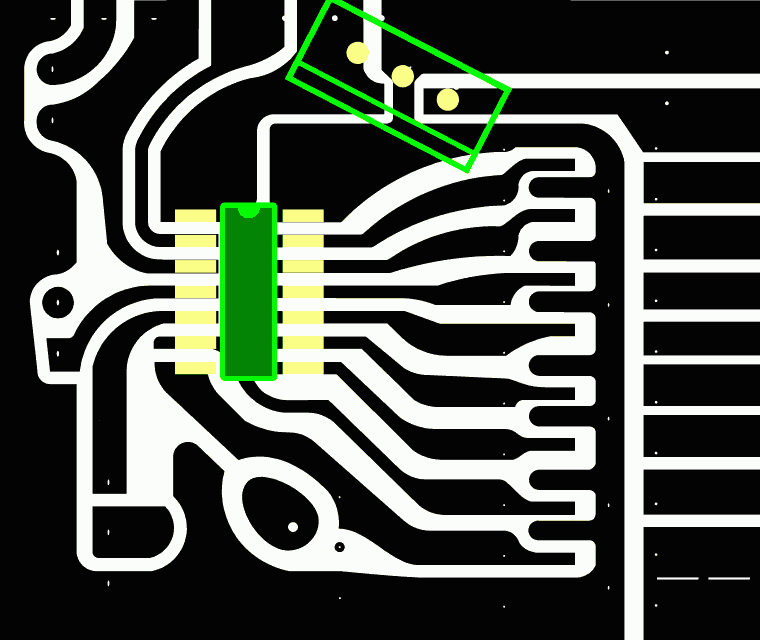
Mk. and 7805 in the sot89 case. Do not forget about capacitors! - so as not to clutter up the pictures on the board are not shown - places for them ~ in bulk:

The usual KREN ka - 7805 in the To-220 case (“turn the legs in place.” Again, do not forget the capacitors):
it is clear that power can be supplied directly and not 5 volts, but any of it from 1.8 to 5 conforming to the frequency.
The ULN2803 array-register and the like (there are many of them) in the ~ DIP-18 package are on top:
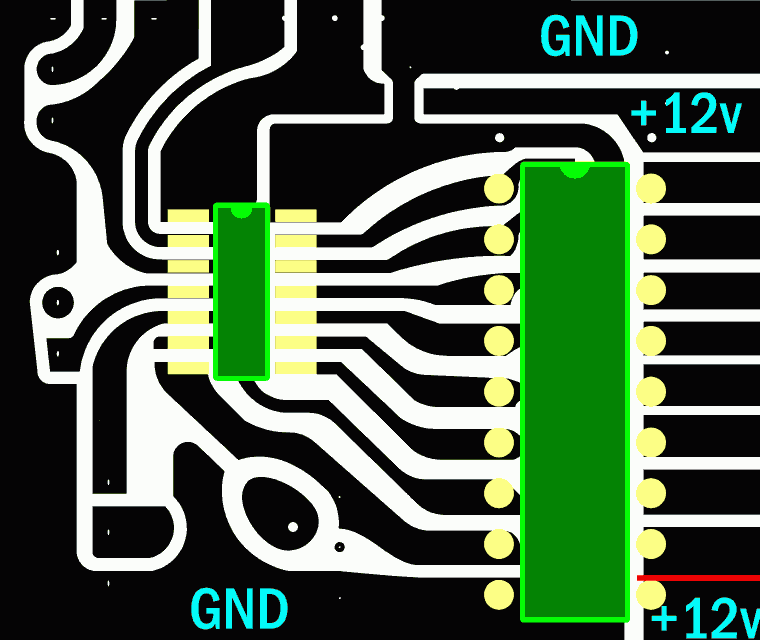
7805 is not shown (forgot to insert). Cut the bottom platform along the line and connect it to the 12 wire, if you need to read (smoking a register datasheet - there you can also trickle down emissions)
It is from the bottom into the holes on the back side as you need to put the DIP case (well, or twisting your legs if above):

The board will have to be drilled. But no wires and cuts
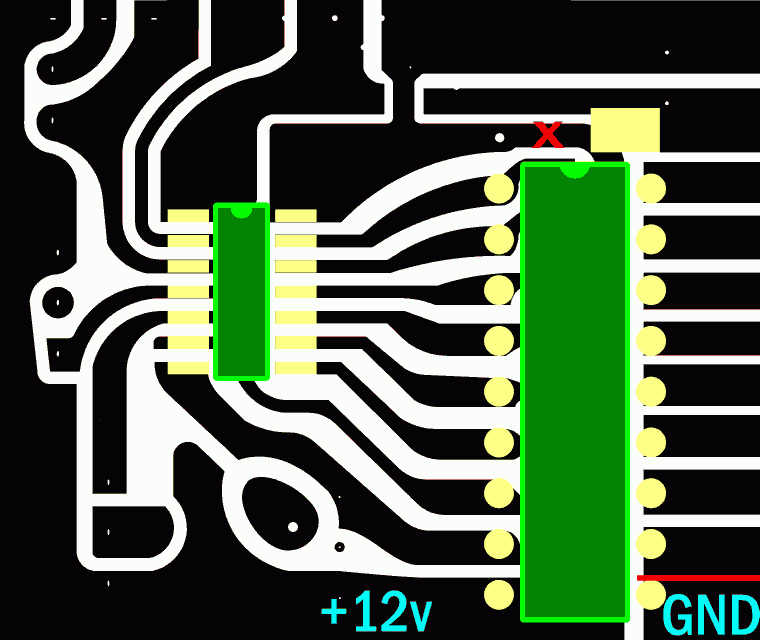
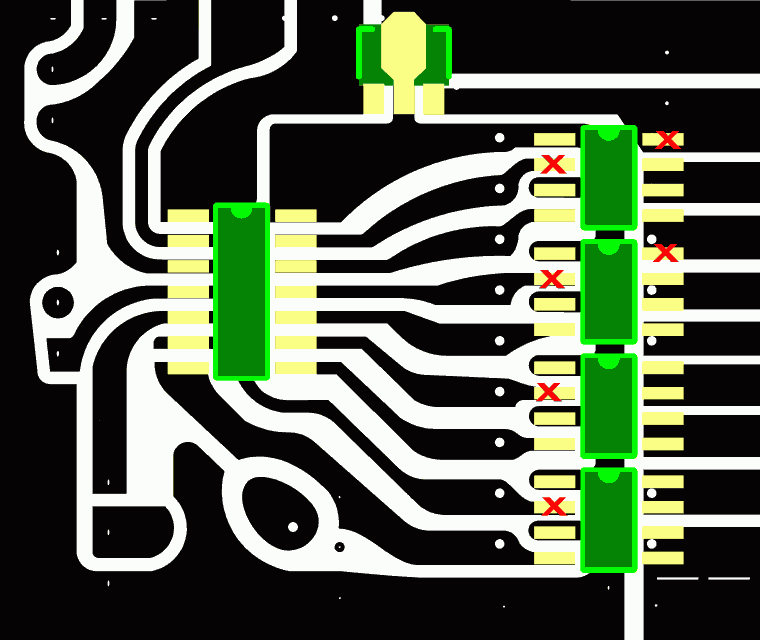
Register TD62783 or similar (it is a switch of the "upper side" - between power and load - it is sometimes convenient (for example, then you can put transistors "from below" - and get 8x3 including 8 RGB channels):
(ap, I forgot 7805 again draw, I'm sorry)
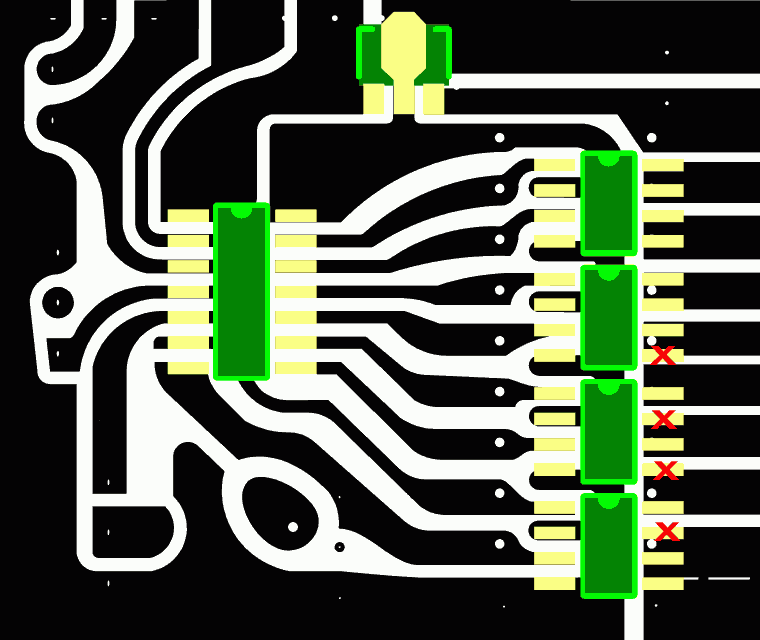
The 574th register or other lines of D-flip-flops or latches in a 20-foot case:
(reinvent the power separately, cycle through the wiring. By the way, instead of shorting, you can put 7803 in place of the 05 images above and regret the controller)
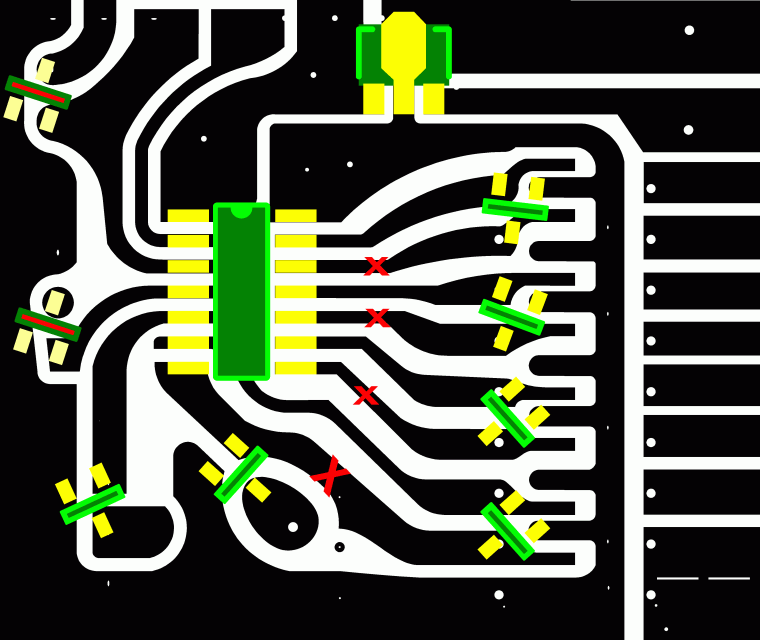
Transistors in the soic-8 package - 4 pcs. (tear off crossed legs):
Transistors paired to soic-8 case:

Or sometimes they have a different pinout (“pinout” as it stands today):
Unfortunately, it is normal to place 8 pcs. small cases of sot23 did not work out - so that it would be possible to stupidly change them to large without any alterations at all:

it is impossible to solder it manually, and the ruler of the "earth" under them is too thin - so this option is crossed out
It turned out just like that - transistors are small sot23:
(left - on top two pieces are shown conditionally, because they are in the reverse turn-on and “reset” on the foot)
But then they change to very large TO-
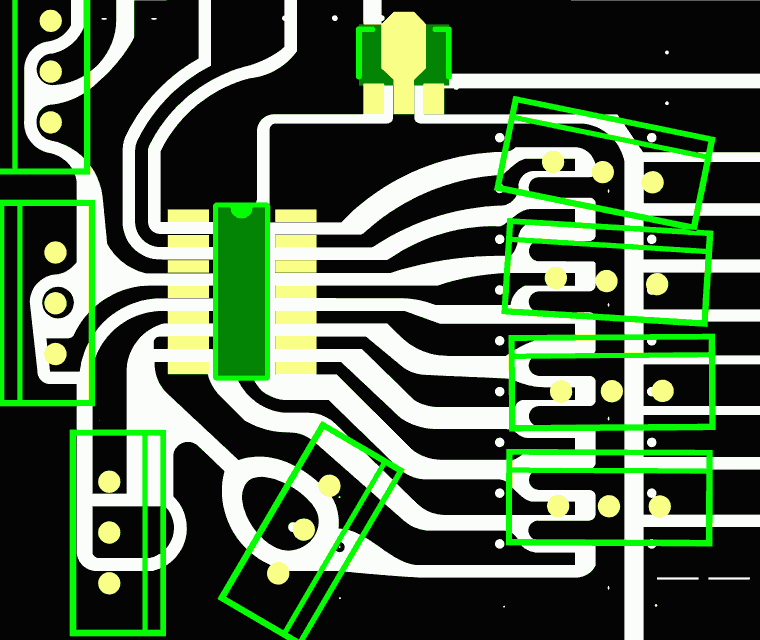
220s at times: Drill or blurt out like that - decide for yourself, follow the zero current and follow from the bottom boards, and not from above as in others, for example. shorting the contact with the lower-right one and then the entire board can be inserted into the same connector as the other options. But their legs bend comfortably and you can insert them in any way.
To flash - to catch the necessary legs with needles, then alas ... with the circulation we had a box template - inserted, pressed, pressed the mouthpiece.
Finally, the board itself is under the spoiler.
b / w gif 3800x3200 - 160 kb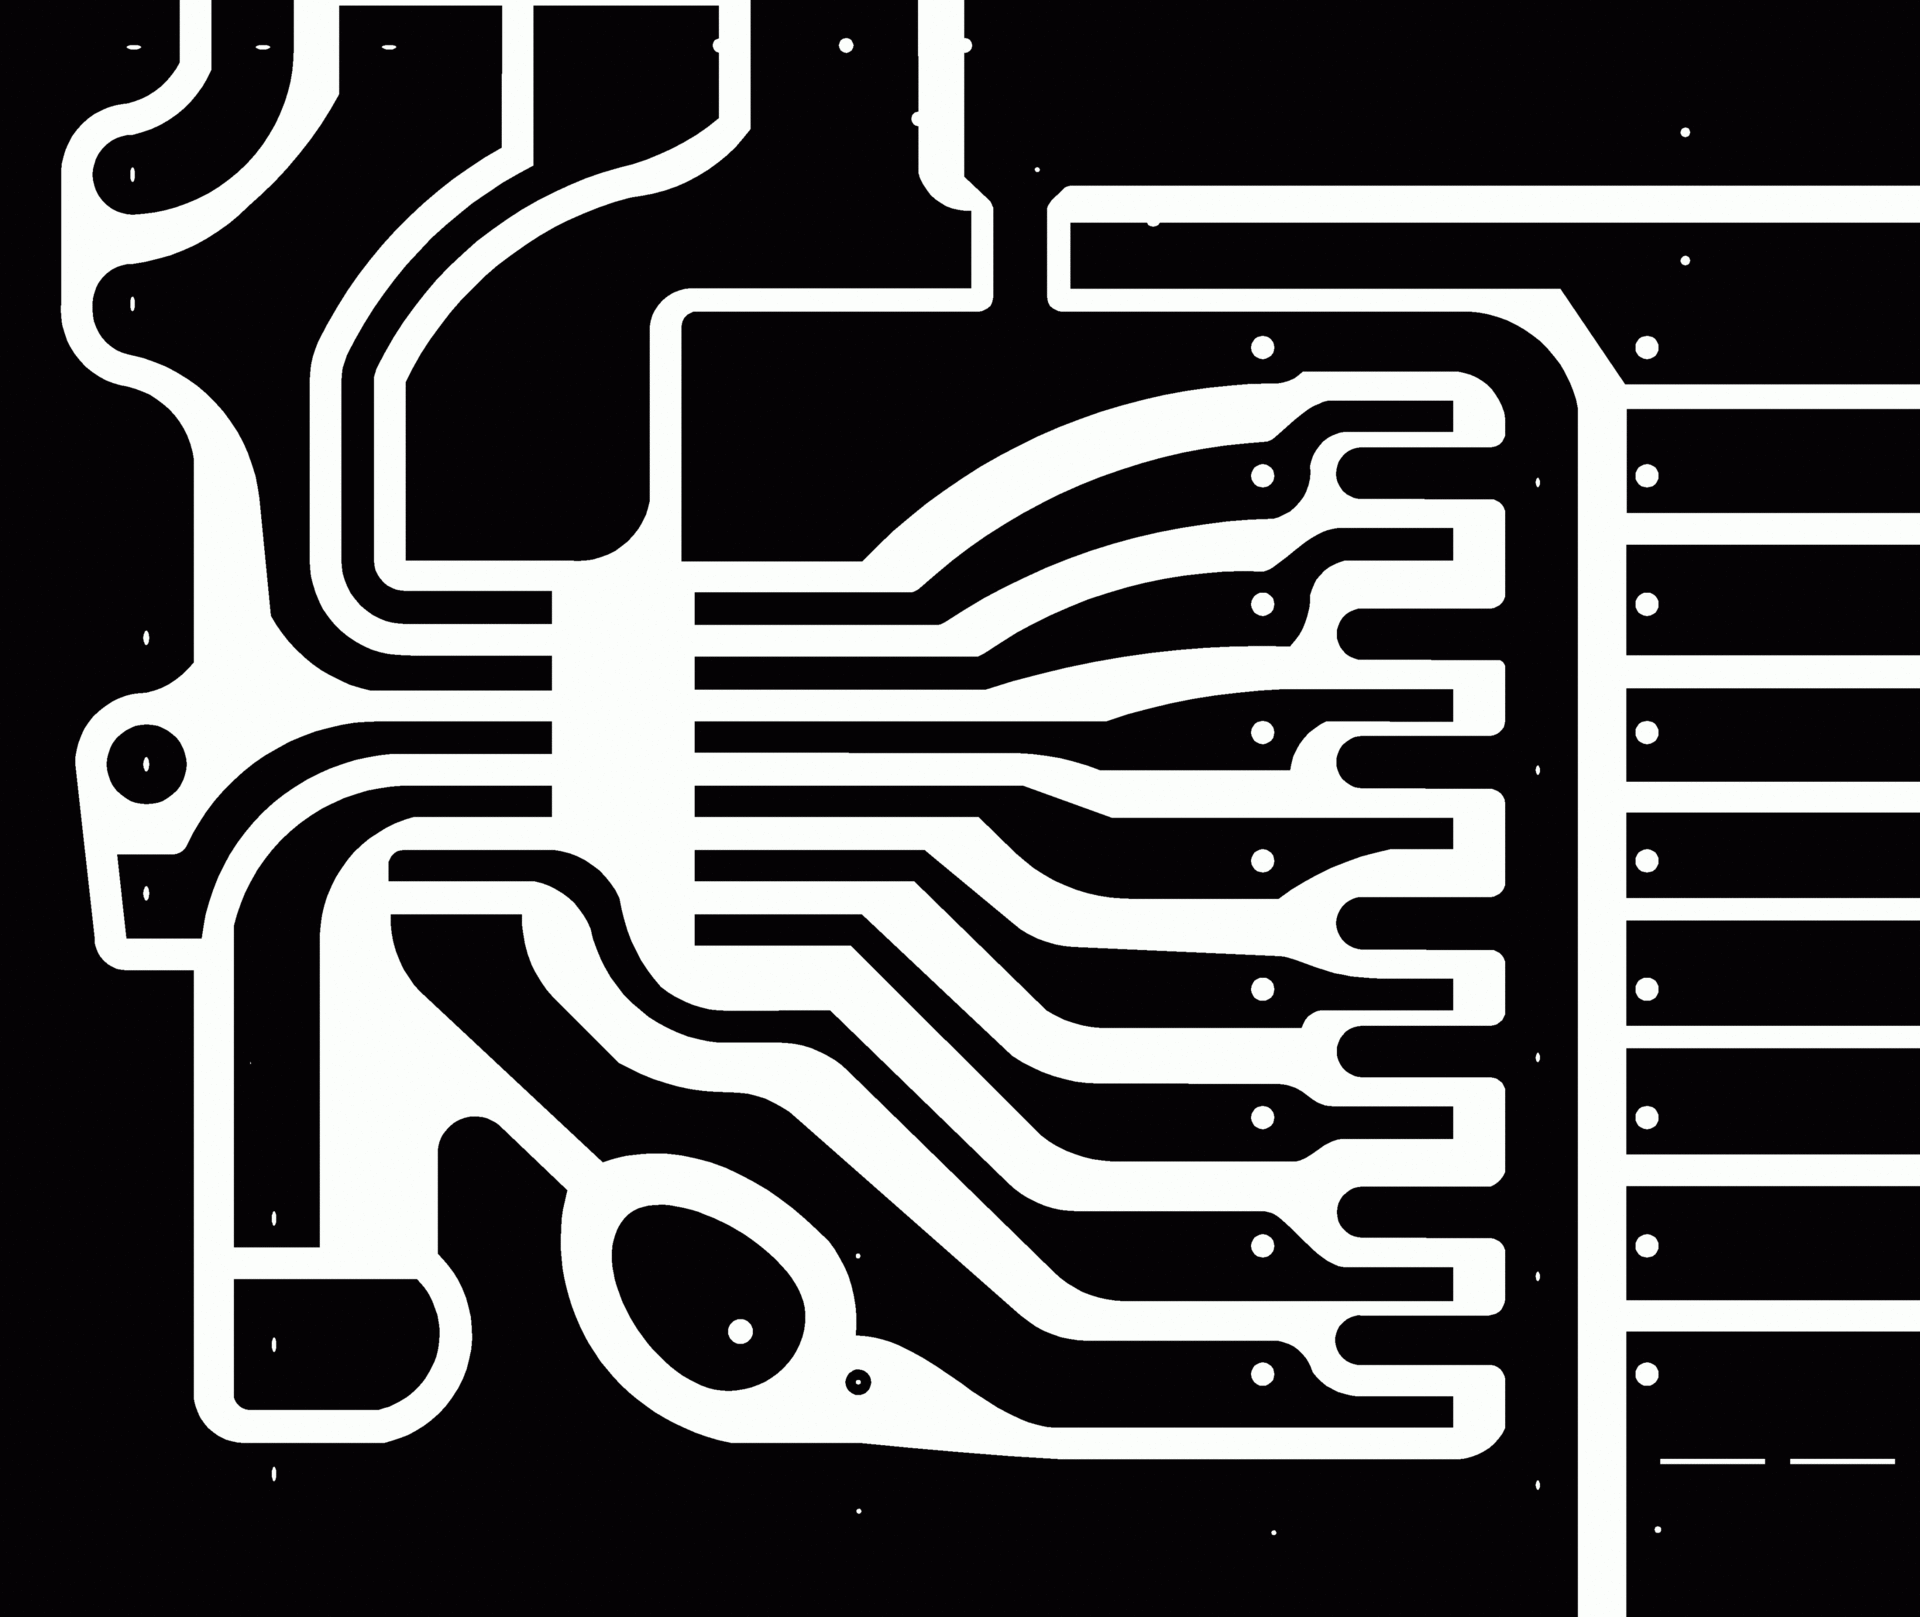
the physical size of the board itself is 38 by 32 mm. - acc. the file is exactly 3800 by 3200 pixels. Two sites from the top left do not reach the edge - because these are the legs of the controller - so that they do not accidentally while away. Holes for condors and different wires or buttons set to taste.
Damn ... Habr killed her before 1920 ... He lost it - he saved as much as 20kb, well done.
"Type soldering mask"
Board in vector:
<...>
Bummer - neither the archive 7z EIGHT kilobytes, nor directly eps as many as 40 of these kilobytes habrastoraj not accepted. Well, I wanted to lay it out as is - they didn’t. People, tell me where to put 8kb 7z "without SMS and registration", so that he would not die in a week and catch infections?
"Everything is laid out" as is ", use at your own peril and risk, no guarantees or promises, but use as you like, anywhere without any restrictions, express or implied, such as" public domain "or whatever it is."