November 11, 2015 at 19:27
Netfabb Studio 6 3D Printing Software Overview
- Tutorial
Good day to all readers!
Our review today is devoted to Netfabb Studio 6.4 software, a kind of must-have for all engineers who print something more often than once a week on 3D printers , and there are more and more of them every day.
In short, this is a program for treating and preparing files for 3D printing .
We decided to consider its functionality in more detail.
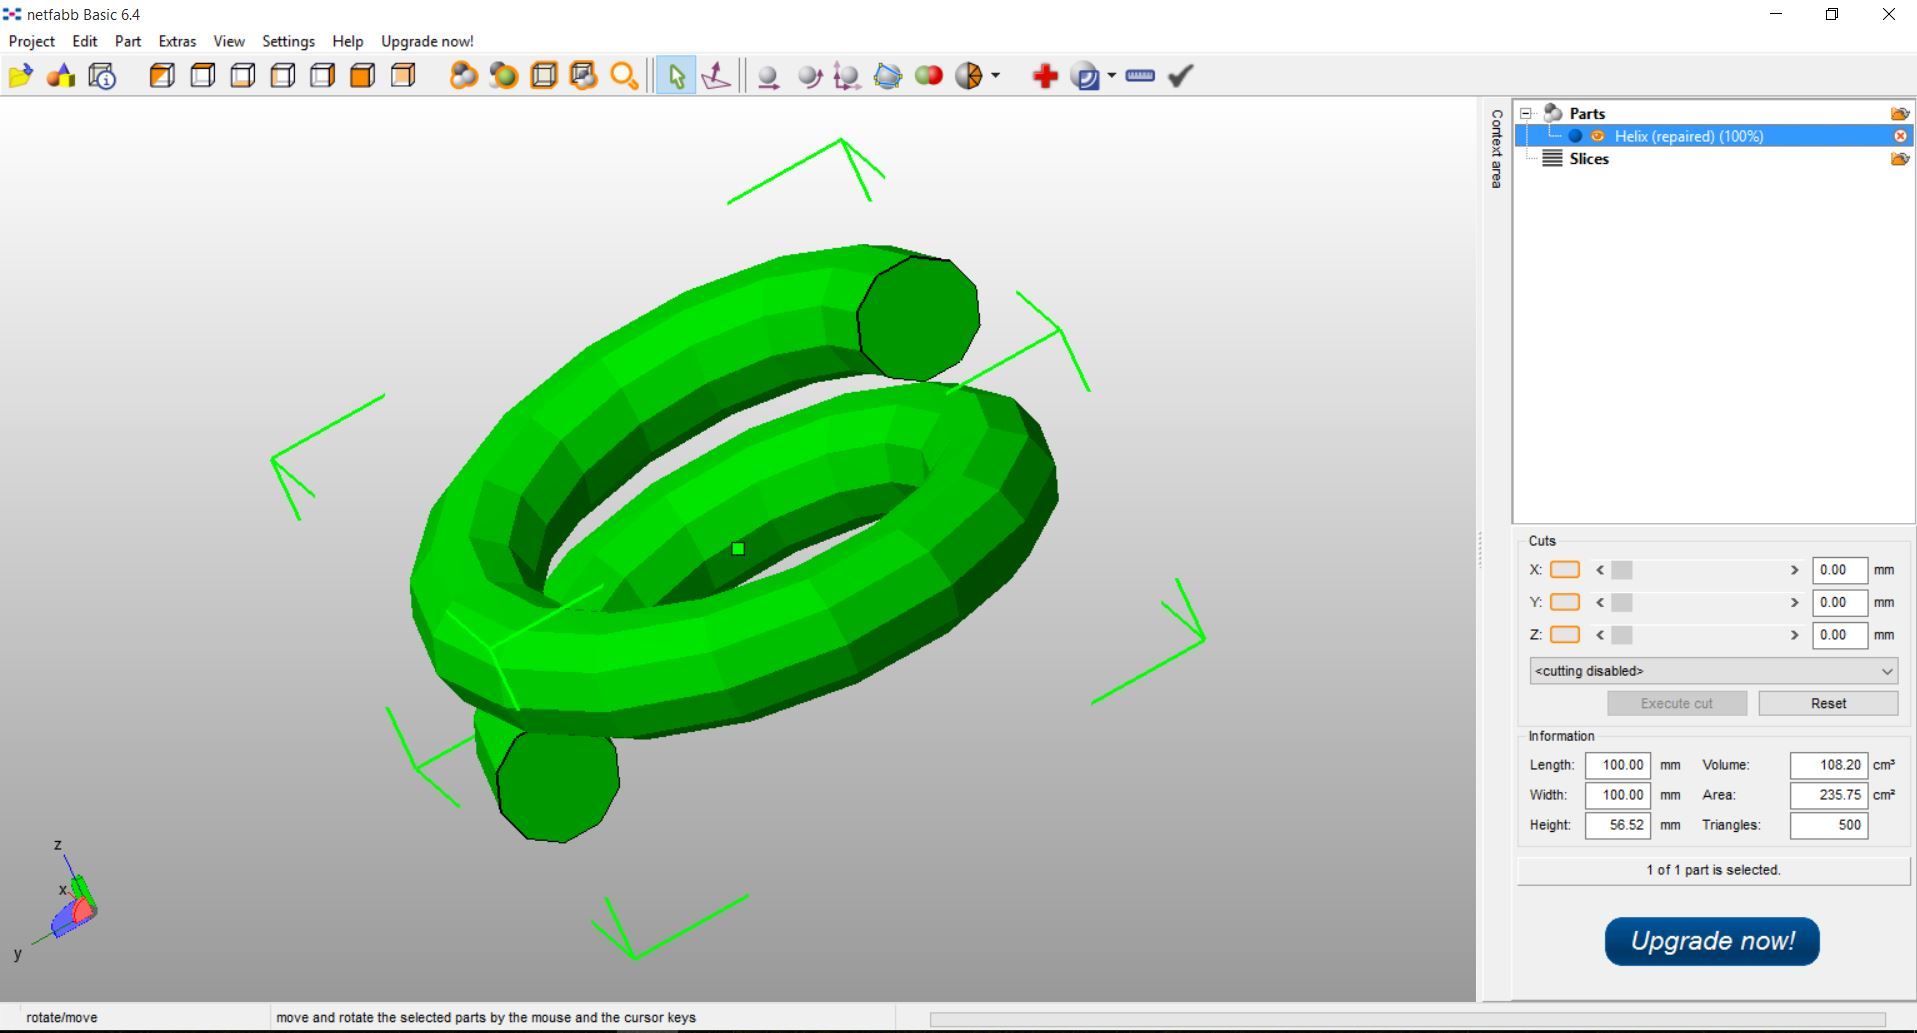
As you know, the main file format for 3D printing is STL . The surface of objects in this format is a set of points between which edges are built, and between the edges in turn are surfaces in the form of triangles or quadrangles - polygons. This grid is called Mesh.
Because of their structure, STL files often have errors that can affect the printing of a file; there are software products and services such as Netfabb or the Microsoft 3D printing service to fix these errors .
Netfabb studio 6.4 is a program for preparing files for printing with very wide functionality, and this software has two main versions: Basic and Professional.
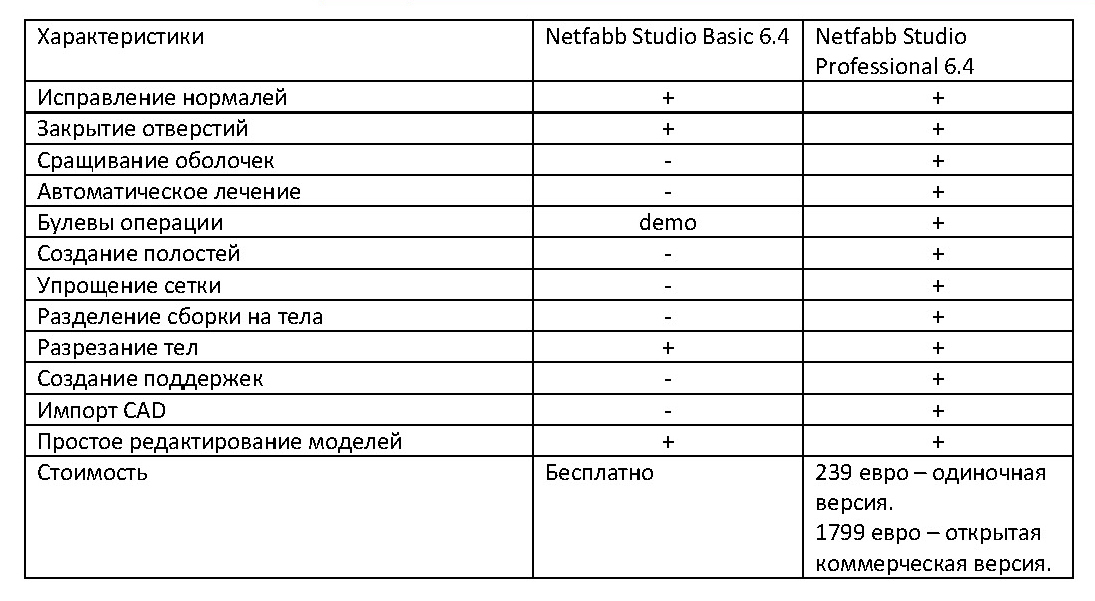
Basic- free, but has limited functionality. It can carry out a simple correction of the grid, edges and polygons: close the holes, rotate the normals in one direction, connect the edges. Simple functions for changing models are also available, such as: scaling, cutting into parts, mirroring, you can create primitives. Simple analysis functions are available - you can take measurements, display dimensions, volume and polygon, indicate all found model errors.
Professional- paid, but with additional functions, Boolean operations, the creation of hollow models, smoothing and simplifying the mesh are added, it is possible to separate the shells into bodies, the error correction mechanism is significantly improved, it is possible to wrap all the contacting bodies in one shell. As for Boolean functions, those who are engaged in 3D modeling know what it is, for everyone else: in 3D modeling, Boolean functions or operations are understood as the operations of adding and subtracting closed surfaces of bodies, if you have two or more bodies intersecting, their surfaces can be merged, for example, deleted the intersecting parts themselves, or vice versa, leave only the area where the two models intersect. You can use this, for example, like this: cut a recess in one model exactly according to the shape of another model, merge several objects, make a hole of an unusual shape.
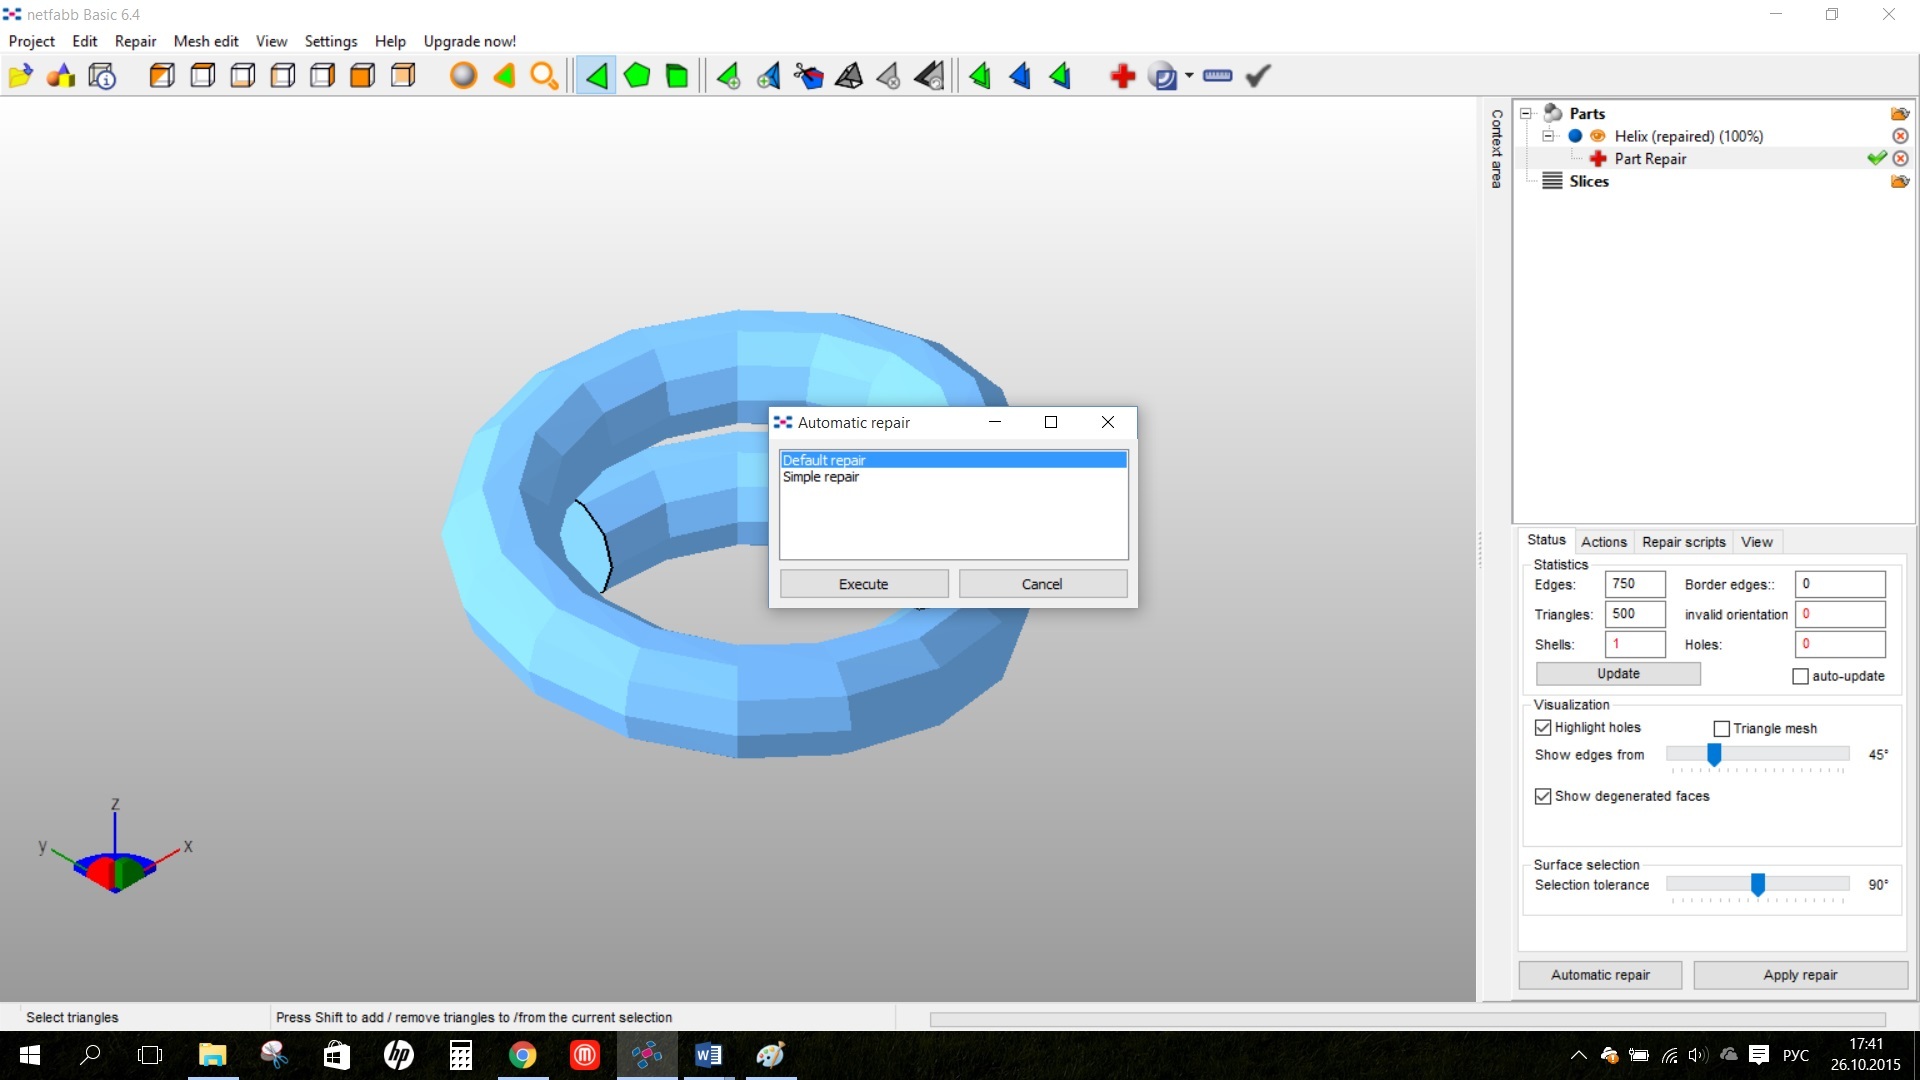
Also in this version a simplified treatment function was added, it is called “Automatic treatment” and in essence represents the opportunity to correct the model without going into treatment mode, but by pressing a single button.
In general, if you print your own models on a personal 3D printer , then the Basic version is quite enough for you, it will save you from the tedious process of fixing models directly in the 3D editor.
If you print products to order, then you just need the Professional version, since often the models are obtained from completely different programs through simple export and contain many errors that customers simply cannot remove.
Comparison Chart
More on Basic Features
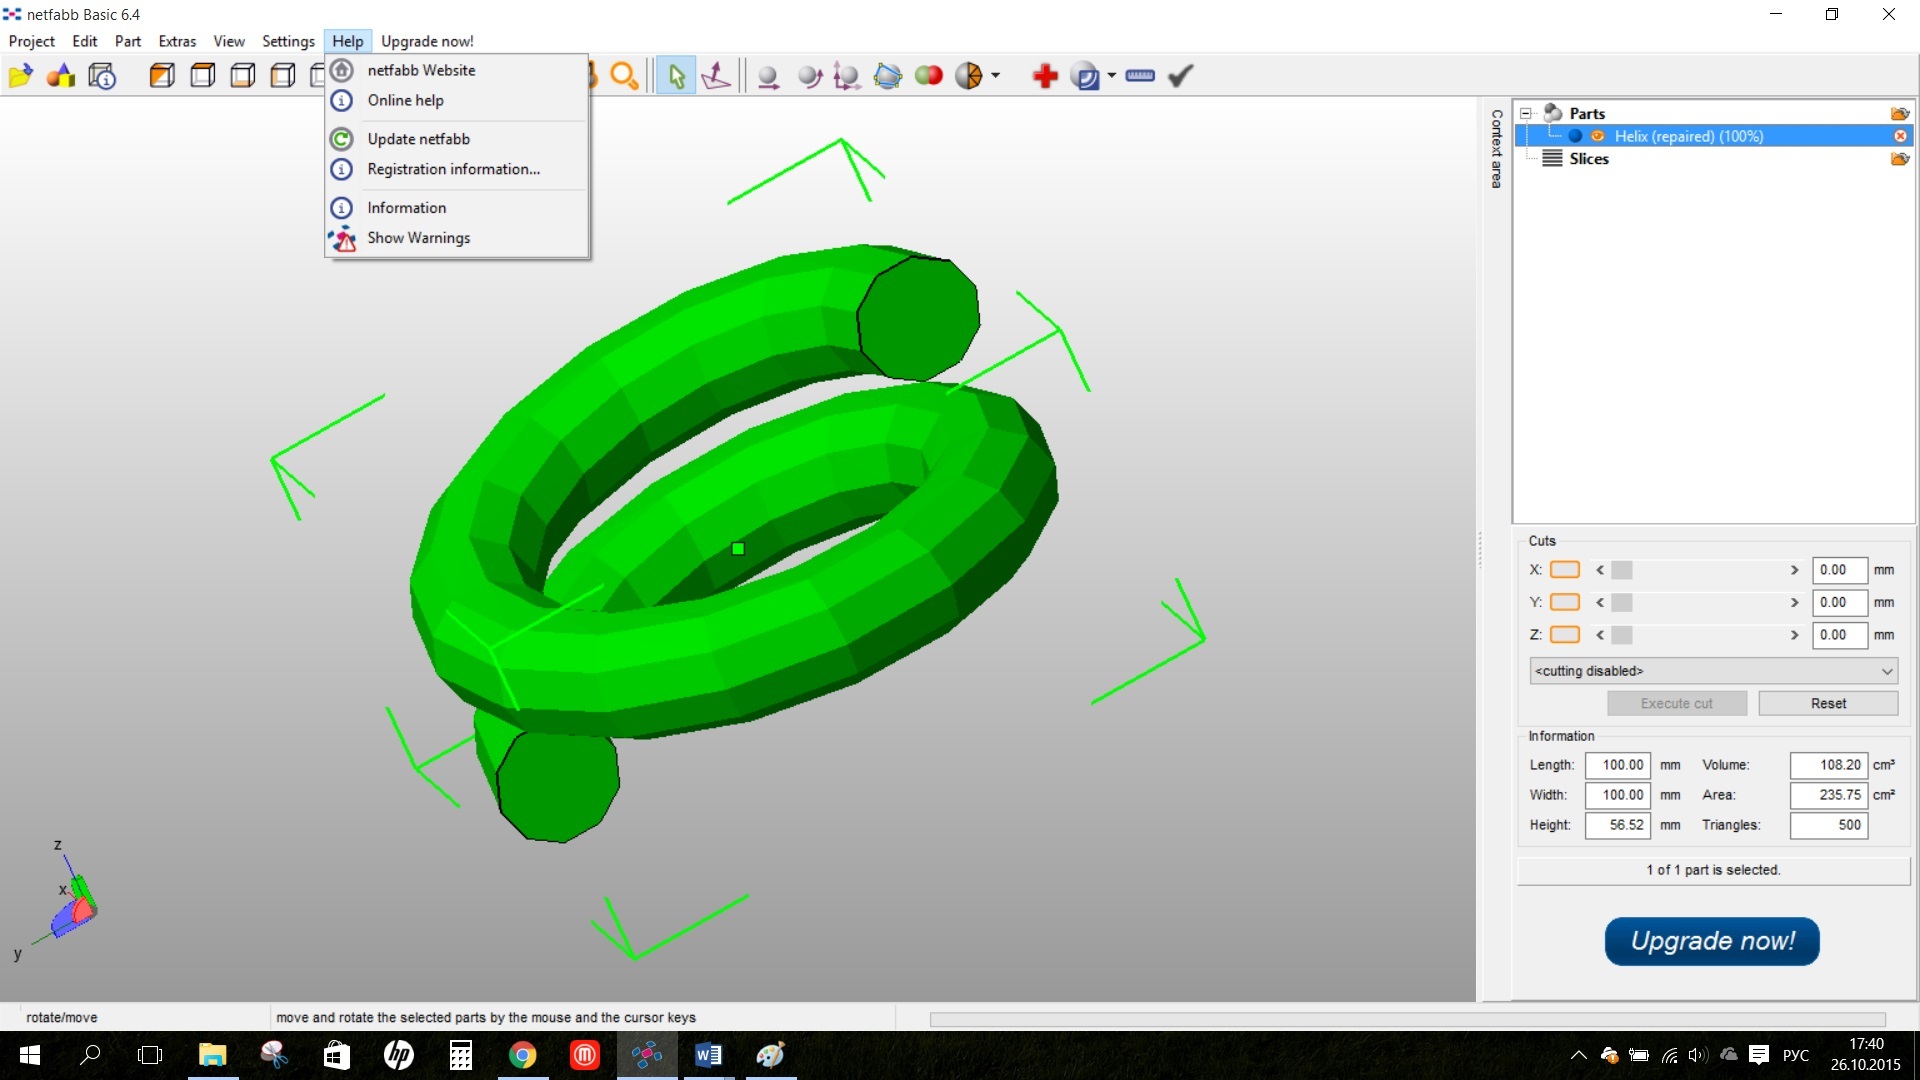
The most important function is of course the treatment mode - in this mode the main menu of the program changes, the model parameters, problems found and model display options are displayed in the information window. The sequence of actions to fix is simple: click on the red cross icon in the quick commands section, or the Repair Part command in the Extras menu item, click Automatic repair and select Default repair, the program makes corrections, then you need to click Apply repair and replace the original model with the corrected one. This usually solves most problems. If you are curious, you can see the standard treatment scripts in the Repair script tab, or even customize your script (only in the pro version). The order of the correction operations in the treatment of the model is important, since some options create their own errors on the model grid and they also need to be corrected.
The program has a simple interface, models are located in the main window, on the right is a window with a list of models, and under it a window of model parameters. Well, the standard menu is located at the top, along with a list of quick commands. For example, such as inverted normals, holes in the grid, and irregular faces. Here you can convert the model to many other formats, or to scale and mirror the model.
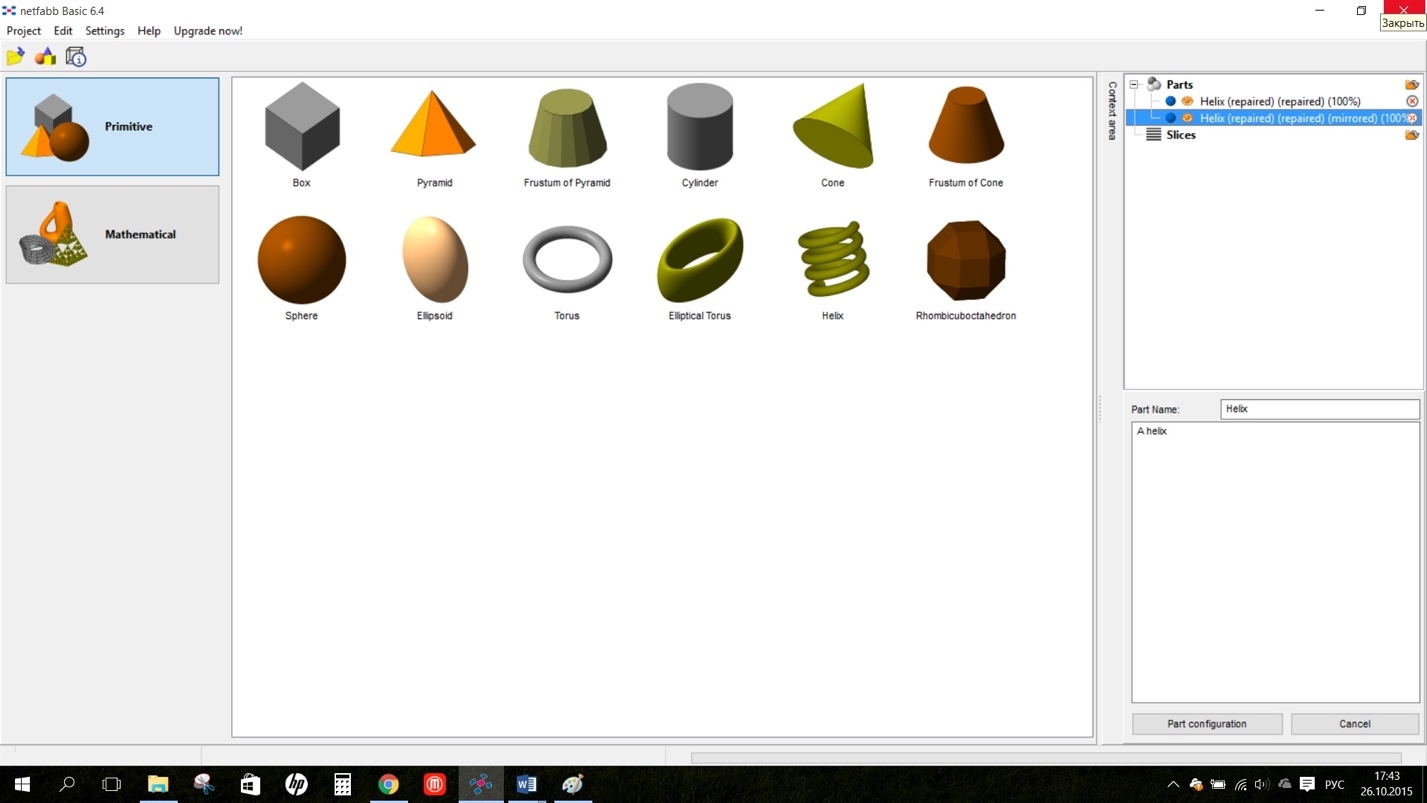
The menu for creating primitives
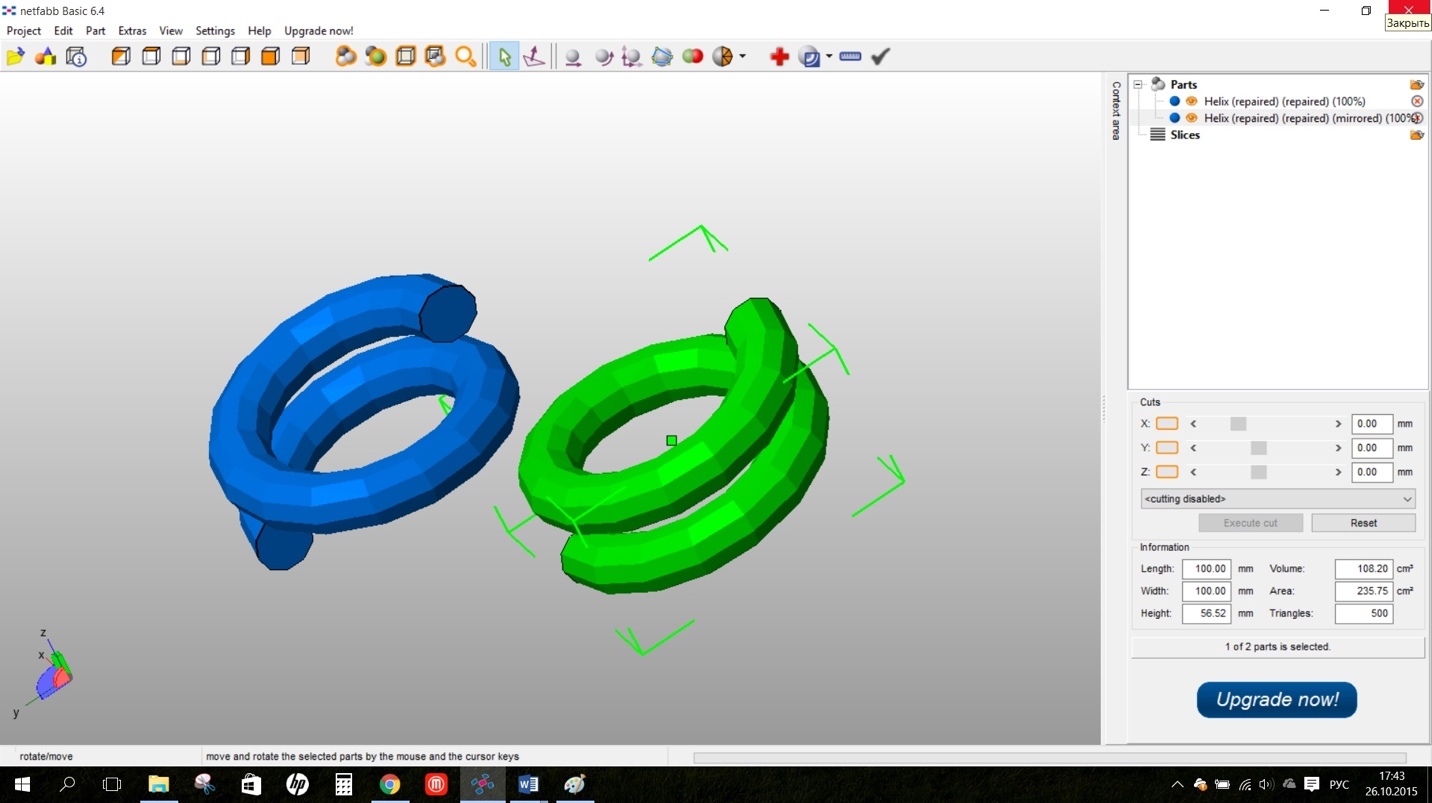
Mirrored models
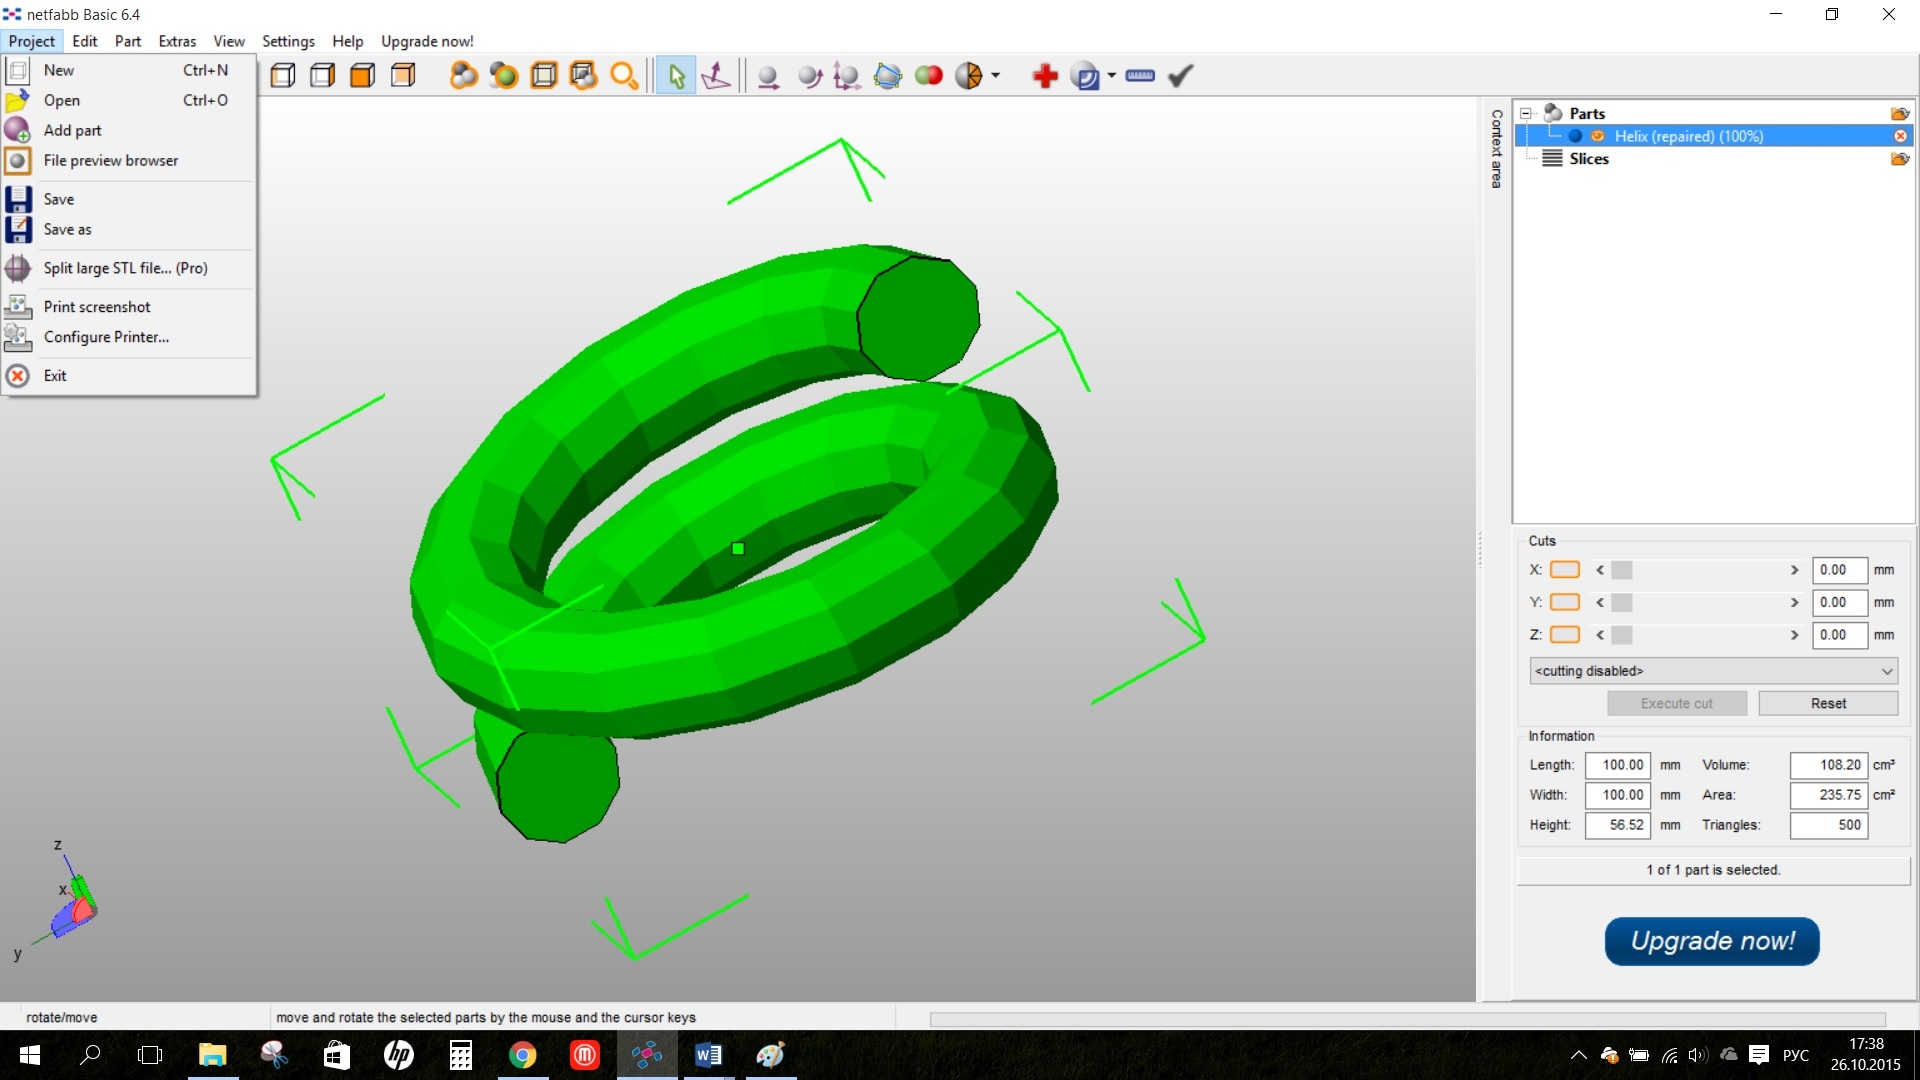
1. The Project management section contains project management commands, in general, they are all standard, creating a project, saving it, importing a model, in the English version of the model are called “Part” - Part:
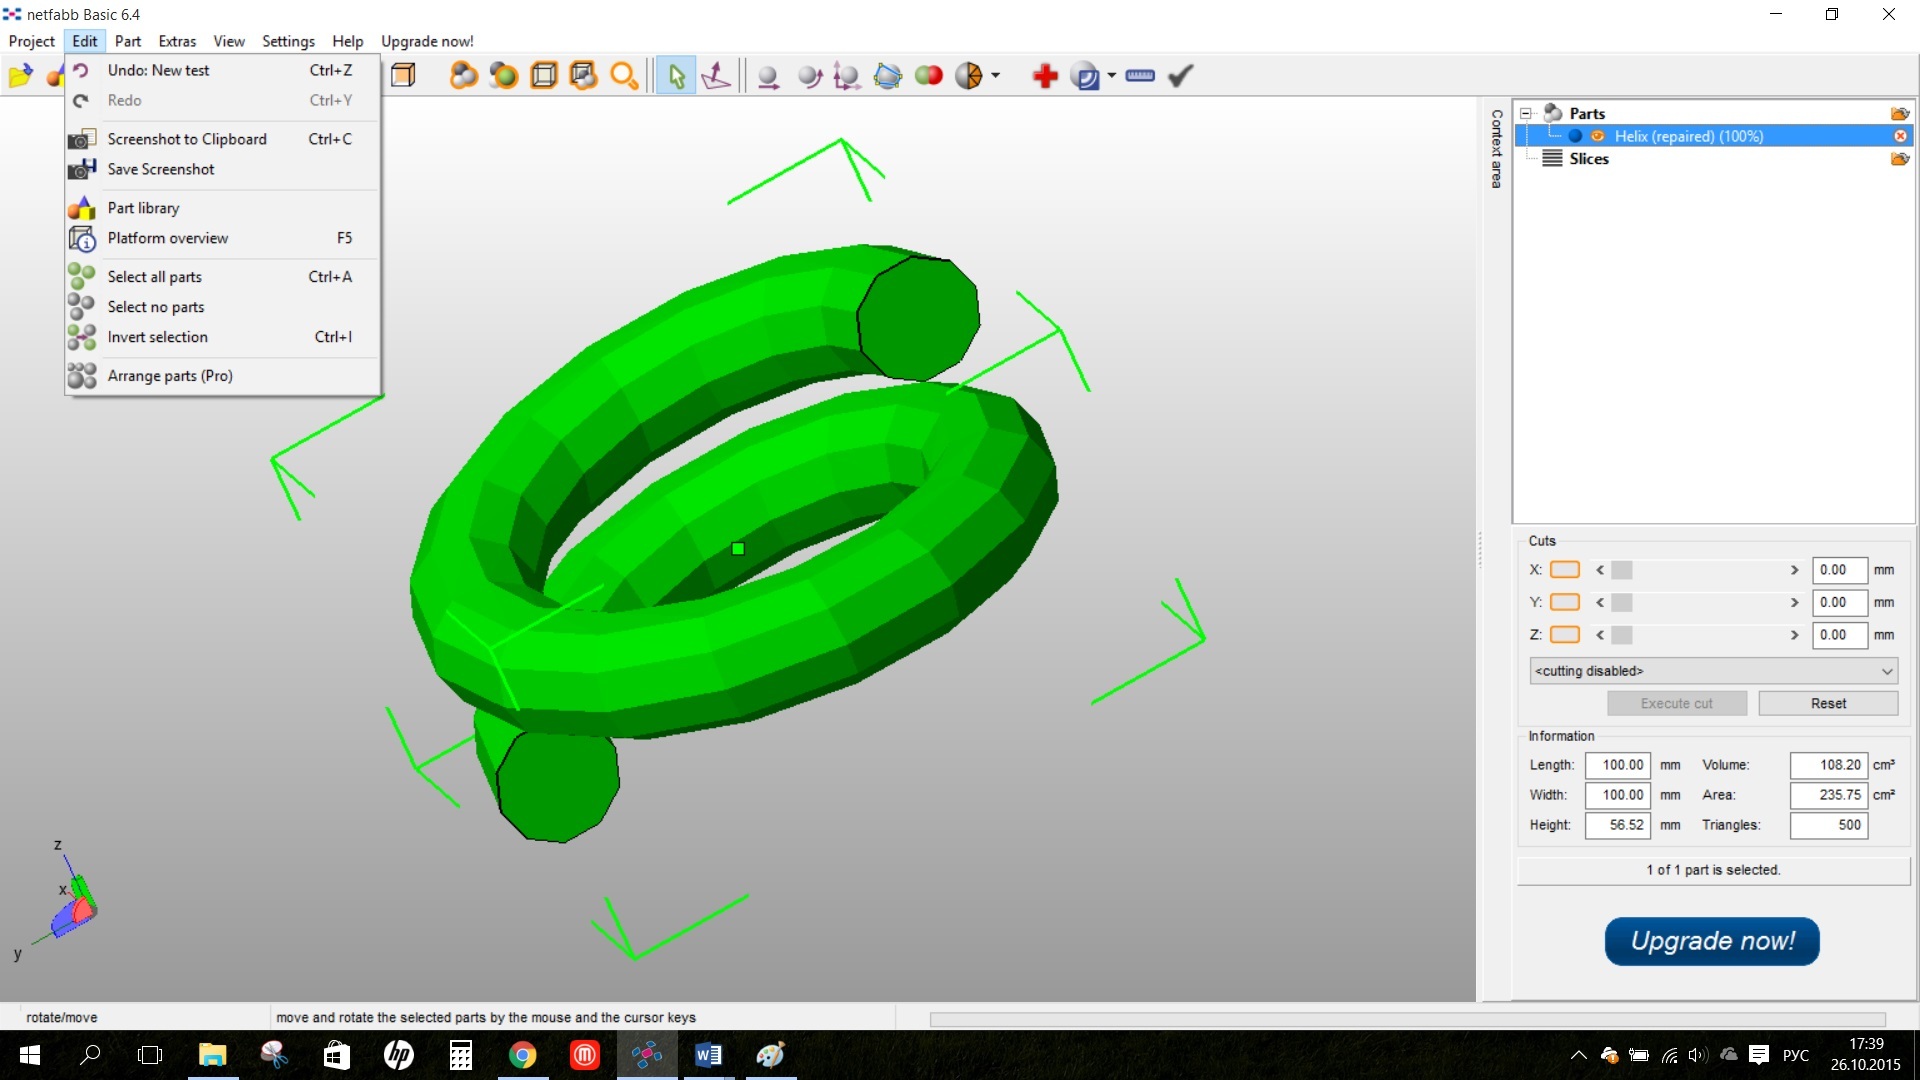
2. The Edit section contains commands for selecting meshes and creating primitives. Here you can get a primitive visualization of parts directly from the program. Or control the selection of objects:
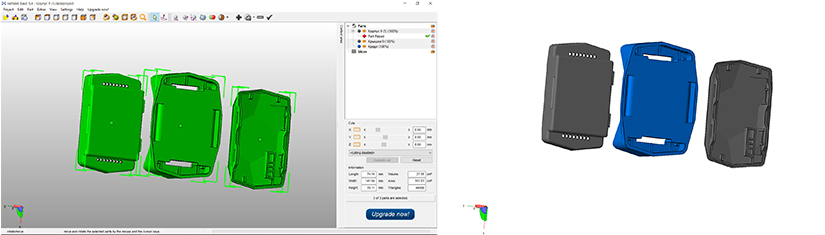
Model and screenshot obtained from the program
3. Section Part - the most frequently used, here are the commands for converting and editing models. It is necessary to save the model in the required format through the Part - Export Part section. Also here are all the commands for simple model editing - scaling, rotation, mirror.
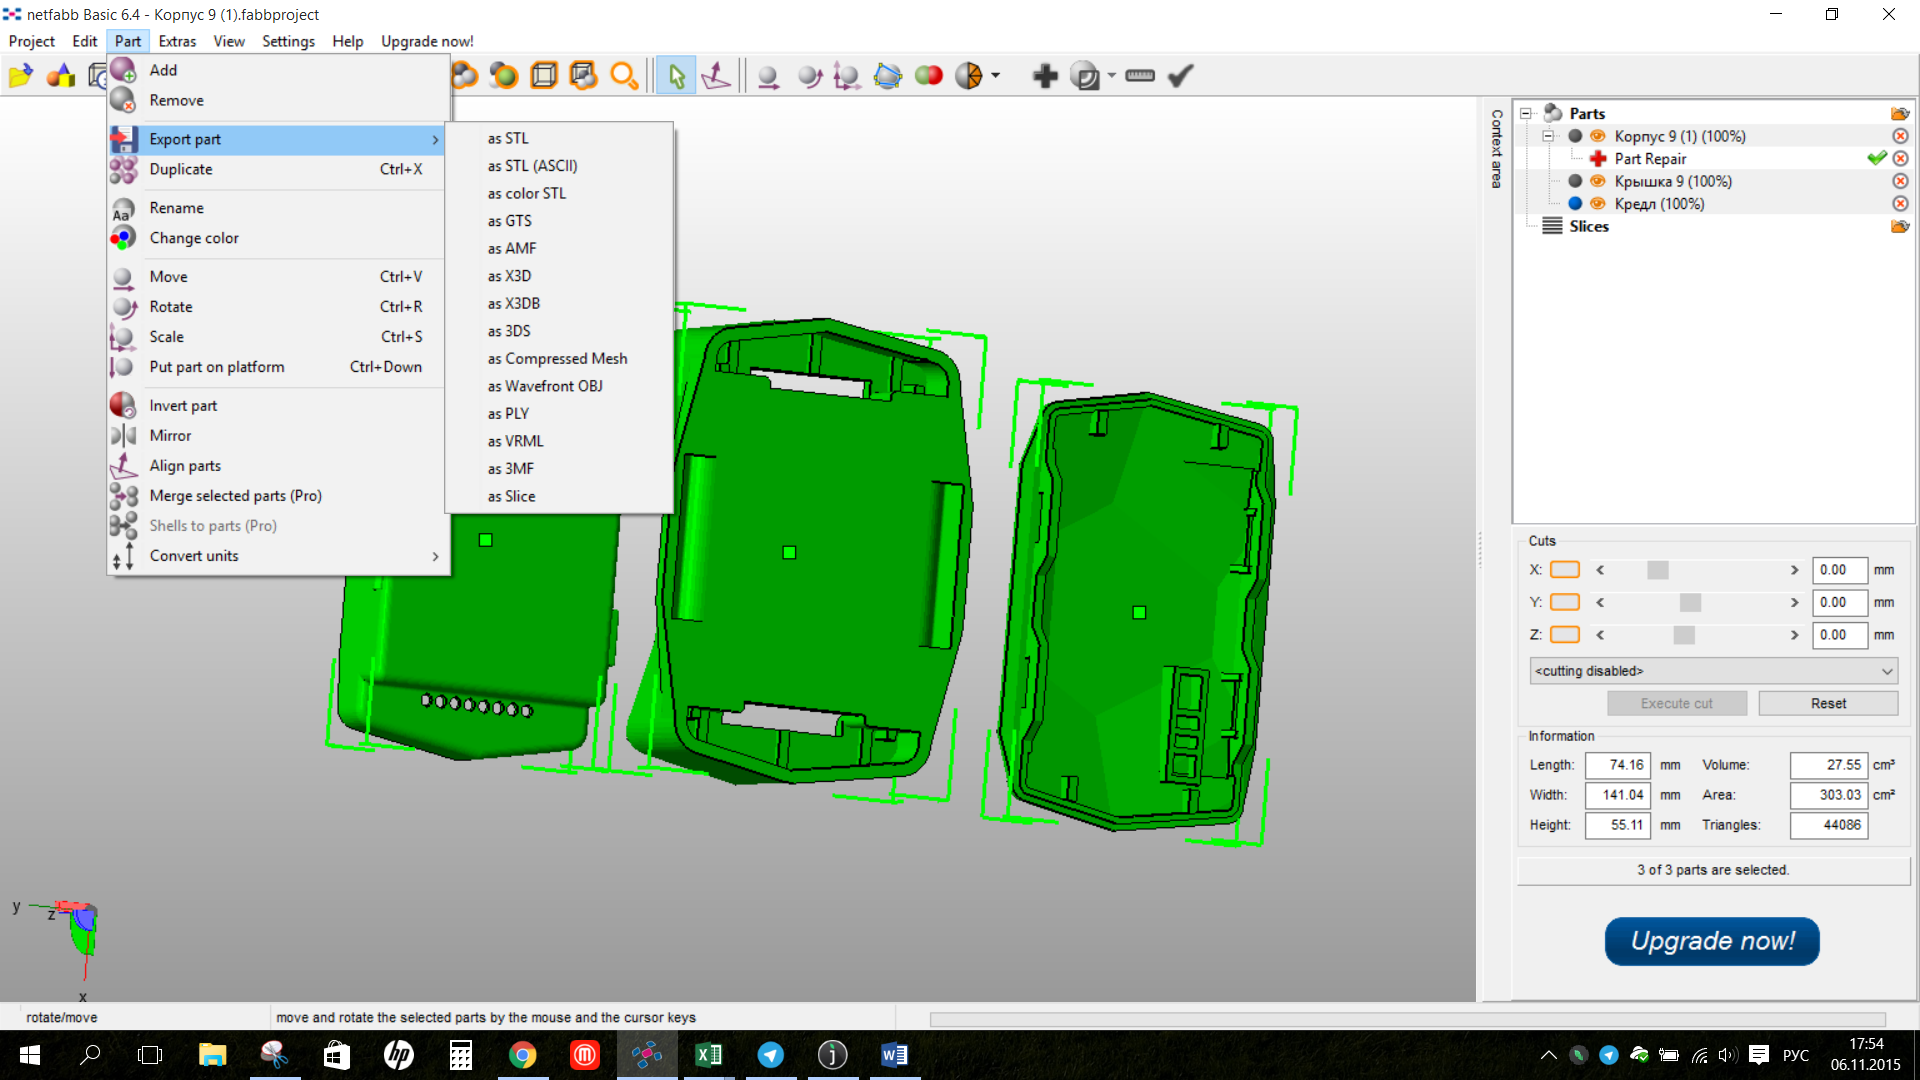
Formats for export
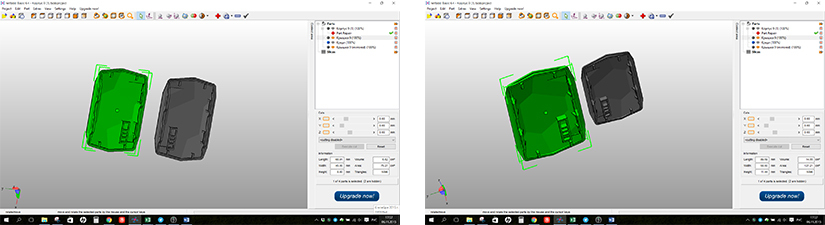
Mirroring and scaling
4. The Extras section in the Basic version is very limited, but here are the main program commands - Repair part and the New analysis and New Measuring analysis commands.
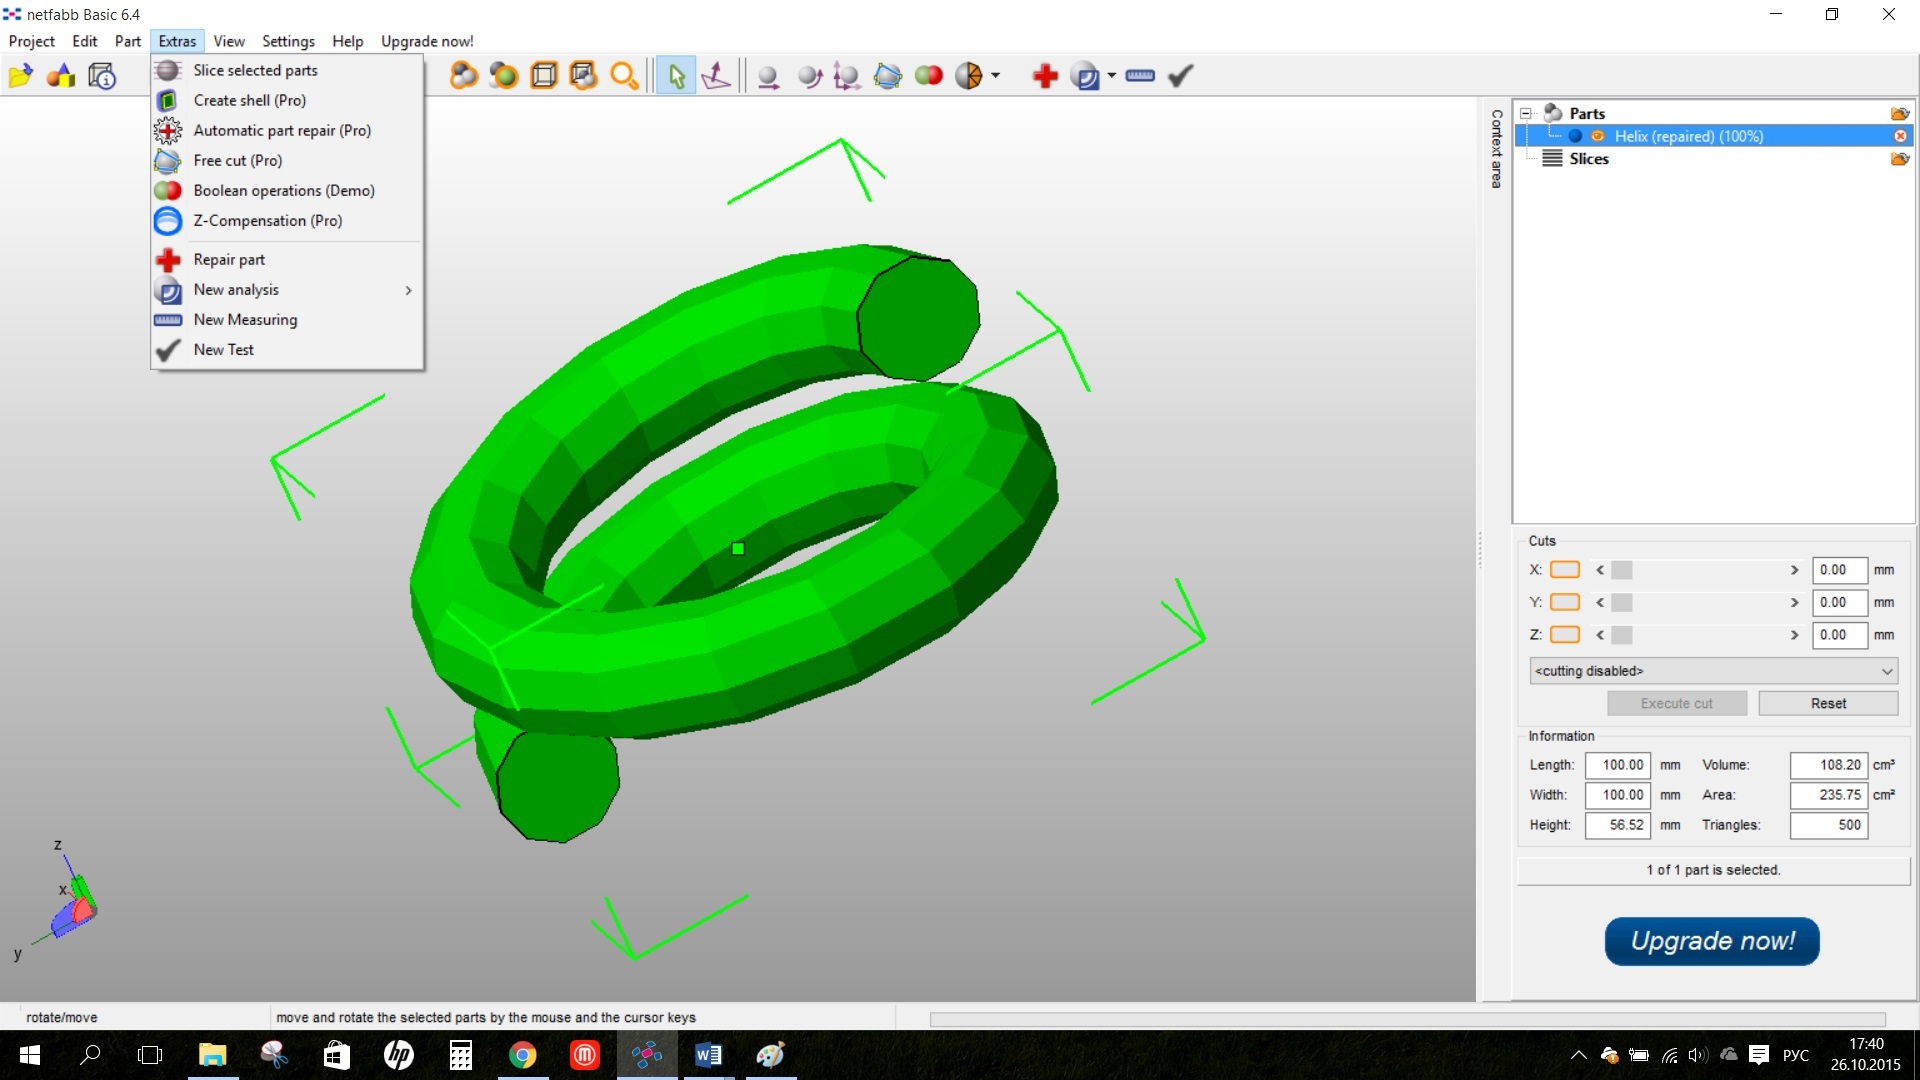
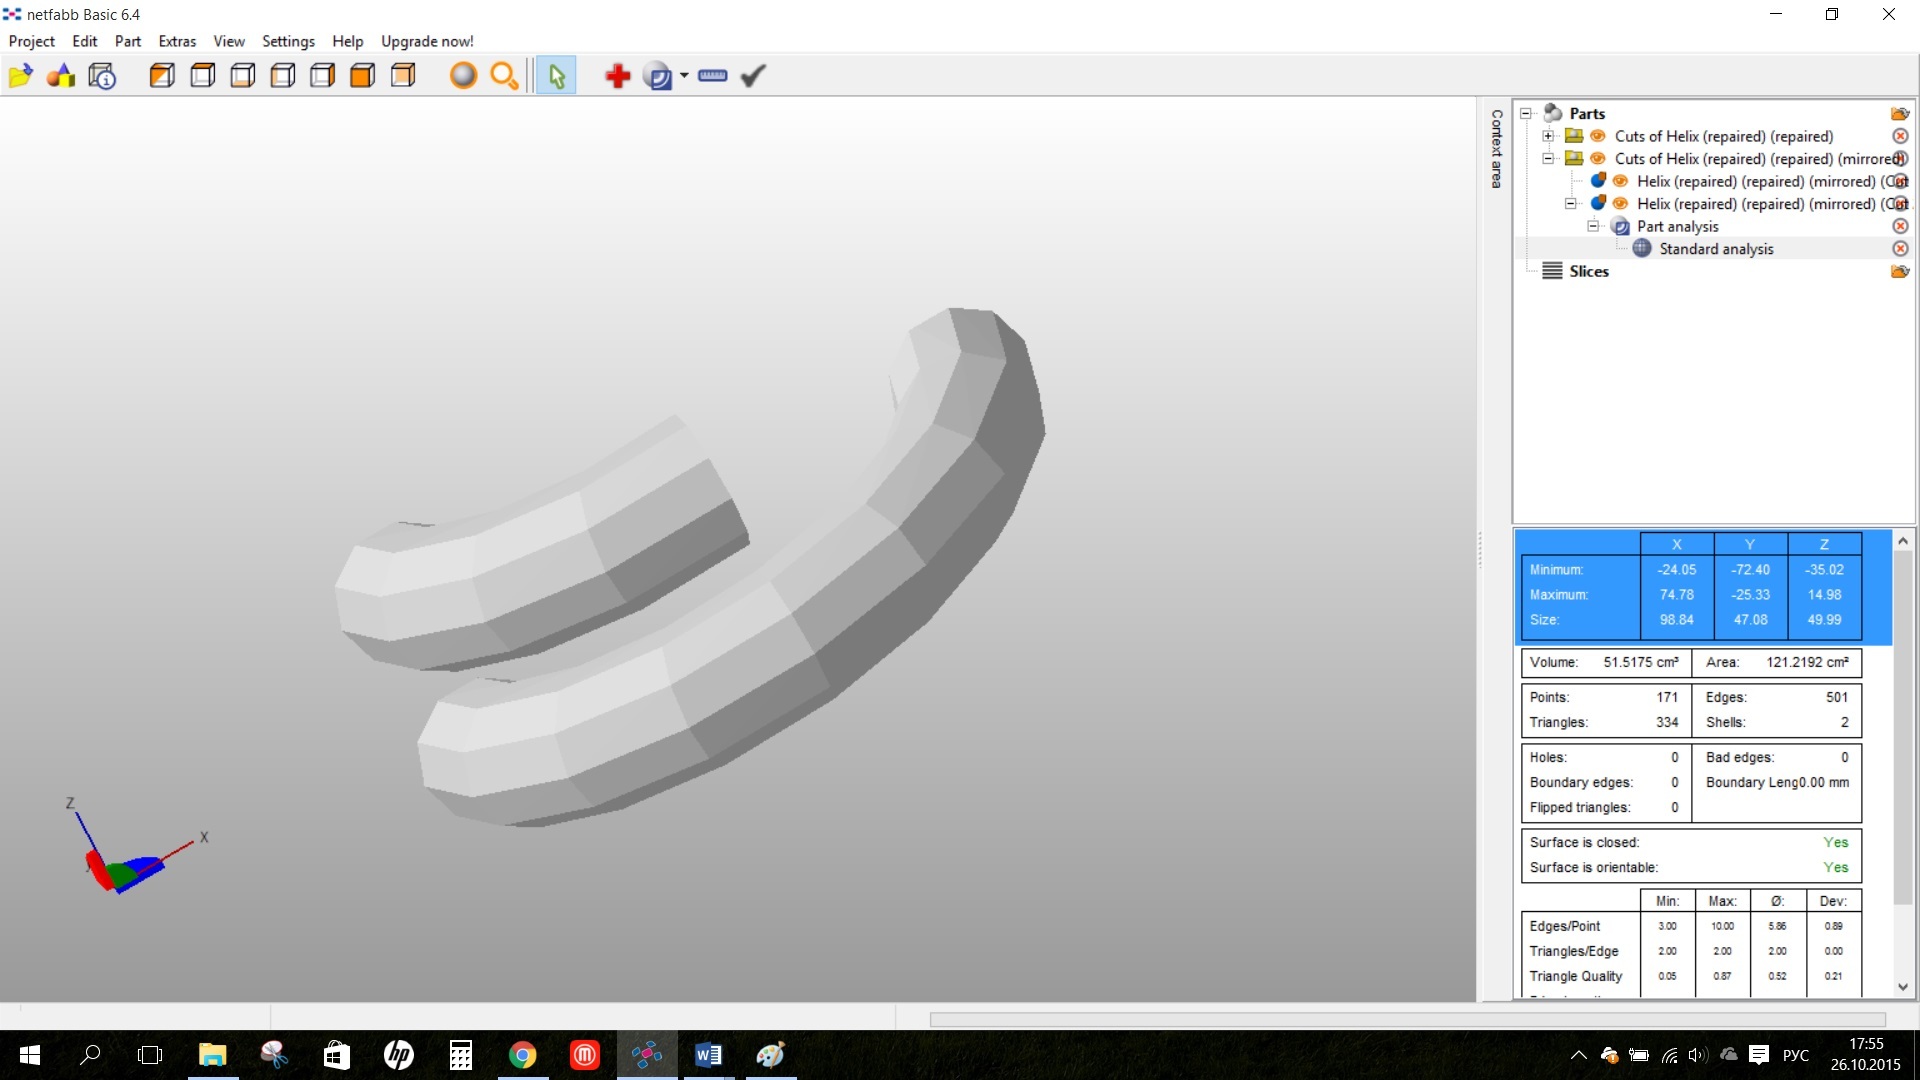
Analysis mode
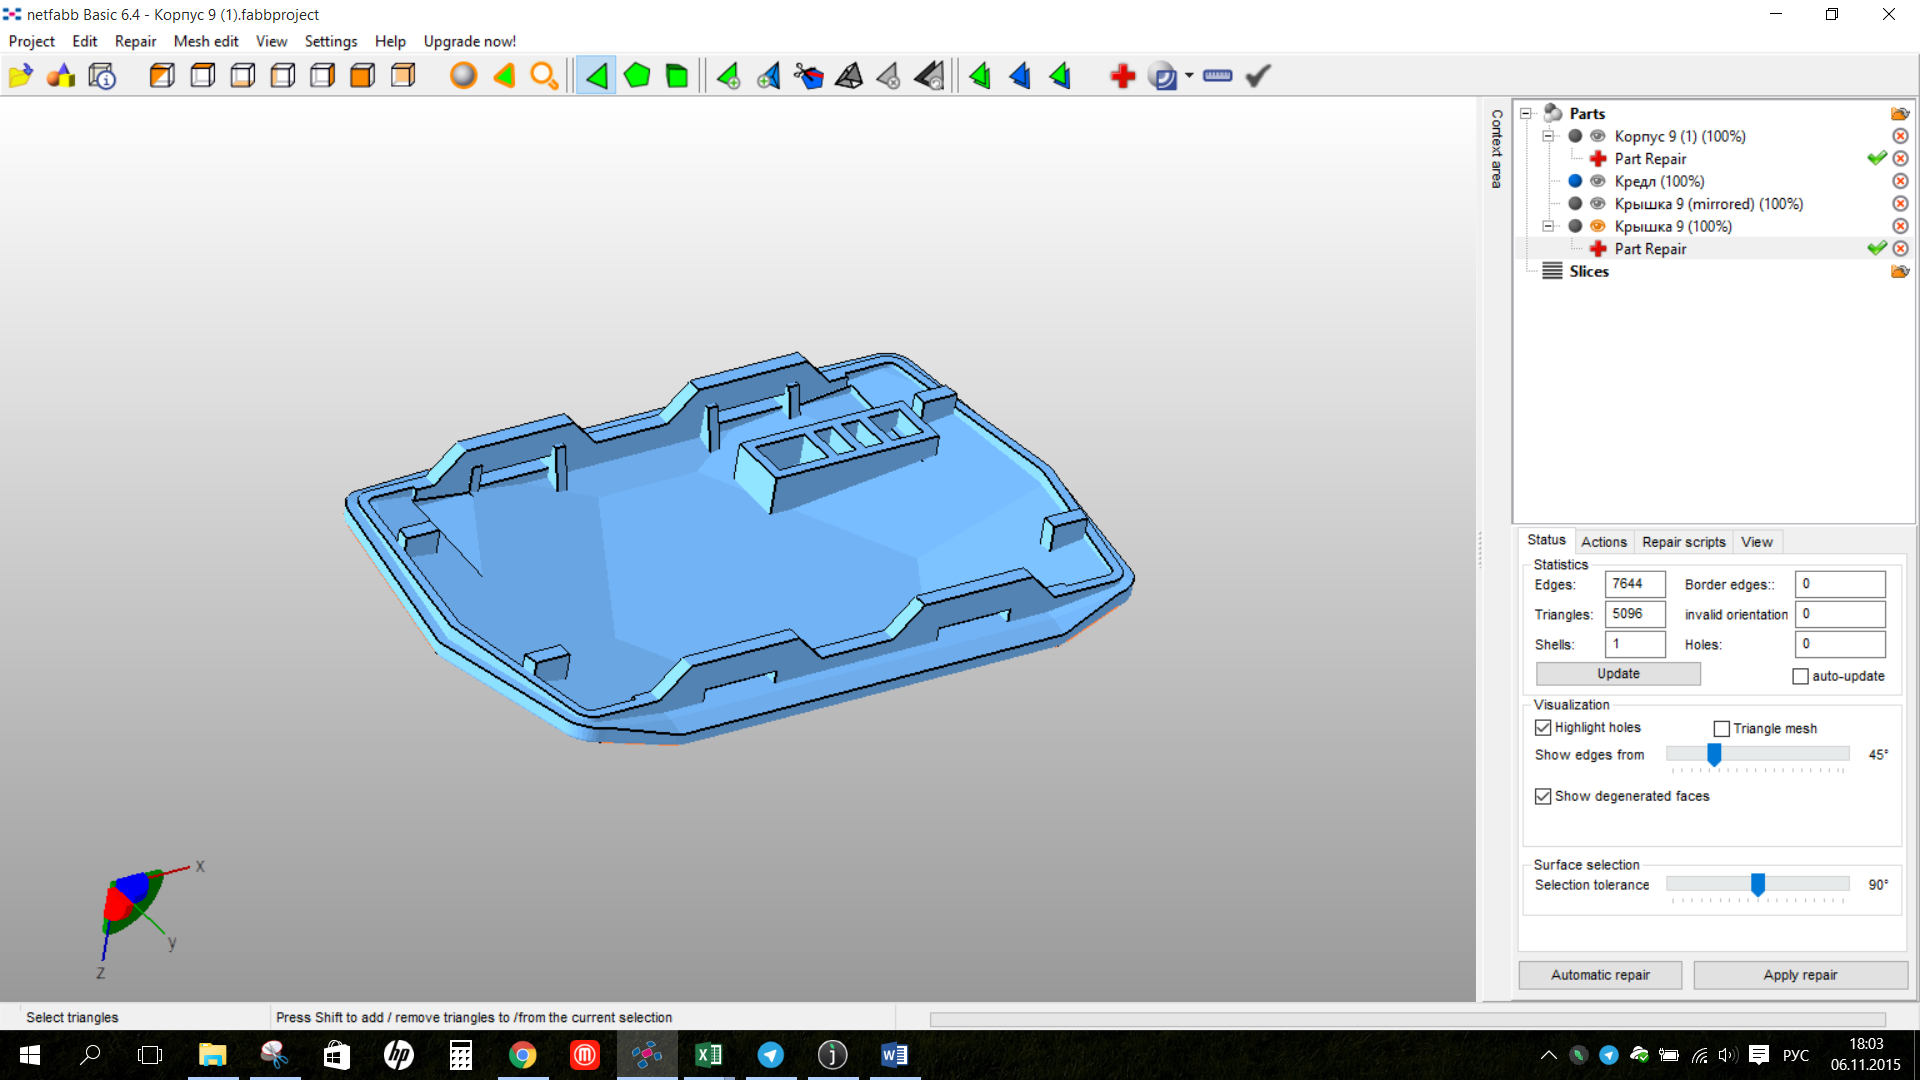
Treatment
mode The treatment mode is the most important thing in this program, in this mode the main menu of the program changes, the model parameters, problems found and viewing modes are displayed in the information window, in the Actions tab you can select individual treatment commands, such as inverting normals, In the Repair scripts tab, you can configure your own disinfection script, indicating in which order which commands will be executed and how many times.
5. View section - commands for controlling the display of the model and texture are located here.
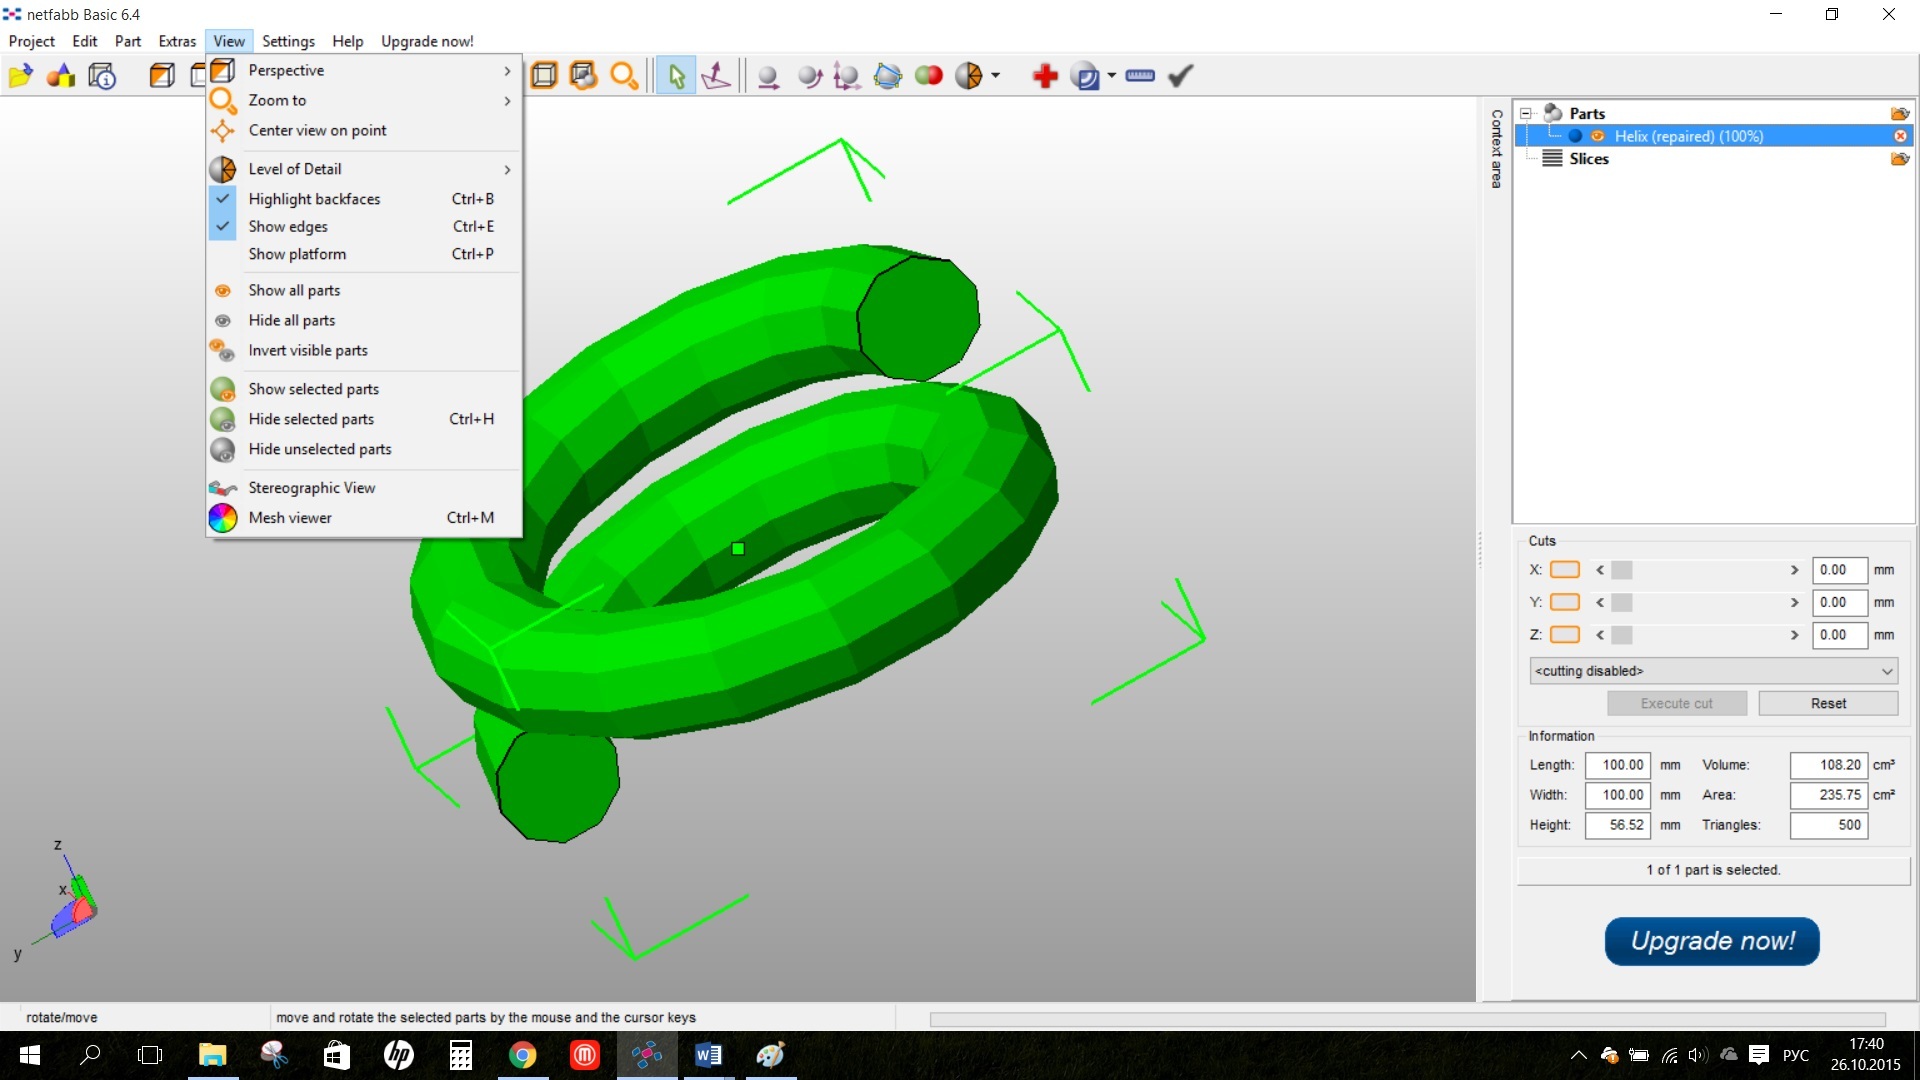
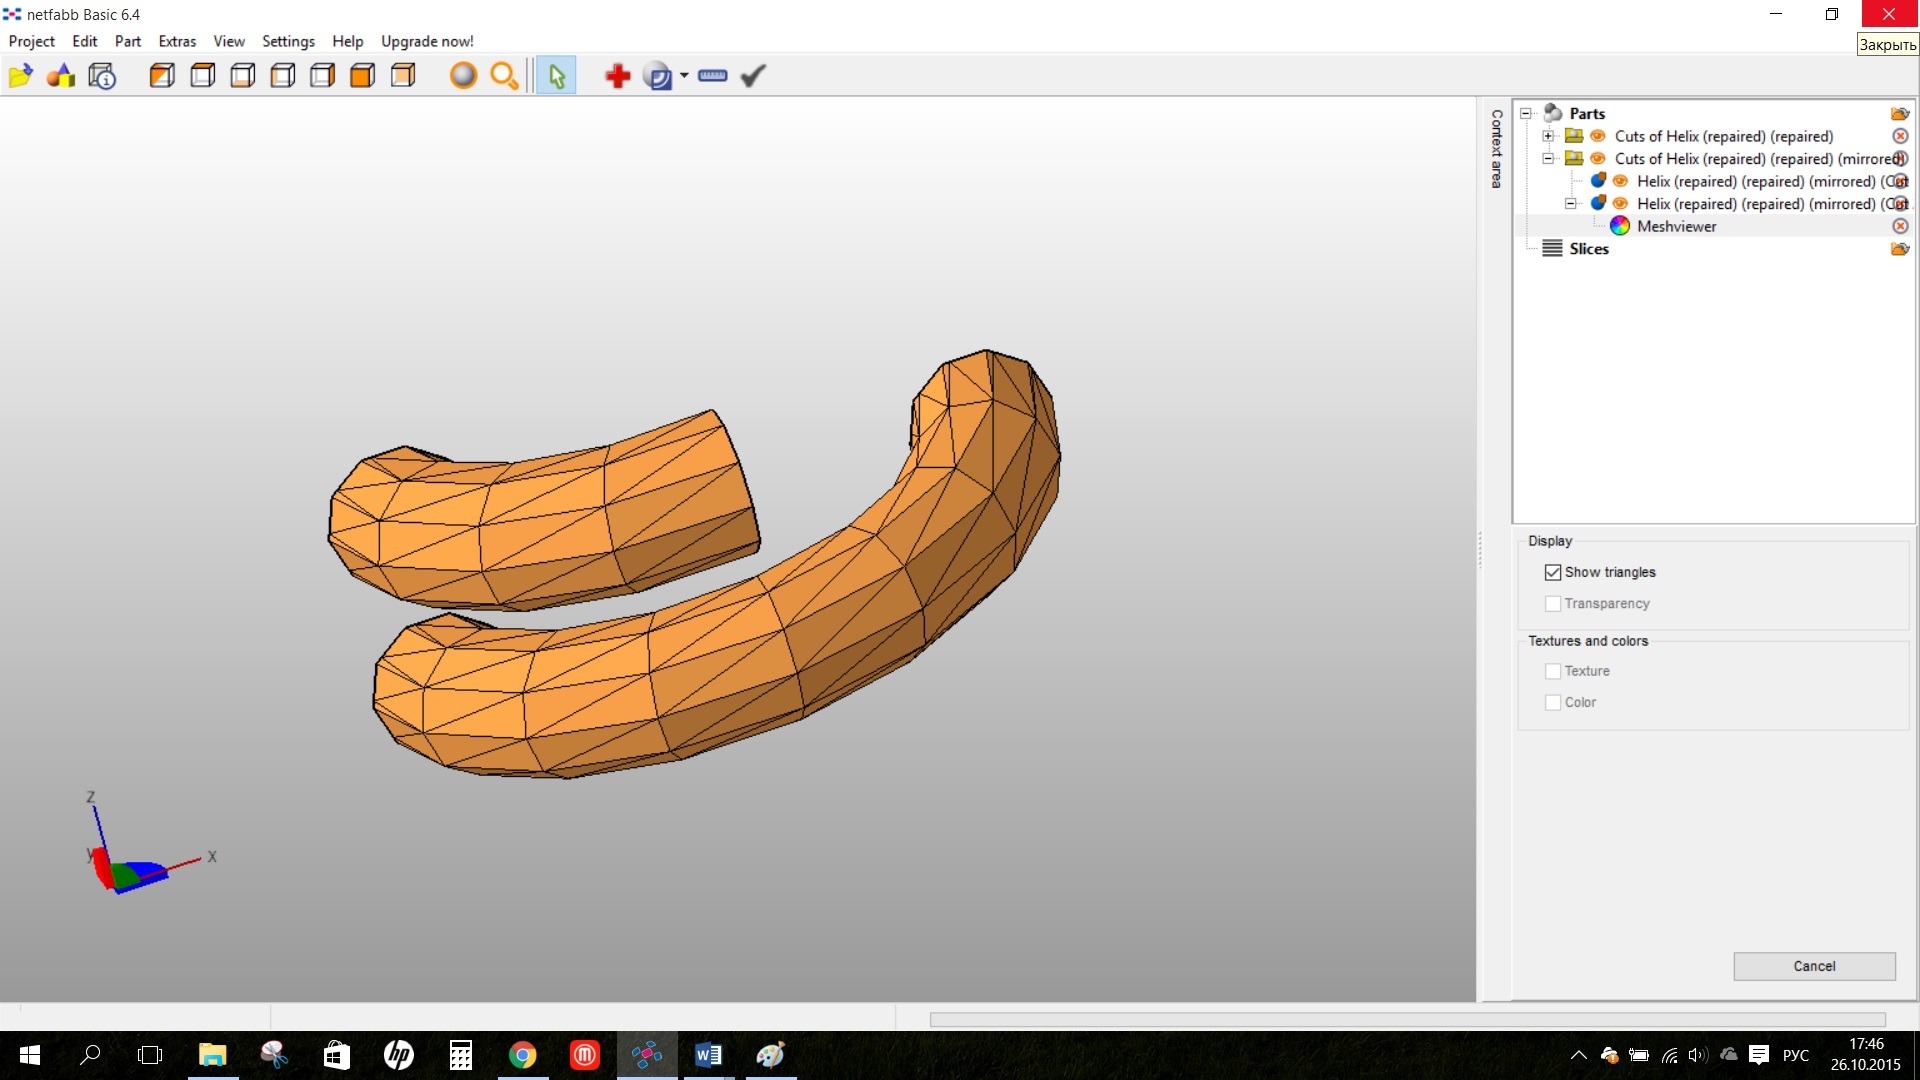
In texture control mode, you can see the superimposed texture, or the color of the polygons.
6. Settings and Help - standard menu sections with settings and information about the program.
Learn more about Professional features.
A more advanced version of Netfabb Studio has advanced functionality and can be useful not only for treating models. Of the usefulness is the separation of shells into bodies, for example, if you have some kind of imported assembly, you can separate it into separate models. If you print figures, the Create shell function that creates hollow models with a given wall thickness can be useful to you. The function of cutting the model into parts was also improved; now, using the Free Cut command, the model can be cut not only along the X, Y, Z axes. Boolean functions and the ability to smooth the grid were also added. The treatment functionality was also expanded, it became possible to create your own treatment scripts, use more commands in them, an excellent standard “Extended treatment” correction mode was added, which I don’t remember when I failed.
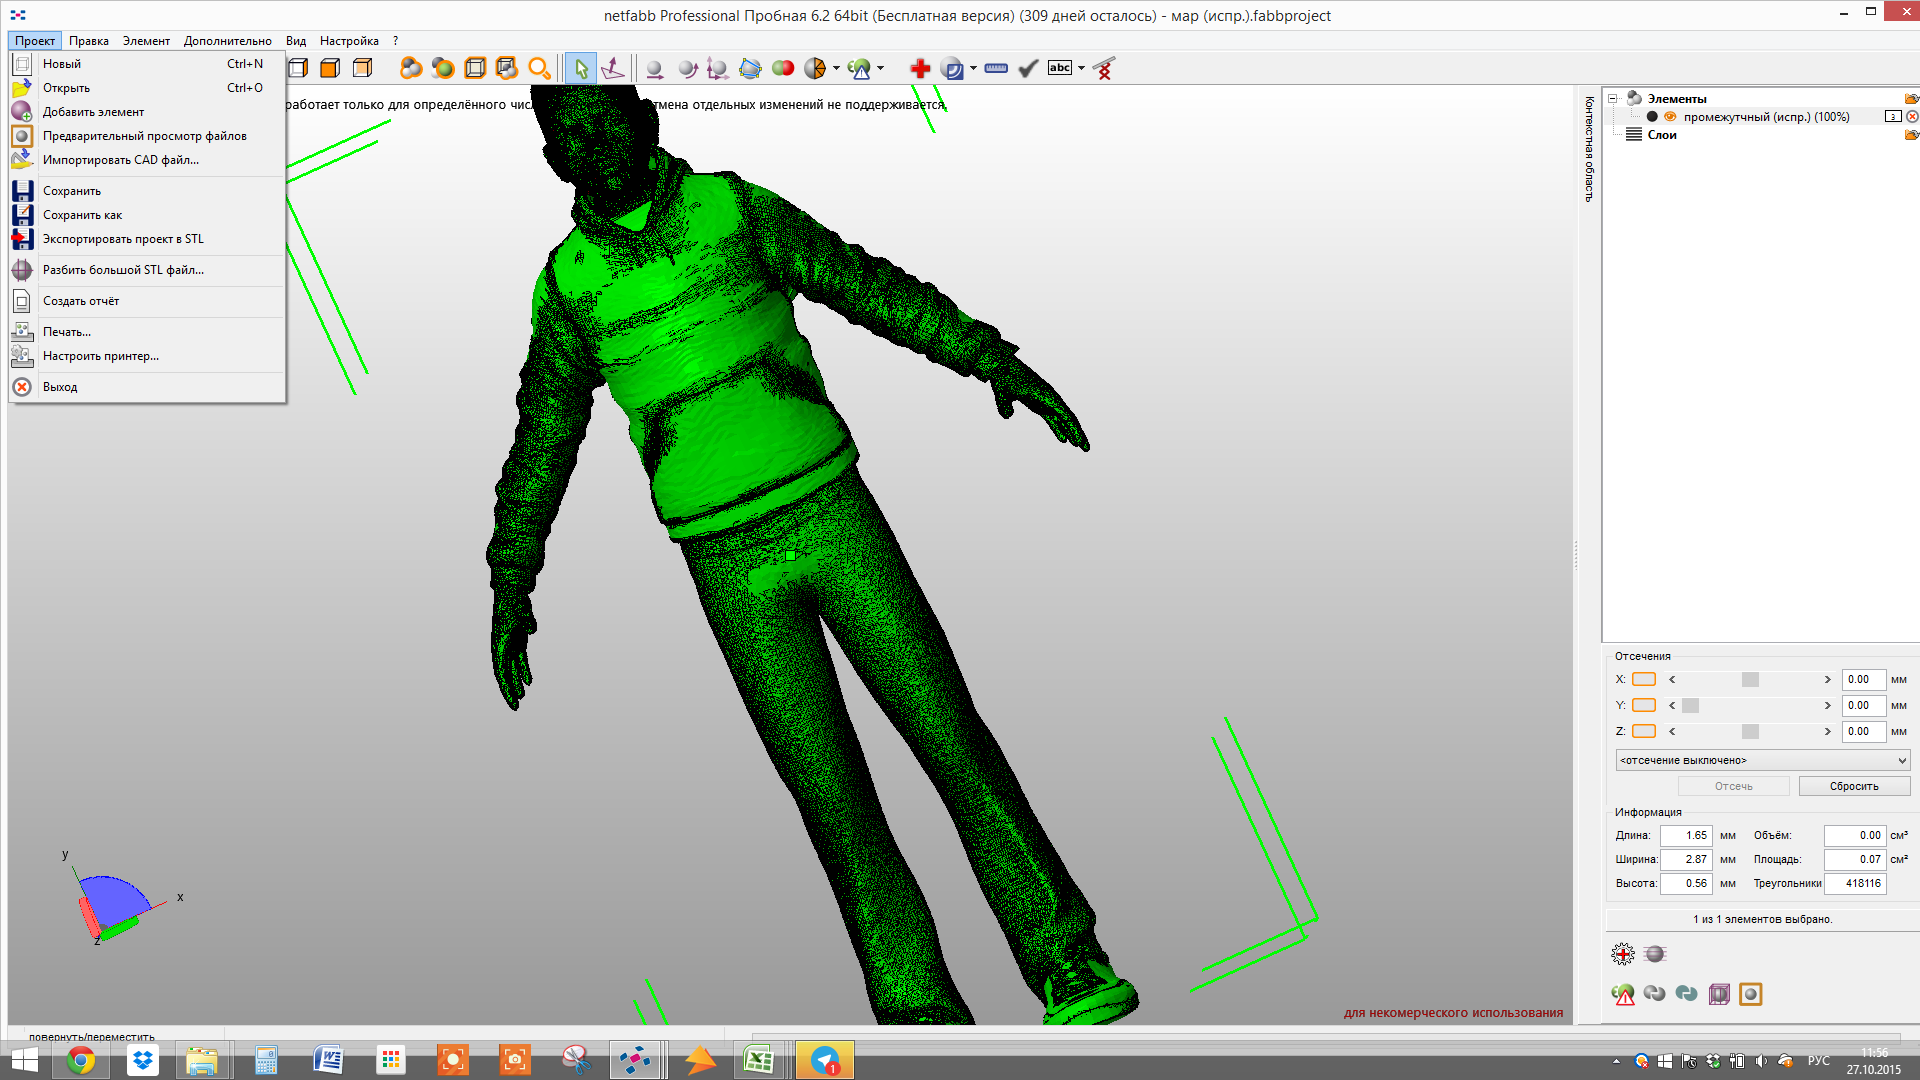
The interface is slightly changed, more commands are added, more icons for quick commands are placed on the top panel.
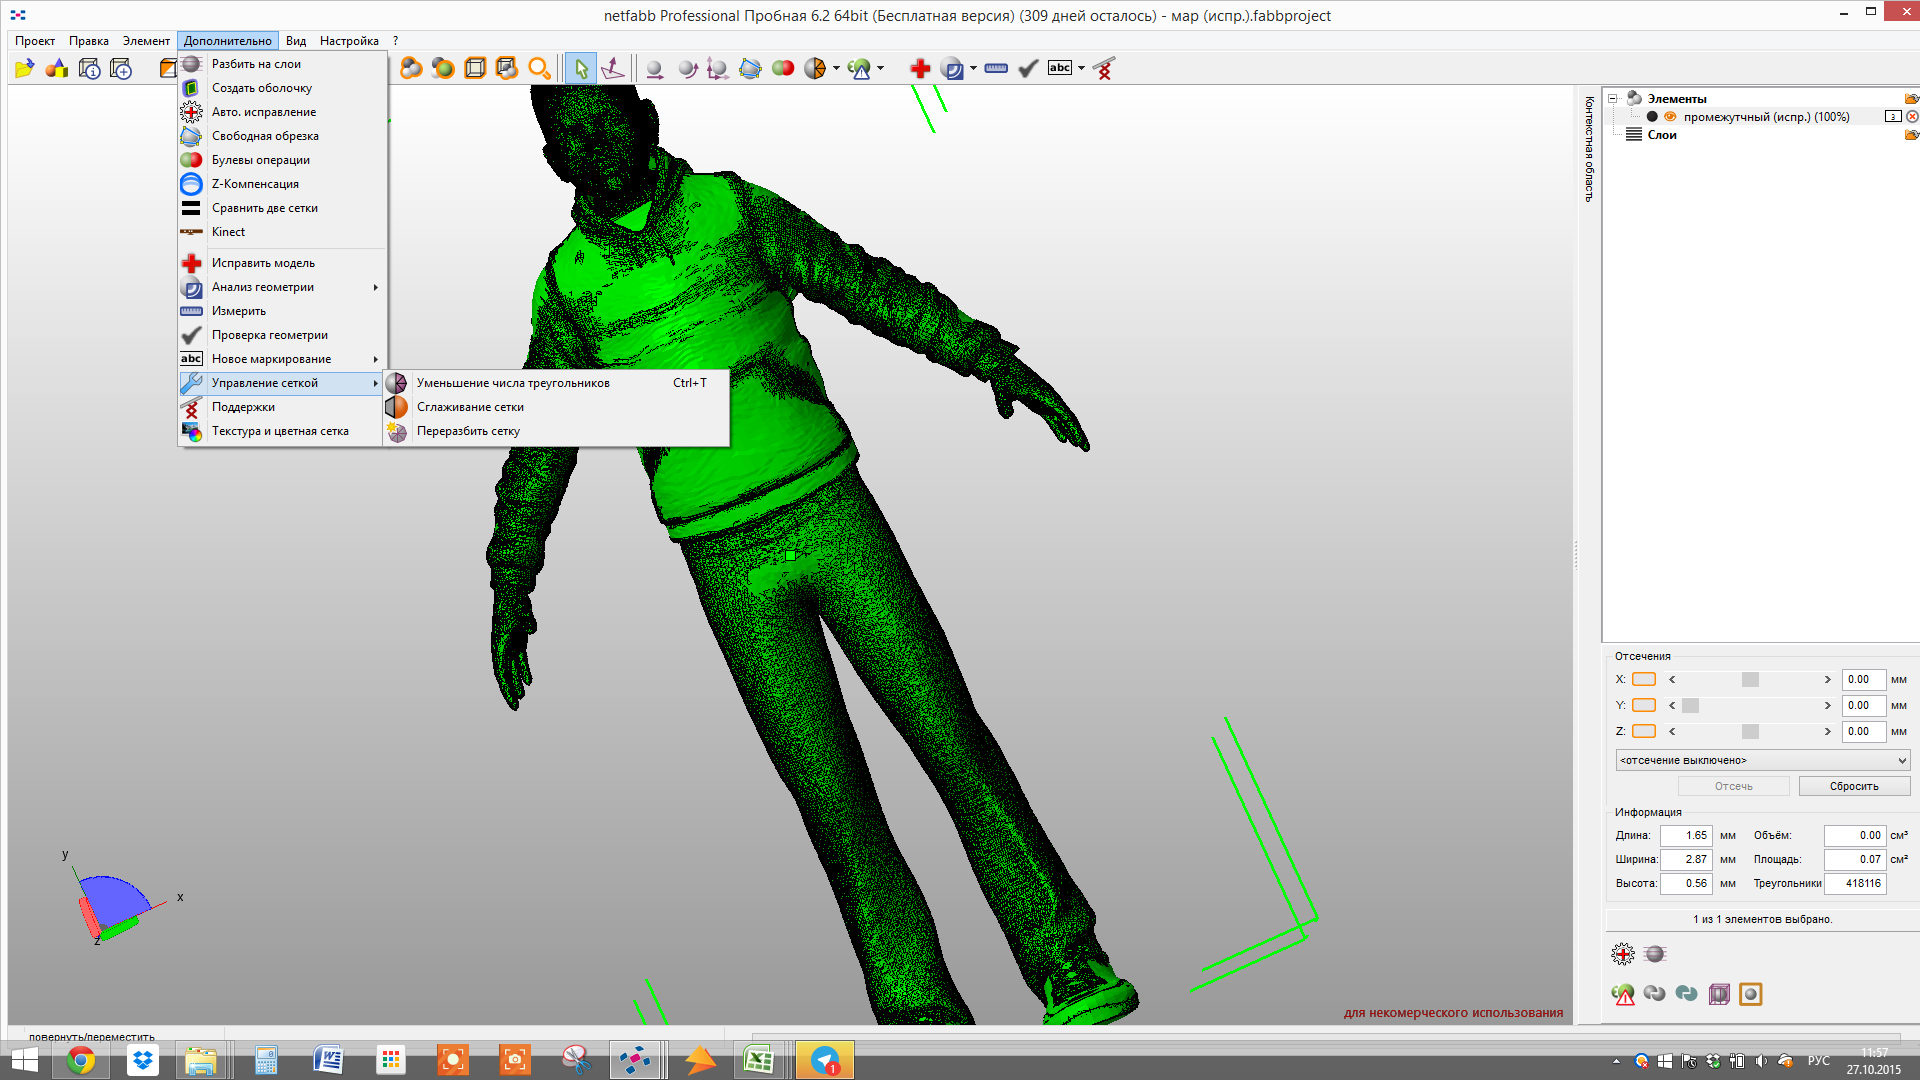
For example, we have a model and we want to simplify its grid (for example, if the model is too heavy, or you have limited polygonage in the animation), and netfabb can help!
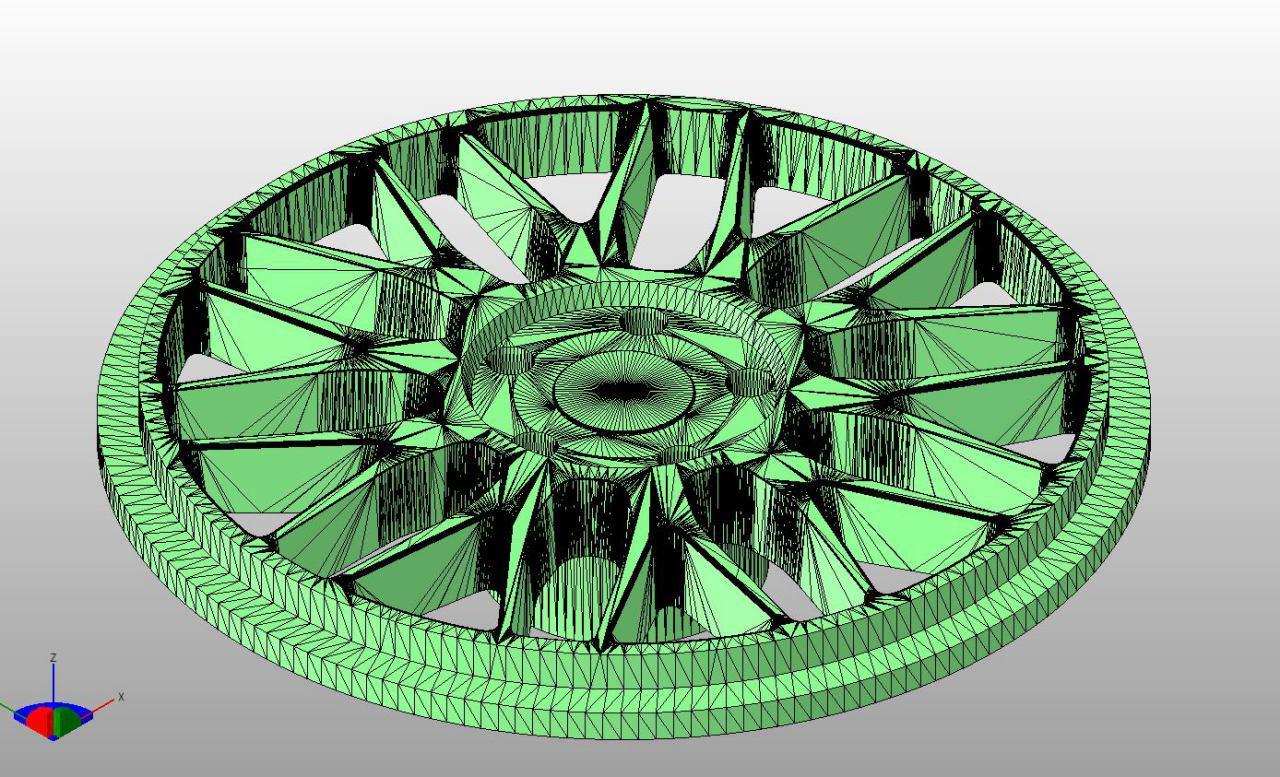
Our original model
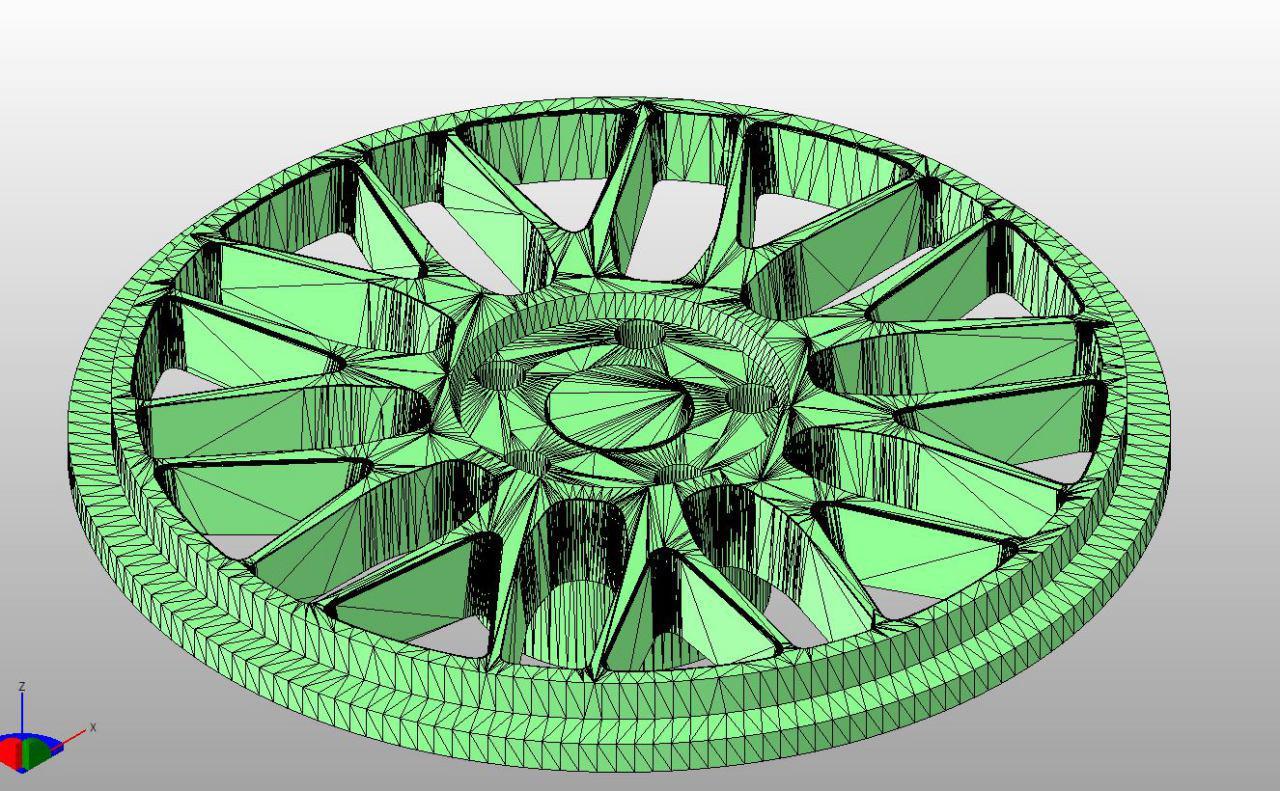
Model after reducing the number of triangles. What is most valuable - the geometry has not changed, and the number of polygons has fallen by two.
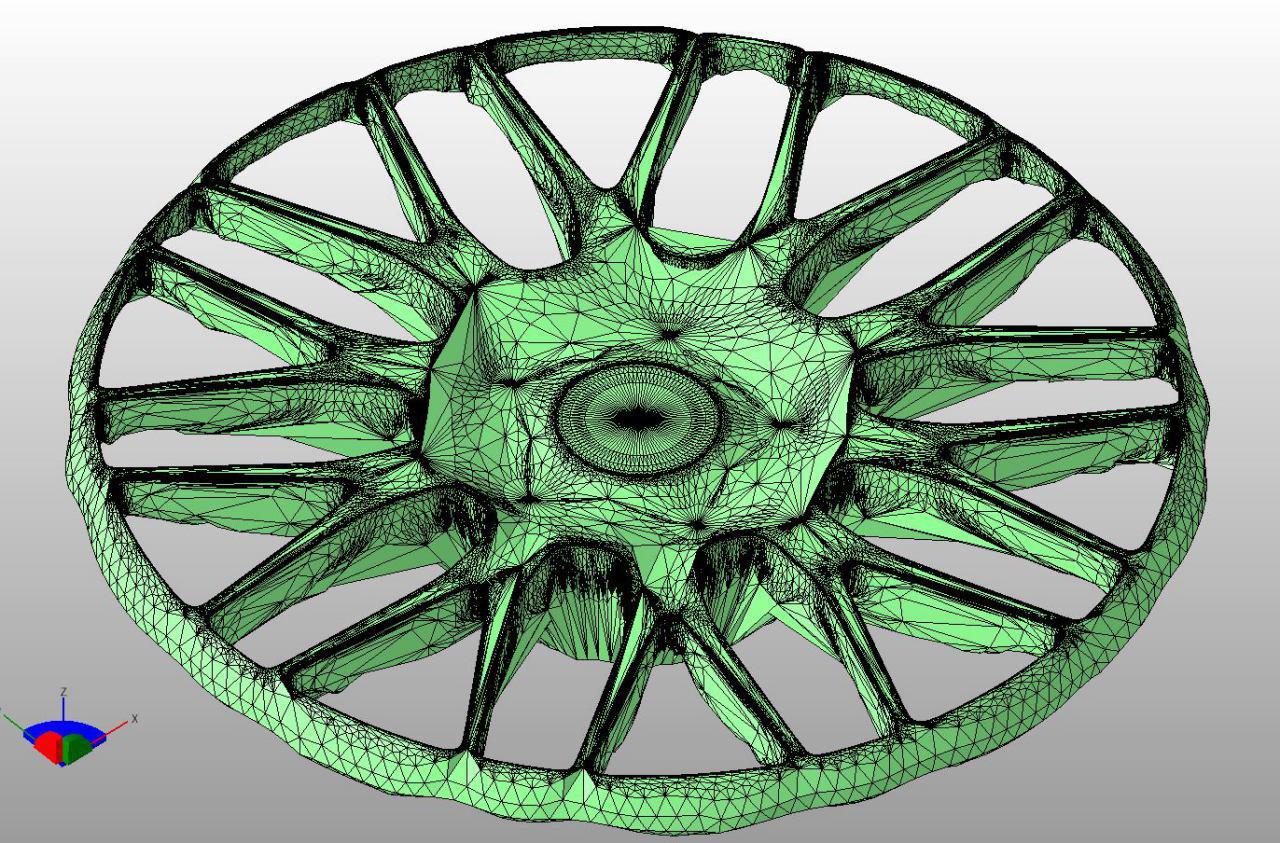
But smoothing the grid is certainly not for this model
Or, for example, you have an assembly, it consists of many intersecting bodies and a simple correction will not help here, for this there is the following algorithm:
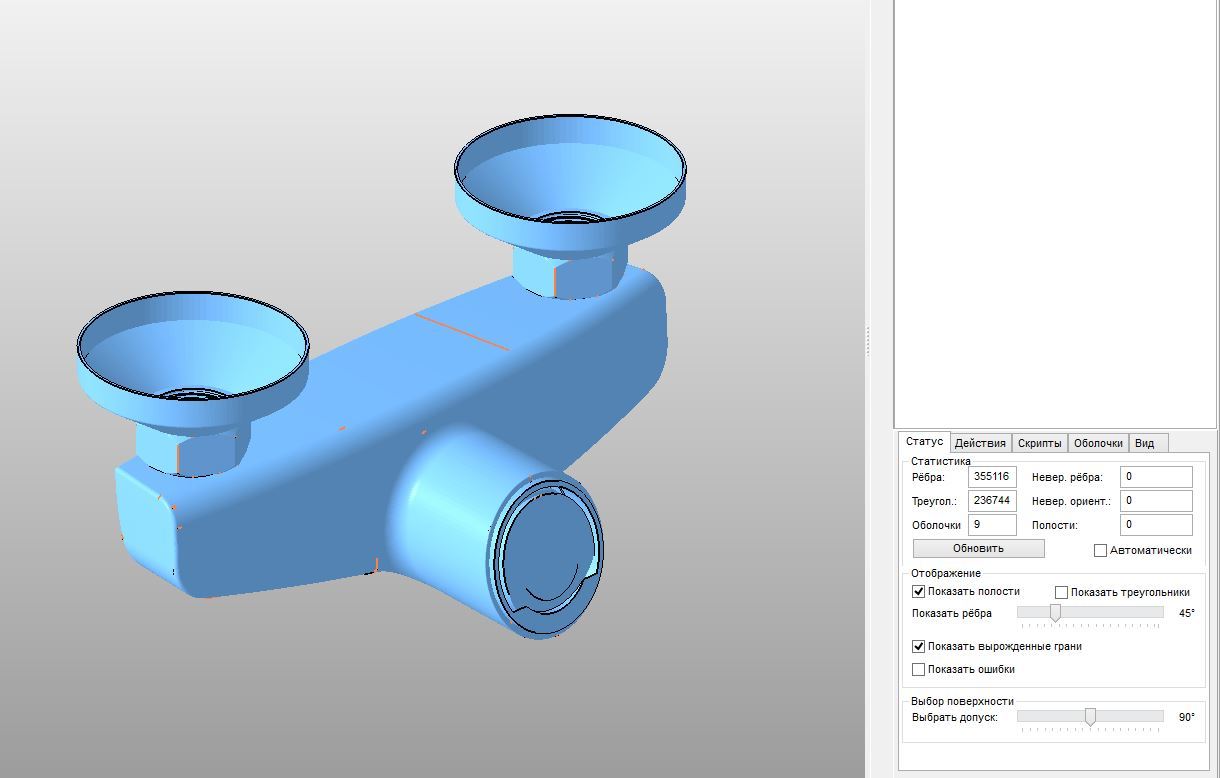
Here is our detail, in the Shell column it costs 9. There were problems with printing this part, it slid for an extremely long time, and the slicer perceived each shell as a separate model and built walls in them, inadequately placed support and did many other silly things.
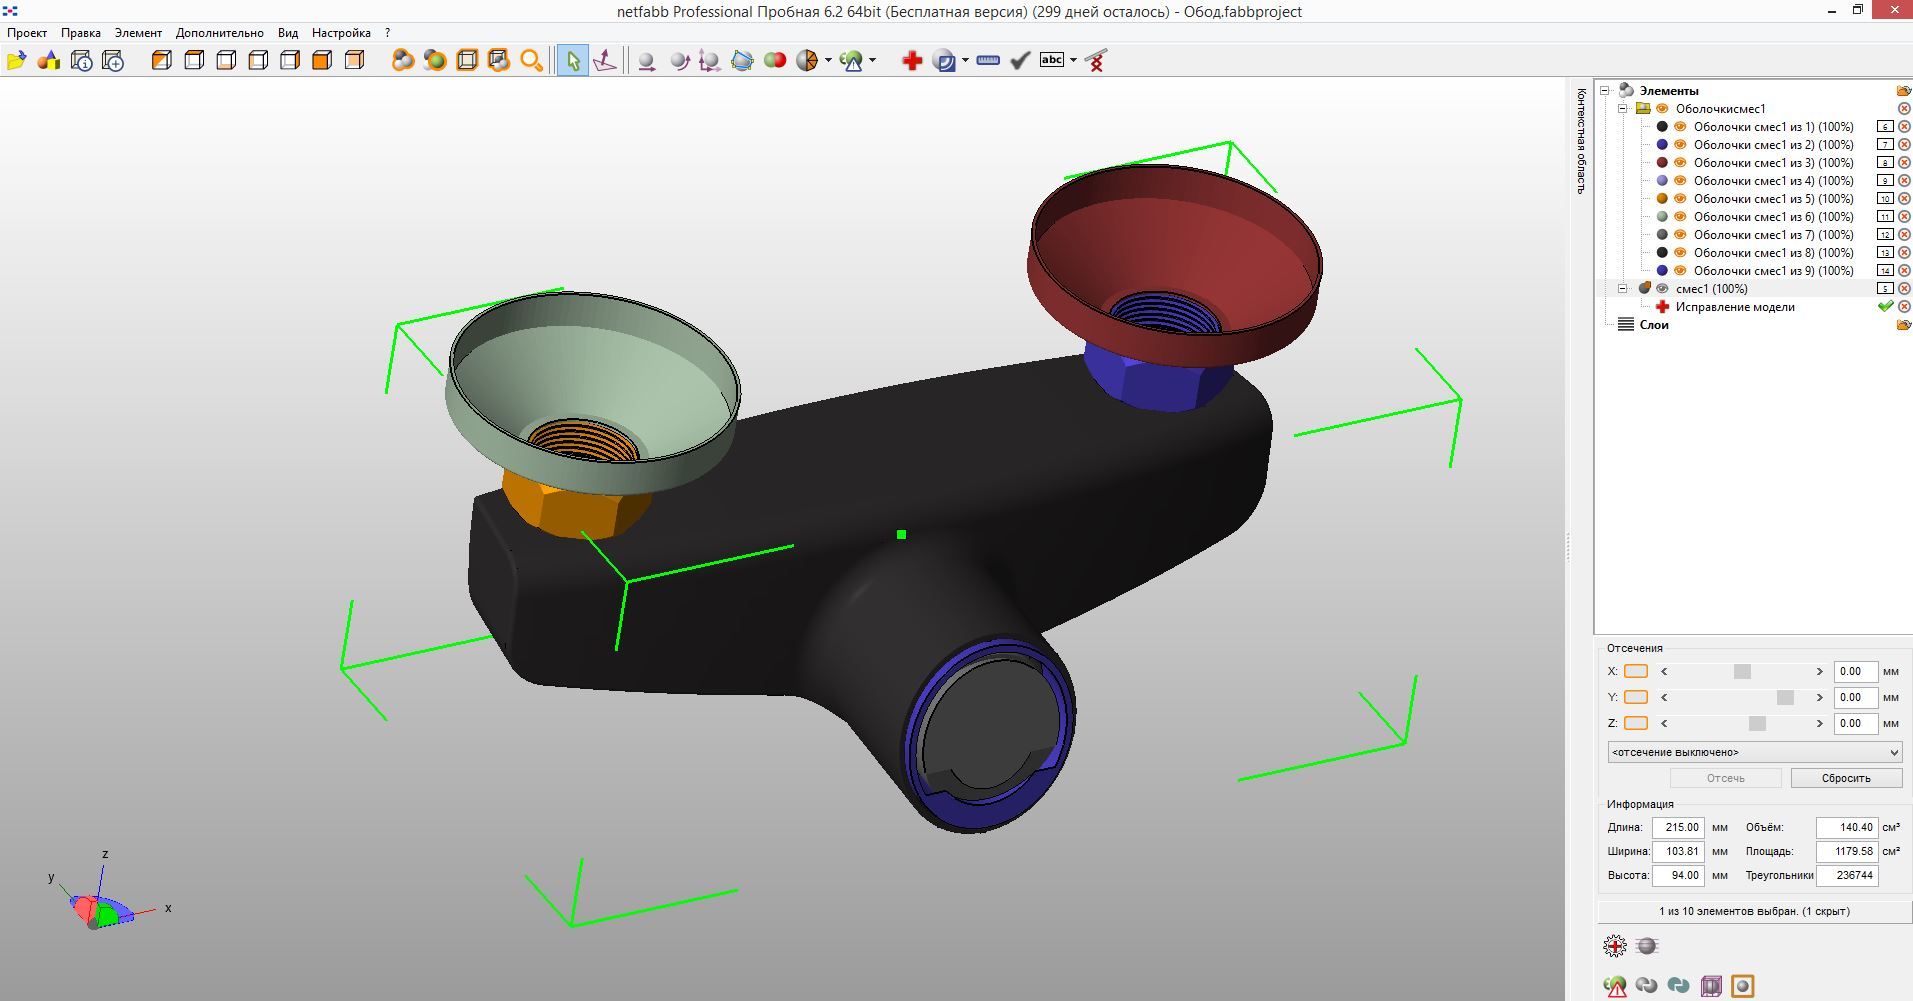
When dividing the model into bodies, 9 bodies were obtained, each one being a full-fledged model. This is the cause of printing problems.
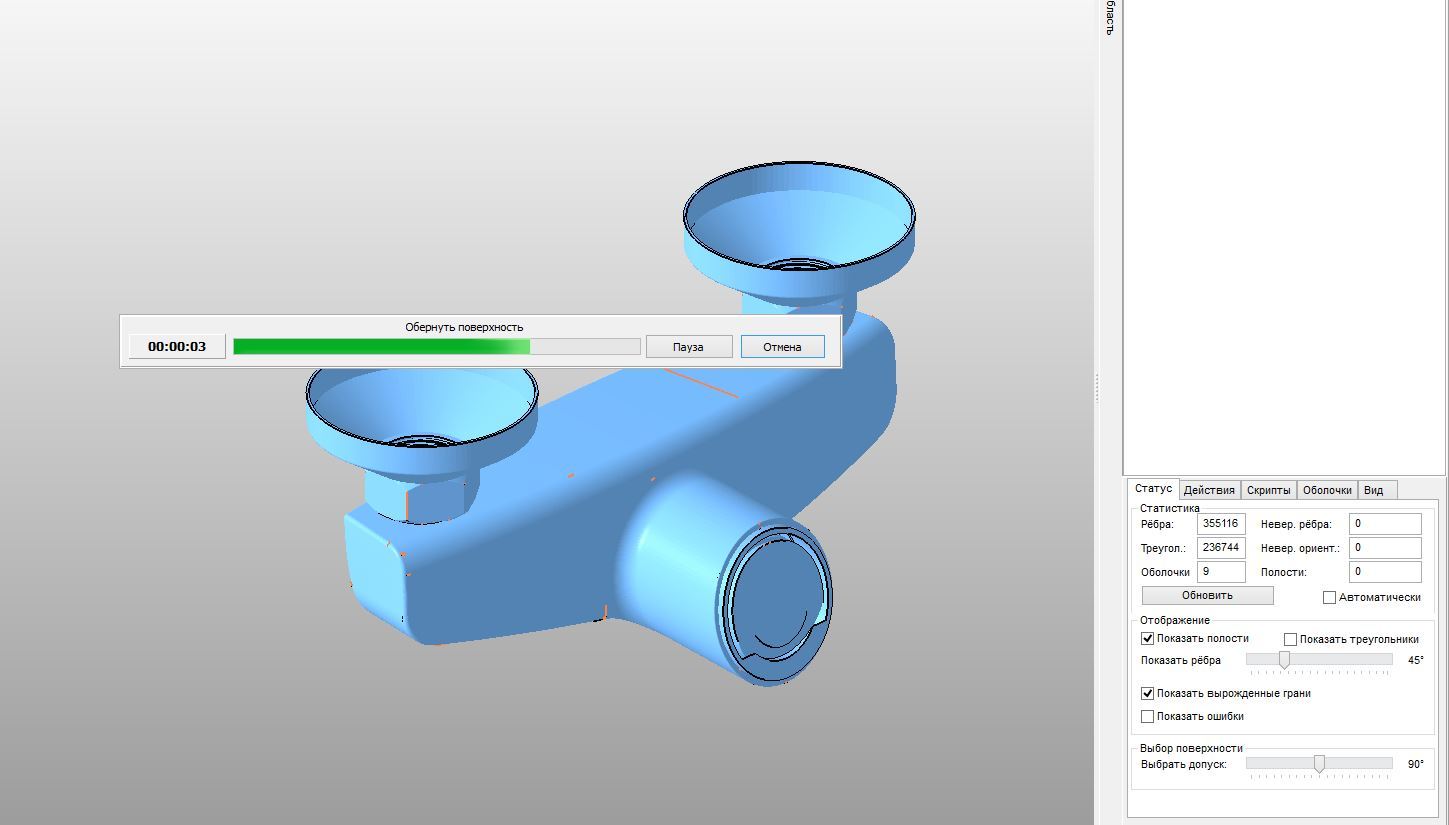
To correct it in the treatment regimen, we include the operation of the Advanced treatment.
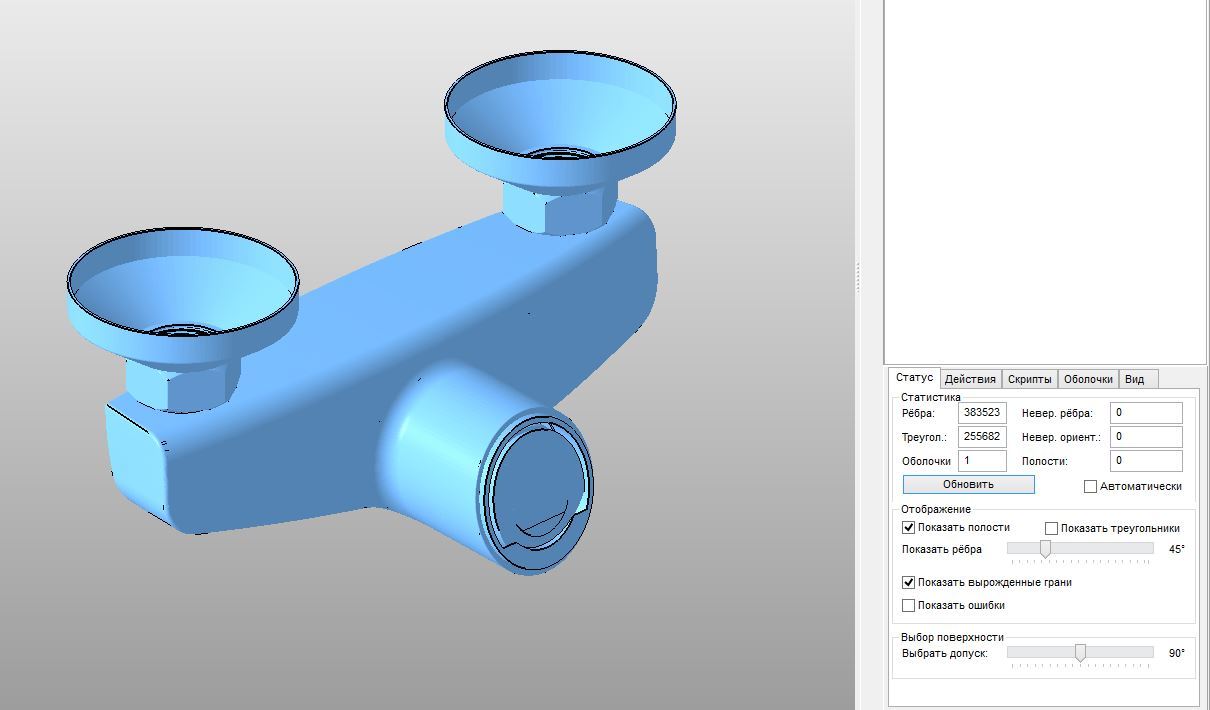
And we get a united body, all the shells of which the model consisted are now spliced, they cannot be separated and the object is printed without problems.
Pros and cons
The program performs its functions perfectly, of the "minuses" can be called not very fast work with multi-polygon models, from about 1 million polygons, but a lot of things are solved with iron, occasionally incorrect holes are fixed, there are almost no functions for working with textures even in the Professional version . Well, the most important minus of paid versions is their cost: Netfabb Professional - 2900 EUR. With add-on allowing you to import CAD - 3700 EUR.
Of the advantages - convenience, free Basic version, a fairly quick process of treatment and editing models. There is no one to compare the program with, the service from Windows was developed with the support of Netfabb and is actually a healing function from Netfabb Basic that works in the browser. Treatment functions are present in many 3D editors, but, unlike this program, they rarely perform their function well.
An excellent program for treating files and preparing them for 3D printing. A must have for all those involved in 3D printing, the Professional version can also help in other tasks, for example, glue several meshes into one with a normal grid, reduce the number of polygons and the like.