Install ROS on a Raspberry Pi
I already wrote earlier about installing rosserial_arduino for the interaction of the Arduino microcontroller with the ROS robotic platform in a previous article. rosserial_arduino is a package of the rosserial stack designed for the ROS platform and “turns” the Arduino board into a standalone ROS node with which other components of the system can interact. When using Arduino for robotic projects, there is one significant limitation: Arduino cannot be used as a full-fledged computing node that can handle all the operations required for the normal functioning of the robot. For example, you cannot run OpenCV scripts on it for computer vision tasks. In this article I want to talk about my experience installing a ROS system and connecting an Arduino to a Raspberry Pi microcomputer using the already familiar rosserial_arduino package.
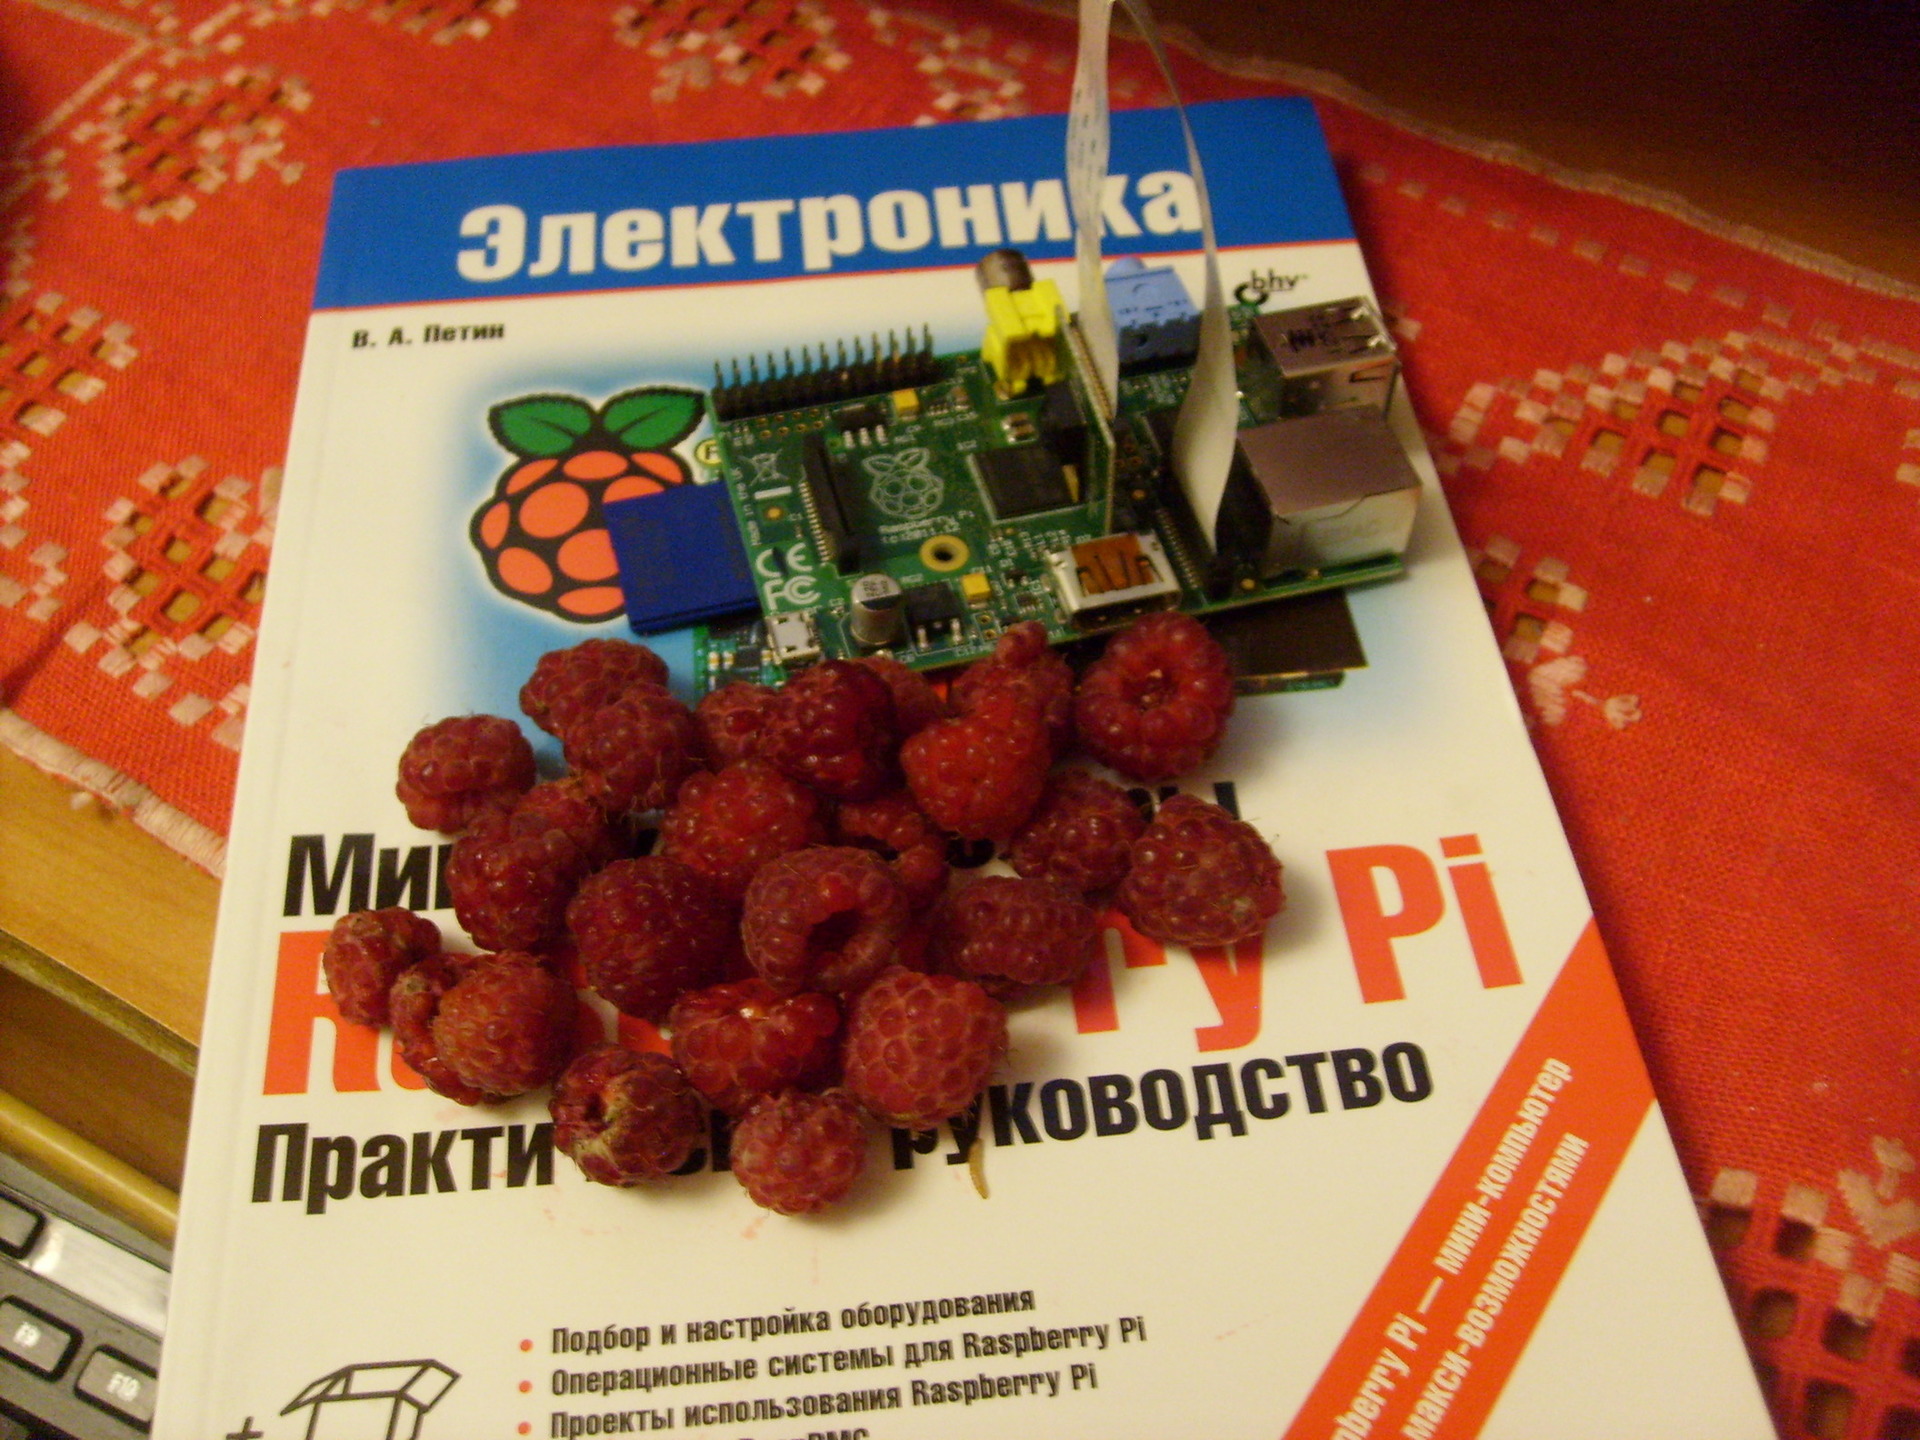
After getting to know the rosserial_arduino platform, I had a question: can I somehow use Arduino in conjunction with a more powerful microcomputer in such a way as to make the robot more independent from the laptop.
Then I had the idea to try ROS on a Raspberry Pi microcomputer. The Raspberry Pi is a stand-alone mini-computer on the board. It has a CPU chip, a graphics chip, an SD card slot, an Ethernet input, several USB interfaces and an HDMI video output for connecting a monitor. You can connect a mouse, keyboard, and an external HDD to the USB inputs.
The combination of the Raspberry Pi and the Arduino is very promising and has been repeatedly used in robotic projects.
Raspberry Pi also allows you to connect a camera (webcam or special RPi Board camera). A simple wheeled robot on a modified Arduino Uno board fell into my hands a year ago. Just now, in my hands was the Raspberry Pi Model B.
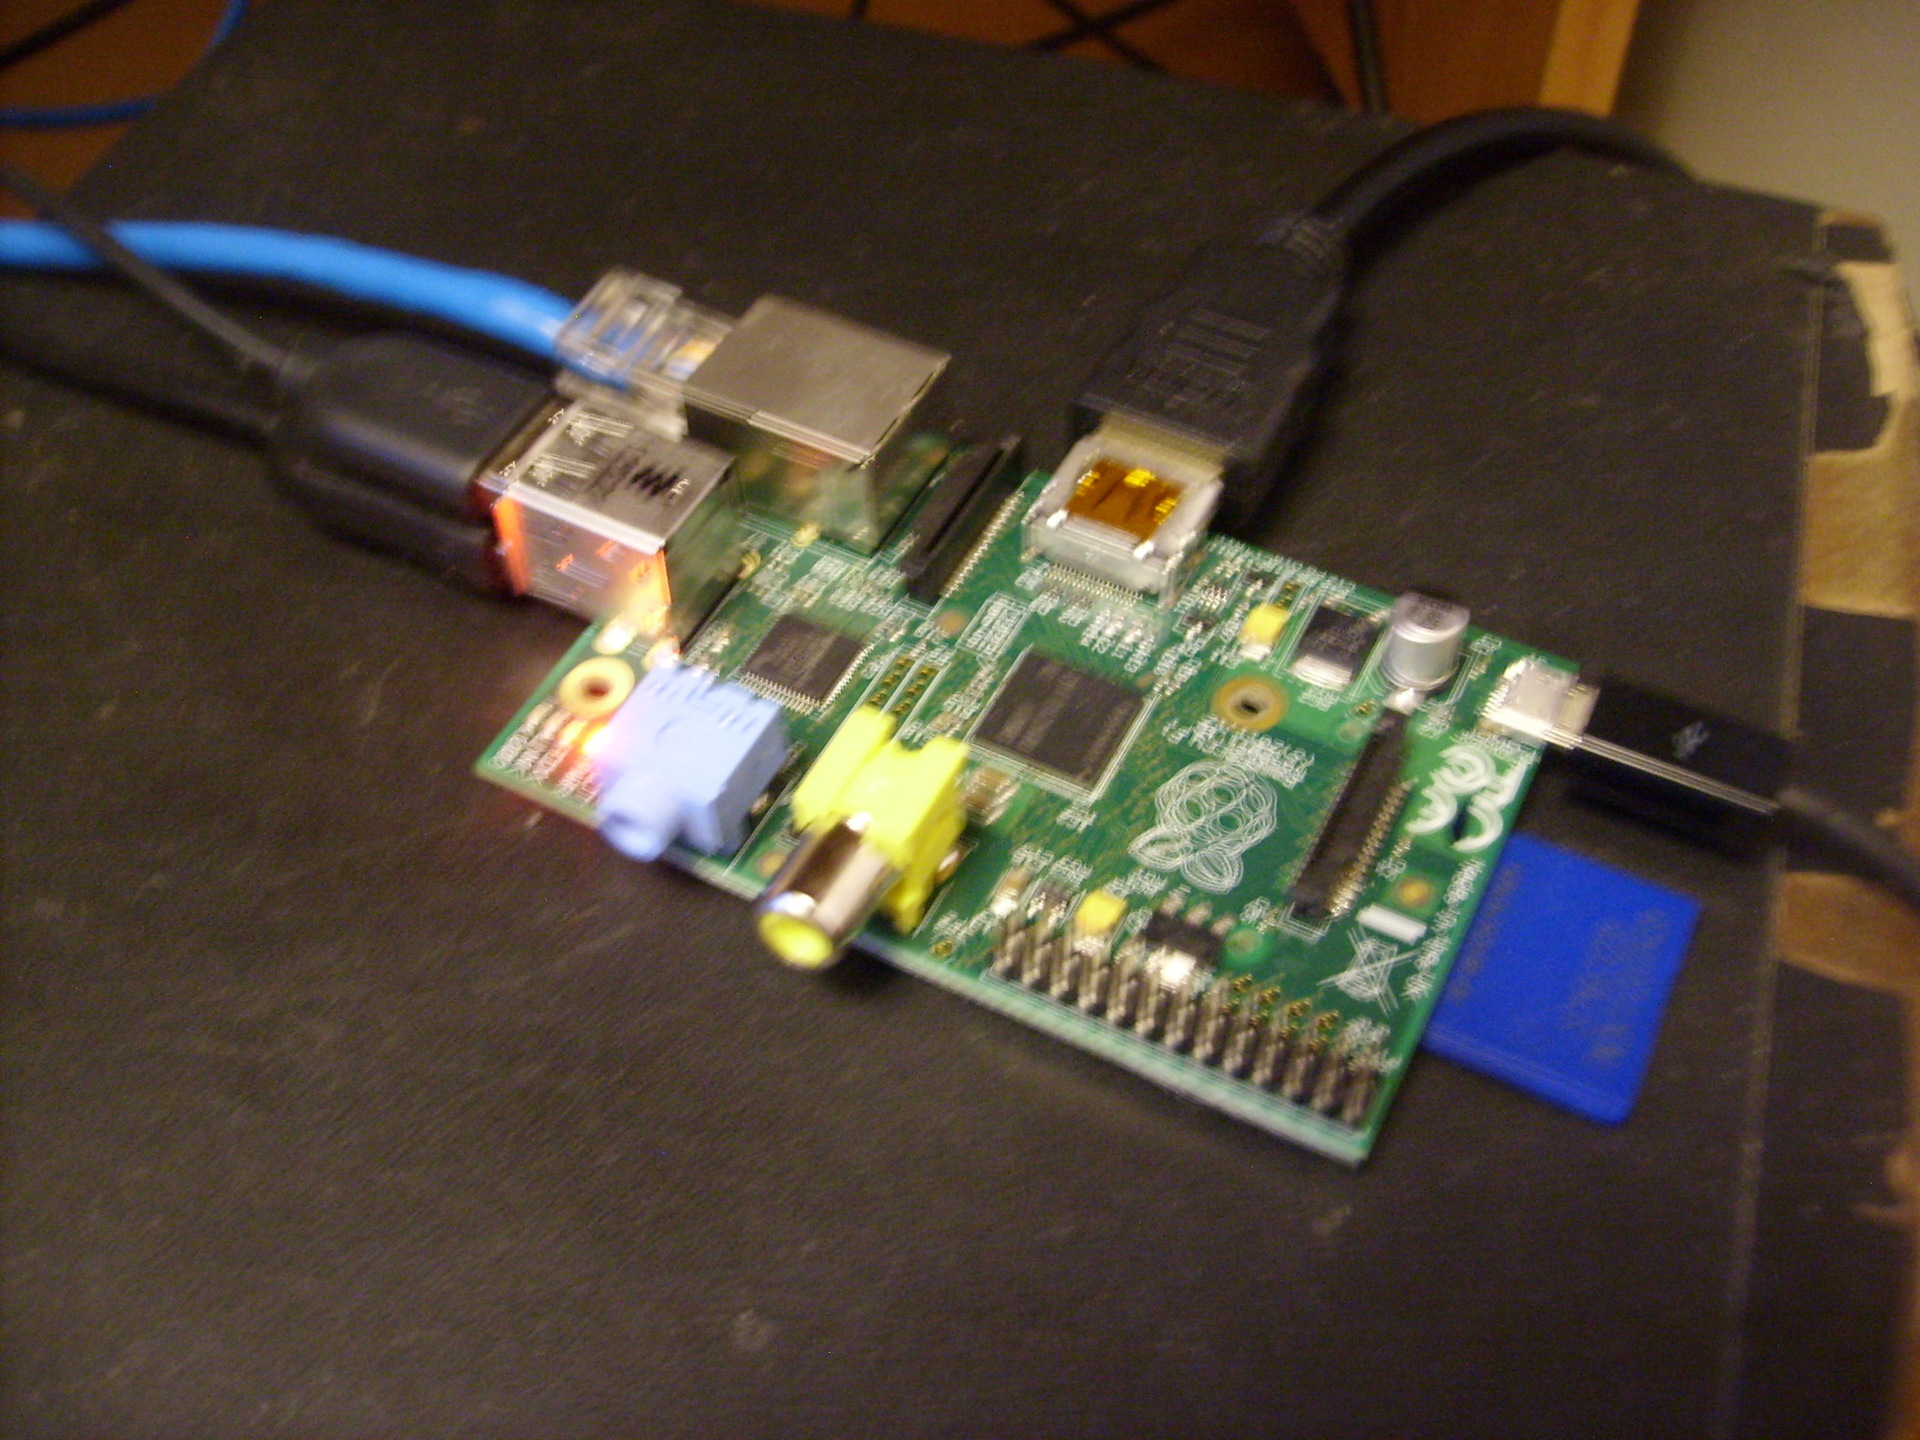
First you need to install the Linux distribution on the "raspberry". The easiest way to do this is with the NOOBS OS installation manager. You can read how to do this in this manual on the official Raspberry Pi portal .
I chose to install Raspbian, a modified Debian distribution specifically designed for Raspberry.
Note: when connecting a monitor, there are often problems with displaying a picture, in particular, this happens with old monitors that do not have an HDMI input. Here the config.txt file comes to our aid - the Raspberry configuration file for monitor settings. In some cases, it is already in the archive of the system image (Raspbian), in the case of NOOBS it needs to be created in the root of the SD card.
Insert the following lines into the file:
In this case, the important lines are:
In my case, these settings made it possible to get the correct image on a monitor with a VGA input.
You can connect to the Raspberry Pi board over the network via SSH. To do this, the Raspberry Pi must be connected to the network either via an Ethernet cable (there is a special input on the board for this) or via a Wi-Fi adapter connected to a USB port. When you connect an Ethernet cable, Raspberry automatically receives an IP address on the network and immediately becomes available.
If you use an adapter, you need to perform a number of simple procedures.
I used the following TPLINK Wi-Fi adapter:
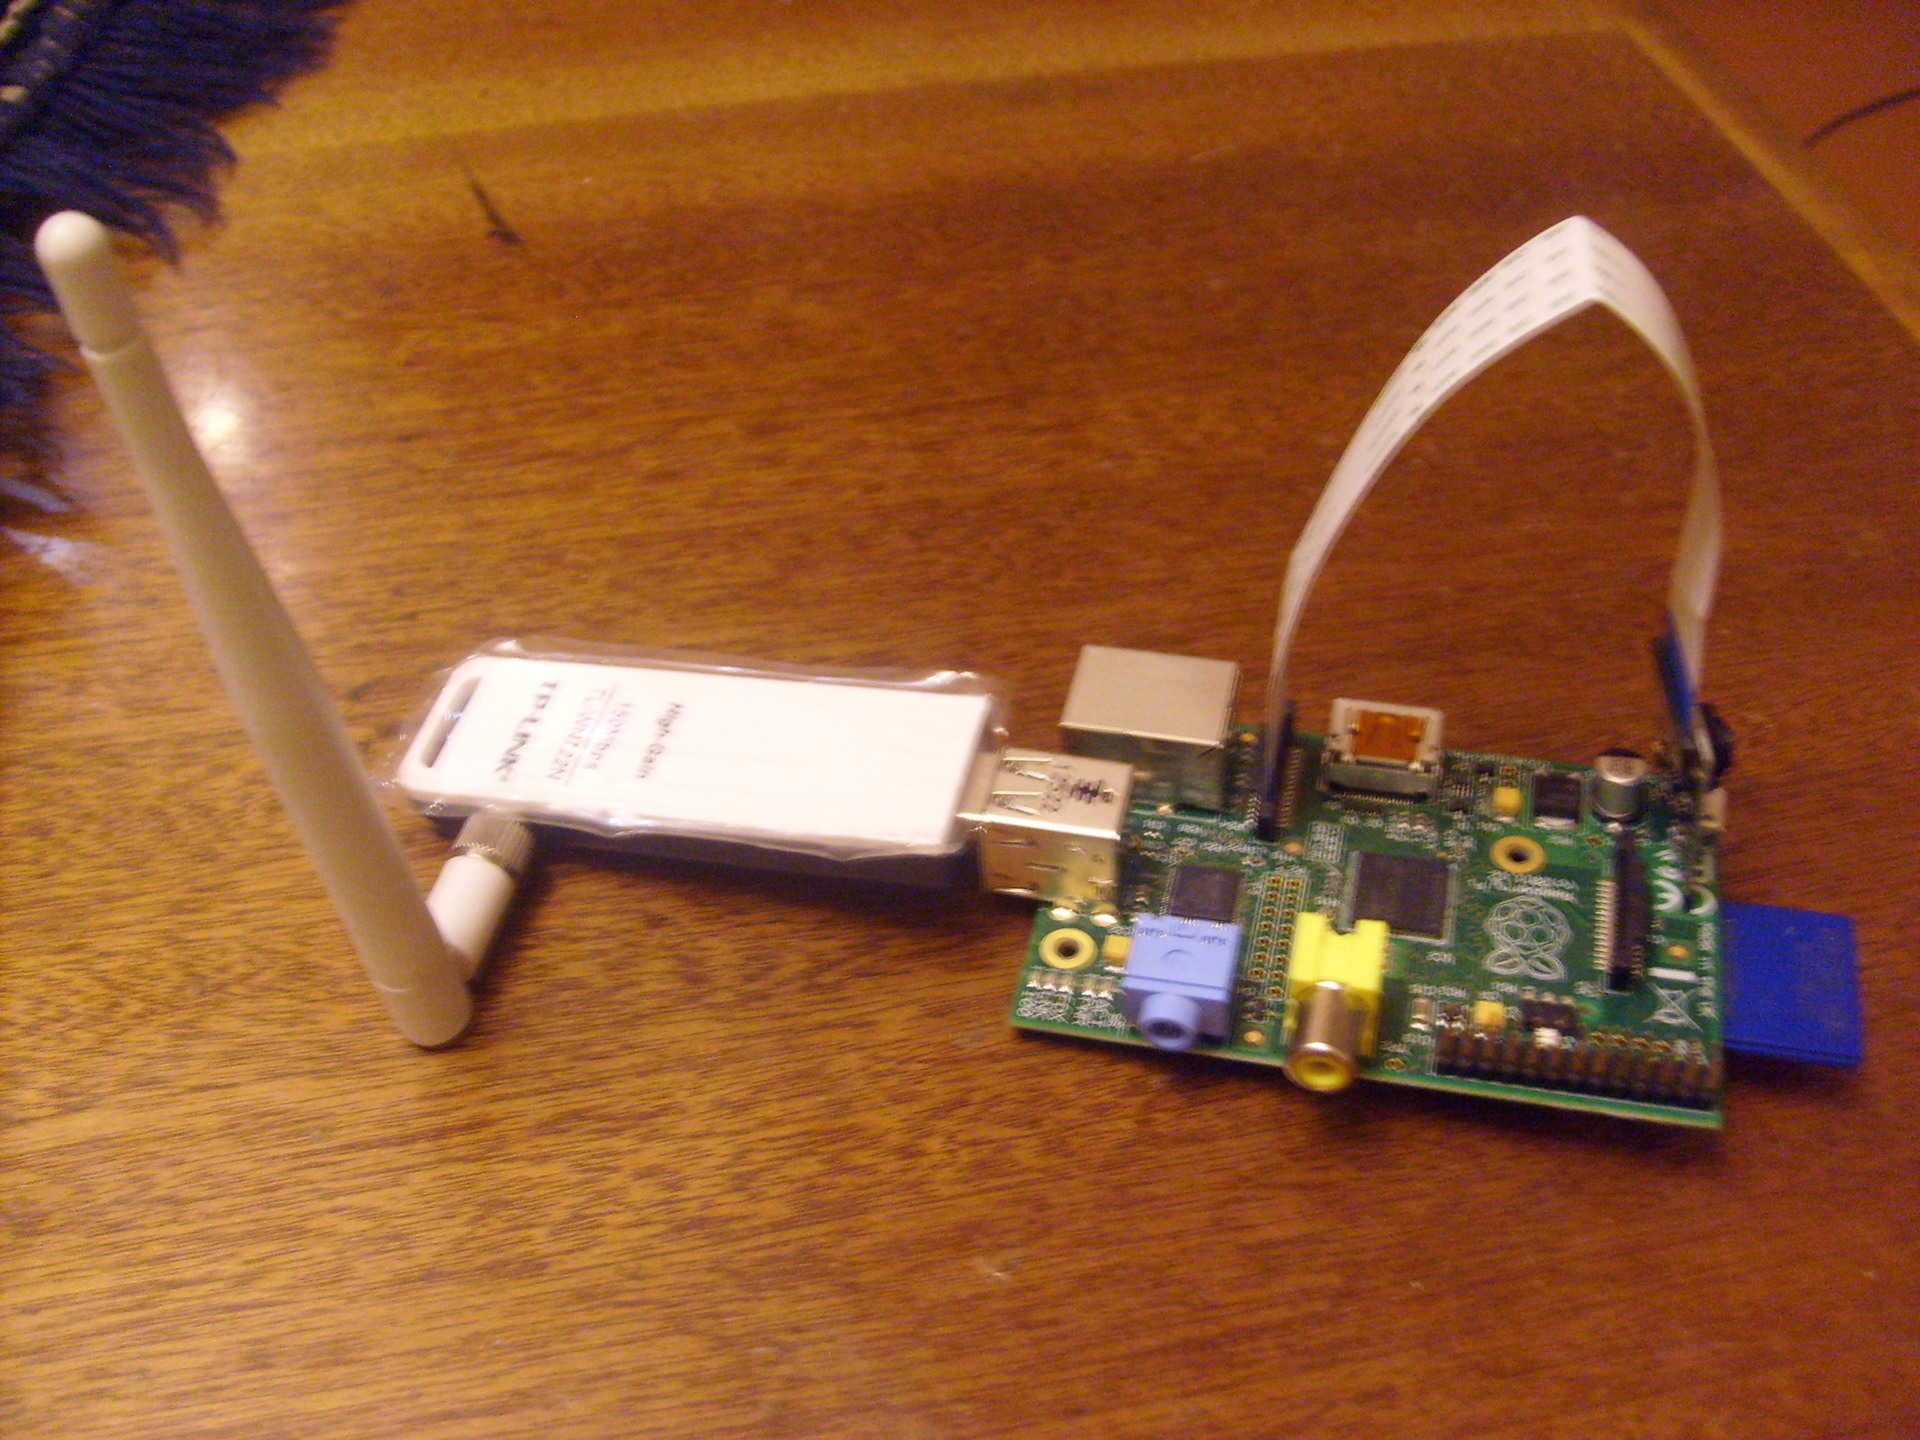
Connect the adapter to the USB port and check if the device in the system is detected by the command
Now we scan the space to search for available wireless networks:
The ESSID field in the command output indicates the name of the access point.
Now connect to the WPA encryption access point using the wpa_supplicant utility.
Using the wpa_passphrase utility, which is part of the wpa_supplicant package, we generate a password based on the access key:
where hotspot_name and hotspot_access_key are the name of the access point and access key, respectively.
The utility returns the generated psk string.
Next, the entire network block containing the network ssid and the psk line is inserted at the end of the configuration file /etc/wpa_supplicant/wpa_supplicant.conf and saved. Finally, we reboot our Raspberry Pi and check the network connection.
To connect via SSH in the terminal on the computer, you need to run the command:
Where- The IP address of the raspberry, which can be found out by the ifconfig command executed directly in the “raspberry” terminal.
To connect via SSH with the ability to run graphical applications, use the command:
You can connect to the Malinka in the remote desktop mode using the Virtual Network Computing (VNC) program. Management is carried out by transmitting keystrokes on the keyboard and mouse movements from one computer to another and relaying the contents of the screen through a computer network. The VNC system is platform independent.
First, install the VNC server on the Raspberry Pi using the command in the terminal:
After the installation is complete, run the command:
This command will start the VNC server. In this case, this means that a virtual X session (virtual presentation of the Raspberry Pi desktop) is running. Now, after starting the VNC client and connecting to it, you will be connected to this virtual desktop.
Parameter: 1 defines the port number on which the VNC process will run. The geometry parameter sets the resolution (in this case, size) of the virtual desktop. The depth parameter determines the color depth of the desktop display in bits (8, 16 and 24, the default is 16).
At the first start, the VNC server will ask you to enter a password, which will be requested when connecting to the remote desktop.
Now install the VNC client on a desktop computer:
We are ready to connect to the Malinka remote desktop:
and enter the password.
A window opens with a desktop image similar to this:
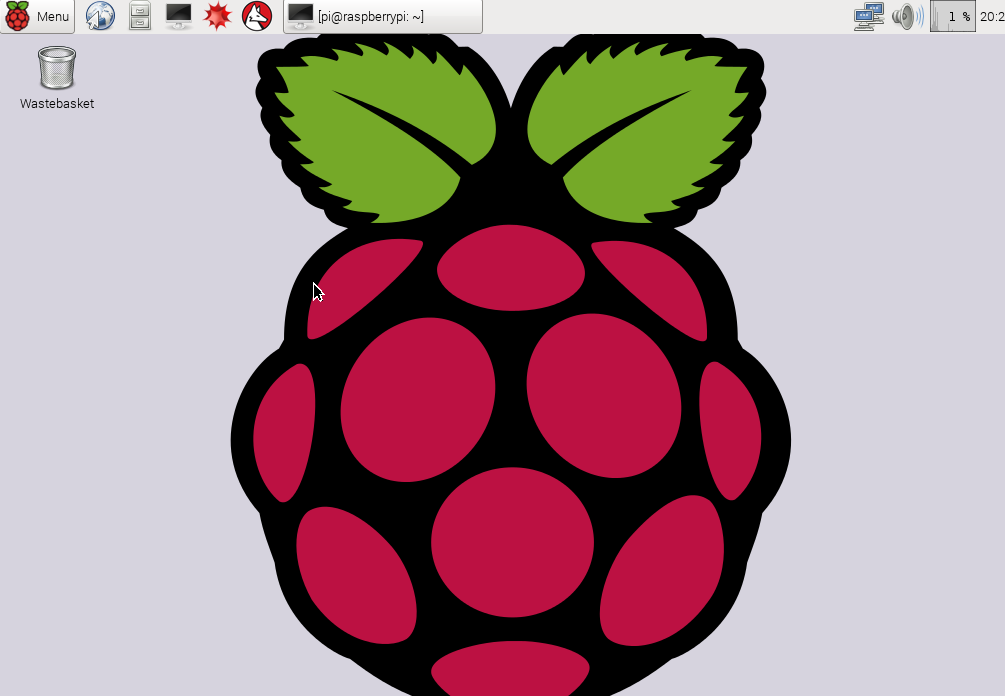
It is worth noting that every time you reboot a raspberry, the VNC server needs to be restarted.
The Arduino can be connected to the Raspberry Pi as easily as to a regular computer. First, install the Arduino IDE on the Raspberry Pi:
Launch the Arduino IDE command:
The Arduino IDE connects to the Raspberry Pi via its USB programming cable. Such a connection requires that the serial console be disconnected. By default, the Raspberry Pi configures the serial port (GPIO14-GPIO15) to provide boot information. It also allows you to login to your Raspberry Pi through a connected device. To be able to program Arduino, you need to disable this option by default.
To disable authorization, edit the inittab system file:
Find the line:
comment it out:
After that, save and close the file.
When booting, the Raspberry Pi sends debugging messages to the serial port. This may be useful in some cases, but now we need to disable this functionality. To do this, edit the cmdline.txt system file:
Find the line:
and delete the console parameter block to get a line like this:
Save and close the file.
For the changes to be applied by the system, you need to restart the Raspberry Pi:
Now you can connect the Arduino board to the USB port on the Raspberry Pi, configure the Arduino IDE for your Arduino board model and upload the sketch to it.
I chose to install ROS Indigo. ROS Indigo installation instructions are described in detail on the official page .
I recommend installing the ROS-Comm installation option. From my own experience, I can say that installing the Desktop option can take a very long time of about noon.
After installing ROS and resolving all the dependencies with the rosdep utility, we simply compile catkin_workspace:
Now we have rosserial_arduino installed and we can run it:
When starting the rosserial server, an error may occur: no module named diagnostic_msgs.msg.
To solve the problem, you need to download from the official ROS repository the source of ROS messages - common_msgs that are not in the installation, and load it into the rosserial package folder in the workspace folder, then compile ROS:
Comment! When loading sketches into the Arduino IDE, a “fatal error: string: No such file or directory compilation terminated” error may occur. This means that we have ROS message types in ros_lib, but they must also be compiled into the corresponding types for Arduino. You need to compile them this way:
Now you can work with rosserial_arduino on the Raspberry Pi in the same way as on a regular computer: create nodes, subscribe to topics, publish to topics, etc.
You can connect an RPi Board camera to the Raspberry Pi and use the cv_bridge ROS package (the ROS interface for interacting with OpenCV, the description can be found here ) to perform computer vision tasks.
By the way, my robot is fully armed:

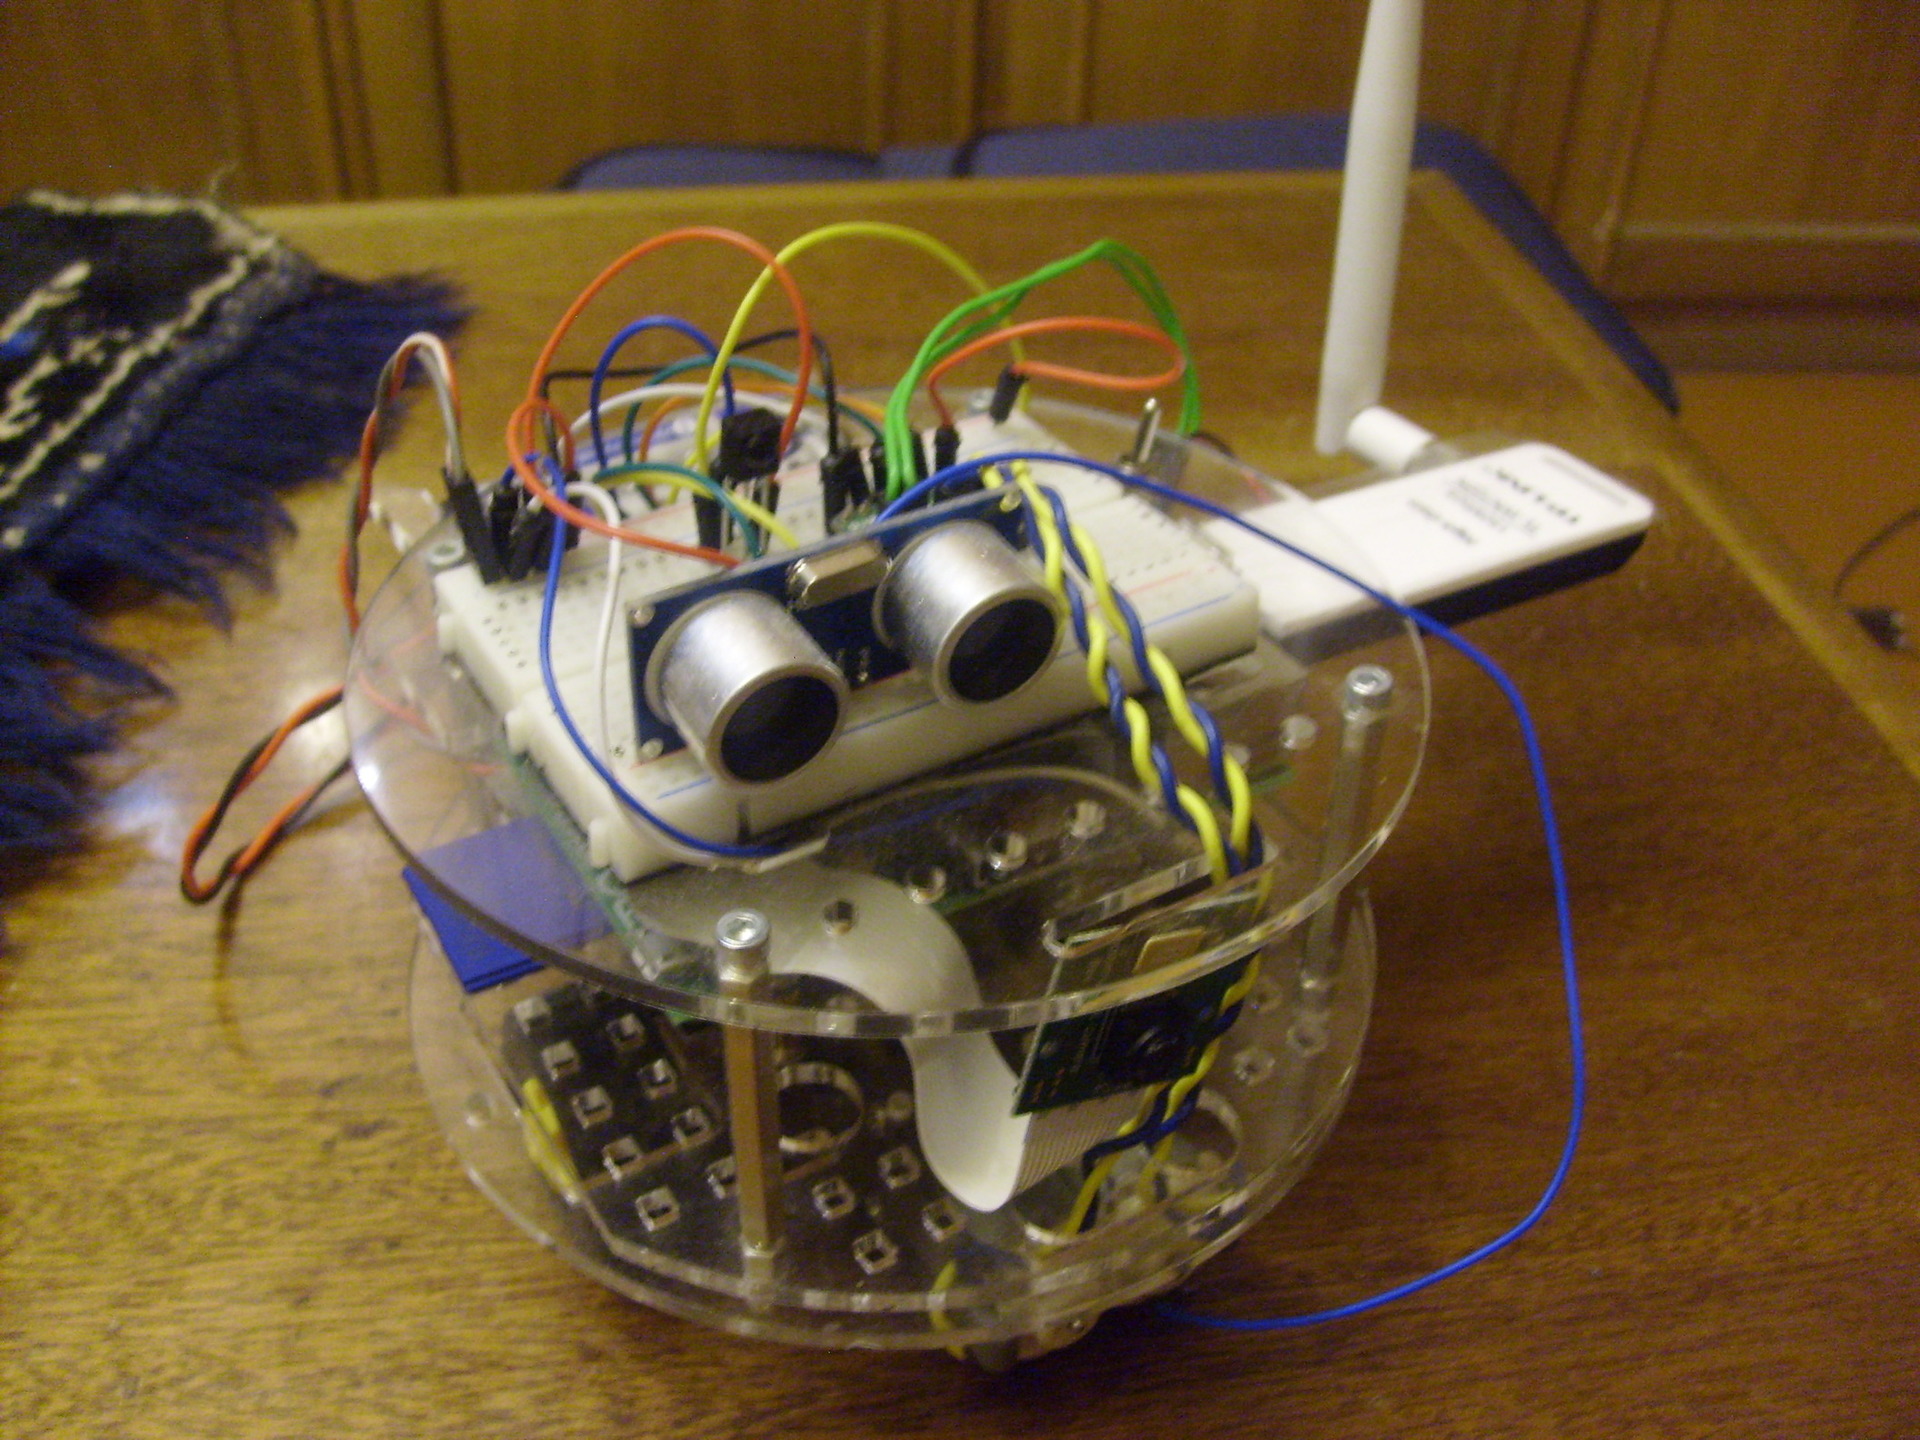
I hope that this article will be a good input for you to start working with ROS on the Raspberry Pi and you will have your own ideas for using the Raspberry Pi in conjunction with Arduino or other microcontrollers of this type. I wish you good luck in your experiments and projects and I hope that I will soon share my new ideas in future articles!
PS: Some instructions are taken from the book by V. Petin, “Electronics. Raspberry Pi microcomputers. Practical Guide. ”
Motivation
After getting to know the rosserial_arduino platform, I had a question: can I somehow use Arduino in conjunction with a more powerful microcomputer in such a way as to make the robot more independent from the laptop.
Then I had the idea to try ROS on a Raspberry Pi microcomputer. The Raspberry Pi is a stand-alone mini-computer on the board. It has a CPU chip, a graphics chip, an SD card slot, an Ethernet input, several USB interfaces and an HDMI video output for connecting a monitor. You can connect a mouse, keyboard, and an external HDD to the USB inputs.
The combination of the Raspberry Pi and the Arduino is very promising and has been repeatedly used in robotic projects.
Raspberry Pi also allows you to connect a camera (webcam or special RPi Board camera). A simple wheeled robot on a modified Arduino Uno board fell into my hands a year ago. Just now, in my hands was the Raspberry Pi Model B.
Installing the OS on the Raspberry Pi
First you need to install the Linux distribution on the "raspberry". The easiest way to do this is with the NOOBS OS installation manager. You can read how to do this in this manual on the official Raspberry Pi portal .
I chose to install Raspbian, a modified Debian distribution specifically designed for Raspberry.
Note: when connecting a monitor, there are often problems with displaying a picture, in particular, this happens with old monitors that do not have an HDMI input. Here the config.txt file comes to our aid - the Raspberry configuration file for monitor settings. In some cases, it is already in the archive of the system image (Raspbian), in the case of NOOBS it needs to be created in the root of the SD card.
Insert the following lines into the file:
# For more options and information see
# http://www.raspberrypi.org/documentation/configuration/config-txt.md
# Some settings may impact device functionality. See link above for details
# uncomment if you get no picture on HDMI for a default "safe" mode
hdmi_safe=1
# uncomment this if your display has a black border of unused pixels visible
# and your display can output without overscan
#disable_overscan=1
# uncomment the following to adjust overscan. Use positive numbers if console
# goes off screen, and negative if there is too much border
#overscan_left=16
#overscan_right=16
#overscan_top=16
#overscan_bottom=16
# uncomment to force a console size. By default it will be display's size minus
# overscan.
#framebuffer_width=1280
#framebuffer_height=720
# uncomment if hdmi display is not detected and composite is being output
hdmi_force_hotplug=1
# uncomment to force a specific HDMI mode (this will force VGA)
#hdmi_group=1
#hdmi_mode=1
# uncomment to force a HDMI mode rather than DVI. This can make audio work in
# DMT (computer monitor) modes
#hdmi_drive=2
# uncomment to increase signal to HDMI, if you have interference, blanking, or
# no display
config_hdmi_boost=4
# uncomment for composite PAL
#sdtv_mode=2
#uncomment to overclock the arm. 700 MHz is the default.
#arm_freq=800
In this case, the important lines are:
hdmi_safe=1
…
hdmi_force_hotplug=1
…
config_hdmi_boost=4
In my case, these settings made it possible to get the correct image on a monitor with a VGA input.
Configure Remote Access to the Raspberry Pi
You can connect to the Raspberry Pi board over the network via SSH. To do this, the Raspberry Pi must be connected to the network either via an Ethernet cable (there is a special input on the board for this) or via a Wi-Fi adapter connected to a USB port. When you connect an Ethernet cable, Raspberry automatically receives an IP address on the network and immediately becomes available.
If you use an adapter, you need to perform a number of simple procedures.
I used the following TPLINK Wi-Fi adapter:
Connect the adapter to the USB port and check if the device in the system is detected by the command
$ iwconfig
Now we scan the space to search for available wireless networks:
$ sudo iwlist wlan0 scan
The ESSID field in the command output indicates the name of the access point.
Now connect to the WPA encryption access point using the wpa_supplicant utility.
Using the wpa_passphrase utility, which is part of the wpa_supplicant package, we generate a password based on the access key:
$ wpa_passphrase where hotspot_name and hotspot_access_key are the name of the access point and access key, respectively.
The utility returns the generated psk string.
Next, the entire network block containing the network ssid and the psk line is inserted at the end of the configuration file /etc/wpa_supplicant/wpa_supplicant.conf and saved. Finally, we reboot our Raspberry Pi and check the network connection.
To connect via SSH in the terminal on the computer, you need to run the command:
$ ssh pi@Where
To connect via SSH with the ability to run graphical applications, use the command:
$ ssh -X pi@You can connect to the Malinka in the remote desktop mode using the Virtual Network Computing (VNC) program. Management is carried out by transmitting keystrokes on the keyboard and mouse movements from one computer to another and relaying the contents of the screen through a computer network. The VNC system is platform independent.
First, install the VNC server on the Raspberry Pi using the command in the terminal:
$ sudo apt-get install tightvncserver
After the installation is complete, run the command:
$ vncserver :1 -geometry 1280x800 -depth 16
This command will start the VNC server. In this case, this means that a virtual X session (virtual presentation of the Raspberry Pi desktop) is running. Now, after starting the VNC client and connecting to it, you will be connected to this virtual desktop.
Parameter: 1 defines the port number on which the VNC process will run. The geometry parameter sets the resolution (in this case, size) of the virtual desktop. The depth parameter determines the color depth of the desktop display in bits (8, 16 and 24, the default is 16).
At the first start, the VNC server will ask you to enter a password, which will be requested when connecting to the remote desktop.
Now install the VNC client on a desktop computer:
$ sudo apt-get install xtightvncviewer
We are ready to connect to the Malinka remote desktop:
$ vncviewer :1
and enter the password.
A window opens with a desktop image similar to this:

It is worth noting that every time you reboot a raspberry, the VNC server needs to be restarted.
Connect Arduino to Raspberry Pi
The Arduino can be connected to the Raspberry Pi as easily as to a regular computer. First, install the Arduino IDE on the Raspberry Pi:
$ sudo apt-get update
$ sudo apt-get install arduino
Launch the Arduino IDE command:
$ arduino
The Arduino IDE connects to the Raspberry Pi via its USB programming cable. Such a connection requires that the serial console be disconnected. By default, the Raspberry Pi configures the serial port (GPIO14-GPIO15) to provide boot information. It also allows you to login to your Raspberry Pi through a connected device. To be able to program Arduino, you need to disable this option by default.
To disable authorization, edit the inittab system file:
$ sudo nano /etc/inittab
Find the line:
T0:23:respawn:/sbin/getty -L ttyAMA0 115200 vt100
comment it out:
#T0:23:respawn:/sbin/getty -L ttyAMA0 115200 vt100
After that, save and close the file.
When booting, the Raspberry Pi sends debugging messages to the serial port. This may be useful in some cases, but now we need to disable this functionality. To do this, edit the cmdline.txt system file:
$ sudo nano /boot/cmdline.txt
Find the line:
dwc_otg.lpm_enable=0 console=ttyAMA0,115200 kgdboc=ttyAMA0,115200 console=tty1 root=/dev/mmcblk0p2 rootfstype=ext4 elevator=deadline rootwait
and delete the console parameter block to get a line like this:
dwc_otg.lpm_enable=0 console=tty1 root=/dev/mmcblk0p2 rootfstype=ext4 elevator=deadline rootwait
Save and close the file.
For the changes to be applied by the system, you need to restart the Raspberry Pi:
$ sudo reboot
Now you can connect the Arduino board to the USB port on the Raspberry Pi, configure the Arduino IDE for your Arduino board model and upload the sketch to it.
Setting ROS and rosserial_arduino
I chose to install ROS Indigo. ROS Indigo installation instructions are described in detail on the official page .
I recommend installing the ROS-Comm installation option. From my own experience, I can say that installing the Desktop option can take a very long time of about noon.
After installing ROS and resolving all the dependencies with the rosdep utility, we simply compile catkin_workspace:
$ catkin_make
$ catkin_make install
Running rosserial_arduino sketches on Raspberry Pi
Now we have rosserial_arduino installed and we can run it:
$ roslaunch rosserial_python serial_node.py /de/ttyACM0
When starting the rosserial server, an error may occur: no module named diagnostic_msgs.msg.
To solve the problem, you need to download from the official ROS repository the source of ROS messages - common_msgs that are not in the installation, and load it into the rosserial package folder in the workspace folder, then compile ROS:
$ catkin_make install
Comment! When loading sketches into the Arduino IDE, a “fatal error: string: No such file or directory compilation terminated” error may occur. This means that we have ROS message types in ros_lib, but they must also be compiled into the corresponding types for Arduino. You need to compile them this way:
$ cd /libraries
$ rm -rf ros_lib
$ rosrun rosserial_python make_libraries.py .
Now you can work with rosserial_arduino on the Raspberry Pi in the same way as on a regular computer: create nodes, subscribe to topics, publish to topics, etc.
You can connect an RPi Board camera to the Raspberry Pi and use the cv_bridge ROS package (the ROS interface for interacting with OpenCV, the description can be found here ) to perform computer vision tasks.
By the way, my robot is fully armed:
Conclusion
I hope that this article will be a good input for you to start working with ROS on the Raspberry Pi and you will have your own ideas for using the Raspberry Pi in conjunction with Arduino or other microcontrollers of this type. I wish you good luck in your experiments and projects and I hope that I will soon share my new ideas in future articles!
PS: Some instructions are taken from the book by V. Petin, “Electronics. Raspberry Pi microcomputers. Practical Guide. ”
