HomeKit for Z-Wave, Raspberry GPIO, and HTTP API devices with RaZberry controller
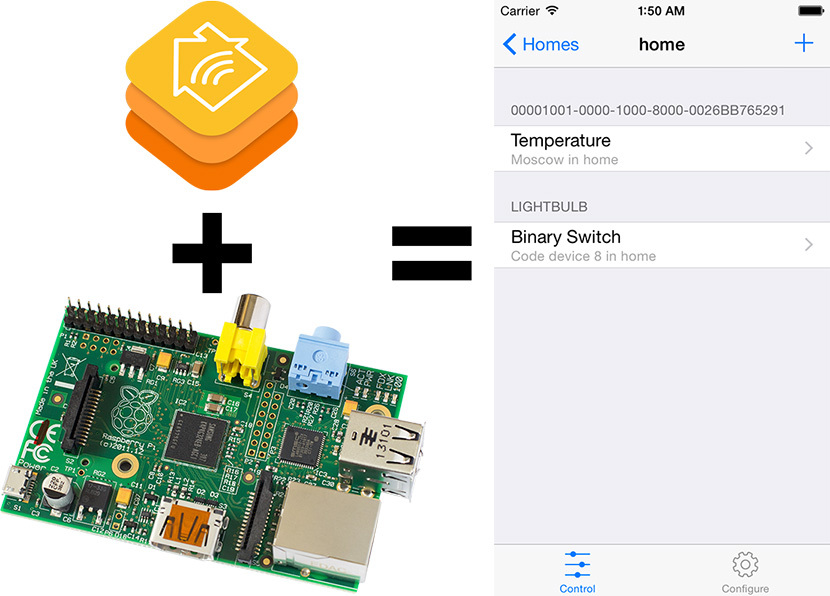
The topic of the Internet of things is now more than ever the most popular. Every day there are new interesting devices that can communicate with each other via the Internet. While various manufacturers agree on a common communication protocol, Apple decided to take matters into their own hands and released Framework HomeKit standardizing ways to manage devices from different manufacturers. In the future, using the HomeKit mobile application, it will be possible to control various light bulbs, thermostats, socket modules via wifi or bluetooth. But this is all in the near future, although no, wait ...
You can now work with more than 1000 HomeKit devices or create your own HomeKit compatible devices !!!
- About the HomeKit Gateway RaZberry
- Install Z-Way Automation Software
- Creating a temperature sensor from OpenWeather data and Relays from GPIO Raspberry
- HomeKit iOS app from Apple examples
About the HomeKit Gateway RaZberry

At the moment, there are more than 1000 Z-Wave devices on the world market and they are all compatible with each other. Devices can work both directly with each other and through a central controller, which acts as a Z-Wave <=> TCP / IP gateway. Typically, these gateways are used to control Z-Wave devices from a Web interface or mobile application. One of the most popular gateways is the RaZberry Z-Wave controller http://razberry.z-wave.me/ .
RaZberry is a hardware-software complex supporting Z-Wave, HTTP, TCP protocols and the ability to run system commands, such as Bash. RaZberry automation software is called Z-Way, and thanks to the HTTP API support, you can create a temperature sensor by taking data from OpenWeather, which can be used in various automation rules. Z-Way is free and available on many platforms, moreover, the project is OpenSource, with the exception of part of working with Z-Wave, because signed by NDA with Sigma Designs, owner of the Z-Wave protocol. The structure of Z-Way includes a module for working with HomeKit, which allows you to broadcast Z-Wave and HTTP devices from RaZberry to the HomeKit application on iOS.
Install Z-Way Automation Software
Download Z-Way http://razberry.z-wave.me/z-way-server/ to your computer, there are various assemblies for Linux x86, Raspberry and Windows. For Raspberry, you can use the installer, which will also install a remote access service, which allows you to access the smart home control panel through the find.z-wave.me service using RaZberry ID and password:
wget -q -O - razberry.z-wave.me/install/v2.0.1-rc24 | sudo bash
For various versions of Linux, the downloaded archive just needs to be unpacked and the z-way-server launched:
LD_LIBRARY_PATH=./libs ./z-way-server &
Creating a temperature sensor from OpenWeather data and Relays from GPIO Raspberry
After starting, you need to go to the Web interface for configuring automation IP_ADDRESS : 8083.

Select the Z-Way Home Automation UI interface.

Now we need to create devices that we will manage. If you are using a RaZberry or USB Z-Wave Stick, then you already have the device, otherwise let's create a temperature sensor and connect the relay to the Raspberry GPIO outputs.
To create a temperature sensor, go to the Preferences -> Modules -> Environment tab and select the OpenWeather module .

We carry out not difficult setup.

And we get a temperature sensor.

Next, add the relay. We will manage the GPIO with the echo command, so the automation system must be allowed to use an external program. ATz-way-server / automation / .syscommands add the allowed echo command :
echo"echo" >> .syscommands
We return to the automation interface and go to the Preferences -> Modules -> Devices tab , here you need to select the CodeDevice module .

Specify the type: SwitchBinary
Command enable:
system('echo "1" > /sys/class/gpio/gpio24/value');
Turn off command:
system('echo "0" > /sys/class/gpio/gpio24/value');

At the start of the automation system, you need to configure the GPIO port to exit, for this, go to the Preferences -> Modules -> Scripting tab and select the CustomUserCode module , write the code in the text box:
system('echo "24" > /sys/class/gpio/export');
system('echo "out" > /sys/class/gpio/gpio24/direction');

Now we have 2 working devices.

Next, you need to activate the HomeKit module. To pair the device with the HomeKit application, you need to enter a code, in Z-Way you can see this code in the log, start viewing the log in the console:
tail -f /var/log/z-way-server.log

And now we launch the HomeKitGate module on the Preferences -> Modules -> Peripherals tab .

From the settings, only the name that will be displayed when searching on an iOS device.

After starting the module, we look in the log and see the HomeKit pairing code PIN: 249-01-266 .
HomeKit iOS app from Apple examples
The AppStore has one working HomeKit application - MyTouchHome (at the time of writing), costs $ 1.99.

For iOS developers, Apple willingly shares examples, so we ourselves can download the sources and compile the application on an iOS device. We take the source code of the HomeKit example here:
https://developer.apple.com/library/ios/samplecode/HomeKitCatalog/HomeKitCatalog.zip
To build the application, you need a developer account, without it the application reported an error that it could not connect.
After starting the application, we find our controller, add it to our house, and see a list of our devices that we can control.

The device states are fully synchronized, and you can control them from both the Web panel and the HomeKit application.

I hope that soon there will be many functional applications with support for HomeKit, well, we are ready!









