HMD + Kinect = Augmented Virtuality

In this article I want to talk about the idea and Proof-Of-Concept of adding real-world objects to Virtual Reality.
In my opinion, the described idea will be implemented in the near future by all the players of the VR market. IMHO, the only reason why this has not yet been done is the desire to roll out the perfect solution, but it's not so simple.
For many years I have been thinking over the design of the hydraulic cab for the MechWoin simulator.
Of course, I will never do it.
Because It requires quite substantial investments, and it is quite clear that interest in it will be lost right after the completion of the project. I have nowhere to store the received bandura, and I don’t have a commercial vein to sell / rent it to someone.
But this does not interfere with periodically considering all sorts of design options.
Previously, I planned to place many displays inside the cab, some of which will work as intended, and the second part will emulate “windows” / loopholes.
However, in the modern world, another solution comes to mind - a VR-helmet (Head-Mounted Display). It is much easier to achieve high-quality immersion when working with a helmet, as no need to carefully lick the interior of a real cabin. Yes, and redo the design at times easier, but there are BUT.
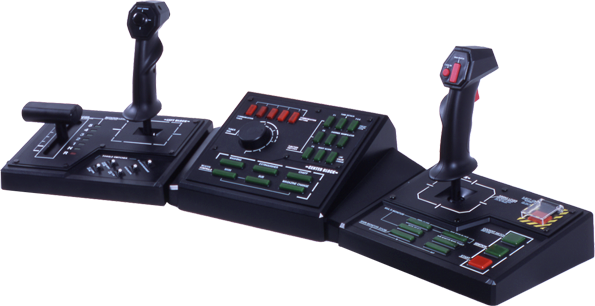
A normal fur control panel is a complicated and interesting thing. The simplest authentic controller looks like this:

Doing something simpler in a serious simulator (for example, control from a gamepad) is not an option.
Suppose simulating a control panel and placing it in a VR world is not a problem.
However, managing so many small toggle switches by touch is a very bad idea.
But what to do, because the user does not see his hands in the VR world.
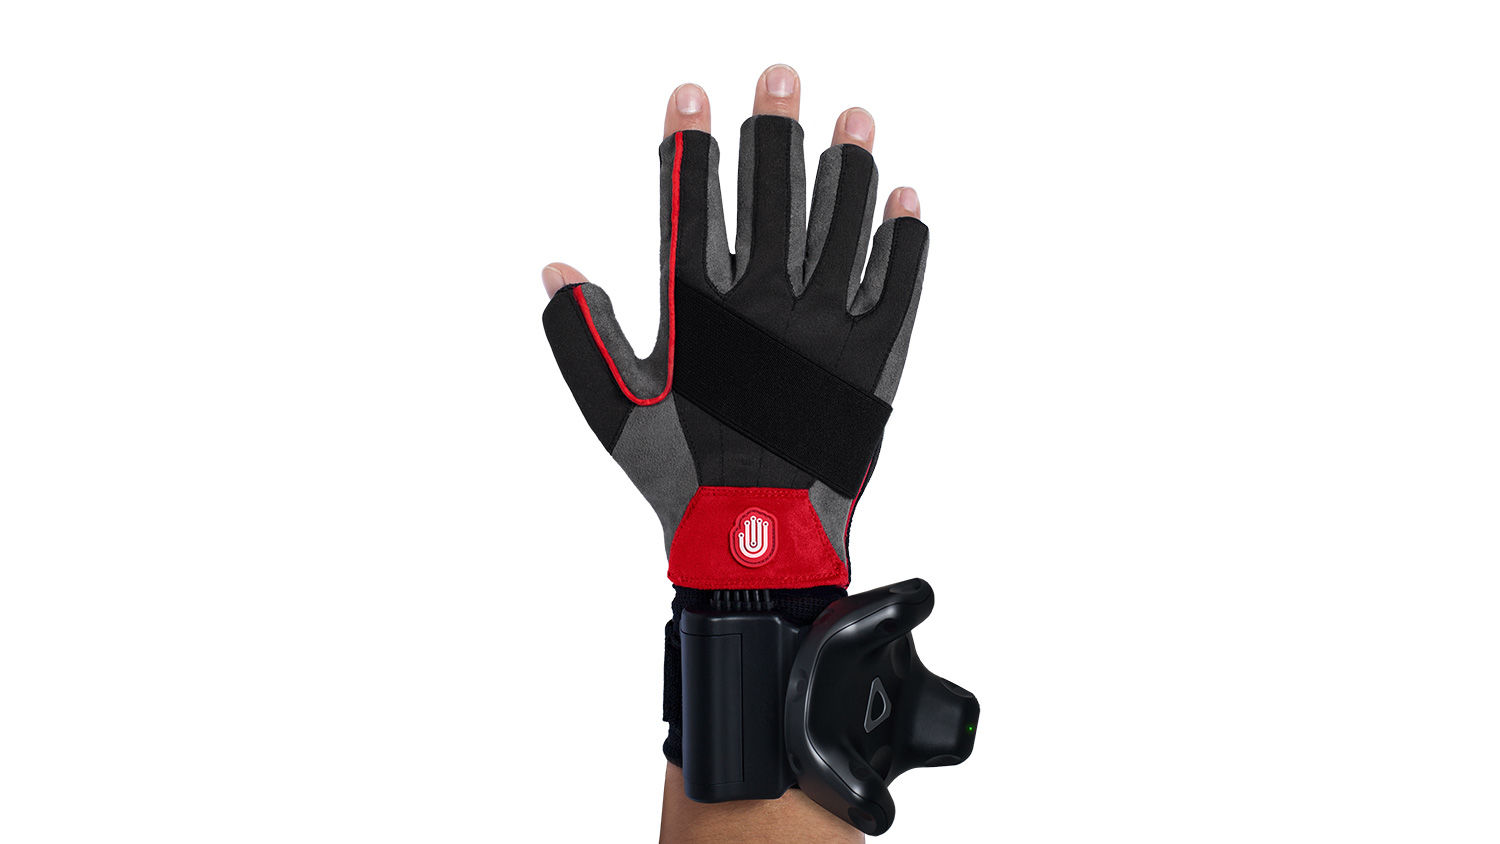
Of course have
special gloves

but today is not about them ...
At the moment, depth cameras are actively developing. Microsoft was the first to announce them with its Kinekt. Unfortunately, the MS decided that Kinekt was not economically justified and closed the project. However, the case did not die, as one might think. Apple has introduced a depth camera in the latest iPhone, it is this camera that is responsible for recognizing the face of the owner.
MS also did not abandon the technology, VR helmets on the Windows Mixed Reality platform use inside-out tracking technology based on depth cameras.
The obvious solution is to screw the depth camera onto the VR helmet and apply the resulting geometry to the VR world. But for some reason nobody does it.
ZED Mini seems to be able to build a 3D world and are mounted on a helmet, but I didn’t see them live, and all the promotions use information about the world only to overlay 3D models on it, but not vice versa. I believe the problem is the low quality of the resulting model, which will be immediately visible when trying to render.
Unfortunately, I have no opportunity to fasten Kinekt to a helmet. The kinekt is huge and heavy, without an invasive intervention in the construction of the helmet, normal fastening cannot be made. But the helmet is borrowed and I can’t spoil it.
Therefore, for this mini-project, I placed the kinekt vertically above the table.
This option completely suits me, because in the case of placing a kinekt inside the cockpit of a virtual fur, it would also be placed above the control panel for detection exclusively by the player’s hands and cutting off all other objects.
Let's move on to the project (there will be no analysis of the code, only theory and a few pictures)
Using libfreenect2 and OpenNI, we get a height map.
How to visualize this height map?
There are three obvious options in Unreal Engine.
A mesh with a height map specifying the Z offset of the vertex.
The obvious and fastest option. The mesh is completely static, only textures change (which is very fast).
Unfortunately, this method has a serious drawback: the inability to fasten physics. From the point of view of physics, such a mesh is completely flat and solid. Simple rectangle. The fact that we have part of the vertices is transparent and cut off by the alpha test - physics does not see. The fact that our vertices are modified by the Z coordinate - physics does not see.
Build a mesh manually at a low level.
To do this, we need to override the UPrimitiveComponent and implement a new component using SceneProxy. This is a low-level approach giving better speed.
The main disadvantage is the rather high complexity of implementation.
If done fully, it is this option that is worth choosing.
But since I was faced with the task of making it quick and easy, I used the third option.
Implementation based on UProceduralMeshComponent
This is a component built into the UE that allows you to easily create a mesh and even immediately read an object for calculating collisions.
Why do I need to use the second option, and not this one?
Because this component is not designed to work with dynamic geometry. He is imprisoned so that we once (or at least not very often and preferably not in real time) give him geometry, it is slowly considered and then we quickly work with it. This is not the case here ...
But it’ll do for the test. Moreover, the scene is empty and the computer has nothing more to consider, so there are plenty of resources.
Visualizing objects with their camera image is not a good option. Real photos stand out against the background of the virtual world.
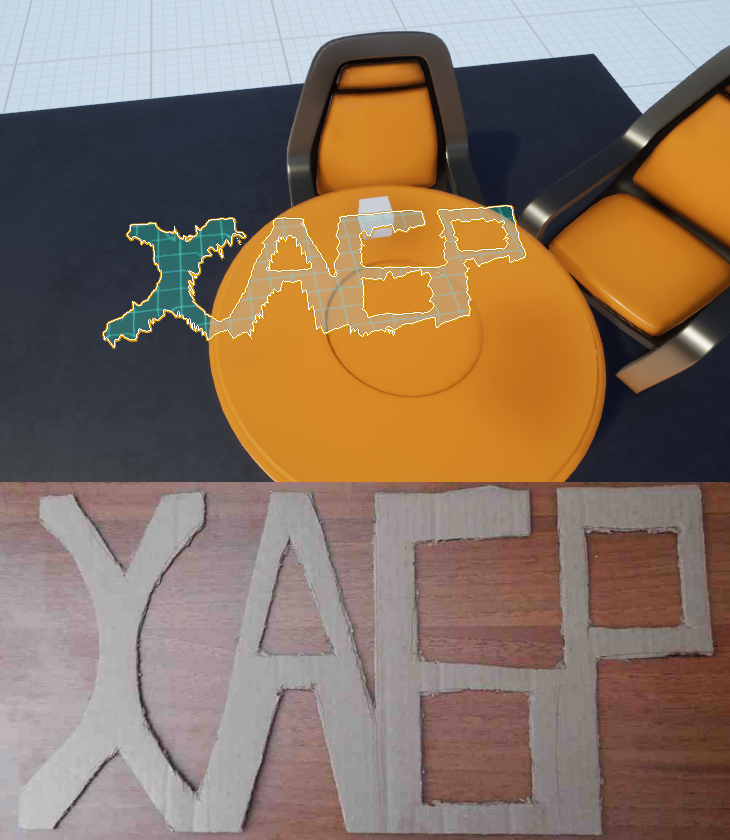
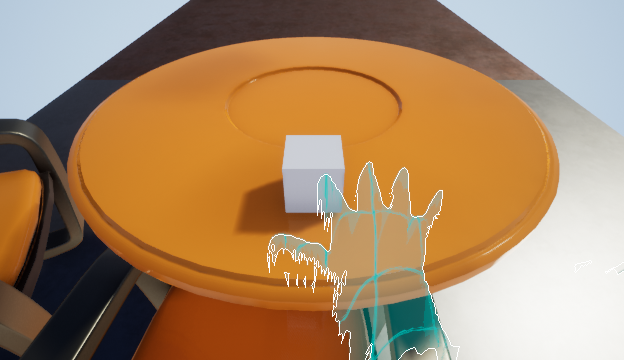
Therefore, I decided to visualize by analogy with SteamVR - lines. Overlaid the texture of the blue mesh without filling. Plus, I made a stroke along the contour. It turned out quite acceptable. True, with full transparency, the hands were perceived a little worse, so the filling of the squares made slightly noticeably bluish.

The screenshot shows the effect of "runoff" of geometry. This is due to the inability of depth chambers to normally process faces with an angle close to 90 degrees to the camera. Kinekt marks explicitly degenerate pixels with the value 0, but, unfortunately, not all and some of them “make noise” without degeneration. I made a set of simple manipulations to remove the main noise, but I did not manage to completely get rid of the “runoff”.
It is worth noting that this effect is very noticeable when viewed from the side (we sit in front of the table, and the kinekt is on top). If the depth camera is directed parallel to the gaze and proceeds from a point close to the user's real organs of vision, this effect will be directed forward and much less noticeable.
As you can see in the video, real hands work quite well inside the VR world. The only serious drawback is the discreteness of movement.
The mesh does not morph smoothly into a new state, but is deleted and recreated. Because of which, with a sharp movement, physical objects fall through it, so we move slowly and carefully:
I apologize for the dark video - I was engaged in the project in the evenings after work, on the video preview it seemed normal, when all the equipment had already taken and transferred the video to the computer - it turned out to be very dark.
How to feel yourself
Something tells me that people who have both HMD (not necessary), Kinect, the ability to work with UE and the desire to try this project are quite small (not at all?). Therefore, I do not see any reason to upload the source code to the github.
I post the source code of the plugin as an archive .
Add as a regular plugin to any UE project.
I did not understand how to connect the lib file using the relative path, so in OpenNI2CameraAndMesh.Build.cs we write the full path to OpenNI2.lib
Next, place ADepthMeshDirect in the right place.
At the start of the level, we call the startOpenNICamera method from UTools.
Do not forget that libfreenect2 is used to work with the kinekt, which means that the driver for the kinekt must be redefined on libusbK in accordance with the instructions on the libfreenect2 page
UPD:
At the beginning of the article, I said that such a system will soon be in all VR helmets. But in the process of writing, I somehow lost sight of this moment and did not disclose it.
Therefore, I will quote my comment, which I wrote below to expand on this topic:
If we say - why such a system is needed in all VR systems, without exception - this is security.
Now the boundaries of the playing area are marked with a conditional cube.
But rarely, one of us can afford to allocate absolutely empty space under VR. As a result, objects remain in the room, sometimes dangerous .
The main thing that I’m sure will be done is a virtual display of the entire room in front of the player in the form of a barely distinguishable ghost, which on the one hand does not interfere with the perception of the game, and on the other hand, allows you not to stumble and not die.
PS:
I want to express my deep gratitude to the company <which cannot be called outside the corporate blog>, whose management provided me with the technical basis for working on this project.
