How to enable the dark theme of the Unity editor
Greetings, I decided to write about one sore problem, which affects many beginner units with a limited budget, and not only that. For more than six years now, people have been asking the Unity editor’s dark theme to be made free, but as we can see , things are still there.
There are many options for solving this issue on your own, and the method proposed here is good because it does not require any dubious software that can be dangerous to trust. I also note that here is an example for Unity on Windows, especially inquisitive ones can do the same trick on macOS or GNU / Linux. So, in order to correct this misunderstanding on our own, we need:
- Open-source debugger x64dbg
- Unity Subject (64-bit 5.x or higher)
- Plus a little patience and a desire to figure it out
Training
It is assumed that Unity is already installed. Otherwise, why is the curious% UserName% reading this article? Usually, the editor executable file of the 64-bit Unity version is located along the path:
"C:\Program Files\Unity\Editor\Unity.exe"We will use this path as an example, so adjust to your situation in case of difference. I highly recommend making a backup! In order not to waste time later on reinstalling or searching for the original file if something goes wrong, as intended:
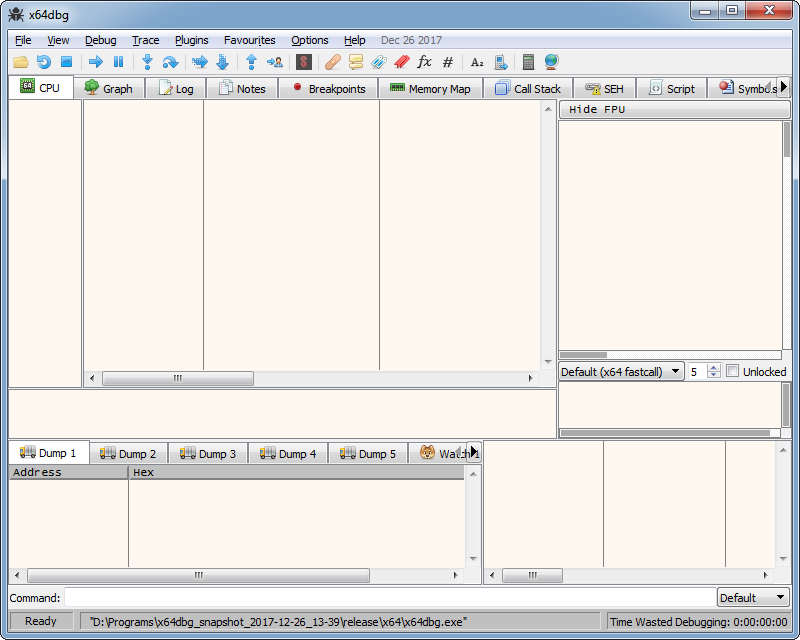
"C:\Program Files\Unity\Editor\Unity.exe.bak"Then download and unpack x64dbg from the Releases section to any convenient place . At the time of writing, the newest version was snapshot_2017-12-26_13-39.zip. Launch x64dbg using the x96dbg launcher or directly from its subdirectory:
We change one condition
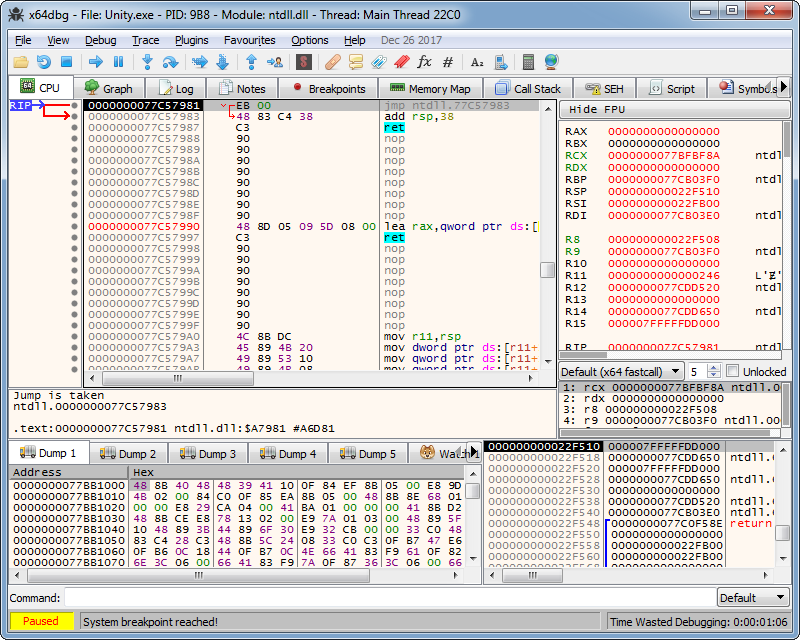
So, it's time to act. Open the File => Open menu (also the F3 hotkey or the first icon on the toolbar) and step into the directory of the installed Unity, select the same executable file of the Unity.exe editor mentioned above, we will get something like the following:
Go to the Symbols tab and select unity.exe on the left in the list of modules:
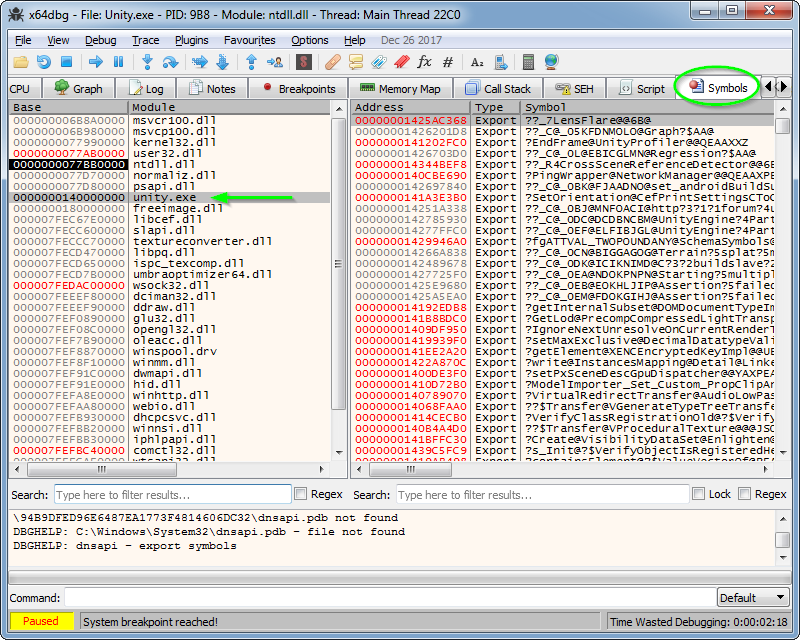
The interface can slow down a bit when processing large lists, so patiently write the “GetSkinIdx” line in the Search field:
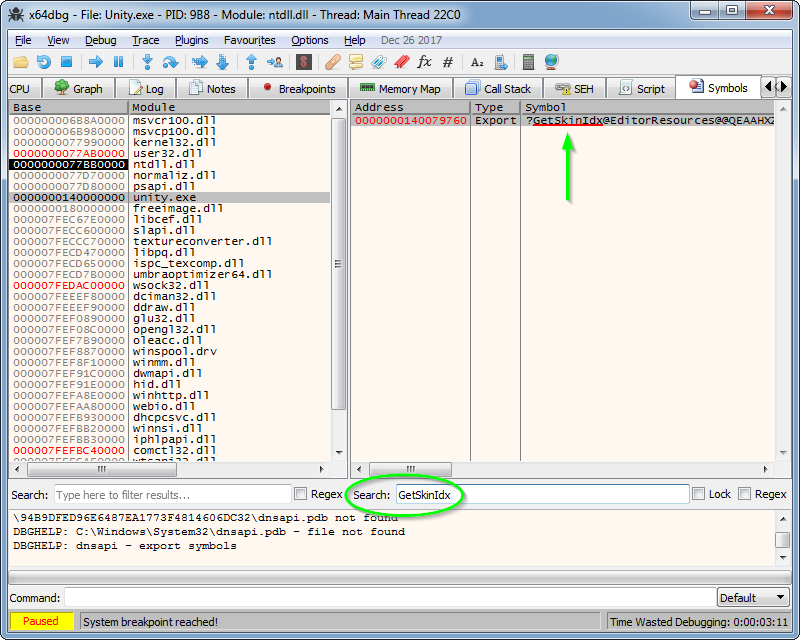
By double-clicking on the line of the search result, go to its address on the CPU tab:
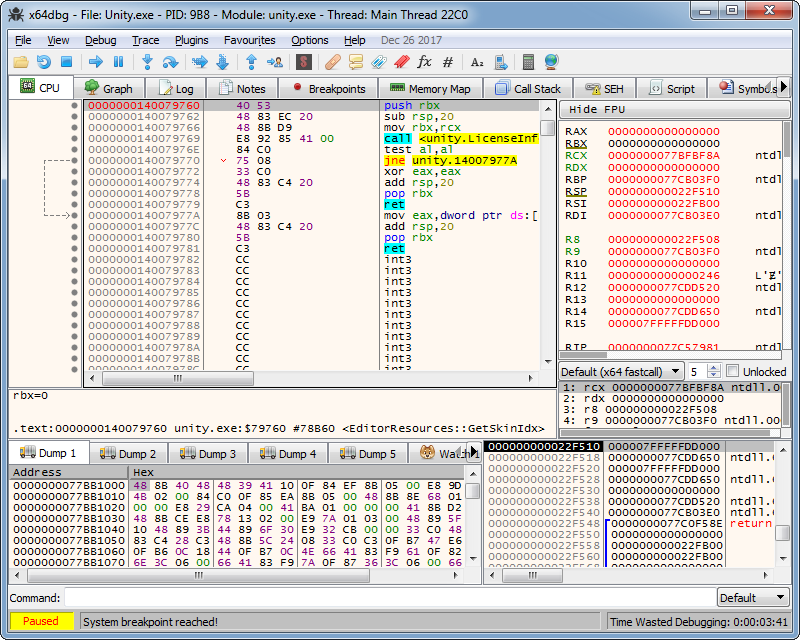
Here we are interested in the jne instruction. Again, double-clicking on it opens a dialog box in which we change this instruction to je, do not touch the rest:

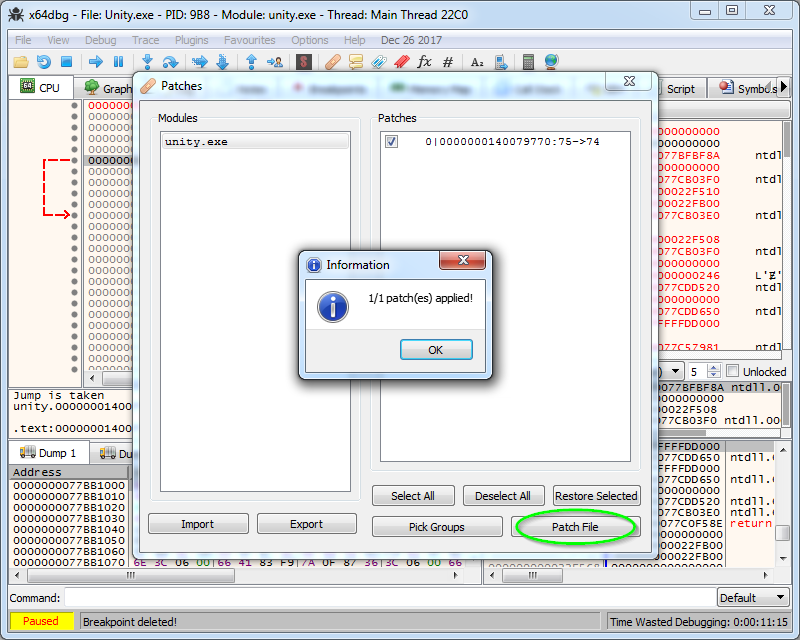
After applying the edit, open the context menu and select Patches (Ctrl + P):

Using the Patch File button, we save the new Unity.exe temporarily somewhere, because the current file is occupied by the debugger:
Check result
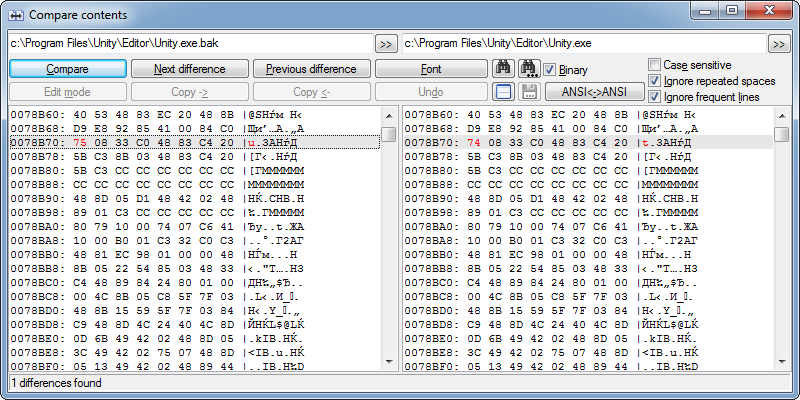
Congratulations, everything was successful. All that remains is to close the debugger and overwrite the original Unity.exe with the file that was saved using the Patch File. To make sure that you didn’t accidentally touch on anything superfluous, you can compare the contents of the backup with the new file, only one byte should differ and nothing else:
We launch and enjoy the dark theme:
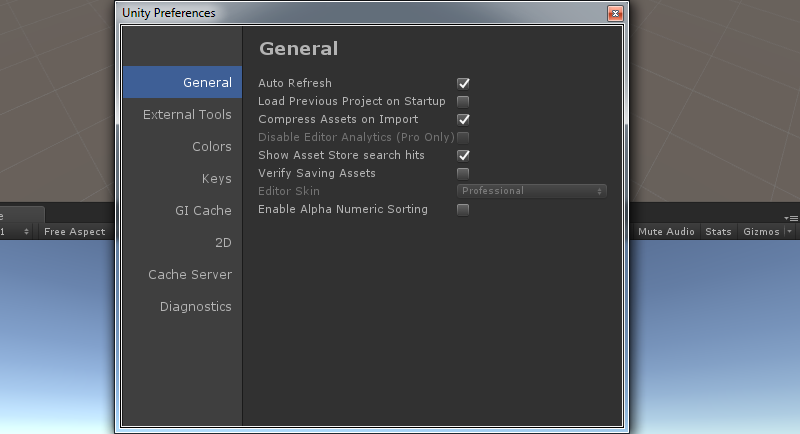
It is likely that Unity will hide the dark theme and the method described here will stop working. But as you know, there is no reception against scrap. A miracle can also happen on the contrary, they will finally listen to users and still make it free. If you get tired of waiting and want even more customization, I recommend taking a closer look at Zios Themes: description on the Unity forum + source codes on GitHub .
Video version for those who prefer to watch (English)
