April 25, 2017 at 10:05
Selenium in 60 Seconds
I present to you the translation of my article on Medium.com.
Selenium is today the de facto standard for automating test execution in browsers. All popular browsers are supported out of the box, and the architecture is well known. There are even companies providing Selenium for money. But is a regular Selenium server convenient for local debugging of tests?

Problem
As a web developer or test automation engineer, you may encounter the following disadvantages when working with a standard Selenium server:
- You need to install several different browsers on your computer. In normal life, you usually use one browser, for example, Chrome, but you have to install Firefox and Opera to debug Selenium tests in them.
- It is difficult to install and use multiple versions of the same browser. If you install the browser from packages, then in general you can have only one installed version. In addition, Selenium and its web drivers typically look for the browser executable in a specific path. Therefore, believe me, using multiple versions can be a difficult task.
- If you run the browser installed on your operating system, it clogs disk space with its temporary files and cache contents.
- You cannot guarantee that your browser settings will always remain in the same state as after a clean installation. For example, you might accidentally change the proxy server address or security settings. This can lead to the fall of previously running tests.
- It is difficult to run multiple tests in different browsers in parallel. Trying to do this usually leads to various problems: windows begin to compete for focus, non-triggering events, non-expected CSS styles, and so on.
- You need to know which version of Selenium is compatible with which version of the browser. The same is true for web driver executables (e.g. Chromedriver).
The above list of shortcomings is far from complete. But let's dwell on this and try a much more convenient way to debug Selenium tests locally.
Selenoid
In my previous article ( part I , part II ) I briefly described the new open tools for working with Selenium: Ggr and Selenoid . Ggr is mainly needed for large Selenium clusters and is not needed for debugging tests on your machine. Today I’ll talk more about Selenoid , an alternative implementation of the Selenium hub that launches browsers in Docker containers.
But why is launching browsers in containers so convenient? And what is the difference between launching browsers from containers provided by Selenium and Selenoid developers? - The main idea of Selenoid is to start a new container for each Selenium session (i.e. request a new browser) and stop them immediately after closing the session. This approach immediately solves all the problems associated with sticking states in caches and using the same browser settings in different sessions. Each container contains a specific browser version, the correct version of the web driver or Selenium server that supports this browser and all dependencies like fonts, graphic libraries, and so on. Moreover, containers provide a sufficient level of isolation of browser processes. This allows you to run an unlimited number of different versions of browsers in parallel and forget about problems with focus. Of course, these same problems can be solved with ordinary Selenium containers. But in order to get behavior similar to Selenoid, in addition to Docker, you usually need to use complex admin tools likeAnsible or Salt .
Installation
With a little publicity for Selenoid, it's time to show how easy it is to work with it. In order to get Selenium working, you need to follow 3 short steps:
Install Docker . This is usually done using the standard package manager of your operating system such as APT , Yum or Homebrew . See the Docker documentation for details .
Create a directory to store the Selenoid configuration and generate the configuration file:
# mkdir -p /etc/selenoid
# docker run --rm -v /var/run/docker.sock:/var/run/docker.sock aerokube/cm:1.0.0 selenoid \
  --last-versions 2 --tmpfs 128 --pull > /etc/selenoid/browsers.json
The last command also downloads the images of the Docker containers of the last two versions of Firefox, Chrome and Opera and generates the correct configuration file for Selenoid.
- Launch Selenoid:
# docker run -d --name selenoid -p 4444:4444 -v /etc/selenoid:/etc/selenoid:ro \
      -v /var/run/docker.sock:/var/run/docker.sock aerokube/selenoid:1.1.1
That's it - 60 seconds have passed and Selenoid is ready to go. No need to install Java and download Selenium by hand. Just run your tests using the same URL as a regular Selenium server:
http://localhost:4444/wd/hubMuzzle and statistics collection
Selenoid can be used in conjunction with Ggr to configure a large Selenium cluster, so it does not have a graphical interface like the Grid Console in a regular Selenium. There are two ways to view browser consumption:
I. Launch an optional lightweight container with Selenoid UI. This is done by the command:
# docker run -d --name selenoid-ui --net host aerokube/selenoid-ui:1.0.0The muzzle will be available in the browser at http://localhost:8080/:
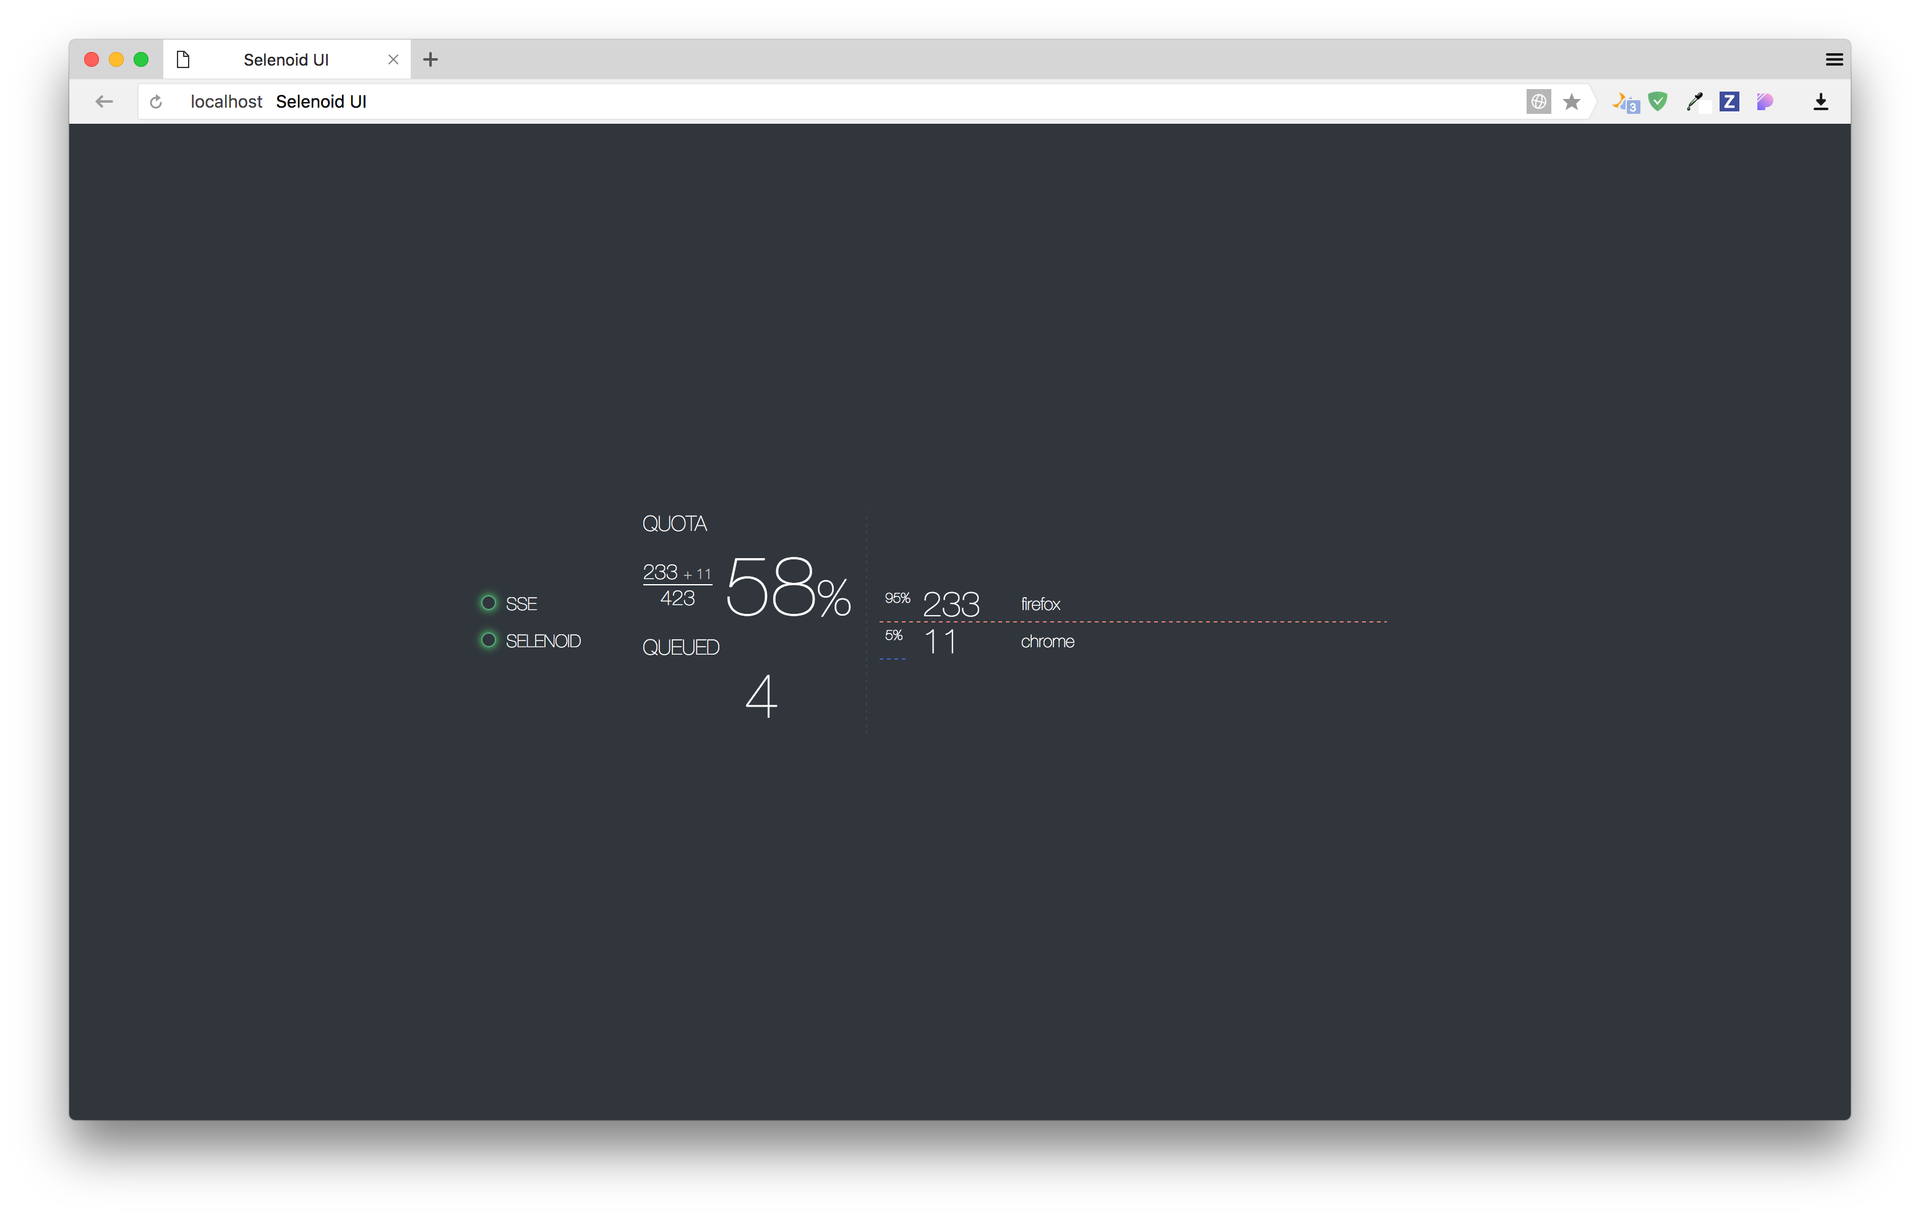
II. Send Selenoid statistics to an external system: Graphite , InfluxDB , ElasticSearch, and so on. Selenoid statistics can be obtained at the following URL:
http://localhost:4444/statusData is sent as JSON in the following format:
  $ curl http://localhost:4444/status
  {
    "total": 80,
    "used": 14,
    "queued": 0,
    "pending": 1,
    "browsers": {
      "firefox": {
        "46.0": {
          "user1": 5,
          "user2": 6
        },
        "48.0": {
          "user2": 3
        }
      }
    }
  }
Selenoid returns how many containers can be started at the same time ( total ), how many are currently running ( used ), how many requests are waiting in a queue ( queued ) and how many containers are still starting ( pending ). The browsers element contains information on the consumption of browsers by various users. The username is retrieved from the Basic HTTP headers if exposed or exposed to unknown if not. Although you can parse the displayed JSON manually using a script, we recommend using Telegraf for this purpose . More information on how to use Telegraf is provided in this section of our documentation.
Ready containers with browsers
Agree, it's cool to have a tool that automatically launches containers with different browsers. But it’s even cooler to have a set of ready-made containers with different versions of popular browsers. We did a lot of work and prepared container images with different versions of Firefox, Chrome and Opera. See the full list at selenoid @ DockerHub .
To always have a set of fresh versions of browsers, you only need to run the command from time to time:
# docker run --rm -v /var/run/docker.sock:/var/run/docker.sock aerokube/cm:1.0.0 \
    selenoid --last-versions 2 --tmpfs 128 --pull > /etc/selenoid/browsers.json
This command automatically downloads the latest versions of containers and generates a new JSON configuration for Selenoid. To start using new browsers send the Selenoid command to re-read the configuration (can be done under load):
# docker kill -s HUP selenoidOur containers also support the ability to set arbitrary screen resolutions (by default 1920x1080x24). To set permission just pass capability screenResolution:
screenResolution: "1280x1024x24"Conclusion
In this article, I talked about how to effectively manage different browsers using Selenoid. Believe me, working with Selenium can be comfortable. If you are interested in building an effective testing infrastructure, you can take a look at other open tools in our organization on Github or subscribe to our Twitter @aerokube .
In gratitude to the author of the wonderful picture, see how it was drawn .