An animated easter egg, or a tribute to the studio upon dismissal from it

There are a lot of articles on Habré. But not everyone shows how the author thought, his rake and actions.
Here I want to tell you how I made an easter egg for the logo of the web studio in which I worked.
Once I saw a bewitching animation from the creator of the mo-js library for svg effects, I caught fire and decided to do something like that. I just came across an updated main page of our studio, without thinking twice, I was going to make an animation for the logo.
And since this article tells how this all happened, then to my regret, I will not retell the entire manual on this library. You will have to read it yourself, unless of course you want to do something like that.
Well, to immediately look into the article:
→ Link to the demo view only from 1204x400, click on the bell
→ Link to GitHub
First beginnings
We are all mistaken, but do not always understand that we are walking along a rocky path.
Initially, I wanted to break the logo into small pieces, compress them into 1 point, and only then, as a puzzle, put it together with all kinds of effects (I think it would be nice). But I quickly realized that I was doing a very fast animation and naturally it would be without sound. When the logo of the creator of the library, as I wrote, was "Fascinating."
I found my second inspiration in one obsessive melody ( Clannad song of rolls ), I think many right now sighed in a melancholy fit. Yes, she’s just touching. And since this is a lullaby, then the theme should be suitable for her!
The plot was not particularly invented. Lullaby - “night, stars, moon”, wonderful associations, great options for developing the plot of my Easter egg.
First of all, I found the minus of this song and cut it up to 30 seconds, this is the maximum time that any guest can endure without closing the page (I think I wouldn’t be enough for more). Then I made effect labels, the most suitable tool I chose was Adobe Audition CC 2017 (to be honest, I didn’t look for another instrument, it was just the first one that caught my eye).
It looked like this: The
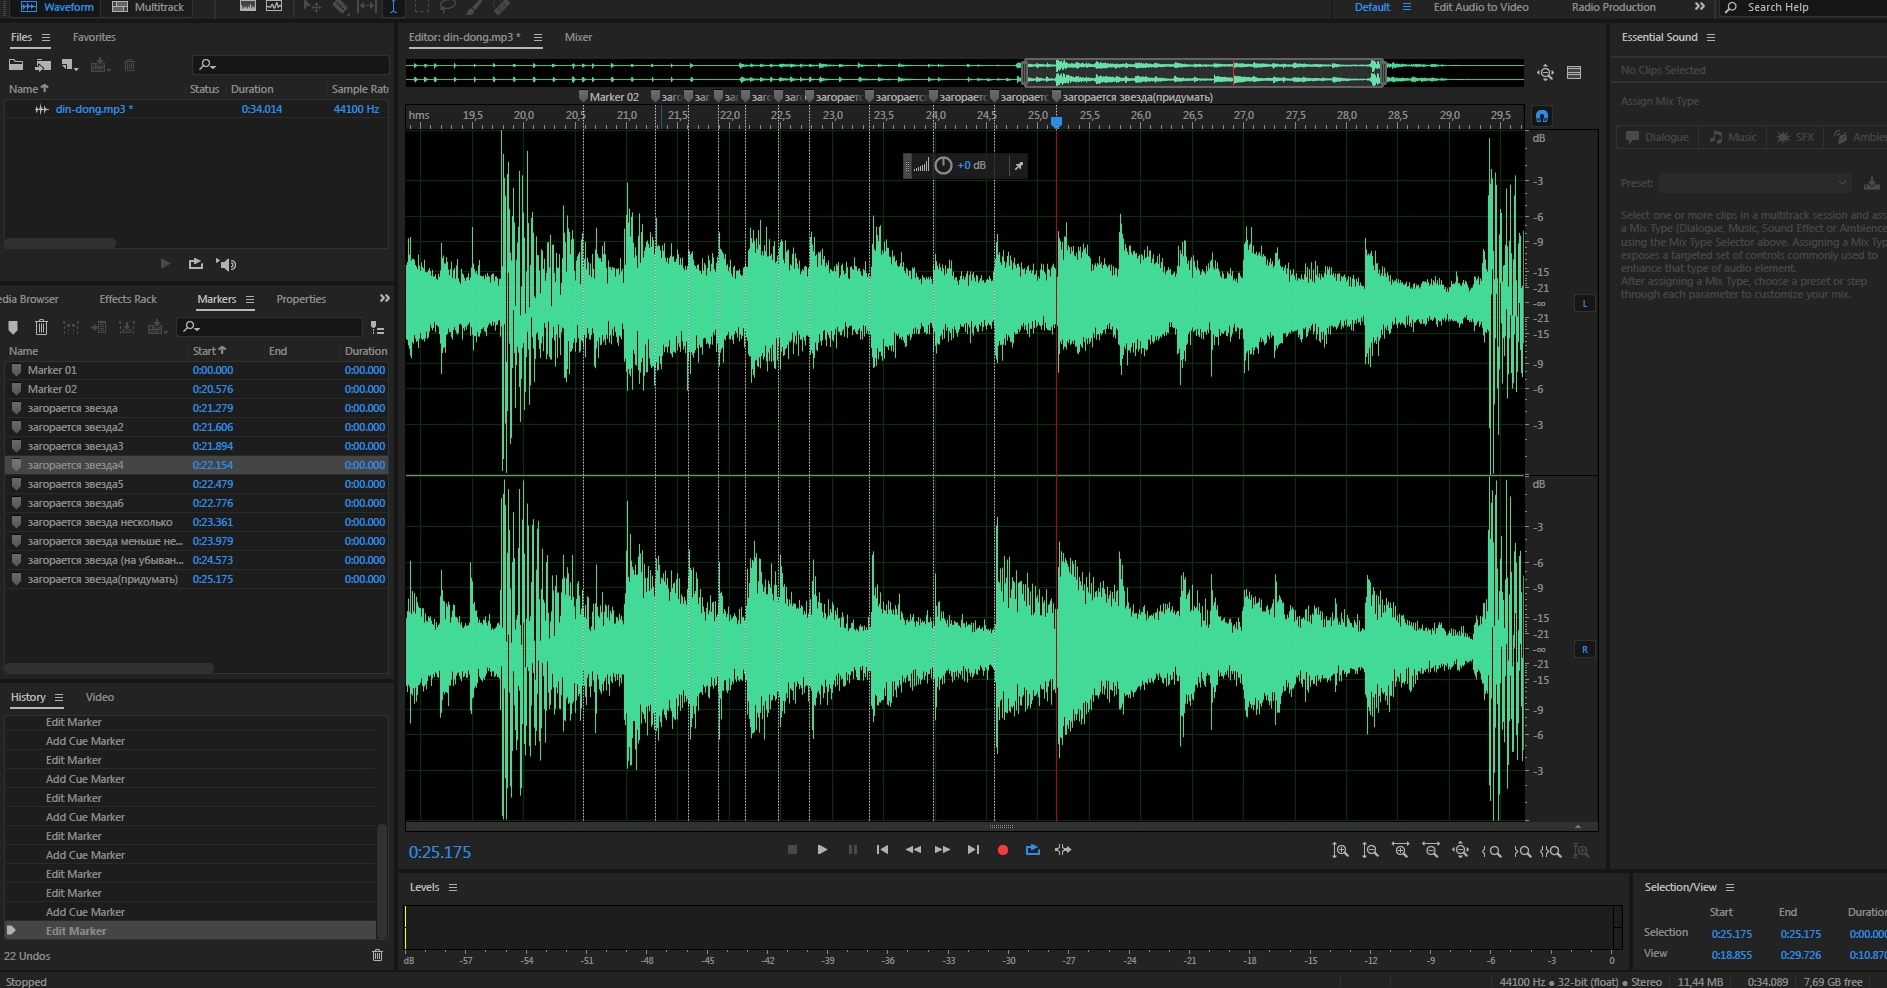
library provides nested timelines for the TimeLine () object, I could divide everything into separate blocks, and start animating them individually. But since I had a link to the melody, I considered it necessary to do everything on 1 single timeline, so as not to confuse myself with timing. I simply made large blocks of arrays with the start time in the form of a delay parameter provided by the library.
Rainbow rain and growing letters
From the point of view of the average user, the plot of the animation is always quite simple. Rainbow rays fall, letters grow, a relief appears, stars and the moon come out, the finish line, you can still transport something there. But rarely does anyone describe how he did this, how much he put his strength, patience and tears into his muse.
Structuring the code always helps to think within the framework of individual modules and I got 5 objects for manipulating animation elements.
Firstrainbow
The rainbow falling animation was pretty easy for me, I simply copied it from an example into a tutorial. Made an array with coordinates and described it in 1 methodrainbow(200, 500, 'A', 'str1')
where the parameters are the duration, the delay time (in my case, the beginning) of the animation and the last 2 describe the coordinate.
The fall effect turned out plain:Hidden text
Changed to improved:Hidden text
Letters
Describes the animation of letters. He became the first object for me in complexity. The concept of animation was to grow like plants. I had to tinker with the letters pretty much, I think not everyone knows how to work in Illustrator (including me). And as a person who gained experience in this, I advise:- Always clean out the svg code after the editor.
- Rename classes to unique
- Do not forget to remove excess layers.
Spent 60% of the total time only for synchronization, reconciliation of coordinates, drawing of individual lines (which can not be imitated by standard figures). I had to change 1 parameter 20 times, in order to achieve a good effect. But my inner perfectionist compromised over time and gave up.
The code is simple to review:...that.plant_D(800, 10111), ...that.plant_A(800, 10200), ...that.plant_R(800, 10300), ...that.plant_N(800, 10400), ...that.plant_E(800, 10500), ...that.plant_O(800, 10600), ...that.plant_S(800, 12500), ...that.plant_T(800, 13100), ...that.plant_U(800, 13400), ...that.plant_D2(800, 13700), ...that.plant_I(800, 14000), ...that.plant_O2(800, 14300)
The second thing I came across with is our own ignorance in reading manuals, we all suffer from this to one degree or another. It was corny that I missed the point that our own svg blanks should be in 100x100 resolution and the first letter “D” went awry. And of course, in such cases we always make a crutch, which is what happened. Just changed its size after initialization (and since I used the Burst object, I need to change all descendants at once).for (let el of equal.el.children) { el.style['height'] = '180px'; }
In the future, I asked a question on GitHub, which I was poked at the manual fad)
Adding your own svg trace occurs. way:class elipceR2 extends mojs.CustomShape { getShape () { return ''; } getLength () { return 200; } // optional }
add and use (simplicity in everything):mojs.addShape( 'elipceR2', elipceR2'); new mojs.Shape({ shape: 'elipceR2'});
Or use the default svg-shapes.Moonrise
Describes the horizon, mountains, moon exit. He fiddled with the moon for a long time, it was necessary to observe the style and the moon with a detailed relief did not fit here:Hidden text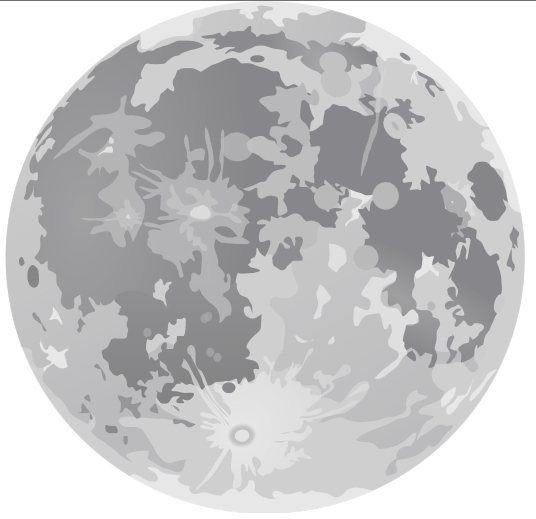
But, I successfully googled a better option:Hidden text
correct a little file and get a wonderful moon, well suited to our style.
For decency, the code:that.moon(5000, 20000), that.mountains(1500, 18500), that.horizonLine(1600, 18500),Stars
The second most difficult object. It has become the main source for synchronizing effects with the musical cut of the “Bun Family”.
I made several arrays of stars and brought them out at a given moment, simultaneously throwing them into the context of the object for further manipulations with color, size and their coordinates.
Where, parameters are animation time, start, and number of stars.that.curentStars = [ ...that.star(200, 17050, 5), ...that.star(200, 17300, 15), ...that.star(200, 17600, 25), ...that.star(200, 17900, 30), ...that.star(200, 18200, 35), ];
I didn’t succeed in somehow blurring svg with the library, I just had to increase them. As always, the duration of the animation, its beginning, the array and the number of stars that we take randomly,that.shineStars(10, 21200, that.curentStars, 3); that.shineStars(10, 21600, that.curentStars, 3); that.shineStars(10, 21900, that.curentStars, 3); that.shineStars(10, 22100, that.curentStars, 4); that.shineStars(10, 22400, that.curentStars, 4); that.shineStars(10, 22700, that.curentStars, 4); that.shineStars(10, 23300, that.curentStars, 10); that.shineStars(10, 23900, that.curentStars, 15); that.shineStars(10, 24500, that.curentStars, 12); that.shineStars(10, 25150, that.curentStars, 9); that.shineStars(10, 25700, that.curentStars, 6); that.shineStars(10, 26300, that.curentStars, 7); that.shineStars(10, 26600, that.curentStars, 4); that.shineStars(10, 27200, that.curentStars, 8); that.shineStars(10, 28170, that.curentStars, 3);
simultaneously throwing this.curRimShineStar into the property for the fall.
It turned out that if you select stars randomly, then there are times when the star has a very small distance to the coordinate to which it was supposed to start moving. And as a result, I just saw a falling point. By filtering the array by coordinates to the right zone, I achieved a longer animation and showing the tail behind the star.that.shootingStar(500, 29600, {y: 52, x: PARAMS.COORDINATES_X.str1.D}); that.shootingStar(500, 29800, {y: 52, x: PARAMS.COORDINATES_X.str1.A}); that.shootingStar(500, 30100, {y: 52, x: PARAMS.COORDINATES_X.str1.R[0]}); that.shootingStar(500, 30400, {y: 52, x: PARAMS.COORDINATES_X.str1.N[0]}); that.shootingStar(500, 30700, {y: 52, x: PARAMS.COORDINATES_X.str1.N[1]}); that.shootingStar(500, 31070, {y: 52, x: PARAMS.COORDINATES_X.str1.E}); that.shootingStar(500, 31370, {y: 52, x: PARAMS.COORDINATES_X.str1.O});
I was very disappointed by the lack of some details on the location of the parameters in the objects, but everything was decided by banal outputting it to the console and reading the sources (a long, but always guaranteed result). I needed to find out when the object completes its animation after all the manipulations with it and I did not immediately understand that the Object.timeline._props.time property shows it, initially I looked for it in Object._o
Somewhere I certainly faked in the code, which is difficult forgive yourself. But overall the animation was great.PointsTimer
So that the guest could twist the slider and see how it happened, he also had to add a timer, which completed the animation after a couple of seconds of inactivity. Then my fantasy has already ended and I just added 3 shrinking circles. After which, using the same JQuery.animate (), we dissolve the letters in the logo and remove all the tags that the library added.
Unfortunately, the library cannot do very long animations, you can see that there is a pull the slider very quickly to the side, you will see how everything goes in pieces, somewhere there will be elements, somewhere not. This can be solved only by forcibly manipulating the speed of the slider.