Creating a multilingual blog using OctoberCMS - Part 2
- Transfer
- Tutorial
In the last article, we made a multilingual website with navigation and static pages. In this article, we will finish the creation of the site, supplementing it with a blog.
What we have to do:
- Blog page - contains a list of posts and categories;
- Post viewing page;
- Category view page;
- Display the last post on the main page.

In addition to the plugins that we have already used, we will need one more - RainLab Blog plugin . This is a flexible blogging platform that uses Markdown to create and edit posts.
Using the "Translate" plugin, we can make our blog fully multilingual: you can translate categories, headings and any site content. Everything that will be described in this article is also in the official documentation for the plugin.
Before continuing, install the Blog plugin. Create and publish multiple posts for test purposes.
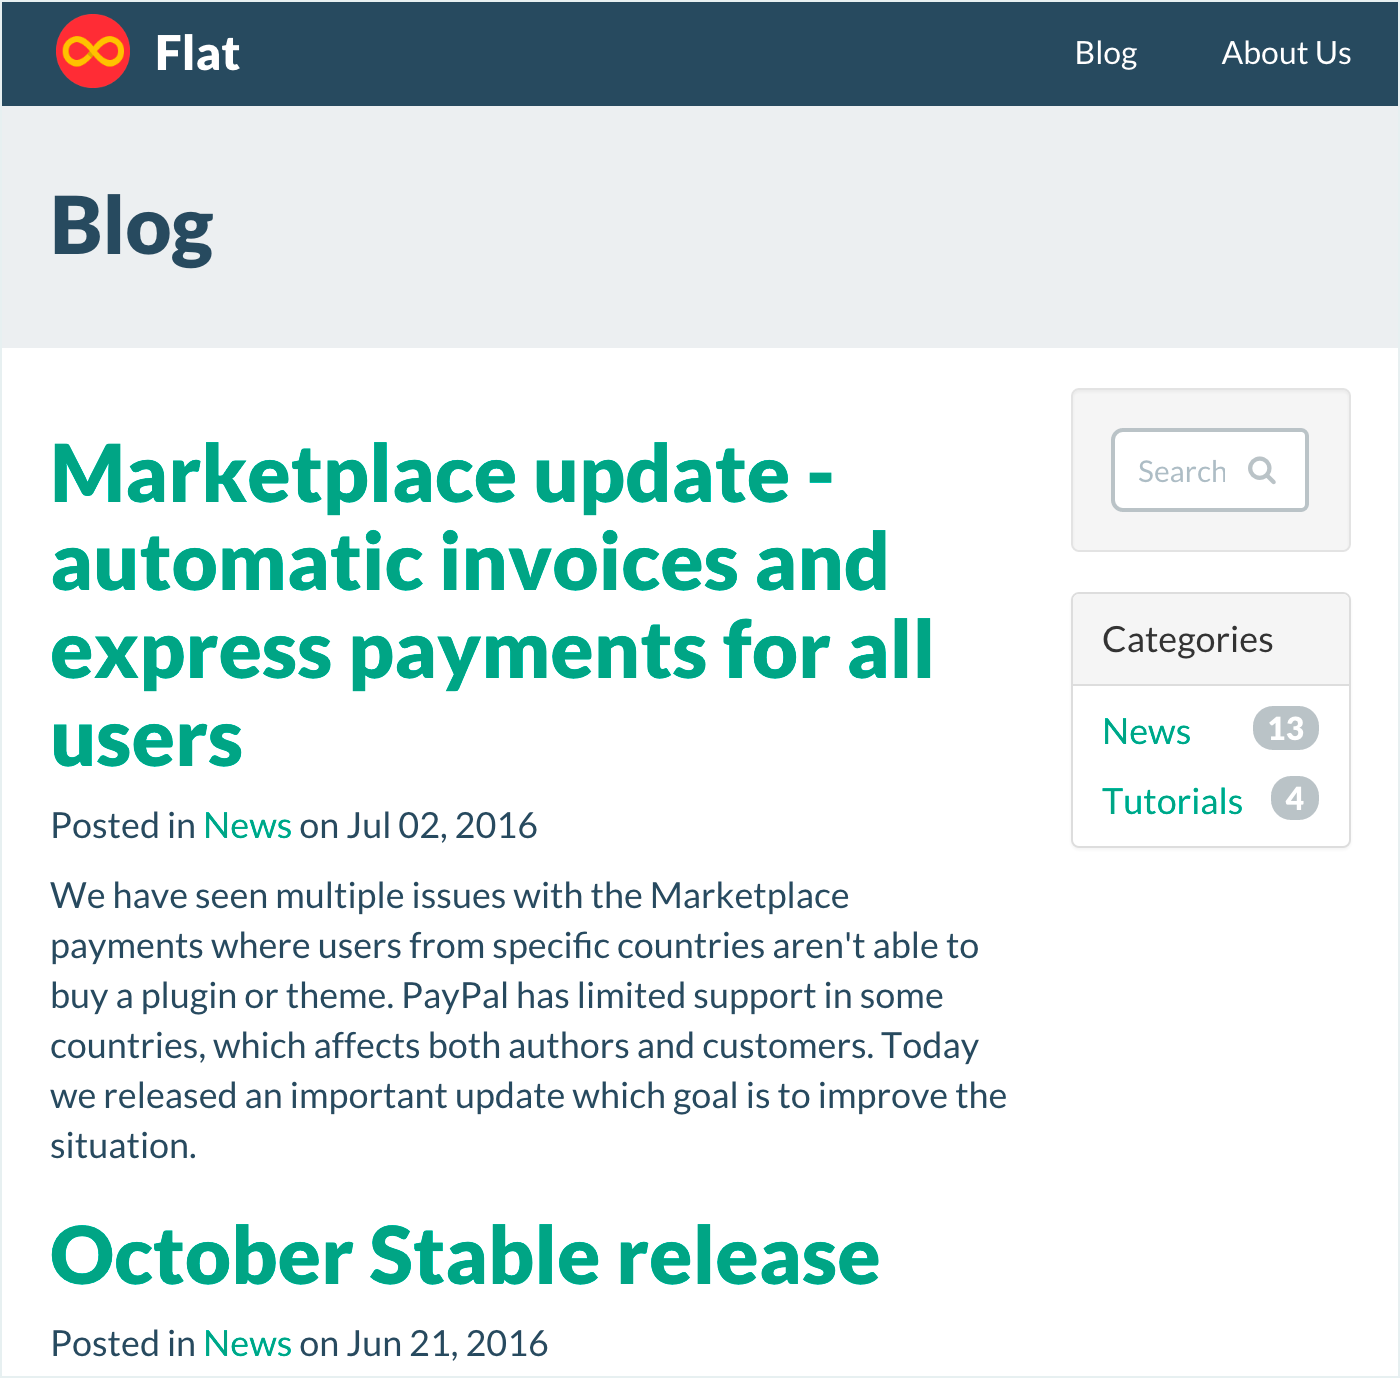
Creating a Blog Page
This page will display a list of published posts, pagination, and a list of categories. Flat UI theme already contains a page with a demo blog with demo content, which we will take as a basis.
The Blog plugin provides a Post list component that displays a list of posts (both full and in a specific category).
Go to the admin panel and open the page in the editor blog/blog. Remove all unnecessary content like "Blog post # 1", "Pagination".
Open the list of components, find there Post listand transfer it to the editor, to the place from where you just removed the demo content. If everything is done correctly, you will see the following:
{% component 'blogPosts' %}
As far as we need pagination, we will add the necessary parameter to the page URL-template . Replace the URL value with url = "/blog/:page?". The parameter is :pagedetermined by the Post list component .
Note that many plugin components allow you to use custom URL parameters. This means that :pageyou may have a different parameter instead . You can do this by changing the configuration of the desired component (in this case, the Post list).
Save the page and click on the button Preview. If you did everything right, then you will see a blog page and pagination.
If you are not comfortable with the standard blog layout, then October allows you to override it. You can also put a “carriage” for input per word componentand click on the component’s disclosure button in the upper left corner of the editor. This will add component markup directly to the editor, where you can edit it as you like. This feature is relevant for all components in October CMS.
Category List
There is a template in our topic blog/sidebarthat displays a list of categories. Now it contains demo content. Delete it.
Open blog/sidebarthe admin panel and delete the entire UL tag. Locate Category Listand drag it to the location from which you just removed UL from the list of components:
        Categories

    {% component 'blogCategories' %}
Save the template and go to the page /blog. Now the sidebar displays a list of categories, but links in the list so far do not lead anywhere. Now we will fix it.
Create a category page
Our theme does not contain a category page, so we will create it from scratch. On it we will display a list of posts that belong to the selected category.
Go to the admin panel, go to the Pages page and click on Add. In the field, Titleenter "Blog category", and in the URL field - /blog/category/:slug/:page?(URL template is taken from the official documentation for the plugin). Then enter in the file name blog/category, select defaultin the list of templates and save the file.
Copy the markup code from the main page of the blog and add it to the category page. We added the Post list component on the main page of the blog, so here we need to do it again. In the list of components, select Post list and add the page to the place you need.

The Post list component must be configured to display posts of only a certain category. The category we need will be passed through the parameter :slugin the URL. Click on the component, and then on the> _ in icon Category filterand enter there :slug. Save the page.
To display the category name on the page, you need to replace
Blog
on the
{% if not category %}
    Category not found
{% else %}
    {{ category.name }}
{% endif %}
You can use a similar condition to hide the list of posts if it is empty.
Return to the main page and click on the Post list component. Expand the property list, find the "Category page" in it, and select the category page you just created. Close and save the template. The same thing needs to be done with the Category list component in the sidebar.
Go to the blog page and see how the categories work.
Creating a post page
This page is already in the topic, so you just need to add the component to the right place. Go to the admin panel and open blog/postin the editor, then delete the unnecessary code under Blog post #1and Pagination.
The Blog plugin has a Post component that displays the desired post by the parameter in the URL. Drag the component from the list to the place where you just deleted html from.
By default, the parameter in the URL is called slug. In the URL field, enter /blog/post/:slugand save the page. Also replace the line
Blog post
on {{ post.title }}
After that, go to the blog, open any post and make sure that everything works correctly.
In order to display the message “Post not found”, we can use the following condition:
{% if post %}
    Normal blog post markup-
{% else %}
    Post not found message
{% endif %}
We show the last posts on the main page
Для отображения последних постов на главной странице мы будем использовать уже знакомый нам компонент Post list. Он позволяет указать лимит для отображаемых постов, который задается свойством postsPerPage.
Зайдите в админку и откройте в редакторе главную страницу; перетащите компонент в нужное место:
Latest from the blog
{% component 'blogPosts' %}
Откройте свойства компонента и измените значение postsPerPage на 1.
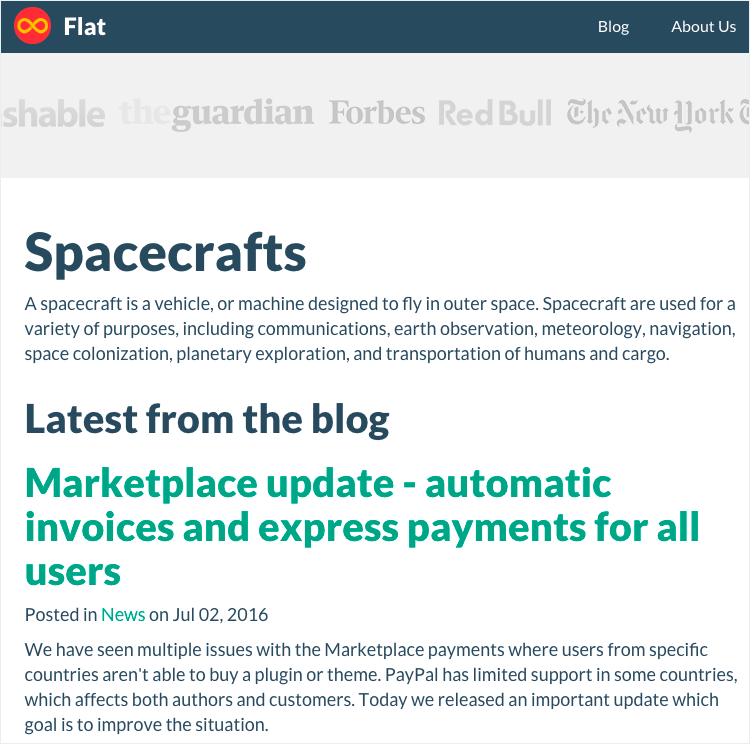
Сохраните страницу и перейдите на главную, проверьте, все ли вы сделали правильно.
Чтобы скрыть пагинацию, которую компонент выводит по умолчанию, можно использовать css:
.page-home {
    .pagination {
        display: none;
    }
}
Также для этого можно переопределить шаблон компонента или просто раскрыть код компонента и убрать оттуда всё лишнее.
Перевод постов в блоге
We don’t need much time to make the blog translatable. In the last article, we set up the Translate plugin, so you just need to choose the language you need while writing the post.

That is where we end up creating the blog. Wait for new lessons in which we will tell you how to set up a work environment. Thanks for attention.