Transfer Android to HDD in Mele A100 (and similar, Allwinner A10)

I got such a device, Mele A100 with a bit of nand memory, it worked after the firmware a couple of reboots, then it did not boot (bootloop).
The first thing that came to mind was to connect the console, but there was nothing informative there. The second thing that came to mind after a short google search was to write the firmware to the sd card, on w3bsit3-dns.com it was, but I only had a 32G card from my mobile phone, I didn’t want to buy, and the speed would not be very good. The third thing that came to my mind, after a long examination of the board in search of usb inside (since the android detected more than 3 usb, and out there are only 3), the look caught on sata is unsoldered, I have a hard one.
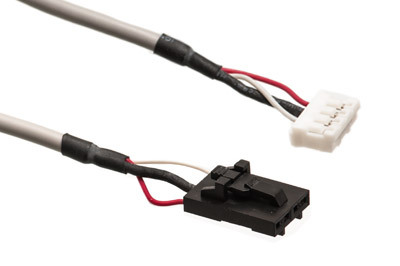
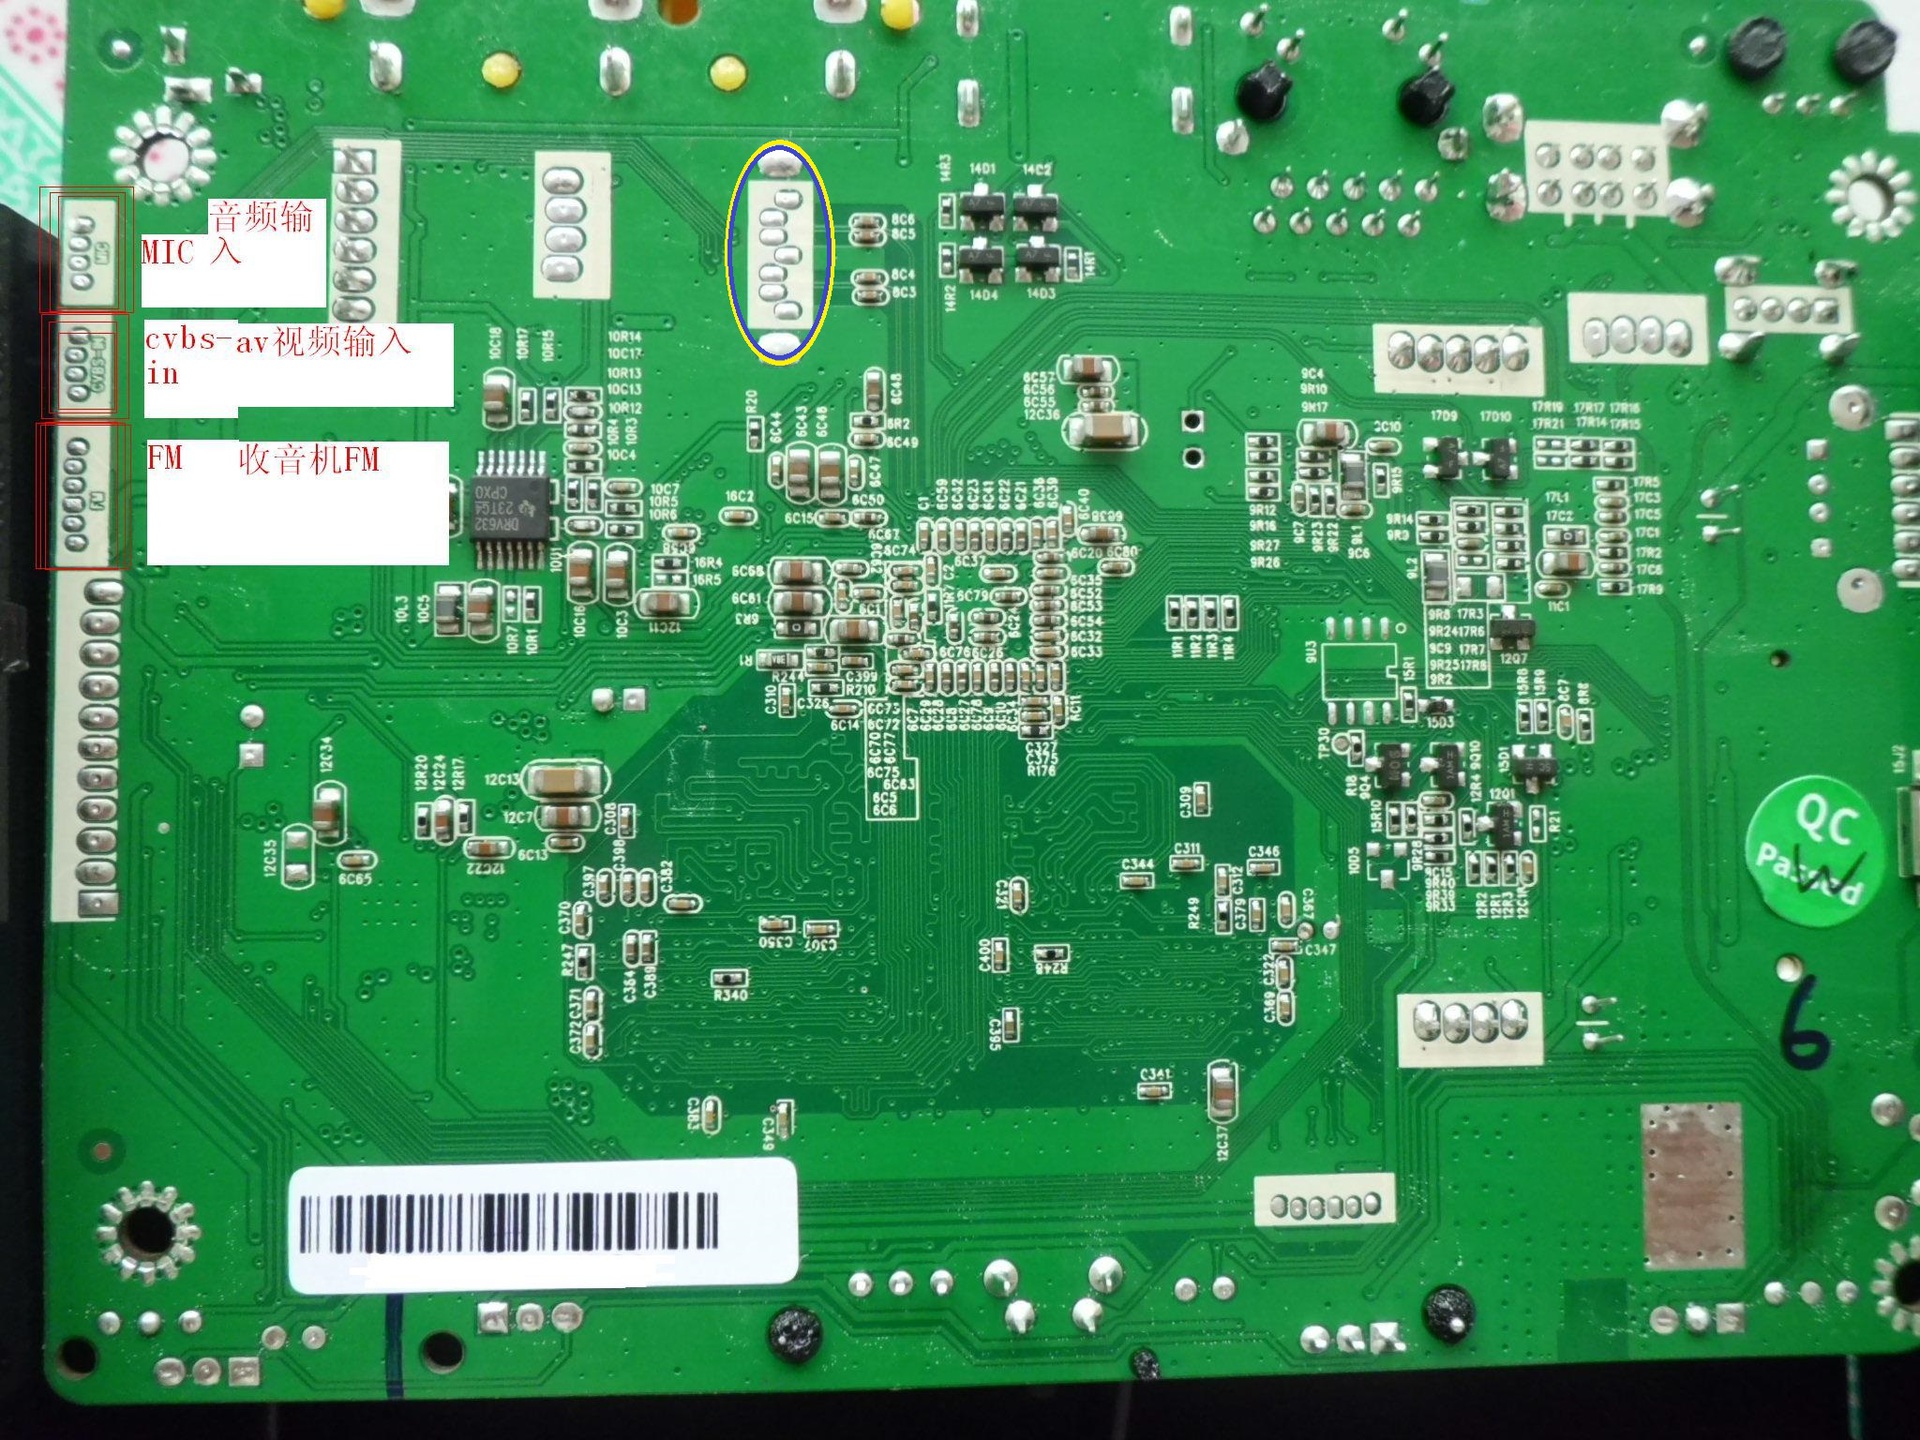
The console is connected here, with such a cord (cd-audio):
Actually I liked it with an abundance of interfaces, on the side there is still SD and USB-OTG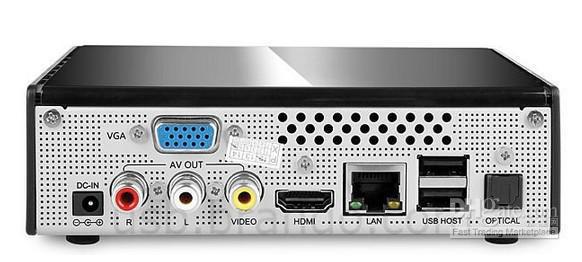
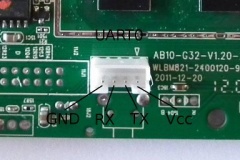
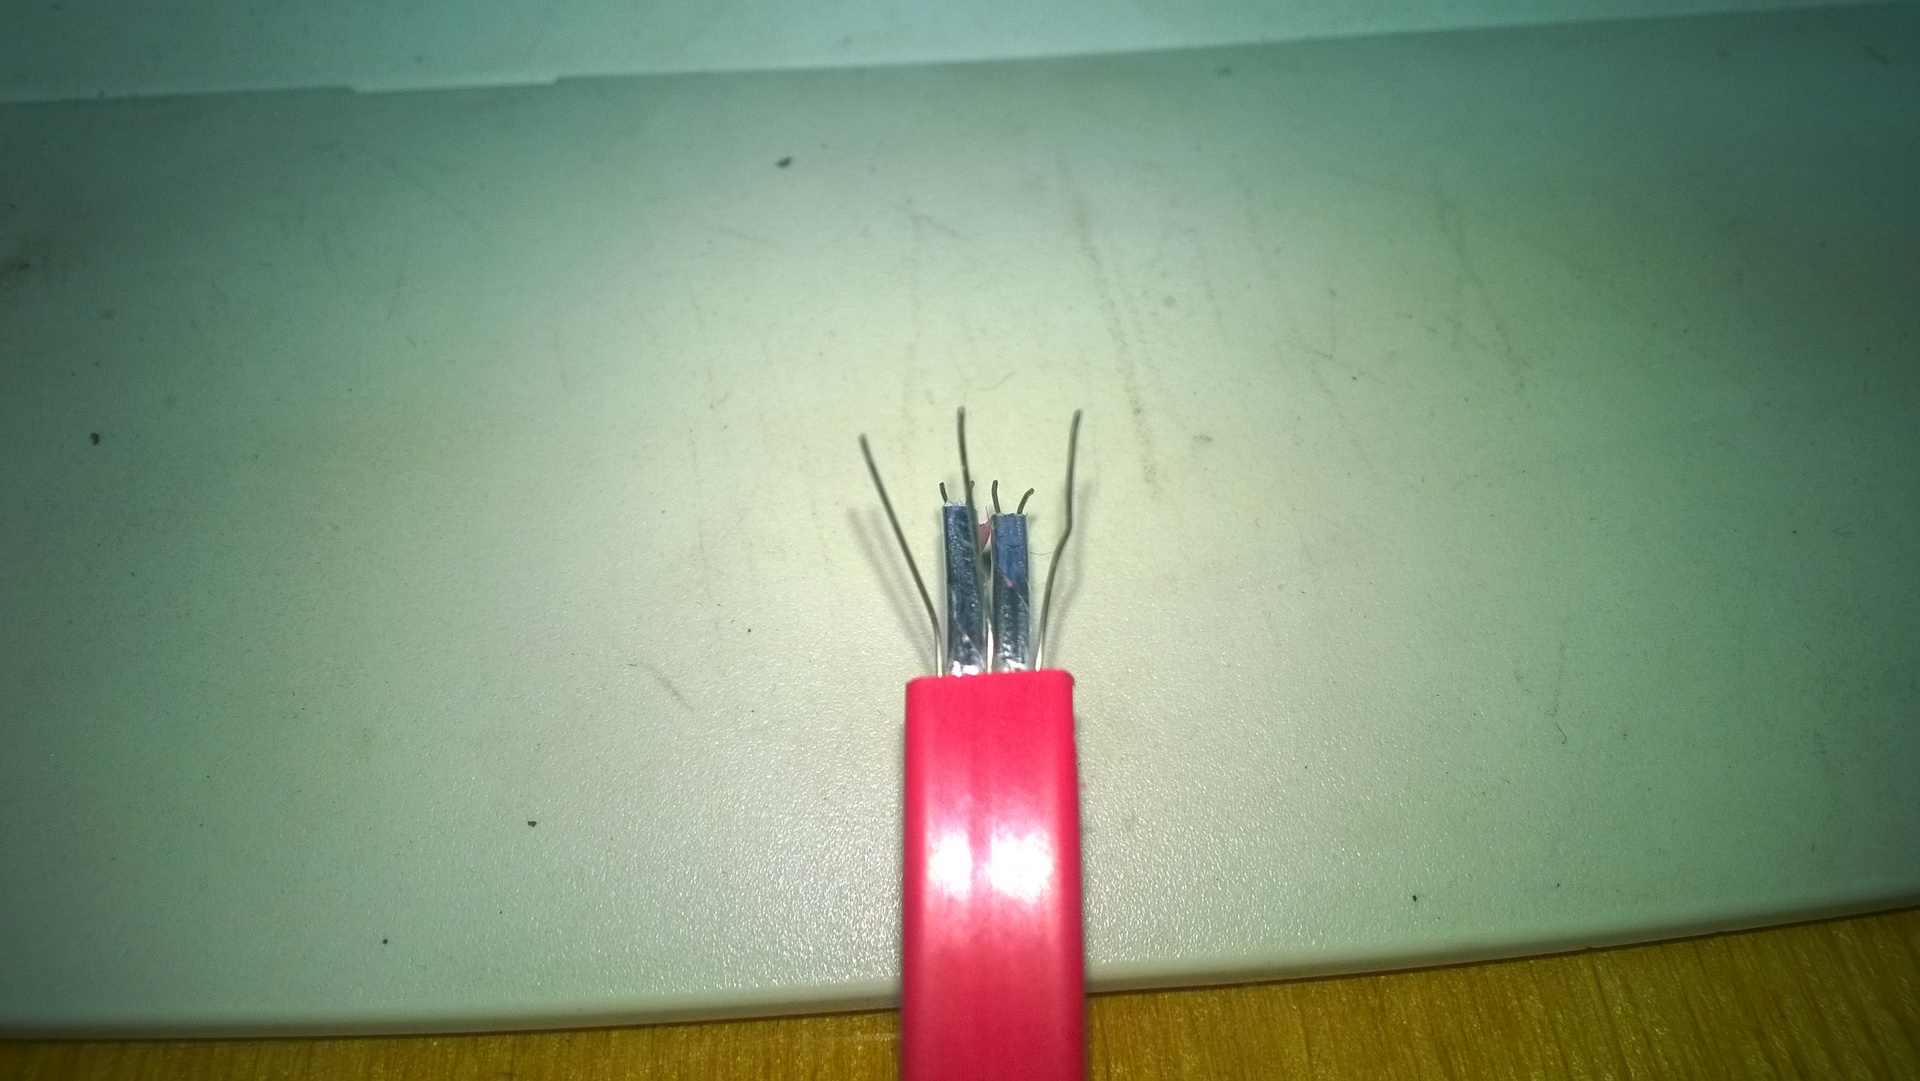
Feeling joy and to the jokes of my colleague, I soldered sata to him, I don’t attach my own photo, everything is covered with hot-melt adhesive, and then I did not believe in victory. 3 not isolated, I soldered to 3m on the right, and paired to paired , Be careful not to solder with the “tops”, you need to look at the key drawn on the other side of the board. I took only GND and 5V on the sata connector, for 2.5 "hard this is enough, I took power from the PSU input. After such bullying, android discovered sata, which surprised and pleased me. Next, I will miss a lot of time wasted that I spent studying how it works and why, installing debian - ubuntu , pimp-my-mele , and debian-installer
I didn’t want Debian because I want to watch video on this thing, and debian doesn’t know hardware acceleration for video, or maybe it can :-) but you still need a remote control, and you also need LazyMedia , but this debian doesn’t.
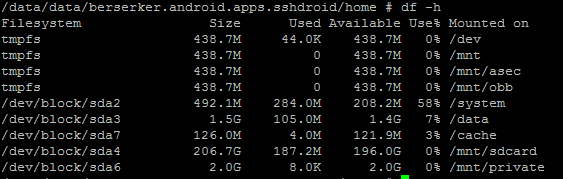
I came across the ImgRepacker utility ( w3bsit3-dns.com , xda ), which can rebuild the firmware images for PhoenixSuit and LiveSuit, disassembled the firmware and changed everything in the init.sun4i.rc file in the firmware.img.dump \ boot.fex.dump \ ramdisk.dump file calls to nand calls to sda (There was a problem if the flash drive is turned on it is mounted as sda and hdd as sdb, which suggests that hdd is on the usb bus, but hdd is still faster than the flash drive, at least visually).
Replacement code
# - what was
## - original comments
## - original comments
on fs
#    mount ext4 /dev/block/nandd /system wait noatime nodev barrier=0
     wait /dev/block/sda
     mount ext4 /dev/block/sda2 /system wait noatime nodev barrier=0
## try to mount /data
#	wait /dev/block/nande
#	mount ext4 /dev/block/nande /data wait noatime nosuid nodev barrier=0
#	setupfs /dev/block/nande
	mount ext4 /dev/block/sda3 /data wait noatime nosuid nodev barrier=0
#	setupfs /dev/block/nande
#	umount /data
#	exec /system/bin/logwrapper /system/bin/e2fsck -y /dev/block/nande
#	exec /system/bin/busybox mount -t ext4 -o noatime,nosuid,nodev,barrier=0,journal_checksum,noauto_da_alloc /dev/block/nande /data
## try to mount /cache
#    mount ext4 /dev/block/nandh /cache wait noatime nosuid nodev barrier=0
#	setupfs /dev/block/nandh
#	umount /cache
#  	exec /system/bin/logwrapper /system/bin/e2fsck -y /dev/block/nandh
#    exec /system/bin/busybox mount -t ext4 -o noatime,nosuid,nodev,barrier=0,journal_checksum,noauto_da_alloc /dev/block/nandh /cache
#   exec /system/bin/busybox mount -t ext4 -o noatime,nosuid,nodev,barrier=0,journal_checksum,noauto_da_alloc /dev/block/sda7 /cache
    mount ext4 /dev/block/sda7 /cache wait noatime nosuid nodev barrier=0
#    format_userdata /dev/block/nandk apollo
#   exec /system/bin/busybox mount -t ext4 -o noatime,nosuid,nodev,barrier=0,journal_checksum,noauto_da_alloc /dev/block/sda4 /mnt/sdcard
mount ext4 /dev/block/sda4 /mnt/sdcard wait noatime nosuid nodev barrier=0
# try to mount /private
    export PRIVATE_STORAGE /mnt/private
#    format_userdata /dev/block/nandi PRIVATE
    mkdir /mnt/private 0000 system system
#    mount vfat /dev/block/nandi /mnt/private
    format_userdata /dev/block/sda6 PRIVATE
    mount vfat /dev/block/sda6 /mnt/private
You can also write your own commands in /system/etc/install-recovery.sh, it can be created already in the working system.
Preparing the disk
for the disk, partitions are created, the sizes of your choice, those that are used in nand are listed below I copied the information with dd when I launched liveSD Ubuntu dd if = / dev / nandd of = / dev / sda2 and spent e2fsck / dev / sda2 Next, flashing the packed image to the SD card using PhoenixCard, flashing mele and connecting hdd, then the system with hdd is loaded. For those who do not want to do this all by themselves, an image based on Toucan Smart (Android + iconBIT TV Launcher 01/22/2013) Firmware on Yandex.Disk Folder with files on Yandex.Disk Firmware on OneDrive
sda1 Расширеный раздел

 sda5 swap

 sda6 private nandi/16М vfat

 sda7 cache nandh/512М ext4

sda2 system nandd/1024М ext4

sda3 data nande/1024M ext4

sda4 sdcard nandk/2048M ext4
Folder with files on OneDrive
It turned out that I had a 4 * 256M RAM on the board, but I could not find where to change this setting, so I decided not to soar the brain:
Turn on the usb console
At the moment Hit any key to stop autoboot: press the space bar and get into bootloader
in the bootloader: the mem = 1024M command tells the android that there is 1024M of RAM, then if the printenv mac command shows mac = 00: 00: 00: 00: 00: 00, then most likely the ethrernet address will change every time you start mac, so that this does not happen , enter your poppy, it is most often pasted on the card, inside the case. To save variables after reboot reset
setenv setargs_nand setenv bootargs console=\${console} root=\${nand_root}init=\${init} loglevel=\${loglevel} partitions=\${partitions} mac_addr=\${mac} mem=1024M
setenv mac 12:34:56:78:90:12saveenvwe get a working Android on which 1 gig of RAM
In fact
I registered swap in /system/etc/install-recovery.sh
I registered swap in /system/etc/install-recovery.sh
mount -o remount,rw /system

echo swapon /dev/block/sda5 > /system/etc/install-recovery.sh

chmod +x /system/etc/install-recovery.sh

mount -o remount,ro /system
PS I ask you to write errors in personal ones, I will correct them, and the comments will look silly.
I wanted to put OpenWRT, but in time I asked myself the question “what for ... why?”
