Useful Wordpress Plugins. OptionTree - site settings page

Due to the fact that most of the sites I develop are created using CMS Wordpress and have to constantly deal with non-trivial tasks, I decided to share with you the experience of using various plugins. Both free and paid, and try to stick to this format: one article - one plugin. I’ll try to consider only really worthy of attention developments, and here in my first story I will tell you about OptionTree - a great, in my opinion, solution for creating a page with user site settings.
What are user preferences?
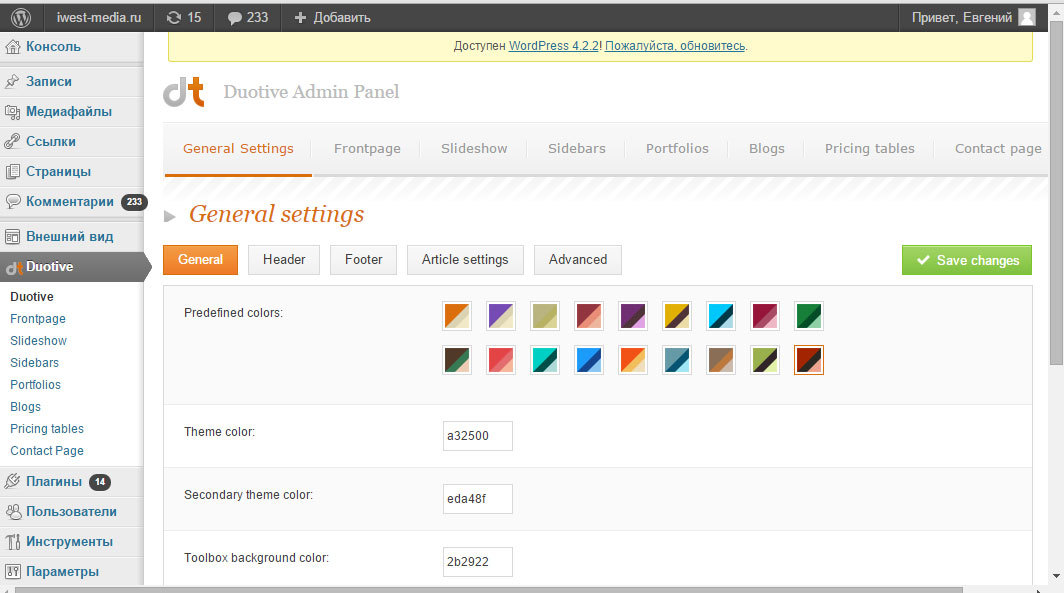
Wordpress templates (themes) that we can use on our site very often allow you to configure some additional parameters, for example, the color of the headers. All paid topics that I had to use significantly expand the functionality of the administrative panel through a separate interface. Below I give an example of such an extension, please see.
When a unique site is created (by uniqueness, I mean a site that uses a template designed specifically for the client with a unique design and functionality), it is often necessary to create the ability for administrators to change certain parameters. It is almost always necessary to give the opportunity to change the logo file, some elements on the main page, social network icons, background color in the "basement" of the site, etc. This is exactly the kind of opportunity for developers that the OptionTree plugin provides, which can be downloaded for free from the official Wordpress website.
After installation...
By installing and activating the plugin, we conditionally get two parts: one for the developers of the site, the other for users. The first part is accessible from the menu item “OptionTree” - “Settings”, which appears after activating the plugin on the left in the administrative part of Wordpress. Feel free to click there and get a unique interface for generating a set of user fields, which will be available to users in the second part of the plugin - “Appearance” - “Theme Options”.
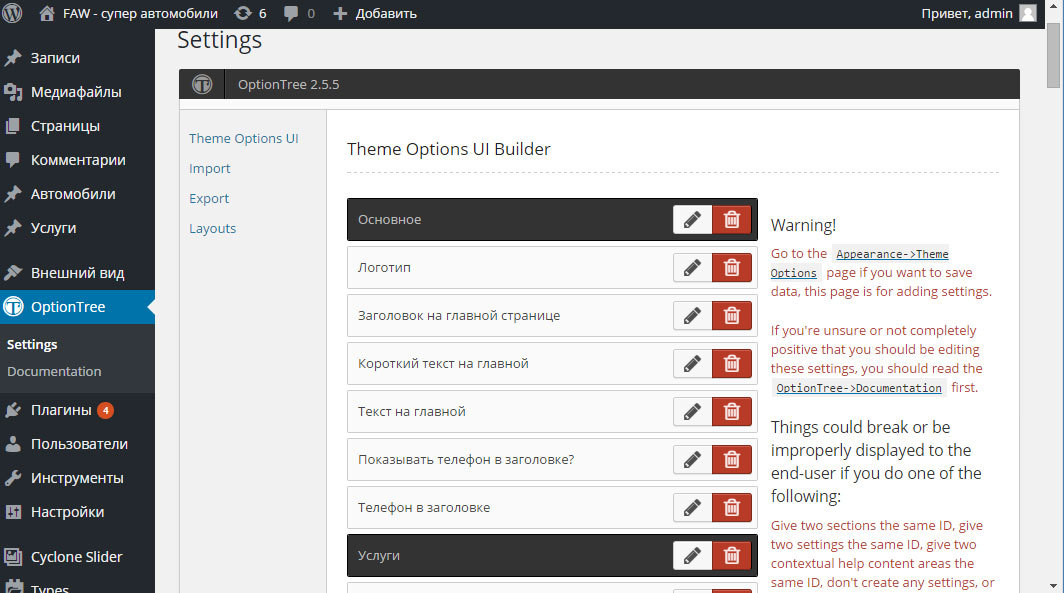
Theme Options UI Builder
So how do you create settings? By a separate setting, I will mean a certain field that will be available to the user, the site administrator for editing. UI Builder allows you to create sections or sections, let's call it better so, within which these or those settings will be located. In the figure above, I gave an example of settings, consisting of two sections: “Basic” and “Services”. Those. it is understood that in the "Basic" section some general site settings will be placed, and in the "Services" section - specific to the services page. Let's see how the sections look for the user. Go to "Appearance" - "Theme Options" and - hurray! Here is the settings page!

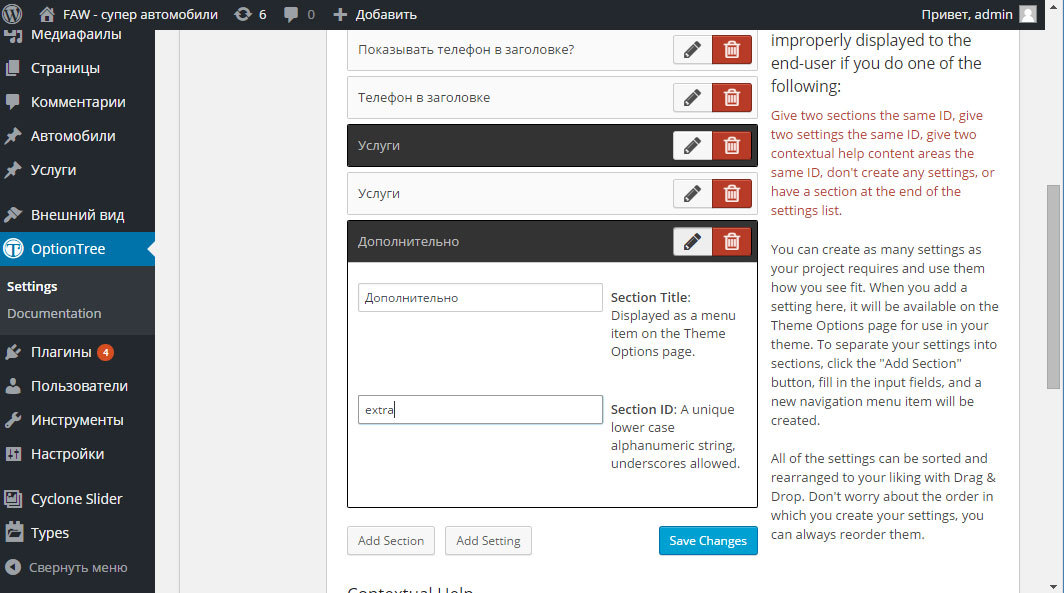
On the left we see sections that can be switched, on the right - a set of settings inside the section. Sections are created using Theme Options UI Builder using the “Add section” button, and for the section you must enter its title and a unique identifier. Let's create an “Advanced” section and add a few settings there.
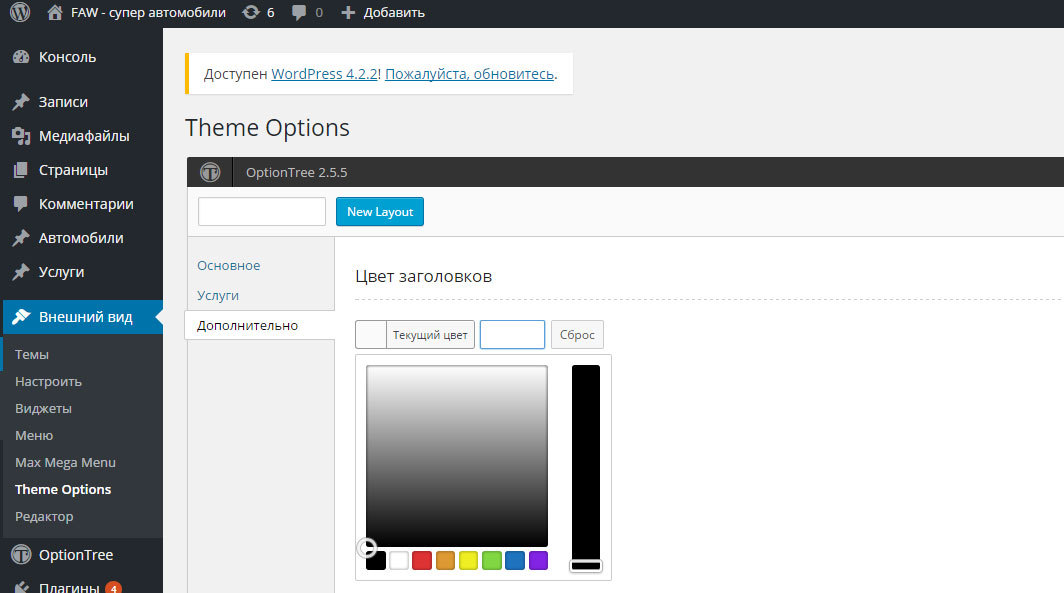
All changes, of course, are recorded by clicking on the “Save Changes” button. Now let's add a setting for the user, for example, the color of the headers. Click “Add setting” and see which set of fields is available for selection. You can say huge! Select “Colorpicker” and enter a title and a unique identifier. Be careful with identifiers, it is by a unique identifier, then in the template code we will be able to access the value of this field.

Let's see what is now available to the user for editing: a new section and a new setting have appeared, the “Header Color” field, which the user can now edit in a convenient way. Look, I will not dwell on the full list of fields available for creating, it is, of course, in the documentation for the plugin and on the official website of developers. If nevertheless some fields will cause you interest - write, I will update this publication with a description of this or that type of proposed fields. In principle, the meaning of the field is clear from the name of the field, but, I repeat, if something causes you difficulties - feel free to contact, I will definitely explain.
Editable template
Now, as developers, we need to make changes to the site template in order to get the value of a field that the user entered or selected. A certain function is responsible for this, an example of using which for our choice of the color of the headers I give below. Moreover, I’ll note that there can be a lot of options for using this plugin, in the example I give, inside the header.php file of the template in the head section of the document, the style of headers will now be displayed, namely, their color, depending on the value of the h_color field.
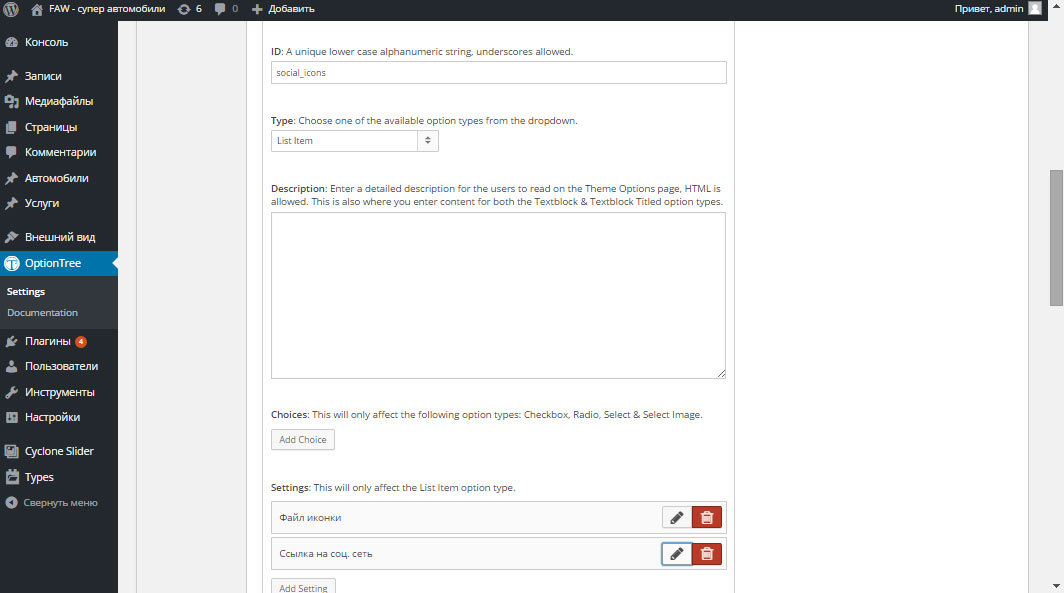
Those. the ot_get_option ($ option_id, $ default) function is responsible for displaying the field value, the parameters of which are the field identifier, which we, as developers, set ourselves, in our case, we display the value of the h_color field. The second parameter of the function is the output format, let's dwell on this a little more. For example, we need to make an option that allows the user to create their own set of icons for social networks. To do this, we will use the List Item field (in the illustration below).

This field allows you to create a set of repeating fields, when the user can add the same parameters within the same setting. It’s a little incomprehensible, I’ll try to explain and then show in the code how this works. In our case, we will assign the Social_icons identifier to the List Item field and inside this field (note there is another “Add setting” button) add two fields: the icon file and the link. The type of the first field is Upload, the type of the second is Text. The identifier of the first field will be icon_image, the identifier of the second is icon_link.
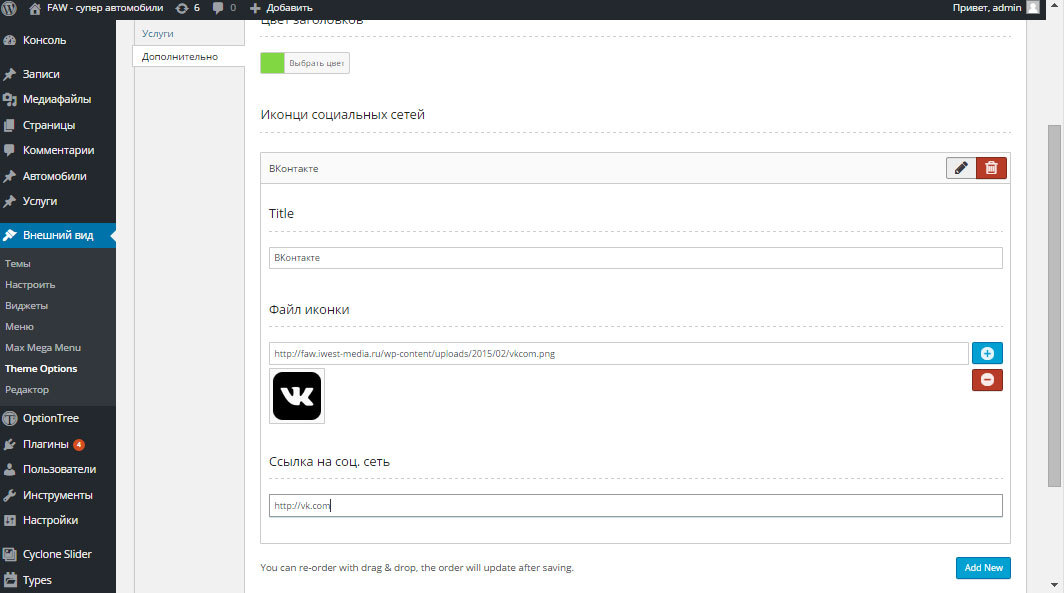
What will the user get? Now he will be able to add several icons of social networks by clicking on the “Add new” button on the settings page. Moreover, note that the number of such settings is now unlimited and depends only on the user.
To display such a complex field in the template now, you need to use a slightly different output format, below is a piece of PHP code for this case. I’ll try to explain what’s going on with comments.
![' . $icon['title'] . '](' . $icon['icon_image'] . ') '; // выводим в шаблон поля
}
}
}
?>
'; // выводим в шаблон поля
    }
  }
}
?>
In custody
There are really many types of fields that you can use, the plug-in developers have done their best: this is the choice of date, the choice of color, you can create image galleries, radio buttons, etc. By combining such fields and correctly displaying them in a template, the site developer will provide the user with a convenient interface for changing certain settings. I note that in one of the last sites I had to create more than 50 different fields so that clients could change the colors of headings, texts on the main page on the site, change the number of displayed news on the page, edit contacts and the map, and many others.