We compile, as if in the yard 1992
- Transfer
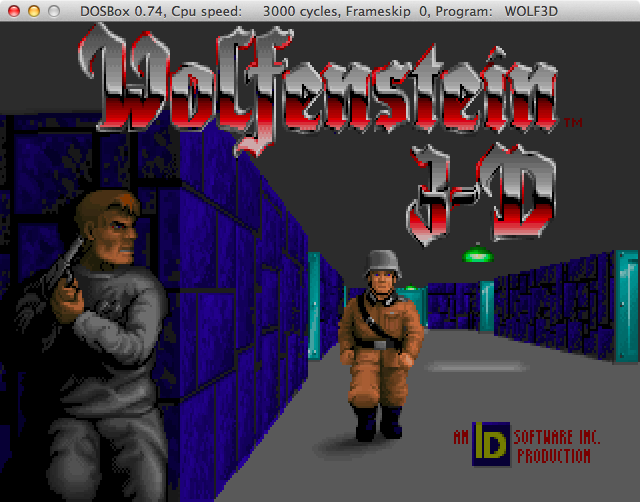
I studied the 1992 vanilla Wolfenstein 3D source code. Despite the fact that she is already 25 years old, and she is completely outdated for modern platforms, it can still be compiled if you recreate the environment.
This requires only:
- Source code for Wolfenstein 3D.
- DosBox
- Compiler Borland C ++ 3.1.
- Wolfenstein 3D shareware (to borrow resources).
File system setup
Open the command line and create two folders, one for each of the necessary DOS disks:
   cd ~
   mkdir system
   cd system
   mkdir c
   mkdir a
   cd ~
Download files
- Download Borland 3.1 in
system/a. - Download Wolfenstein 3D source code in
system/c - Download VGA files to
system/c(at the end of the article I will explain why this is necessary).
    cd system/a
    curl -O http://fabiensanglard.net/Compile_Like_Its_1992/tools/BCPP31.zip
    cd ../c
    curl -O http://fabiensanglard.net/Compile_Like_Its_1992/tools/wolfsrc.zip
    curl -O http://fabiensanglard.net/Compile_Like_Its_1992/tools/vgafiles.zip
Now all files are in the file system. Just to check, we introduce:
   cd ..
   find ~/system
You should have the following:
    /Users/fabiensanglard/system
    /Users/fabiensanglard/system/a
    /Users/fabiensanglard/system/a/BCPP31.zip
    /Users/fabiensanglard/system/c
    /Users/fabiensanglard/system/c/vgafiles.zip
    /Users/fabiensanglard/system/c/wolfsrc.zip
Unpack everything
    cd ~/system/a
    unzip BCPP31.zip
    cd ~/system/c
    unzip vgafiles.zip
    unzip wolfsrc.zip
Dosbox
Download and run DosBox :

Mount
Mount the file system, one folder for each of the disks:
   Z:/> mount c ~/system/c
   Z:/> mount a ~/system/a
Install the compiler
It is time to install Borland C ++ 3.1:
    Z:\> a:
    A:\> cd BCPP31
    A:\> install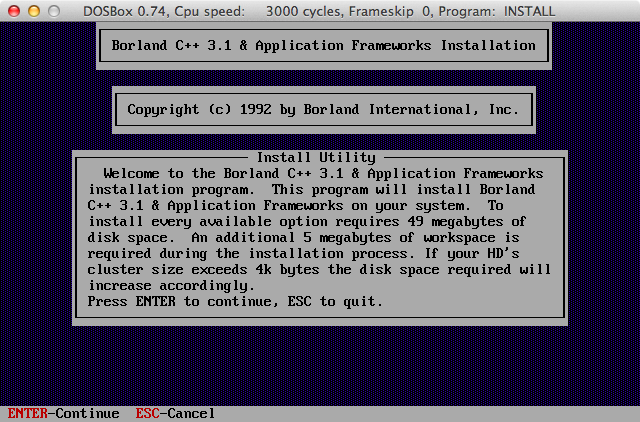
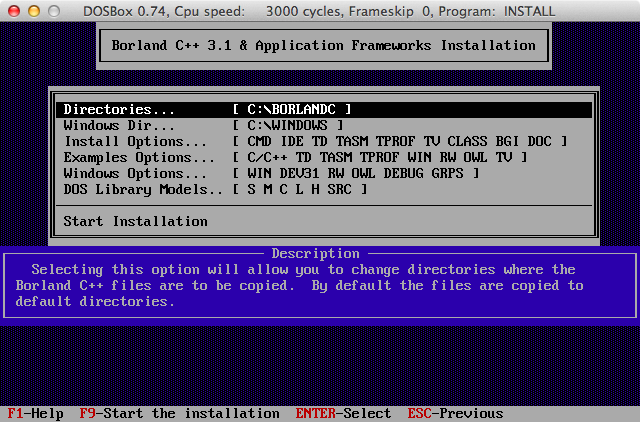
Press "enter" when selecting the source disk (drive A must be selected) We will

leave all the default settings and select "Start Installation":
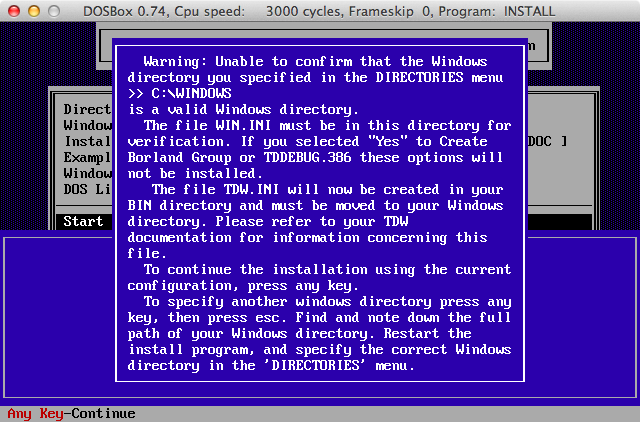
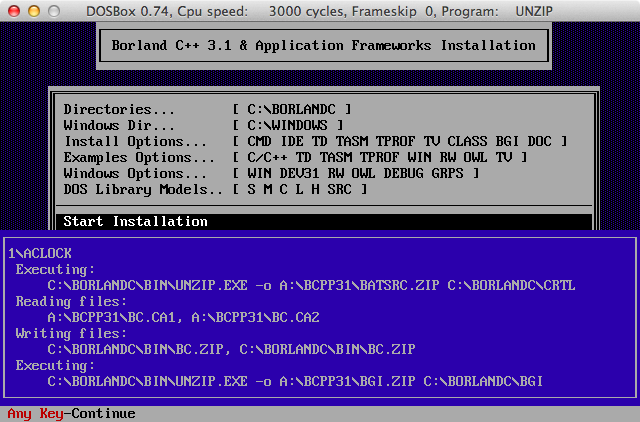
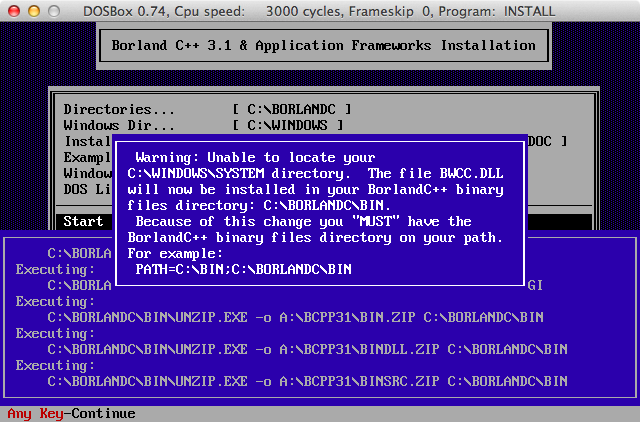
Notifications warn that we cannot find the Microsoft Windows folder, but we do not need it, just press "enter".
Install the Wolfenstein 3D source code
The system works and it has a compiler: it is time to unpack (again) the source code.
  A:\> c:
  C:\> cd\
  C:\> install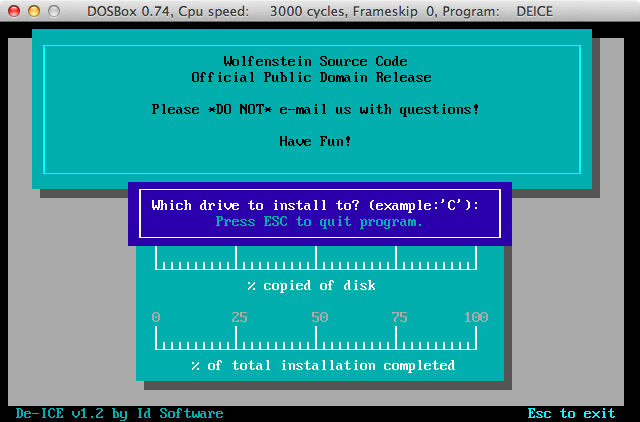
Enter “C”.

Leave the default path:
\WOLFSRC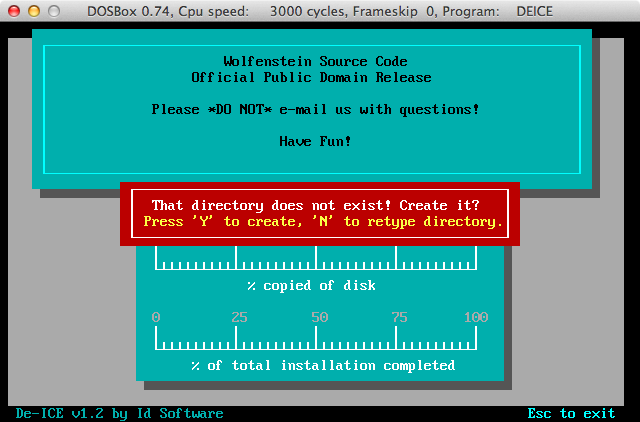
Confirm (“Y”) the creation of the directory.
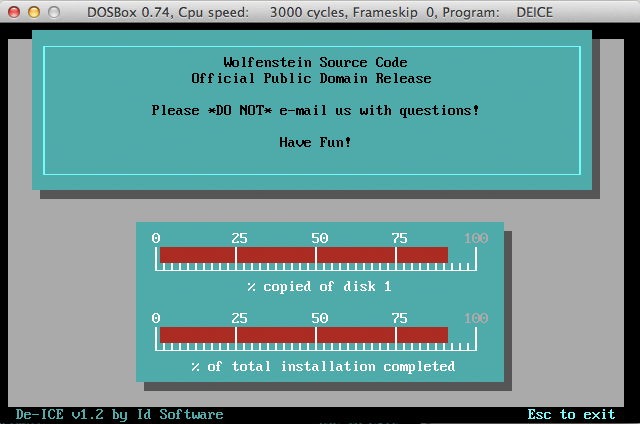
It is installed!
Compiling
Launch Borland C ++ 3.1:
     C:\> cd\
     C:\> cd borlandc
     C:\> cd bin
     C:\> bc.exe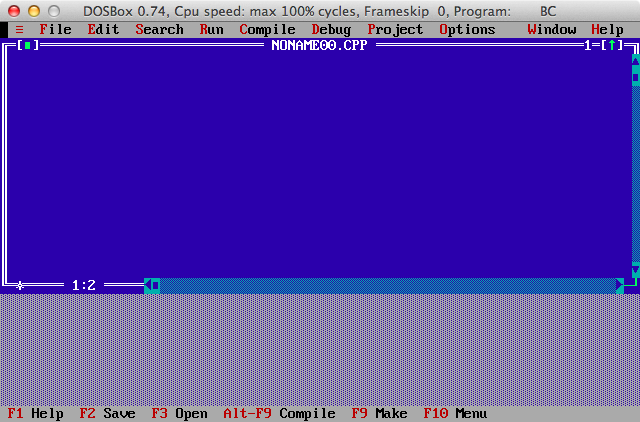
After clicking on OK, use the mouse or keyboard shortcuts to select Project → Open Project
..\..\WOLFSRC\WOLF3D.PRJ: 
Choose Options → Directories and change the value as follows:
    Include Directories: C:\BORLANDC\INCLUDE
    Library Directories: C:\BORLANDC\LIB
    Ouptput Directories: OBJ
    Source Directories:  C:\WOLFSRC
Let's try to compile: Compile -> Build All
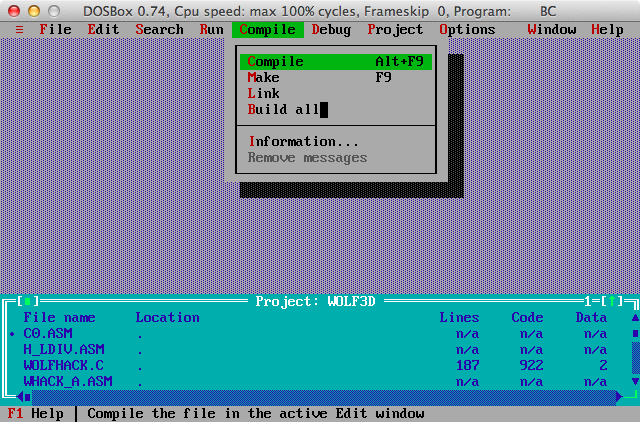
We get the error: “Cannot find executable TASM”.
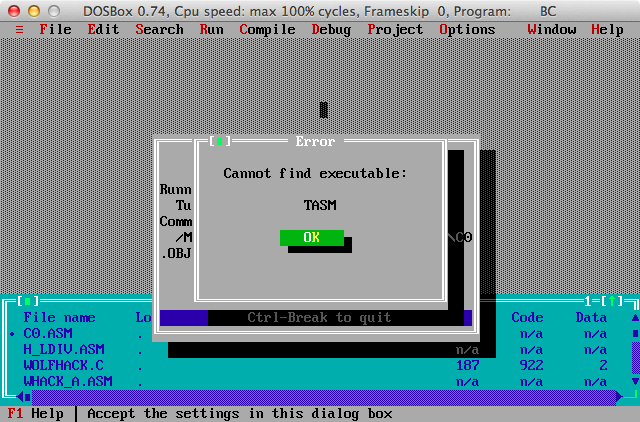
Exit Borland C ++, we need to configure PATH:
     C:\> CD ..
     C:\> PATH=C:\BORLANDC\BIN
     C:\> BC.EXE
Let's try compiling again (Compile -> Build All):

The compilation succeeded, but a layout error occurred: "Unable to find OBJ file", because the path to SIGNON.OBJ and GAMEPAL.OBJ in the project is incorrect.
They are marked in
C:\SOURCE\WOLF\: 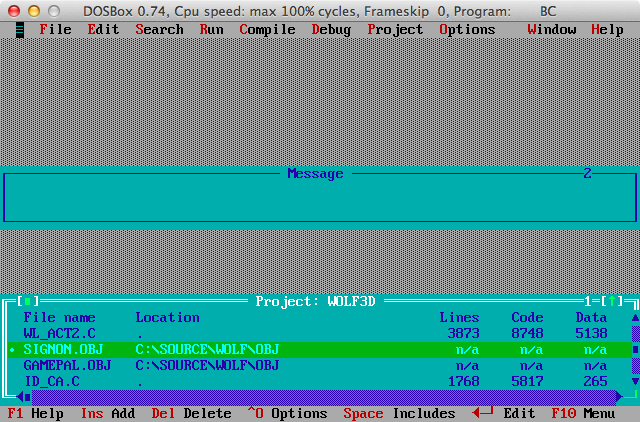
Delete them from the project (Choose Projext → Delete item). Add them again through PROJECT → Add Item .... Add
WOLFSRC\OBJ\SIGNON.OBJand WOLFSRC\OBJ\GAMEPAL.OBJ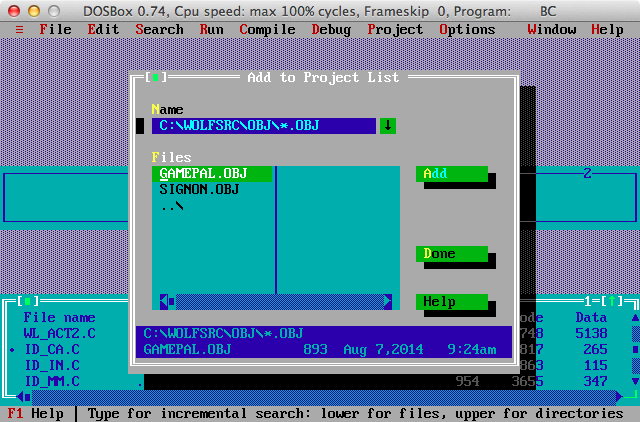
Try compiling again (Compile → Build All) It
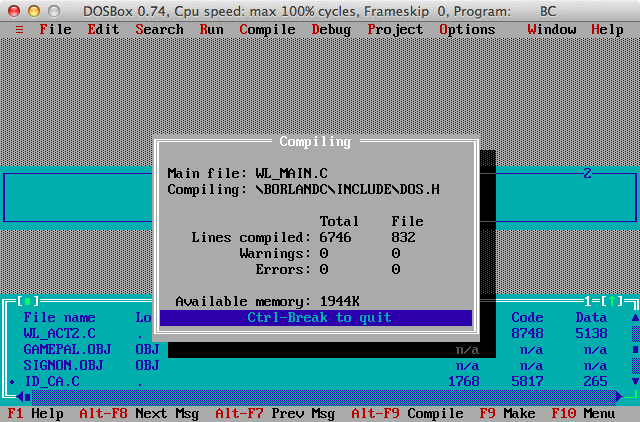
worked! But will the game start?
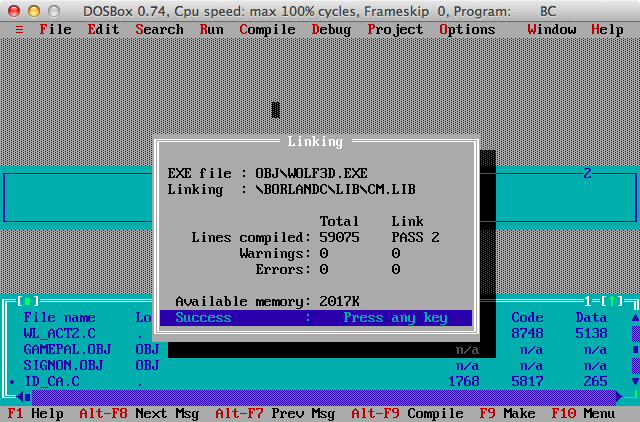
We get the resources
Download the shareware version, or better: buy Wolfenstein 3D as a full version.
    cd ~/system/c
    curl -O http://fabiensanglard.net/Compile_Like_Its_1992/tools/1wolf14.zip
    unzip 1wolf14.zip
Let's go back to DosBox and install the game in
C:\WOLF3D. C:\> c:
C:\> cd \
C:\> cd 1wolf14
C:\1WOLF14> installAfter installing the game, copy the just-compiled .EXE file to the game folder,
    C:\> c:
    C:\> cd wolf3d
    C:\WOLF3D> copy WOLF3D.EXE WOLF3D.OLD
    C:\WOLF3D> copy ../WOLRSRC/WOLF.EXE
Start the game
Let's try to run:
    C:\> cd wolf3d
    C:\WOLF3D> copy WOLF3D.EXE WOLF3D.OLD
    C:\WOLF3D> copy ../WOLRSRC/OBJ/WOLF3D.EXE .
    C:\WOLF3D> WOLF3D.EXE
Hmm, it looks weird ...

Oh ...
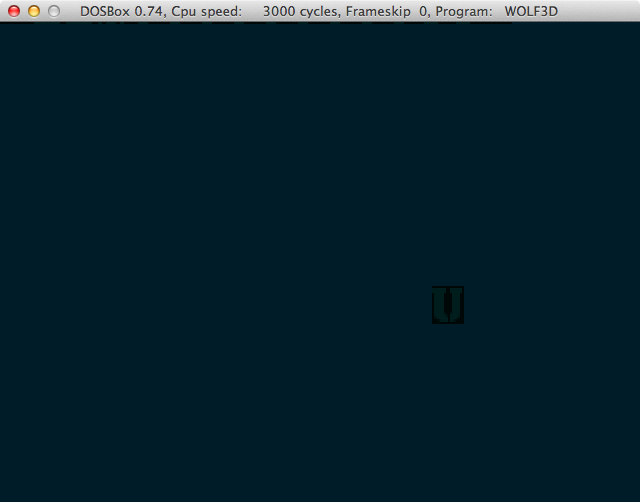
What?

I don’t remember that the game was like that ...
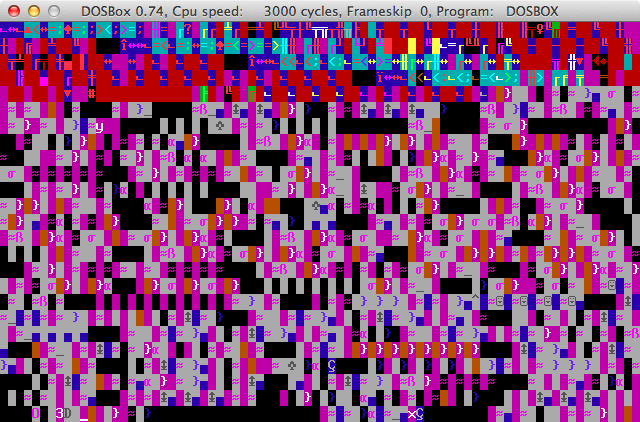
So, somewhere there was an error!
What happened?
The point is in the production pipeline of the game and how it was used by the engine. When Adrian Carmack and Kevin Cloud finished working on all the graphic files, they used the IGRABed tool to package them. The result is 3 + 2 files.
- VGAHEAD.WL1
- VGAGRAPH.WL1
- VGADICT.WL1
A VGAHEAD file is an index containing pointers to VGAGRAPH, which stores data compressed by the Huffman algorithm. VGADICT contains Huffman dictionaries for unpacking data.
Two other created files:
- GRE.H
- GRE.EQU
compiled into the engine, as shown in the figure below:

What are the files for
.Hand for .EQU? In short, they allow access by name. When IGRABed collects all the files, it also creates an enum with the corresponding indexes: GRE.H
            enum{
            H_WOLFLOGOPIC
            GETPSYCHEDPIC
            L_GUYPIC
            .
            .
            } graphicnums
GRE.EQU
            H_WOLFLOGOPIC  = 0
            GETPSYCHEDPIC  = 1
            L_GUYPIC       = 2
Thus, when the engine requests the desired resource, it can use the logical name (L_GUYPIC), rather than the "magic number" (2).
This means that the engine is manufactured from tough set of images in VGA index files. Since resources and the code base evolved after the release of wolf3D shareware (in Spear of Destiny), the new compiled game indexes do not match the location of the source resource files.
Run the game (again)
Fortunately, this problem has a simple solution: someone regenerated the VGA resources to match the indexes in the .H and .EQU files released with the source code. Just copy these files (if you use resources from the shareware version, you will need to change the file extension from .WL6 to .WL1).
  C:\> copy C:\vgafiles\VGADICT.WL6 C:\WOLF3D\VGADICT.WL1
  C:\> copy C:\vgafiles\VGAGRAPH.WL6 C:\WOLF3D\VGAGRAPH.WL1
  C:\> copy C:\vgafiles\VGAHEAD.WL6 C:\WOLF3D\VGAHEAD.WL1
Let's try again:
C:\WOLF3D> WOLF3D.EXEWorks!
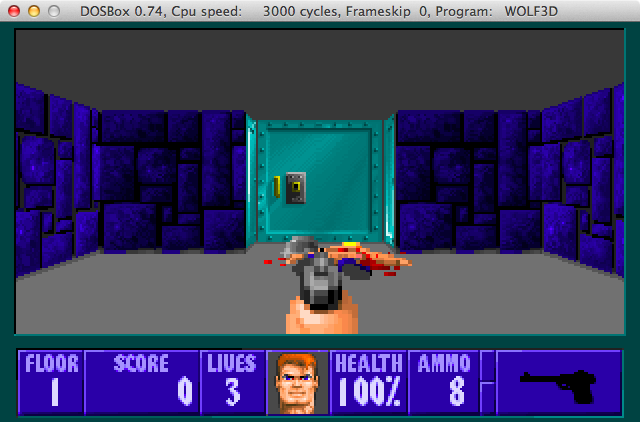
But we're still not done!
VGA frame buffer and aspect ratio
This may not be obvious to people who have never seen the original game, but the above picture from DosBox does not exactly match what the players saw in 1992. The VGA frame buffer was 320x200 in size, but CRT monitors have an aspect ratio of 4: 3. This means that the frame buffer was vertically stretched when sent to the monitor. DosBox has an option to compensate for this:
     vi ~/Library/Preferences/DOSBox\ 0.74\ Preferences
    [render]
    # frameskip: количество кадров, пропускаемых DOSBox при отрисовке кадра.
    # aspect: выполнять коррекцию соотношения сторон. Если способ вывода не поддерживает масштабирование, то это может привести к замедлению работы!
    # scaler: используется для расширения/улучшения режимов низкого разрешения.
      # Если использована опция 'forced', то scaler используется, даже когда результат может оказаться неправильным.
      # Возможные значения: none, normal2x, normal3x, advmame2x, advmame3x, advinterp2x, advinterp3x, ...
    frameskip=0
    aspect=false
    scaler=normal2x
Поменяем значение aspect на true.
Попробуем снова:
C:\WOLF3D> WOLF3D.EXEНаконец-то заработало!

