April 23, 2015 at 16:50
Installing the free GPL VestaCP site control panel
If you are looking for a free, simple and convenient site control panel with a friendly interface - VestaCP is for you. Many commercial control panels are much more functional, but also more complex. Vesta CP solves simple tasks simply and this is its advantage.
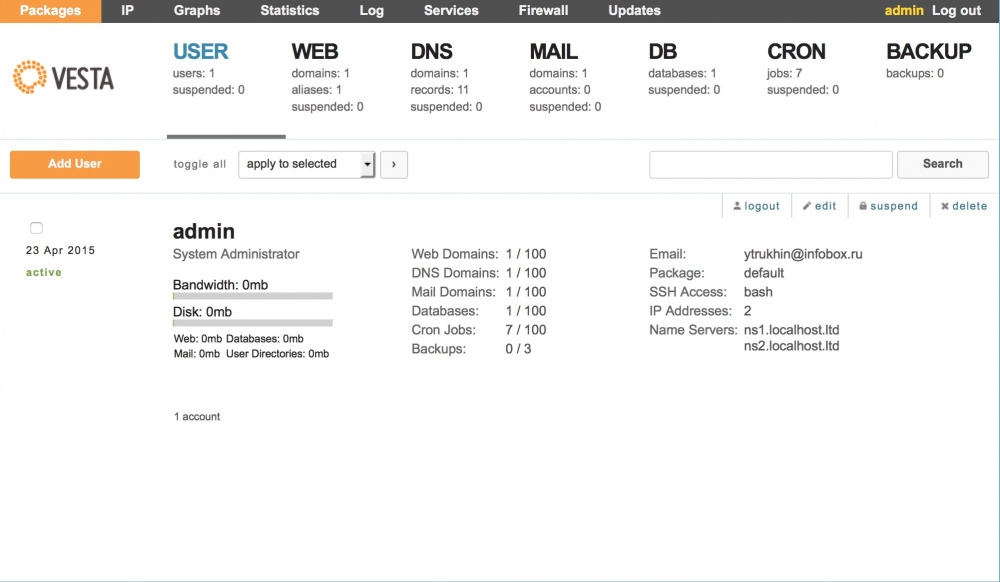
The author of the panel and the permanent developer is Sergey Rodin .
In this article, we will look at the process of installing VestaCP on a cloud-based VPS with Ubuntu 14.04 LTS. In subsequent articles, we will consider the process of using the panel.
If you don’t have a cloud VPS yet, order it . After ordering, go to the control panel and create a cloud server . When creating a server, do not forget to select a public ip – address for the client and set a sufficient network speed.
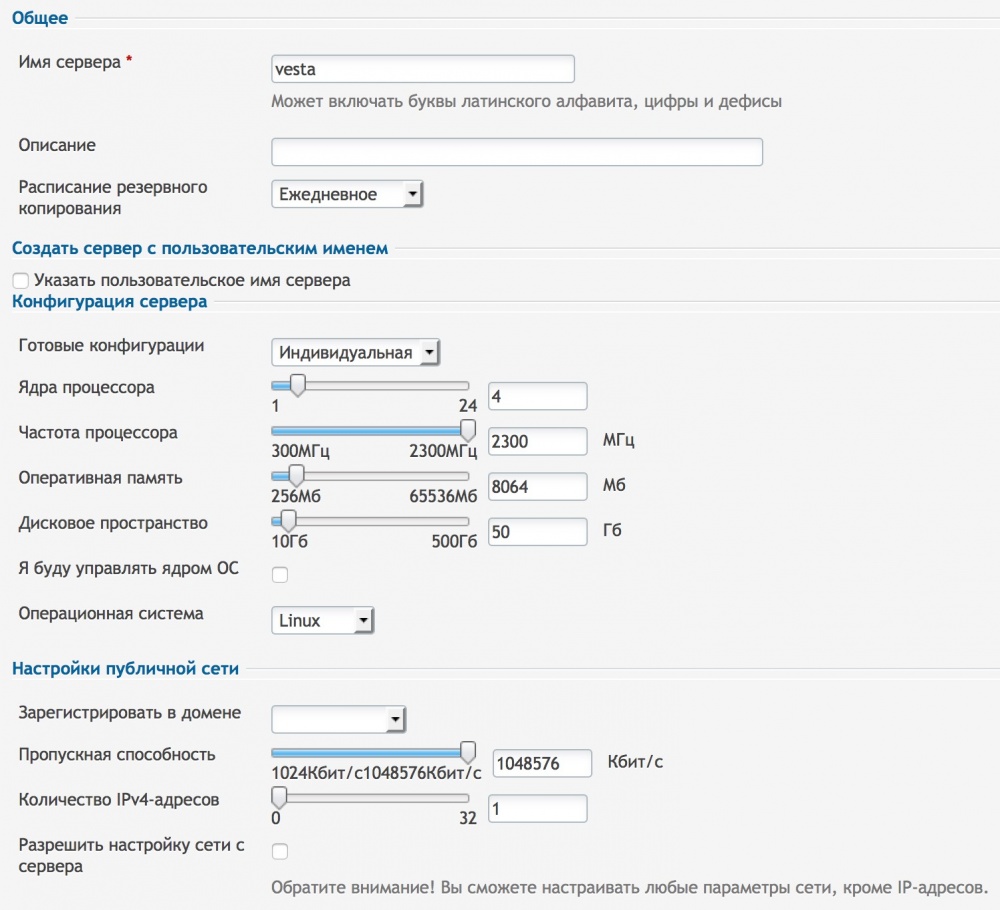
There are 4 groups of servers for which VestaCP chooses its installation method:
VestaCP antispam and antivirus modules are installed only in Medium and Large configurations. Micro configuration does not support phpfcgi template. Nevertheless, if you nevertheless need this module - you can add them additionally after installing VestaCP.
In the next step of creating a cloud server, select Ubuntu 14.04.
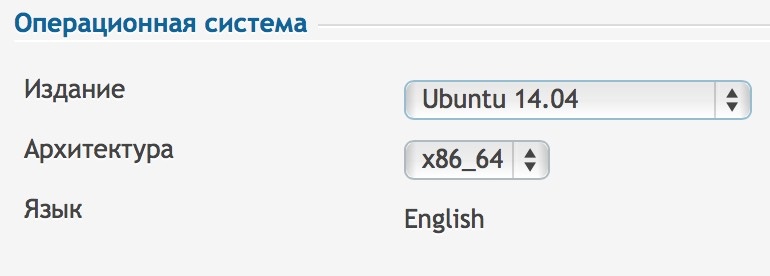
Complete the server creation. Access data will be sent to your email. Connect to the server via SSH .
1. Generate a UTF-8 locale:
2. Update the OS by running the command:
During the upgrade, you will be prompted to configure Postfix, you can select “No Configuration” and press Enter.
3. Remove apache2:
4. Install CURL:
5. Download the VestaCP installation script:
6. Run the installation:
7. Accept the offer to install VestaCP by typing “y” and pressing Enter.
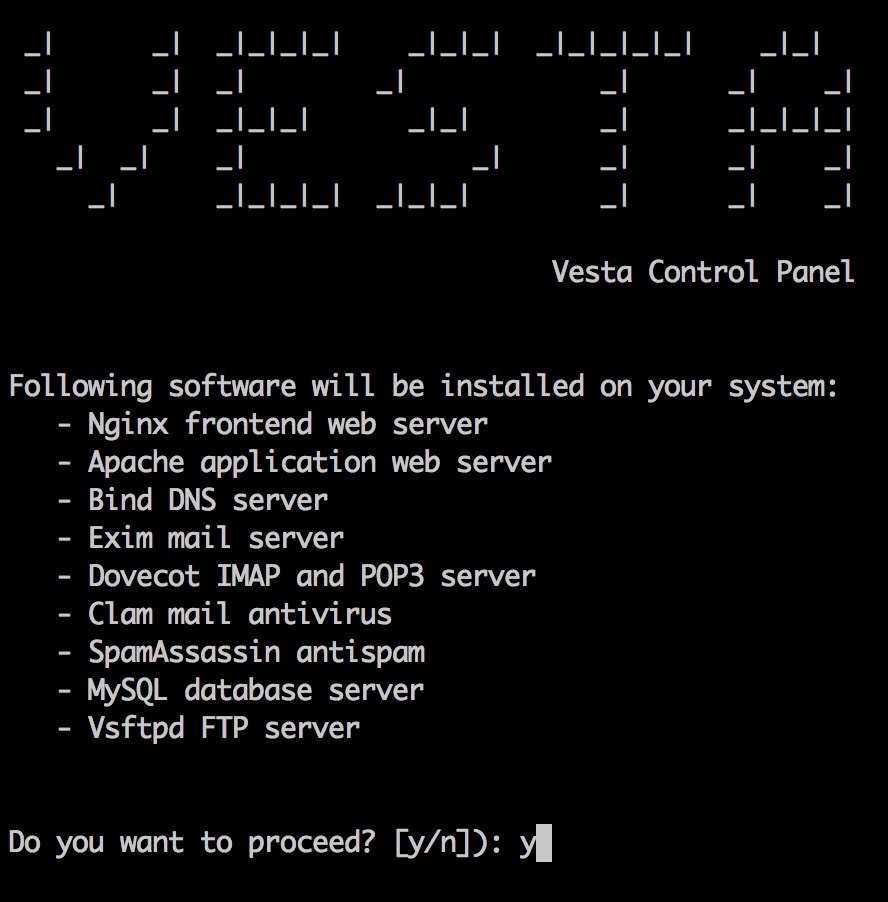
During the installation process, enter your email address and server name. After that, the installation process will begin, which usually takes about 15 minutes.
After installation, you will see the data for access to the control panel. Save them.

Open VestaCP in the browser at the specified address and enter the control panel. In this case, the browser will notify you that it is using its own certificate.
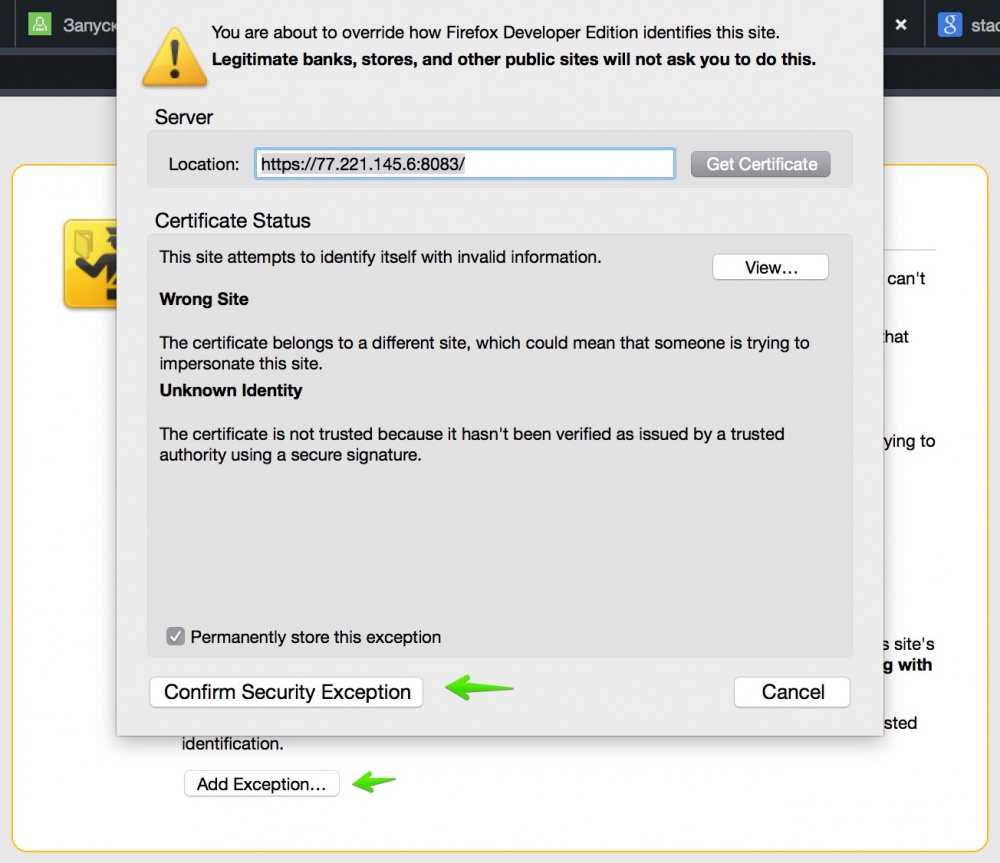
Add the site address to the exceptions and continue to enter the panel.
VestaCP is now ready for use. In the following articles we will consider how simple it is to work with VestaCP. You will get a lot right after installing VestaCP without additional instructions due to the simplicity of the panel.
Good luck!
The author of the panel and the permanent developer is Sergey Rodin .
In this article, we will look at the process of installing VestaCP on a cloud-based VPS with Ubuntu 14.04 LTS. In subsequent articles, we will consider the process of using the panel.
Install VestaCP
Creating a cloud server
If you don’t have a cloud VPS yet, order it . After ordering, go to the control panel and create a cloud server . When creating a server, do not forget to select a public ip – address for the client and set a sufficient network speed.
There are 4 groups of servers for which VestaCP chooses its installation method:
- Micro (less than 1 GB Ram)
- Small (less than 3 GB Ram)
- Medium (less than 7 GB Ram)
- Large (more than 7 GB Ram)
VestaCP antispam and antivirus modules are installed only in Medium and Large configurations. Micro configuration does not support phpfcgi template. Nevertheless, if you nevertheless need this module - you can add them additionally after installing VestaCP.
In the next step of creating a cloud server, select Ubuntu 14.04.
Complete the server creation. Access data will be sent to your email. Connect to the server via SSH .
Install VestaCP on Ubuntu 14.04
1. Generate a UTF-8 locale:
locale-gen en_US.utf8
update-locale LANG=en_US.utf8 LC_CTYPE=en_US.utf8 LC_ALL=en_US.utf8
2. Update the OS by running the command:
apt-key update && apt-get update && apt-get -y upgrade
During the upgrade, you will be prompted to configure Postfix, you can select “No Configuration” and press Enter.
3. Remove apache2:
apt-get -y purge apache2 apache2-bin apache2-data apache2-doc apache2-utils
4. Install CURL:
apt-get -y install curl
5. Download the VestaCP installation script:
curl -O http://vestacp.com/pub/vst-install.sh
6. Run the installation:
bash vst-install.sh
7. Accept the offer to install VestaCP by typing “y” and pressing Enter.
During the installation process, enter your email address and server name. After that, the installation process will begin, which usually takes about 15 minutes.
After installation, you will see the data for access to the control panel. Save them.
Open VestaCP in the browser at the specified address and enter the control panel. In this case, the browser will notify you that it is using its own certificate.
Add the site address to the exceptions and continue to enter the panel.
VestaCP is now ready for use. In the following articles we will consider how simple it is to work with VestaCP. You will get a lot right after installing VestaCP without additional instructions due to the simplicity of the panel.
Good luck!