Today, there are many ways to localize WPF projects mainly based on binders.
There are pros and cons to this approach. I am not happy with this approach, this is a huge number of binders in xaml markup, an additional delay when loading the page. Also, extra time to search for a string in the source code i.e. when I see a line in a running program, first I have to find this line in resx resources, and after that only xaml containing this key.
We recently hooked up Elas to localize our project. Elas pulls out all the attribute values of the element marked x: Uid from the xaml markup and puts them in the xlf file for subsequent translation. I will tell you with a simple example how this is done.
Windows 8, Visual Studio 2013
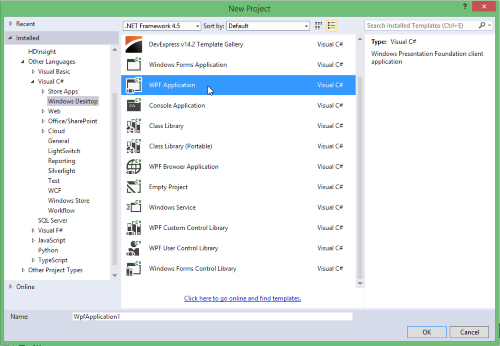
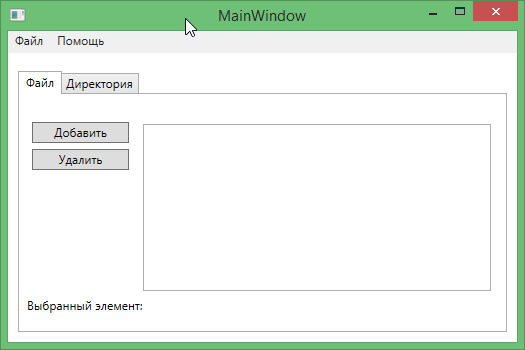
So, create a new WPF project.
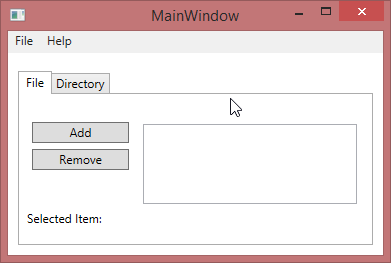
And a few elements on the main window.
MainWindow.xaml
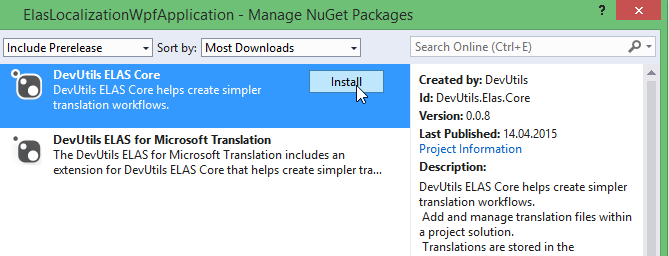
Add the Elas Core Nuget package.
Pay attention in the solution there is a new file ".elas \ ElasConfiguration.props"
This is an Elas configuration file where you can specify the languages into which you want to receive a translation.
Next, run the build.
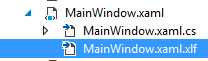
And after the build, we now have an xliff file for “MainWindow.xaml”:
But it does not have a single trans-unit since we did not specify any x: Uid for the elements.
Add x: Uid for each item.
MainWindow.xaml
Build again. And now we can begin localization.
Before localization
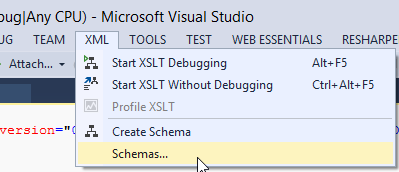
If you are going to work with the "MainWindow.xaml.xlf" file yourself in Visual Studio, then for this it will be more convenient to add the xml scheme "xliff-core-1.2-transitional.xsd" in Visual Studio. This file can be found in "% SolutionDir% \ packages \ DevUtils.Elas.Core.XXX \ schemas \ xliff-core-1.2-transitional.xsd" and add it to Visual Studio.
Consider the file "MainWindow.xaml.xlf".
This file contains the keys (1) (x: Uid) and the original value (2) that needs to be translated. The translation is added to the target element and the state value is changed to "translated". Elements for which you do not want to translate, set translate to "no" and state to "final".