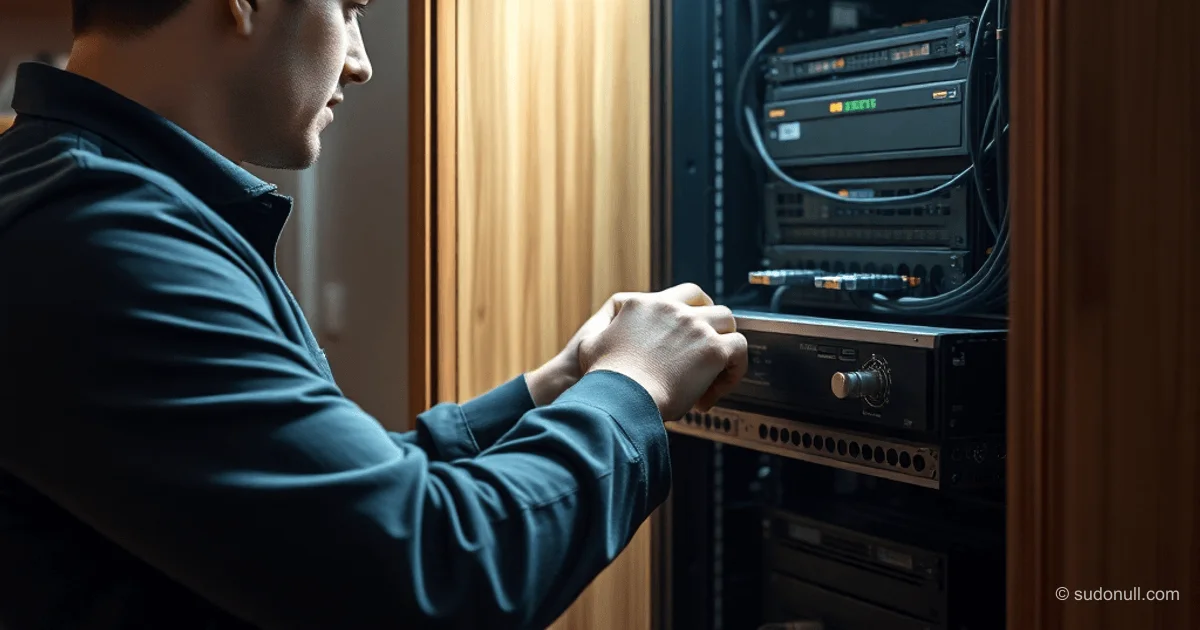
# Home DevOps Cluster: Budget Lab Case Study
Setting up a home lab to hone DevOps skills doesn't require enterprise-grade hardware. This project shows how to build a functional cluster with fault tolerance using second-hand gear and custom hacks. The emphasis is on affordable parts and a DIY mindset, which is perfect for engineers just starting out.
Hardware: Servers and Their Features
The cluster comprises four SuperMicro 5017C-MF servers. A key feature is the mix of motherboards from two generations. One server uses an X9SCL-F board (Xeon E3-1220v2, 8 GB RAM, 60 GB SSD for OS and 8 TB HDD for NFS), while the three worker nodes have X10SLL-F boards (Xeon E3-1220v3, 16 GB RAM, 60 GB SSD). The generational difference dictates CPU compatibility: ninth-gen boards support first- and second-gen CPUs, while tenth-gen ones handle third- and fourth-gen.
Key server specs:
- Console node (X9SCL-F): Xeon E3-1220v2, 8 GB RAM, 60 GB SSD (OS) + 8 TB HDD (NFS)
- Worker nodes (X10SLL-F): Xeon E3-1220v3, 16 GB RAM, 60 GB SSD (OS)
The mixed architecture poses no issues for cluster operation, as all servers are networked together and managed centrally. The main limitation—no support for newer CPUs on older boards—isn't a big deal for training purposes.
Network Infrastructure and Switching
The network switch is a Tenda-TEG1016M. It was selected for its 16 Gigabit ports, VLAN support, and compact footprint. VLAN functionality is reserved for future experiments in network isolation, which is crucial for learning about security and segmentation.
The switch is rack-mounted using custom 3D-printed brackets. This setup optimizes space and ensures rock-solid mounting. Tenda was chosen for its low price (around 2,000 rubles) and bandwidth that's plenty for a home cluster.
Backup Power: Upgrading an Old UPS
The setup uses an APC PowerStack 450, a UPS from a previous generation. Despite its age, it offers solid perks: COM-port management via apcupsd, automatic battery diagnostics, and detailed monitoring. Its 280W rated power (450W peak) handles the cluster's load.
A standout project tweak: a 220V-to-12V power supply was installed inside the UPS to run the switch. This freed up C-13 outlets for other uses, ditching the need for an external brick. The mod was done after full-load testing to rule out overloads.
Homemade Server Rack: From Idea to Build
The rack is pieced together from scavenged materials, slashing costs by up to 70% compared to off-the-shelf options. The base is a laminated particleboard enclosure sized to fit (width = 2 rails + server). Furniture rails with Push-To-Open mechanisms provide smooth 450 mm extension for easy server access.
Key build elements:
- 450 mm travel rails for hassle-free server access
- Plastic cable ties for tidy wiring
- 3D-printed brackets for the switch
- Extra feet and braces for stability
Early attempts at an 8-server rack flopped due to the need for metal angle reinforcements. The current 4-server version is rock-solid and supports vertical scaling—just stack another rack on top.
Results and Future Plans
The project was completed in six months on a ~50,000 ruble budget:
- Servers: 25,000 rubles (4 servers + HDD, SSD, fans)
- UPS: 4,000 rubles (unit + batteries + mods)
- Switch: 2,000 rubles
- Rack and parts: 5,000 rubles
The cluster reliably runs Nextcloud, Element, and Seafile with basic fault tolerance. Next up: NFS tweaks and a dust filter for the front panel. Plans include boosting network bandwidth and adding VLAN features.
Key Takeaways
- Hardware Flexibility: Mixed server configs don't hinder learning tasks but call for minding CPU generations.
- DIY Saves Money: The custom rack and UPS upgrade cut costs 2-3x versus commercial alternatives.
- Scalability: The design allows vertical expansion without compromising stability.
- Must-Do Tweaks: Add a dust filter and optimize NFS for long-term reliability.
— Editorial Team









No comments yet.