Krita Linux build for kotan
- Transfer
- Tutorial
Finally, the translation of another article by David Revoit, an excellent artist using free software, as well as a permanent member of the Krita Foundation and Blender Institute communities. The master shares with beginner artists instructions for building the latest version of the Krita graphics editor from source codes. He believes that this process is actually not as complicated and intricate as it seems at first glance. All steps are beautifully illustrated. Get involved!
Introduction
Almost a year after I released Compilscripts on GitHub , I realized that I made a mistake. The very idea of the Compilscript approach turned out to be wrong, so I decided to stop supporting it .
What is Compilscript?
The Compilscript project was a set of scripts to help users build and install Krita (the latest version for developers) and perform “automatic” maintenance of the program. Scripts have achieved little success. I am still proud of how much I learned while doing it.
What was wrong?
If something unusual happened, something that I did not take into account, Compilscript threw an error and stopped working ... And since “unusual things” are a common occurrence in Linux, the user was very dependent on a system that he did not understand. And when it broke, it also broke the user's entire workflow, leaving him no way to fix anything. This is not a solution.
A new approach.
So I decided that the best
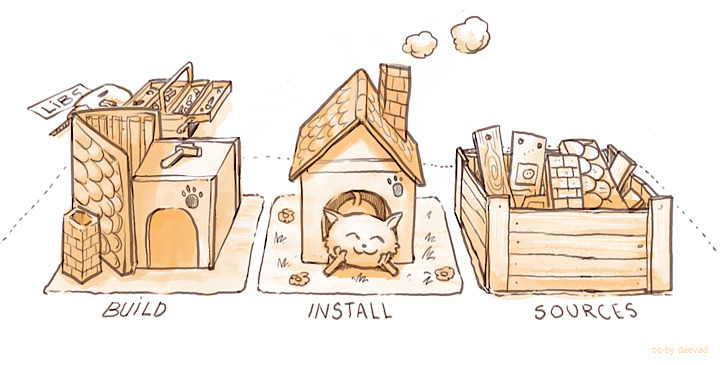
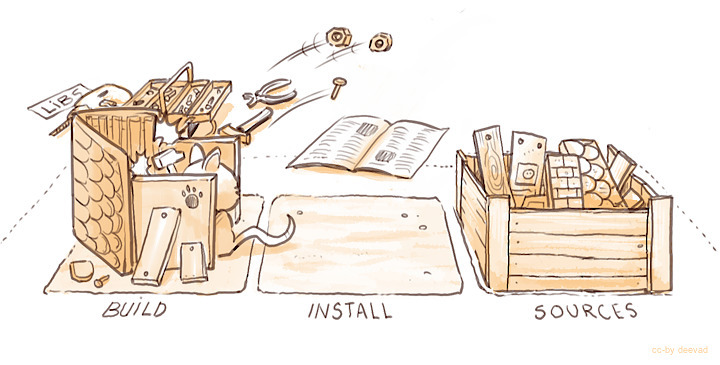
Everything is illustrated
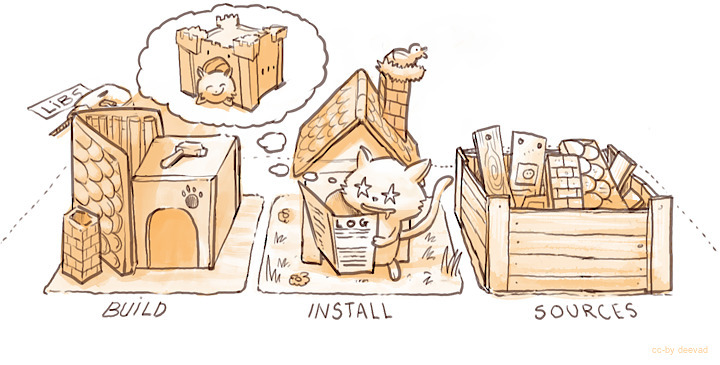
. I also offer a number of illustrations about compilation (distributed under the CC-By license ). I hope these images help other projects become more user-friendly and make sense more clearly through a simple analogy: the cat is building a house.
Why a cat?
Because the whole Internet knows seals well: it is impossible to make mistakes with seals.
Cooking directories

The first required step: preparing the place. It will take approximately 5GB of free space in your home directory. We will use the structure recommended by the developers:
/ home / <username> / kde4 / src for source code
/ home / <username> / kde4 / build for building Krita
/ home / <username> / kde4 / inst for installing Krita
Note: in this instruction, treat <username> as your username (e.g.: / home / deevad / kde4 / src )
To do this, open a Terminal, copy the line (Ctrl + C) and paste it into the Terminal (Ctrl + Shift + V):
mkdir -p ~ / kde4 / src ~ / kde4 / build ~ / kde4 / inst
Also check in the package manager of your distribution that calligra and krita packages are not installed . Use the search by name and, if necessary, delete them.
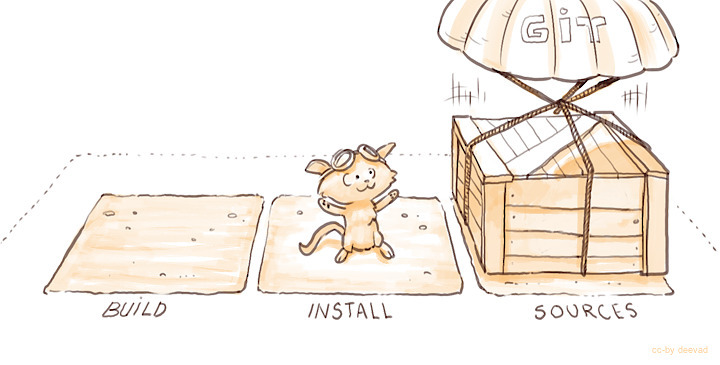
Get the source code.
Go to the folder using the cd (change directory) command and the Tab key to auto-complete the names.
cd ~ / kde4 / src
Install git using the package manager of your distribution.
Then give git a command to get the source code, insert this line in the Terminal, being in the ~ / kde4 / src directory:
git clone git: //anongit.kde.org/calligra.git
Attention! At the moment (March 2015), in connection with the transition to Qt5, the main development of Krita is carried out in the calligra / 2.9 branch , so immediately after receiving the source code, you need to switch the current branch with commands
cd ~ / kde4 / src / calligra
git checkout calligra / 2.9
Get Libraries and Dependencies
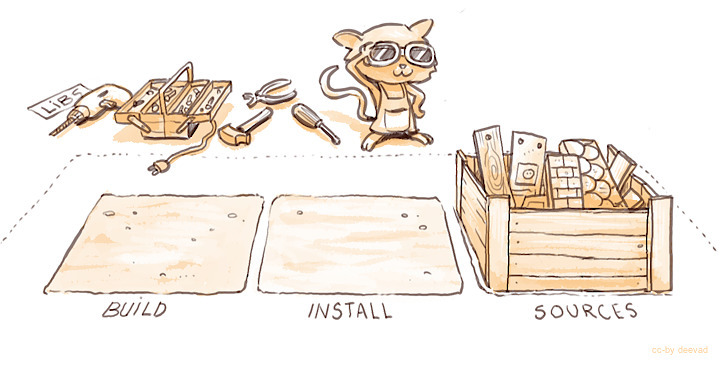
This part can be complicated: each distribution uses its own package management method, so we install the libraries. Krita is part of Calligra, therefore it depends on a large number of libraries; and it’s not always possible to install them with one command. On some distributions (Ubuntu, openSUSE) there is a basic meta package for this, but on others not. Read the official documentation here for the code to get the necessary libraries automatically. ( Note: this is a link to a wiki page, so do not hesitate to edit, add, make changes to facilitate this process for other users .)
If your distribution is not in the list, we will go to Plan B and look for packages one by one in your manager packages. That sounds awful, but shouldn't take too long. ( Note: in some distributions, these libraries are named by the principle: <library-name> -dev or <library-name> -devel ).
This list will be useful for you:
git make cmake boost boost-build kdepimlibs eigen kdegraphics-okular
libgsf libwpd libwpg libwps pstoedit glew gsl automoc4 boost libkdcraw
libpqxx fftw opengtl lcms2 vc exiv2
In rare cases, as well as if your distribution is out of date, it may happen that only old versions of libraries are available to you. You will need to collect these dependencies manually. Remember, README files and search engines are your friends.
Configuration
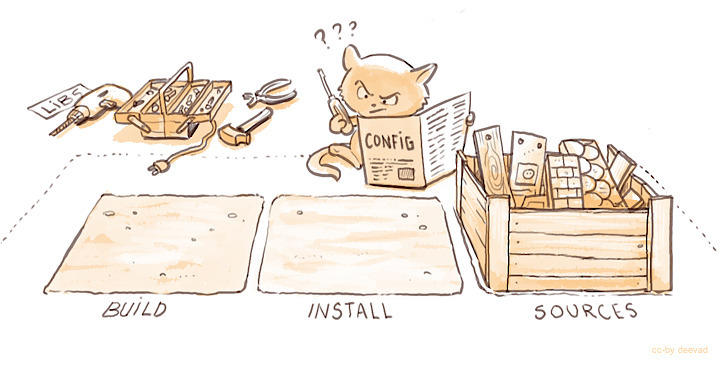
Configuring with cmake will check if there are enough libraries installed to build Krita. If you get errors during configuration, look at which libraries are missing, the command will write about it in the output. This is why it is important to check if everything is in order.
We inform cmake about our folder structure, and also give the command to build only Krita. But first, do cd to do everything in the right place:
cd ~ / kde4 / build
cmake -DCMAKE_INSTALL_PREFIX = $ HOME / kde4 / inst $ HOME / kde4 / src / calligra -DCMAKE_BUILD_TYPE = RelWithDebInfo -DPRODUCTSET = KRITA
Assembly
After you read the configuration report, if everything looks fine, it's time to build Krita.
Remaining in the / kde4 / build folder, call make with the -j < mount > parameter , where < mount > should be replaced by the number of parallel operations supported by your processor (+1 is sometimes recommended). For example, I have 8 cores, so I use -j9.
make -j9
Tip: if you don’t know how many kernels you have, you can find out by a simple command:
cat / proc / cpuinfo | grep processor | wc -l
Installation
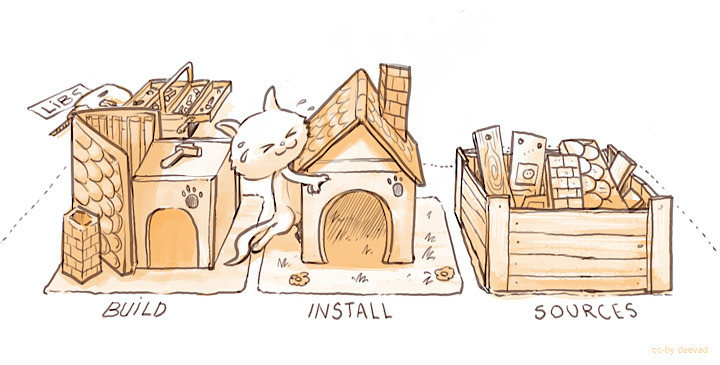
If the assembly reaches 100% without errors, you can give the make command to install the files in your folder.
make install -j9
Paths and environment variables

The installation is complete, but your system does not yet consider the contents of the installation folder as part of the set of applications on the system. Let's show the system the correct path, in the Terminal we copy the lines in turn:
export KDEDIRS = $ HOME / kde4 / inst: $ KDEDIRS
export PATH = $ HOME / kde4 / inst / bin: $ PATH
Unfortunately, these environment variables are not constant, after turning off or rebooting the system they will be lost and our bridge will collapse. To set them at every login, insert them at the end of the ~ / .profile file using your favorite text editor (in some distributions the profile is called xprofile, check hidden files in the home / <username> folder). Then you need to register Krita in the system, kbuildsycoca4 will do this after starting in the terminal:
kbuildsycoca4
First start
Congratulations! You can launch Krita-minute-freshness by writing krita in the Terminal or using the system menu.
If Krita does not appear there, read the documentation for your desktop environment: "How to create a custom launch button."
Update
Have you heard about adding a new awesome feature or read about fixing an annoying bug and want to update the version? Calm, call git again . It is time to add the missing lines of code to your folder. No need to download the entire package.

Go (cd) to the code folder, then ask git pull to update your code:
cd ~ / kde4 / src / calligra /
git pull

But just updating the code is not enough; to test the new version of Krita, you need to repeat the configuration, compilation and installation:
cd ~ / kde4 / build
cmake -DCMAKE_INSTALL_PREFIX = $ HOME / kde4 / inst $ HOME / kde4 / src / calligra -DCMAKE_BUILD_TYPE = RelWithDebInfo -DPRODUCTSET = KRITA
make -j8
make install -j8
If you update daily, you can automate the process by creating your own minimal script. I shared mine using the 'KDE paste' service .
Recovery

The latest version for developers may sometimes crash or be unusable. Experimental changes are added daily. This can undermine your productivity if you don't know how to 'go back in time' (e.g. your favorite brush no longer works). But if you know how to do this, nothing will confuse you , because you can return to the previous state.

To travel through code and time, you need to familiarize yourself with the chronology. In the terminal, git log is used for this.
cd ~ / kde4 / src / calligra /
git log
With git log , you can track any code changes that are called 'commit'. We are interested in a long identification number (e.g.: 15c1749105a7e7cc56b646a66919c29646f8653a). You can scroll through git log , copy the ID number and exit (letter Q on the keyboard). Now, let's go back in time with your code folder:
git checkout 15c1749105a7e7cc56b646a66919c29646f8653a
Now we configure, compile and we are safe again. I also recommend gitg or gitk packages to have a graphical interface for displaying git history . An online version is also available here .
To upgrade to the instant freshness code called master again, just ask git to go to it with git checkout and get a ( pull ) update:
git checkout master
git pull

Total
I hope this guide helps many users enjoy the features of the Krita version for developers.
You can leave feedback and corrections in the comments, I will do everything I can to maintain the relevance of this page (approx. Per .: I will also try to keep the translation of this article relevant).
Useful links:
- Group of Russian-speaking users in VK
- Error message form (official error database)
- Error message form in Russian
- Krita official blog
- Krita official forum
More links
- The official Calligra build documentation wiki page .
- Calligra Git: activity and history
- List of discovered and fixed Krita bugs
- Old Compilscript repository (will be deleted soon)
- Calligra Git: activity and history
- List of discovered and fixed Krita bugs
- Old Compilscript repository (will be deleted soon)