NaviGuild your own navigator
History of creation
I myself come from a small town. After moving to Minsk, adaptation began. If the route home – work – home did not cause problems, then the possibility of traveling to an unfamiliar point caused discomfort. Yes, I'm talking about public transport. Now for any big city there are navigators, but what if the city is small? It is unlikely that someone will write programs for all cities, and does it make sense? Essentially, all we need is:
- find a stop
- find out when the nearest transport will be
- get the best route
- see map
It so happened that the specifics of my past work made me travel around the cities and every time the idea of writing a universal program only got stronger. Now the idea has turned into a project.
Description
The initial idea of the program is to bring people together to create a common information base. Functionality of the program:
- Information on stops and routes.
- Search for stops and routes
- Making Favorite Lists
- Offline map
- Search for objects on the map
- Direction of traffic
- Ability to upload your schedule and maps
Work with the program
Schematically, I provided the life cycle of the program in the following figure.
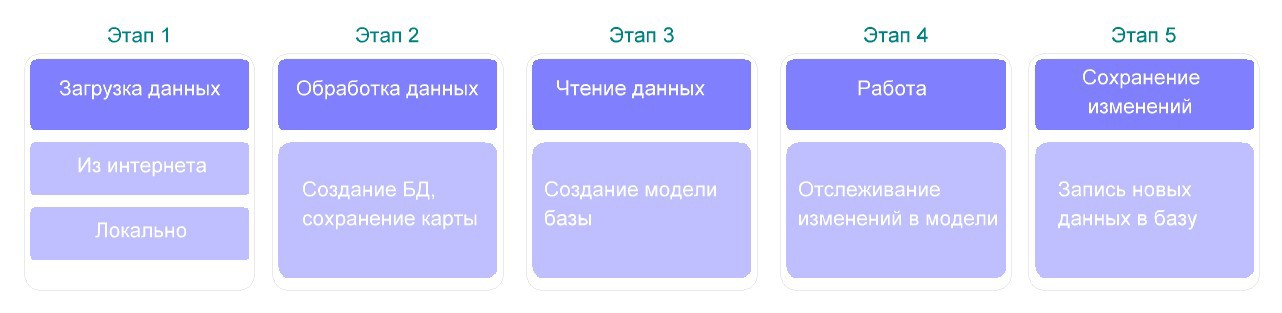
At the first start of the program, there are no data in it. The data consists of two parts:
- a map that you can download or make yourself ;
- JSON format schedule text file with its own structure. Description of the structure here .
At startup, we need to indicate where we want to get the data from (Step 1). Further, after the data are indicated, the following occurs. We will convert the schedule file to an object, get the path to the map file and write to the database (Step 2). The base is Realm .
After recording the database, we are thrown into the main window. Where it is checked whether a database model is created. If the model is created, we are waiting for changes in the model (Stage 4), no - we create the model (Stage 3). The data model is made in the form of a singleton . When changing in the model, save the updates to the database (Step 5). At the next start, we check whether the model is created and select the stage.
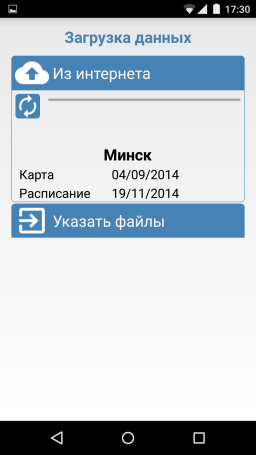
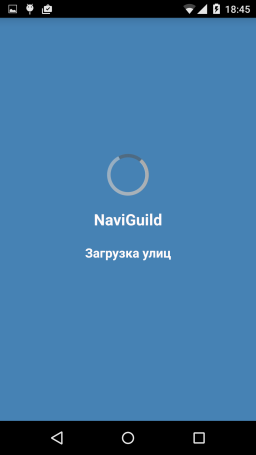
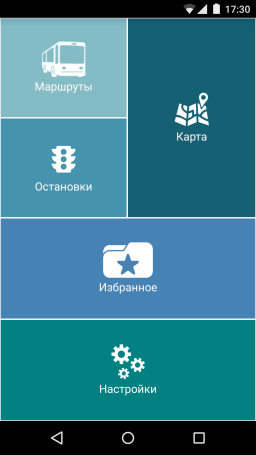
This is how it looks.
Stage 1
Stage 3
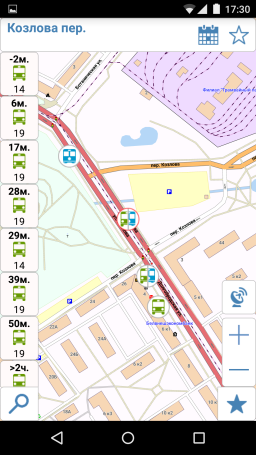
Main window
Map
Ps I will be happy to answer all your questions or help with creating a schedule.