WinJS + universal applications. Learning ListView

In a previous article, I talked about how to create a gallery of images using the FlipView control. Today we are going to look at the ListView control, which allows us not only to display various data in the form of a list, but also to work with them - group, drag and reorder.
First, let's see what options for displaying data are available in the ListView control. If you are not familiar with the WinJS library, you can read about the controls included in the library here .
Displaying and linking data in a ListView control
To add a ListView, add a div block to the page with the data-win-control attribute, and set it to WinJS.UI.ListView .
To work with ListView you need:
- Add data sources
- Set a template for displaying data
- Define layouts to display data
Adding a data source
To prepare the data for adding to the ListView control, create an array:
(function () {
    "use strict";
    var myData = [
    { title: "Basic banana", text: "Low-fat frozen yogurt", picture: "images/60banana.png" },
    { title: "Banana blast", text: "Ice cream", picture: "images/60banana.png" },
    { title: "Brilliant banana", text: "Frozen custard", picture: "images/60banana.png" },
  ...
    ];
})();
Each of the objects has three properties: title, text and image. In this example, images are stored locally. Let's make a list of Binding.List from our array of objects:
var dataList = new WinJS.Binding.List(myData);
To make the list globally accessible (this is required for the declarative description), do not forget to create a namespace (in this case, DataExample), which provides an open itemList element that returns the list. Using the WinJS.Namespace.define function :
 var publicMembers =
        {
            itemList: dataList
        };
WinJS.Namespace.define("DataExample", publicMembers);
The WinJS.Namespace.define function takes two parameters: the name of the namespace being created and an object containing one or more property-value pairs. Each property is the public name of the element, and each value is a base variable, property or function in your private code that you want to share.
In order to add the created list to the ListView control, you need to set the itemDataSource attribute to DataExample.itemList.dataSource.
Remember to create a template for displaying data. You can read about how to create a template here .
Note : To apply an element template, use the select syntax to set the itemTemplate property to your object element templateThe ListView .
In addition to the template for each object individually, you need to define one of the available layouts of the template to display the data of the ListView control.
Standard Layouts for Displaying ListView Control Data
The ListView element has three standard layouts for displaying data - a list, a grid, and a cell. To use one of the layouts, add the value WinJS.UI.ListLayout , WinJS.UI.GridLayout or WinJS.UI.CellSpanningLayout for the layout property . Layouts WinJS.UI.ListLayout WinJS.UI.GridLayout used to create a list and grid elements, respectively. As for the WinJS.UI.CellSpanningLayout layout , it is designed to create a grid with several different sizes.
Note: The cell display layout is available only for Windows.

Similarly for Windows:
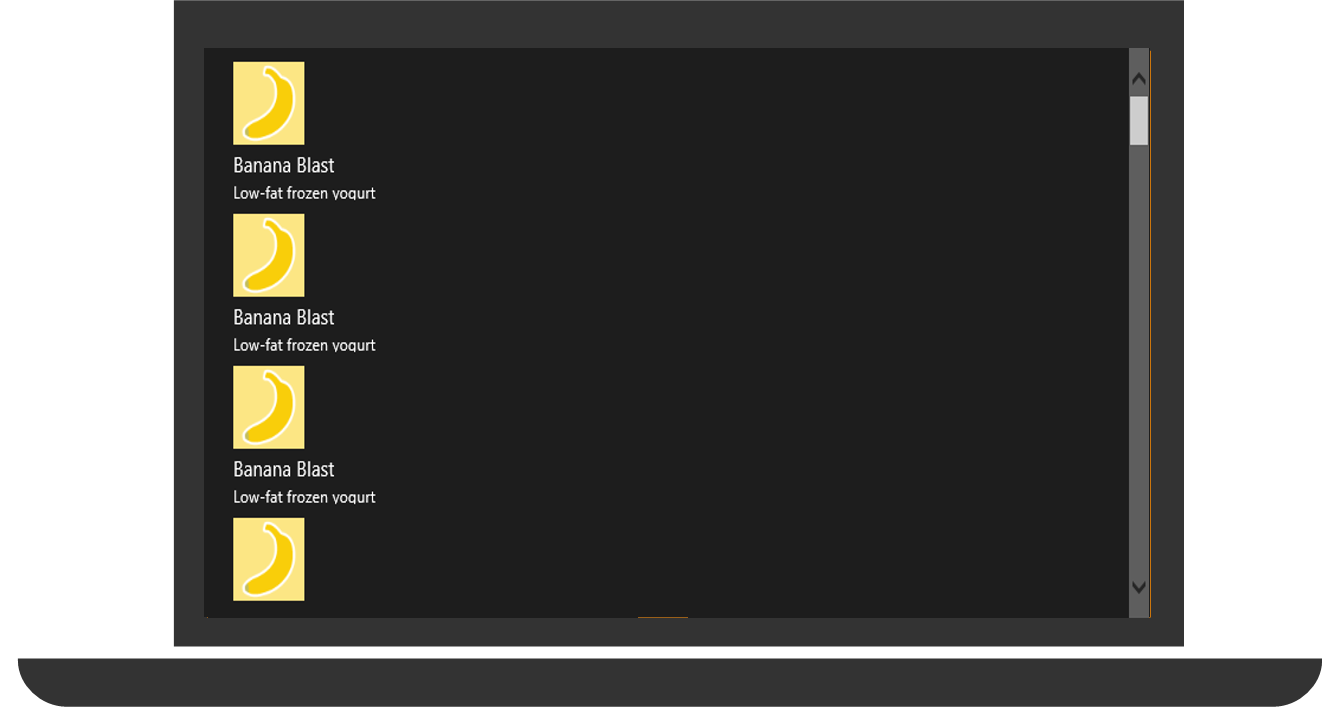
List Layout (ListLayout)

Layout Grid (GridLayout)

Layout Cell (Layout CellSpanningLayout)

Styling a ListView Control
The design of the ListView control is very easy to change. To style a ListView control, you can:
- Use WinJS.Binding.Template to describe a single item template
- Describe CSS styles for ListView elements, for example:
- win-listview sets the style of the entire ListView object
- win-viewport sets the style of the viewport. Here, if necessary, a scroll bar is displayed.
- win-surface sets the style of the scrollable ListView . If the viewport is smaller than the scrollable area, scroll bars appear in it
A complete list of classes is available on the ListView reference page .
For example, you can add a background image and a border for the ListView element:
#myListView .win-listview {
    background-image: url('../images/icecream.png');
    border: 2px solid red;
}

Excellent! We introduced the ListView control, looked at creating and adding data, and looked at the available layouts for display. Now let's learn how to work with elements inside a ListView.
Reorder items in a ListView
Imagine that you have a list of data that you want to somehow reorder, swap the lines of the list. Let's solve this problem.
The Listview control has an itemReorderable property that allows you to swap items. The itemsReorderable property takes two values: true and false. In case we want to allow permutation of elements, we set property itemsReorderable to true.
Note : The itemsReorderable property is not available for Windows Phone.
Declarative task of reordering elements
Programming task for reordering elements
(function () {
    // Получаем ссылку на элемент управления ListView
    var listView =
        document.querySelector('#listView').winControl;
    // Присваиваем значение для itemsReorderable
    listView.itemsReorderable = true;
})();

We solved the task of working with the list - now we can manually reorder the elements. But what if we want to somehow group them? For example, distribute them into groups, depending on the first letter of the element name.
Grouping items in a ListView
Consider an example of grouping data by the first letter of the name of each element. To implement grouping, create a version of your data source that will contain information about the grouping of elements. The grouping process will be as follows: we first sort the group headings by comparing the Unicode of the initial letters in the string, and then bring the headings of all the groups to one form and create the groups themselves.
// Сравнение групп по ключам
    function compareGroups(leftKey, rightKey) {
        return leftKey.charCodeAt(0) - rightKey.charCodeAt(0);
    }
    // Определяем, ключ группы для элемента
    function getGroupKey(dataItem) {
        return dataItem.title.toUpperCase().charAt(0);
    }
    // Возвращаем заголовок для группы
    function getGroupData(dataItem) {
        return {
            title: dataItem.title.toUpperCase().charAt(0)
        };
    }
    // Создаем новые отсортированные группы
    var groupedItemsList = itemsList.createGrouped(getGroupKey, getGroupData, compareGroups);

We have learned how to group items. But what if there are too many elements and groups and moving around the list becomes difficult? To do this, the WinJS library provides a Semantic Zoom control.
We implement navigation in the ListView using the SemanticZoom control
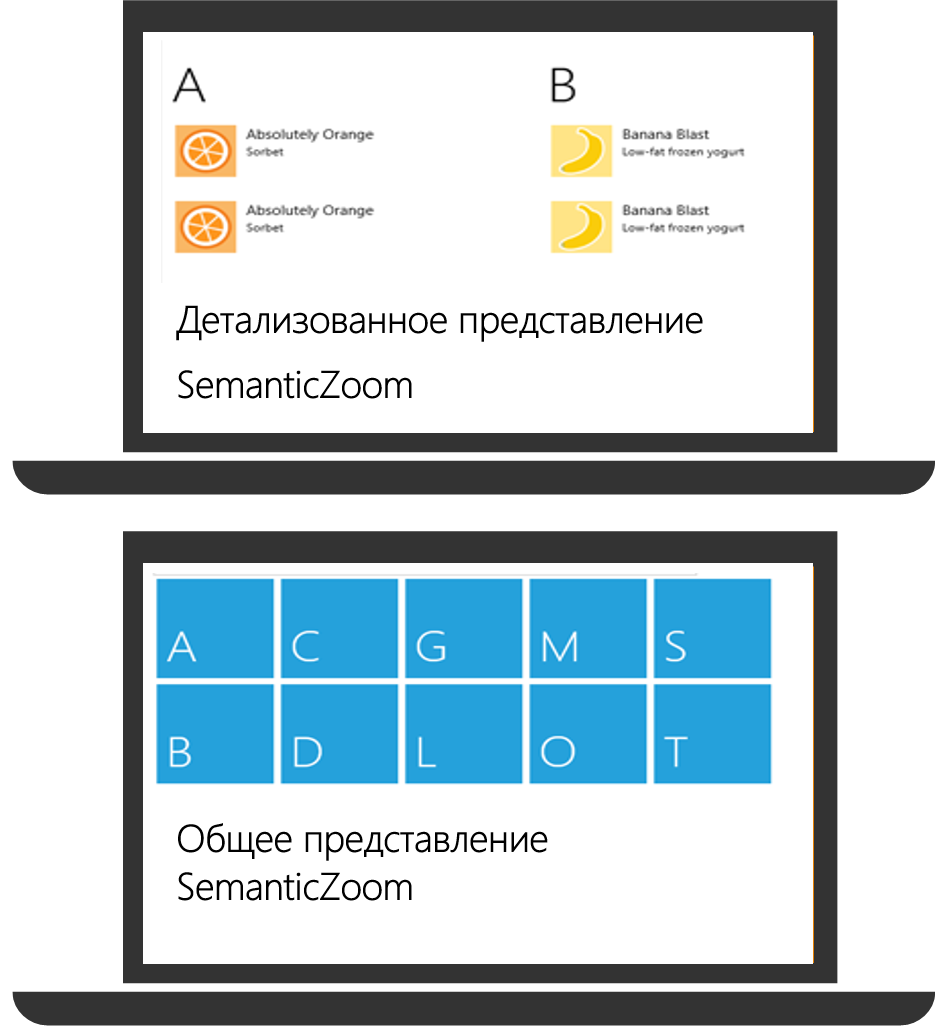
The SemanticZoom control allows you to switch between two different representations of elements. One of these views is the content view itself. The second allows you to implement quick navigation between the contents, for example, display group headings for quick access to the contents of each group.
To add a SemanticZoom control, you need to create a div block and set the data-win-control attribute to WinJS.UI.SemanticZoom.
Define three templates for ListView objects: one for a detailed view of items, another for group headings in a detailed view of items, and a third for group headings in a general view. You also need to add 2 ListView controls. The first will define the detailed view, and the second the general view.
We proceed directly to adding the SemanticZoom control. To do this, simply add ListView controls to the detailed and general view of the SemanticZoom control block.
Pay attention to:
- Data Sources (itemDataSource)
- Templates for displaying data.

Important! Remember to define your own styles for the overall presentation.

With what features you can implement within a single list in the ListView control, we met. The next step is to work with several lists, namely, moving items from one list to another.
Drag and Drop Support in ListView Control
Imagine a situation where you have two lists and you want to move items from one list to another. To solve this problem, you can use the drag and drop operations available for the ListView control. These operations are compatible with the drag and drop feature in HTML5. You can drag and drop between two ListView controls, between ItemContainer and ListView, and between any HTML element and ListView. You can let the user drag and drop items to a specific location in the ListView, and you can also control where the items to be dragged are inserted. Read more about handling drag and drop events in HTML5 here .
Note : Dragging and dropping items is not available for Windows Phone.
In order to enable the dragging of items from the ListView, we process it using special drag and drop events that were added in HTML5. Conventionally, the entire processing of dragging and dropping an element can be divided into two steps:
Saving the data of the dragged element at the beginning of the drag operation using the setData method .
Retrieve previously saved data after the dragged item is moved to its receiving item using the getData method .
Consider the case in which a dragged item is added anywhere in the list. Handle events to drag an item.
(function () {
    "use strict";
    var page = WinJS.UI.Pages.define("/html/drag.html", {
        ready: function (element, options) {
            var dragging = false;
// Обработка события начала перетаскивания
            myDragContent.addEventListener("dragstart", function (eventObject) {
                var dragData = { sourceId: myDragContent.id, data: myItemTitle.innerText, imgSrc: myImg.src };
// Сохранение данных перетаскиваемого элемента
                eventObject.dataTransfer.setData("Text", JSON.stringify(dragData));
// Разрешаем перетаскивание элемента
                dragging = true;
            });
// Обработка события конца перетаскивания
            myDragContent.addEventListener("dragend", function (eventObject) {
                dragging = false;
            });
// Обработка события, при котором перетаскиваемый элемент наведен на тот, который может его принять
            listView.addEventListener("itemdragenter", function (eventObject) {
                if (dragging && eventObject.detail.dataTransfer.types.contains("Text")) {
                    eventObject.preventDefault();
                }
            });
// Обработка события перетаскивания
            listView.addEventListener("itemdragdrop", function (eventObject) {
// Извлечение ранее сохраненных данных после перемещения элемента
var dragData = eventObject.detail.dataTransfer && JSON.parse(eventObject.detail.dataTransfer.getData("Text"));
                if (dragData && dragData.sourceId === myDragContent.id) {
                    var newItemData = { title: dragData.data, text: ("Dragged Item"), picture: dragData.imgSrc };
//Удаляем часть массива и добавляем новые элементы, присваиваем индекс добавленному элементу
                    myData.splice(eventObject.detail.insertAfterIndex + 1, 0, newItemData);
                }
            });
        }
    });
})();
Thus, we implemented the function of dragging an item from one list to any place in another list. In the screenshot, the portable item is highlighted in red.

Summary
So, we introduced the ListView control. It gives you the ability to work with list items. We examined various data display mock-ups, got acquainted with the method of implementing the reordering of elements in the list, as well as with grouping elements by the first letter of the name of each element. Using two lists as an example, we implemented the ability to drag and drop items from one list to another. As an example of how ListView works with other controls, the possibility of implementing navigation using the Semantic Zoom control was considered.
Additional links:
Quick Start Guide: Adding a ListView Control (HTML)
Quick Start Guide: Adding a Semantic Zoom Control (HTML)
Controls (HTML with JavaScript)
Creating a unique ListView layout using cell-spanning in HTML
MVA mobile development course for web developers
Download Microsoft Visual Studio is available here.
