Repair computer peripherals essentials
Computer mouse repair
So, for no apparent reason, my favorite computer mouse from Logitech, model M500, broke down.

As is known, in most cases, the cause of breakdowns of modern wired computer mice is the wear of the USB wire.
What to do now? You need to buy a new one, since I do not have a spare one. But you still have to walk to the store, but you want to use the mouse right now.
On the other hand, the mouse just has the wire damaged and can be repaired. So I will try to fix it.
Warning: carefully, a lot of photos.
In the USB cable, the mouse has four colored wires. The purpose of each is marked with the corresponding color.
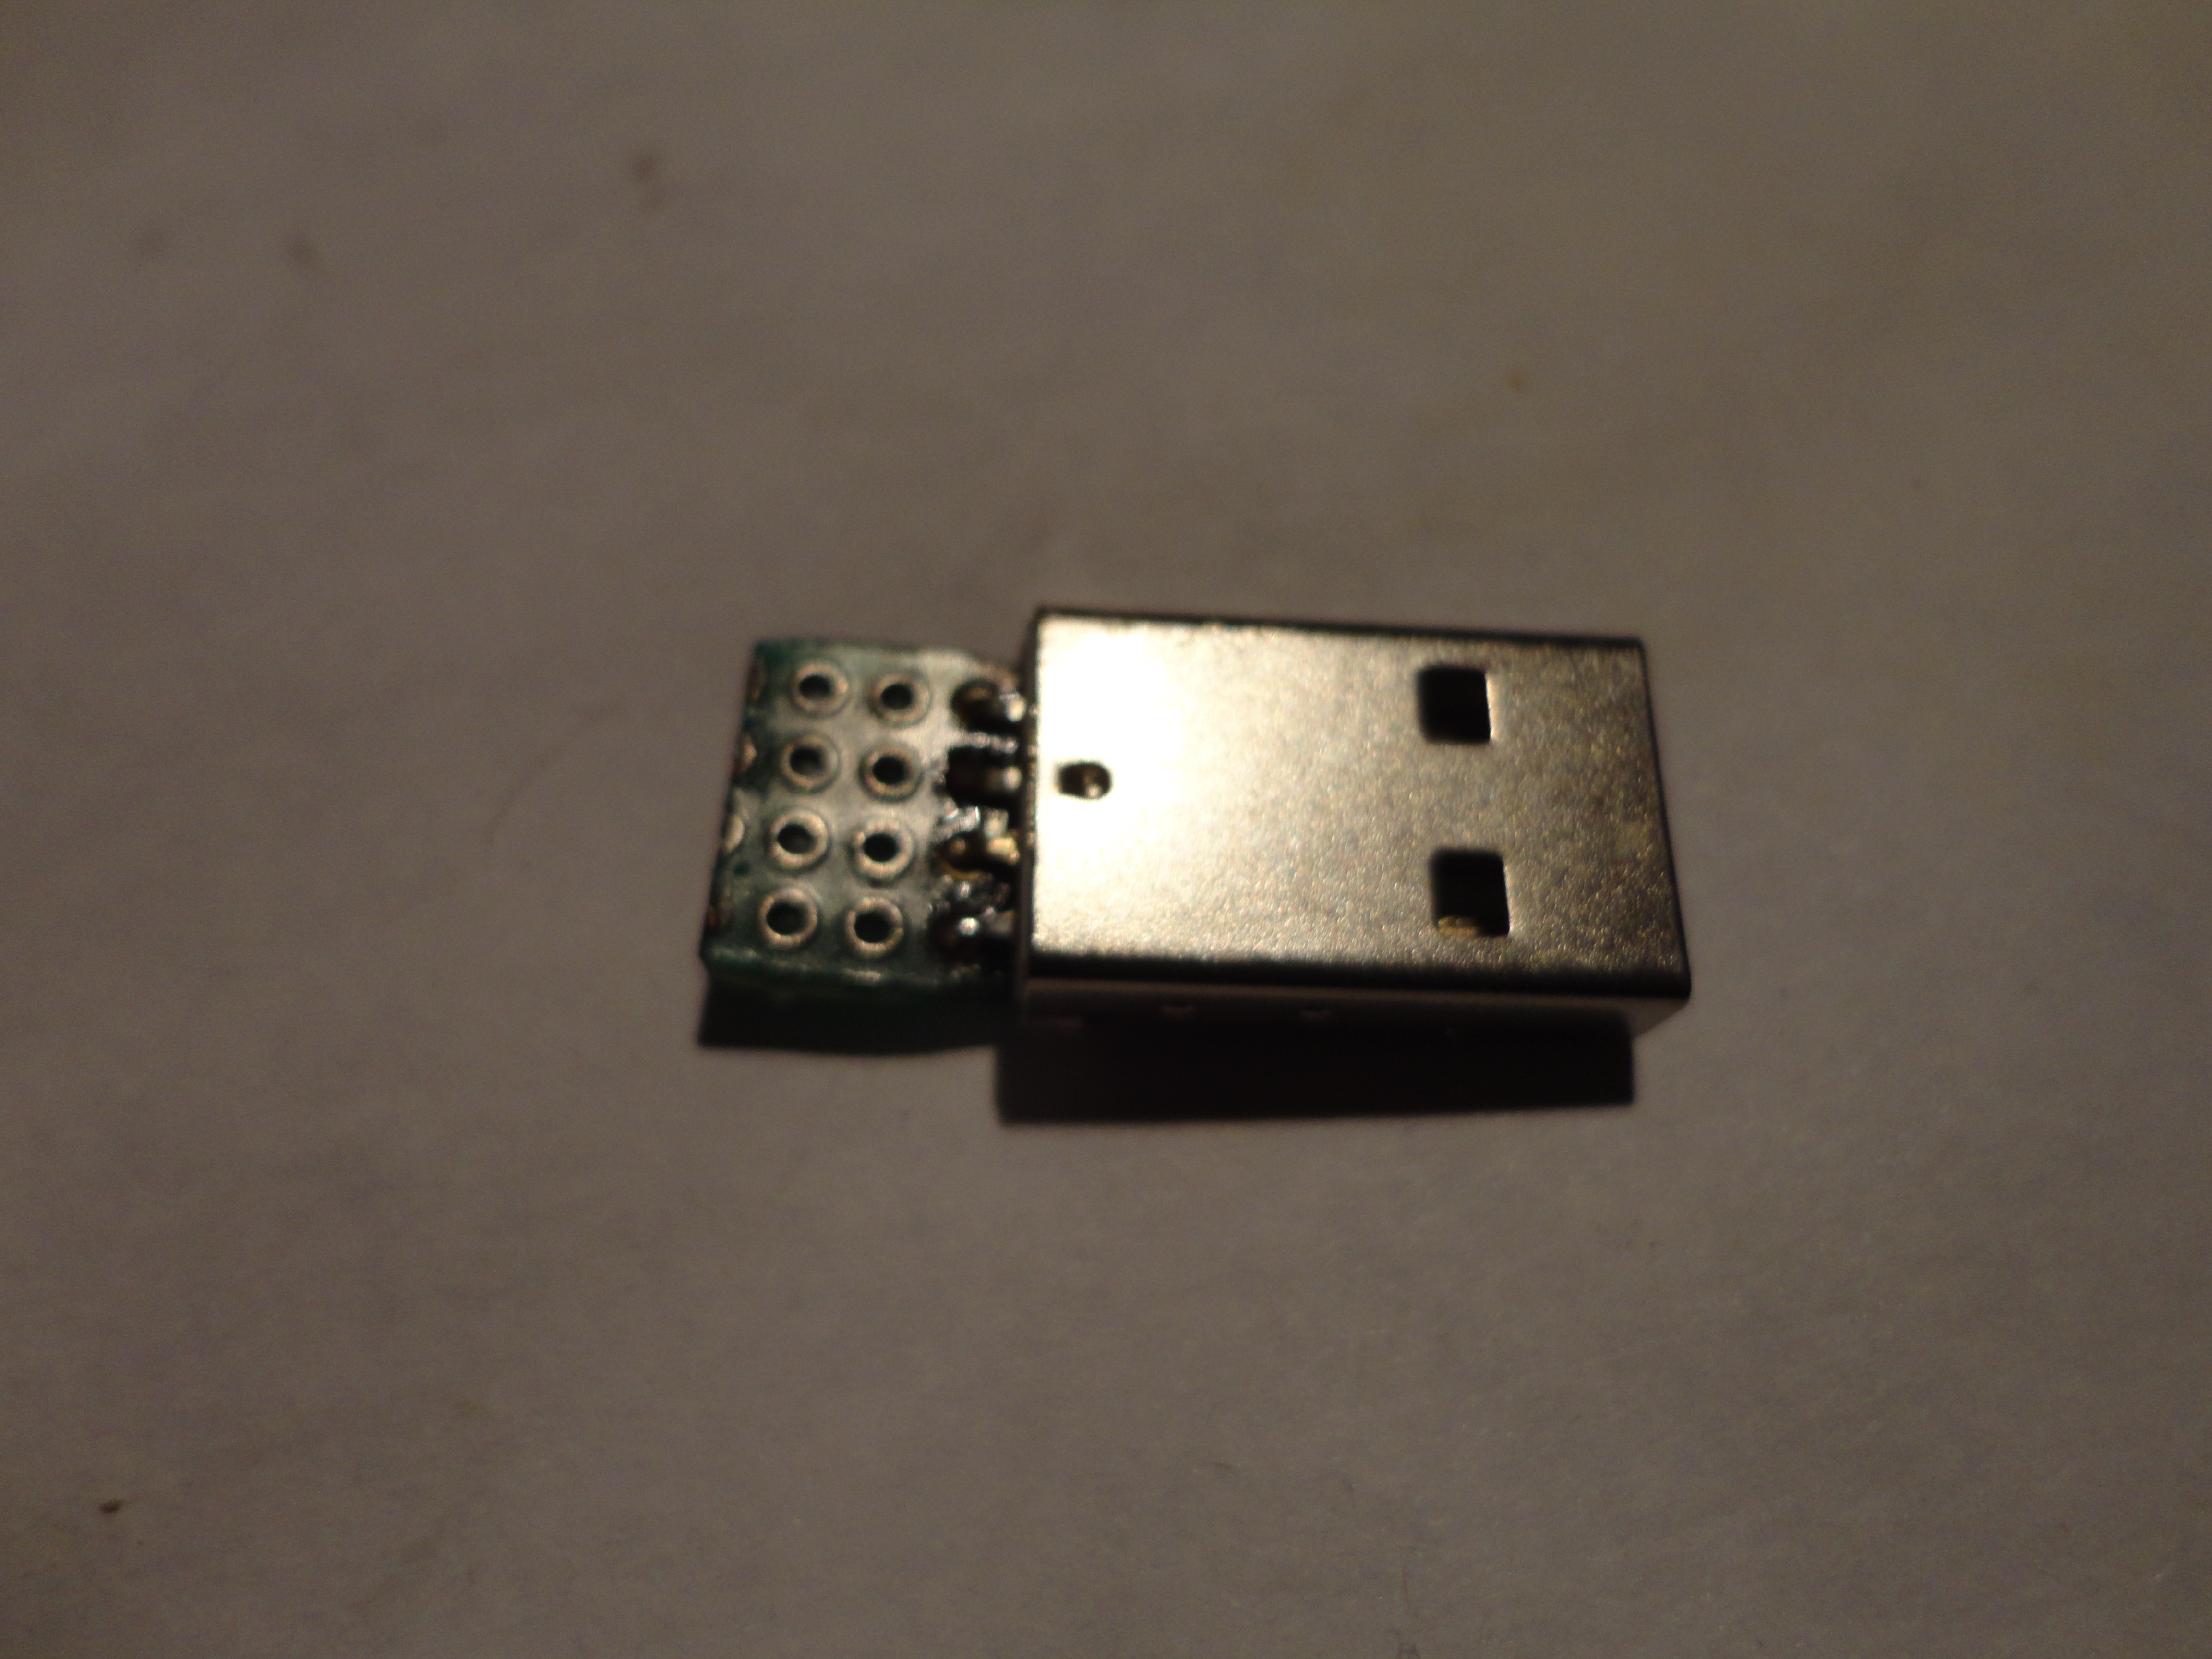
A wire break in my mouse happened at the base of the USB plug, which means we need a new one. I did not find the plug directly from the USB stick, but I found a USB plug on the board. Here it is.

Then I decided to cut a piece of the prototype PCB so that the USB plug would stick more or less securely. Edge lightly processed files.
Before you begin soldering, the wires and contact pads must be pre-processed: the wires are very convenient and easy to clean with a regular clerical knife. Slowly, without fanaticism, light pressure on the insulation, so as not to damage the wire.
After the wire and the contact pad, you need to do it: for this, we wet the wire / contact pad with flux and, with a “drop” of solder on the tip of the sting, we produce tinning. If rosin or neutral rosin flux is used, then it is not necessary to wash it off later. Isopropyl alcohol (Isopropanol) does a very good job of cleaning up flux.
I soldered the wires to the workpiece, a heat shrink tube was used. I used a transparent shrink, so it is not very noticeable in the photo.

Nevertheless, the “construction” turned out to be very fragile, so, just in case, with the help of hot melt, I decided to strengthen it. That's what happened.

The mouse has earned. Hooray!
Although the “holder” of the hot melt glue looks a bit rough, but it does give the USB plug the necessary rigidity and strength.
Headphone repair
Since I turned on the soldering iron, I’ll finish my headphones at the same time.
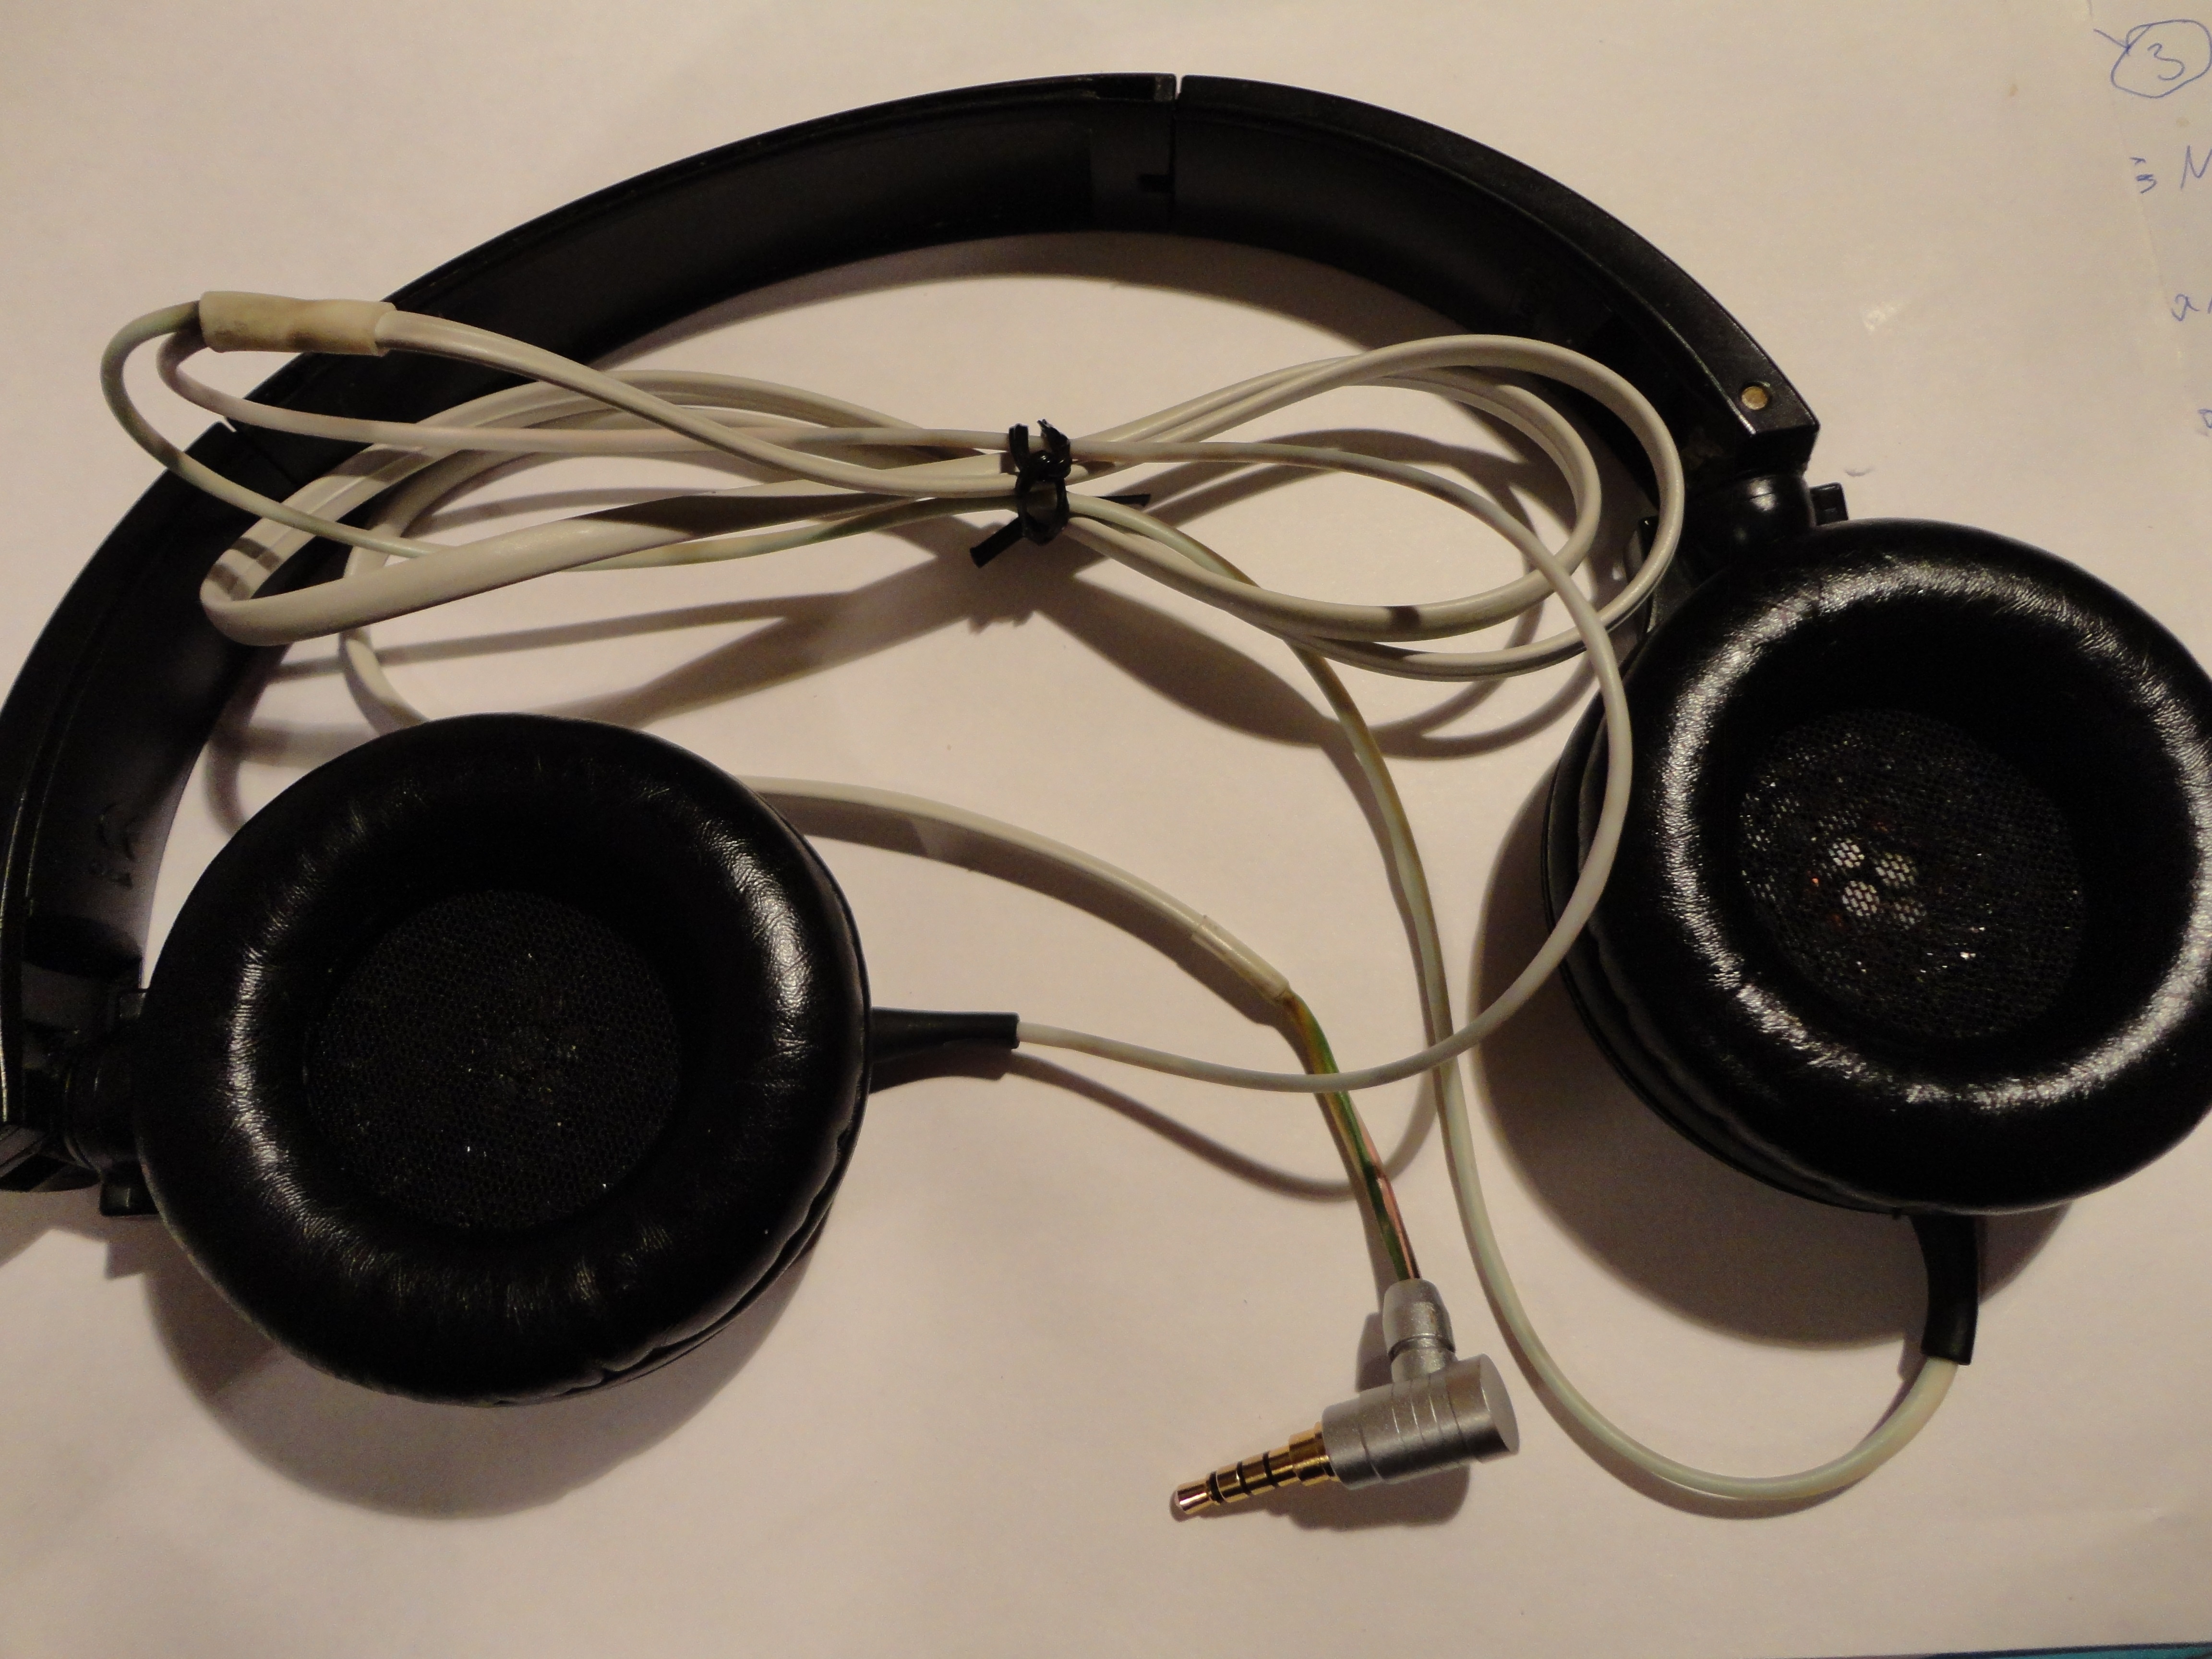
I repaired these headphones a long time ago, replacing the damaged wire with a four-wire telephone cable, and the jack with a beautiful metal TRS audio plug.
But the plug was not only metal and beautiful, but also straight, so I touched it very often. I wanted ergonomics, and I found such a thing on Ali.

It looks very stylish, just like the Blaster of Aliens from Fallout.
In case someone suddenly needs the same one, I acquired such a jack here.
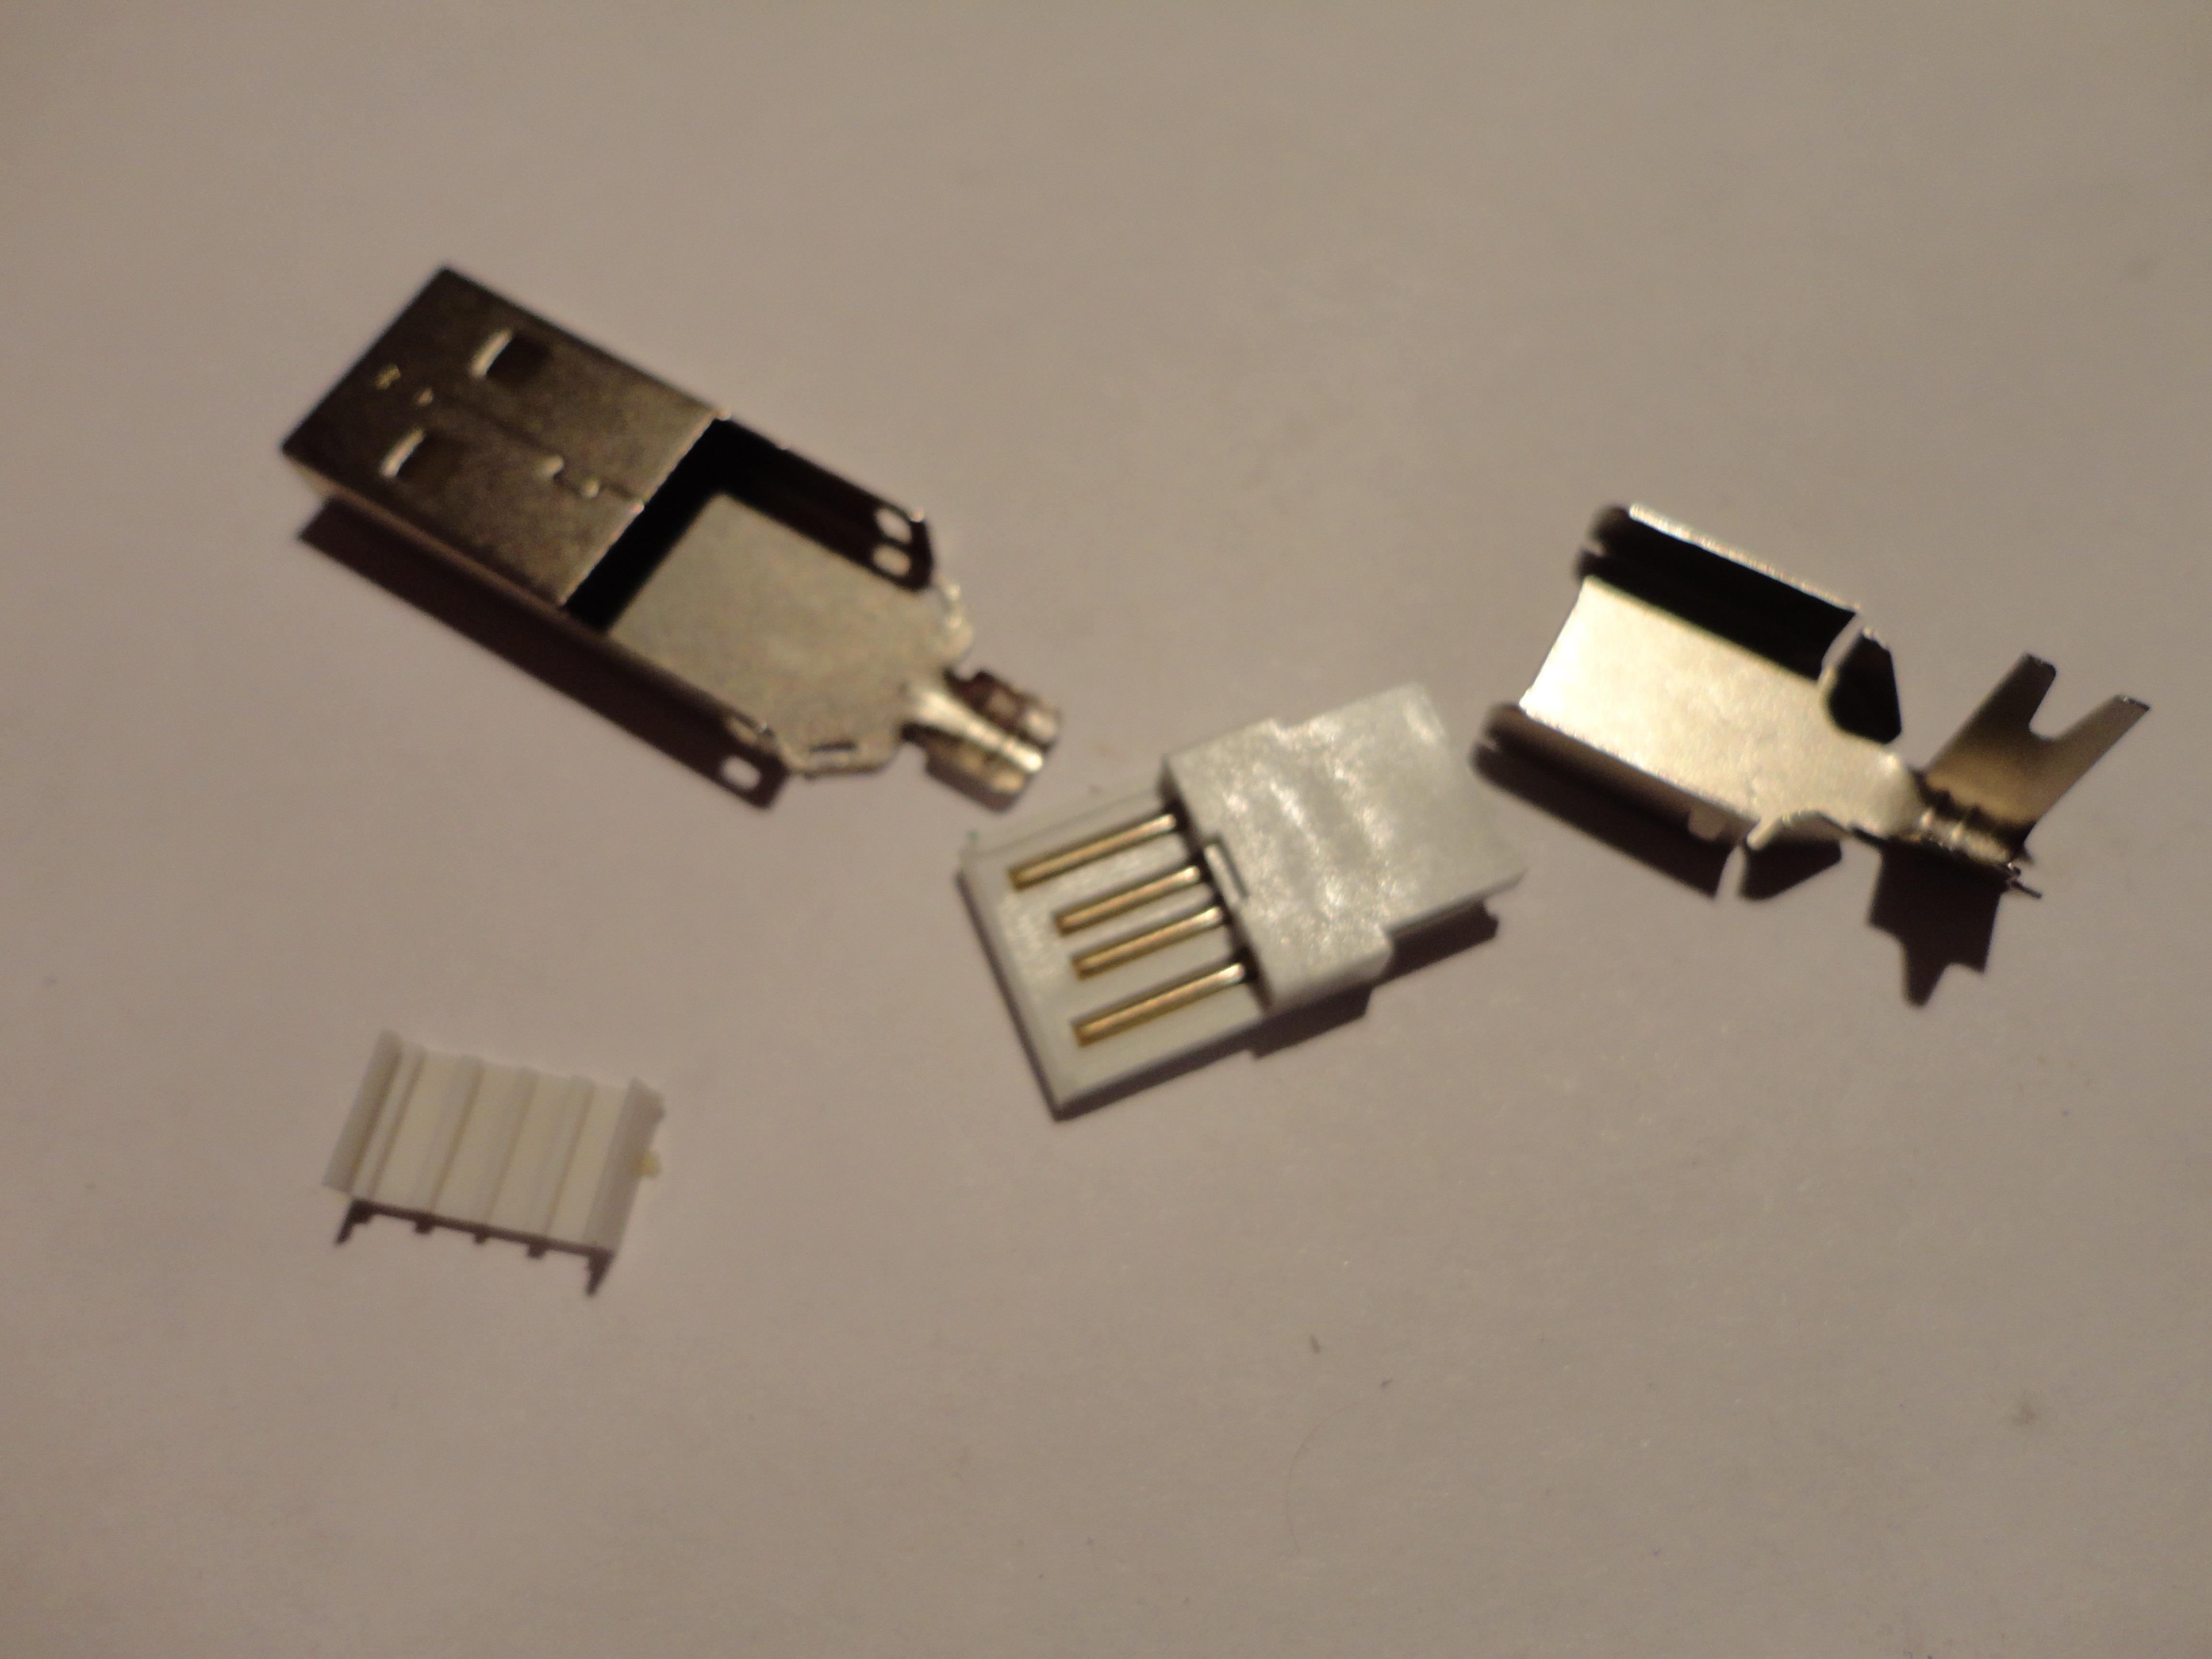
And so this jack looks disassembled
We remove the insulation from the wire, we clean the wires, prudently pass through the heat shrinkage and the necessary details of the plug.

This audio jack is TRRS, but I need TRS, respectively, I connected it as follows: Sleeve - GND; R - skip, R - Right channel, T - Left channel.
We solder wires and very carefully we twist the jack into the base. The case of the jack is metal, which means that it is necessary to take measures to prevent a short circuit to the case. I used isolation from the previous jack.

When soldering wires when repairing headphones, it is very important to observe the optimum soldering temperature. For soft solders of the tin-lead group, the optimal soldering temperature is in the range of 200 to 300 degrees Celsius.
It also makes sense to use neutral flux whenever possible; Alcohol-rosin flux is always preferable.
Finished result
Instead of conclusion
And then, when I started cleaning up, I accidentally found this: It is
always like this; but I don’t even remember where I got it from and when I acquired it.
I hope this material is useful to someone. Thanks for attention.