How Spanish students study robotics

The essence of the project BQ DIY KIT De Robotica
The KIT De Robotica system allows you to learn and create robots that differ in external design (development of 3D modeling skills, mechanics) and behavior (programming of sensors and systems) from standard (delivery set) and completely individual (printed parts on 3D printer) components.
KIT De Robotica belongs to DIY projects of robotics for beginners, as it does not require skills and soldering devices. Due to this and an integrated approach to design, the system has gained popularity in Spanish schools.
What is KIT De Robotica and why is it a system?
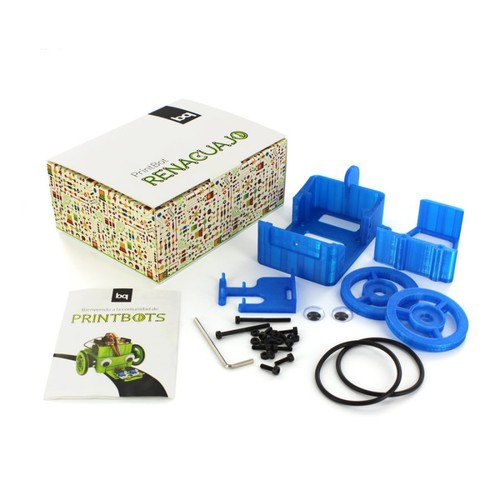
When you order a KIT De Robotica, you get a pretty little box, but that's not all. It’s just that sensors, wiring, and motors can easily be bought separately — and it will be cheaper, but it will not be enough to create a robot. BQ KIT De Robotica includes:
- basic sensors and components;
- online visual programming system;
- concepts of troubles and assembly instructions;
- smartphone-based management program for Android;
- training and development unit in the form of a website, video channel and forum.
All of these elements form a very attractive system that is designed to maintain children's interest in technical training. At the same time, it is constantly developing due to the growing community of users (mainly teachers) who come up with new concepts for print bots, offer new sensors and behavior models for robots. Next, we will consider all the elements of the Spanish system.
Project Portal, Characters, and Content

The main project portal is located at http://diy.bq.com/ . From the very first glance it can be seen that this portal is managed by a professional team. Designers came up with cute characters: a guy, a girl and professors, chose an excellent combination of colors, a lot of objects are animated, in general, beautiful.
Characters and content The
guy helps make robots and is the character of all the instructions for assembling printbots:
The instructions are made as clear and colorful as possible, not in all cases they give a quick answer, suggesting first to figure it out yourself and solve the problem.
The girl talks about other features of the robotics kit and shows how else to use the sensors. By the way, she has a real prototype, leading the video of the channel and blog Anita:
The professor helps physics in a separate section and is involved in downloading code examples to the board on a page describing print bots or individual components of the kit.
Leadership video
Perhaps the most difficult part in adapting the portal to Russia will be to find a leader on the video of the guide. A simple Russian voice acting is not enough. Anita conducts video lessons simply gorgeous, constantly coming up with some theatrical moments. It is with such emotions and giving that you can attract or at least not push away a young audience:
Forum
On the forum you can ask questions and share best practices for improving robots, as the girl did:
It is clear that now the project is completely in Spanish and is only getting ready for translation into Russian, but for familiarization and perception of the basic principles, machine translation of browsers and built-in translation of captions on the YouTube channel are quite enough. The quality of the translation will be slightly higher if you choose from Spanish to English, and not into Russian. True, it seems to me that after watching a video 3-4 times, you can begin to understand Spanish.
A set of basic sensors and components
The kit is assembled on the basis of the "necessary and sufficient" to create one robot that can perform several functions (movement and capture of light objects) and respond with light and sound to changing environmental conditions, as well as be controlled via Bluetooth.

The kit is easy to find on the box and lid. So, to create a robot you will need:
- Battery compartment for 8 AA batteries;
- brain of the future robot, Feduino UNO board;
- 2 IR sensors (infrared);
- push button;
- 2 light sensors;
- Bluetooth module and USB cable;
- rheostat;
- 2 LEDs on the board;
- 2 mini servomotors;
- 2 continuous rotation servomotors.
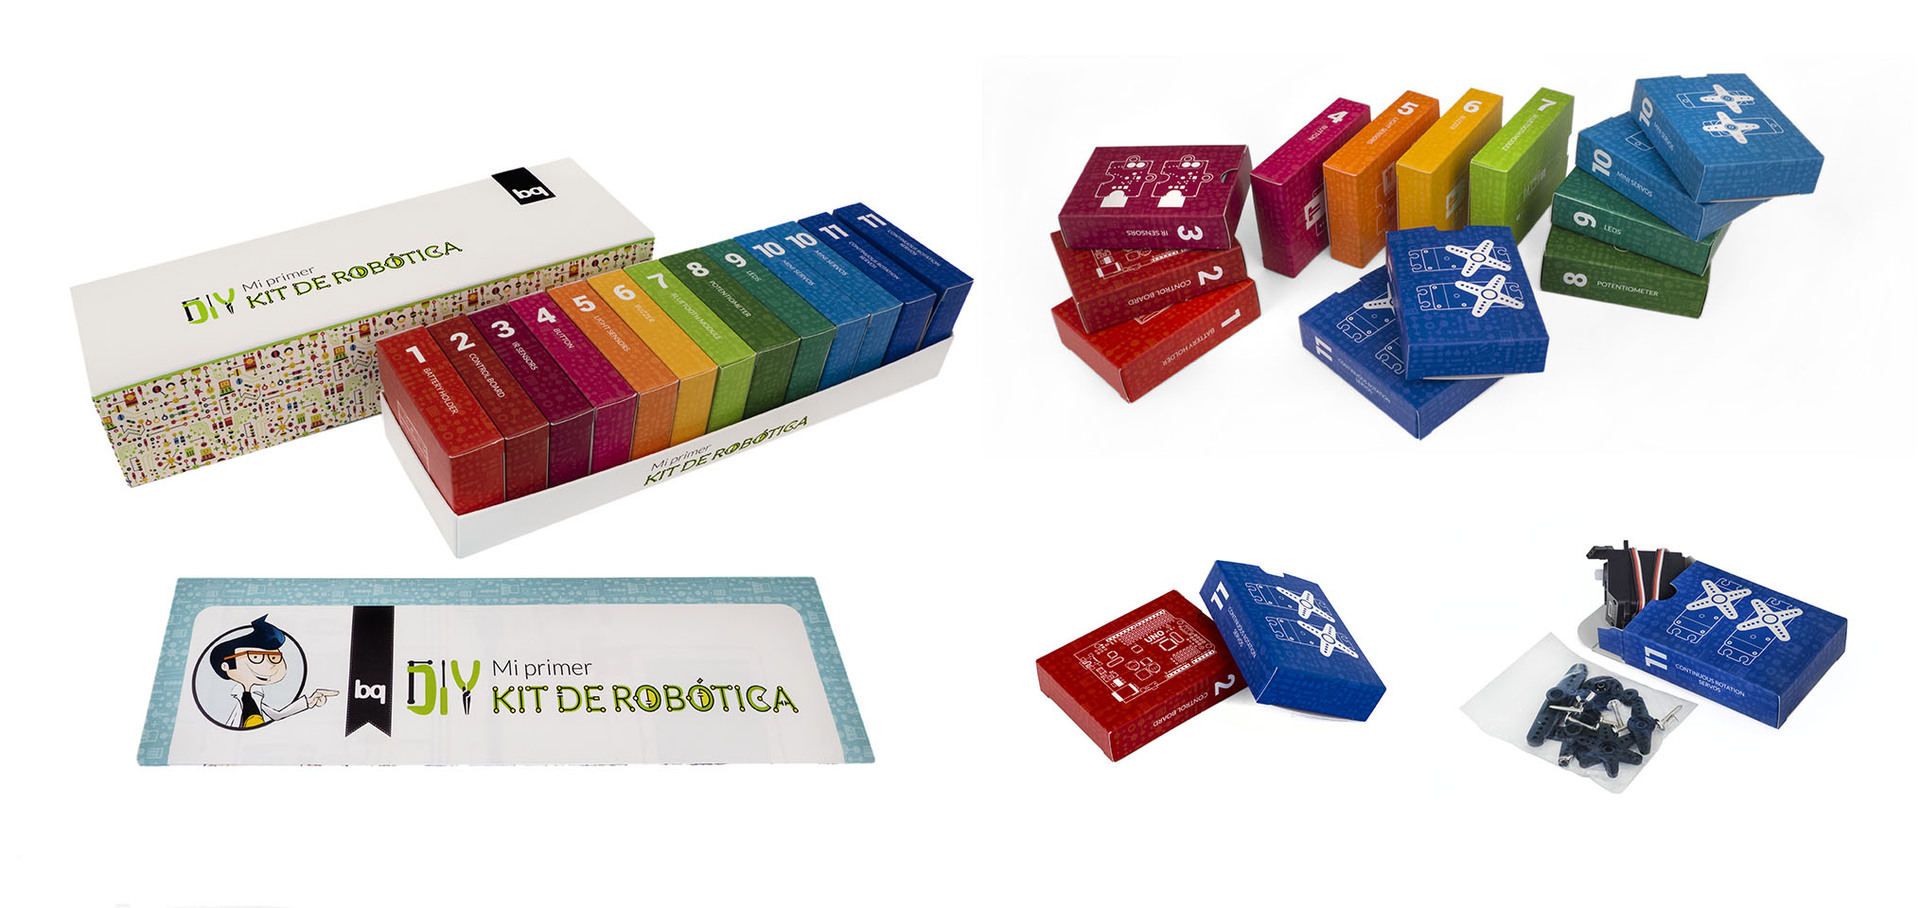
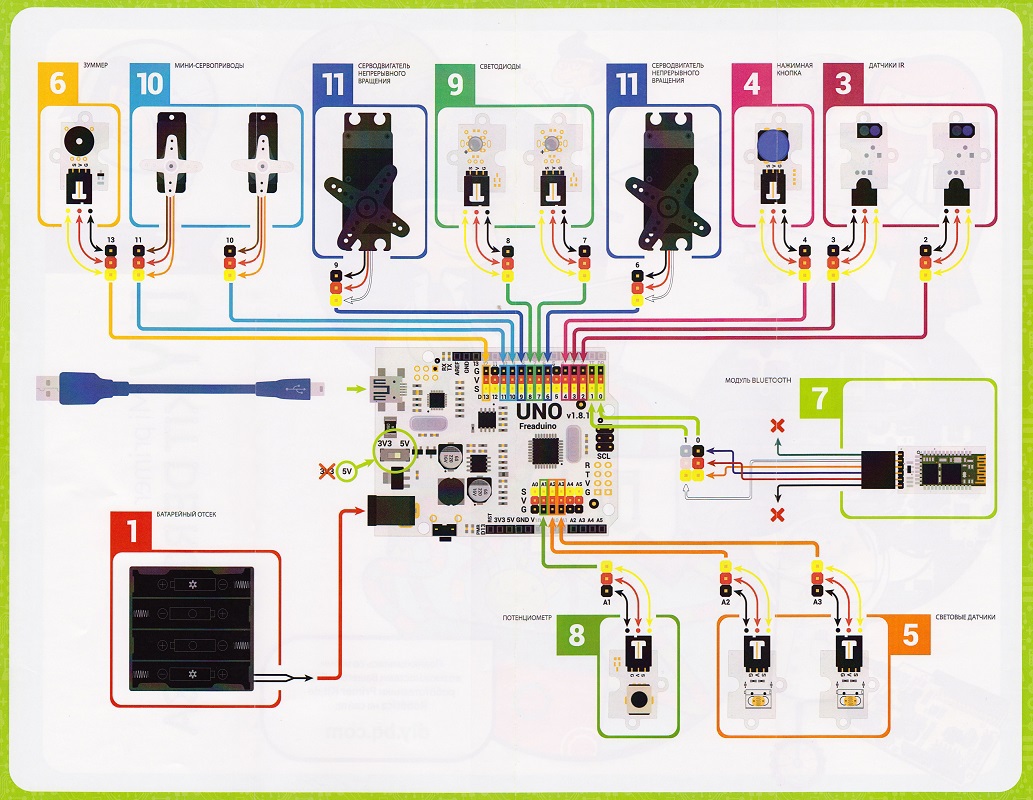
All of these components are packaged and placed in small boxes with color, digital and graphic markings. This scrupulous approach to packaging design is due to the purpose of the kit for educational institutions. The teacher can issue the whole set as a whole, or separately for the elements, for example, a board and a servo drive. This storage principle is very suitable for clubs and classes in robotics at school, when after the lesson the children will need to clean everything in its place. It will be very simple to do. A total of 13 mini-boxes and one connection instruction, which can be used as a basic hint or instruction in the classroom:
For educational institutions (wholesale purchase), additional sensors from the standard set (for example, servos) and advanced sensors, such as ultrasound, are available to order. Additional sensors and motors may be needed for more complex robots, such as a crab. The instructions to which have already been shown above:

Software tool
The programming tool is the site http://bitbloq.bq.com , from the tab of which we find out with what tools it was created by BQ programmers:
First, you need to go through a short registration. This is necessary in order to be able to customize the interface (choosing a language and a set of modules) and save your code examples in a private area of the cloud storage.
The cloud storage is gradually filled with examples of sensor programming that can be used in the lessons (when familiarizing yourself with the kit) and complete robot programming projects.
For a quicker introduction to the possibilities, watch a short video:
To work correctly, you need a chrome browser and a Codebender plugin. It also works in Yandex browser.
Printbot concept

To create a robot, BQ KIT De Robotica uses not a standard constructor, but elements printed on a 3D printer. This allows you to approach the design of functionality and design of the robot as freely and individually as possible.
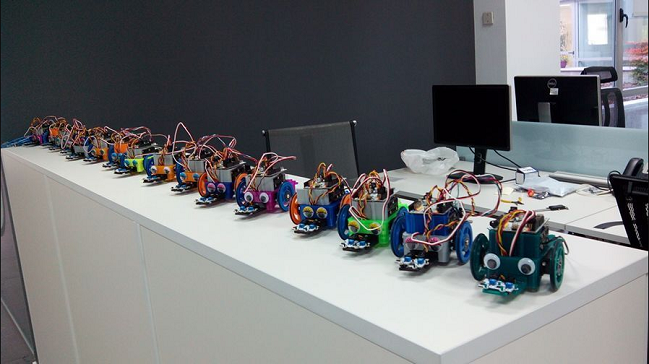
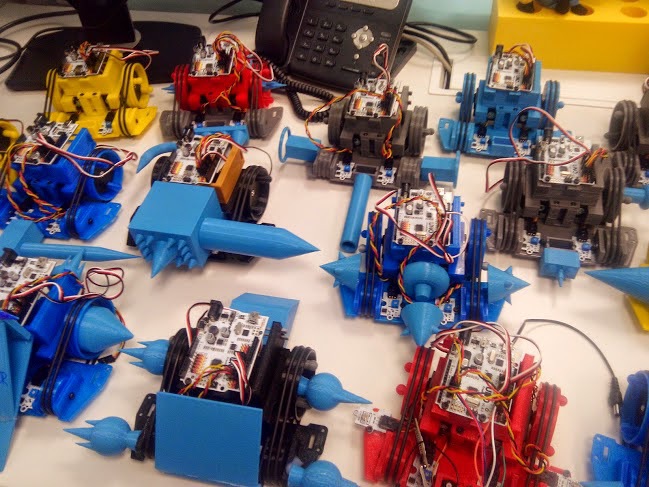
BQ has developed two basic pretributes, for which most examples are given - the tadpole and beetle in the photographs above, and constantly collects information about modifications and new printbots from the community. So much more complex tides appeared crab and bulldozer.
Nobody forbids to use additional elements of standard designers, paints or any other available means - this is real DIY. For example, in the prepress bulldozer, tracks from one of the LEGO kits are used. By the way, they can be printed using FilaFlex plastic (similar to rubber):
It is very easy to combine parts (gears and blocks) from the LEGO technician sets and come up with and print some elements that simply cannot be found in standard designers, for example, a unique shell crab:

This approach is not difficult for very small makers, because they get an already developed system and is unique for experienced ones who want to give individuality to their creations. In addition, it develops 3D modeling skills.
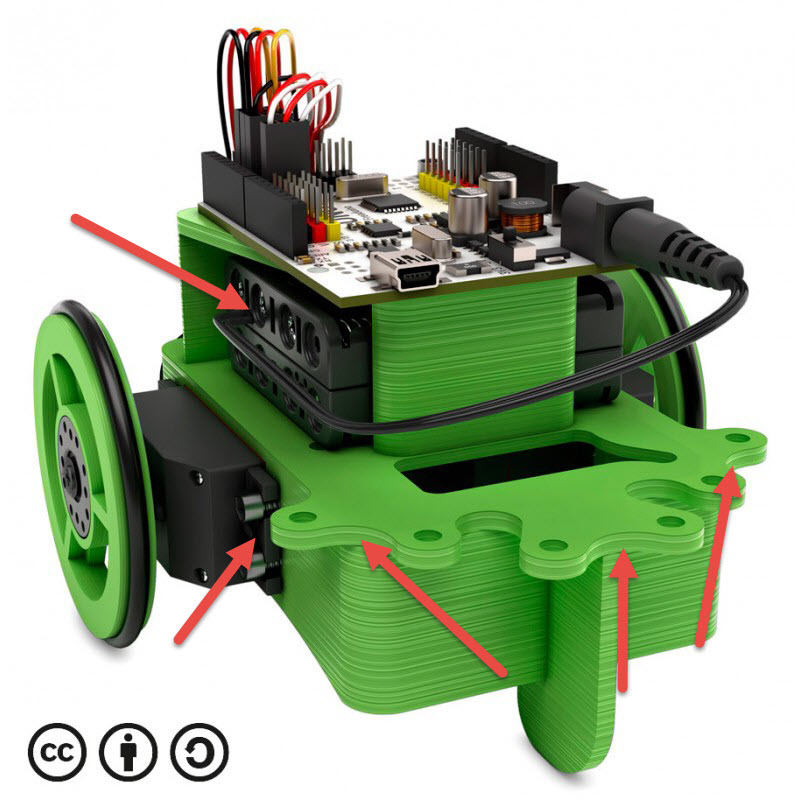
On 2 basic models, you can learn which parts of the robot we must provide for. For example, mounting the battery pack and sensors, balancers, holes for wiring and so on.
In more complex models, it is necessary to provide for how the robot will come into contact with surfaces, whether it can only ride on a flat surface or whether it can be launched on grass, earth, pebbles:
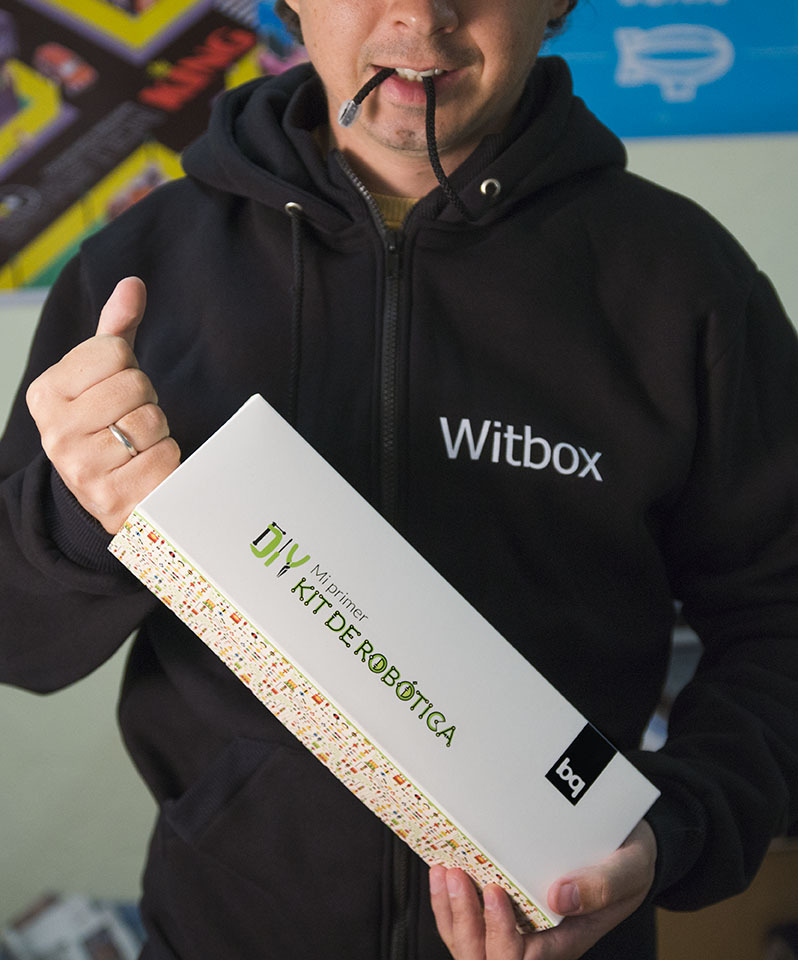
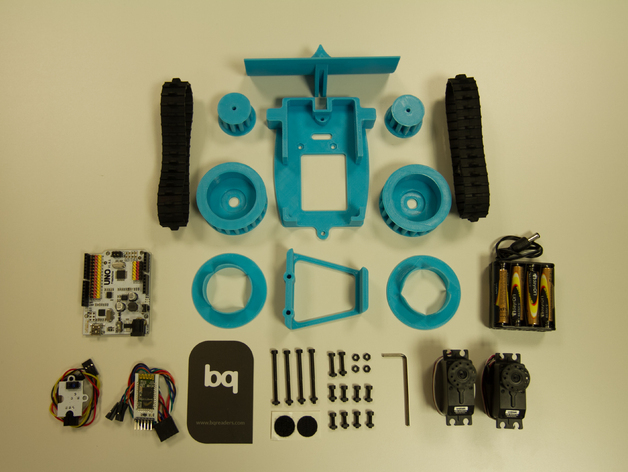
For schools and clubs where 3D printers are not yet available, BQ supplies a ready-made kit of parts printed on the BQ WITBOX and other elements necessary for assembly (bolts, washers, rubber pads):
Robot control
As we learned, the robot can be programmed for continuous movement with response to data from sensors. The simplest of them is the movement along the black line. If you want full control over the robot, you will need to install a Bluetooth card on the robot and program it to receive instructions through it.
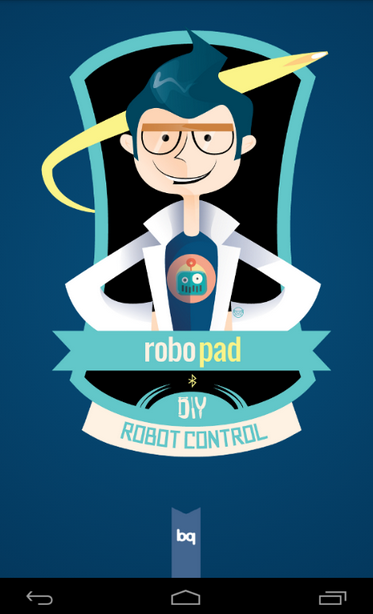
In the KIT De Robotica system, it was decided to use the Android RoboPad application for controlling the robot, which you can find on Google Play . It looks quite natural, considering that BQ releases a lot of Android devices and has its own staff of programmers. In addition, you do not need to carry a separate remote with you, just a smartphone.

The application contains an interface for controlling two types of robots, a tadpole and a bug. It is clear that outwardly it can be any robots that use two (type of tadpole) and four (type of beetle) servos.
There is also a button for switching to automatic mode on the screen. This can be used in robo competitions, when part of the task needs to be done manually, and once on the map section with black stripes, just go into automatic mode.
Extremely useful is the programming mode of the interface and robot control commands from the tablet. Without a code, only arrows.
The end. What is the highlight of BQ and why will this system give a light to many domestic robot designers?
In conclusion, we’ll once again list the main features that prompted us to start delivering KIT De Robotica kits to Russia and support this project, making it a full-fledged robot creation system in Russian:
- This is already beautiful. All materials and the concept itself looks beautiful and attractive.
- It's not boring. Designed characters and design are aimed at a wide audience. We hope that the consumers of the kits will be not only the children of experienced Russian makers, but also a host of other children who do not have such powerful creative examples at home.
- This is a system. Kit, programming, management and 3D printing are perfectly combined into a single system and we are preparing to provide it for Russian schools and circles.
- It is individual. Using 3D printing, the ability to fully create your own robots, make them unique both in design and in behavior.
- It's simple. Visual programming tools allow you to use them to teach younger groups of students, while you can switch to a text language and begin to learn it.
- It is necessary. We believe that children should understand the basics of robotics as the basis for creative thinking and designing more complex systems. Faced with difficulties and gaining small victories in the design of small robots, they learn not to be afraid of difficulties. Not all, but the best will begin to set more ambitious goals and will be able to achieve them.
We will be glad if you want to support the project by becoming a leading video of tips, creating code examples and saving it in public folders, or starting to create new unique print bots.